How to assemble a PDF sewing pattern

The pages of a PDF sewing pattern are like tiles that need to be assembled into a single rectangle before you cut out your pattern pieces. There are lots of benefits to PDF patterns, and once you get the hang of assembling them, you can have your next sewing project printed, cut, taped and ready to go in no time!
Let's start!
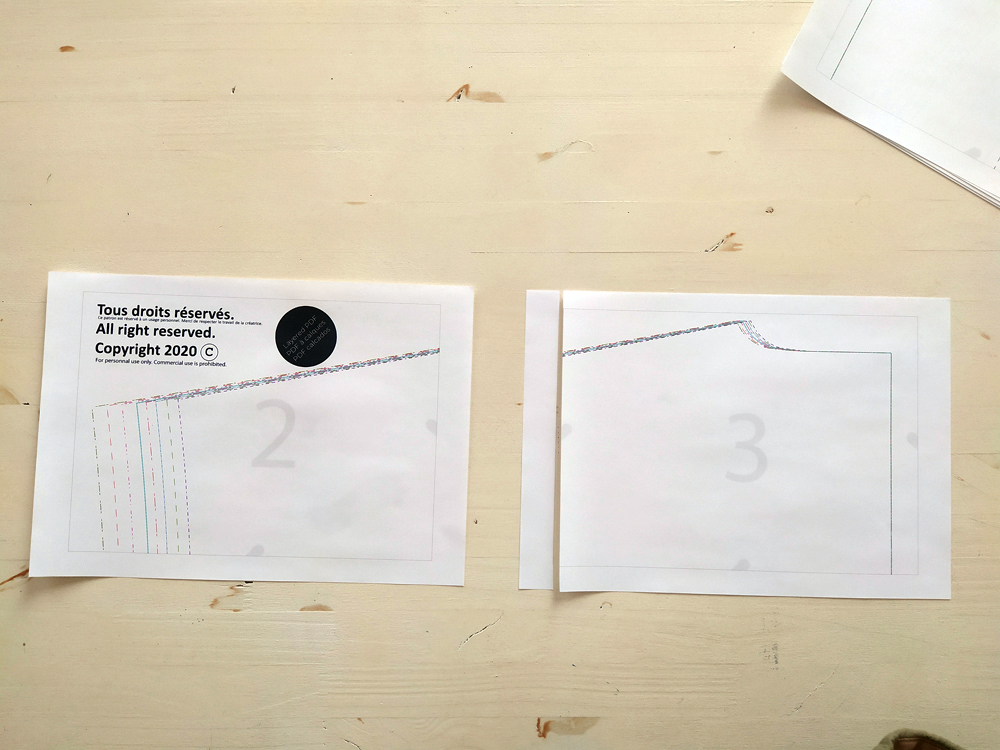
1: Begin by trimming the left margins off of the second page.
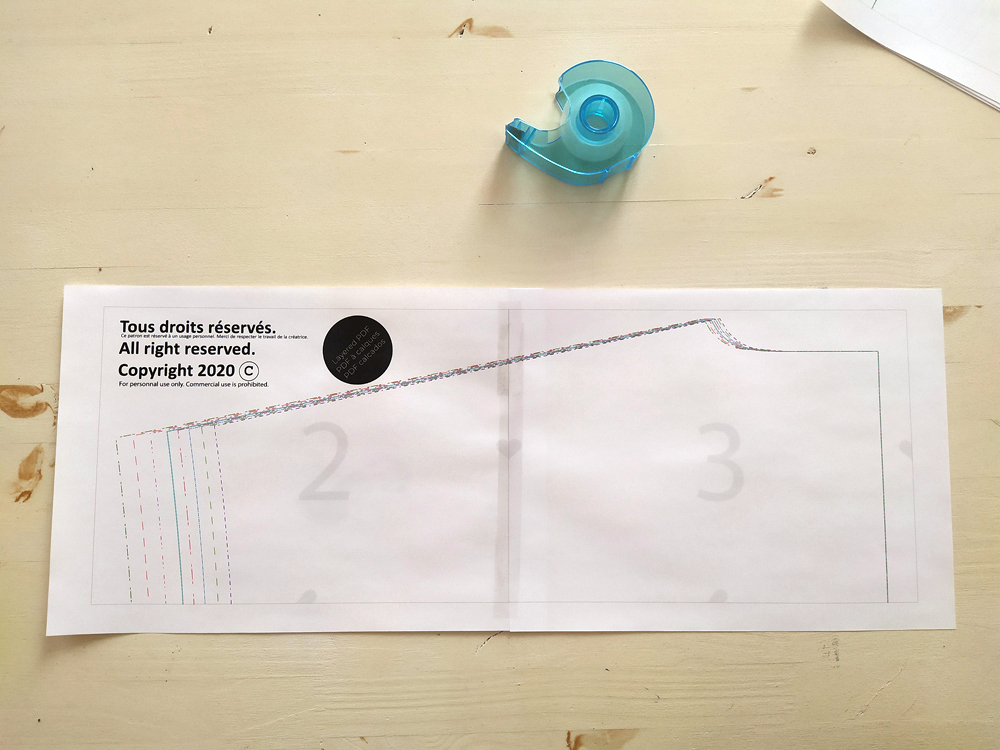
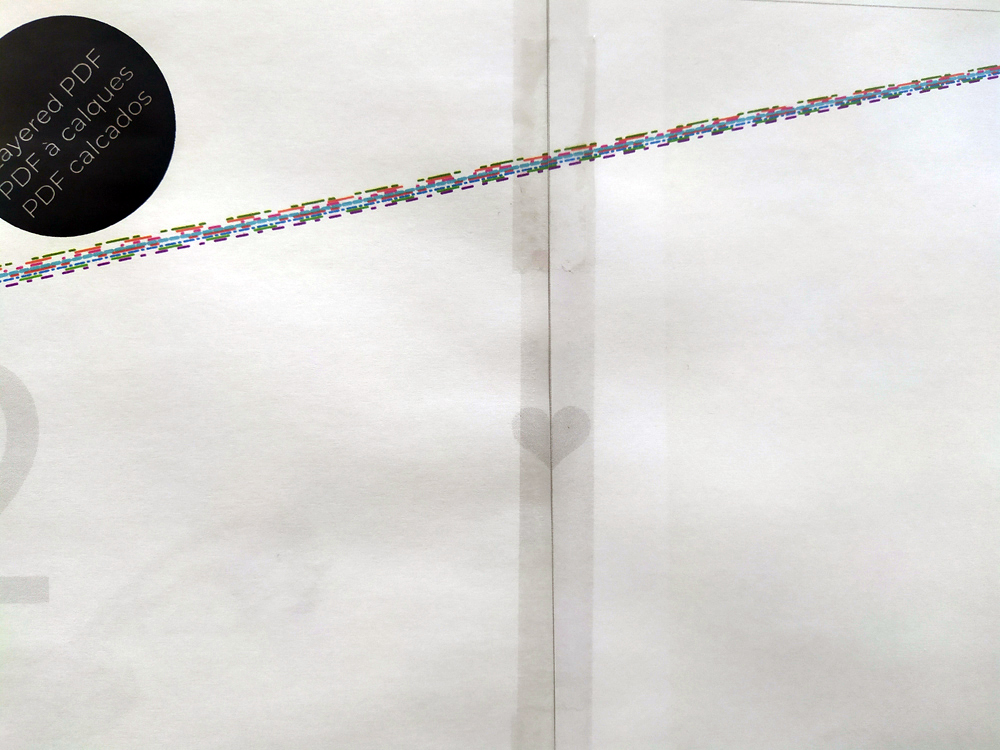
2: Place the pages so that the remaining margin overlaps underneath the next page. Tape the second page to the first page. The two light grey shapes will match together to create a heart shape. 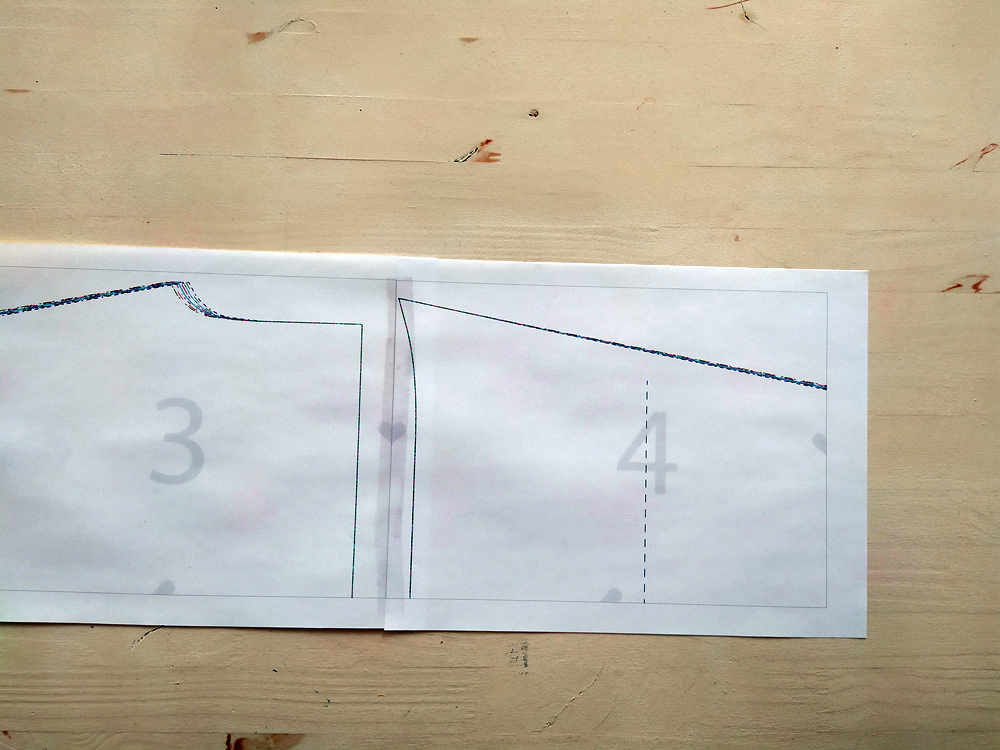 3: Keep adding pages until you get to the end of the row. You will know you are there because there will be no heart shape on the right side of the page.
 4: After the first row is done, cut the top margin of the next page and tape it to the bottom of the first page of the previous row.
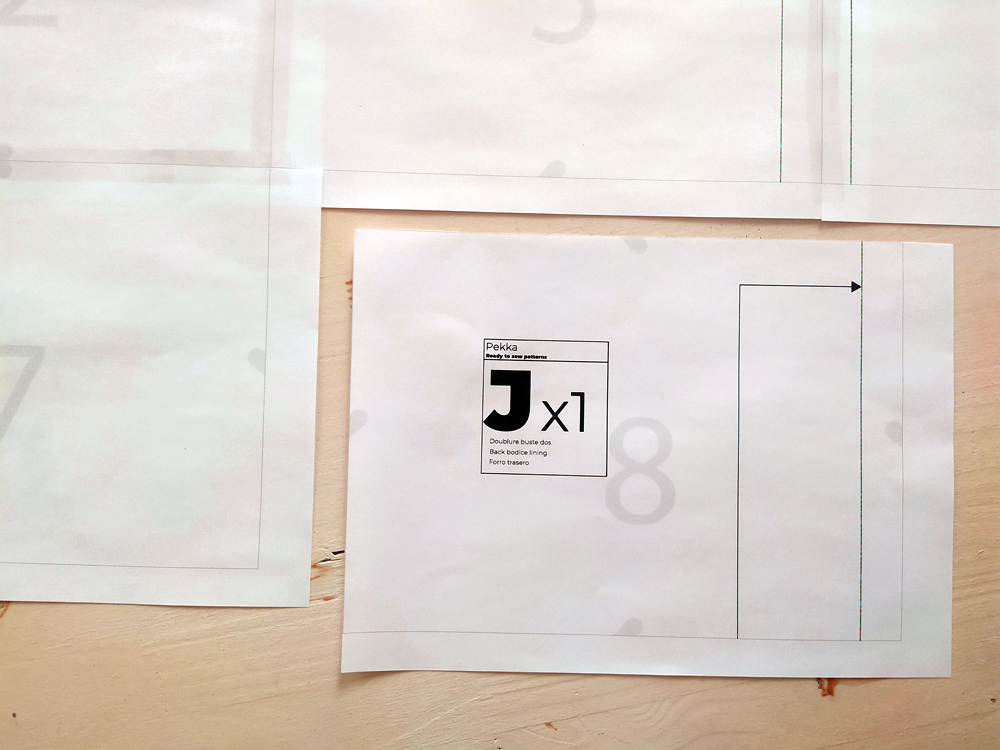
5: Cut all the over pages of the row on the left and top margin.
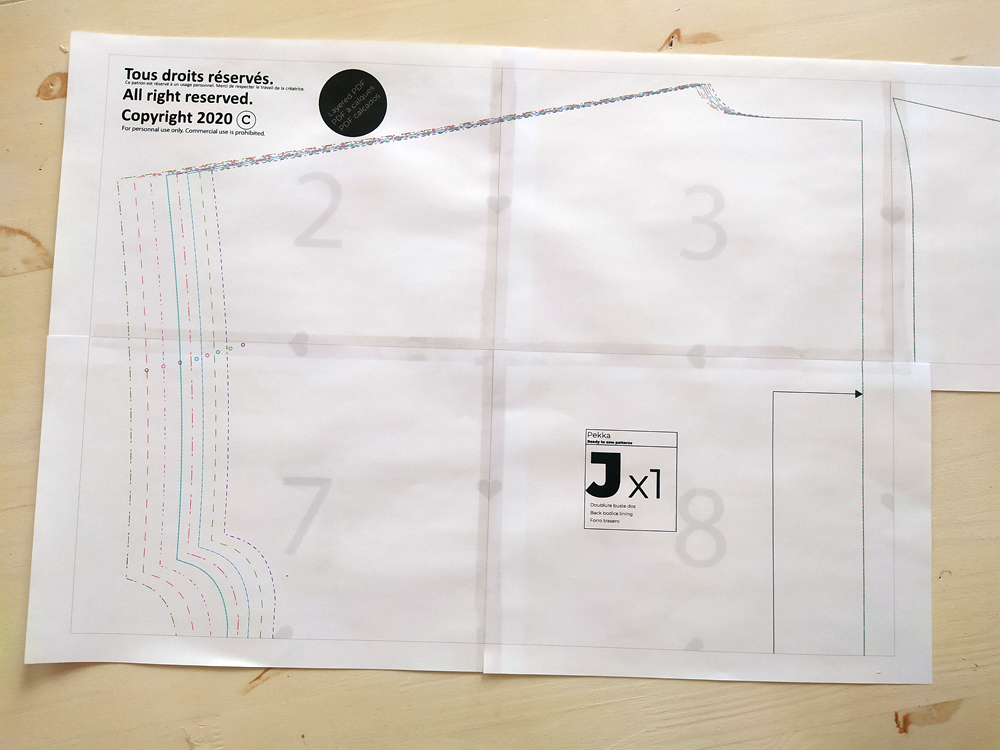 6: Tape and repeat until your pattern is complete. Avoid putting any tape on the back of the pattern, so you can iron on the back to flatten it out later.
Comments
No comment at this time!
Leave your comment