Sew along, the Parner overalls, part 2

Welcome to the second part of the Partner overalls sew along. In this article, we will see how to sew the bib, assemble the bib to the pants and install all the overalls hardware. As mentioned in part 1 of the sew along, the steps differs slightly from the PDF sewing pattern instructions but the end result is exactly the same.
![]()
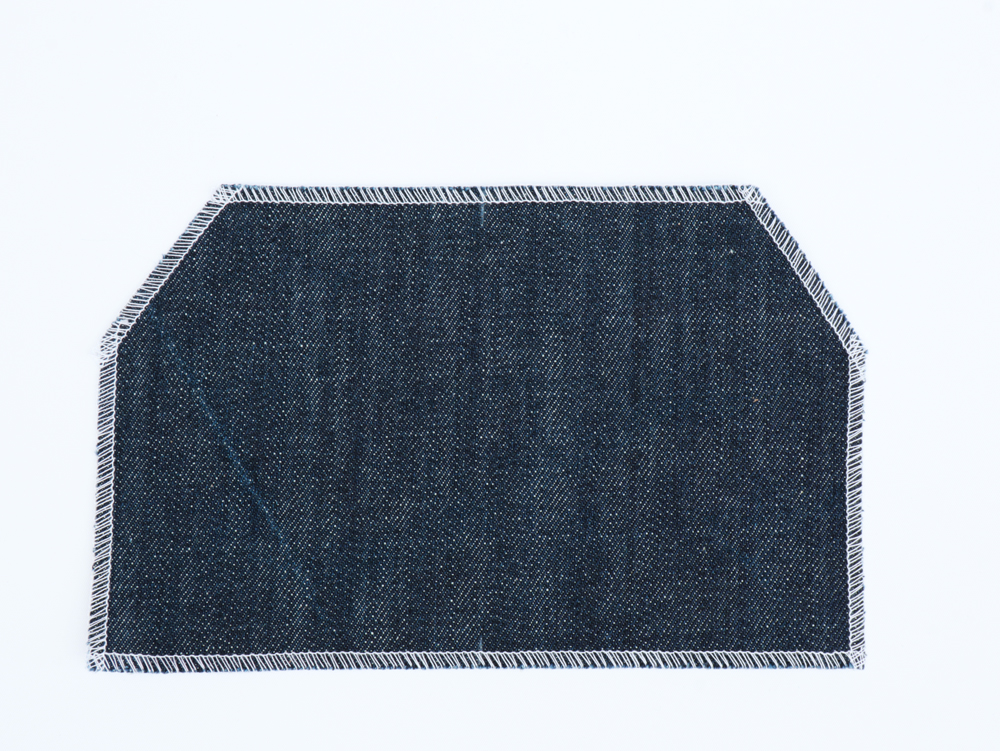
Serge the raw edges of the bib pocket (H).
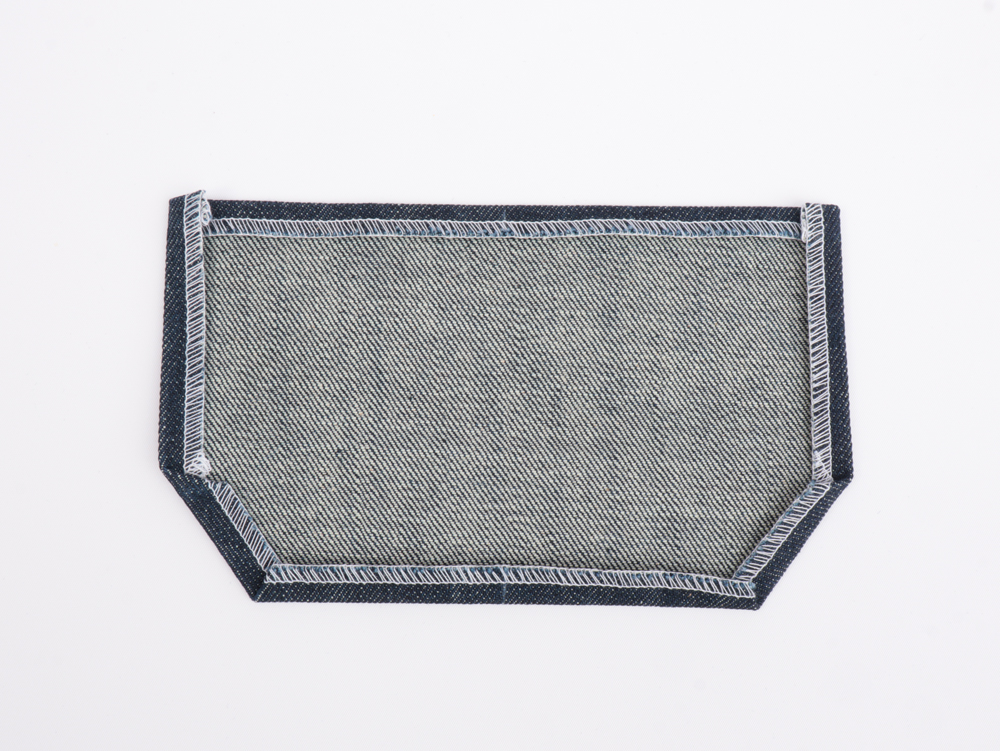
Press the edges to the wrong side by 1 cm.
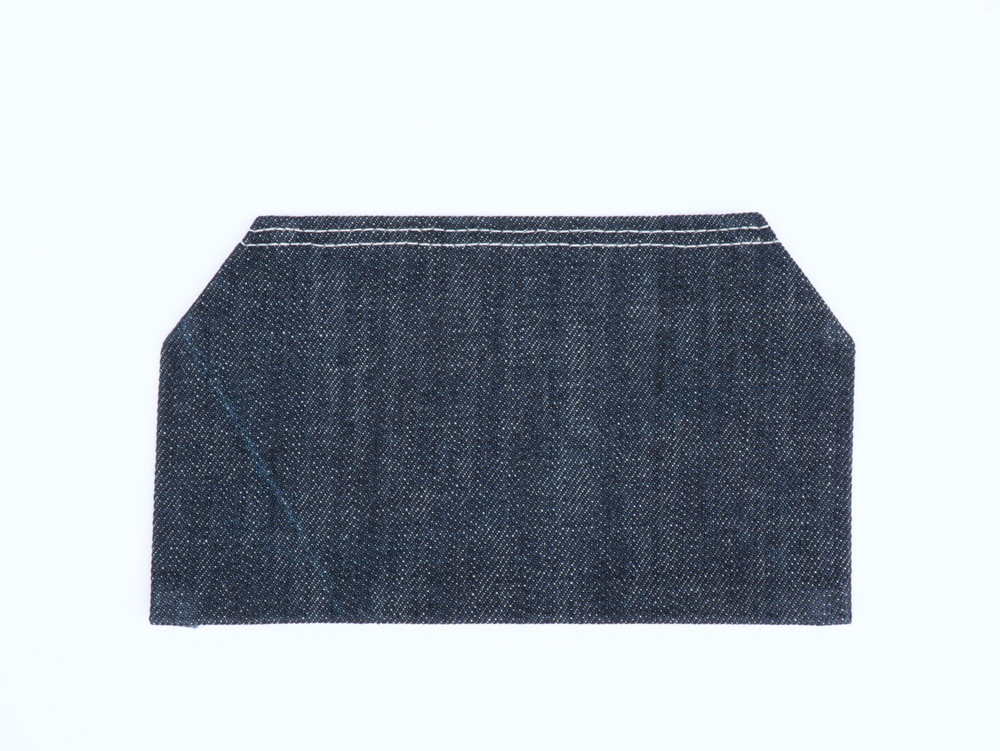
Topstitch the top edge of the pocket. The first row of top stitching should be 2 mm from the edge and the second row of top stitching should be 4 mm from the first row.
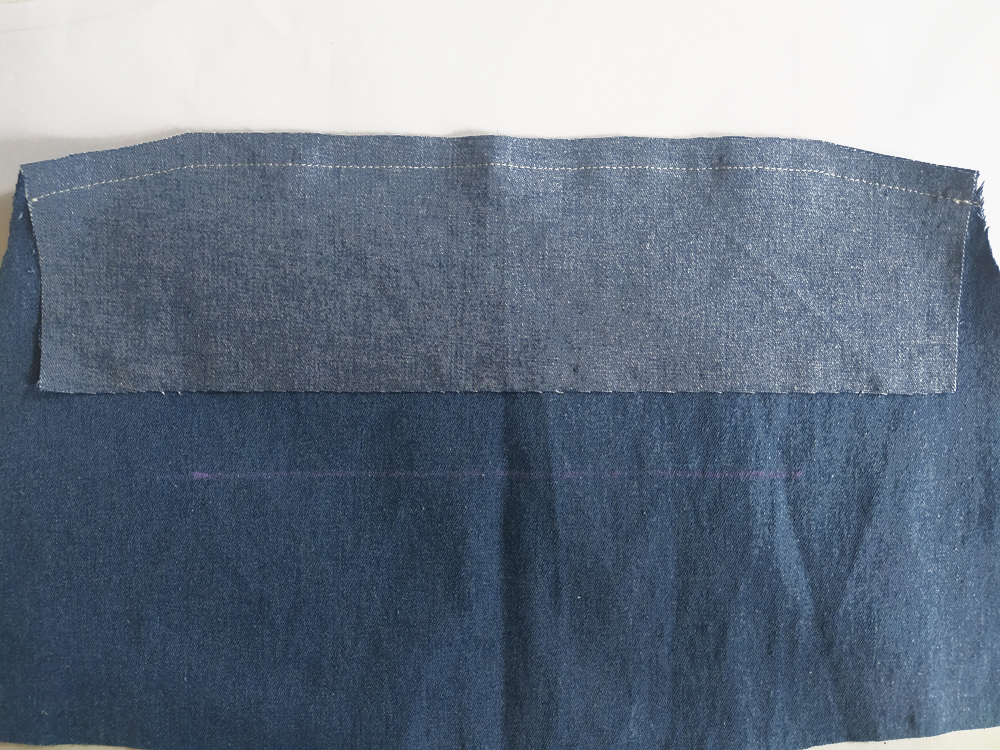
Place a small square of fusible interfacing on the front bib (I) or (I ’) at the location of the buttons.

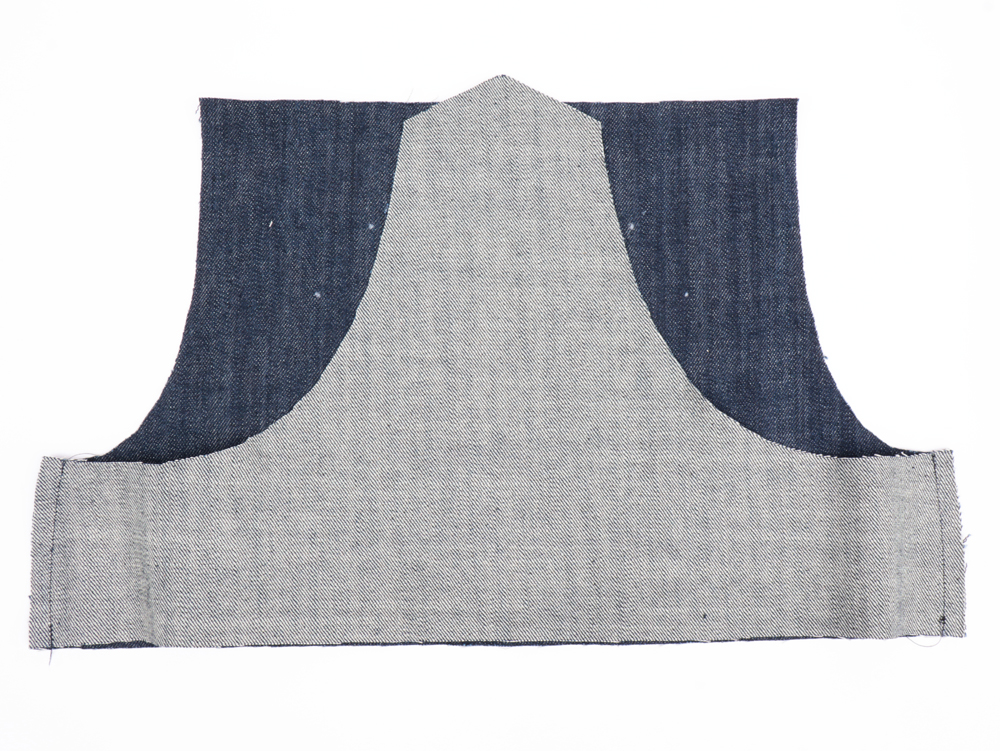
Range 2: With right sides together, pin and sew the top front bib and bottom front bib. Press seams open. Repeat for the facing pattern pieces.
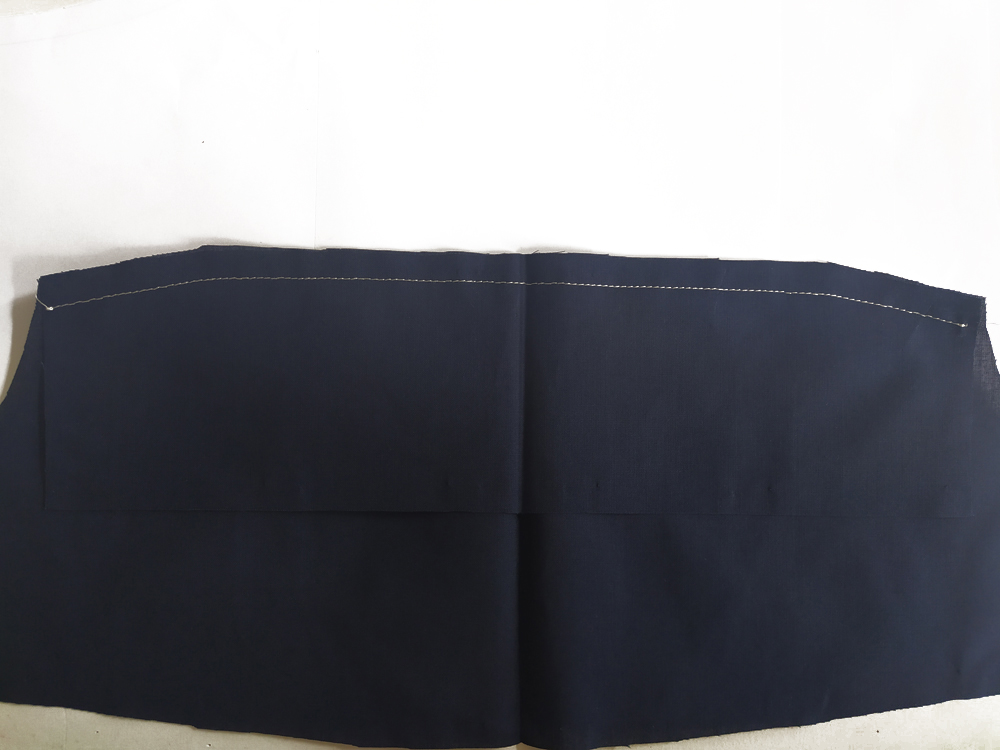
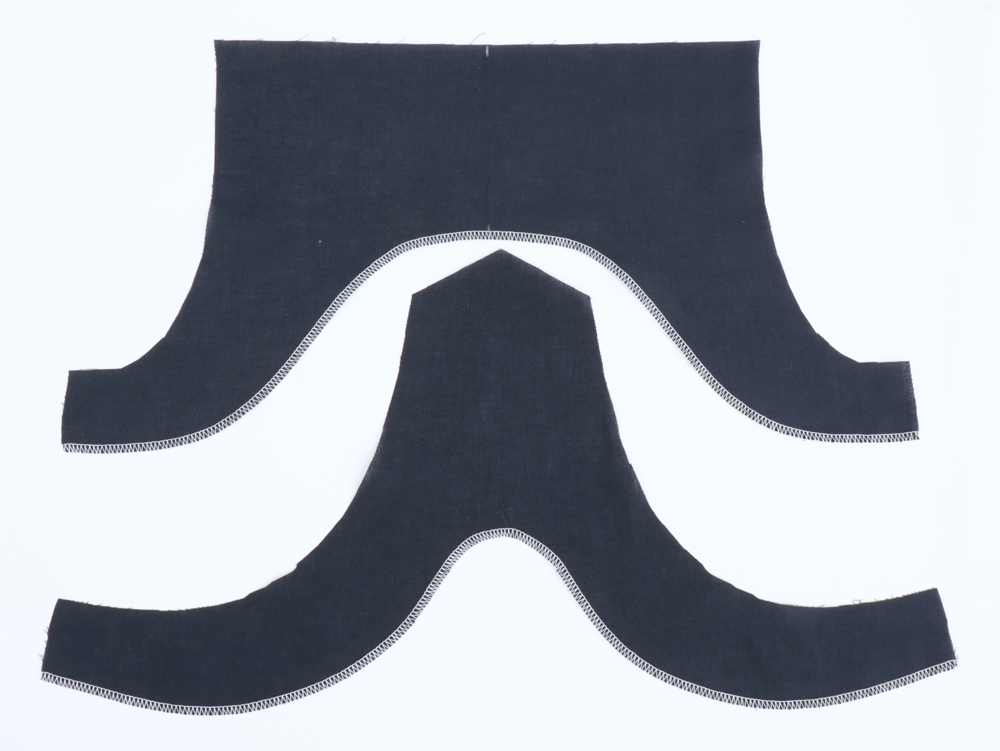
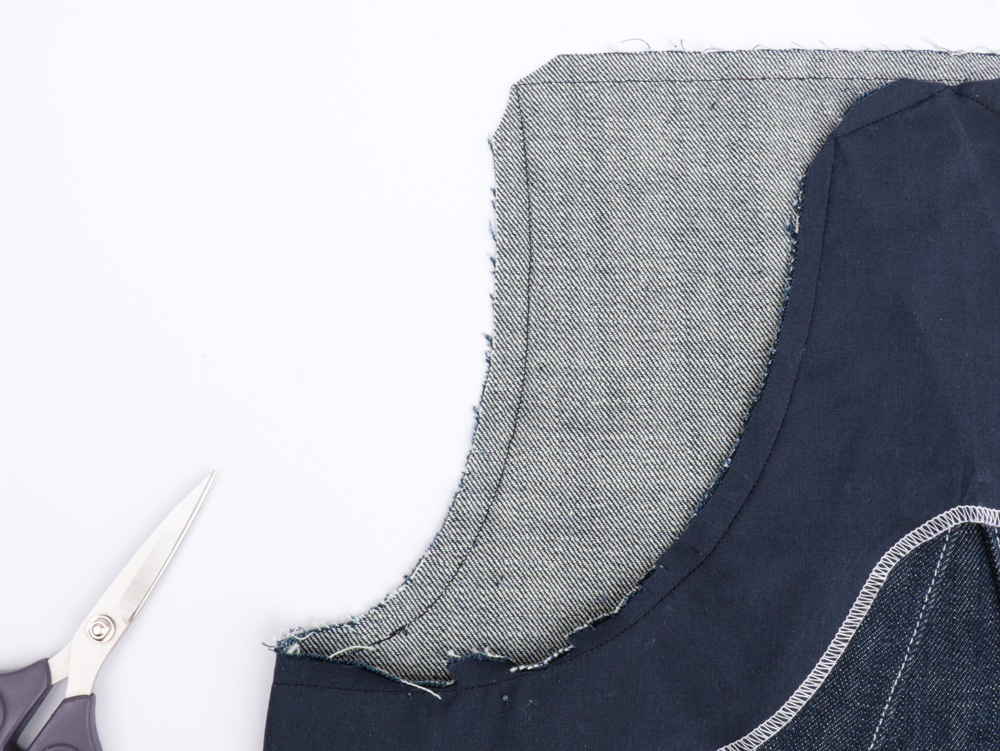
With right sides together, pin and sew the bib front and back (J) together at the sides.
Finish the seam allowance together and press to the back.
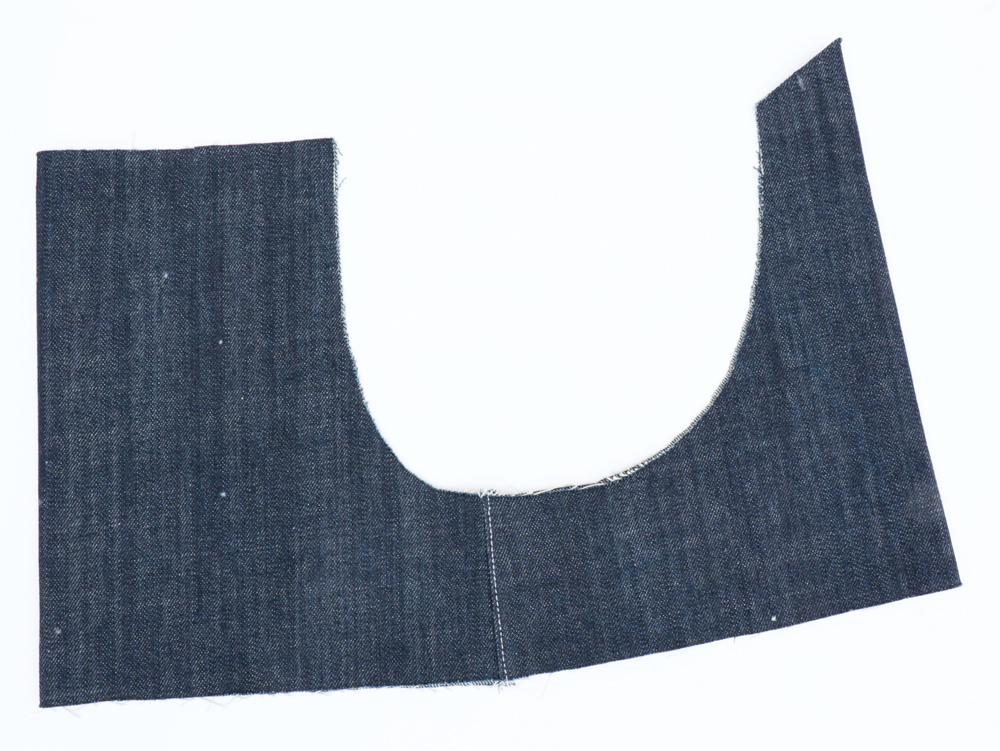
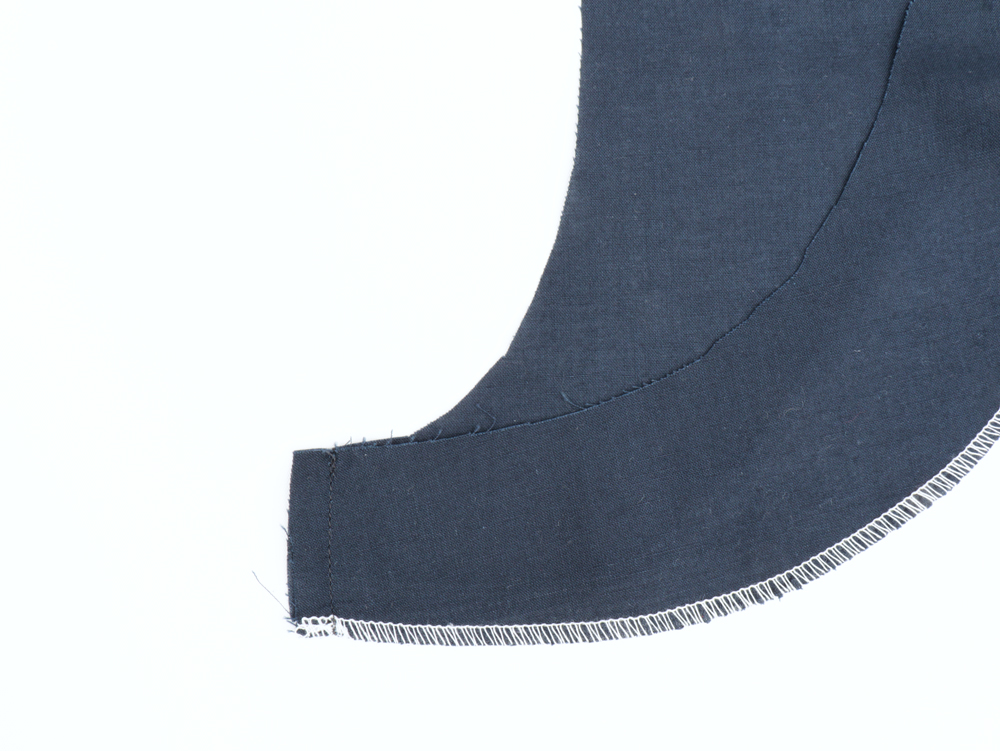
Turn the bib right side out and topstitch the edges at 2 mm.
Serge the bottom of the front and back bib facings.
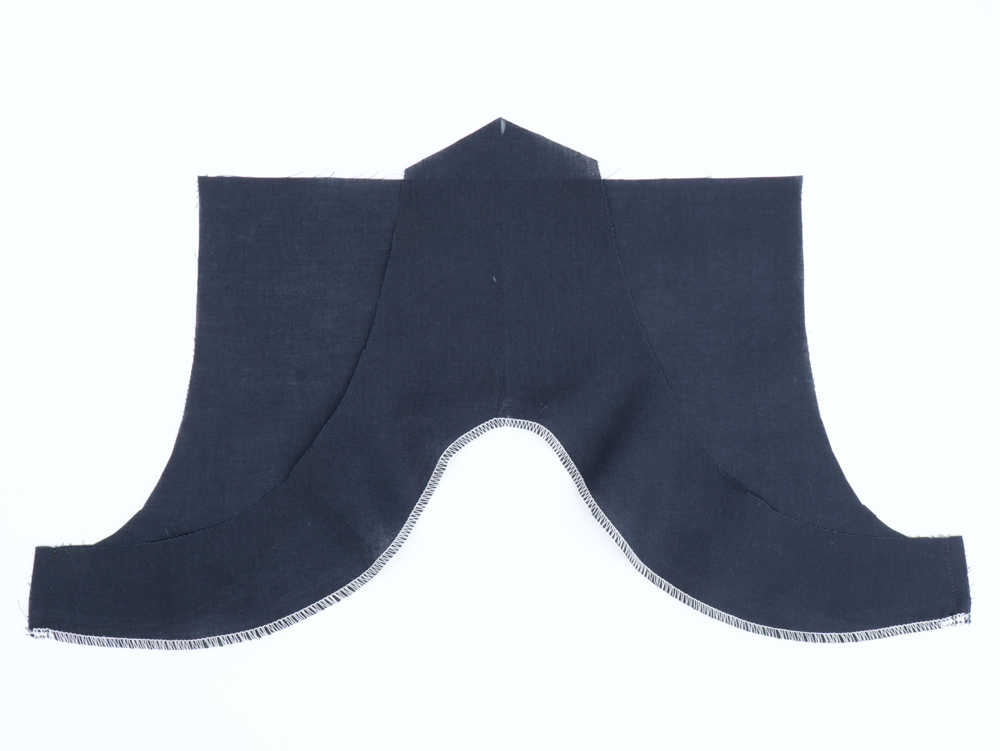
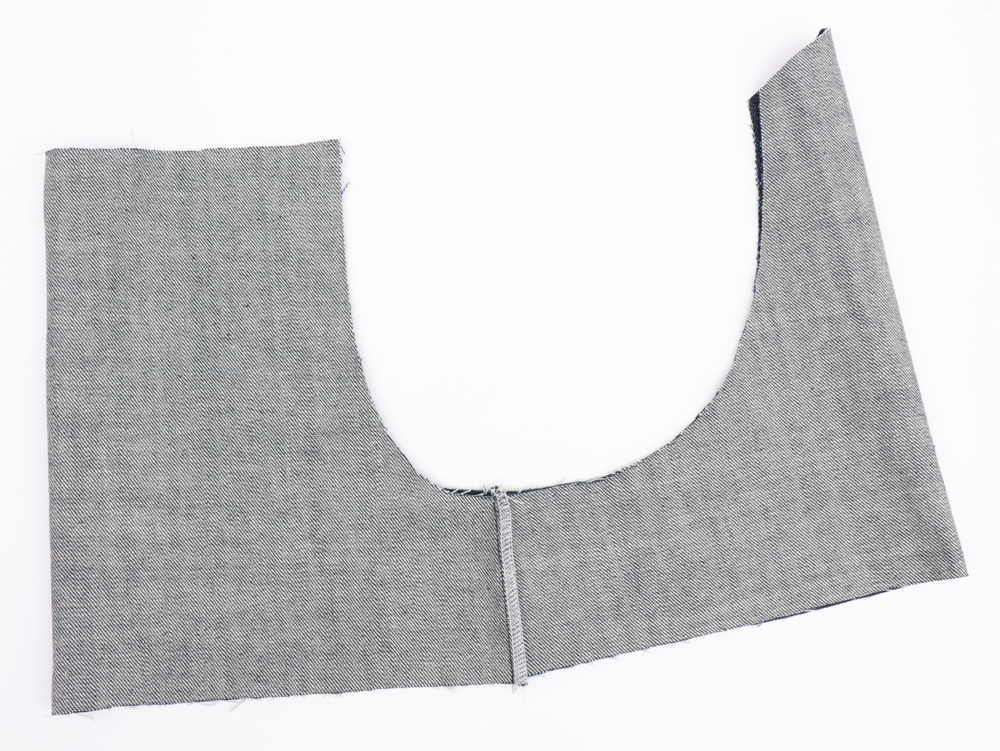
With right sides together, pin and sew the bib facings front and back together at the sides. Press seams towards the front.
The straps: with or without elastics.
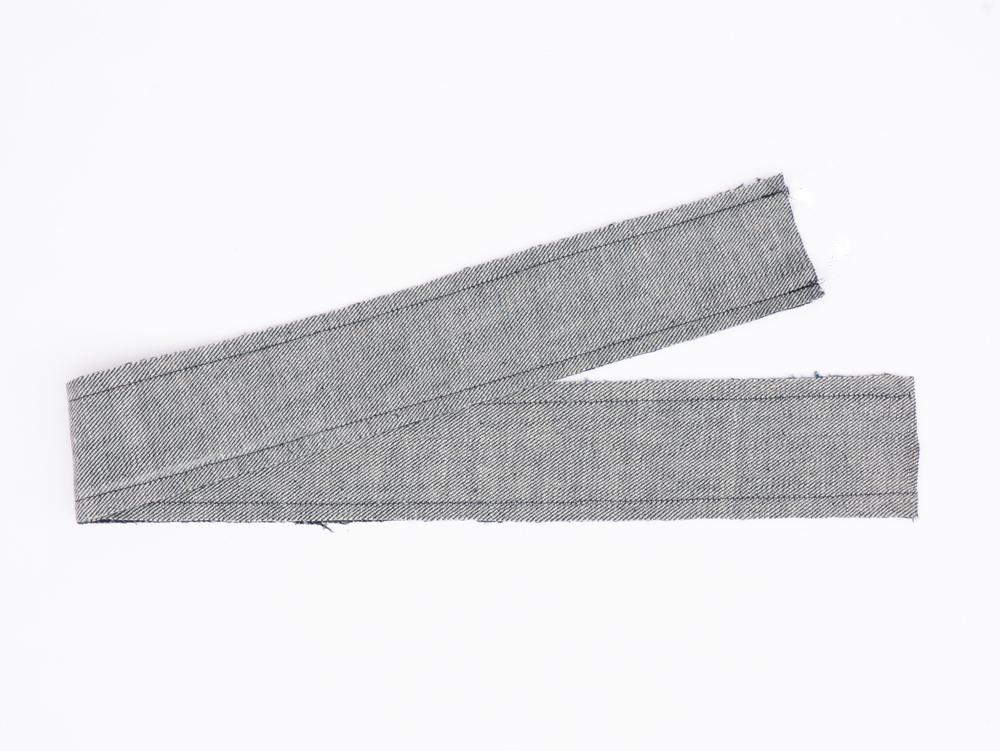
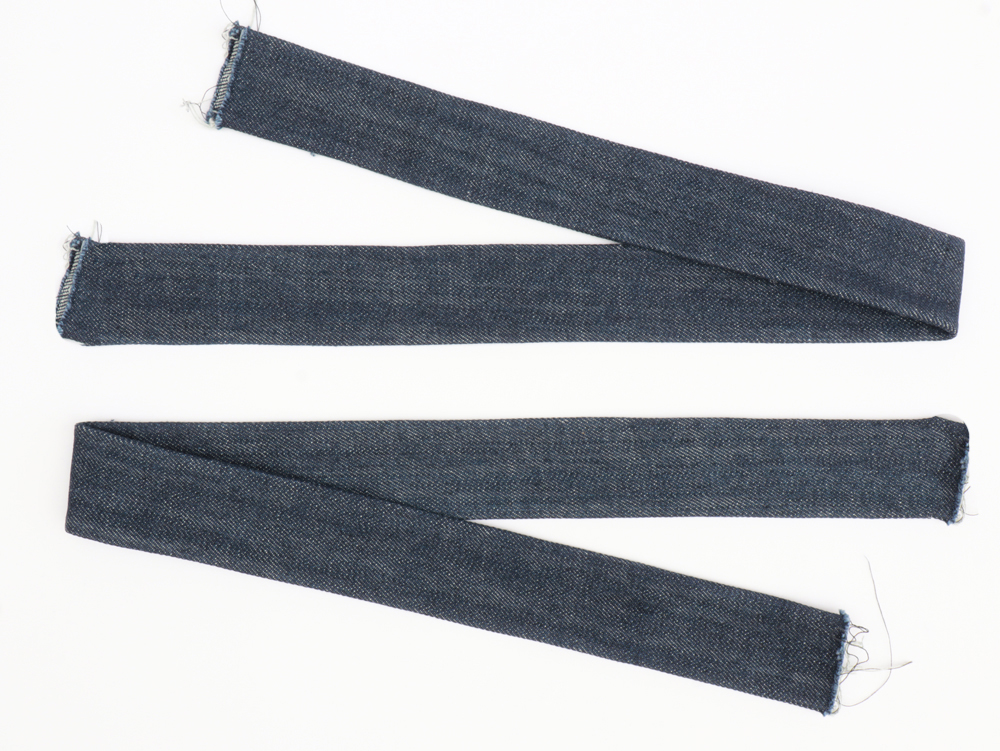
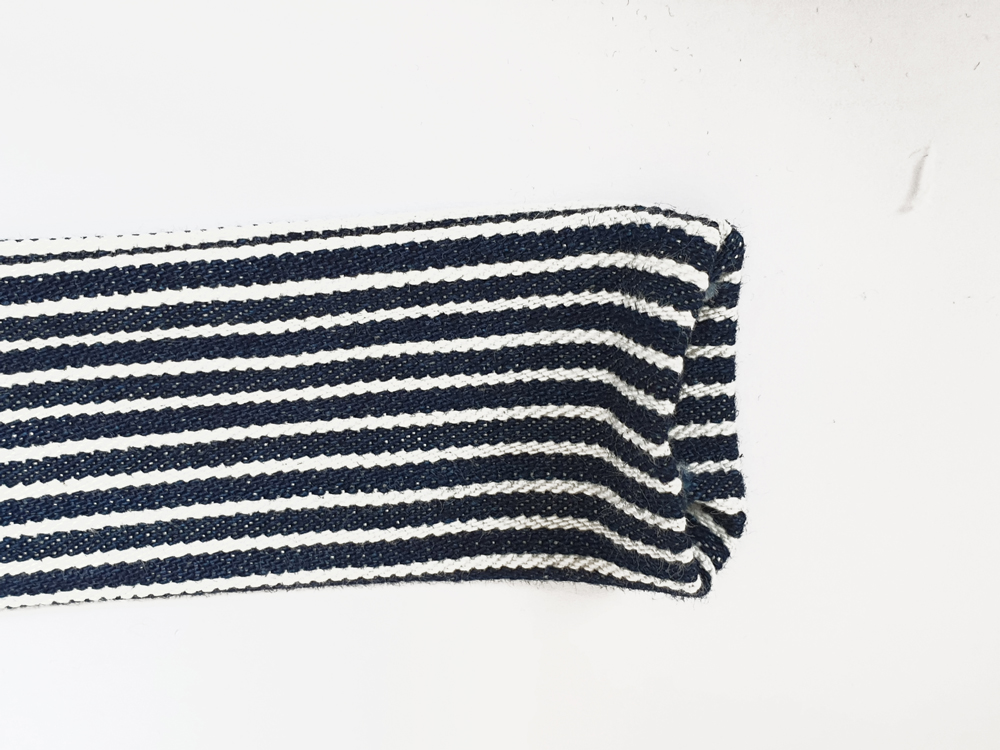
With right sides together, pin the straps (M) and sew the long edges. Trim the seam allowances down to 5 mm. Turn straps right side out and press.
The straps: Elastics option.
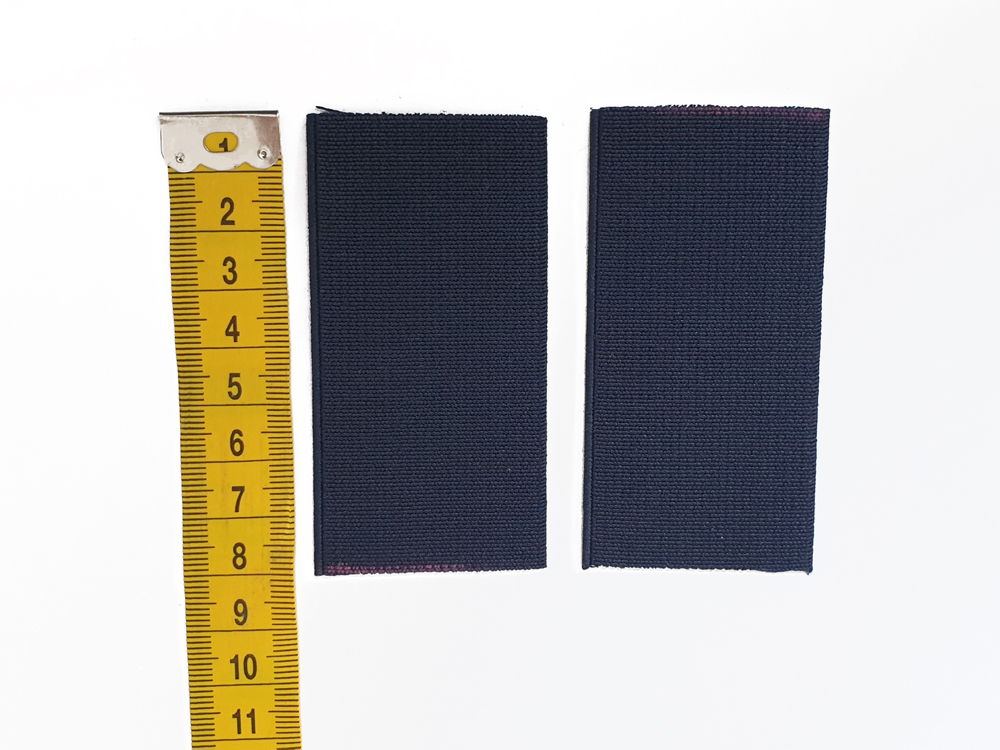
Cut a piece of 4 cm elastic, 8 cm long.
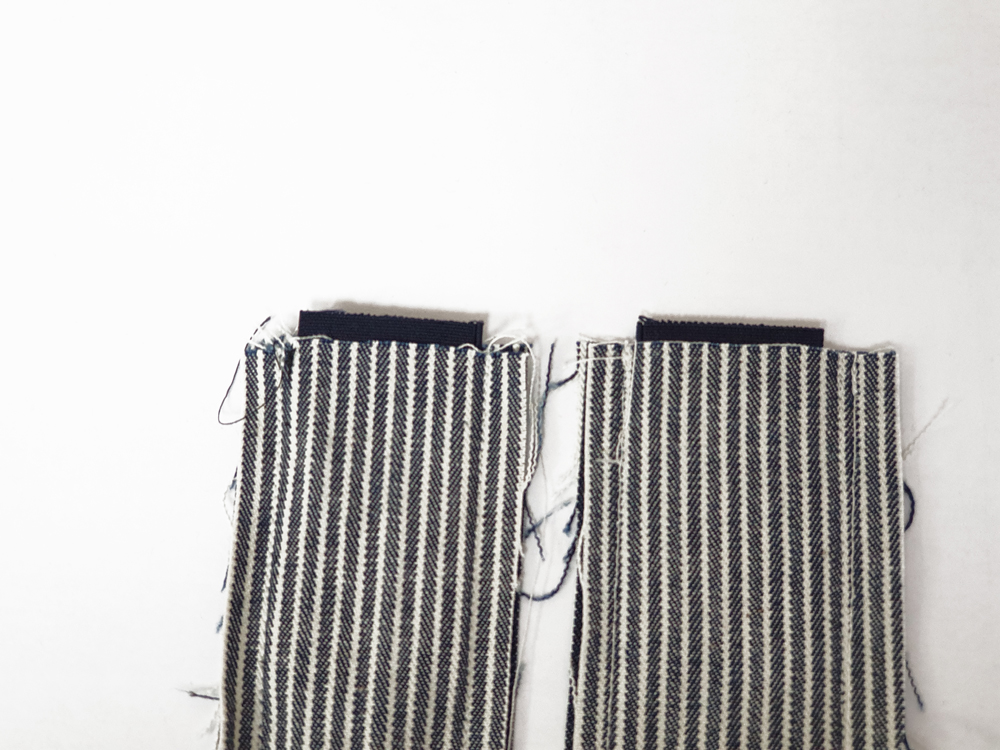
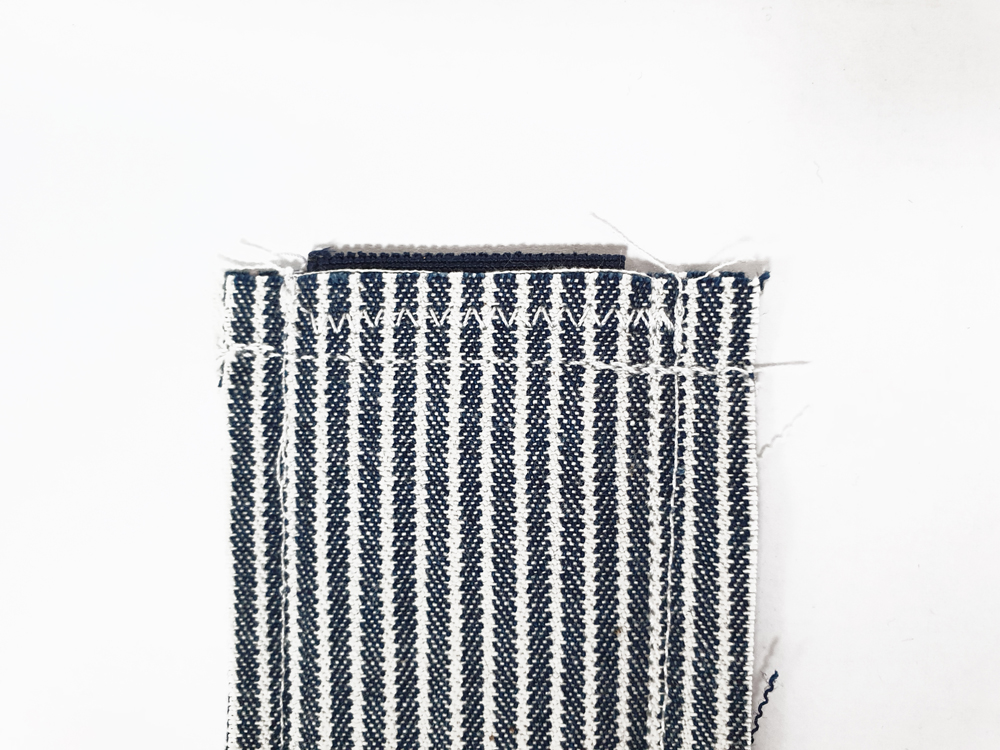
Insert the elastic in the strap. Sew the short edge of the strap with the elastic, 1 cm from the edge. To reinforce this seam, sew a row of zigzag stitches within the seam allowance.
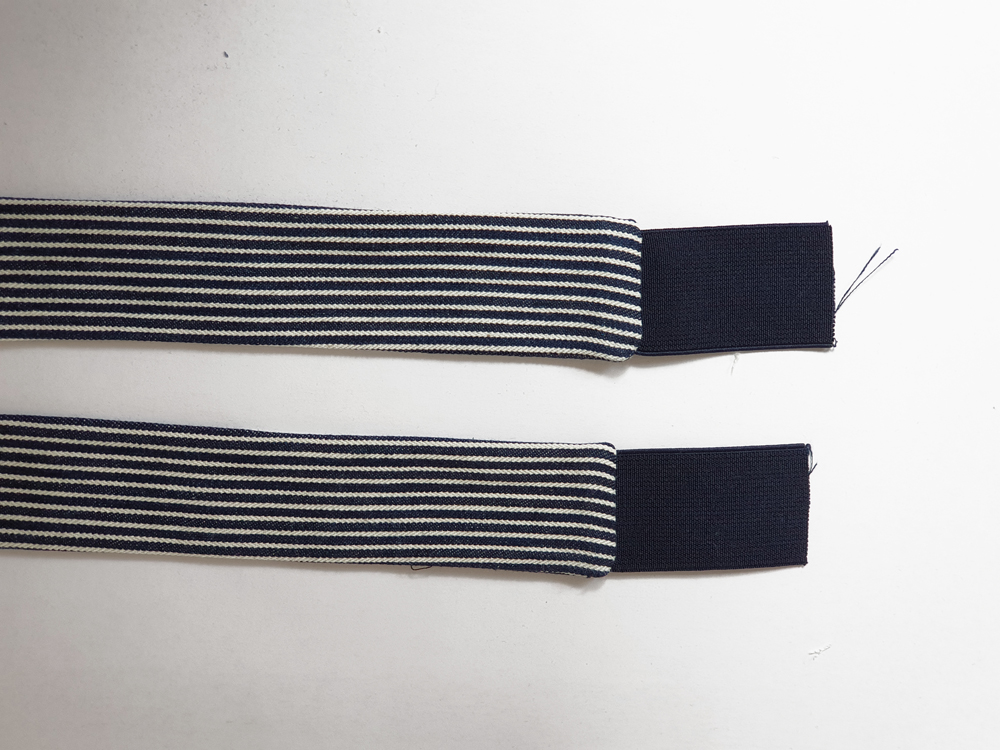
Turn straps right side out and press.
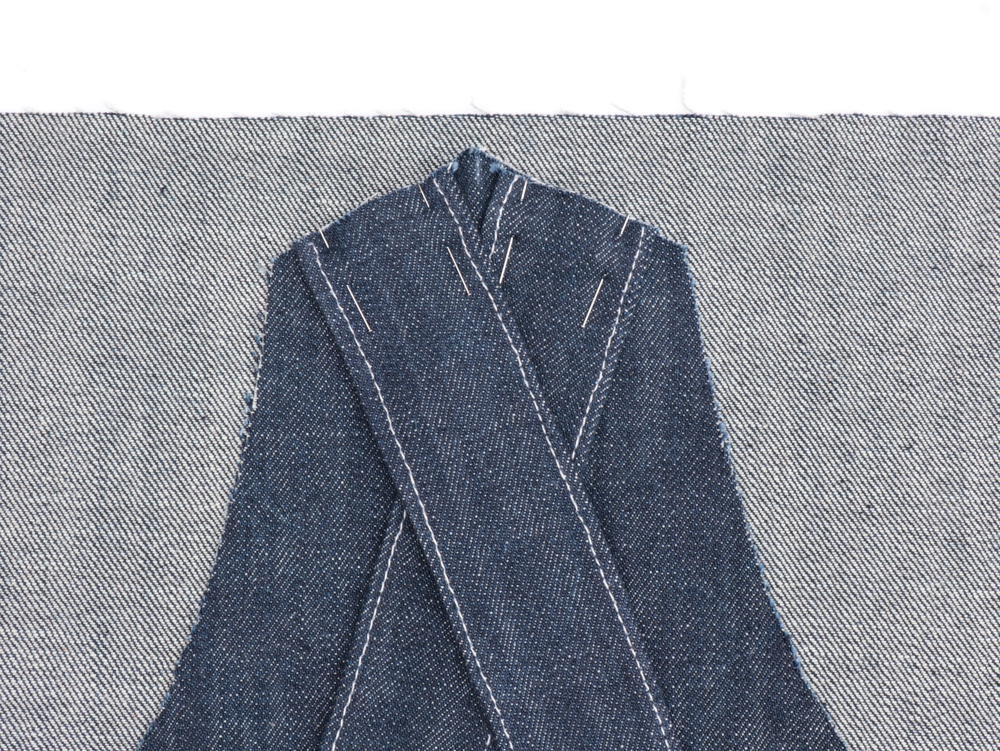
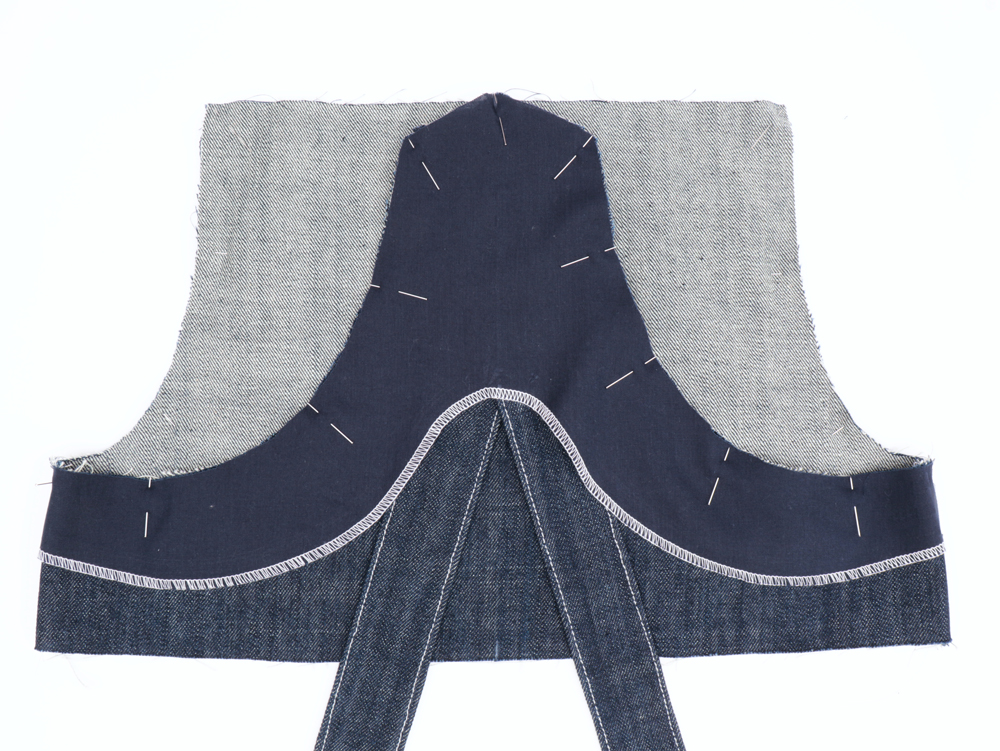
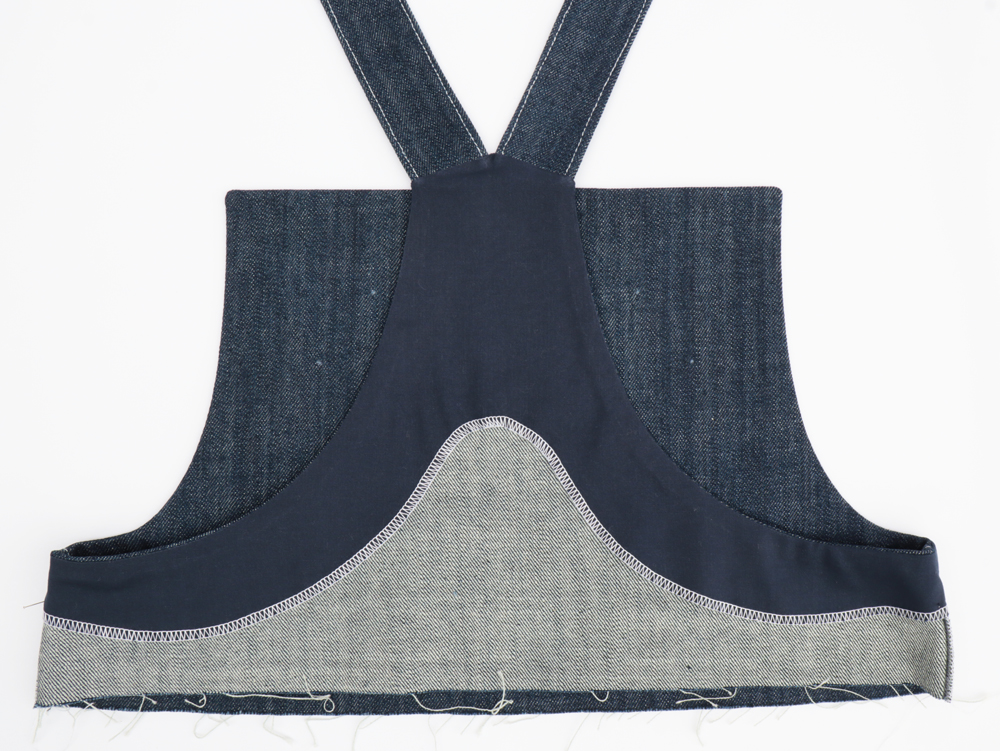
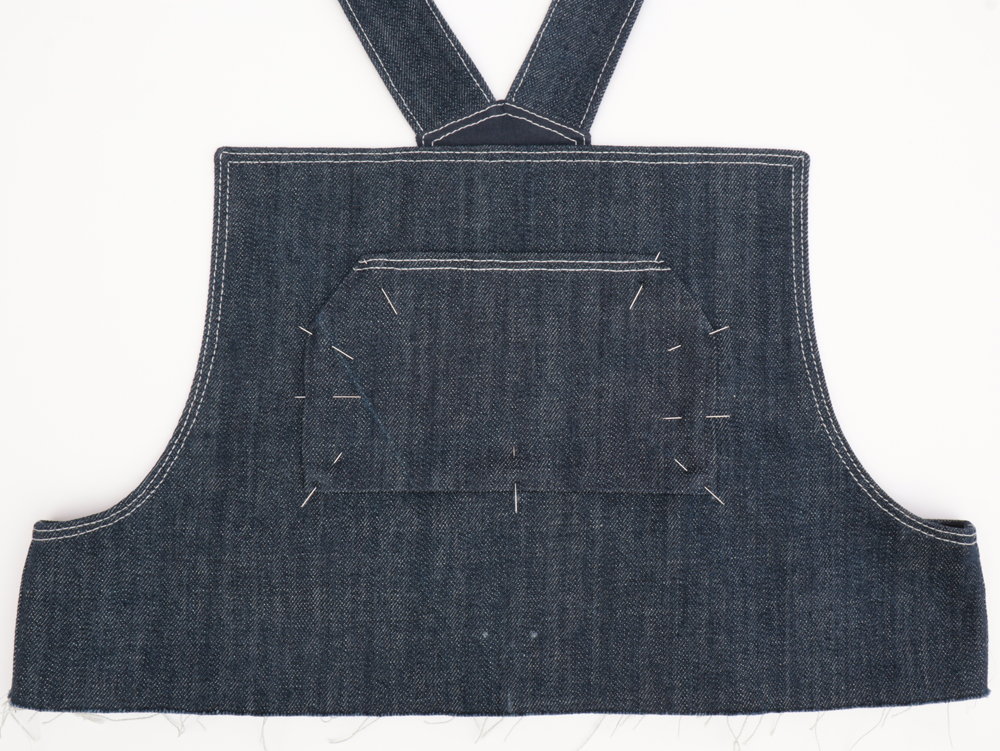
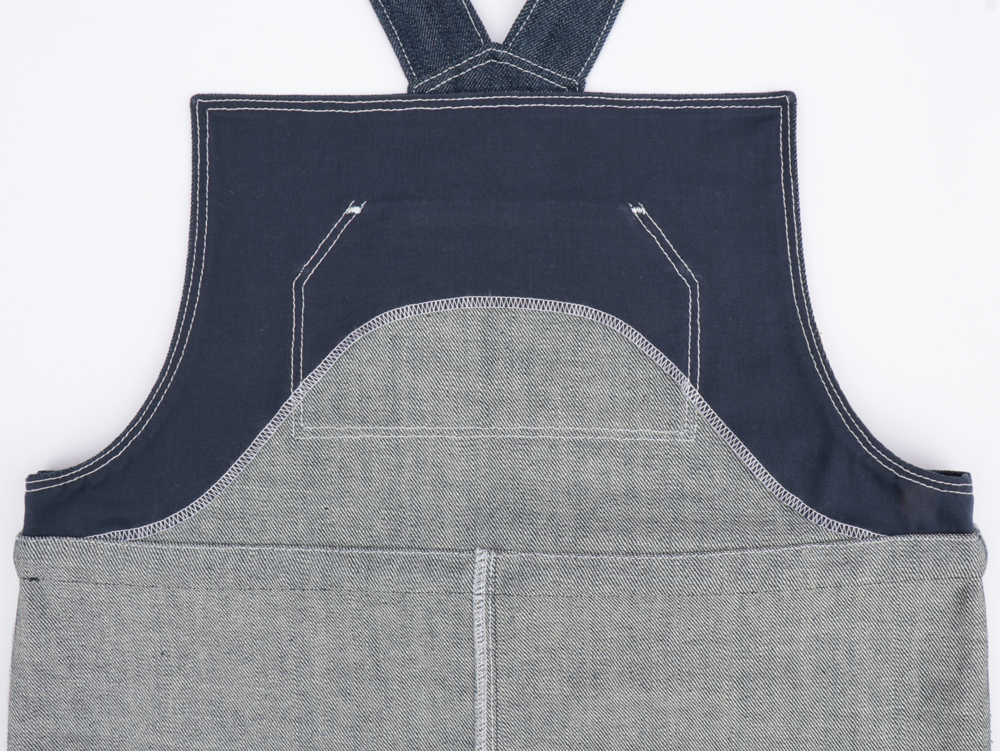
With right sides together, pin the bib facing to the outer bib. Insert the straps at the back. They will be sandwiched in between the bib and bib facing, with the elastic of the strap against the back bib.
NOTE: the straps are already topstitched on this pictures but I recommend doing it at the very end.
Before sewing, make sure that the straps line up with the angle of the back facing. Pin well to ensure that the straps don’t move while you are sewing. Sew all the way around the bib.
Clip the curves and trim the corners.
Turn right side out and press well.
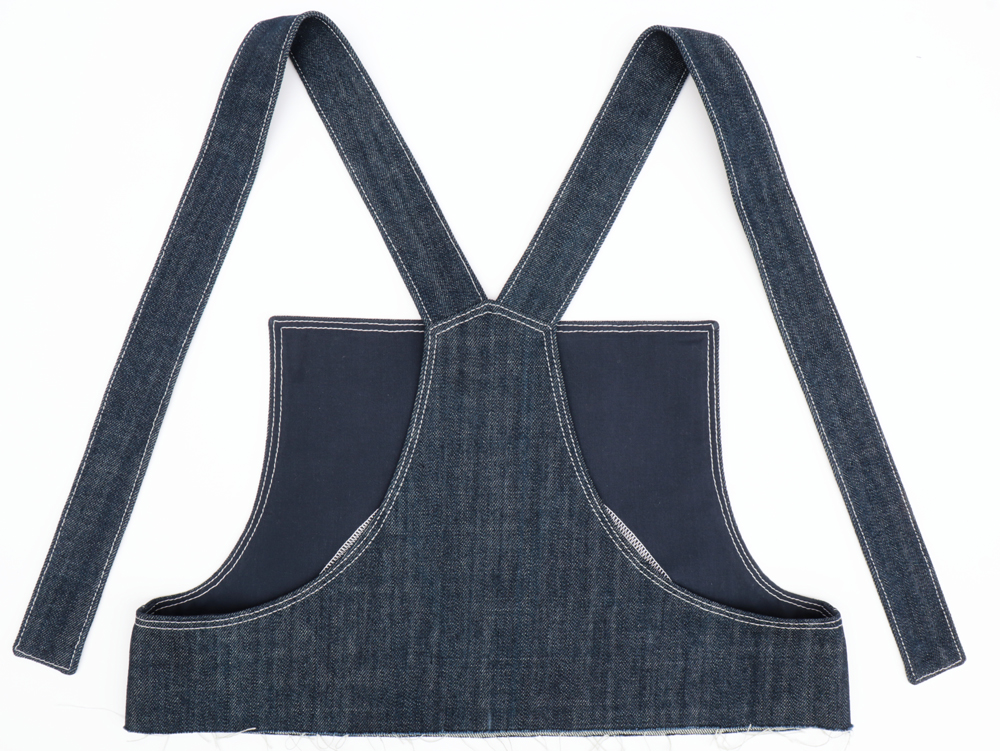
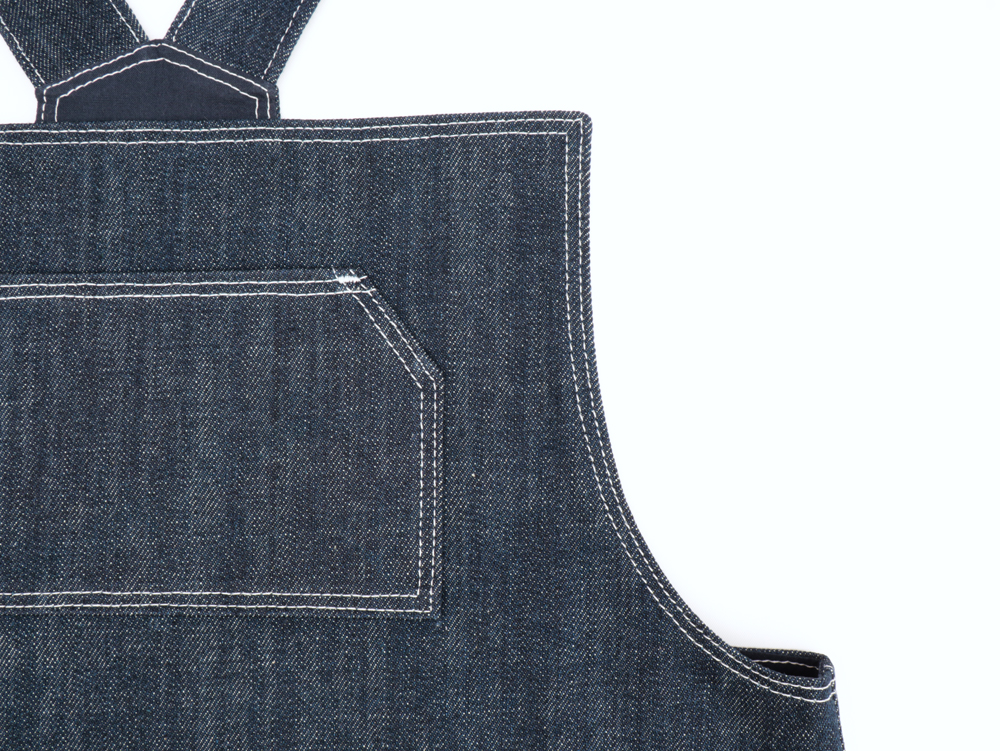
Topstitch around the front and back bib. The first row of top stitching should be 2 mm from the edge and the second row of top stitching should be 4 mm from the first row.
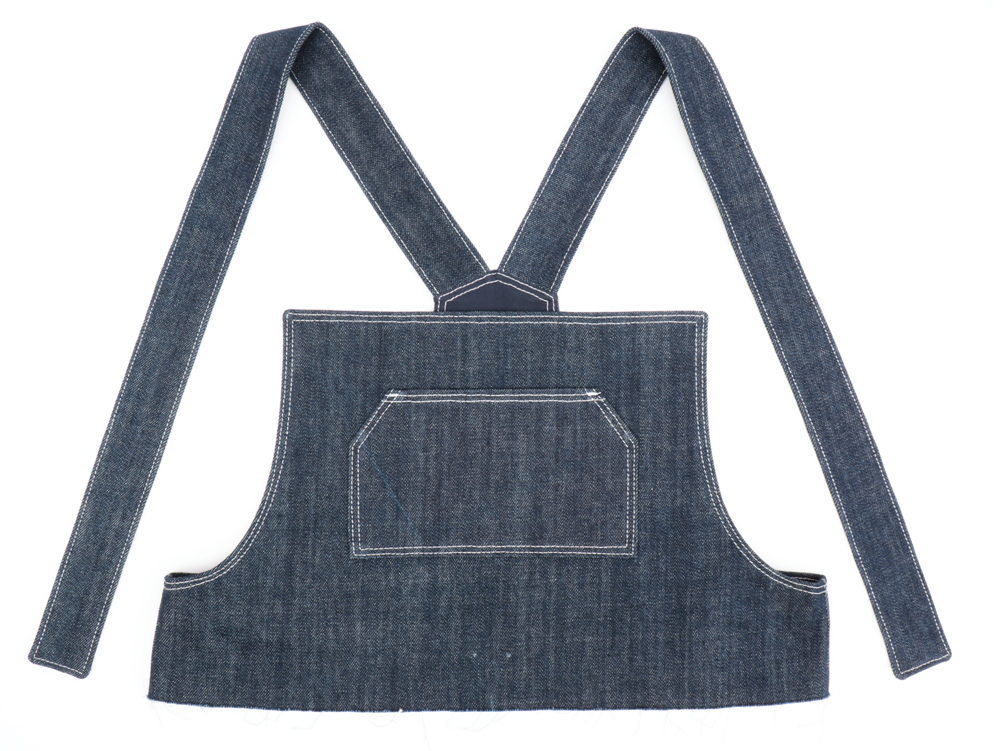
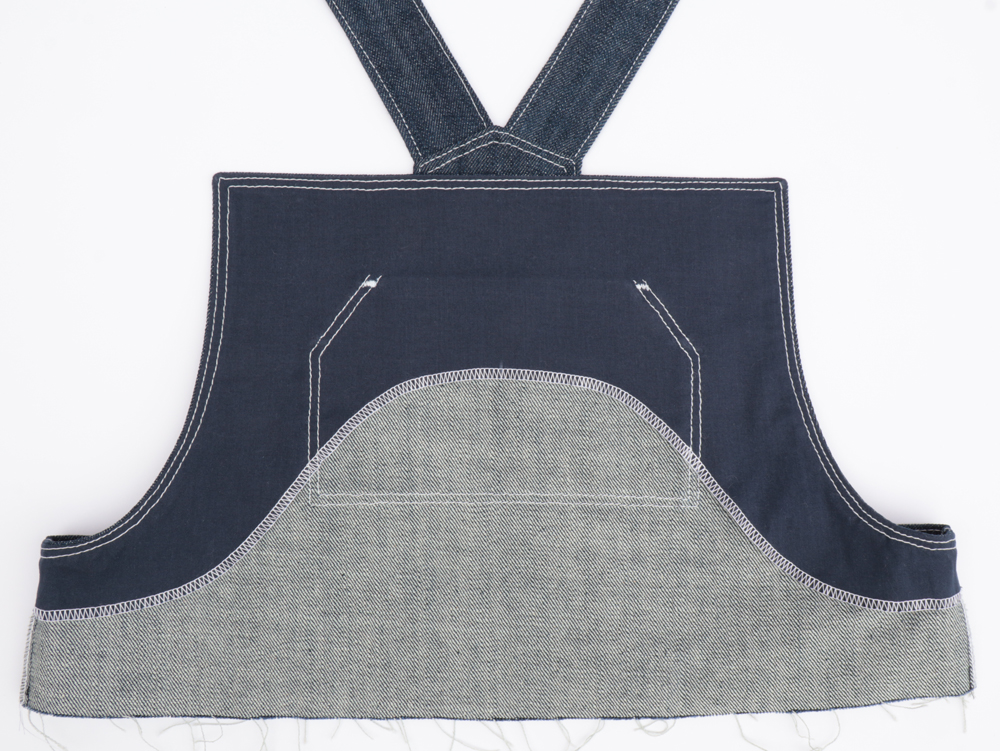
Pin the pocket to the front bib, matching up the markings. Topstitch around the pocket by making a first row 2 mm from the edge then a second row 4 mm below the first. The pocket will help keep the bib facing in place. Reinforce the top of the pocket with a tight zigzag stitch.
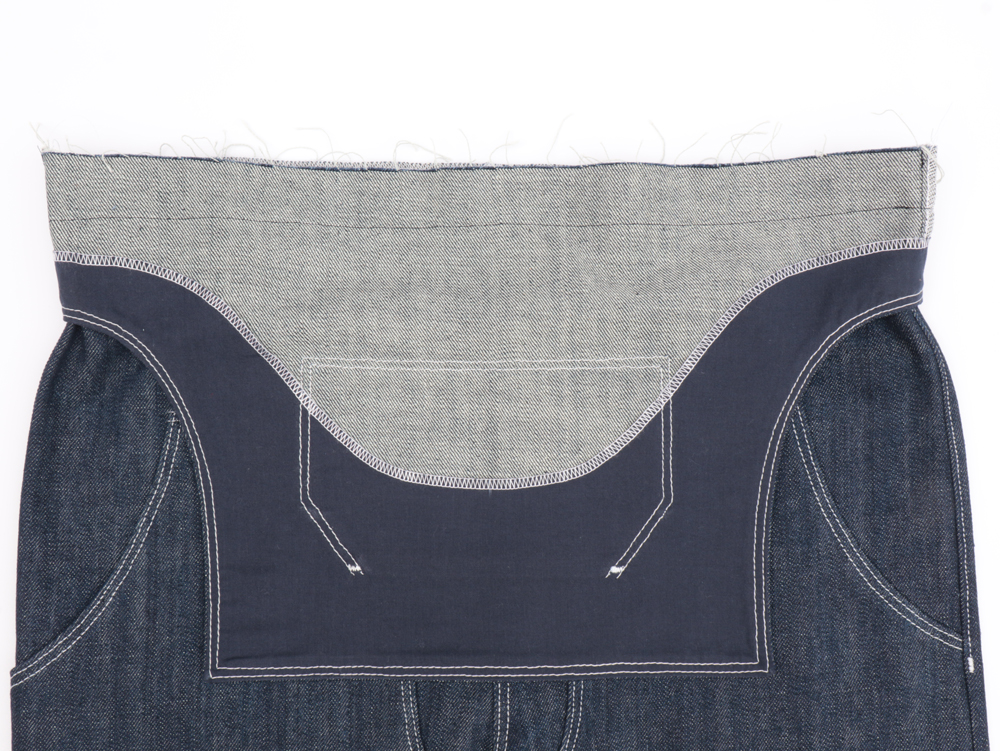
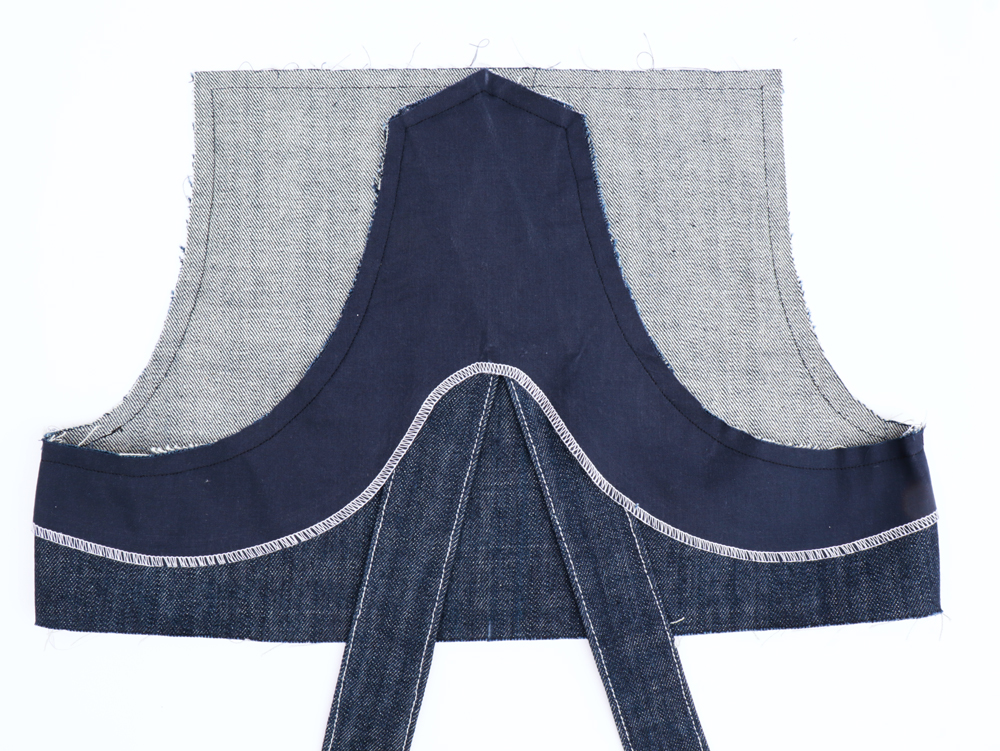
Turn the bib inside out. Place the pants inside of the bib (the right sides should be together), matching up the side seams. Pin and sew with a 3 cm seam allowance.

Trim the seam allowance of the bib to 5 mm.
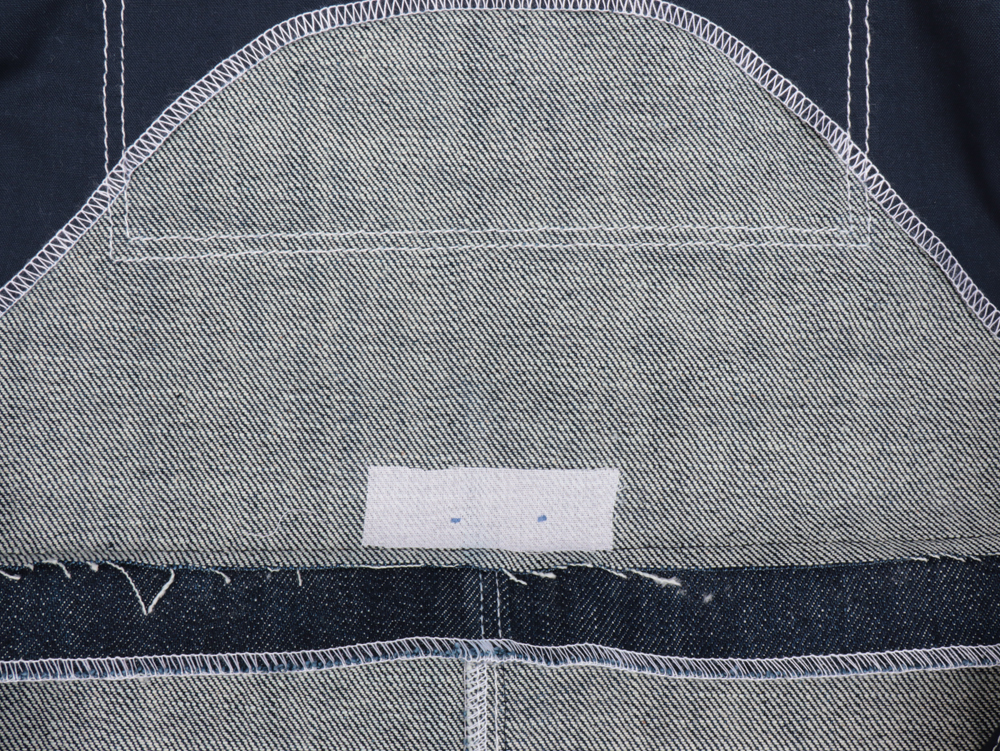
Place a small square of fusible interfacing on the front bib at the location of the eyelets.
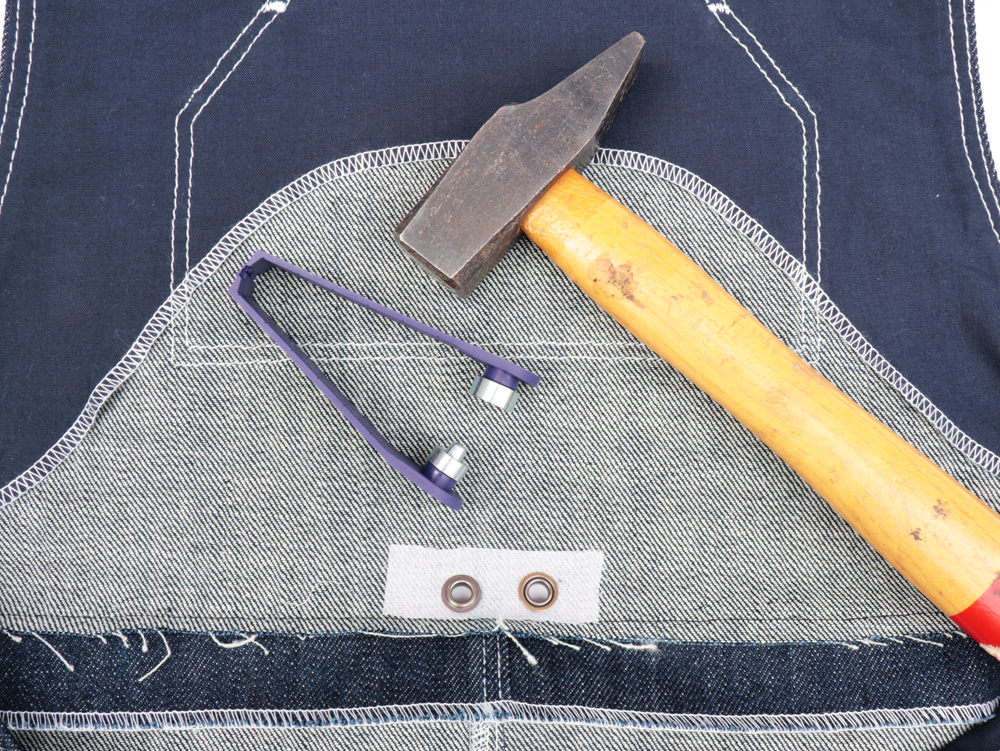
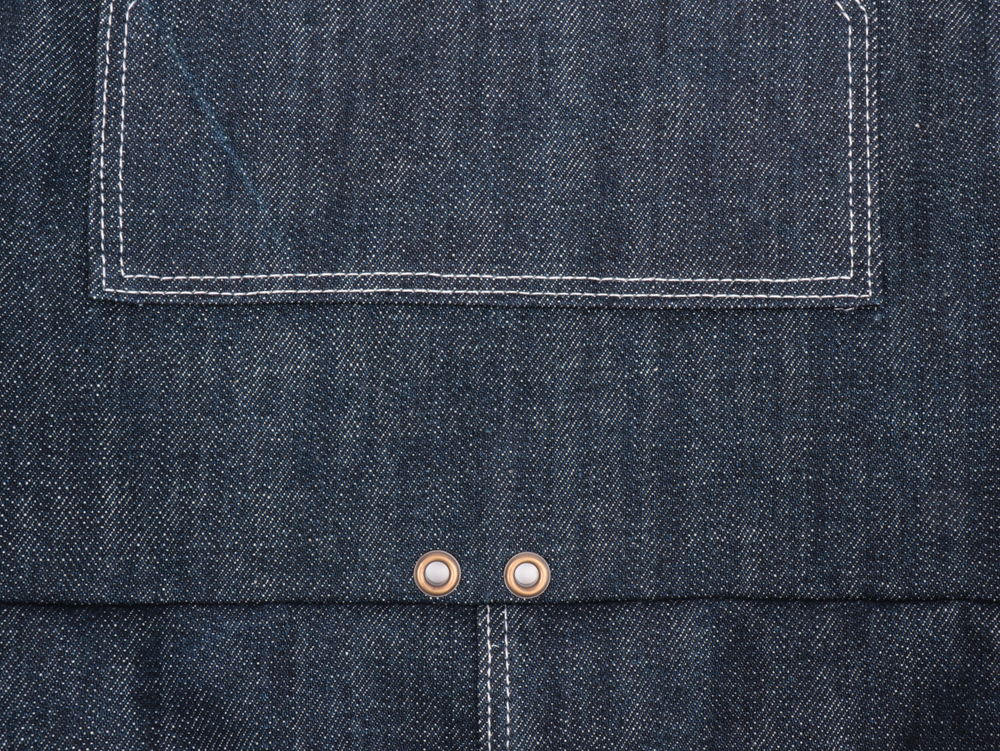
Insert the eyelets on the bottom of the bib at the eyelet markings.
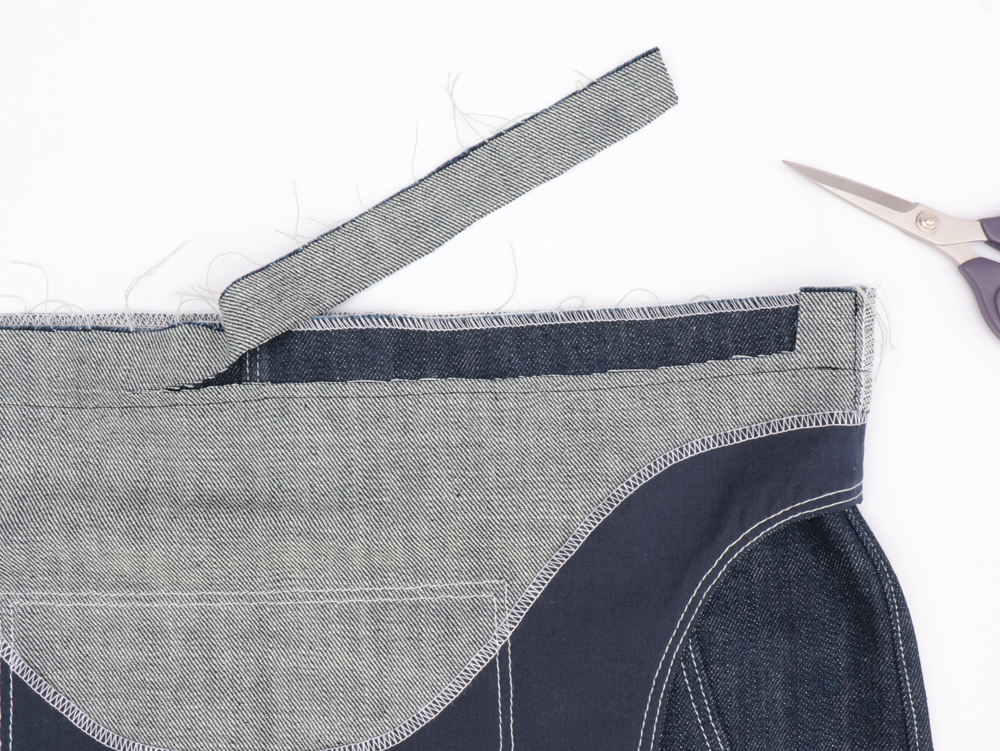
Press the pants seam allowance toward the bib, turn the edge 7 mm towards the front, press. Tuck the sides of the bib facing under the seam allowance. Topstitch the seam allowance in place to create the casing.
NOTE: Depending on your fabric thickness you can follow the instruction above and hide the edge inside the casing or follow the sewing pattern instruction and leave the serge edge visible. I recommend following the PDF pattern instruction if you are using a thick denim not to add bulk around your waist.
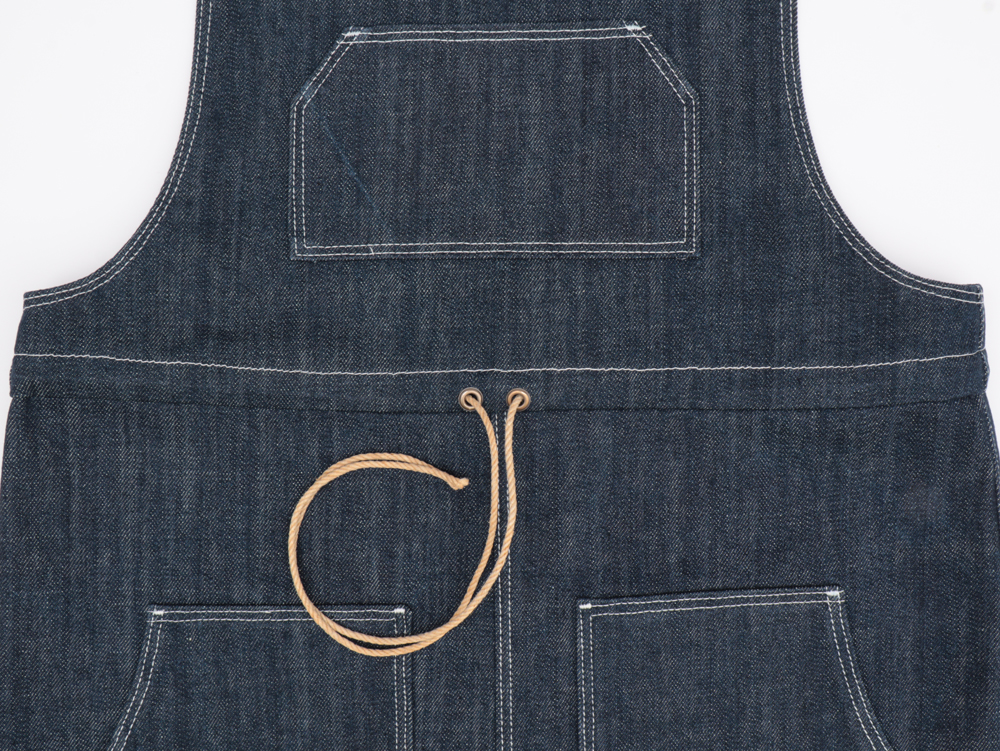
Insert the cord in the channel through the eyelets using a cord threader. Likewise, you could also insert the cord by removing a few centimeters of stitches directly above the eyelets. Use a safety pin to insert the cord and then stitch closed the opening.
For a tutorial on inserting the cord without removing any stitches, click the link below
https://www.youtube.com/watch?v=Rs_hOCGMY2Y
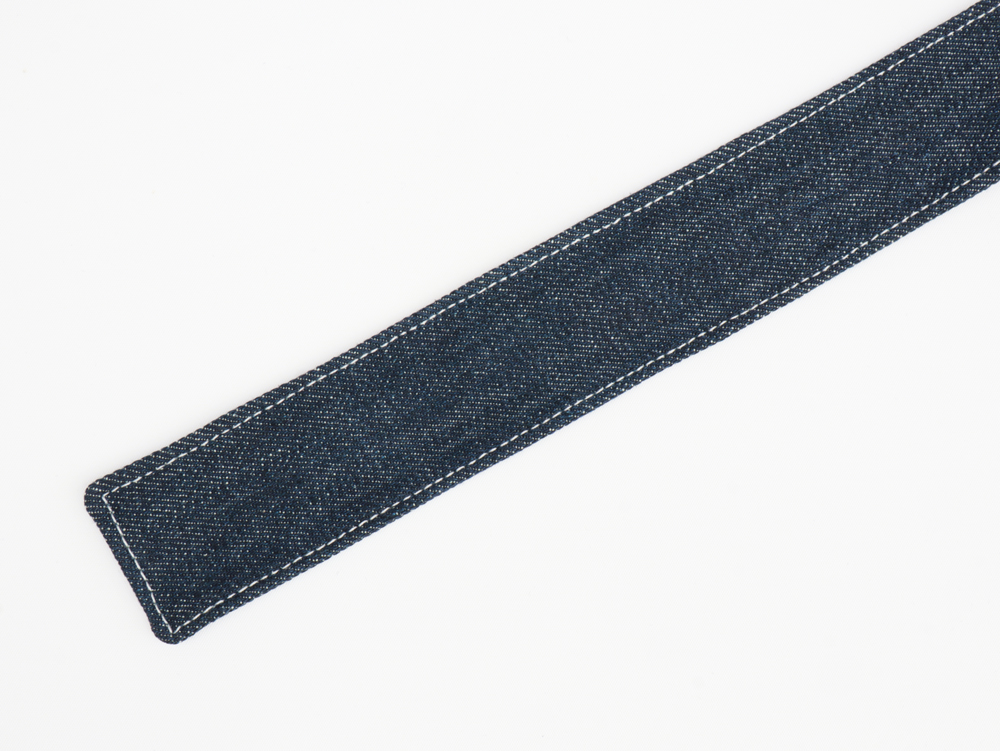
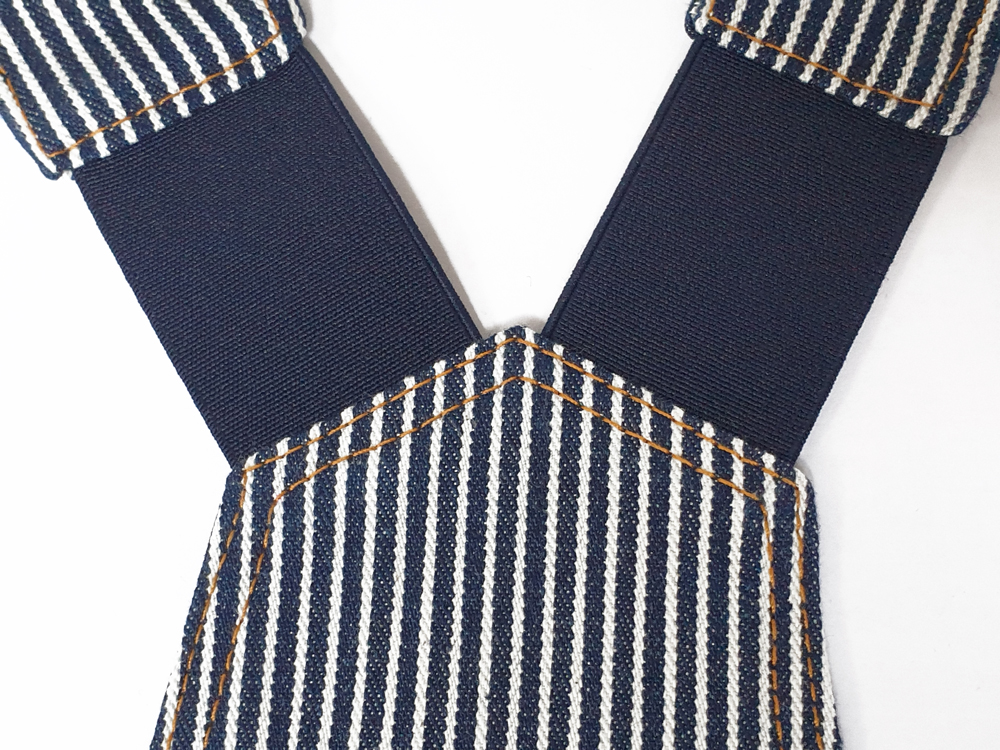
Try on the overalls to make sure you like the length of the straps. Trim the straps if necessary. When you like the length of the strap, fold up the raw edge of the strap by 1 cm, press and topstitch all the way around the strap 2 mm from the edges.
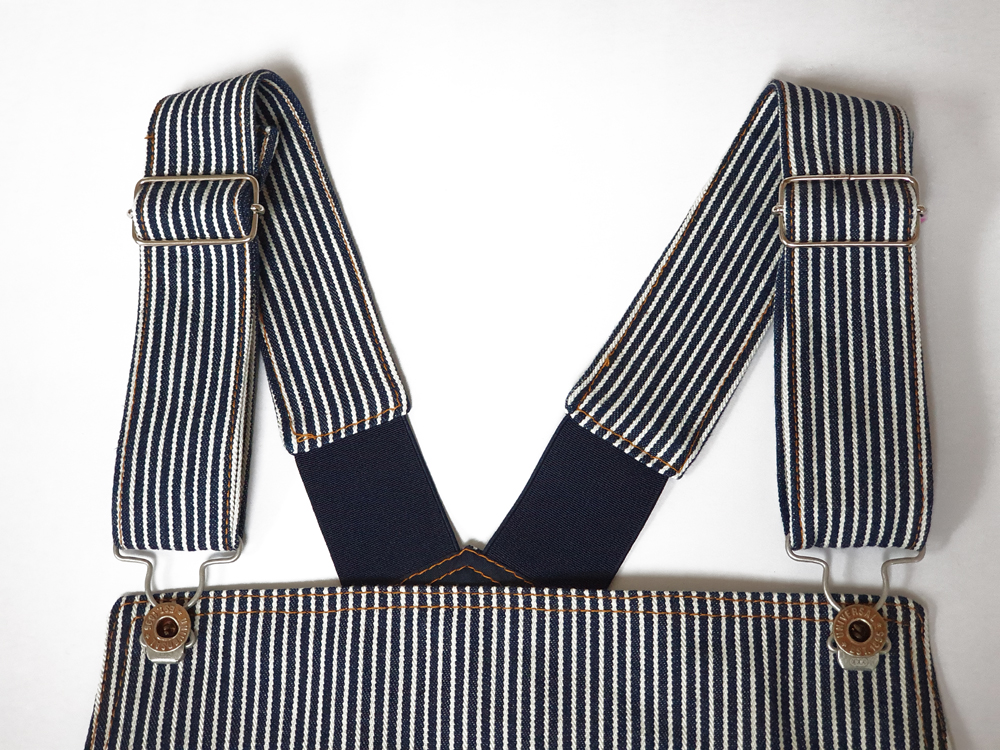
Install the suspender hardware (buckles, adjustable sliders and buttons).
Install the cord ends.
Remember to topstitch the side seams of the pants if you haven't done it beforehand.
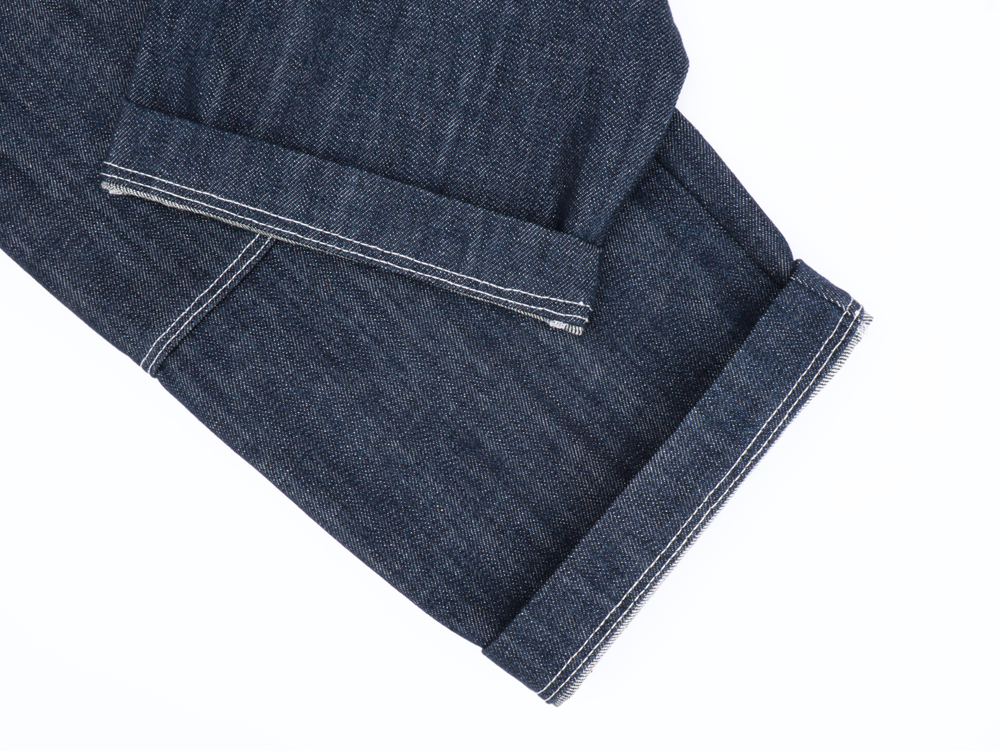
The pant leg can be rolled up or not.
Try them on to see what works best for you!
![]()
Voilà! Enjoy your new overalls and share your picture with #partnerreadytosew on Instagram !
![]()
Comments
No comment at this time!
Leave your comment