Sew along, the Pio pants

EDIT: The Pio sewing pattern was updated on 07/07/2022 at 3:20 p.m. If you purchased the pattern and downloaded the pattern before this date the following sew along is still relevant.
If you bought or downloaded the pattern after this date you can follow the sew along until the assembly of the waistband only.
Changes to the Pio pants sewing pattern: The waistband is no longer attached, it is now integrated into the pants rise. The waistline has been lowered by 5 mm for the front and back and deepened by 15 more mm in the center front (5 mm more for the center front for the range 2). The leg has been lengthened by 2 cm. The back pocket widened by 8 mm.
![]()
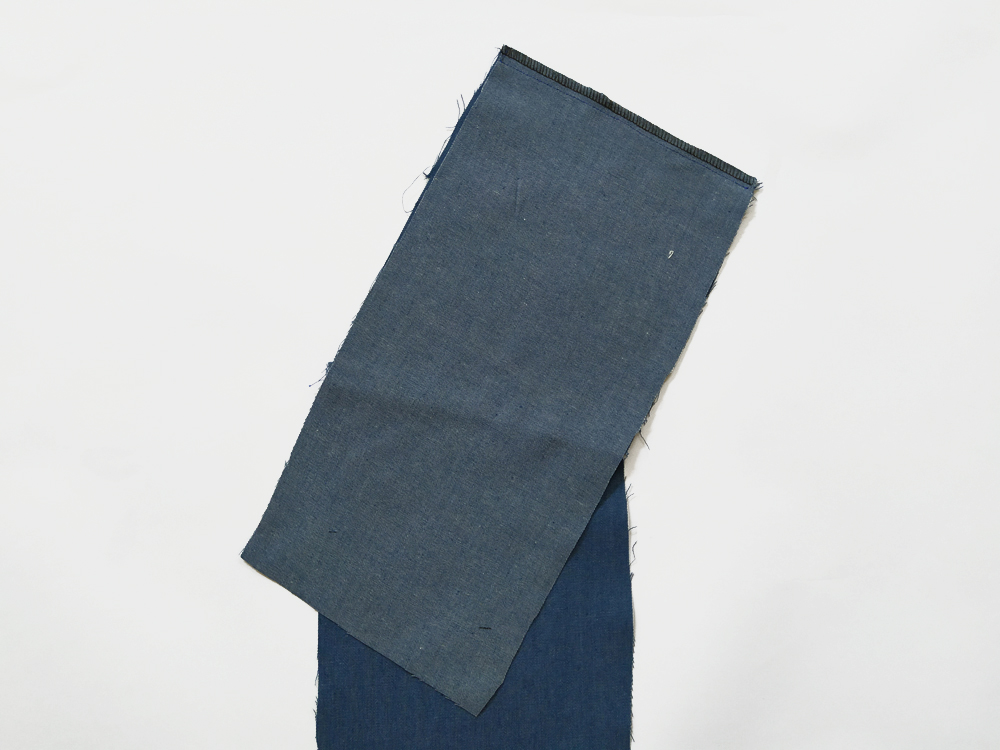
Sew along with us as we walk you through making the Pio pants! You will notice that the sew along can differ from the sewing instructions included with the pattern. First you’re going to need to gather the supplies you’ll need to sew a perfect Pio!
![]()
Supplies:
- Fabric (for the fabric head back to the instructions to know what kind of fabric you need and the yardage)
- 1 bobbin of regular thread matching the fabric color or 3 if you are using a serger
- 3 cm or 4 cm wide elastic

Let's start
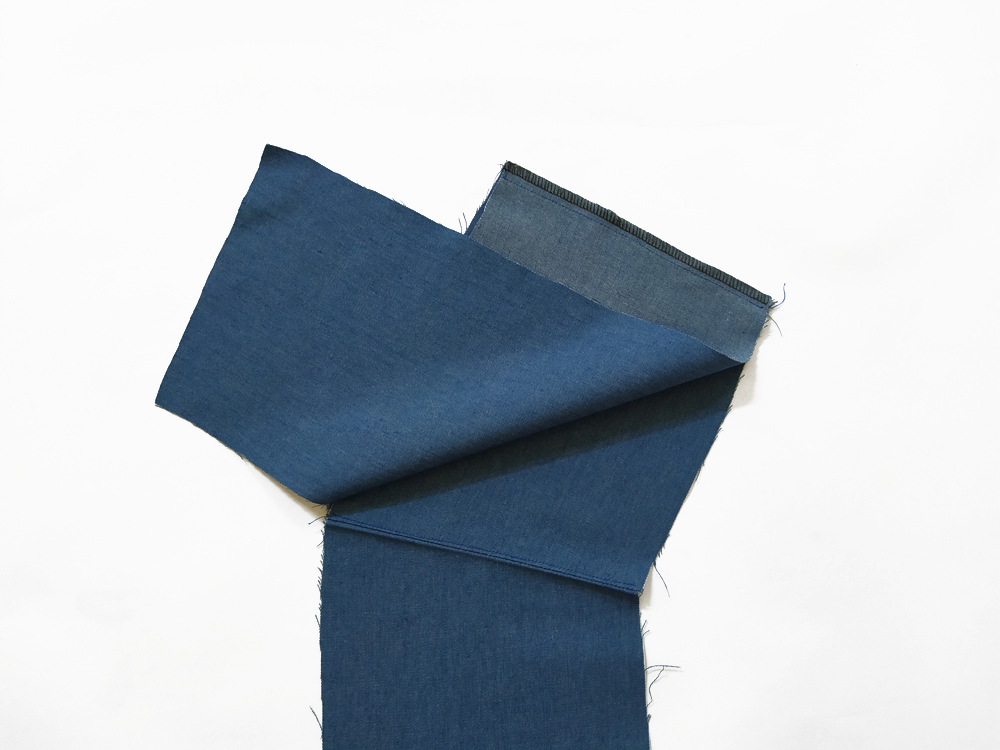
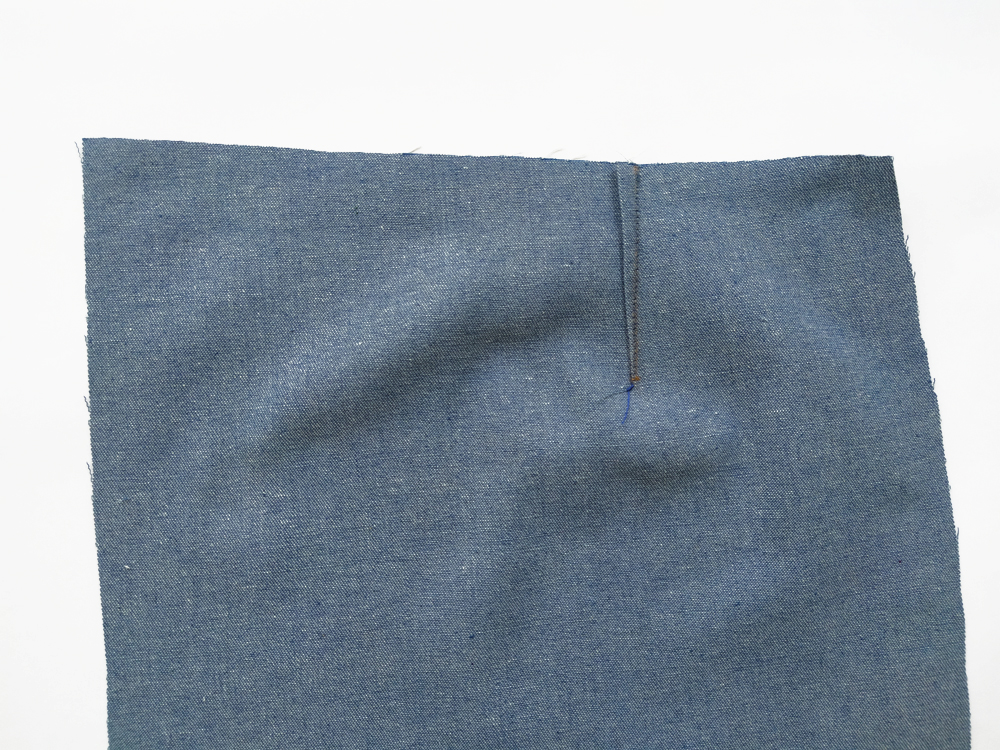 1: To sew the back darts: Mark the dart placement on the wrong side of the fabric with tailor’s chalk or a disappearing ink marking pen. With right sides together, fold along the centerline, matching dart legs. Pin in place. Stitch dart, beginning at the sides and sewing to the dart dart point. Continue sewing past the dart point for a few stitches, without backstitching. Raise your needle, leave a thread chain of at least 30 mm. Tie the chain at the dart point and cut the threads, leaving about 10 mm after the knot. Press towards the center.
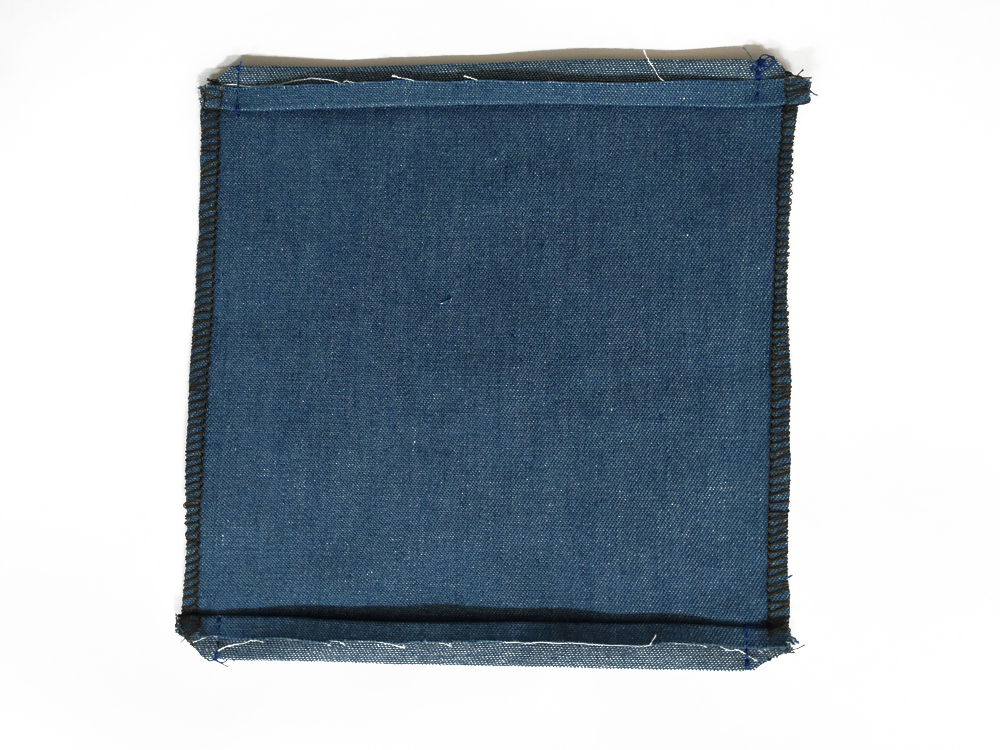
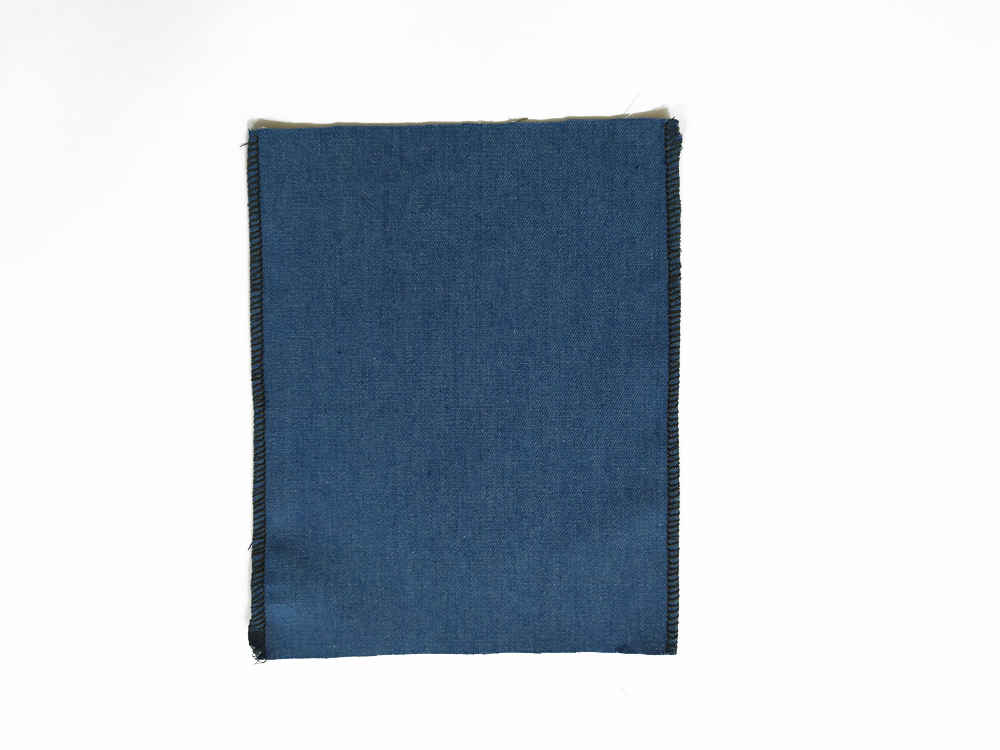 2: Finish the long edges of the patch pockets (B).
 3: Fold the top and bottom edges 5 mm in towards the wrong side of the pocket and press.
 4: Then flip your pocket over so that the right side is facing up and fold the top and bottom edges 10 mm in towards the right side of the pocket and press.
 5: Stitch the folded edges in place along the sides. 10 mm from the row edges.
 6: Clip the corners.
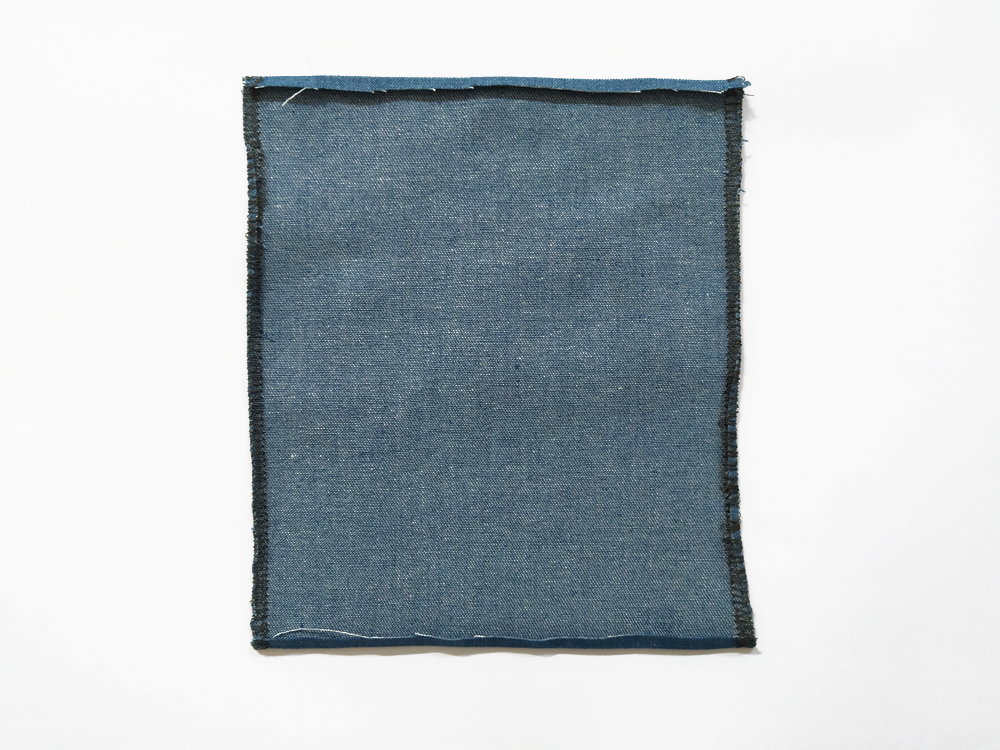
 7: Turn the pocket right side out and press along the top and corners. Then fold the seam allowance of the rest of the pocket under to the wrong side and press.
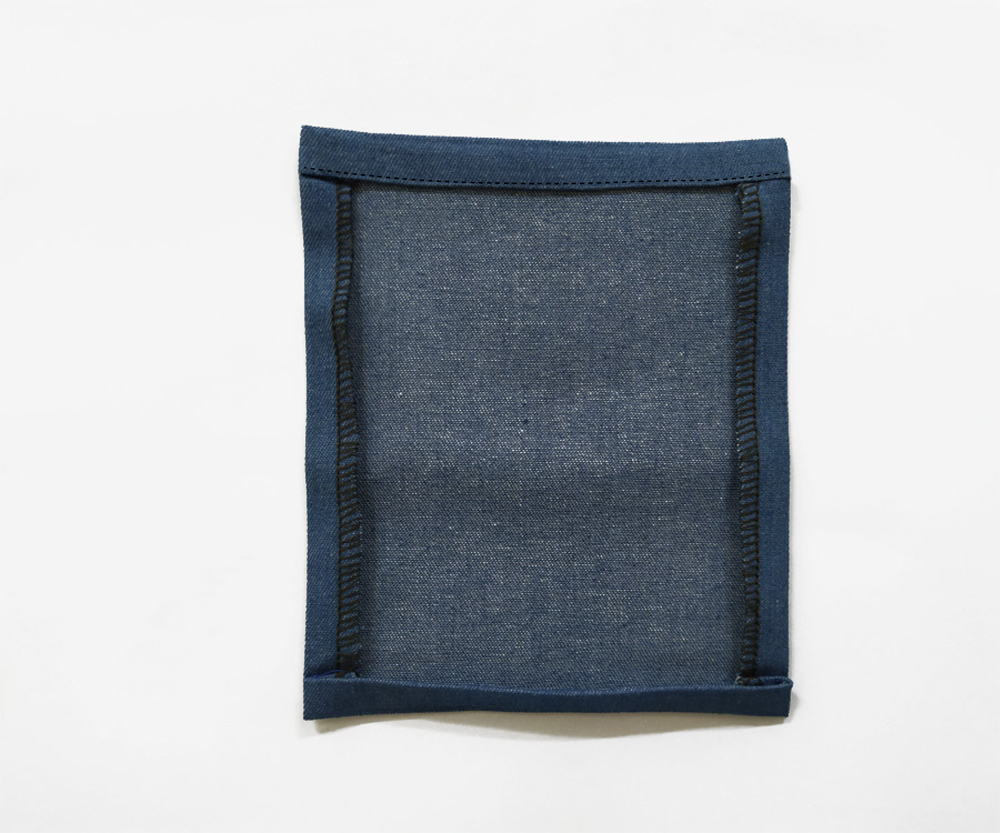 8: Topstitch the top folded edge in place and press.
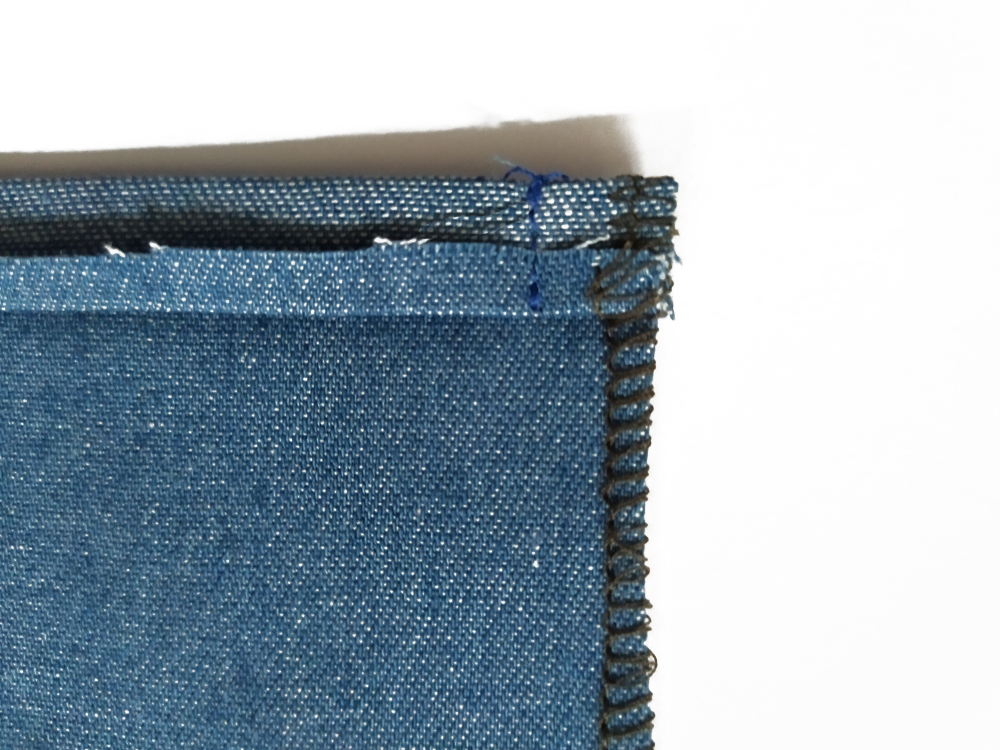
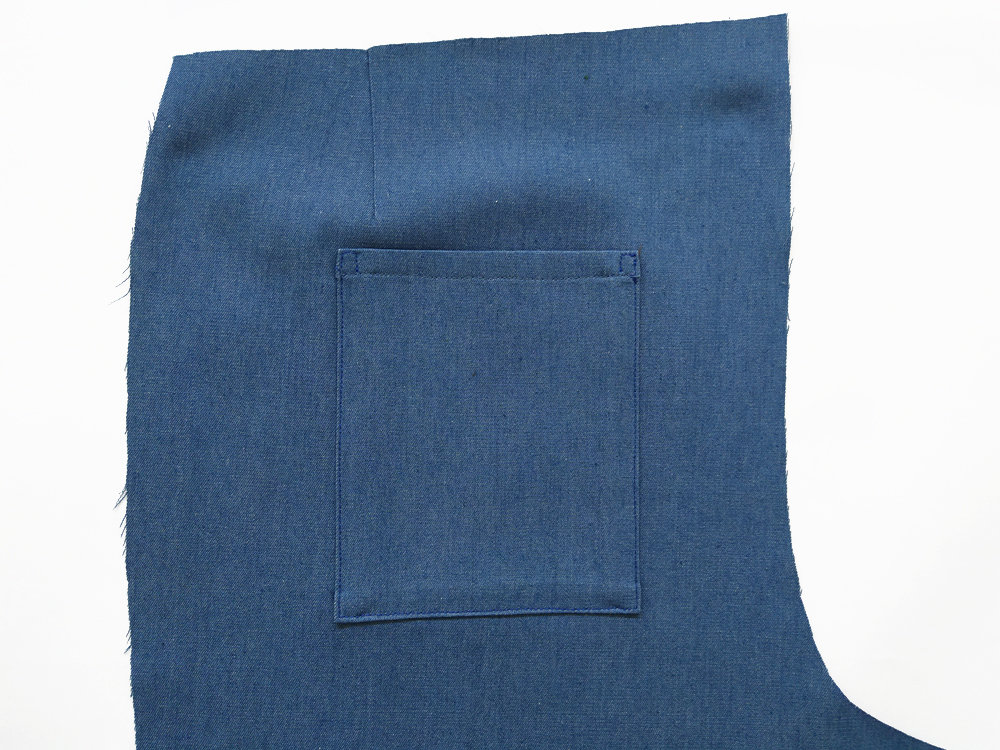 9: Pin the pockets (B) on the center back pieces (A), matching the corners to the placement marks. Topstitch pocket in place 2mm from the edges. Finish the top edges of the pocket by sewing small squares to reinforce.
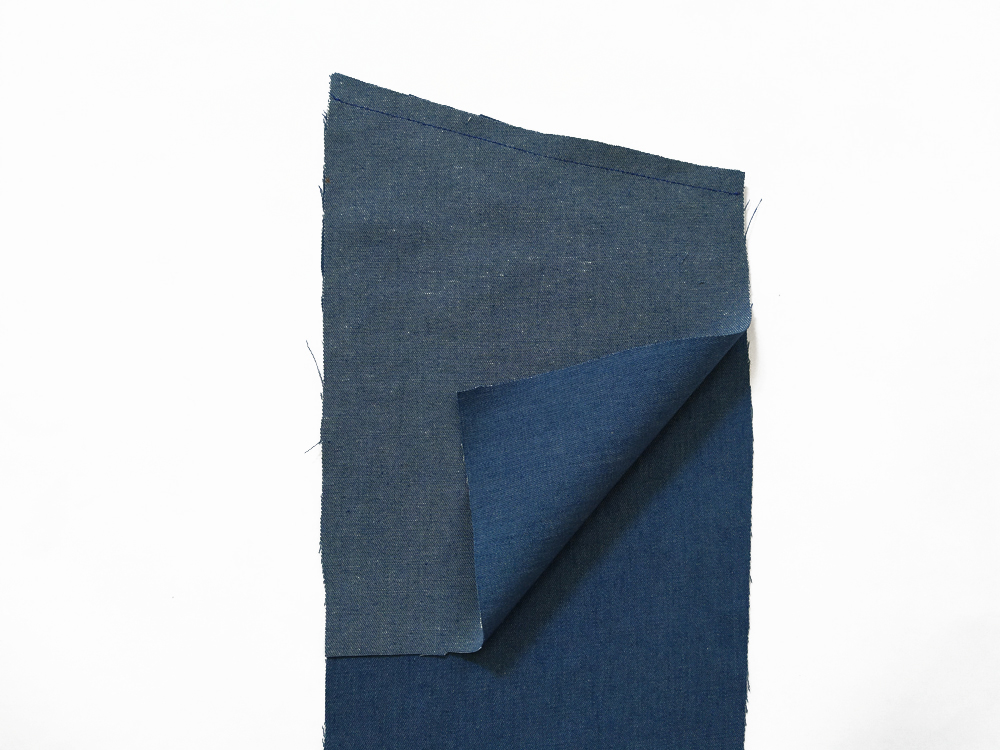
 10: With right sides together, sew the two back pieces (A) together along the center back seam line. Finish seams together.
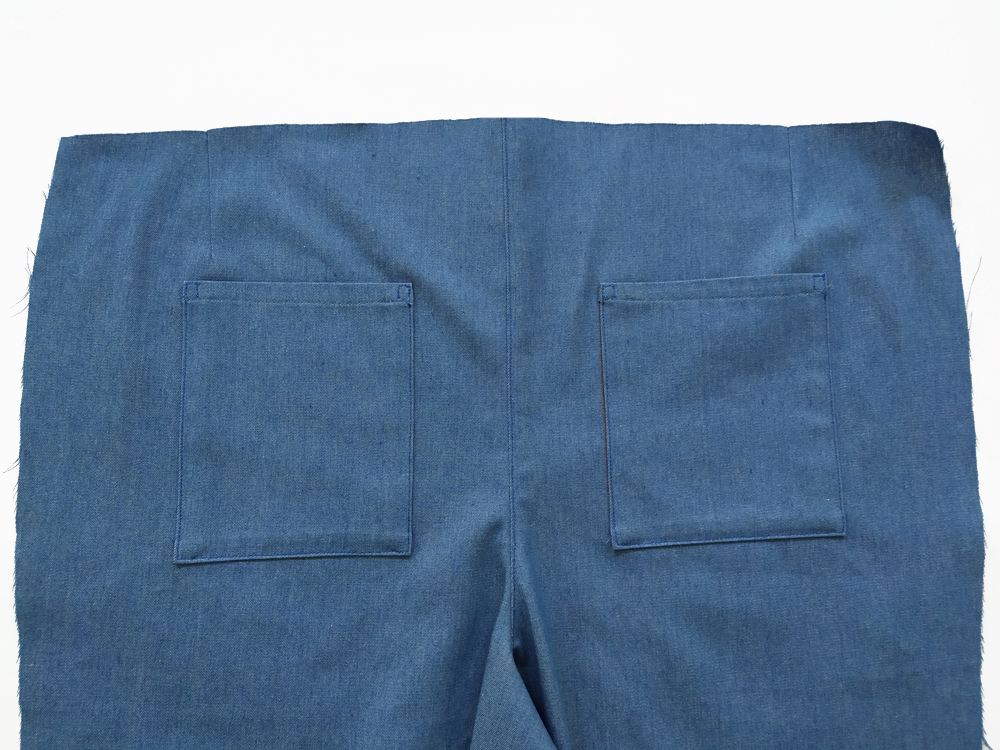 11: Press seam toward the right side of the garment. Edgestitch seam.
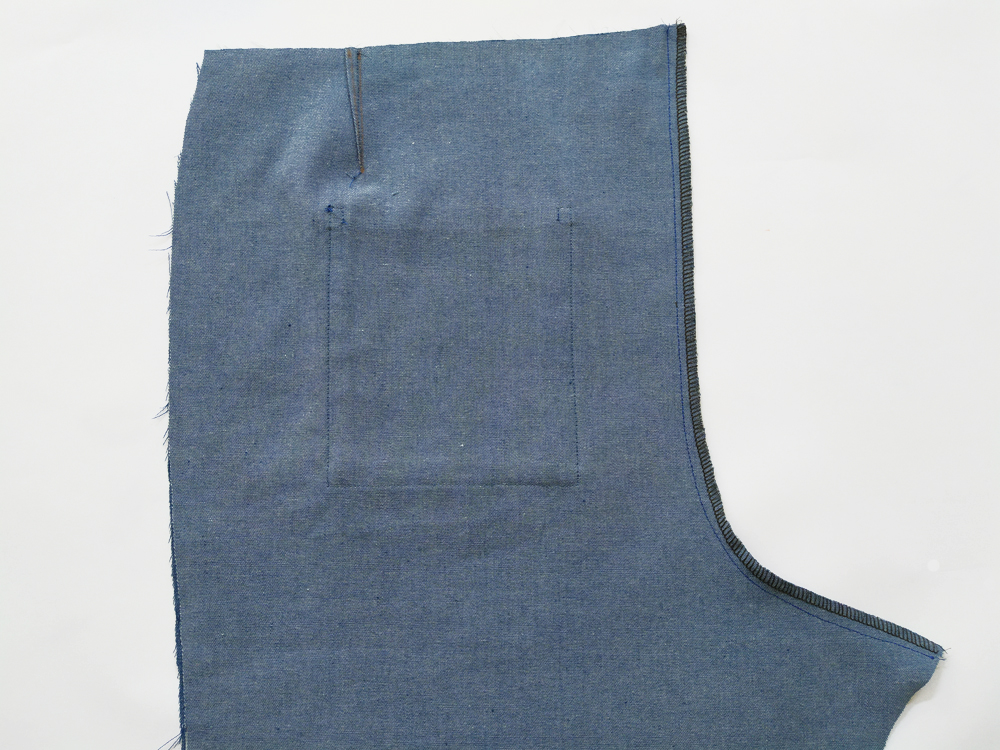
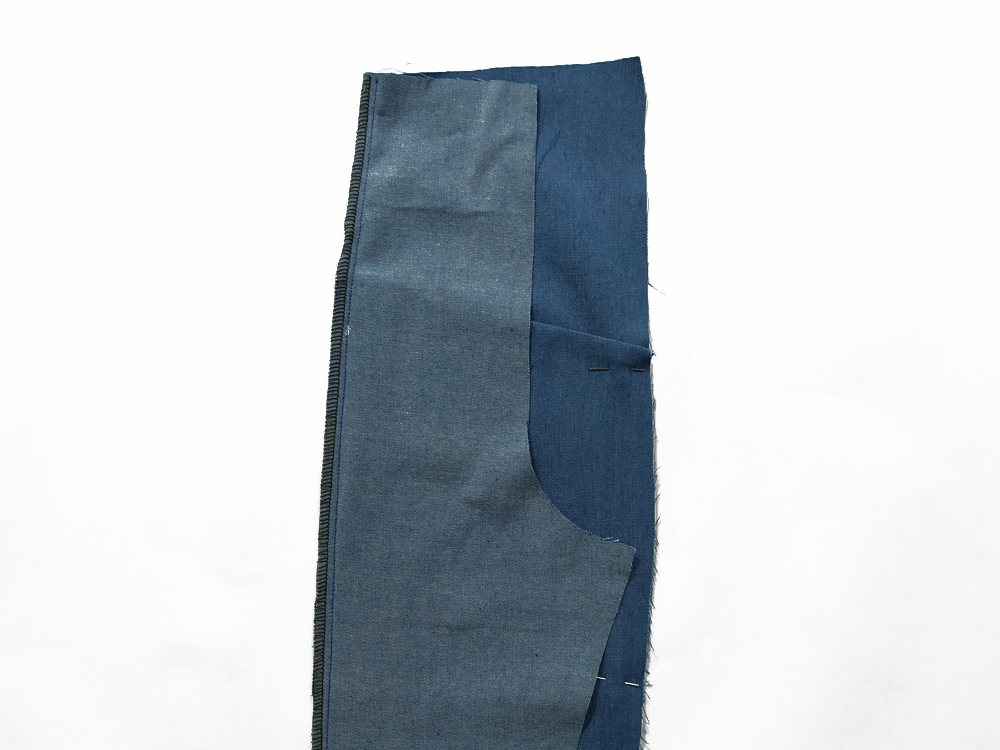
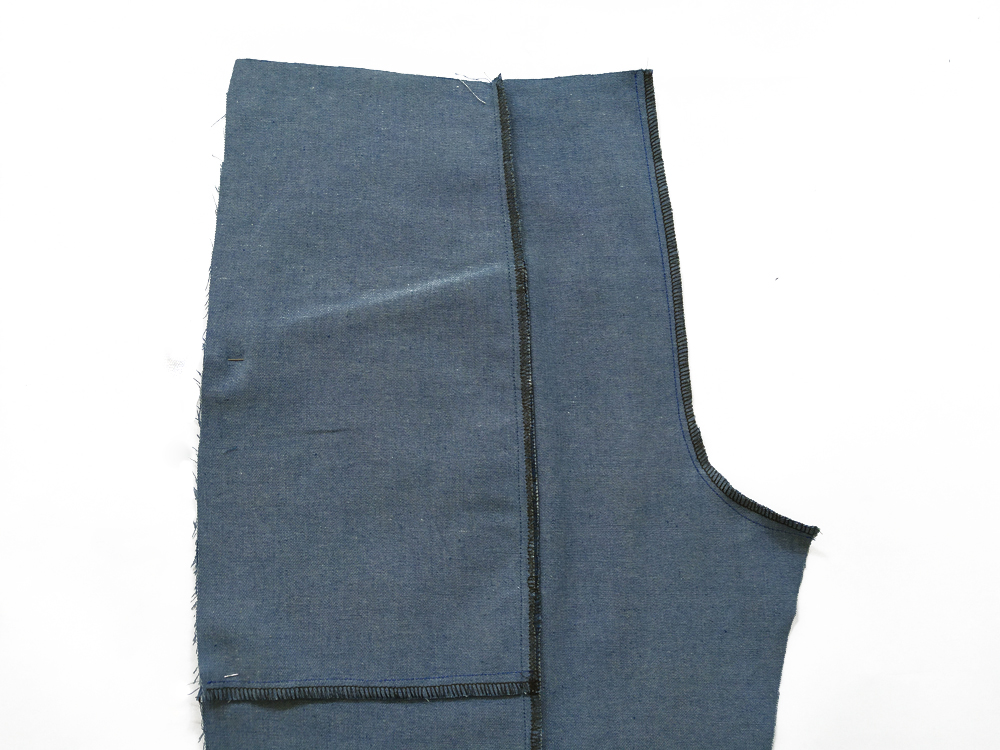
12: With right sides together stitch pocket facing (C) to the front side leg piece 1 (D).
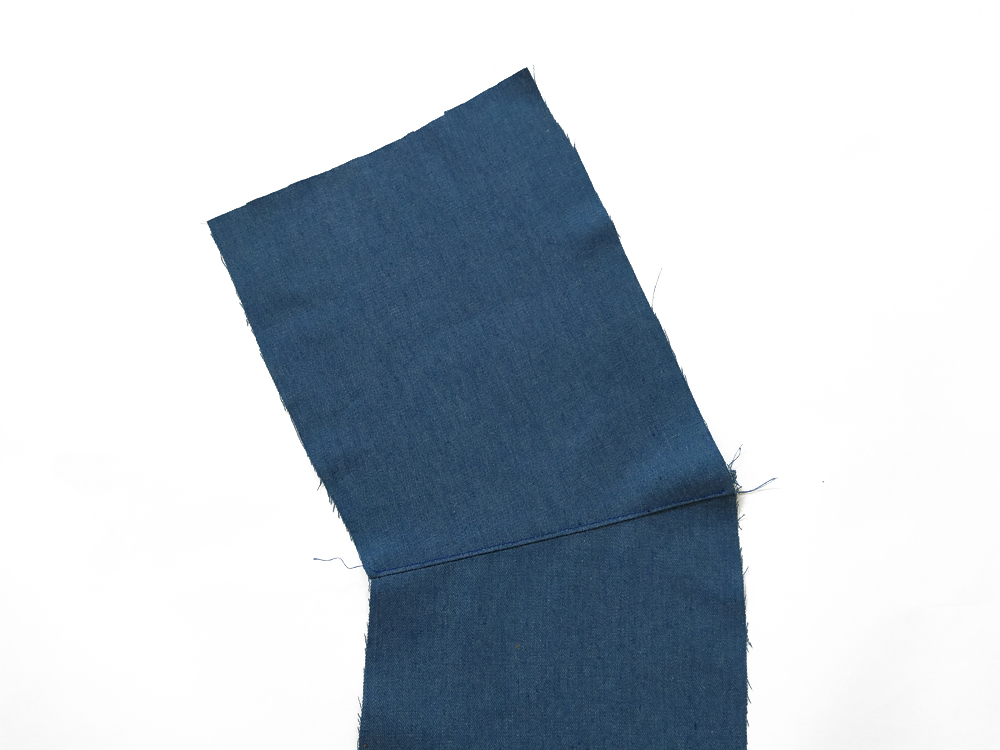
 13: Press seam towards the pocket facing (C) and edgstitch.
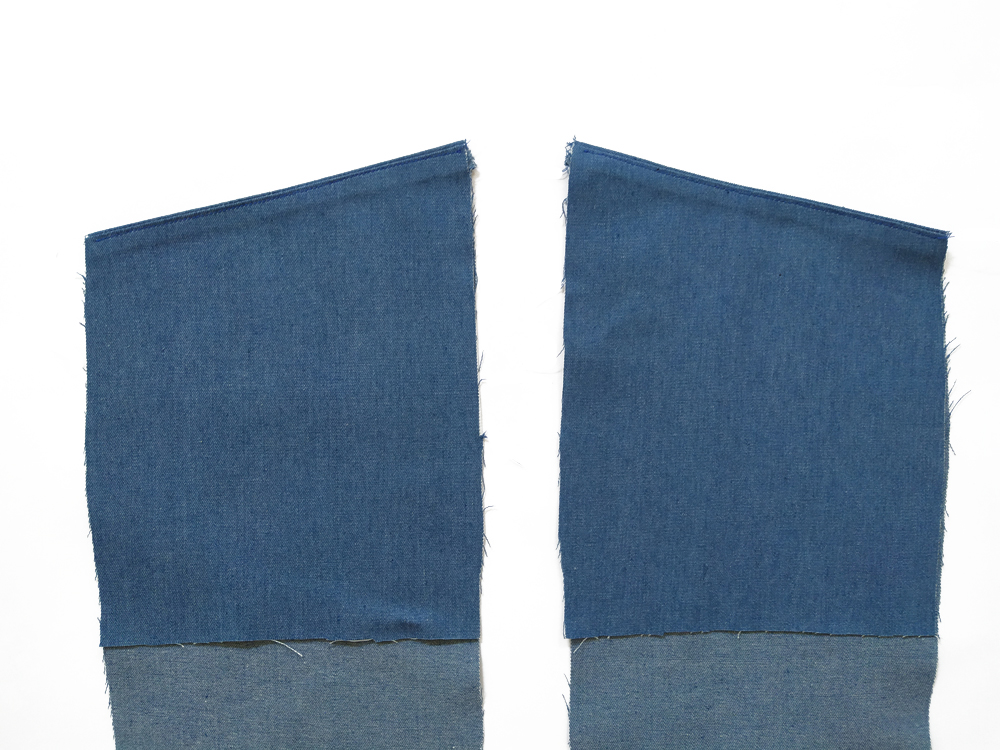
 14: To create the pocket pouch: With right sides together, and matching notches, stitch the side front piece 2 (E) to the pocket (C). Finish the seam.
Flip the pocket facing and bottom of the bodice to the wrong side of the leg piece. Pin (or baste) the sides of the pocket to the body of the garment in order to keep it even. Repeat for other leg.
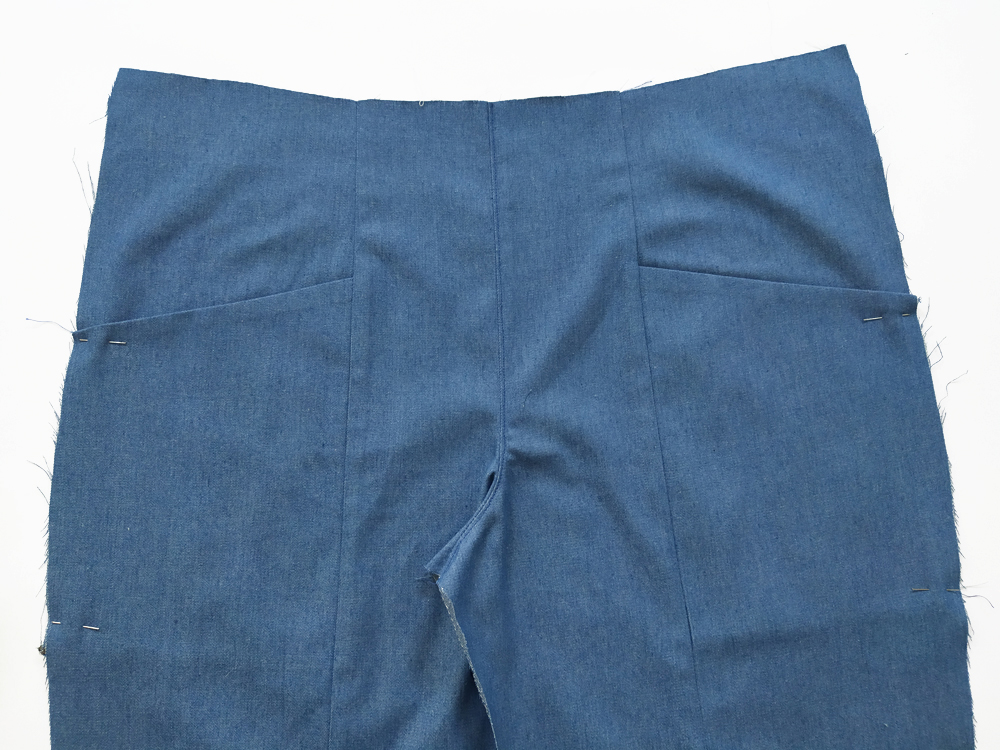
 15: With right sides together, pin center front (F) to the front sides (E, C & D). Finish the seams together and press them toward the center of the garment. Repeat for the other leg.
 16: With right sides together, sew the center front pieces (F). Finish the seams together.
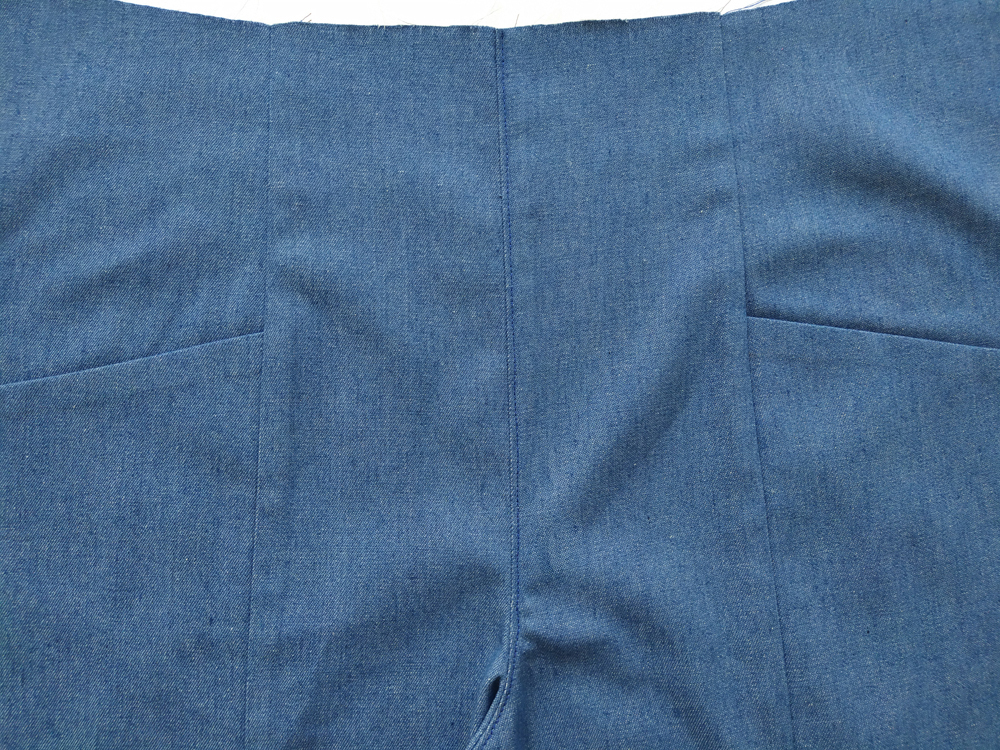 17: Press them toward the left side of the garment. Edgestitch.
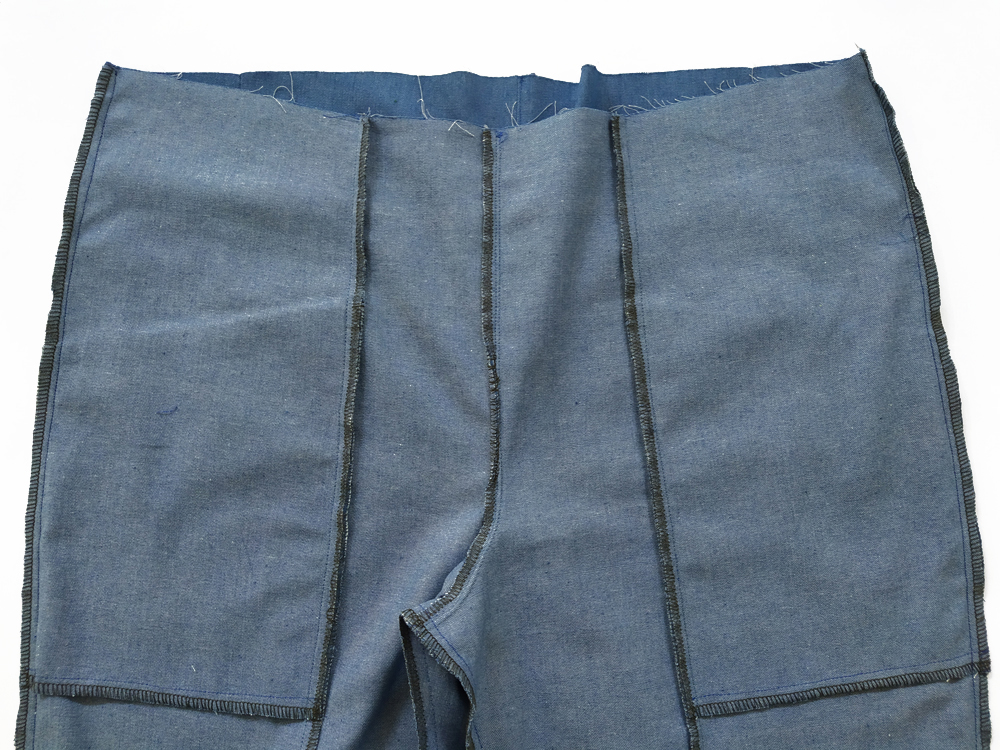
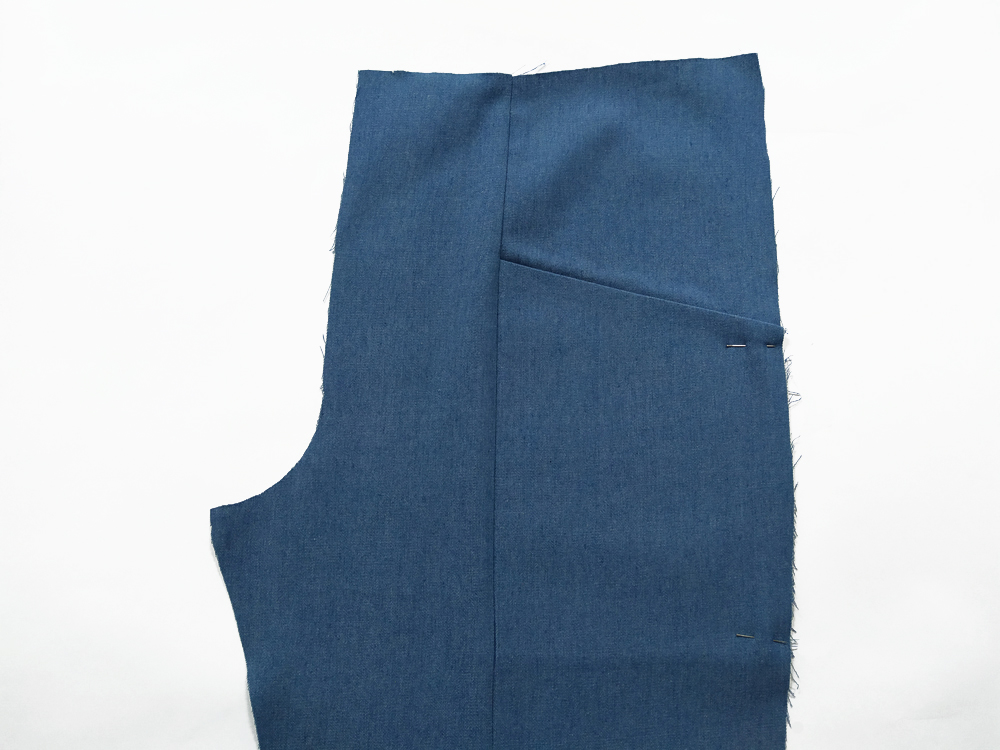
18: With right sides together, sew the front and the back pieces at the sides. Finish the seams together and press them toward the back of the garment. With right sides together, sew the front and the back pieces at the inseam. Finish the seams together and press them toward the back of the garment.
.jpg)
 19: Stitch the front and back waistbands right sides together leaving a 20 mm opening on one side to insert the elastic later.
.jpg) 20: Fold the waistband in two, wrong sides together. Press.
20: Fold the waistband in two, wrong sides together. Press.
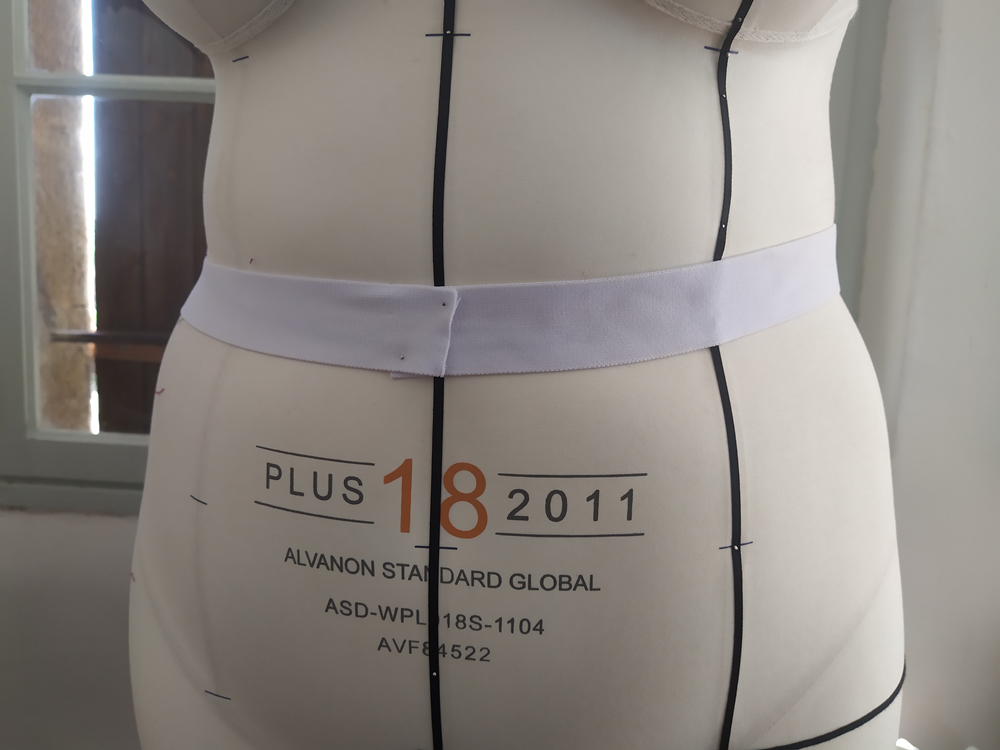 21: Determine the length of the elastic by pulling your elastic around your body at the waist until it feels snug. You want the elastic to be tight enough to hold the pants up. The finished lenght of your elastic should be around 5 cm smaller than your waist. Add 4 cm of seam allowance.
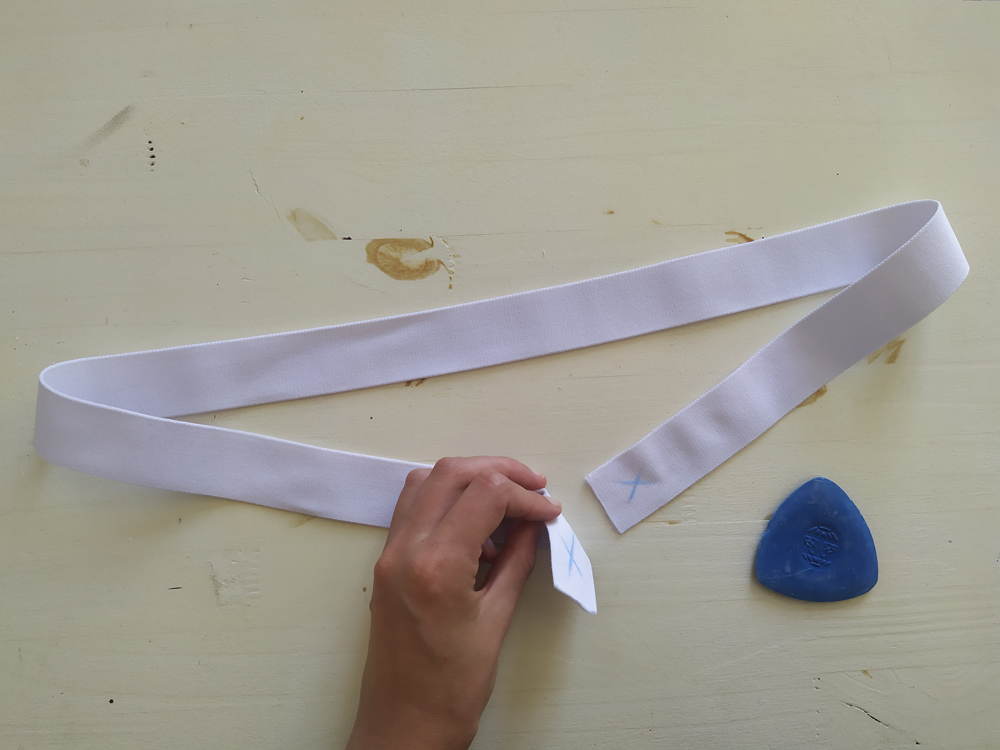 22: TIP: Form a loop with your elastic, overlap the ends and mark it with a pen to prevent the elastic from twisting inside the casing.
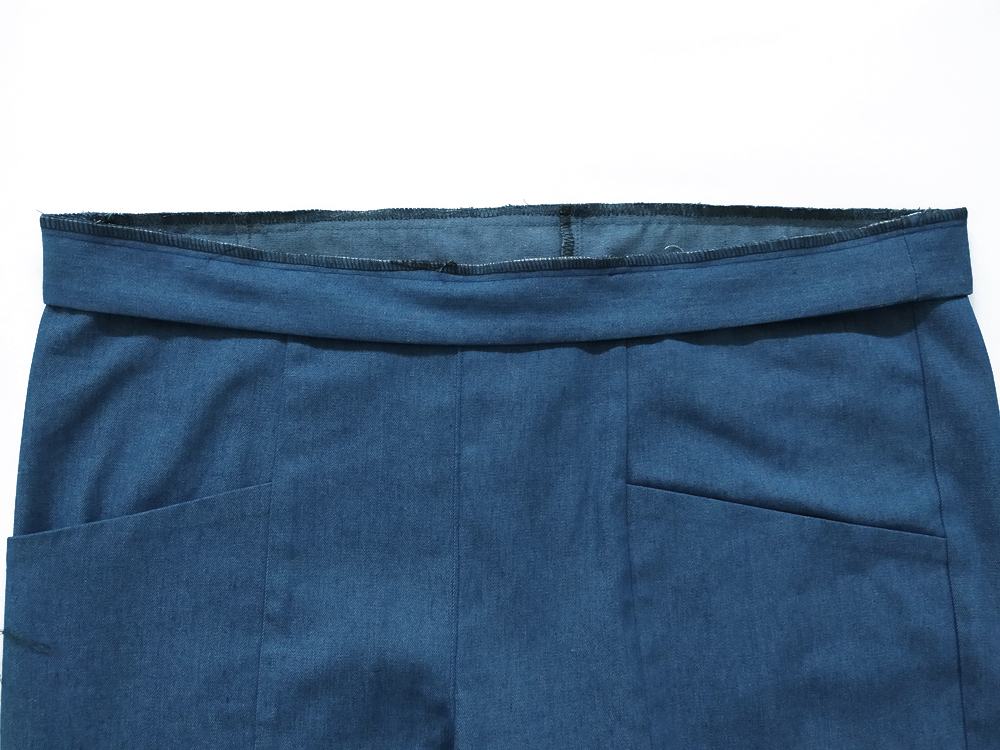 23: Pin the row edges of the waistband to the garment, matching the side seams and the notches. Sew the waistband to the pants. Finish the seam. Press the seam down and the waistband up.
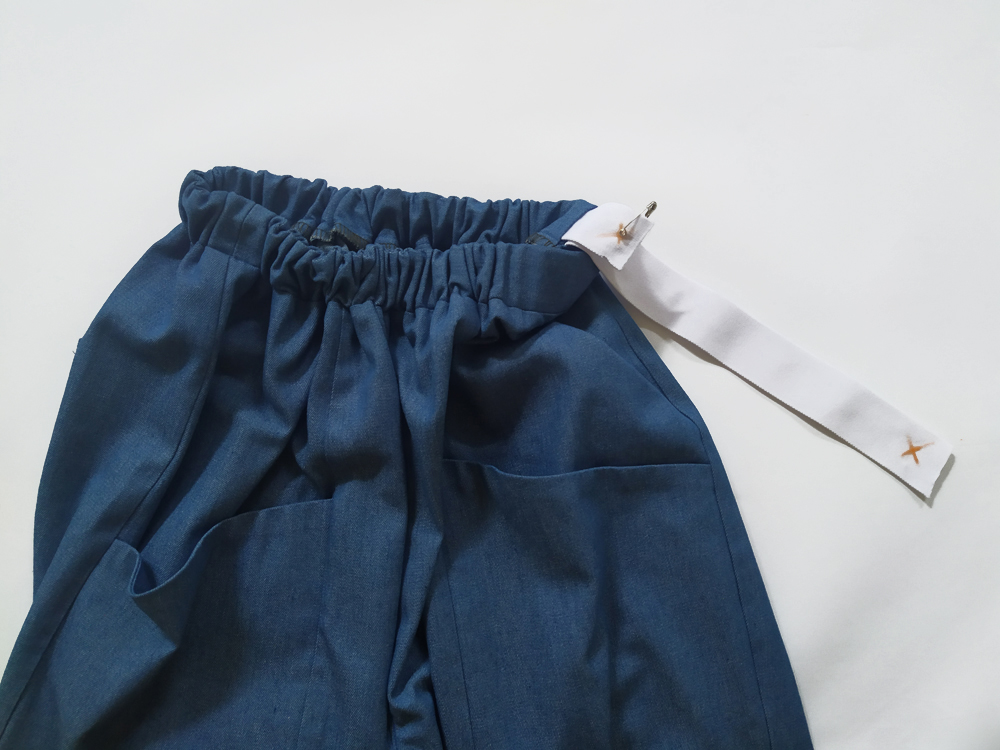 24: Attach a safety pin to one end of the elastic, secure the other end of the elastic to the garment with a pin to stop it being pulled through the casing and work the safety pin through the waistband until it comes out the other end.
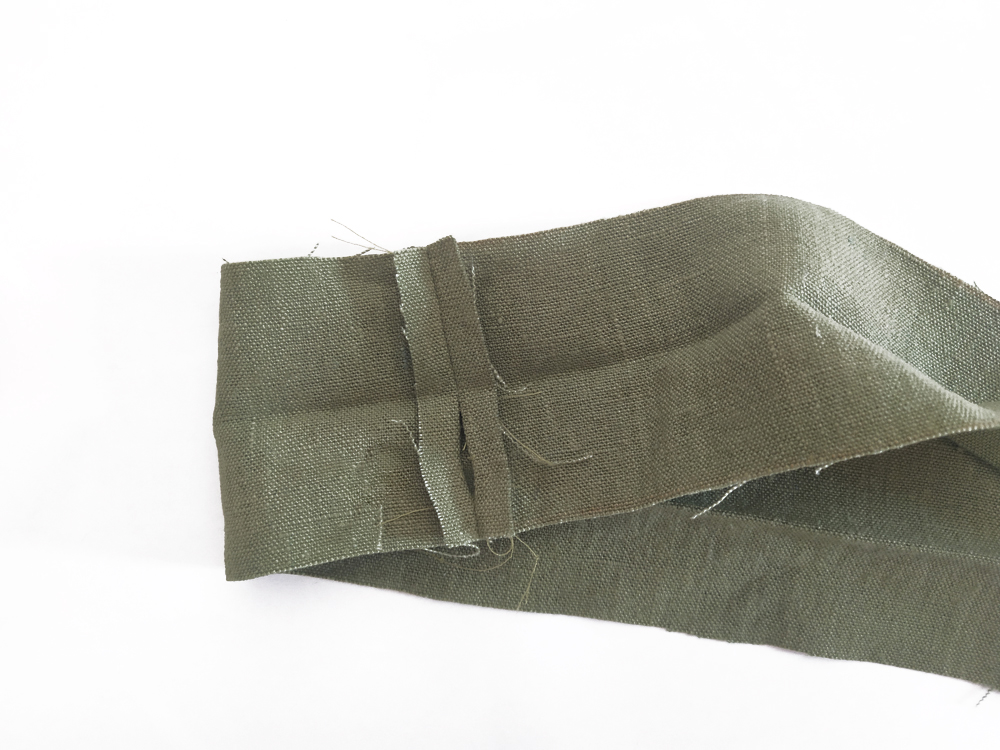
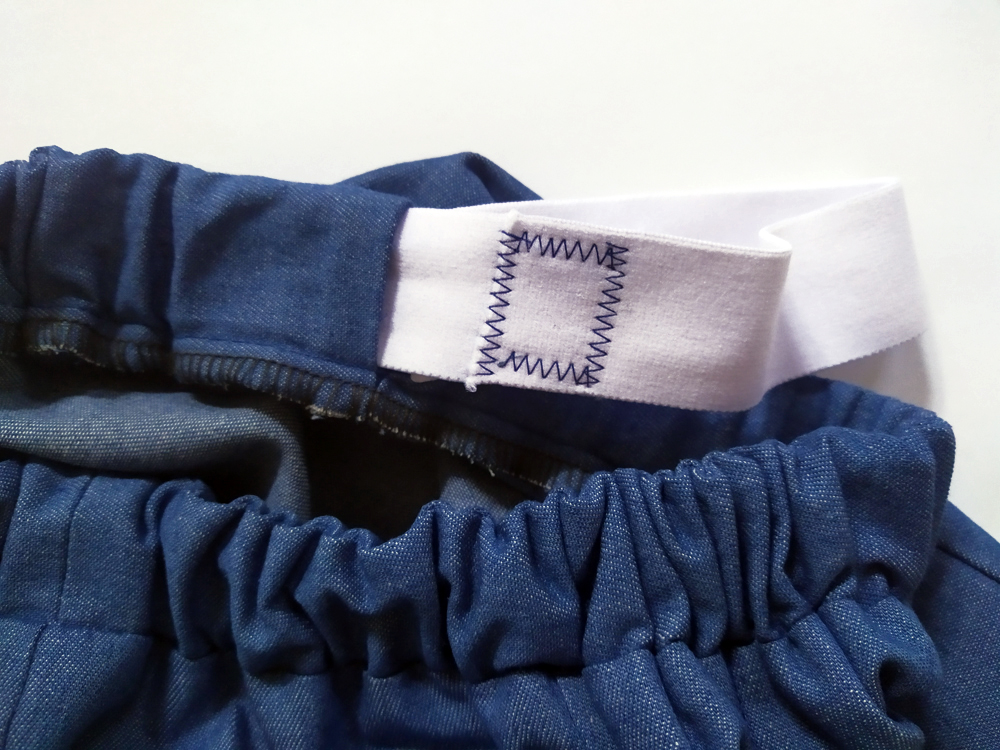 25: Before we join these tails is very important that we feel around the entire casing and ensure that the elastic is not twisted. This may take some time but it is necessary. Pull the tails out and overlap the elastic by 2 cm and zizag stitch.
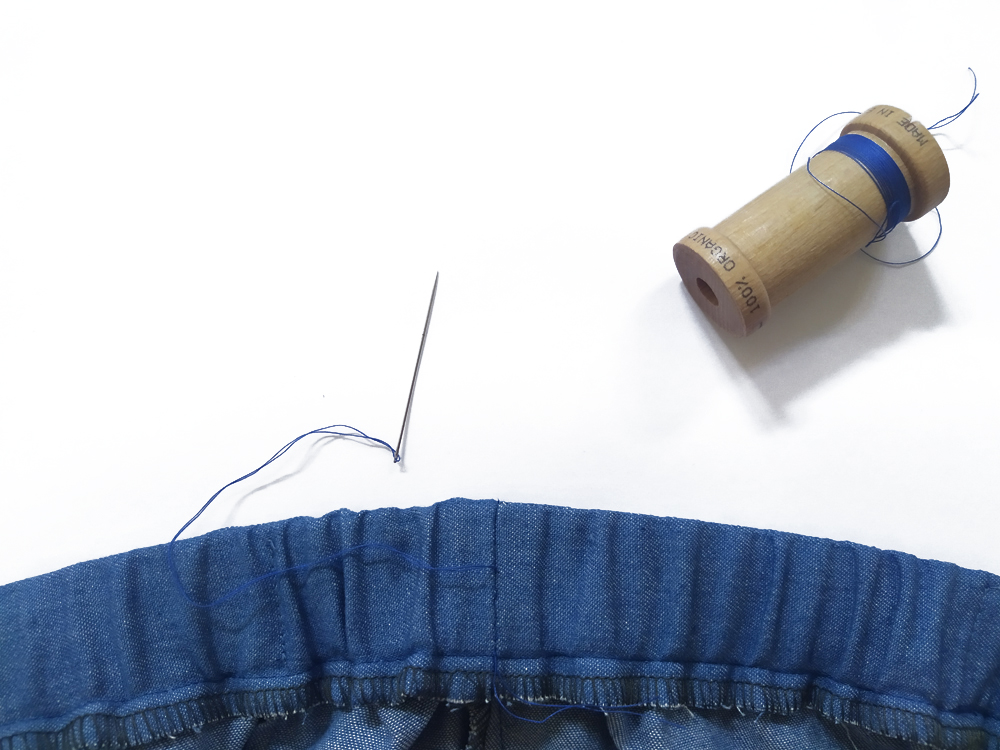 26: Close the opening in your waistband by hand with invisible stitching.
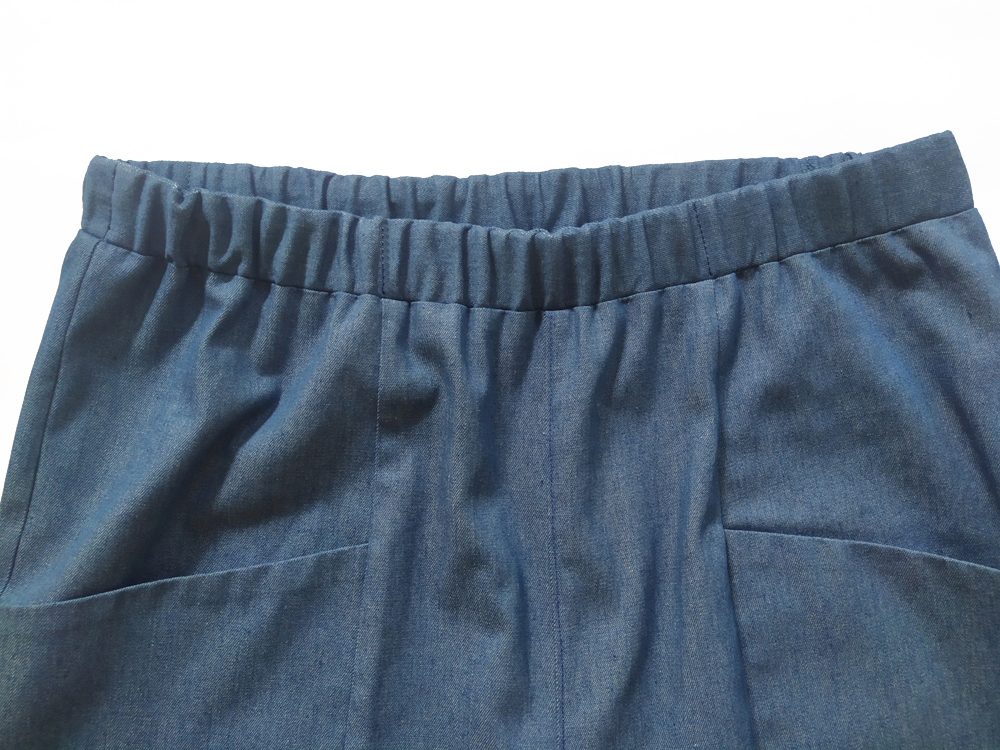 27: Distribute the fabric evenly along the elastic. To prevent the elastic from twisting again, you can topstitch the elastic following the side front seams and back darts seam lines.
28: Creat the hem: Fold bottom hedge of the fabric 10 mm to wrong side and press. Turn the pressed edge under 30mm, press again and topstitch in place.
Comments
No comment at this time!
Leave your comment