Sew along, the Pleat pants

Sew along with us as we walk you through making the Pleat pants! You will notice that the sew along can differ from the sewing instructions included with the pattern, don't worry, you'll end up with the exact same garment whether you follow this tutorial or the instruction booklet. The pants are rated advanced beginner level. It is a relatively simple pattern because it is made of very few pattern pieces and it does not include side seams. There is also no zippers or buttonholes. However, the assembly is quite unusual and you will have to rely rigorously on the pattern instructions or the photo sew along, no free style for this one ;-)
First, we will make a precise list of the tools needed to sew the Pleat pants.
Supplies:
- - Fabric (see instructions for fabric type and yardage)
- - Sewing and serging thread matching your fabric color
- - Elastic for the waistband. For range 1, you can make the belt with a 3 cm or 4 cm wide elastic. For range 2, after several fittings, I came to the conclusion that the 3 cm elastic was not comfortable enough so only the 4 cm width is suggested.
- - The fabric used for this sew along is a 120gr/m2 organic cotton poplin from my stash that I naturally dyed with birch leaves for the yellow prototype and indigo for the green/blue prototype.

I made this sew along using the kid version of the pattern for practical reasons, the kid version is not coming with back darts but apart from that, the assembly is identical to the adult one.

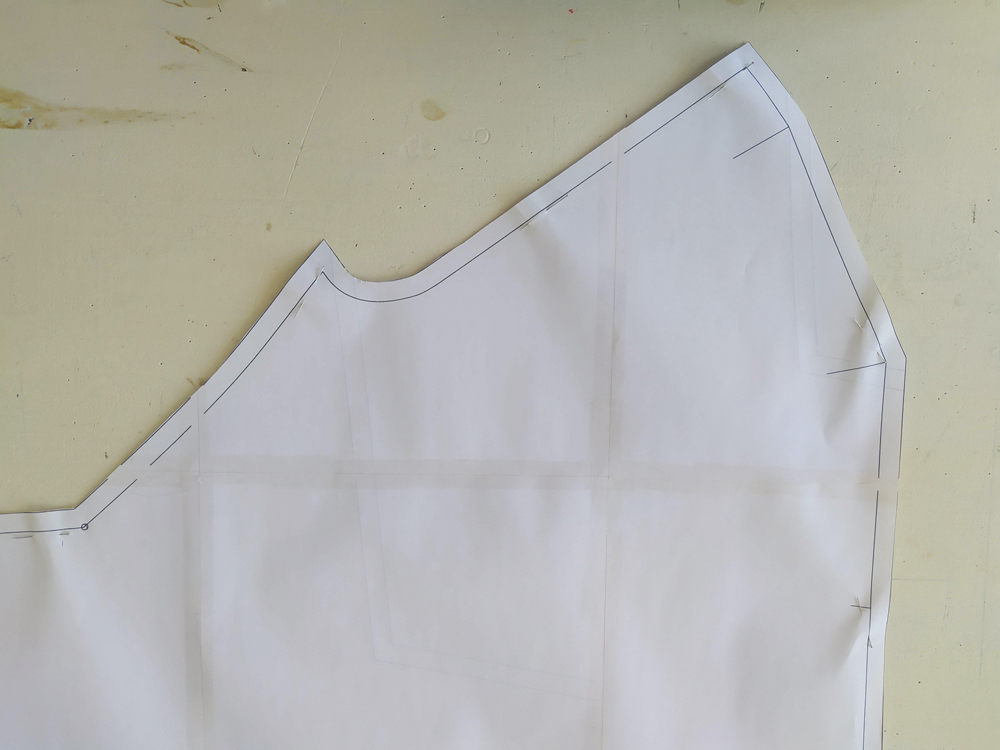
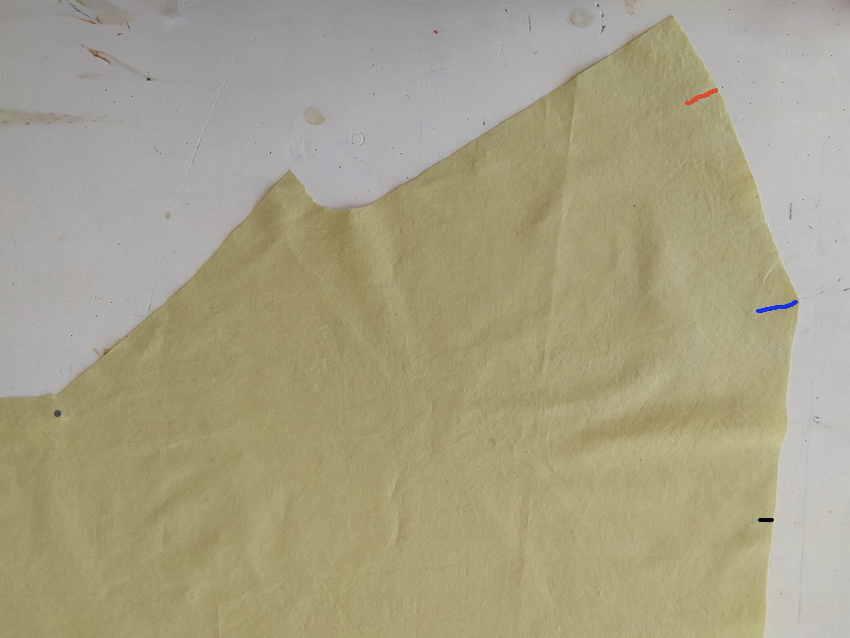
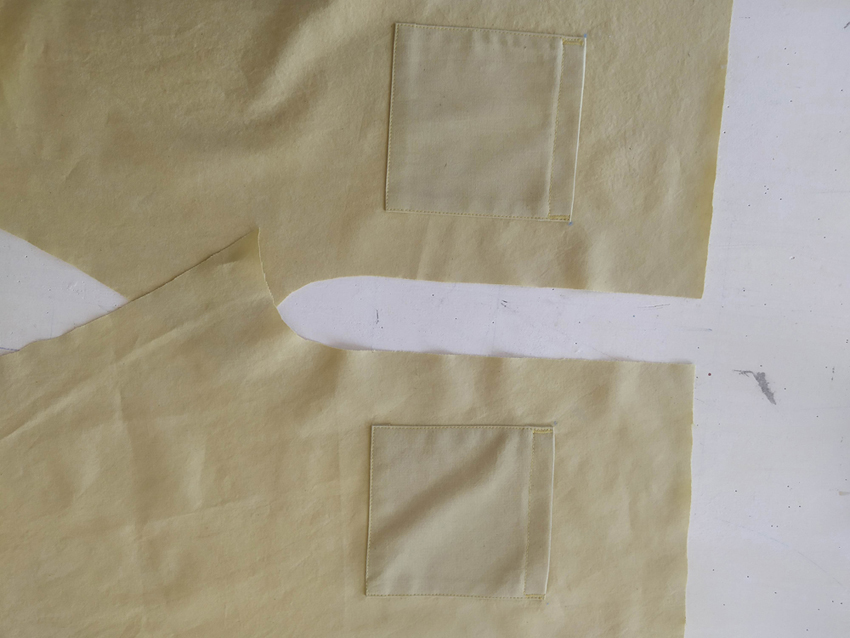
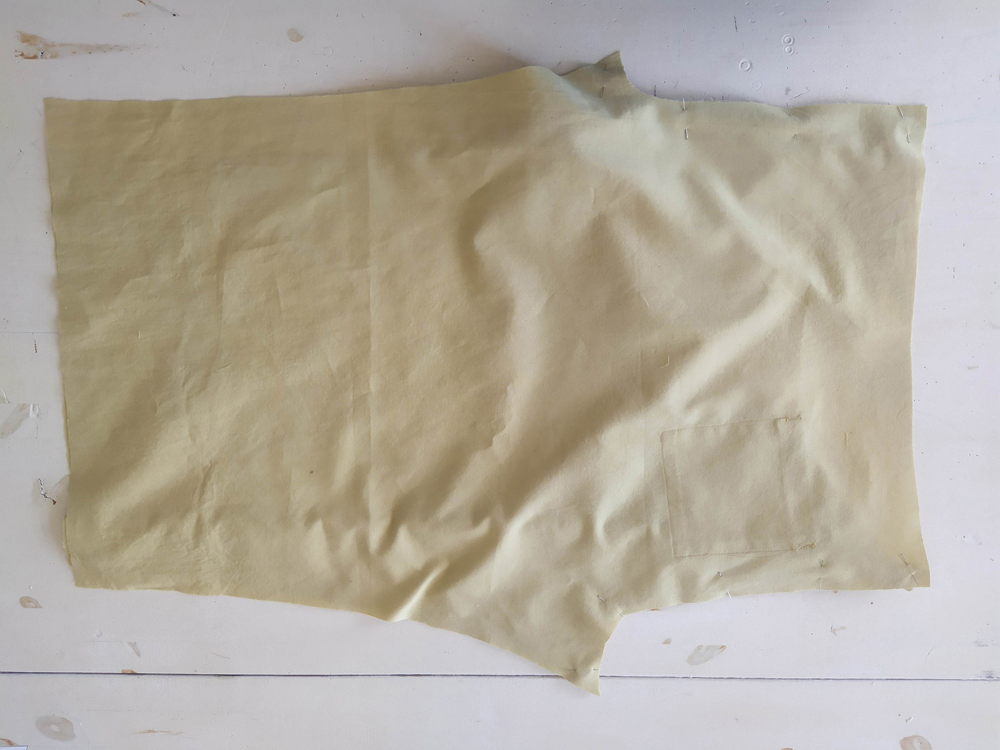
First, transfer the markings of the pattern piece (B) view without pocket or (C) view with pocket.
- fold line 1 (blue line)
- fold line 2 (red line)
- wrap marking (black marking)
- pleats end (black dot )
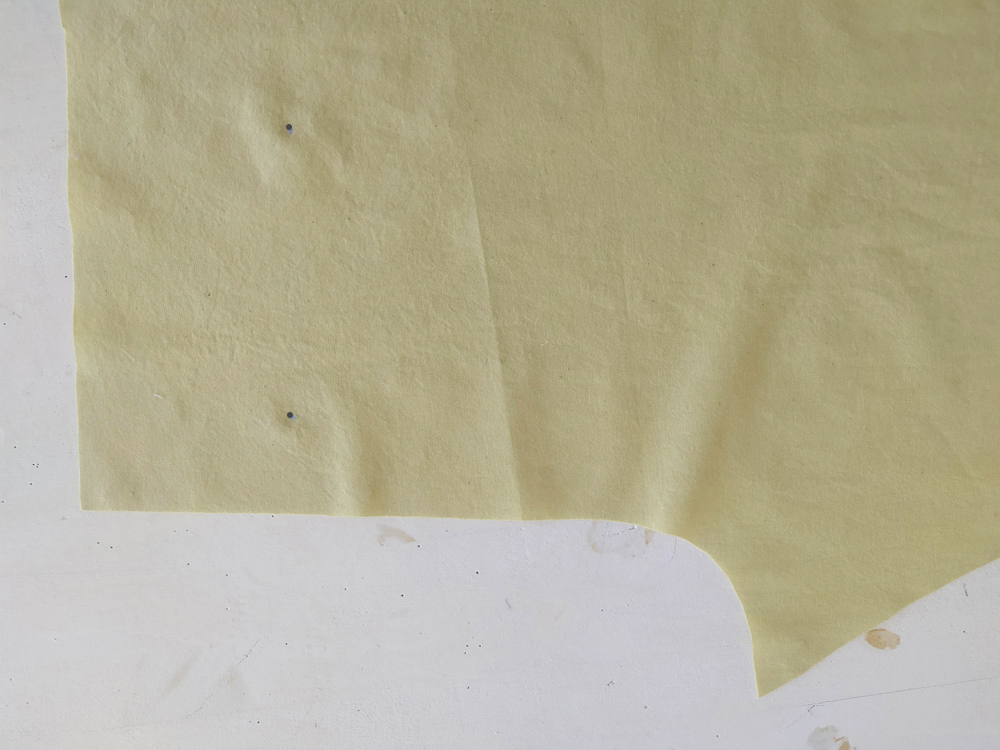
Also transfer the back pocket markings on (A) and (B).
On the adult version, form your back darts.
Mark the dart placement on pattern pieces (A) and (B) or (C) on the wrong side of the fabric with tailor’s chalk or a disappearing ink marking pen.
With the right sides together, fold along the centerline of the dart, matching the dart legs. Pin in place. Stitch dart, beginning at the sides and sewing to the dart point. Continue sewing past the dart point for a few stitches, without backstitching. Raise your needle and leave a thread chain of about 3 cm. Tie the chain in a knot at the dart point and cut the threads, leaving about 1 cm after the knot. Press dart toward the center back.
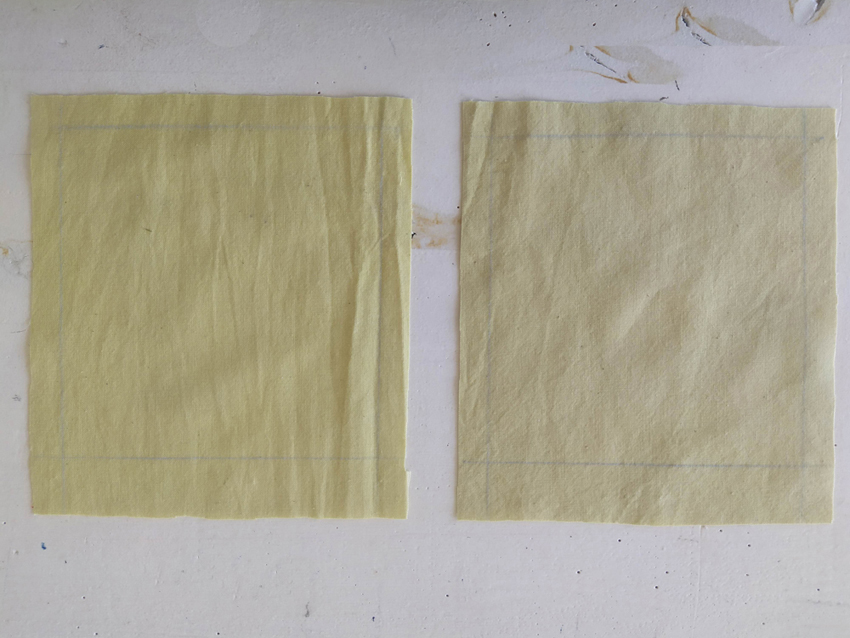
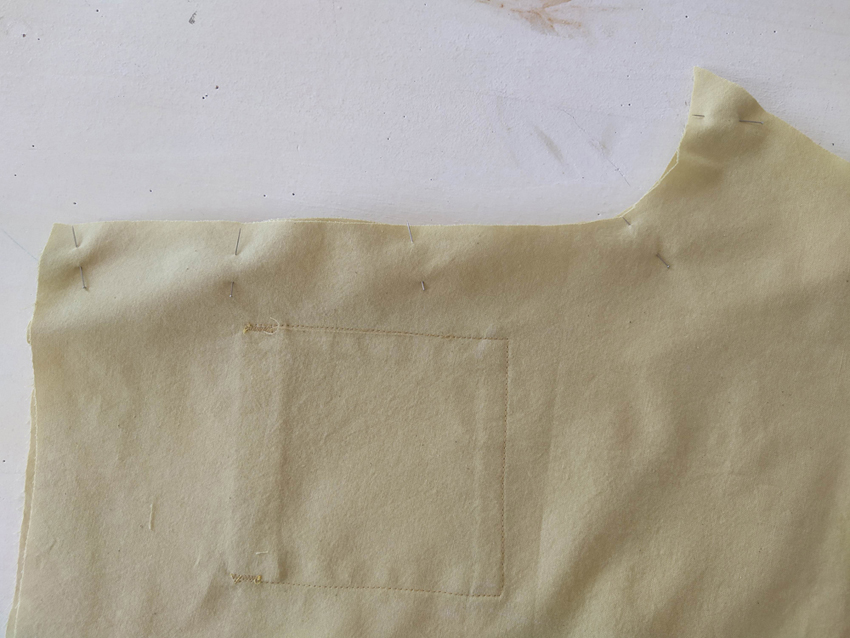
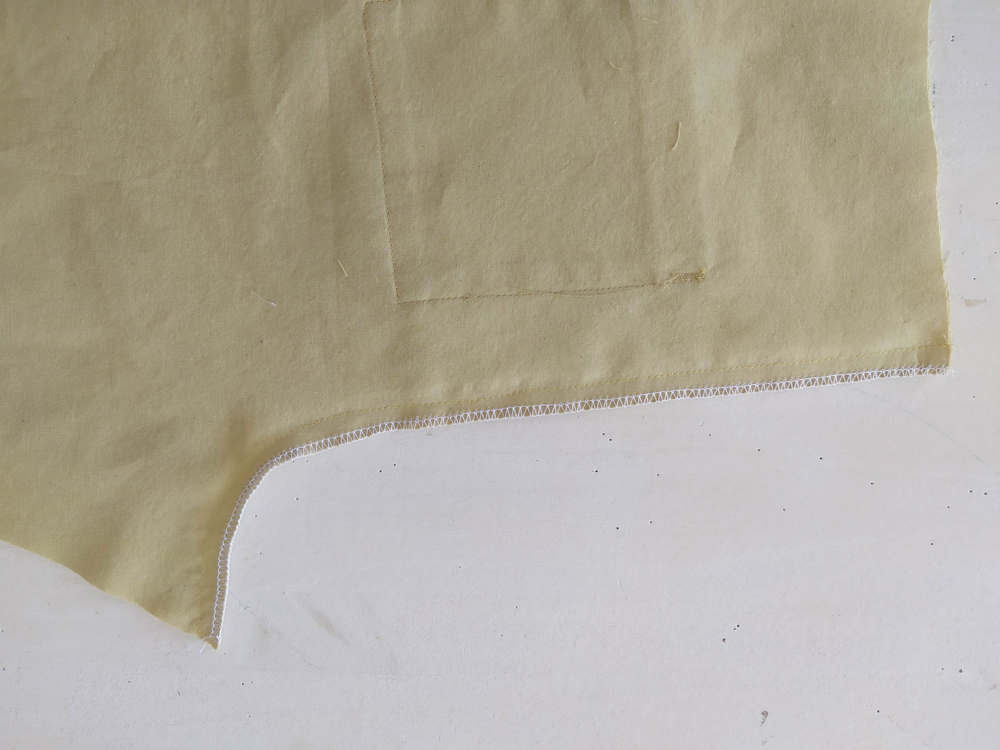
Mark the seam allowances with a chalk or an erasable marker on the back pocket(s) (F). 2 cm for the top and 1 cm for the rest.
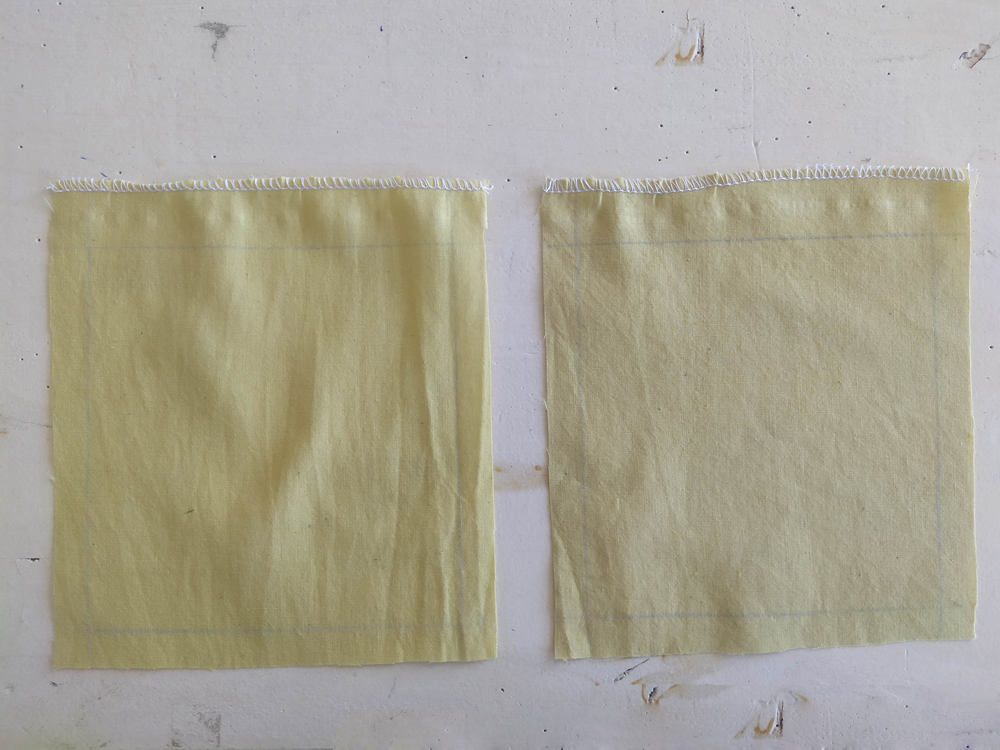
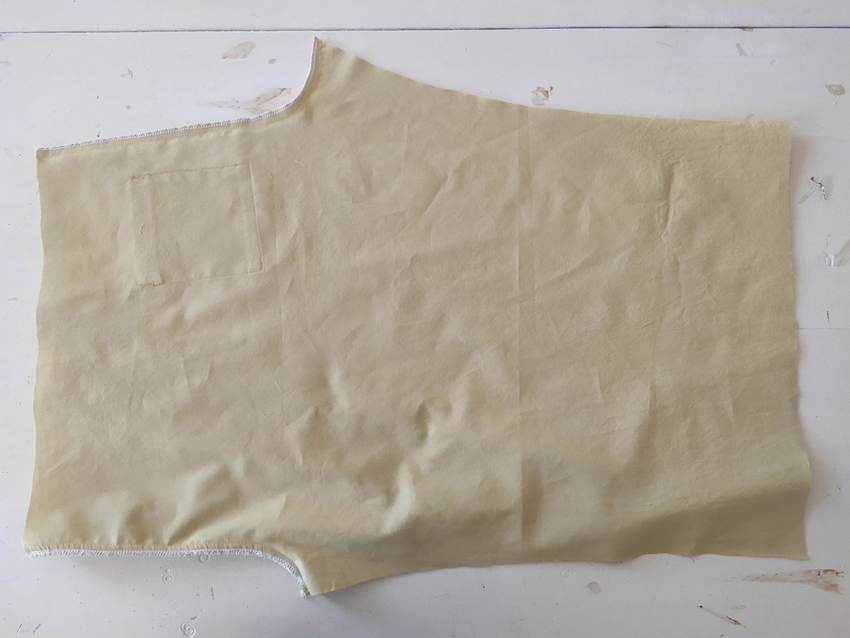
Serge the four sides of the back patch pocket (F). Do not be fooled by this photo and serge the four sides !
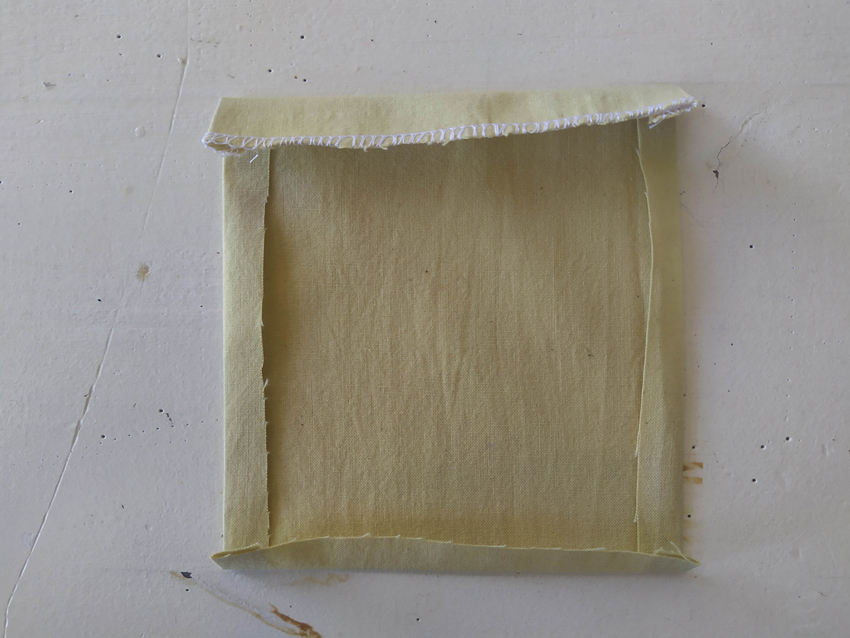
Fold the sides of the pocket then the bottom edge and then the top edge.
Topstitch the pocket top 2 mm from the folded edge.

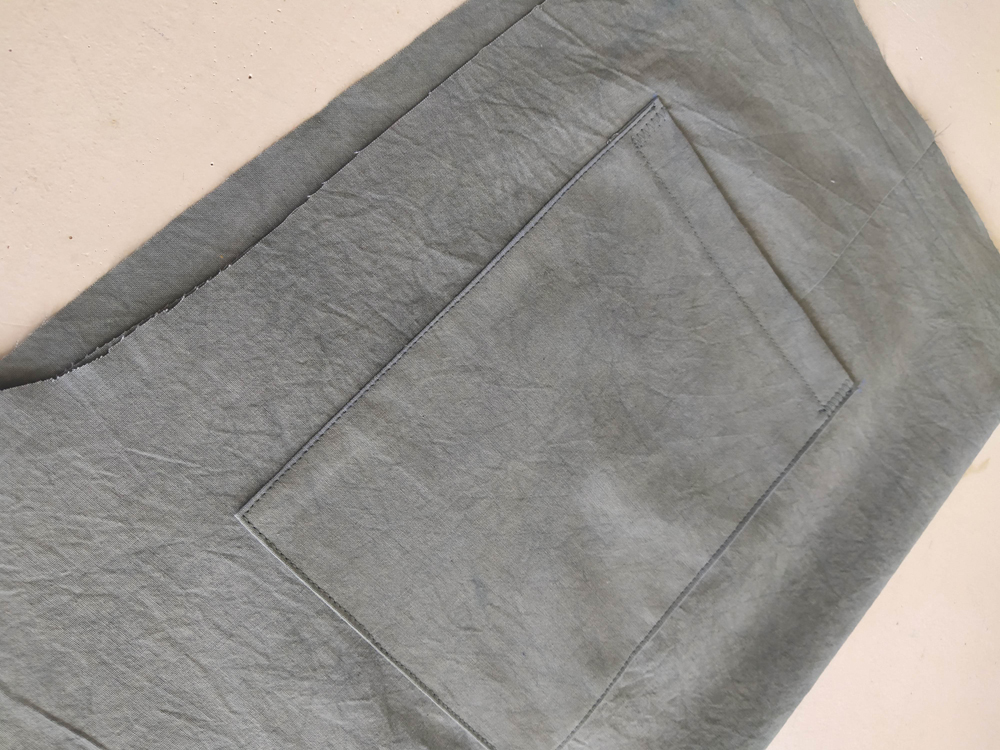
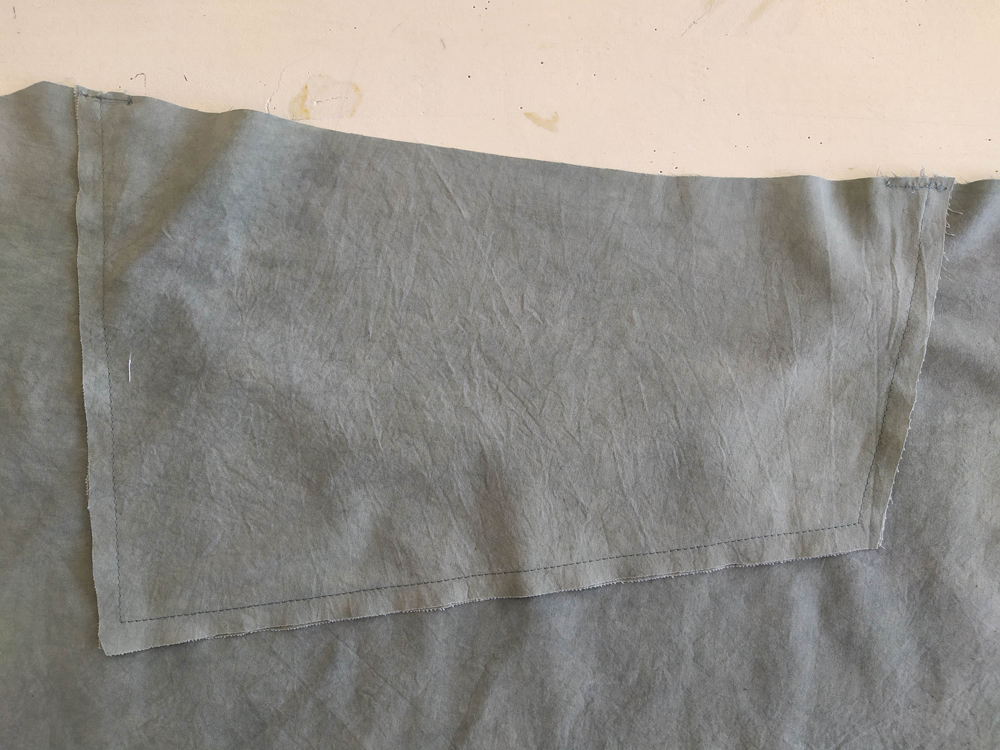
Pin the pocket to the right side of pattern piece A, matching the corners to the pocket placement marks. Topstitch the pocket in place 2 mm from the edges. To reinforce the top edges of the pocket, finish sewing with a small, tight zigzag stitch.
Repeat the previous steps for view 1.
View 2: With right sides together, pin and sew the pocket lining (D) to the leg (C). Make sure to line up the notches to ensure correct placement of the pocket lining.

Press the seam toward the lining and understitch.
Flip the pocket lining to the wrong side of the leg.
With right sides together, line up and pin the pocket facing (E) to the pocket lining (D). Sew along the three edges, leaving the top open. Finish the edges.
In order to keep the pocket in place, topstitch the top edges of the pocket to the pant leg as well as the beginning of the pocket opening (about 4 cm).
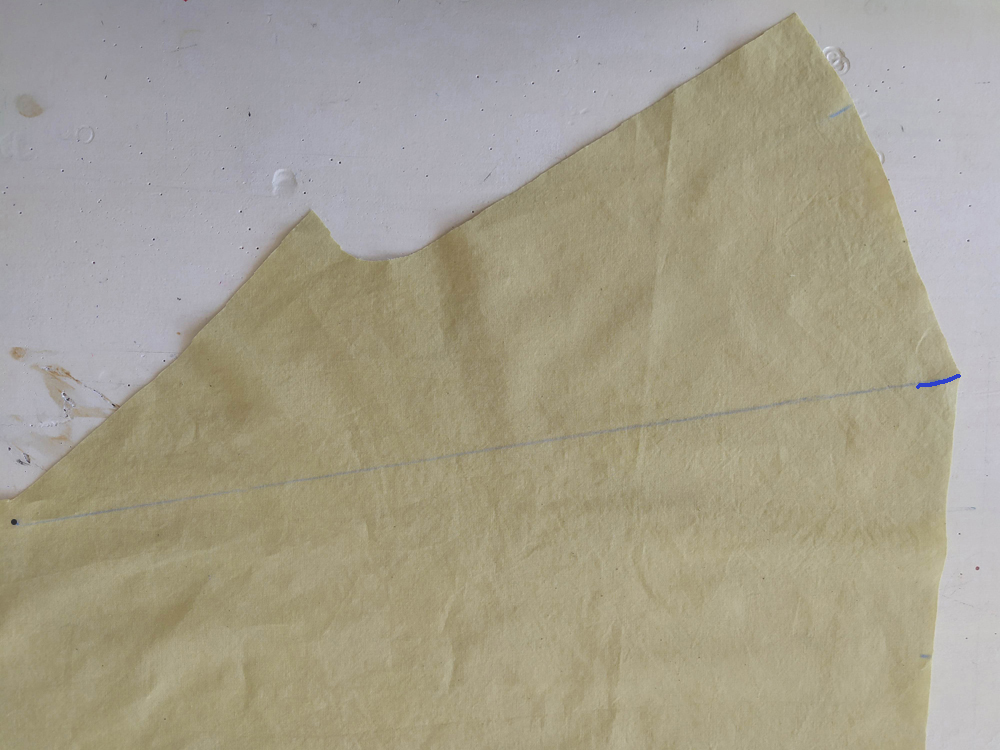
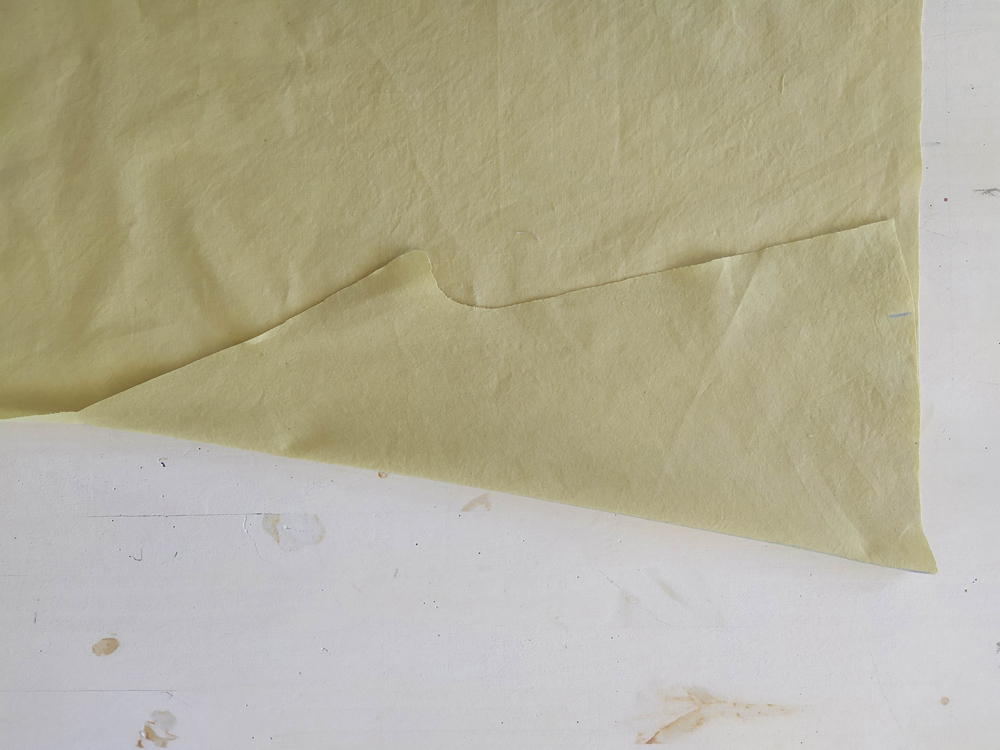
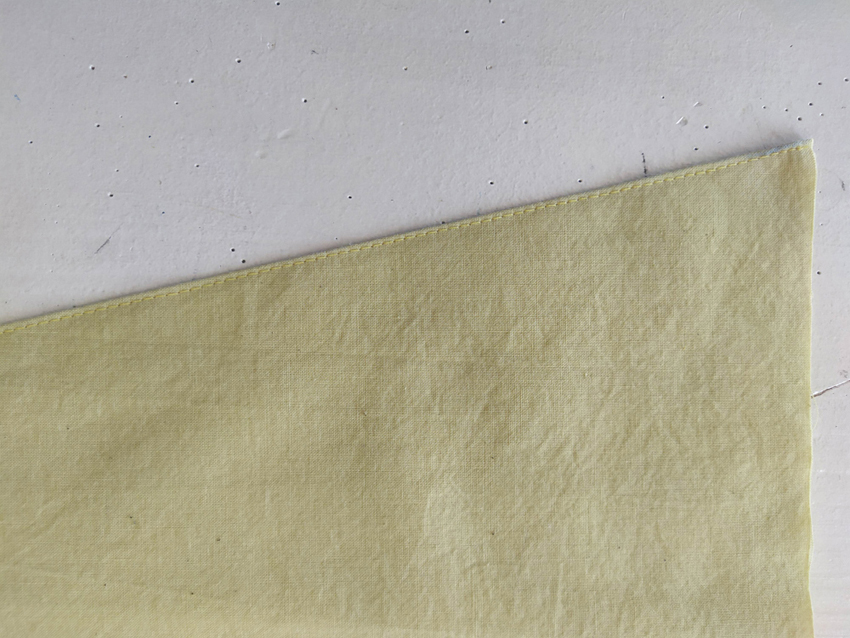
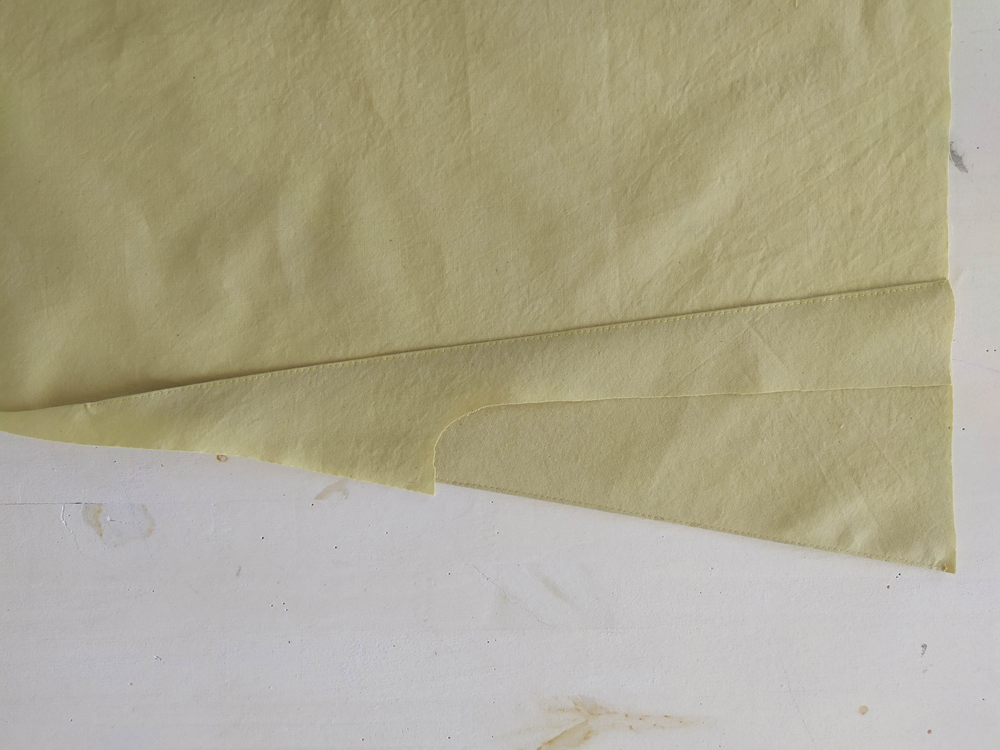
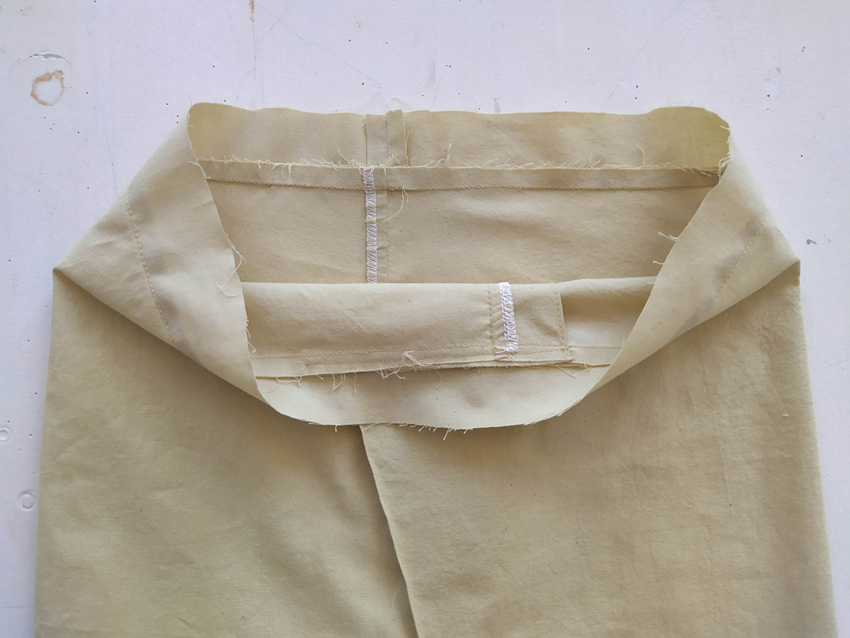
With pattern piece (B) or (C) facing up, trace the fold line between the fold line notch 1 at the top and the fold line circle marking at the bottom. Use a tailor’s chalk or a disappearing ink marking pen.

Turn over pattern piece (B) or (C) so the wrong side is facing up. Trace the fold line between the fold line notch 2 at the top and the fold line circle marking at the bottom.
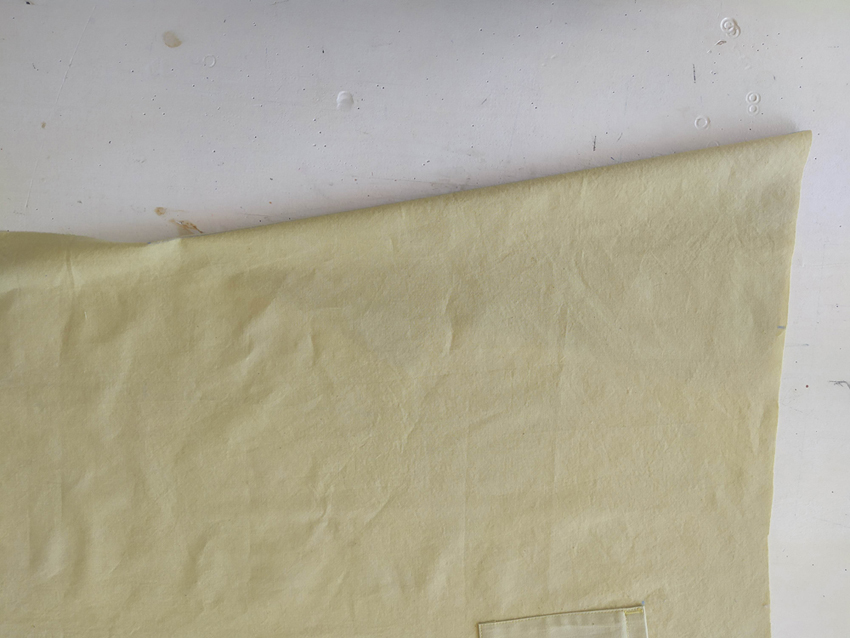
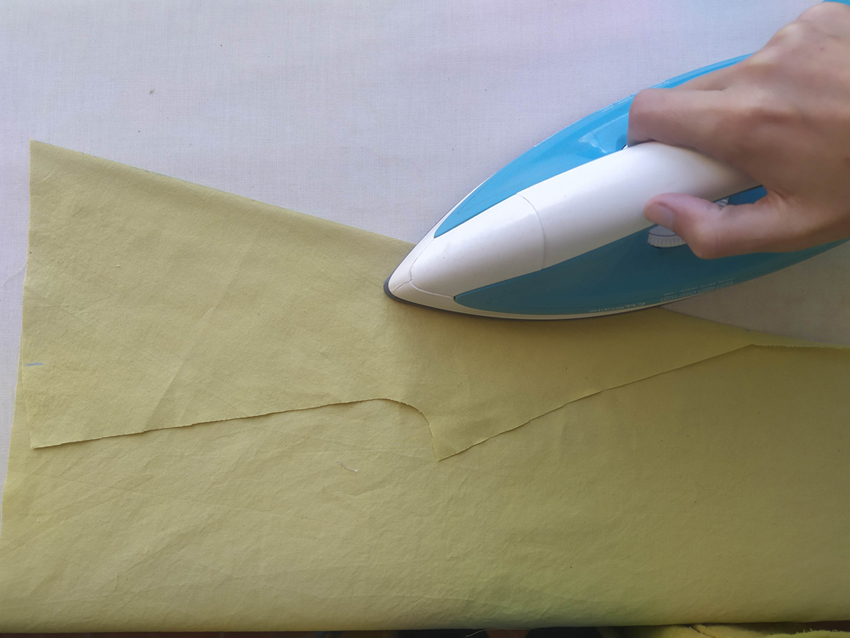
With the wrong side still facing up, fold along fold line 1 and press. The top of the fold should line up with the top of the waistband. If that isn’t the case, follow this tutorial.

Fold along fold line 2 and press.

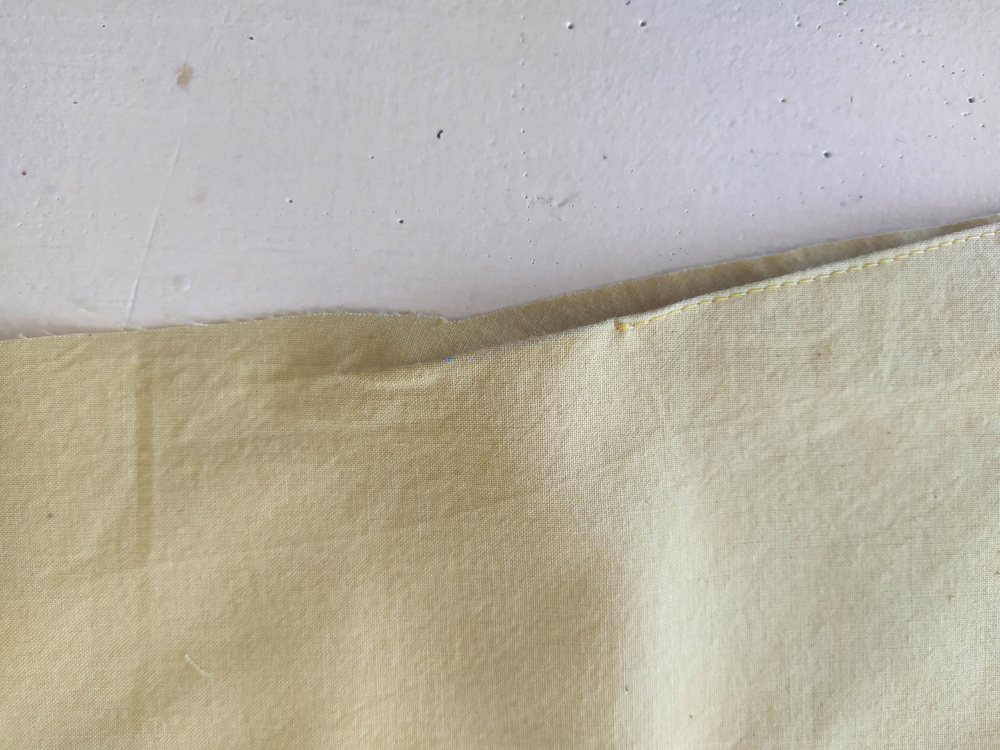
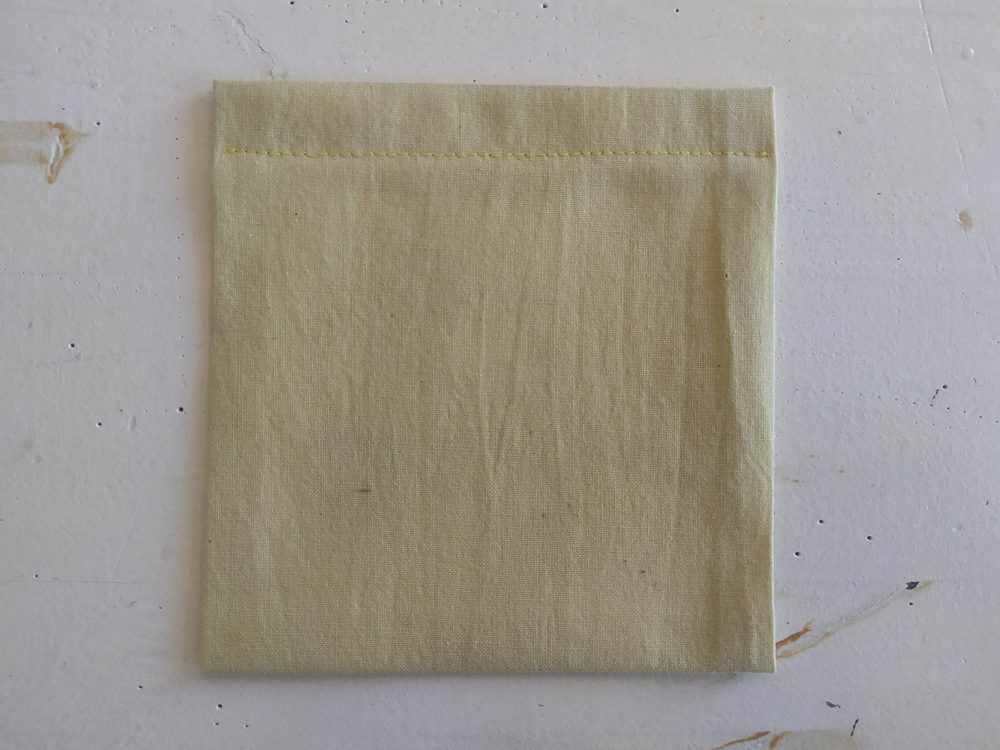
Topstitch along the fold 1, 2 mm from the edge. Stop topstitching roughly 1.5 cm from the bottom of the fold.

Topstitch along the fold 2, 2 mm from the edge. Stop topstitching roughly 1.5 cm from the bottom of the fold.
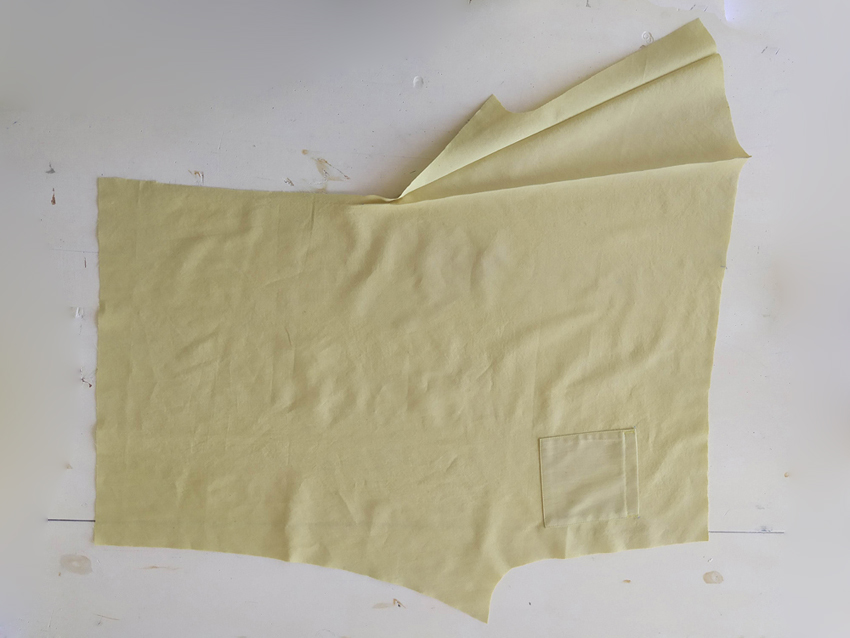
Here, you can take a break, you deserve a little coffee, don't you?
![]()
All these photos for a very simple step in the end ;-)
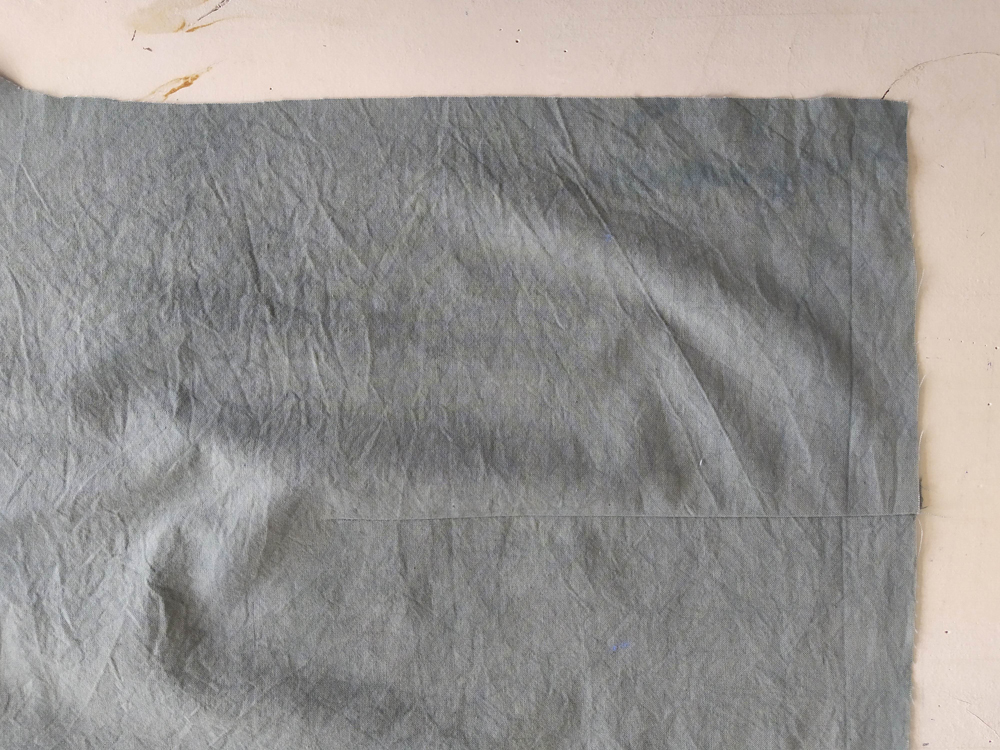
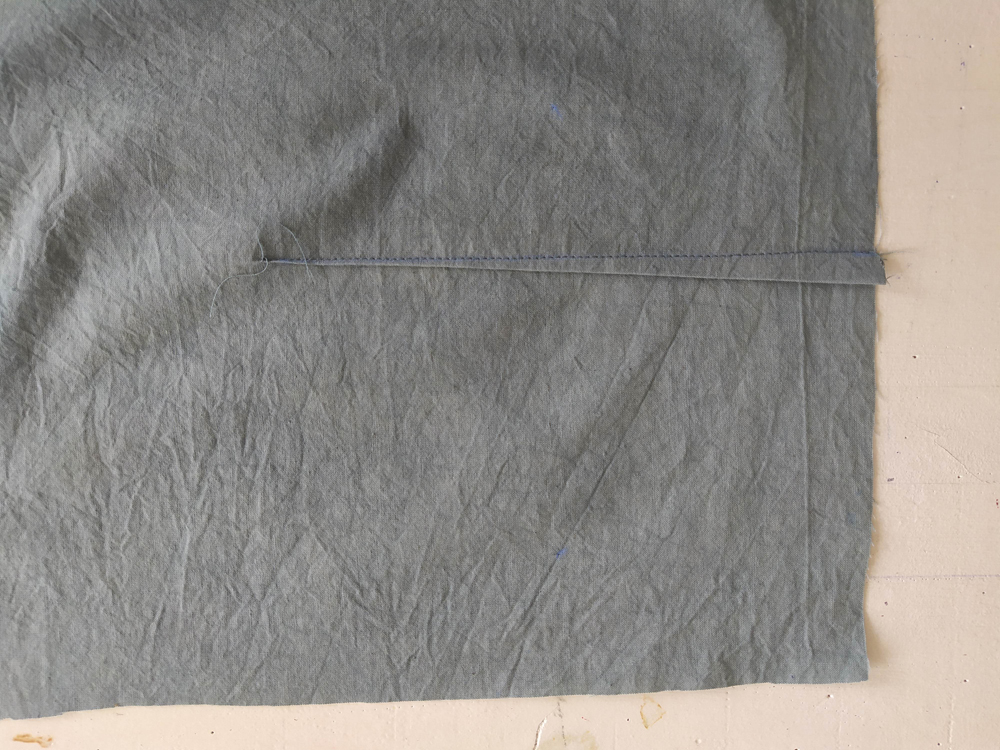
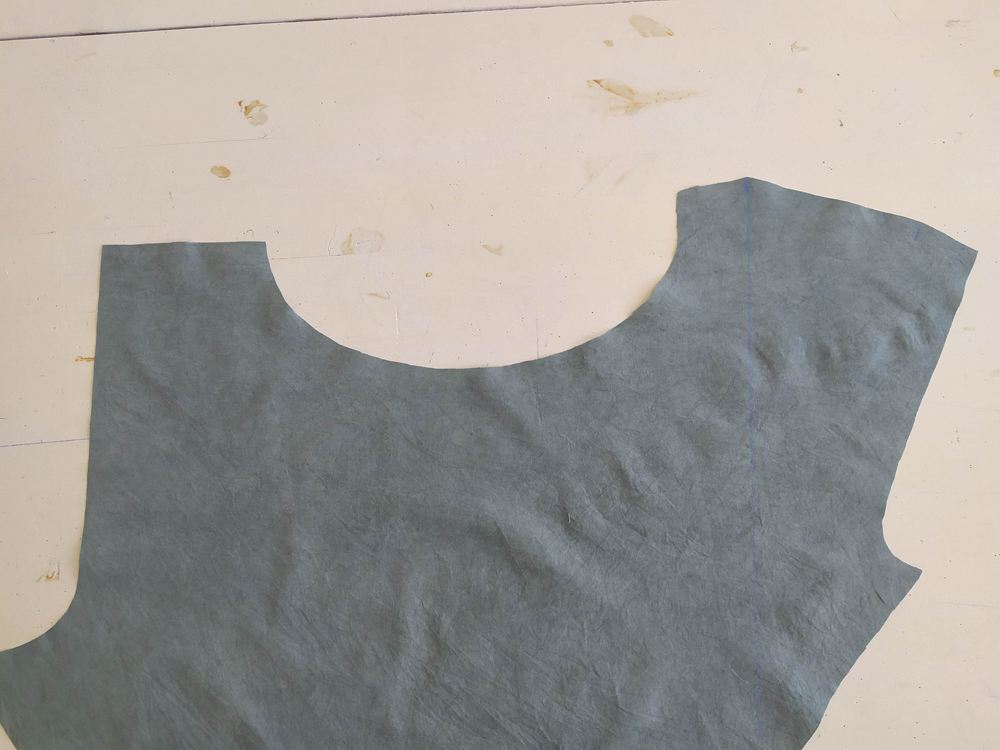
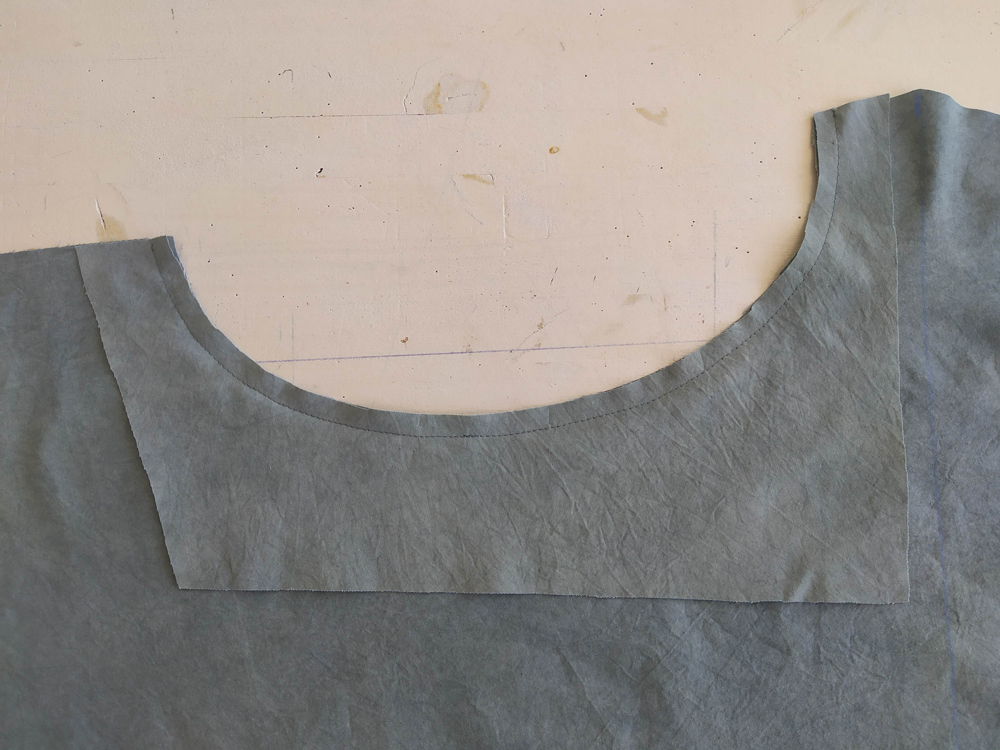
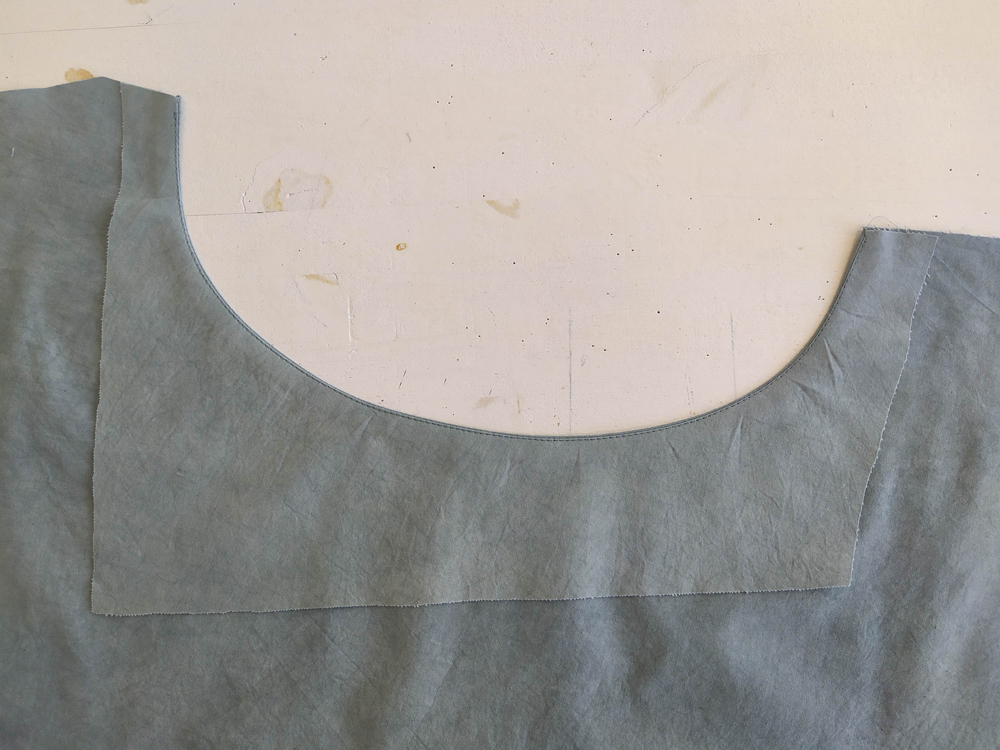
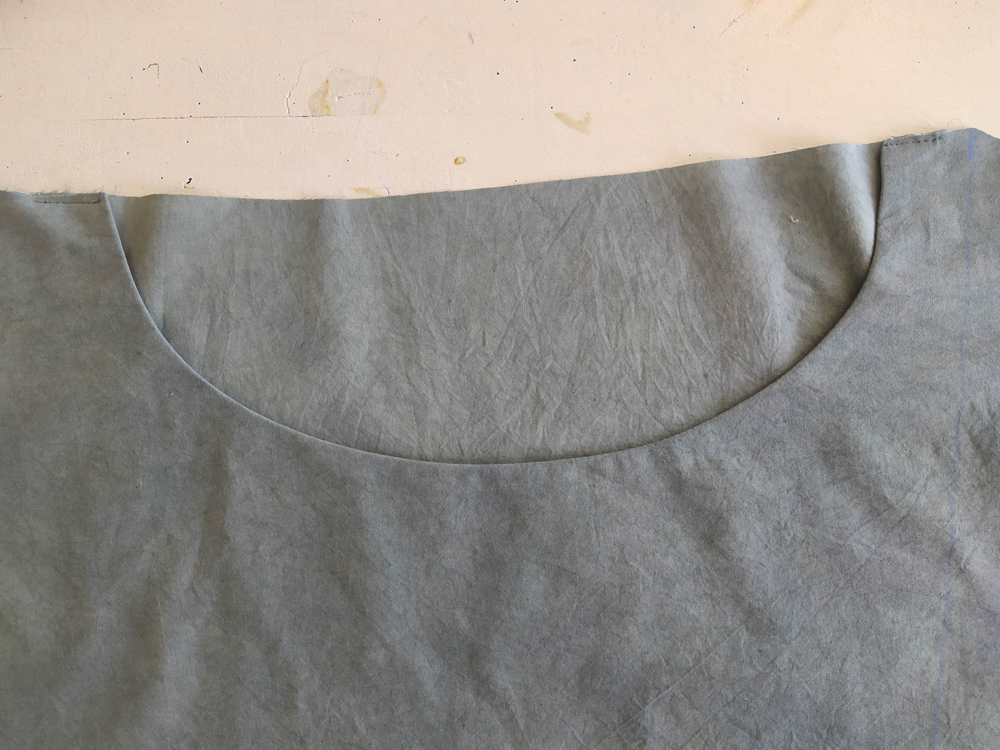
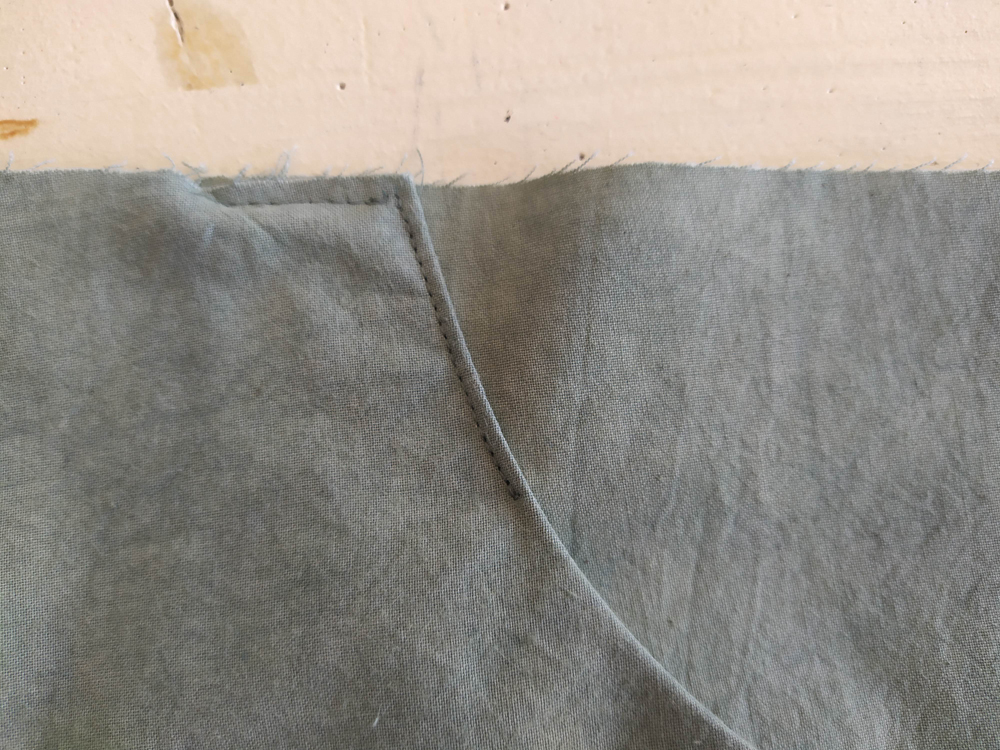
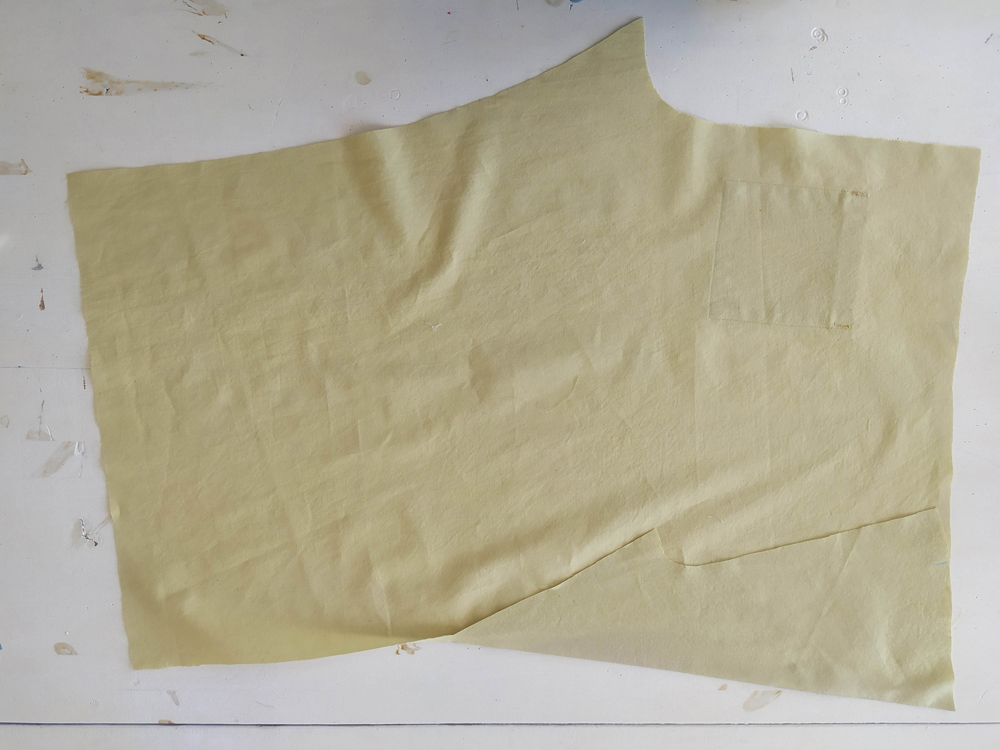
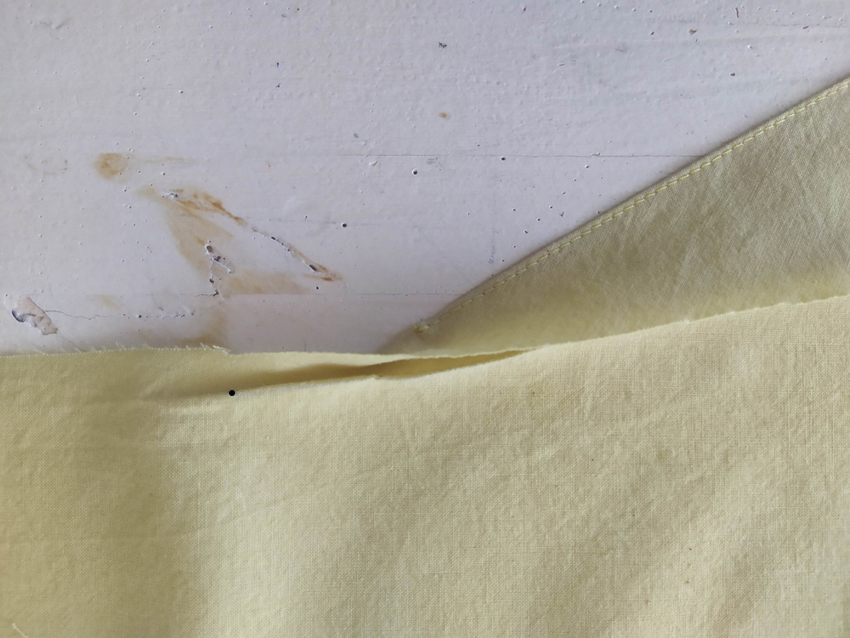
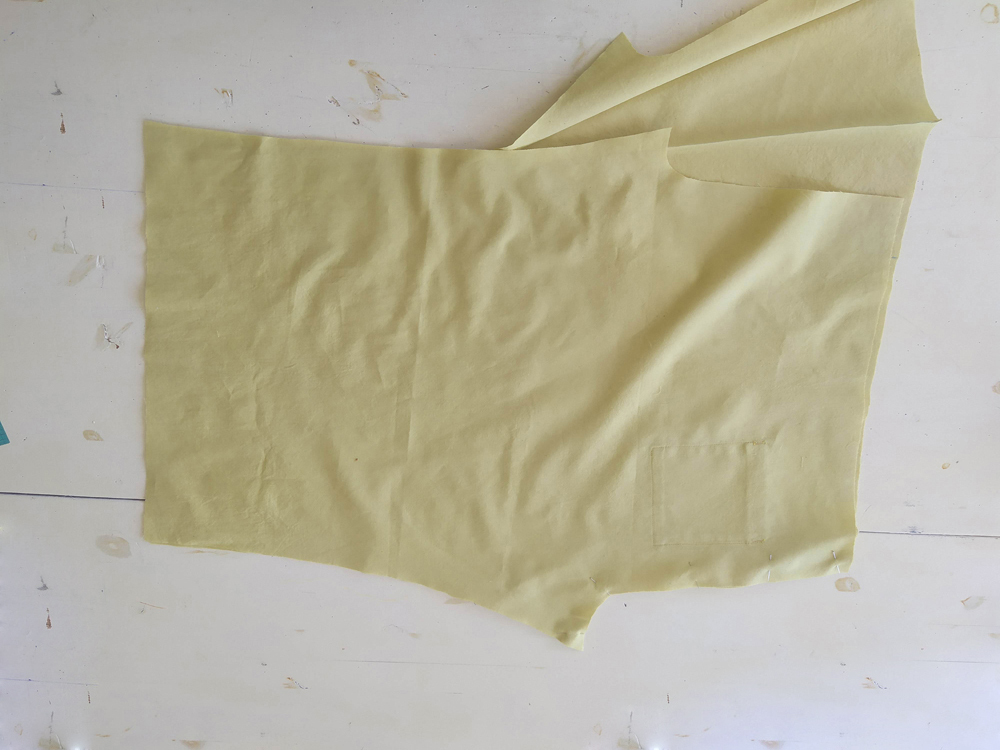
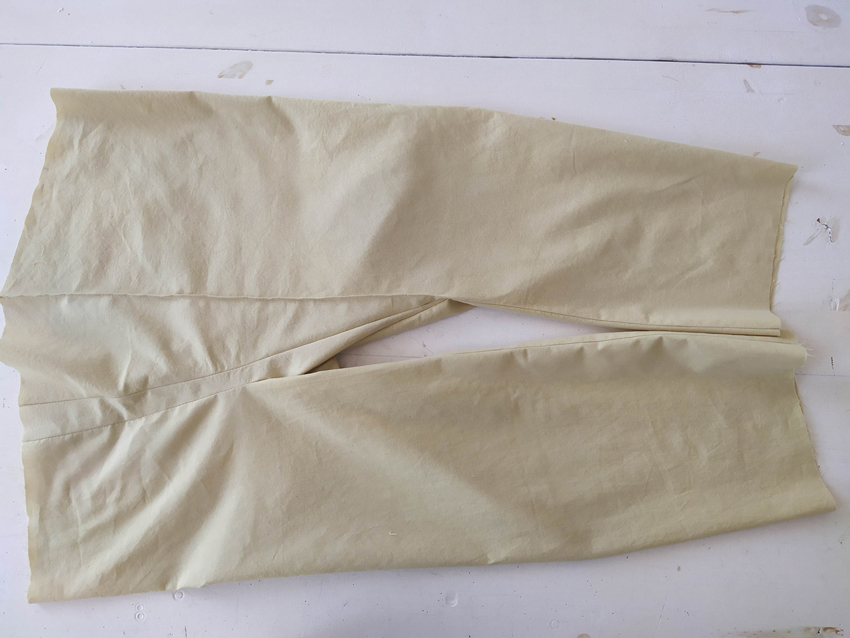
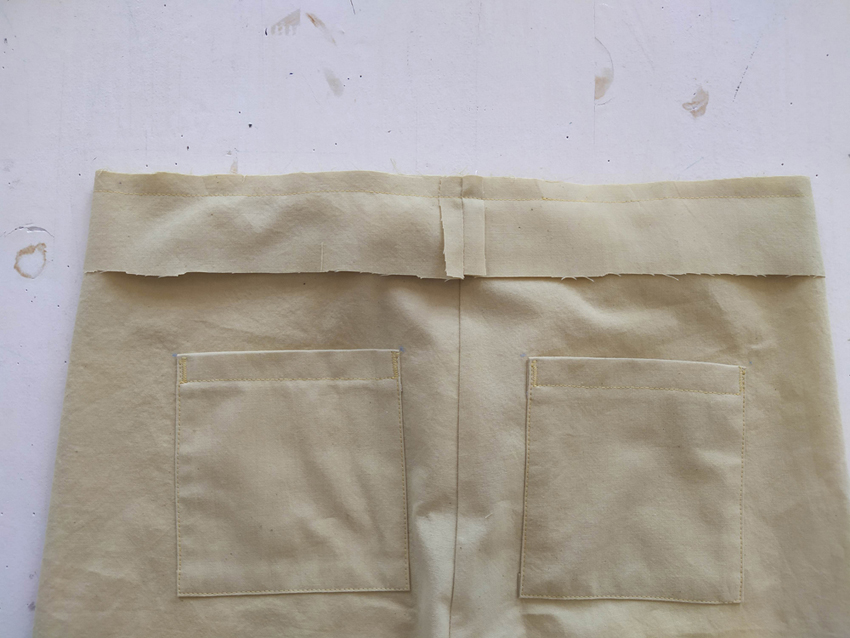
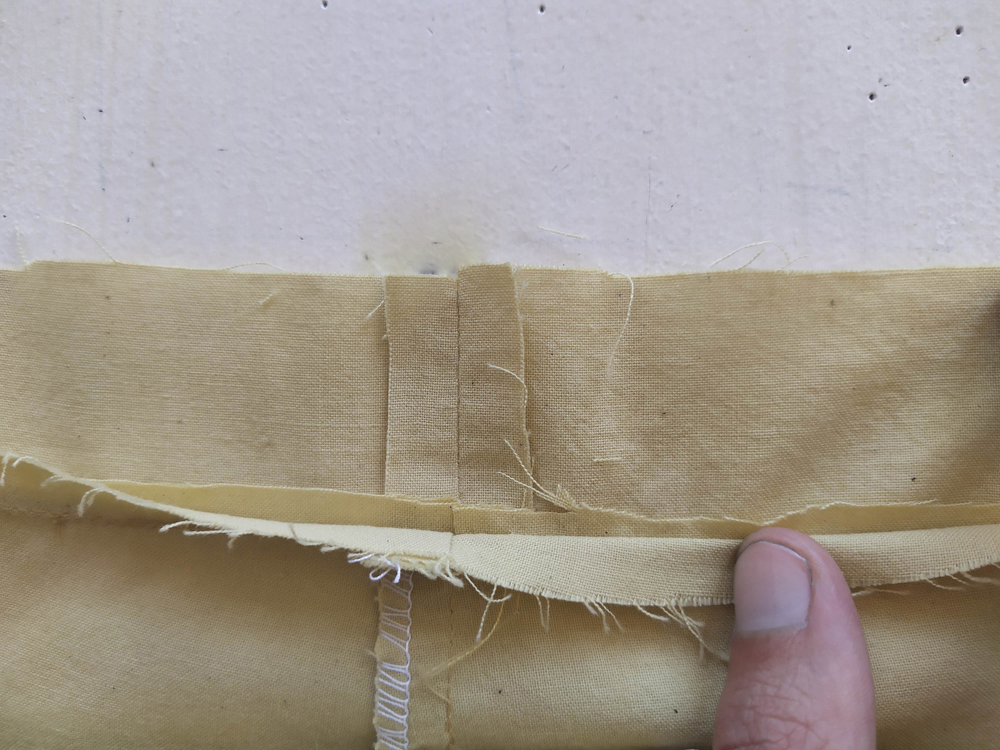
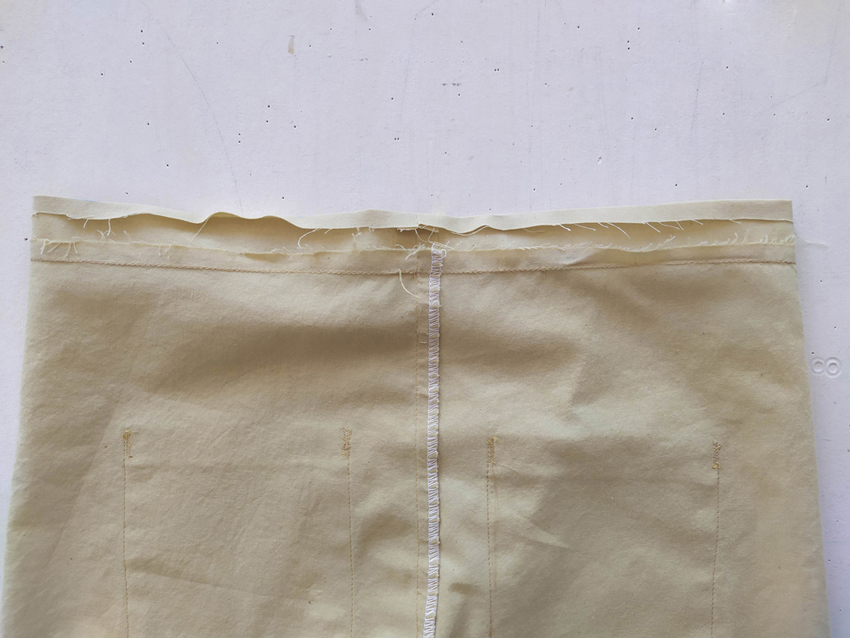
Assemble the front and back rise. With wrong sides together, line up pattern pieces (A) and (B) or (C) along the rise. Pin and stitch. Finish the seam allowances together and press each one to the side.
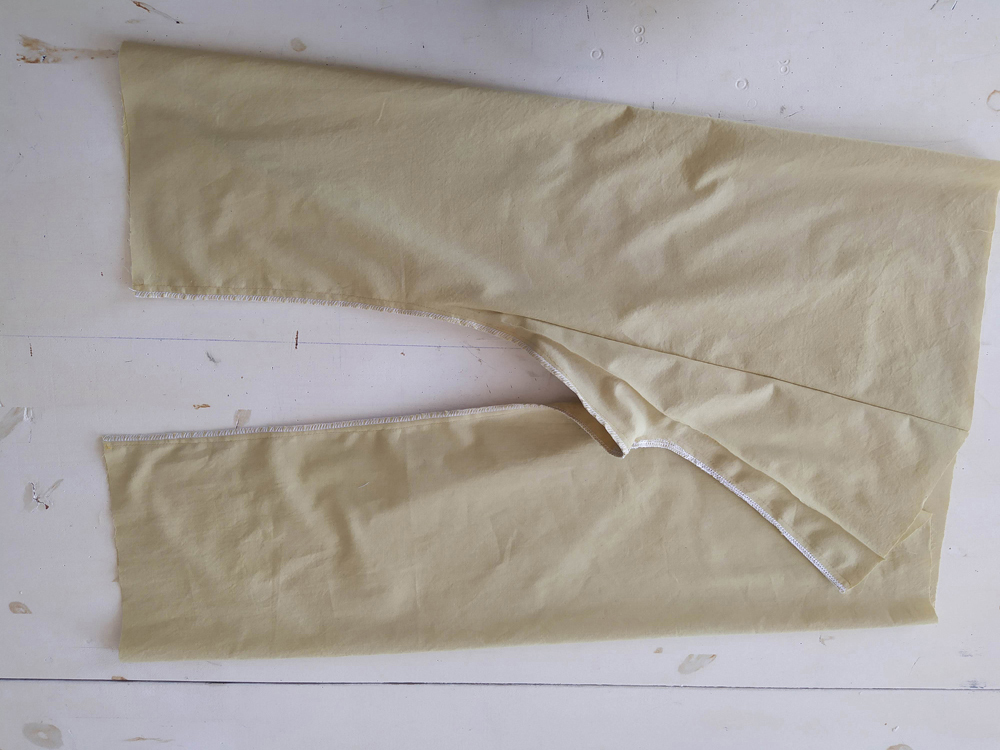
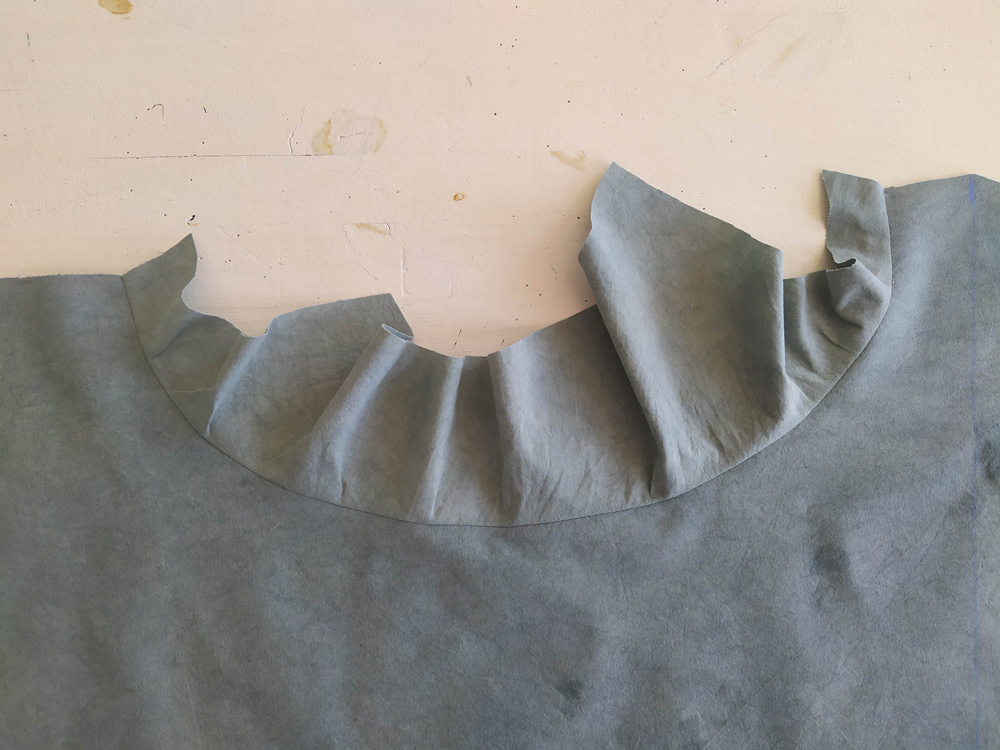
When sewing the left leg inseam, you will notice the front is just a bit longer and has excess fabric. The length of the front and back is similar, however, the top of the leg with the fold is cut on the bias. Stretch the fabric over the top of the back leg so that it fits the leg front.
Watch this tutorial to help you:
![]()
![]()
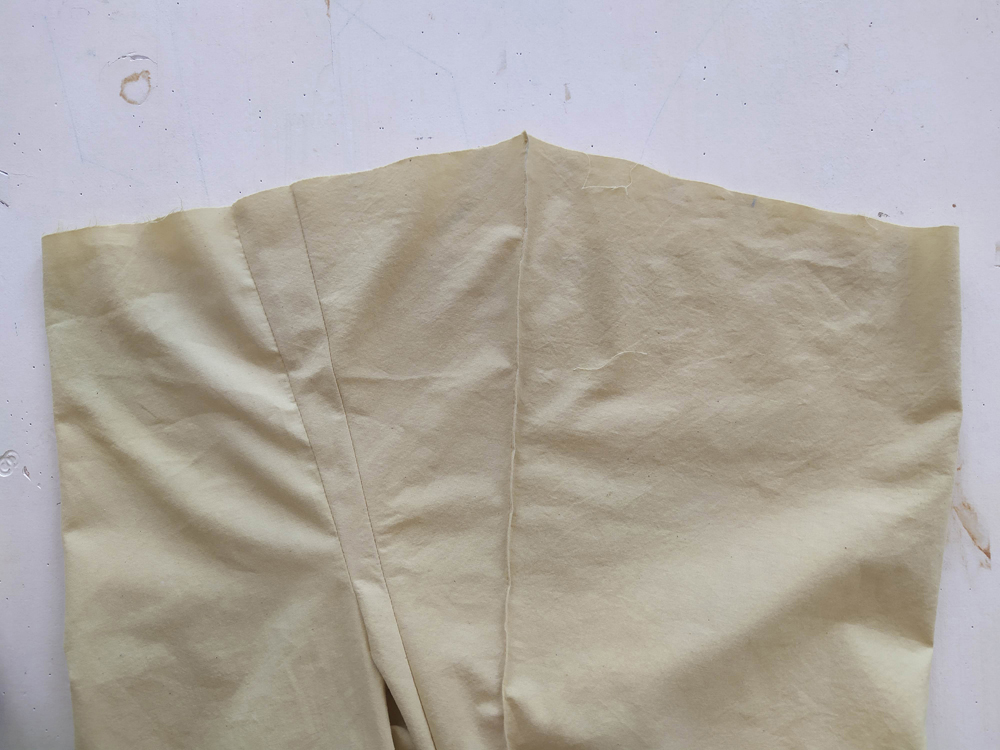
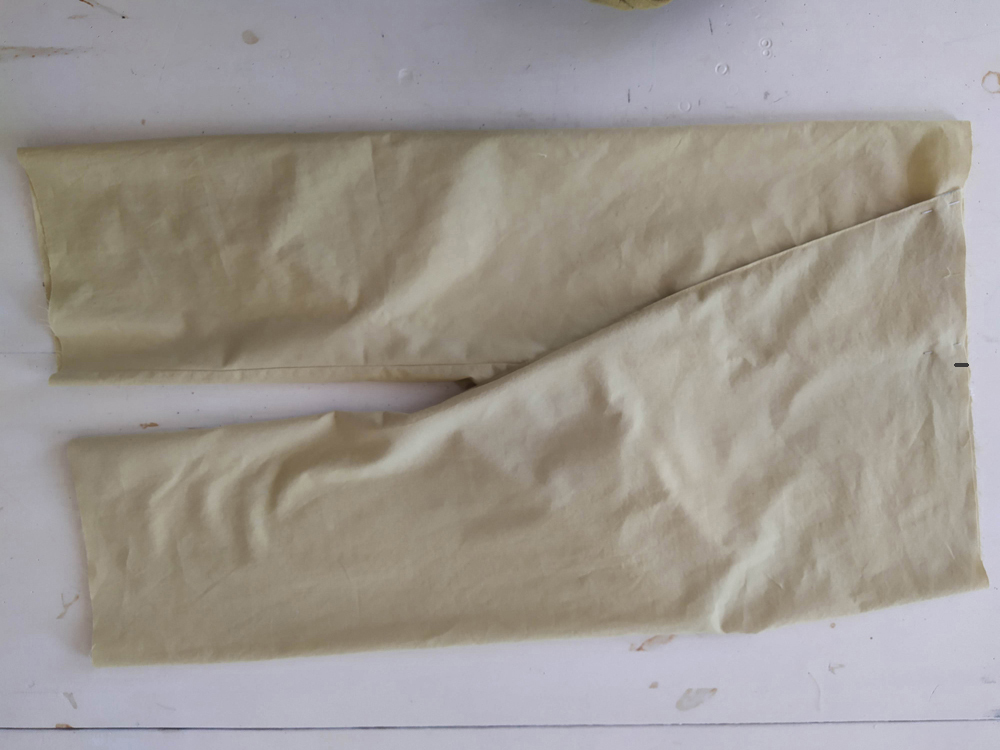
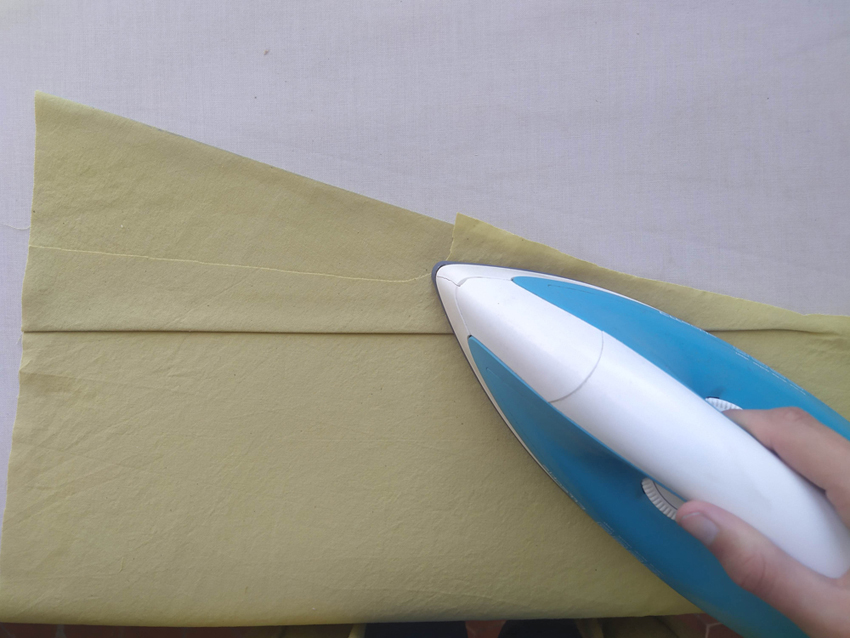
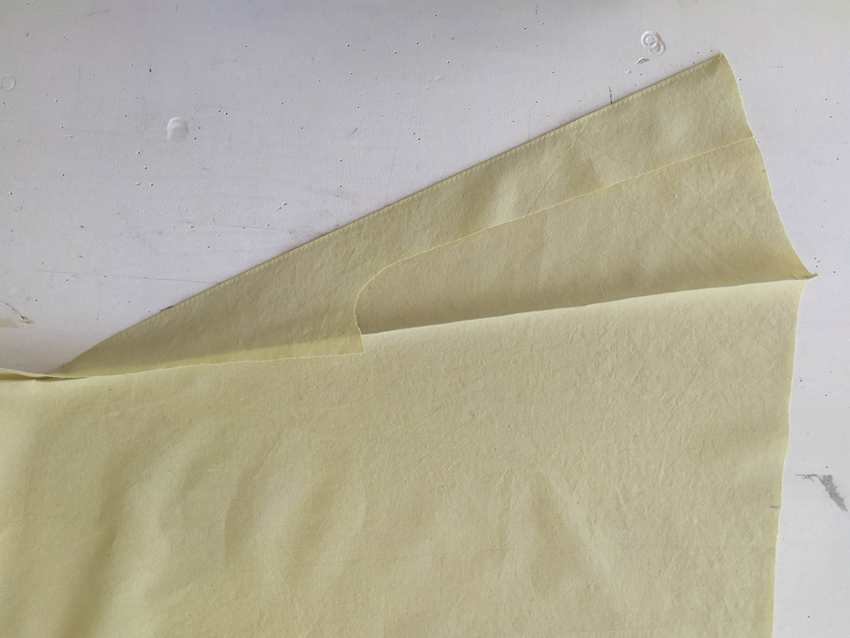
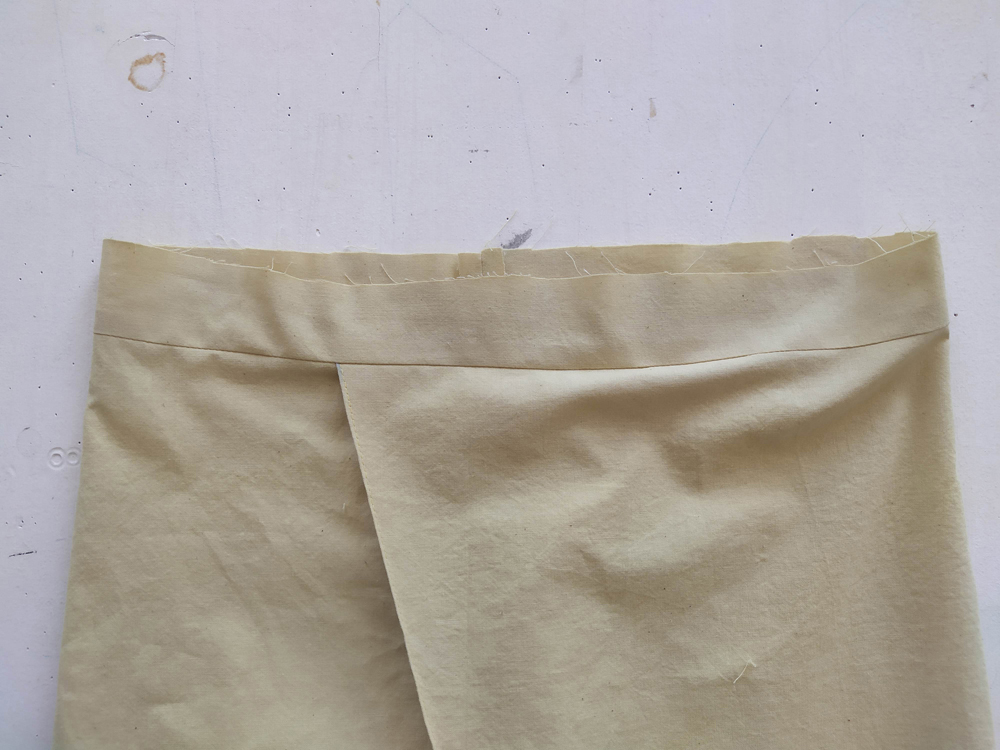
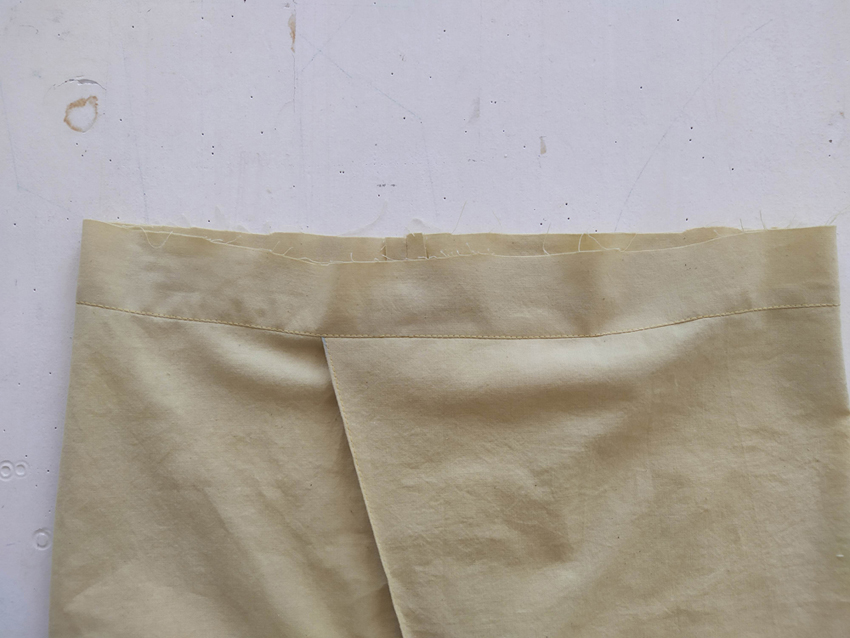
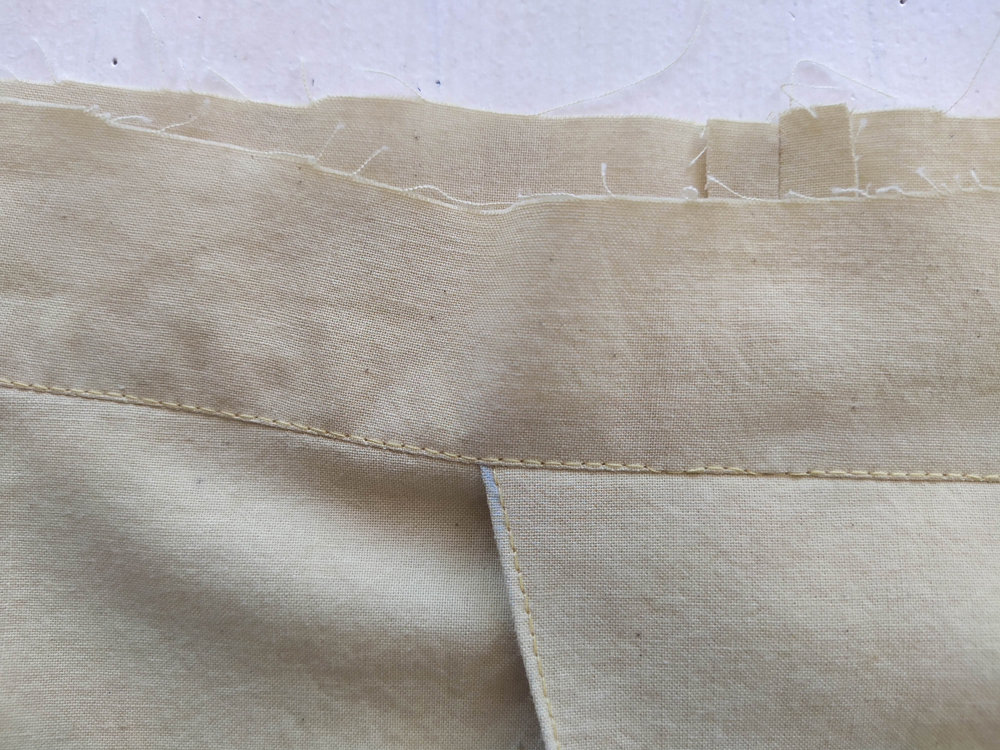
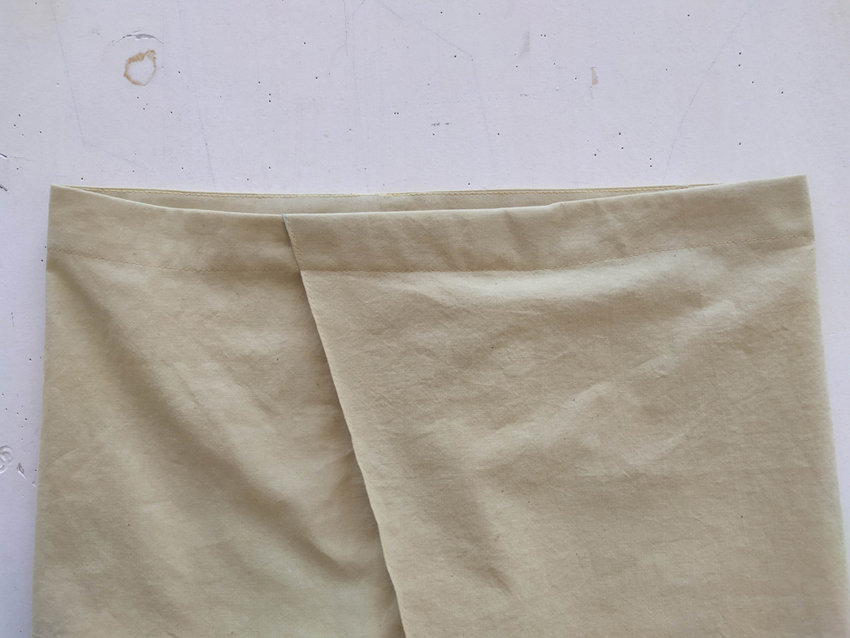
Front wrap detail:
Flip fold 1 toward the right pant leg and bring fold 2 to the marking (in black on the diagram). Baste to hold in place. This step is simple to create, but very difficult to illustrate :) If you need help, please take a look at this tutorial:
![]()
![]()

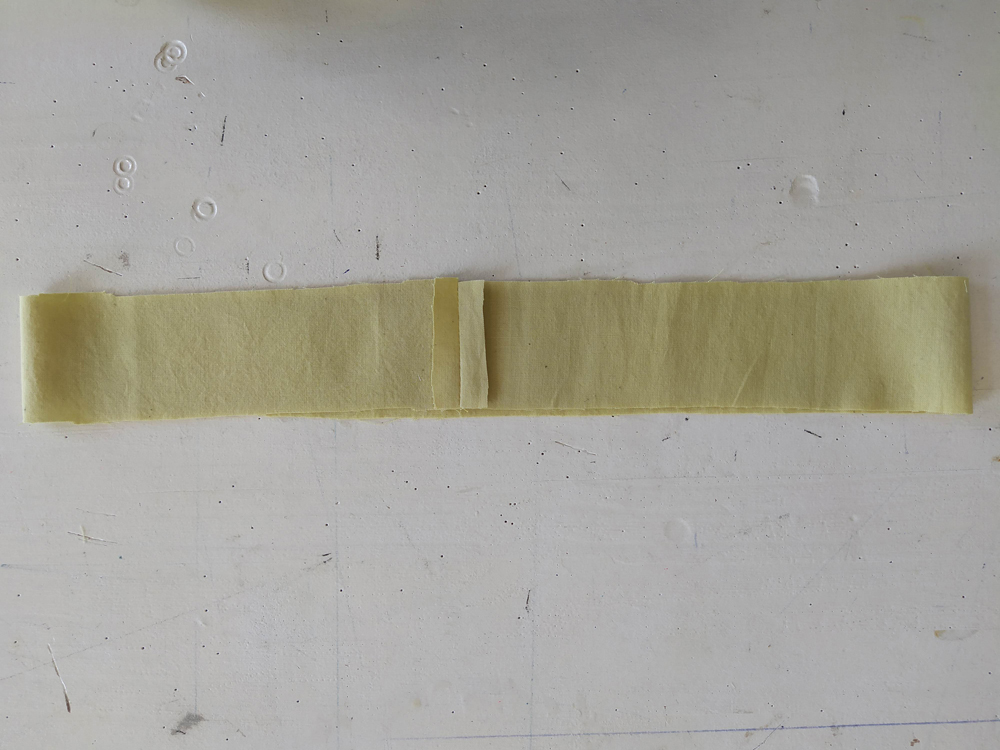
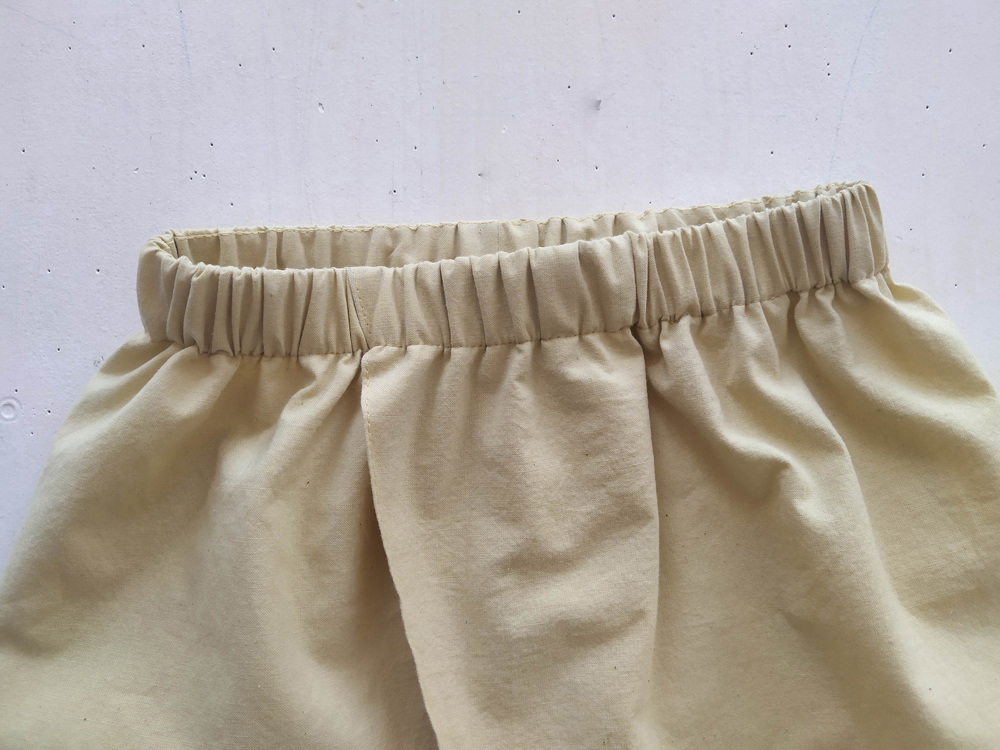
With right sides together, sew the short ends of the waistband together. Press the seam open.
With right sides together, line up the waistband seam with the center back of the pants. Pin in place and stitch.
Turn the waistband right side up.
Press the seams toward the waistband and understitch.
To reduce bulkiness, trim one of the seam allowances.
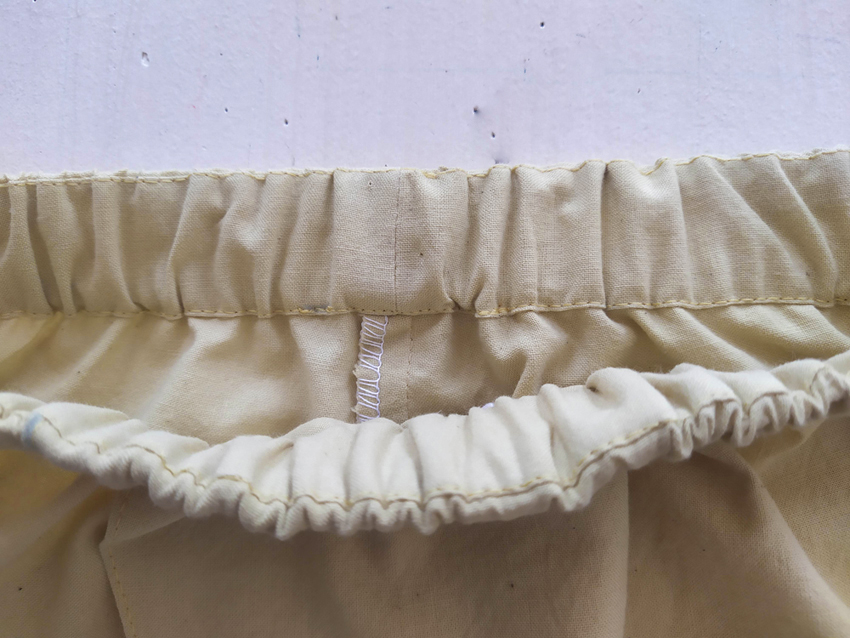
Turn the pants wrong side out. Fold the top edge of the waistband 1cm to the inside, wrong sides together. Press.

Turn the waistband to the inside of the pants, pin in place and press. Sew a line of stitches 2 mm from the folded edge to create the channel for your elastic. Leave an opening of about 2.5 cm to insert the elastic.
Wrap the elastic around your waist to determine the length you need to cut. The elastic should feel slightly stretched around your waist (above your belly button). Add 4 cm seam allowance before cutting.
Attach a safety pin to the end of one side of your elastic. Insert the safety pin into the opening. Move the elastic through the channel by sliding the fabric over the pin, then pulling the elastic forward. Make sure to stop regularly to ensure that the elastic is not twisting.
Overlap the two ends of the elastic at the seam allowance markings that you made (2 cm from the edge), and sew with a zigzag stitch.
Evenly distribute the gathers along the waistband and try on the pants to ensure that the elastic fits well. Stitch the waistband opening shut.
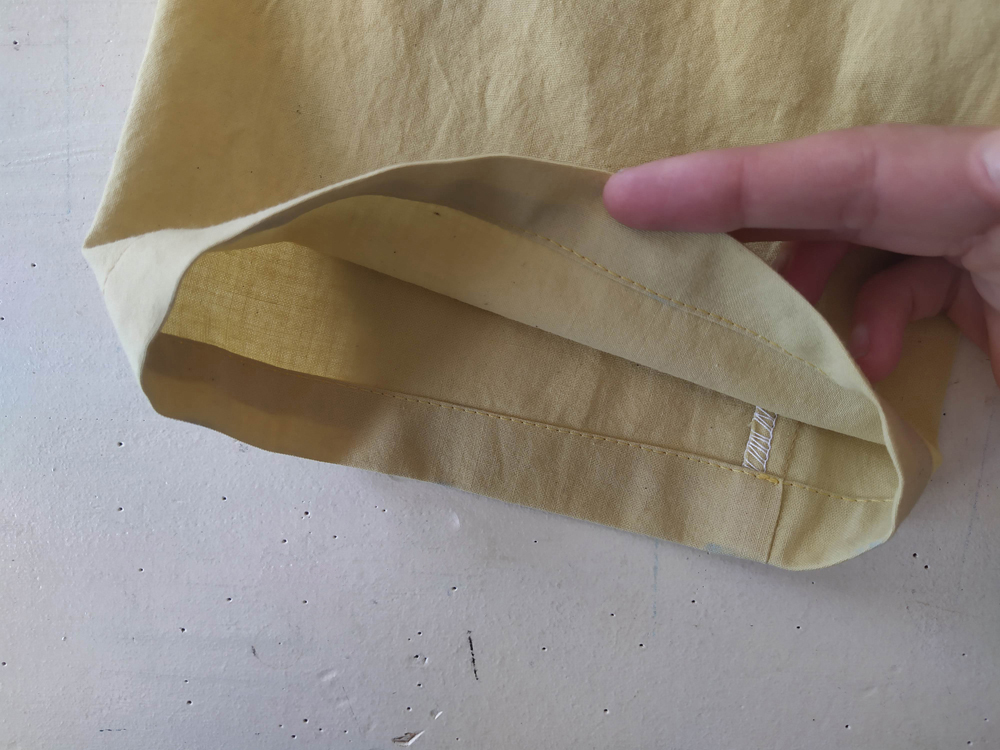

Time to hem! Press the bottom edge of the fabric 1 cm to the wrong side. Turn the pressed edg e under an additional 3cm, press again and edgestitch in place.
Darn, are the pants too short? Follow this tutorial to add an additional 3 cm of length to the hem.
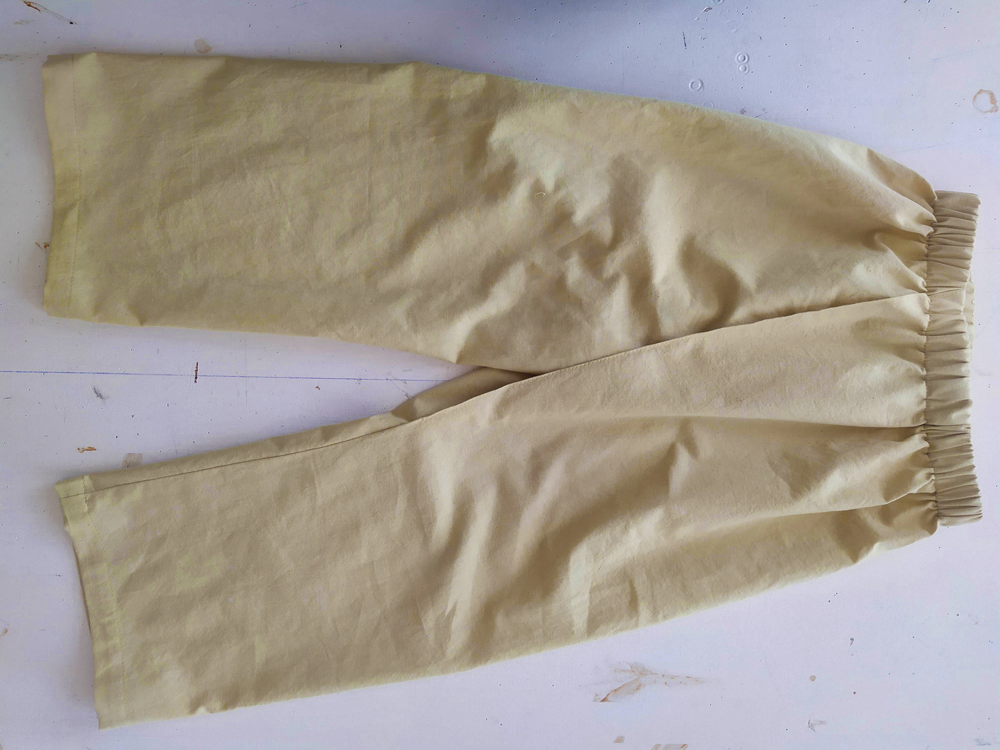
That's it, it's over! Enjoy your new Pleat pants.
Je ne comprends pas où se trouve les repères des poches :'(
sur PLeat version 1. Je dois passer à côté de repères certainement. Mais j'ai beau regarder, je ne comprends pas.
Merci d'avance de votre aide.
Alors soit le problème vient de l'impression ou de la découpe, vous avez imprimé ou découpé la ceinture dans un taille supérieure à celle du pantalon, dans ce cas, aucun problème, il suffit de la couper plus courte. Soit, au moment de réaliser le pli frontal du pantalon vous avez plié plus que nécessaire et donc la largeur de taille s'en voit réduite et par conséquent la ceinture semble trop longue. Avez-vous regardé la vidéo de montage pour le pli disponible sur youtube ?
Très bonne couture, Raphaëlle