Sew along, the blazer Joe, part 2

 Sew along with us as we walk you through all the steps to sew a perfect tailor collar for the blazer Joe.
![]()
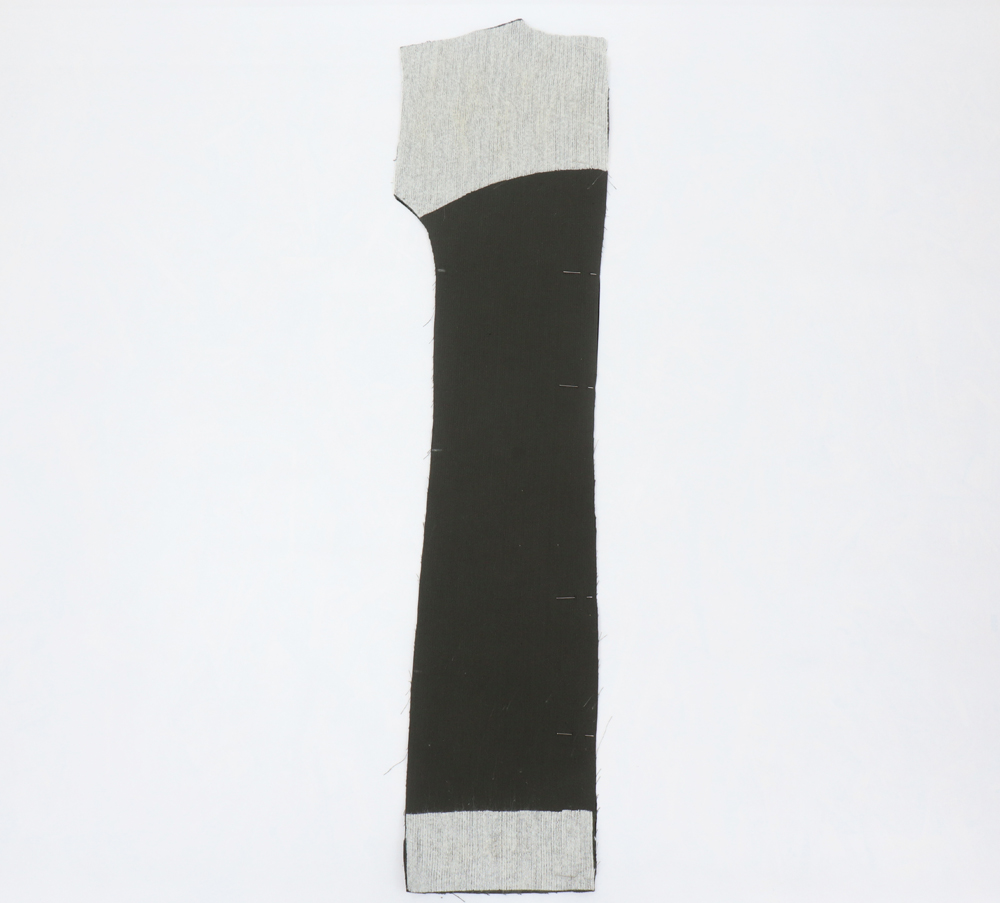
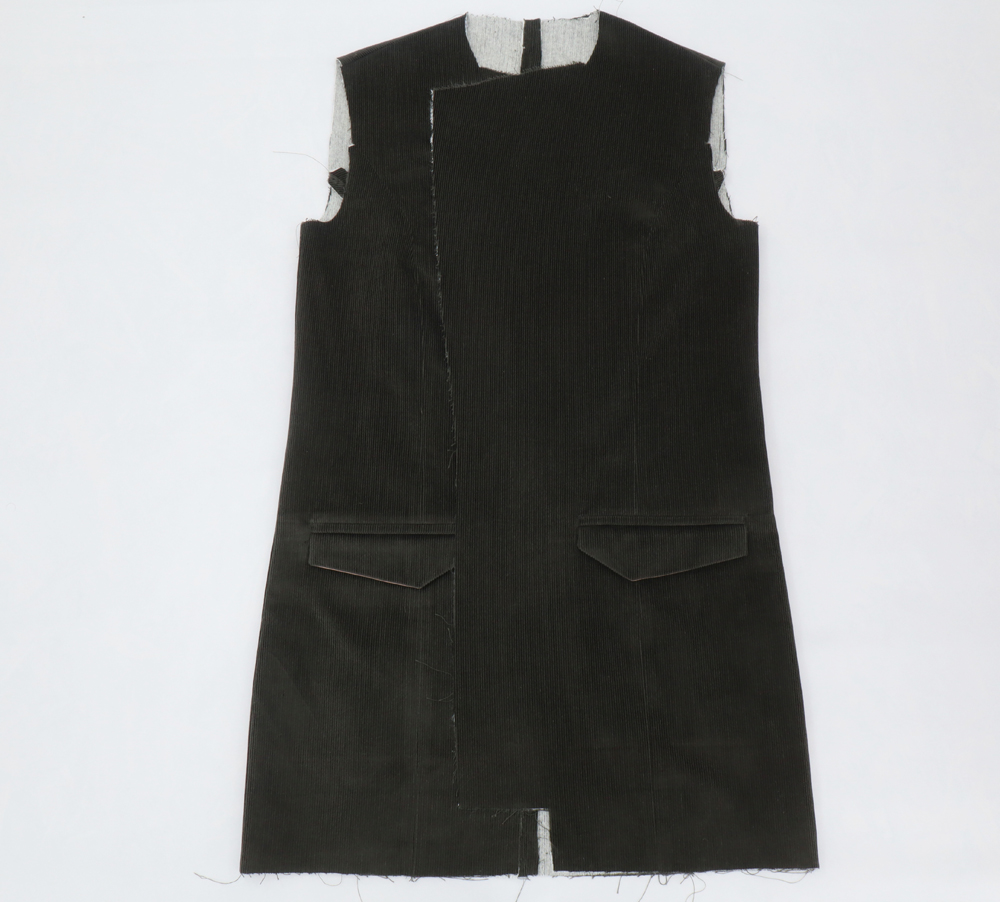
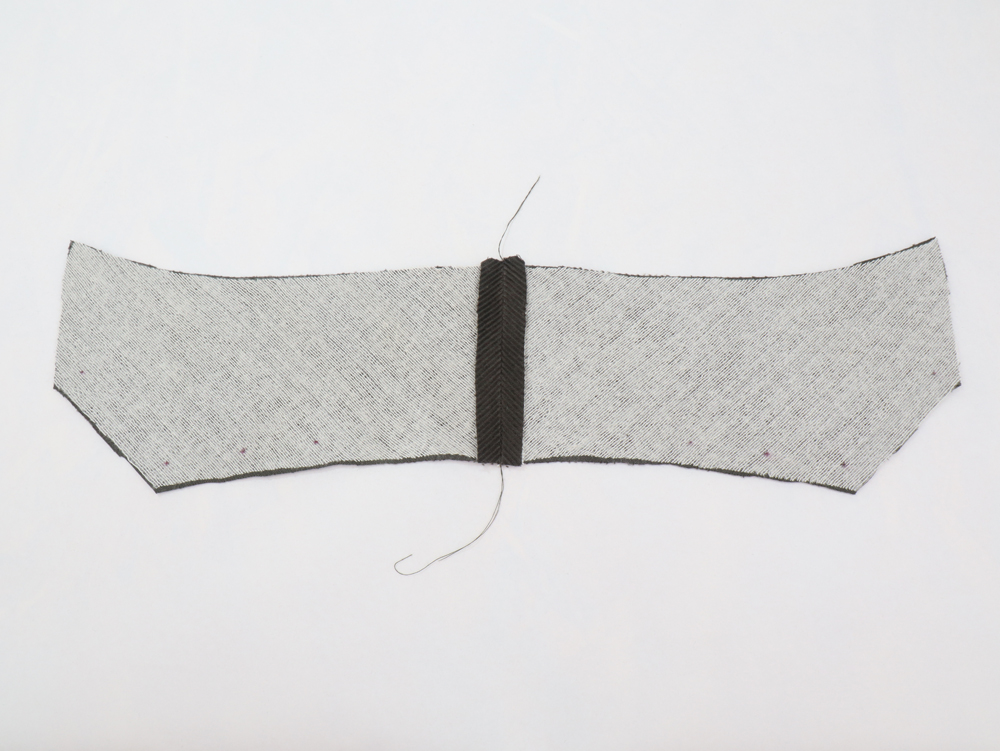
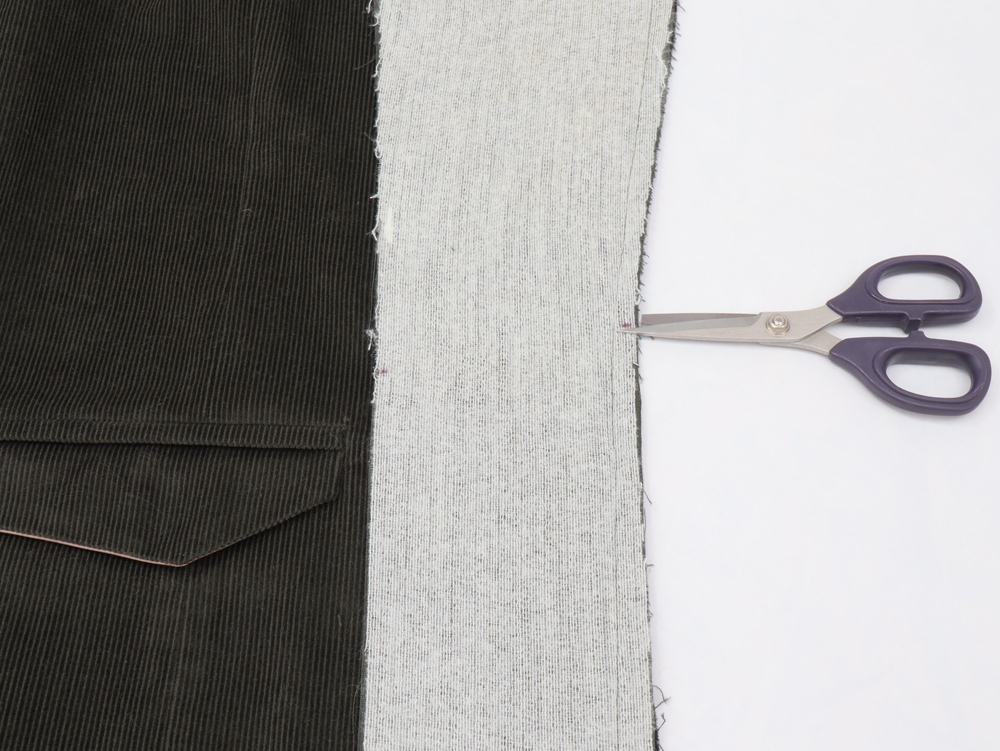
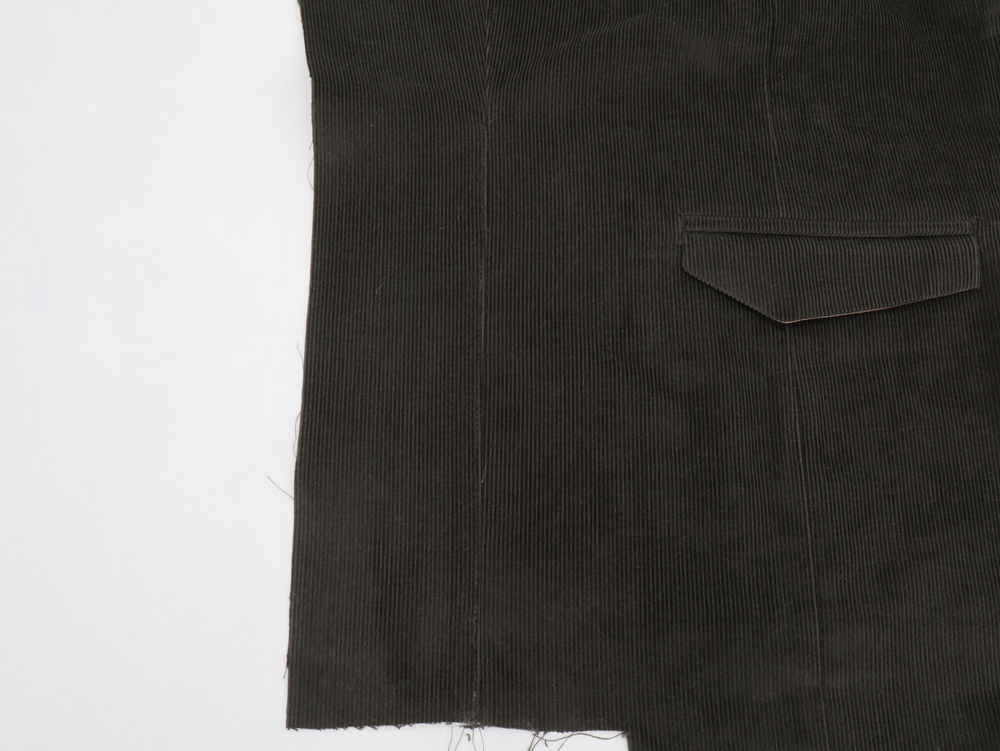
 Stitch the center back pieces right sides together. Press seams open.
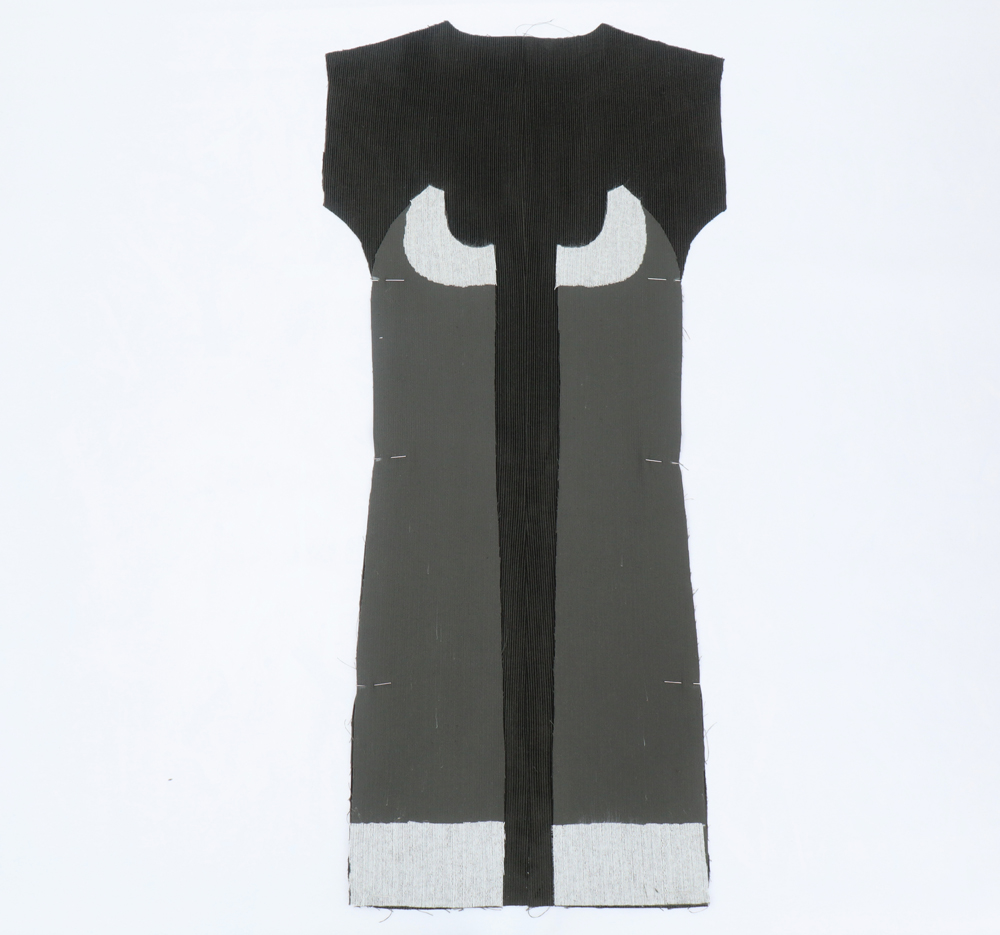
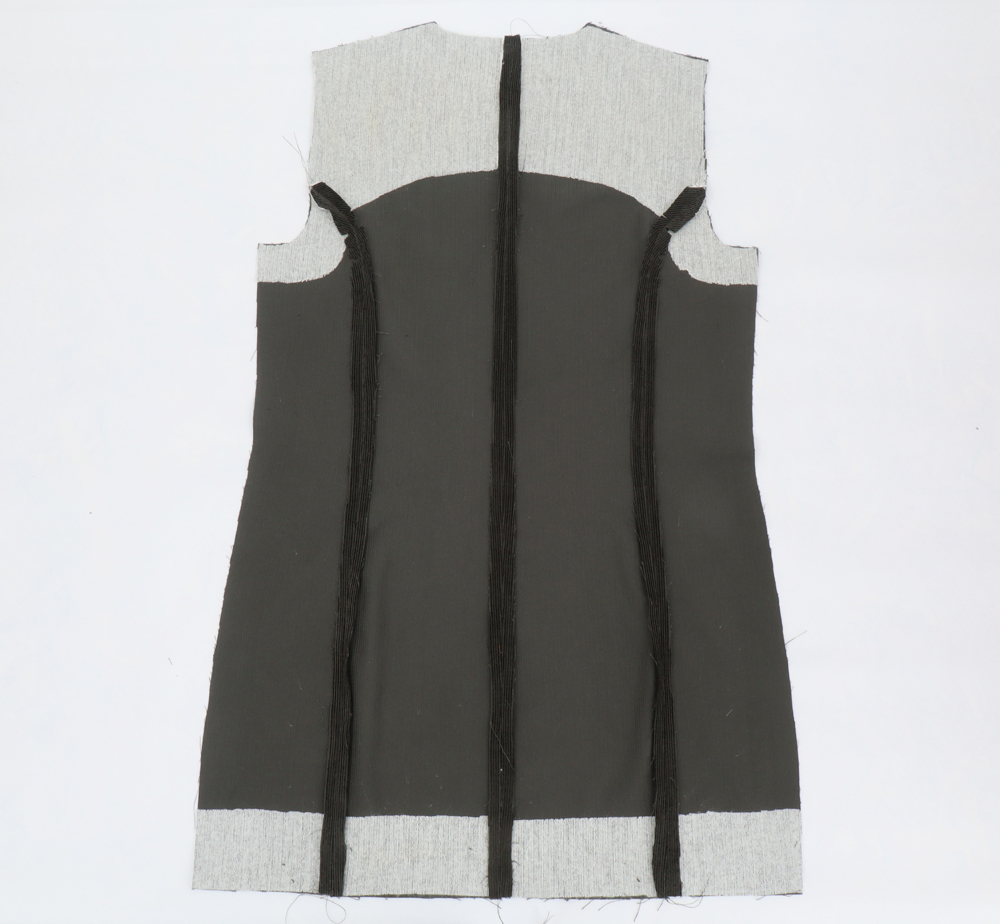
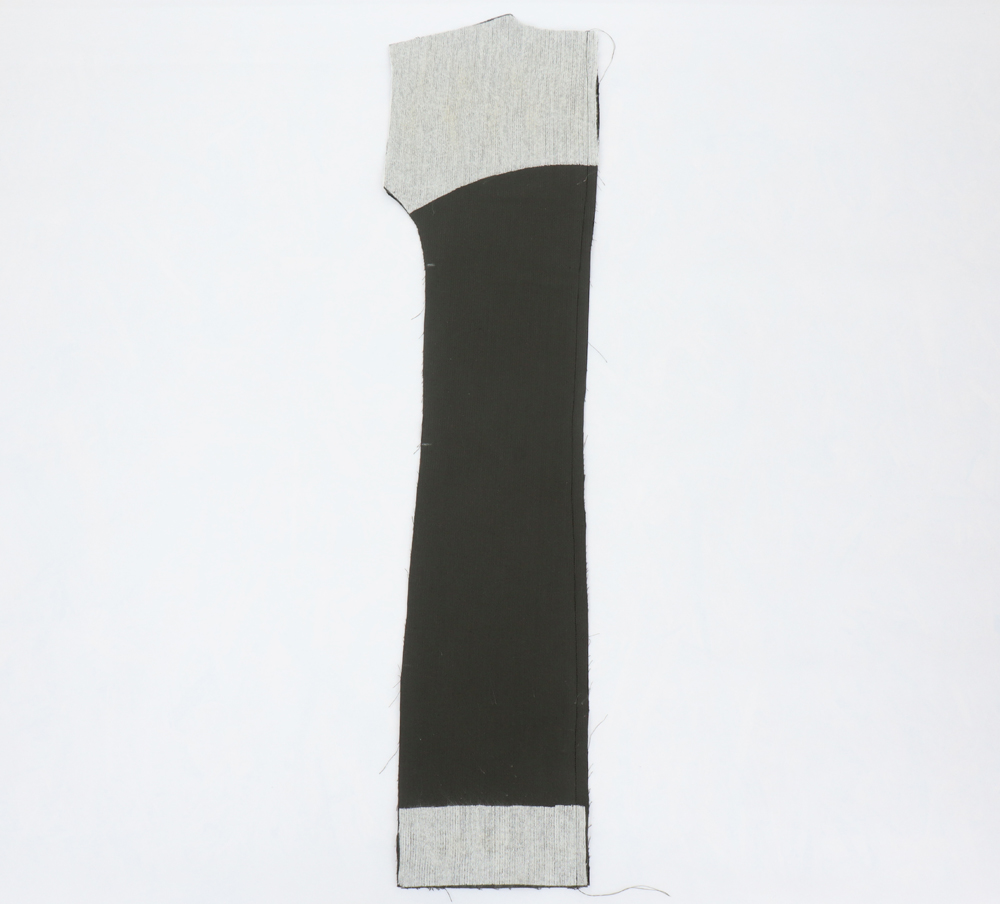
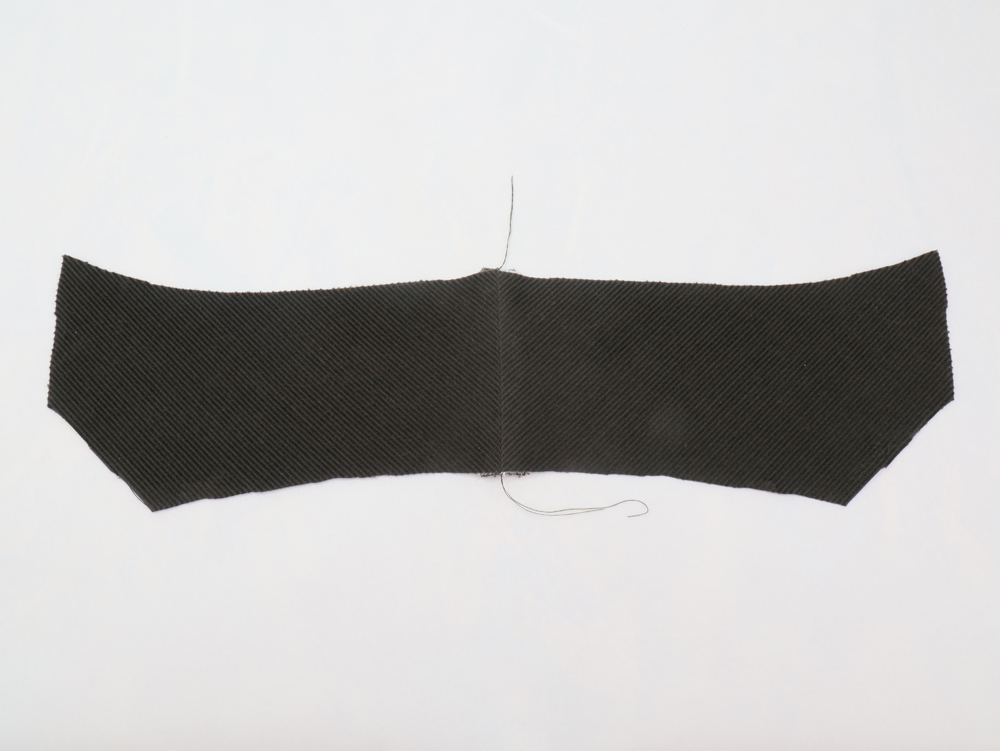
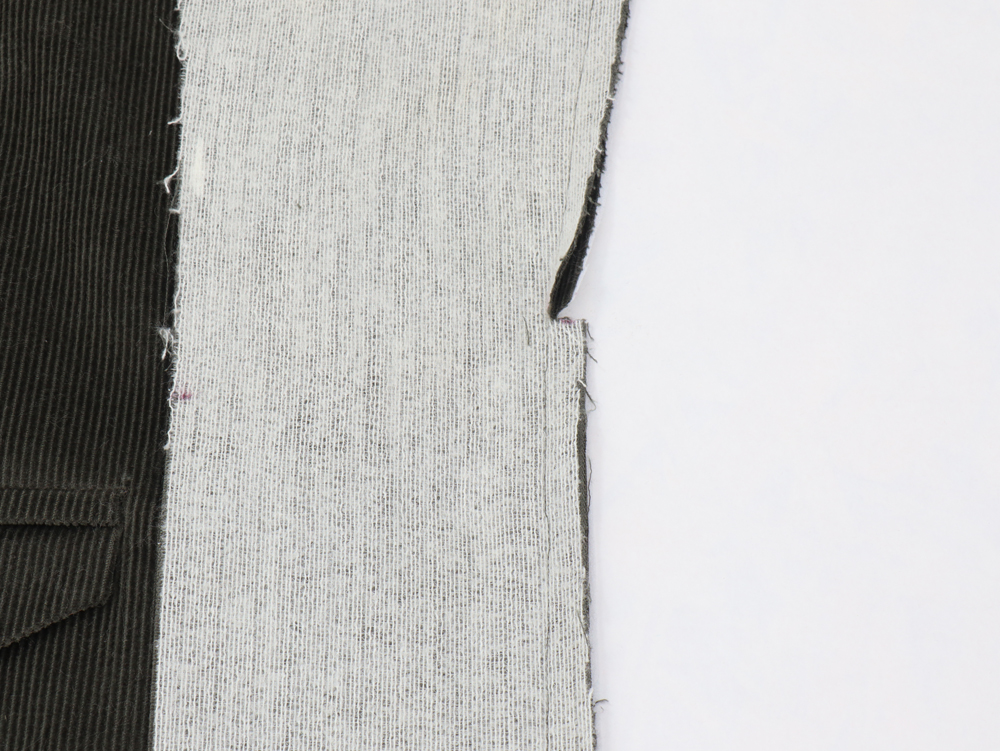
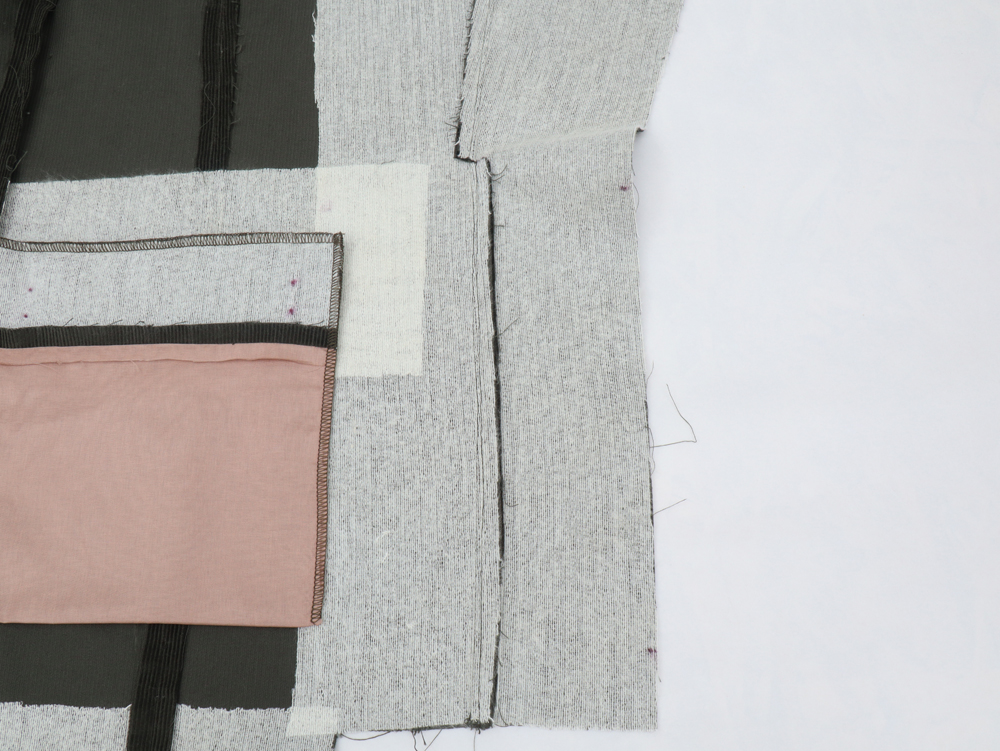
 Stitch the center back and side back pieces right sides together. Press seams open.

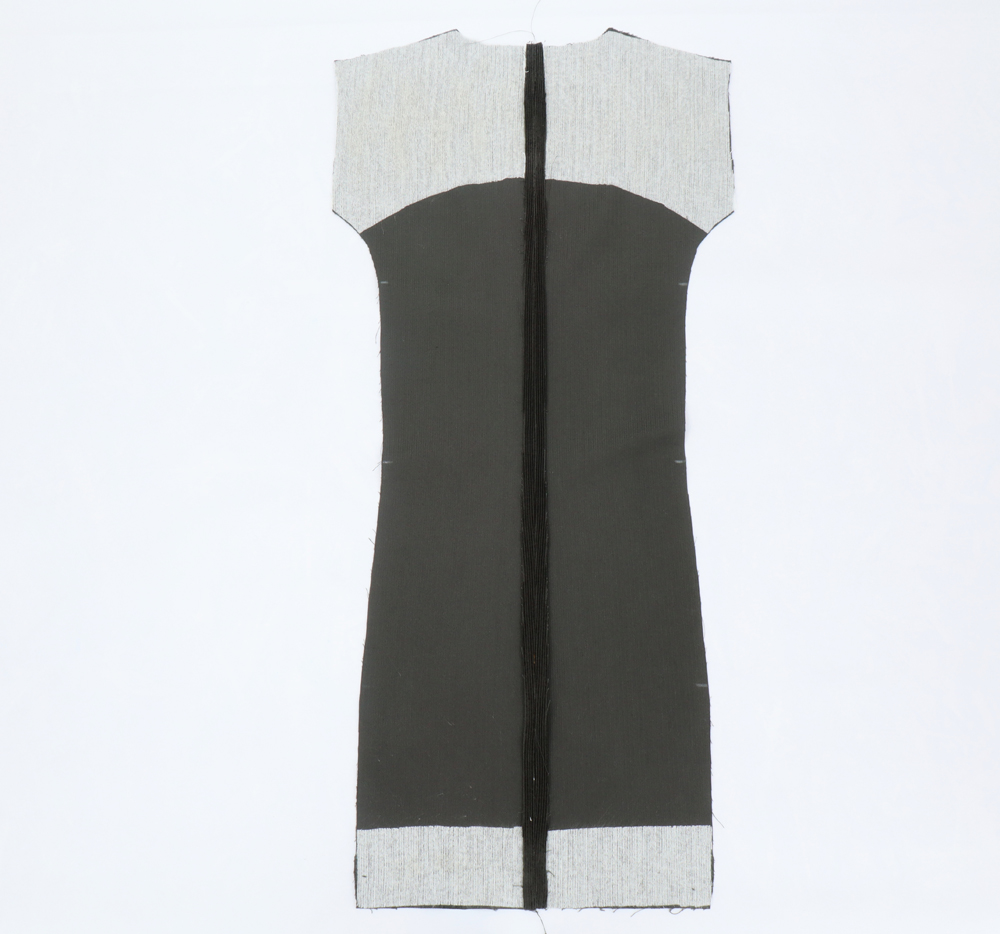
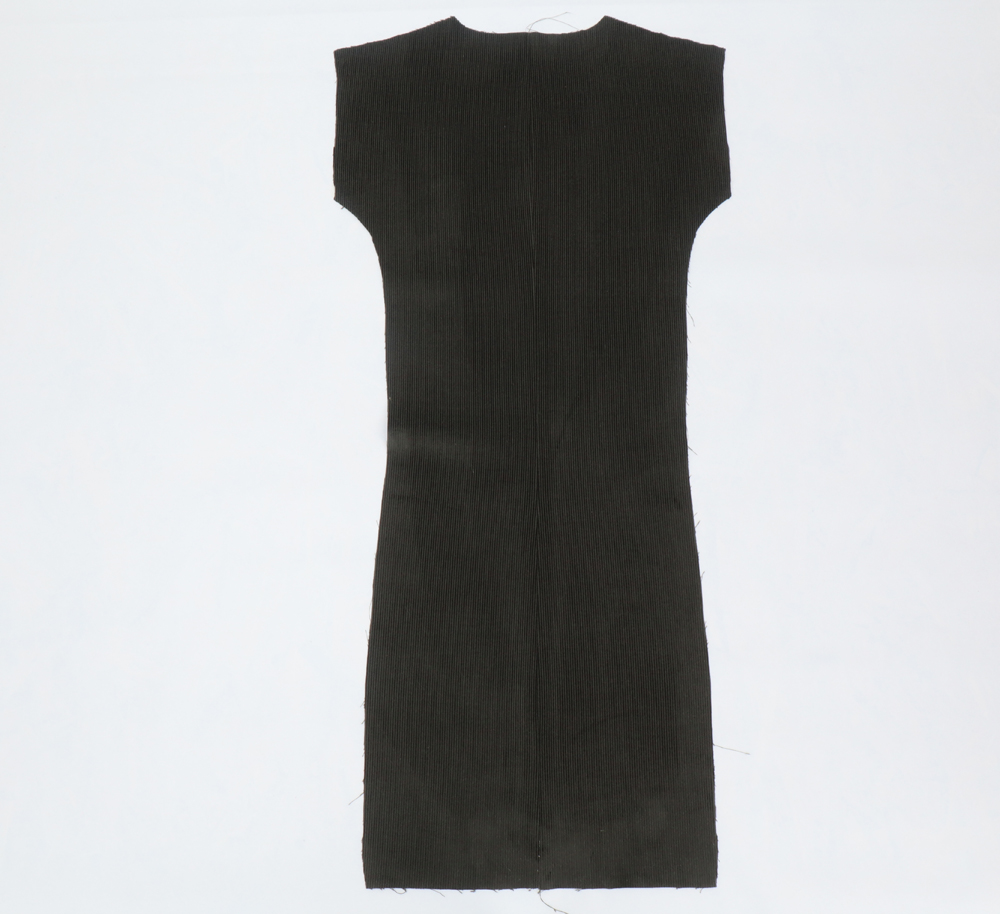
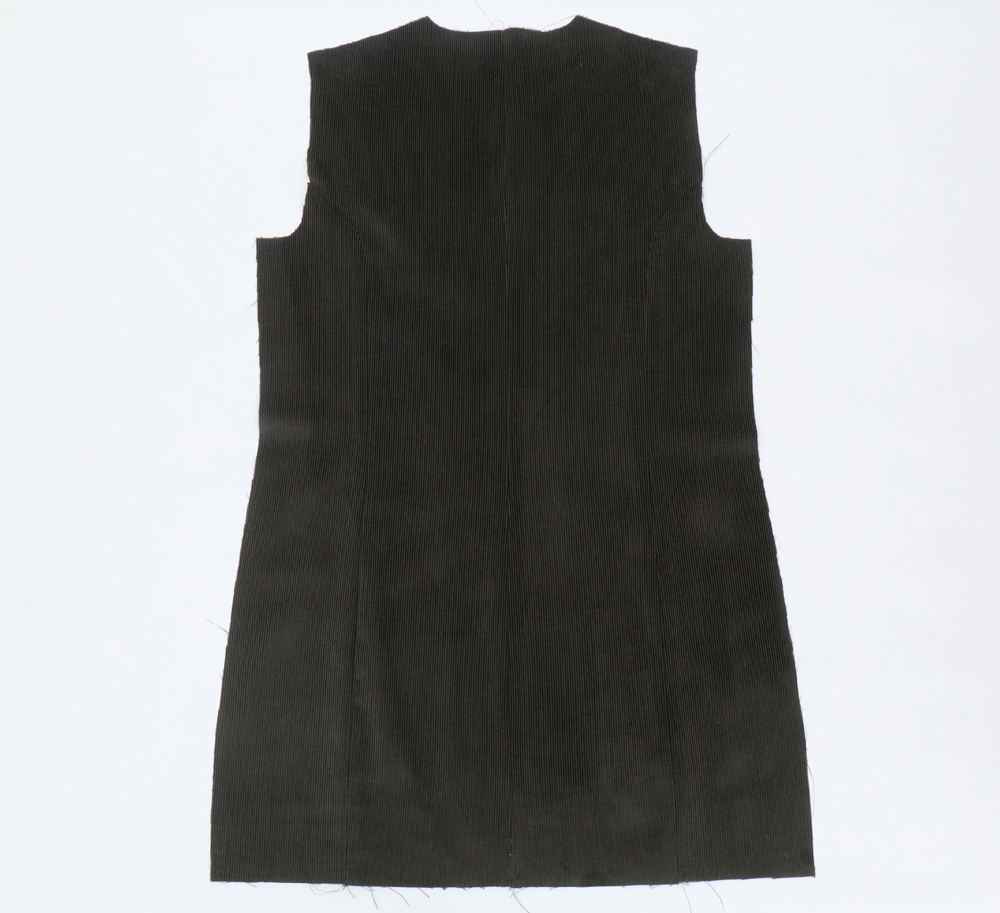
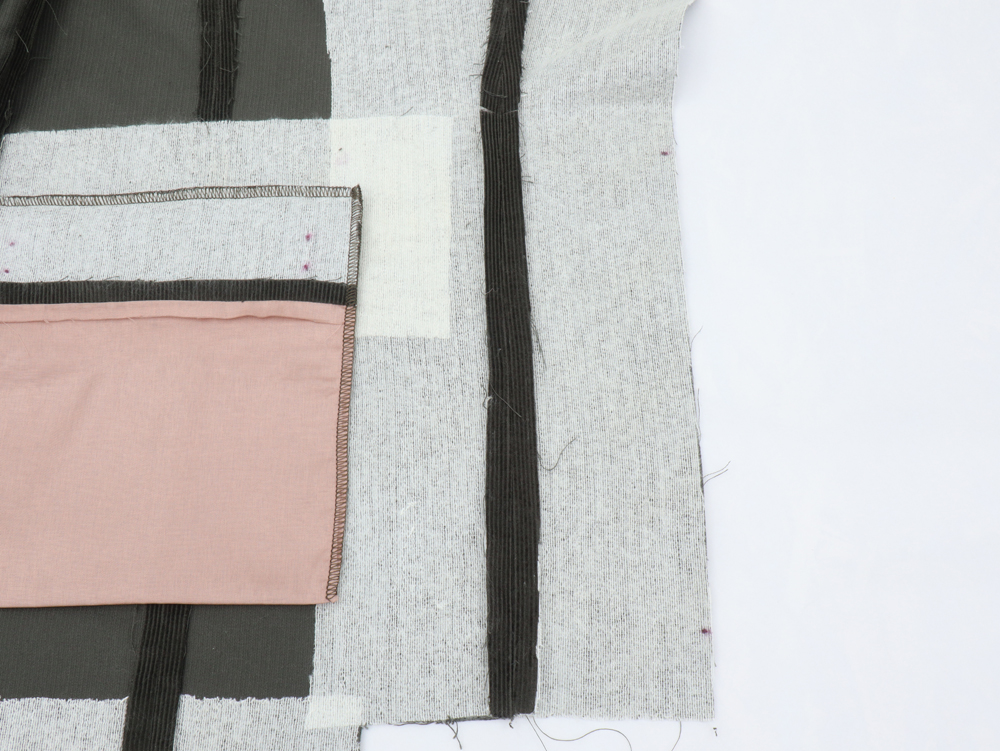
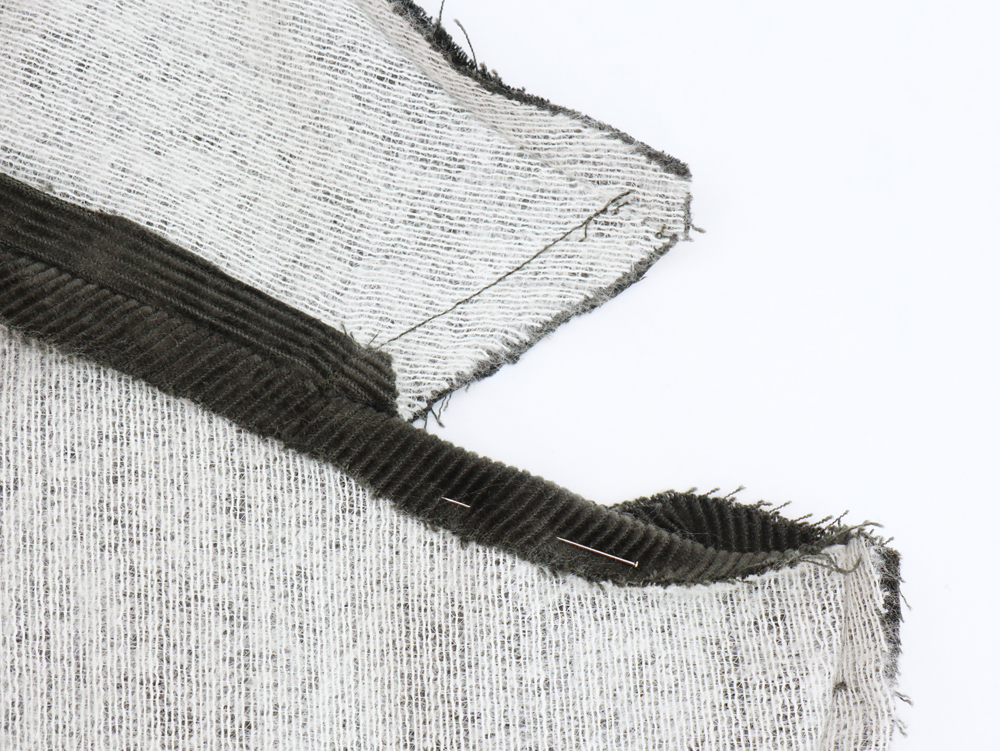
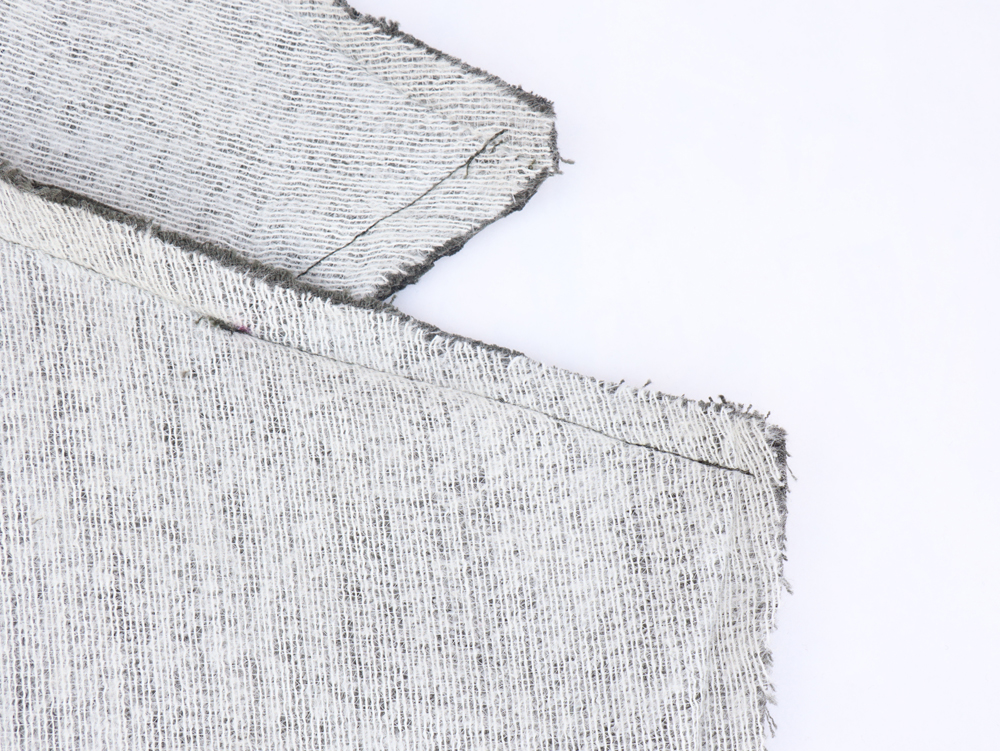
 Stitch the back and front right sides together at sides and shoulders. Press seams open.
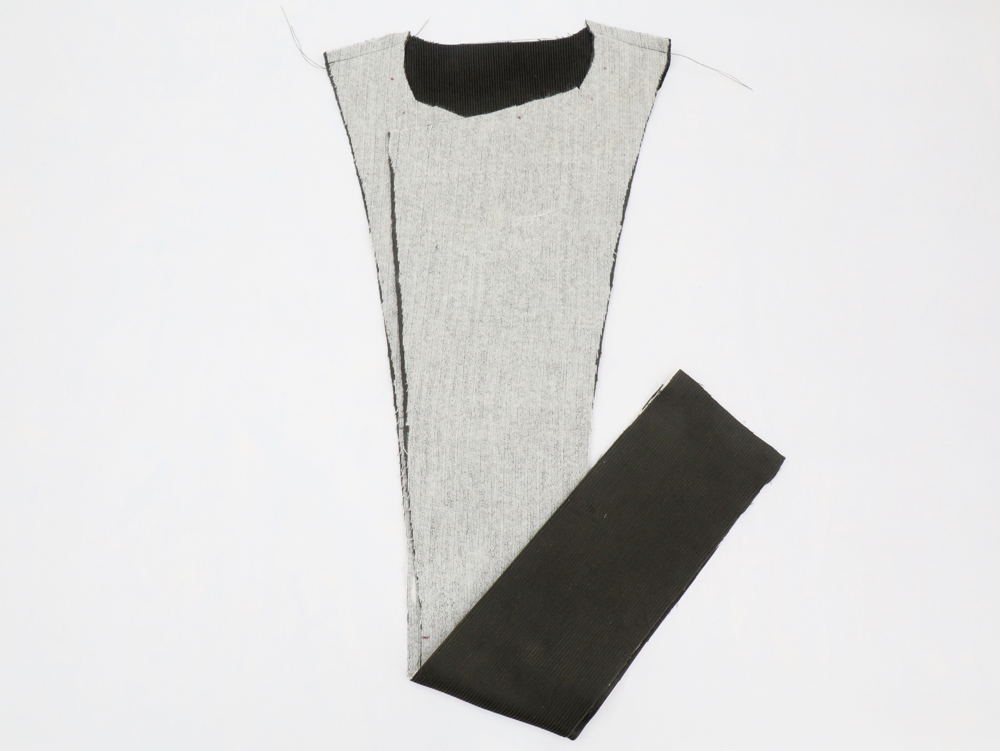
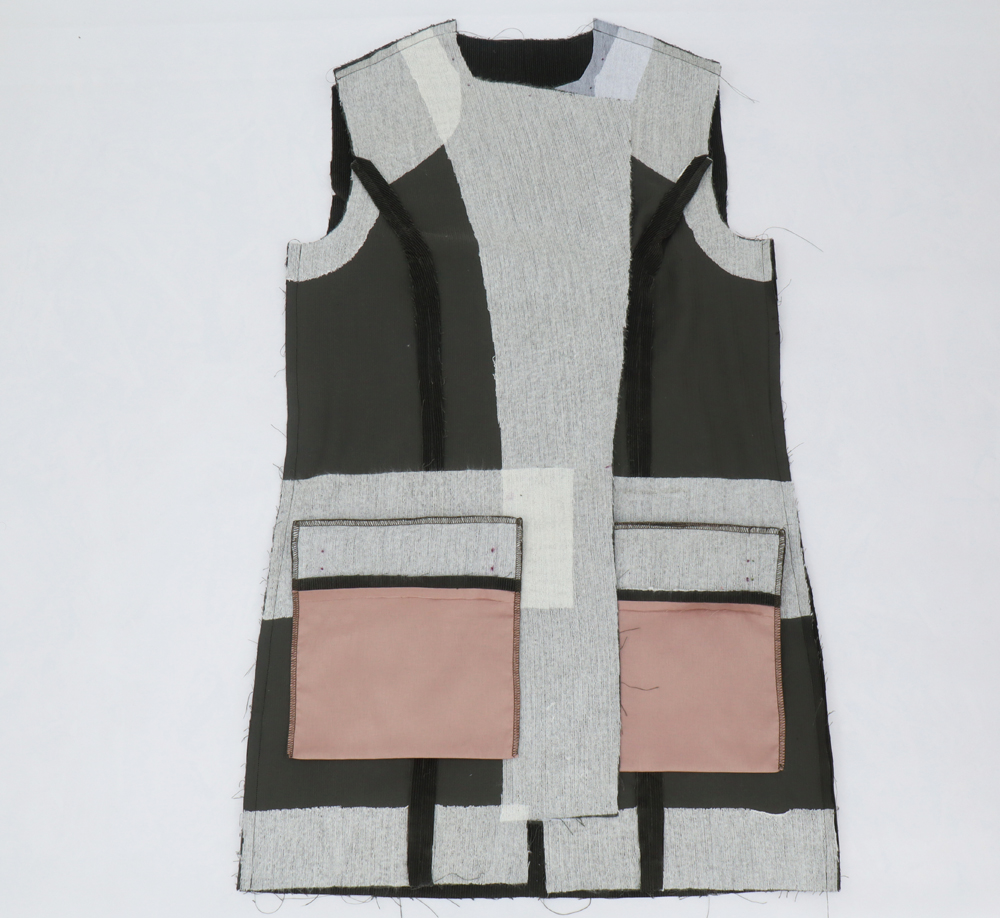
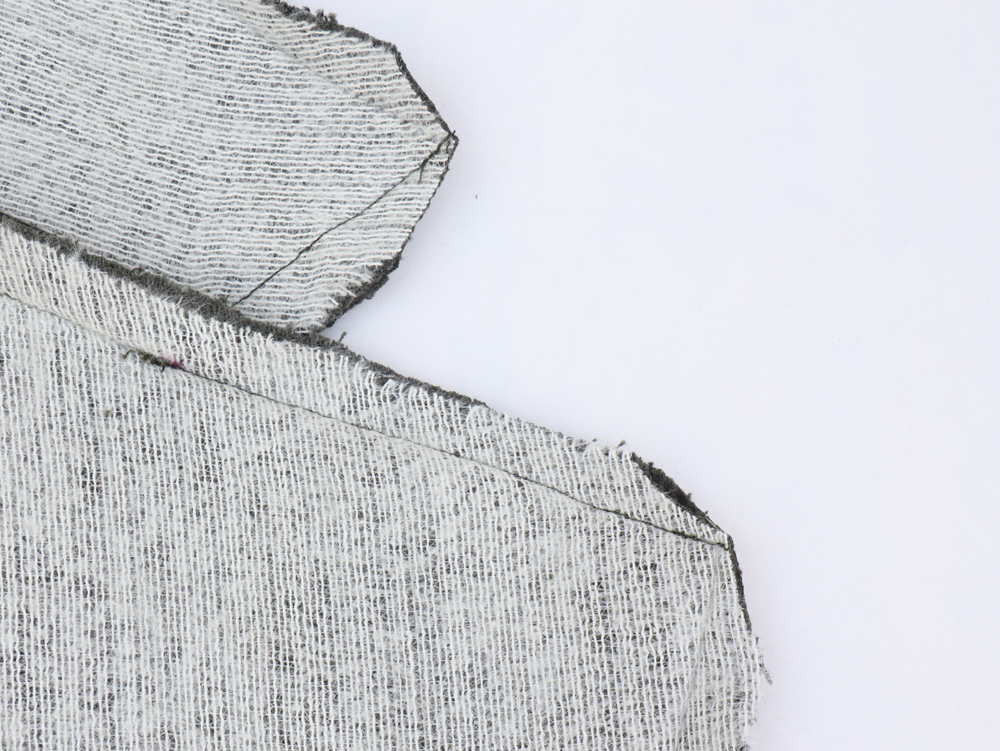
 Stitch the front and back facings right sides together. Press seams open.
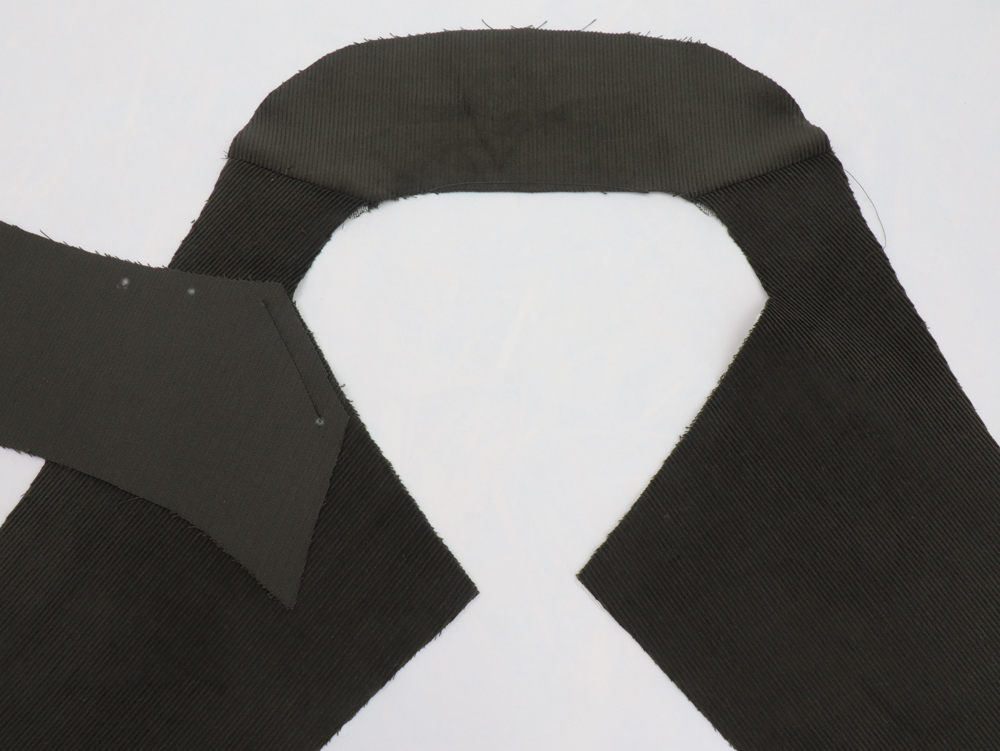
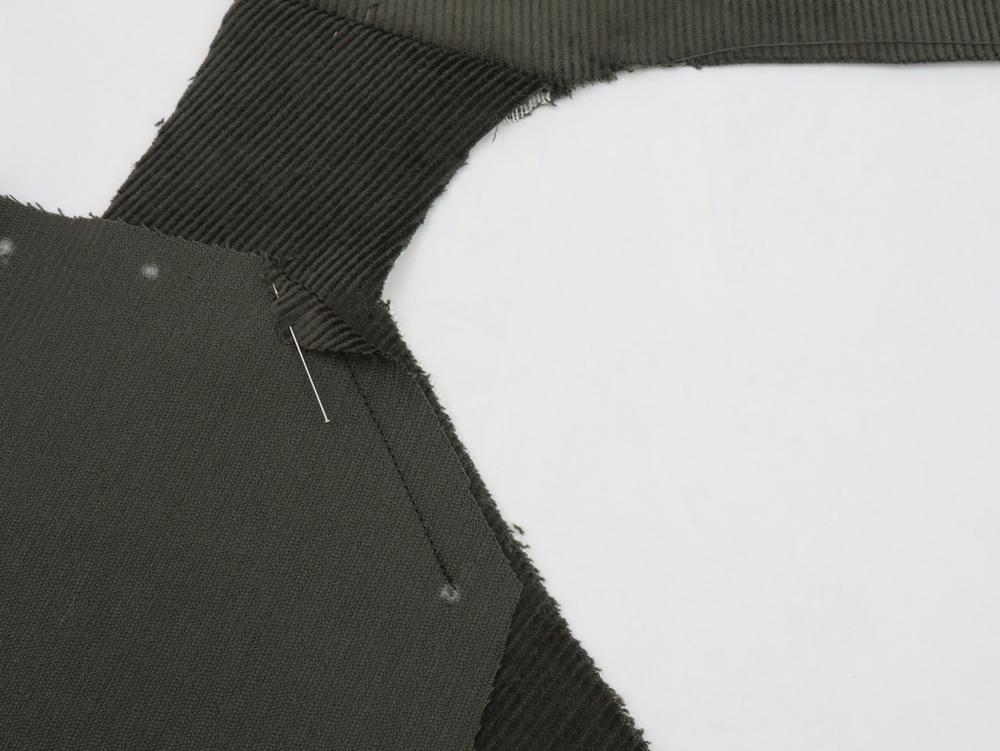
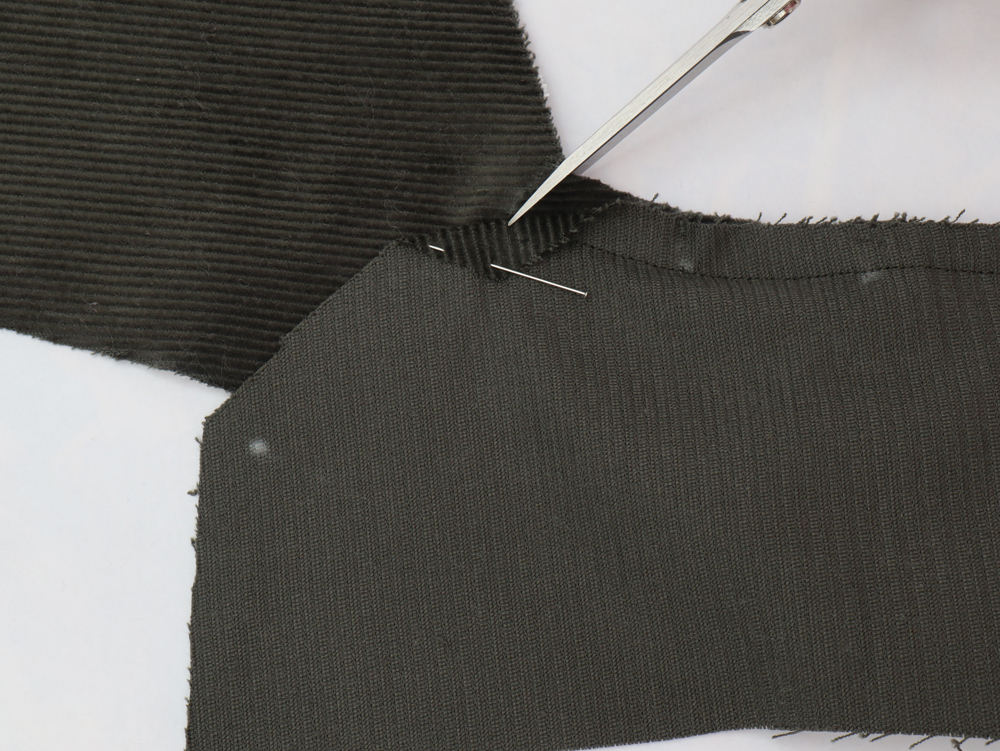
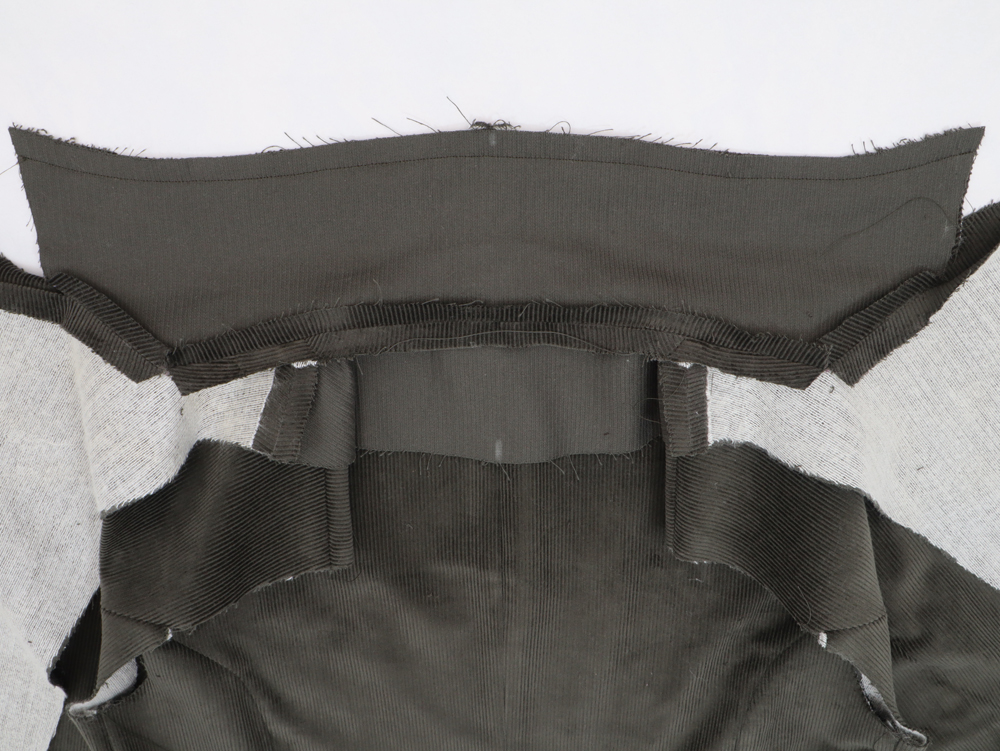
 Stitch the upper collar and facing right sides together matching the notches. Stitch between the first two dots, clipping the facing seam allowance at the second dot to allow pivoting. It is very important to start your line at the exact place of the first dot (Dot A on the illustration of the sewing instructions).
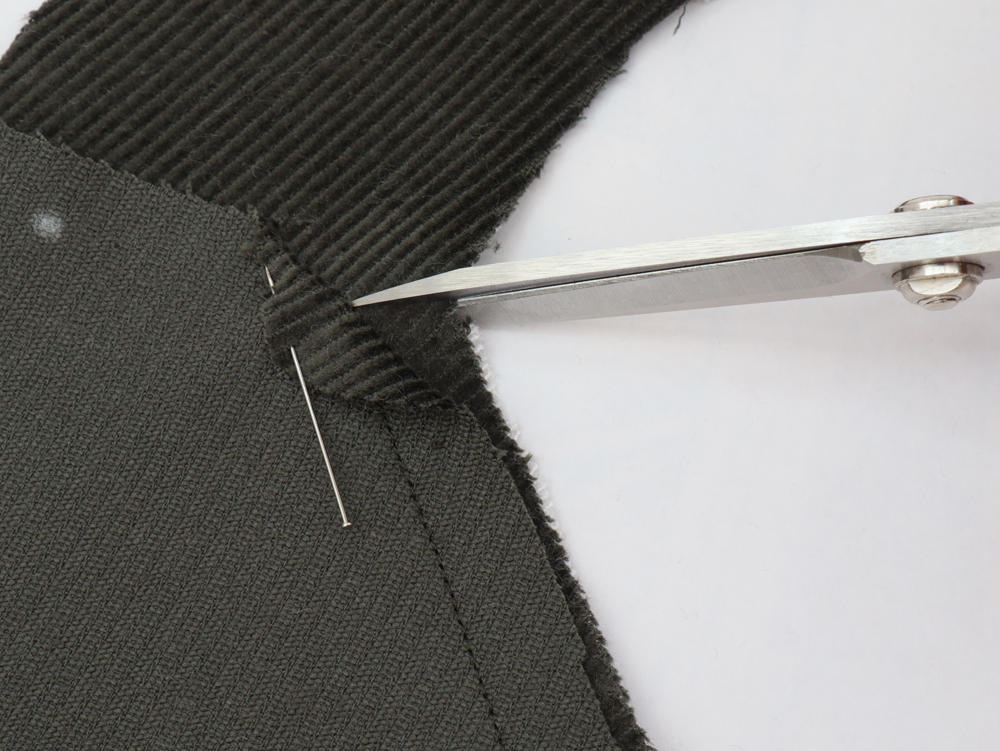
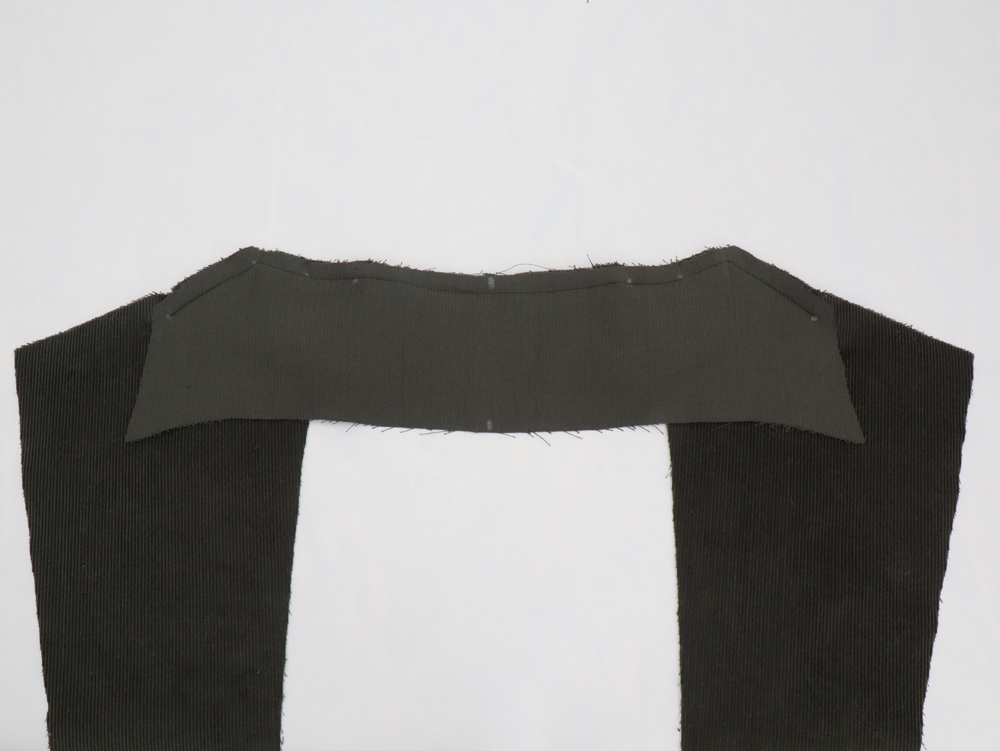
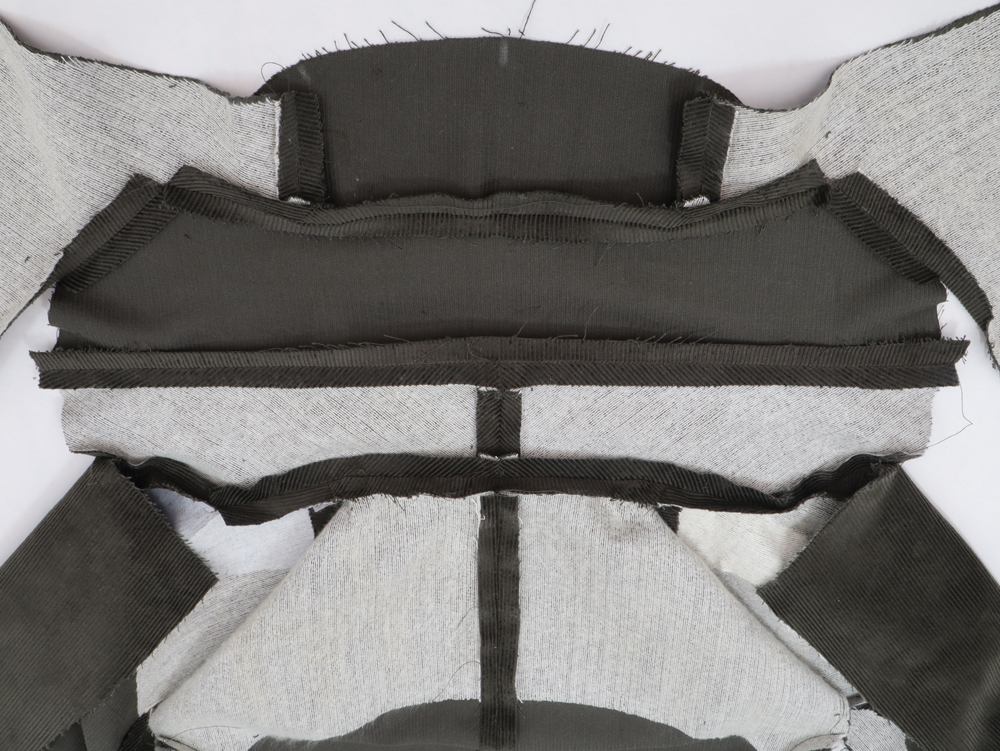
 Stitch between the second dot on the right side and second dot on left side. Match the shoulder line and fourth dot and center notches. Clip the facing seam allowance to allow pivoting.
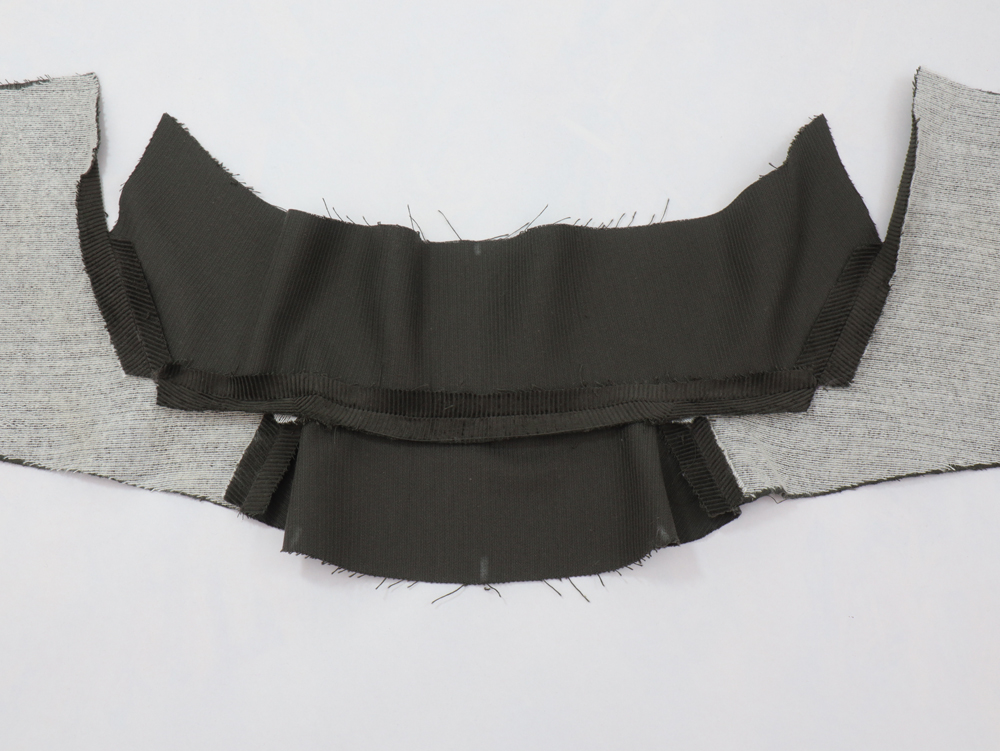
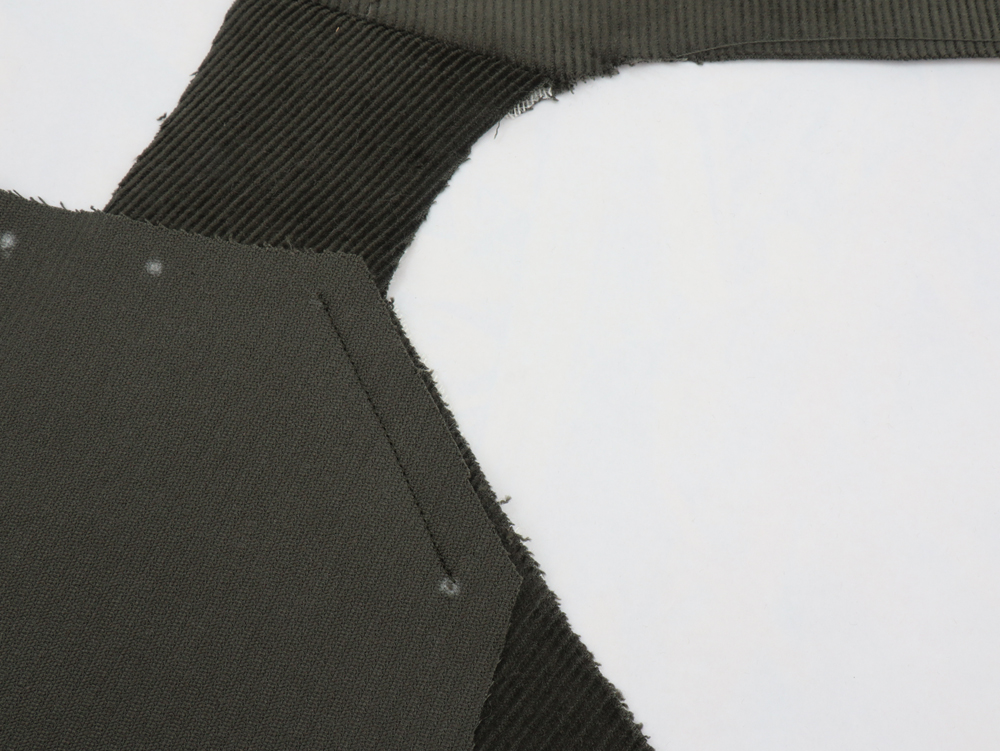
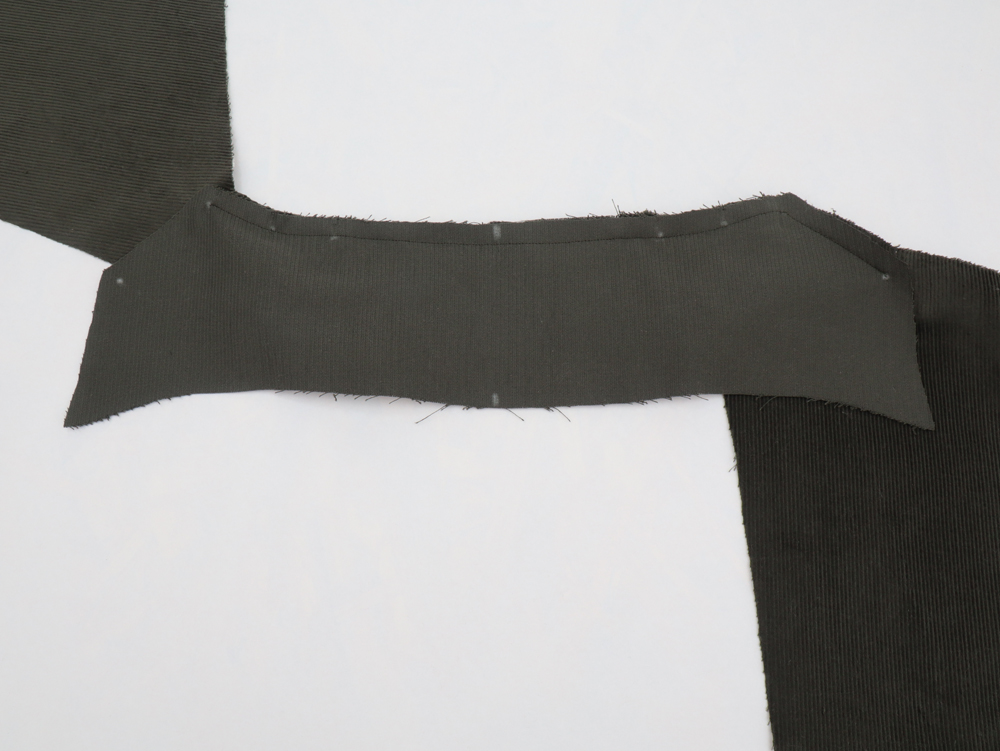
 Stitch between the second dot and dot A. Finish your line with a back tack at the exact place of the dot A. Press seams open.
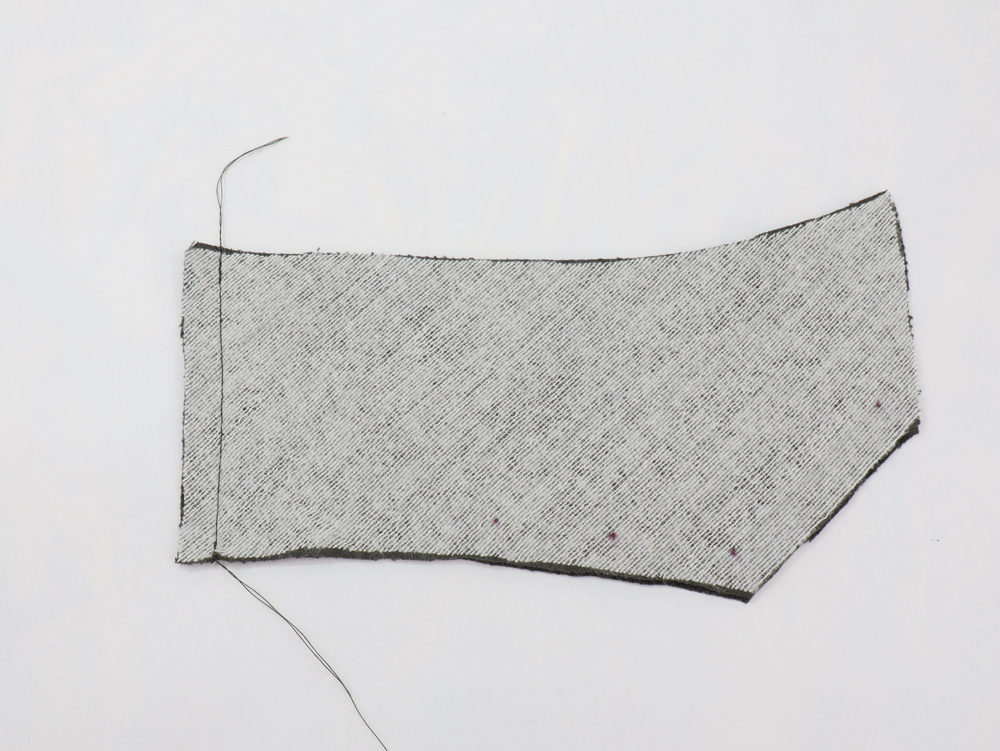
 Stitch the under collar pieces right sides together. Press seams open.
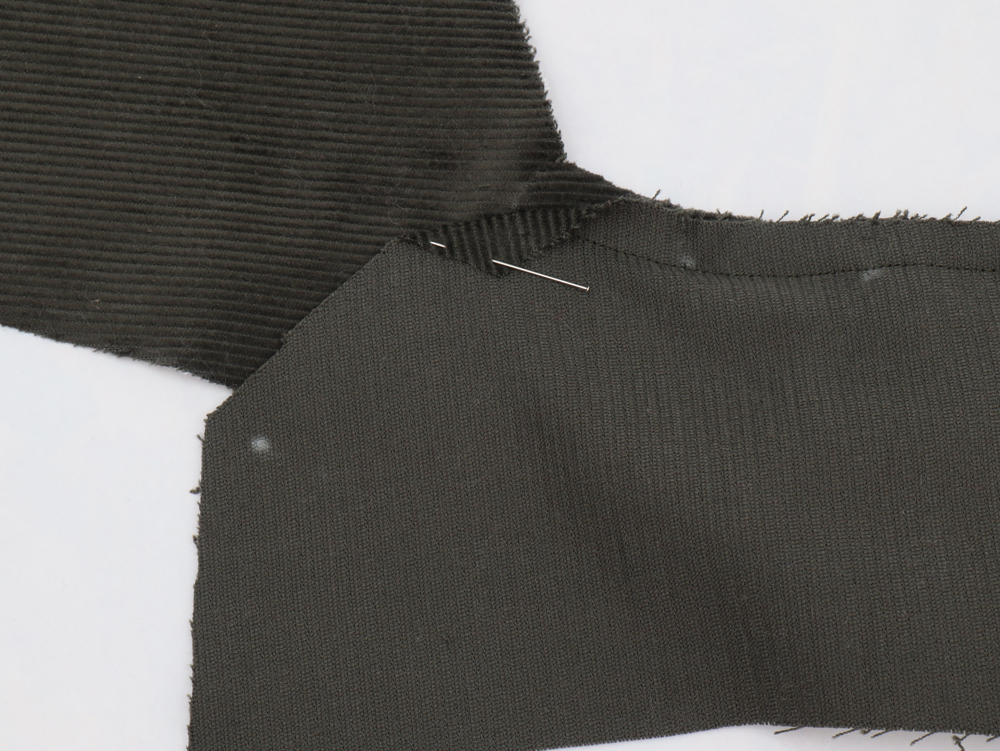
Stitch the under collar and bodice right sides together matching the notches. Repeat previous steps.
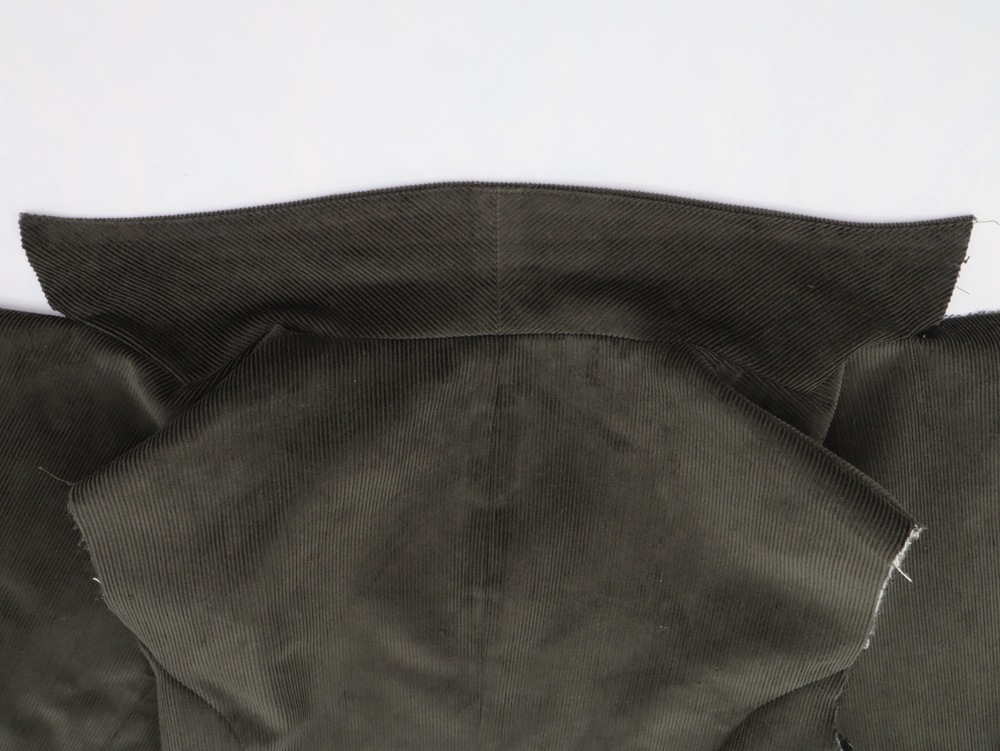 Stitch the under collar and upper collar right sides together. Press seams open and understitch seam allowances towards the under collar side.

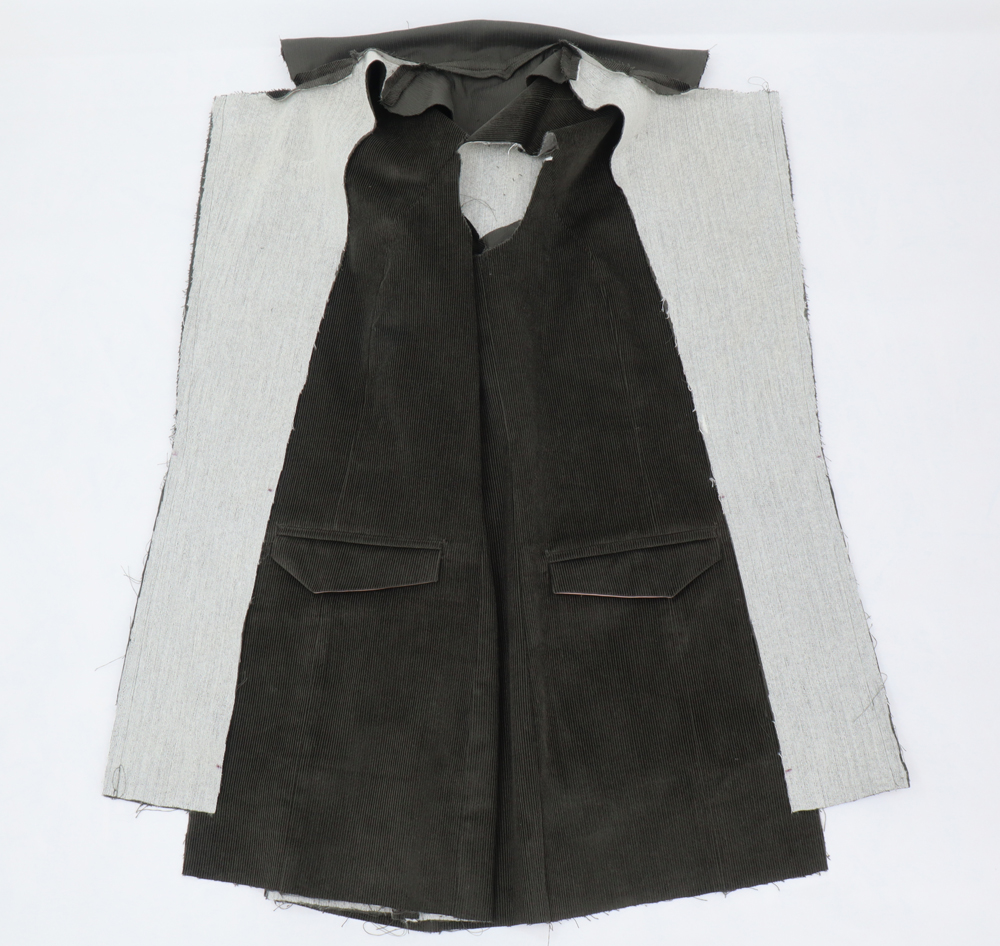

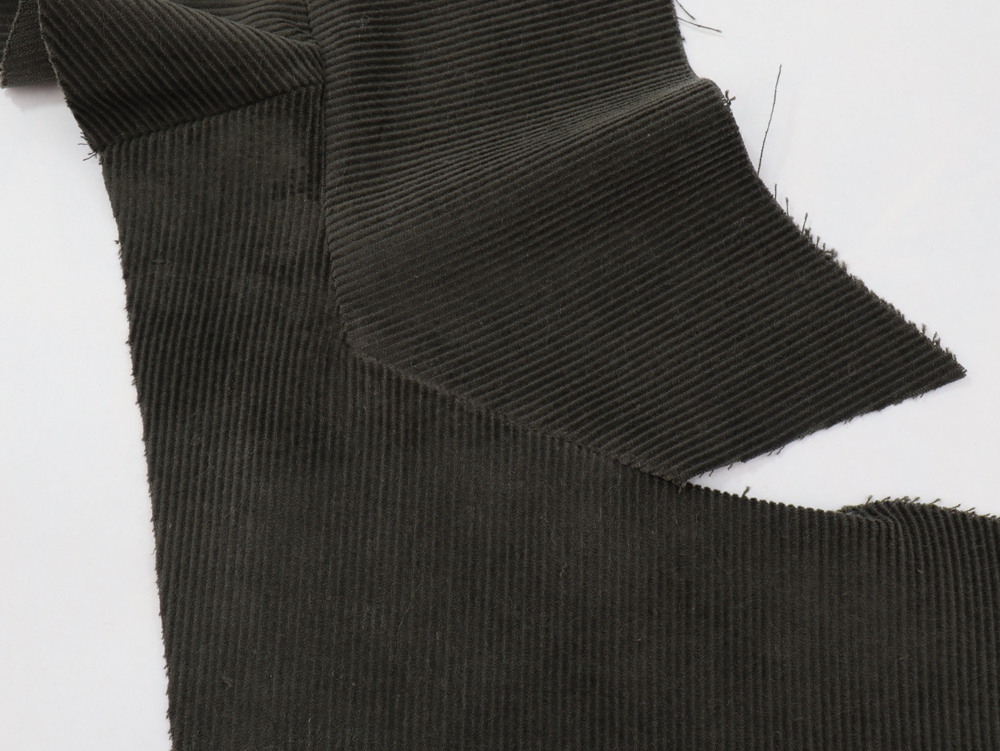
 Stitch the bodice to the facing at lapels, right sides together. Press seams open. Notch the seam allowances at breaking point. Press seams and then understitch favouring the front facing below the lapel break and the bodice above the break.
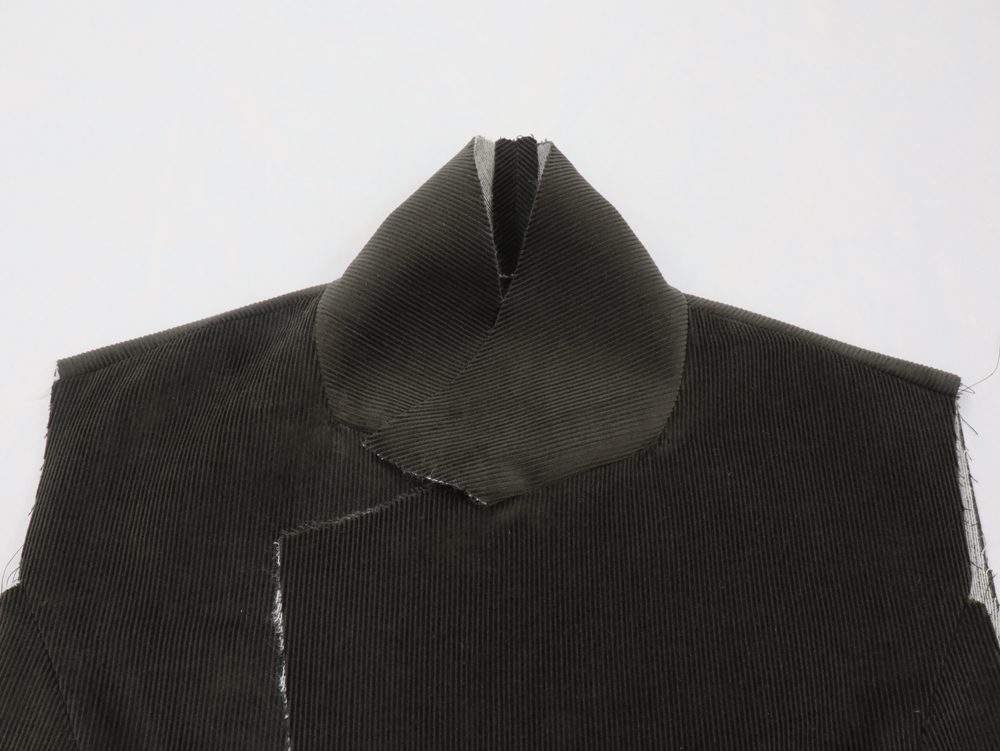
 The collar: Fold the seam allowance of the collar the side you did your understitch. Pin the dots A from the upper and under collar together. Make sure all seam allowances are out of the way. Close the collars edges stitching until you hit dot A. Back stitch.
The lapels: Fold the seam allowance of the lapel the side you did your understitch. Pin the dots A from the lapels (facing and bodice) together. Make sure all seam allowances are out of the way. close the lapels edges until you hit dot A. Back stitch.
Turn right side out and press.
Well done! You deserve a good coffe/tea break before the next steps of the sew along!
Comments
No comment at this time!
Leave your comment