Sewing a centered zipper with lining on Juliette

A centered zipper is a type of zipper insertion in which the zipper teeths are centered between the fabric opening. In this type of zipper application, the fabric covers the zipper equally on both sides, meeting in the middle of the opening, and the stitching is visible on either side of the zipper opening. The zipper teeth may be visible as you move and the fabric layers pull apart, but when the garment is flat, the folded edges meet to completely cover the zipper. To insert a centered zipper, you’ll need a regular zipper, not an invisible zipper and a zipper foot.
STEP1:
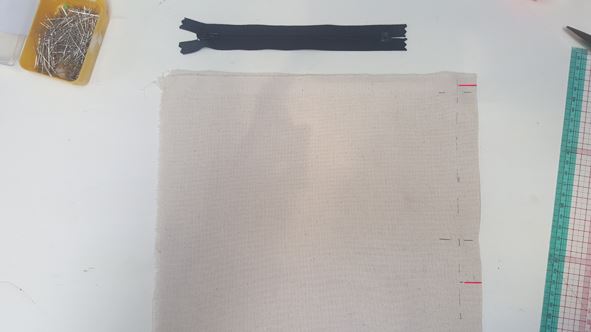
Start by placing your two skirt backs right side together, lining up the raw edges. Transfer your "zipper start notch" and mark where the end of the zipper falls. Repeat for your lining.
STEP2:
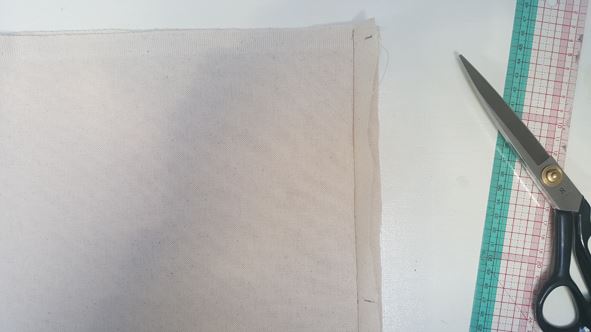
With 2cm seam allowance, sew a row of basting stitches from the top down your mark. Without removing the needle from the fabric, set your machine to your regular stitch length, backstitch, and continue sewing the rest of your seam. For the lining, set your machine to a regular stitch lengh and sew from the zipper end notch to the bottom of your lining.
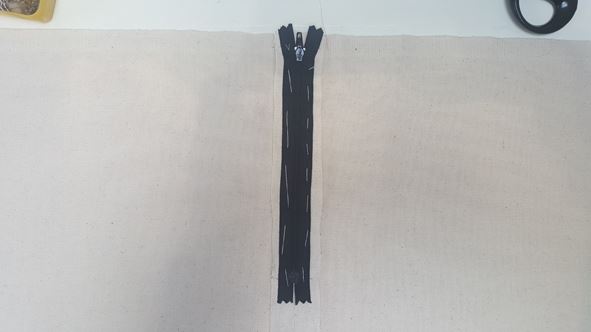
STEP3:
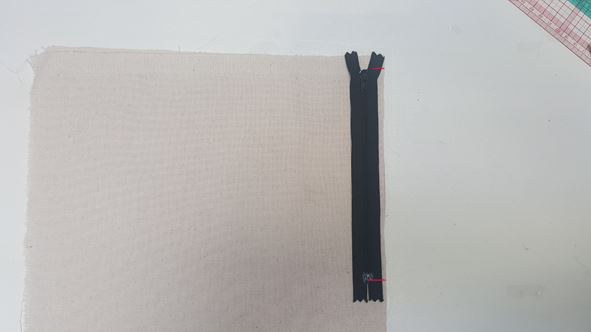
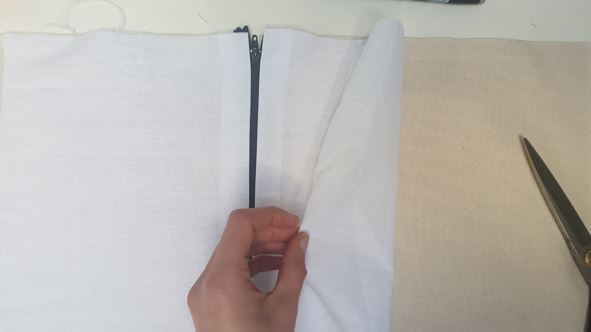
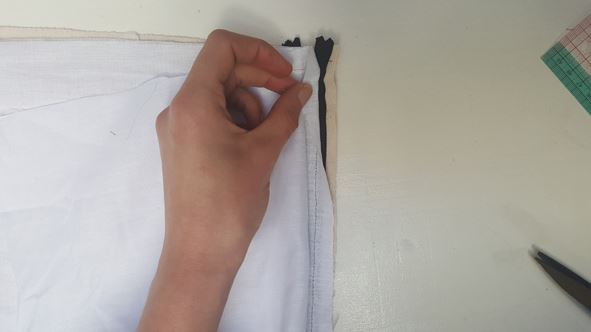
Carefully place your zipper, face down, on top of your seam. So that the zipper coil lines up perfectly down the center of the seam, and the top of the coil is about 1cm down from the top raw edge. Baste each side of your zipper with the seam allowance of your skirt.
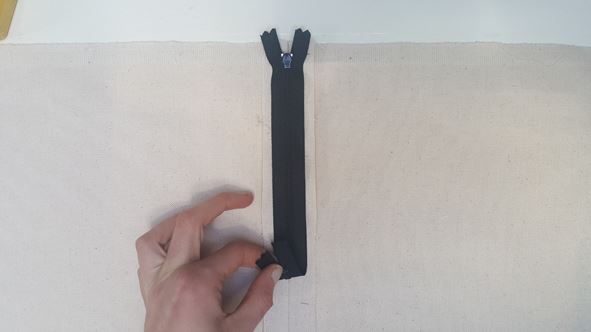
- Open your zipper on about 2cm. Install your back skirt on your sewing machine, right side facing you.
- Switch to a zipper foot. Sew 5mm from the zipper teeth. You will need to leave your needle down and take off your zipper foot after a few stitches to be able to close the zipper and continue.
- Stop with the needle down at the bottom of your zipper, pivot, sew a straight line and pivot again at the corner.
- Using a seam ripper remove the basting stitches.
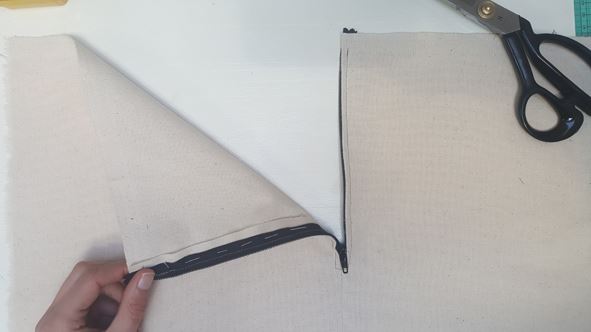
STEP4 :
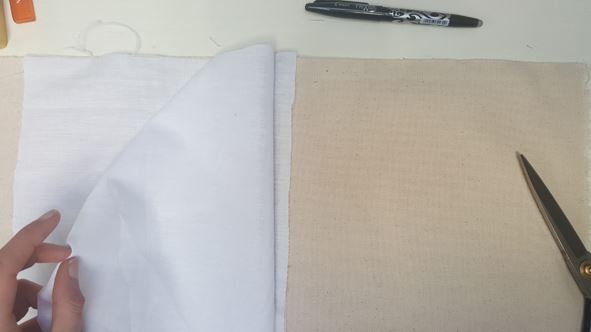
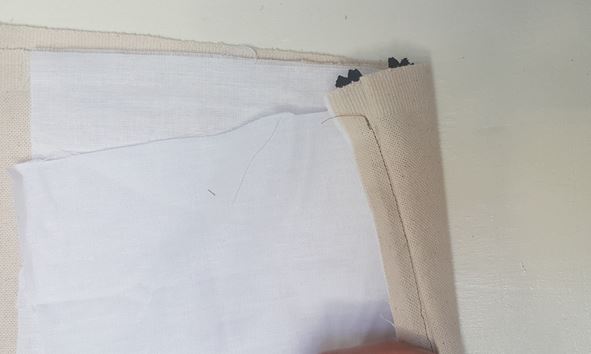
Place your lining on the top of your skirt, wrong sides facing each other. Align the center back seams of the lining and skirt.
STEP5:
Fold the right lining piece back and pin your skirt and lining seam allowance.
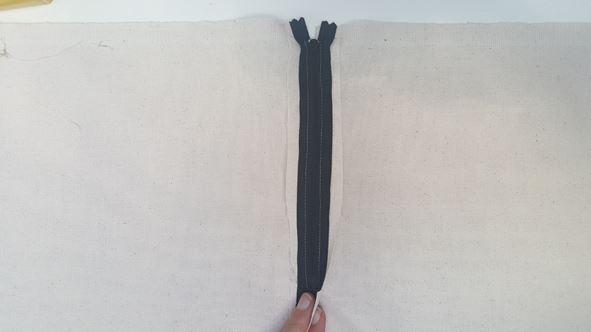
STEP6:
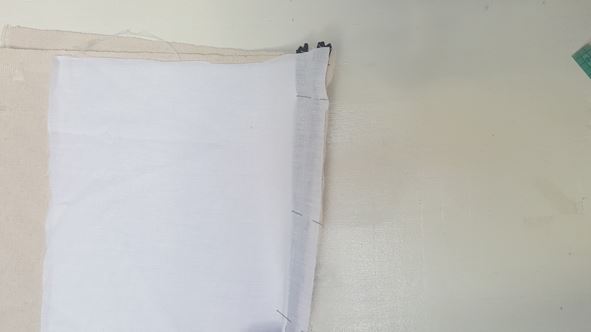
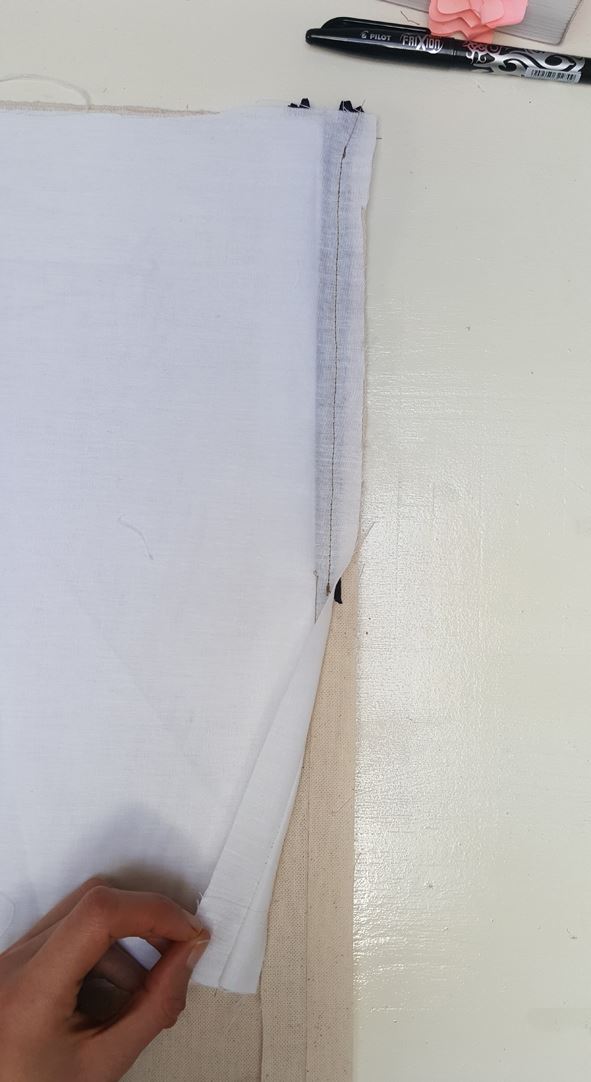
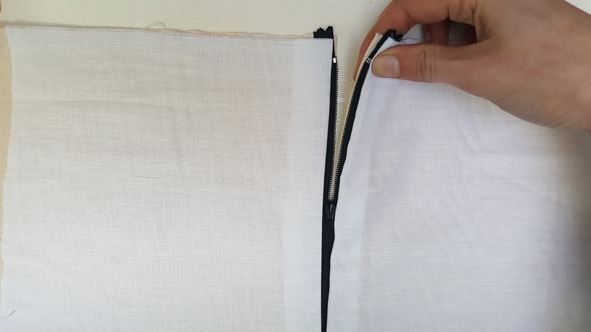
Using your zipper foot stitch the lining and skirt seam allowances together until you reach the end of the zipper, get as close as possible to your first stitch line. Repeat for the left part.
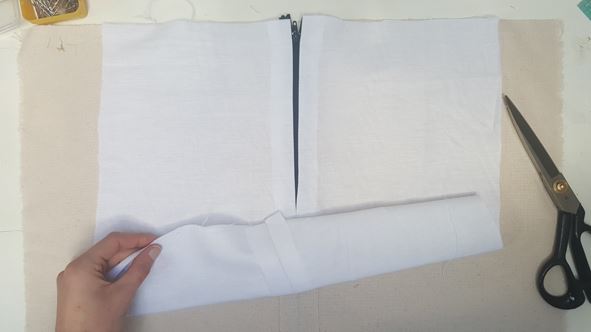
Tadam! Now attach your front and back skirt together on the sides, leaving the lining free and then attach the front and back lining together. Turn your skirt wrong side out, align and baste the waistlines of your skirt and lining together.
Comments
No comment at this time!
Leave your comment