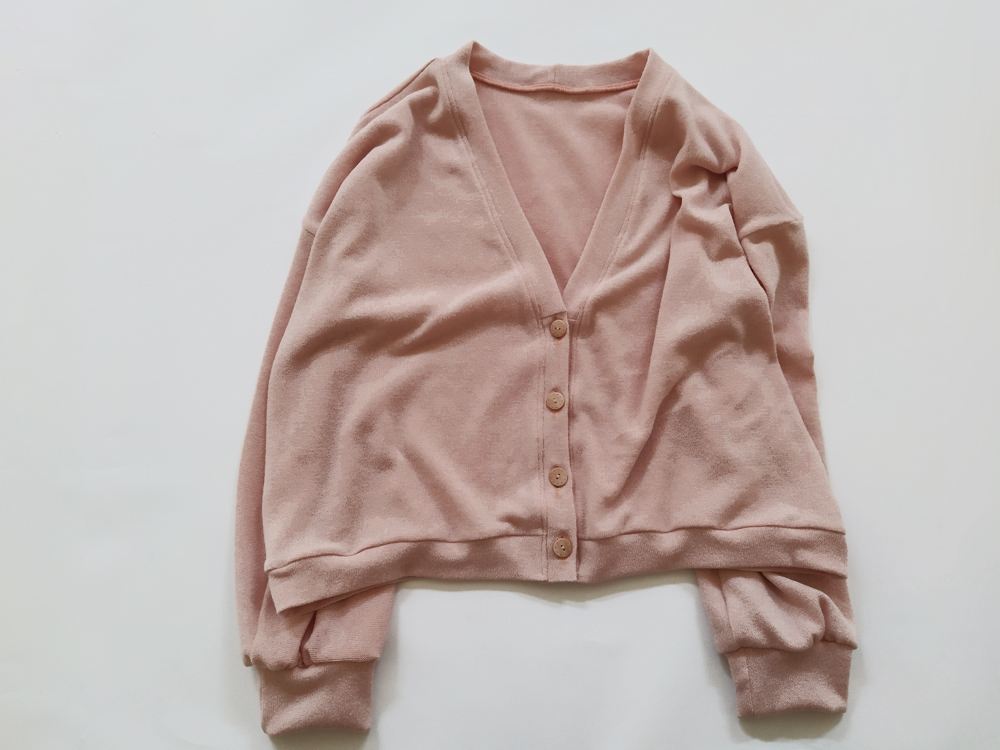
Sew along, the Jamie cardigan

EDIT: The pattern was updated on 08:08:2023 at 15:37. It now goes up to size 52. The neckbands and hembands are wider. The patch pocket sewing method is different and the sleeve cap slightly redesign.
You can follow this sew along to sew the updated version (except for the patch pocket). You can download the new version directly from your customer account or from the download link you received by email after your purchase.
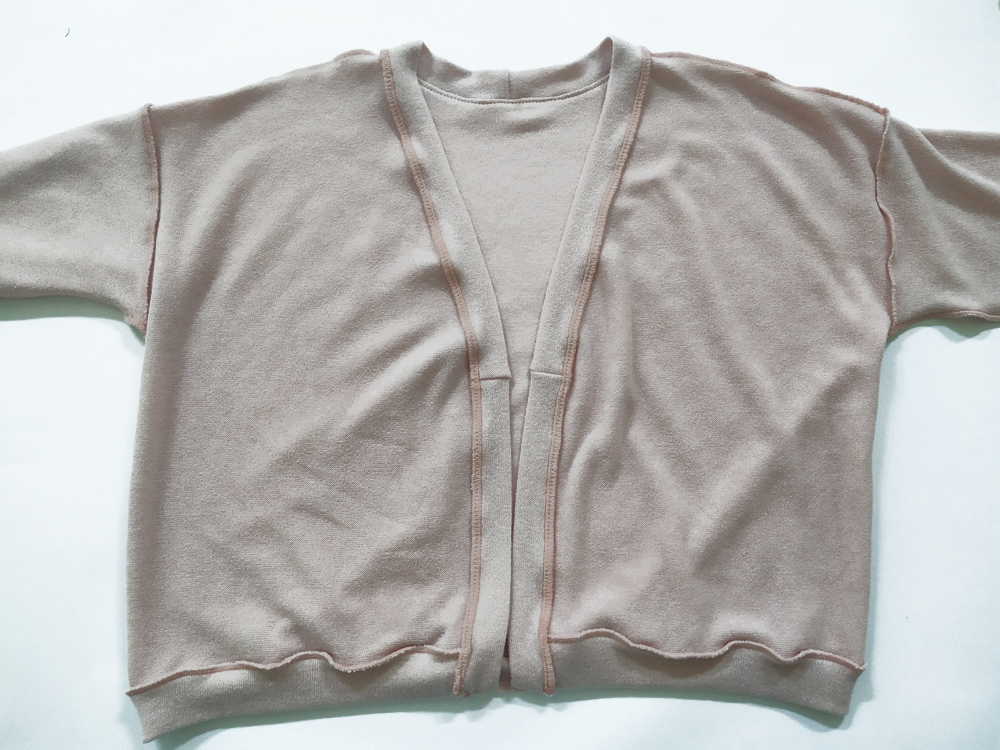
Sew along with us as we walk you through making the Jamie cardigan! You will notice that the sew along can differ from the sewing instructions included with the pattern. First you’re going to need to gather the supplies you’ll need to sew a perfect Jamie! This sample was sewn with a serger but you can use a regular sewing machine too.
Supplies:
- Fabric (for the fabric head back to the instructions to know what kind of fabric you need and the yardage)
- 1 bobbin of regular thread matching the fabric color or 3 if you are using a serger.

Let's start
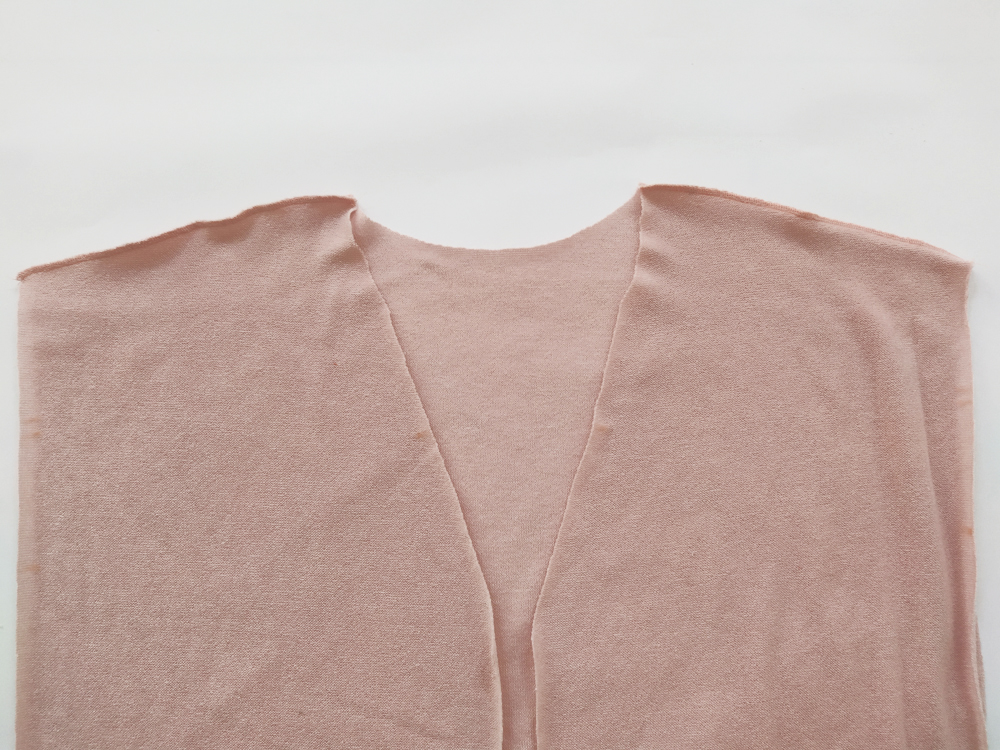 1: With right sides together, stitch the shoulders of front and back bodice together.
 2 : Press the seam towards the back of the garment to finish.
 3 : Spread out your garment. Align the sleeve cap to the armhole following the notches (1 for the back 2 for the front). Sew or serge the sleeve in. Press the sleeve and the seam allowance toward the inside.
 4 : Pin the side seams and sleeves together all at once. Sew up from the end of the sleeve to the bottom of your garment kepping the sleeve seam allowance towards the inside. Press seams open or towards the back if you are using a serger.
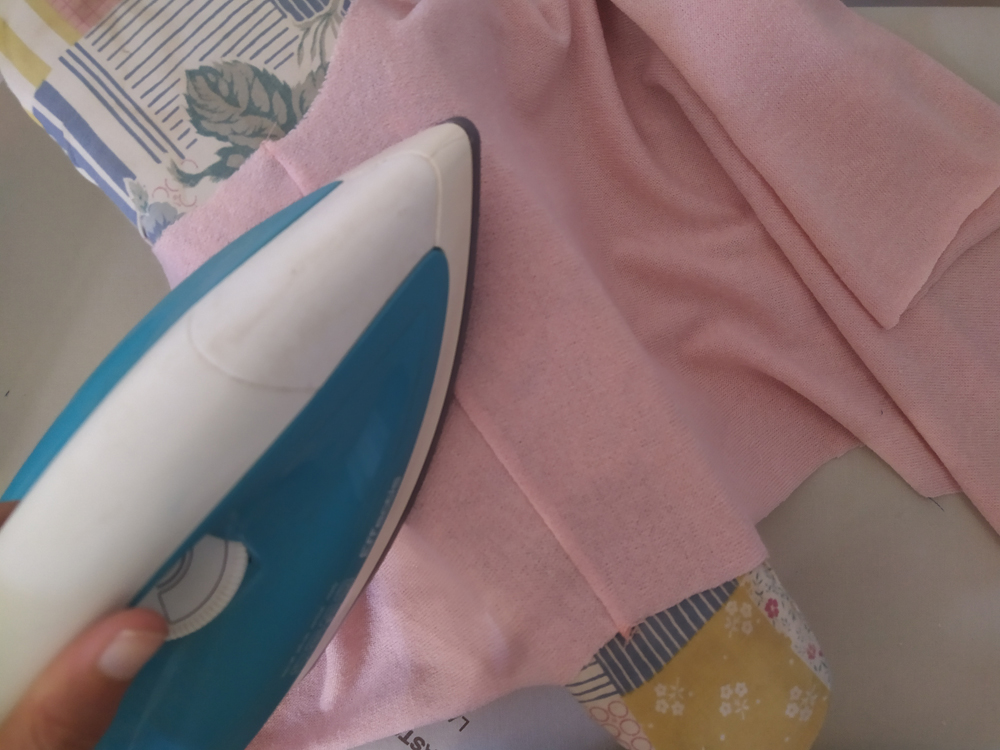
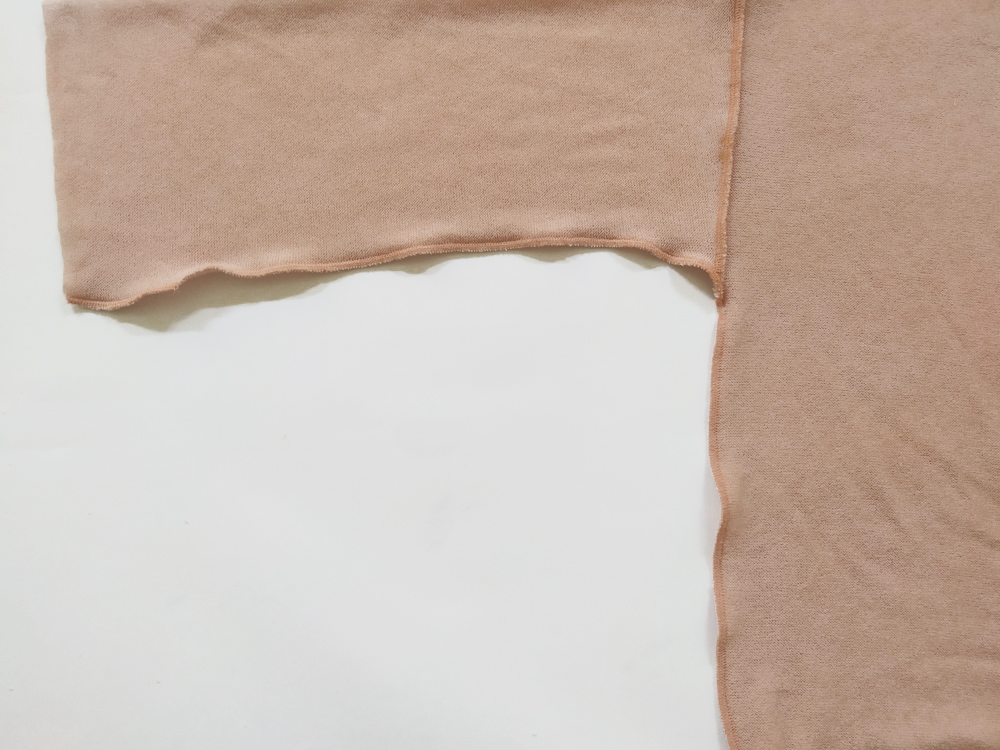
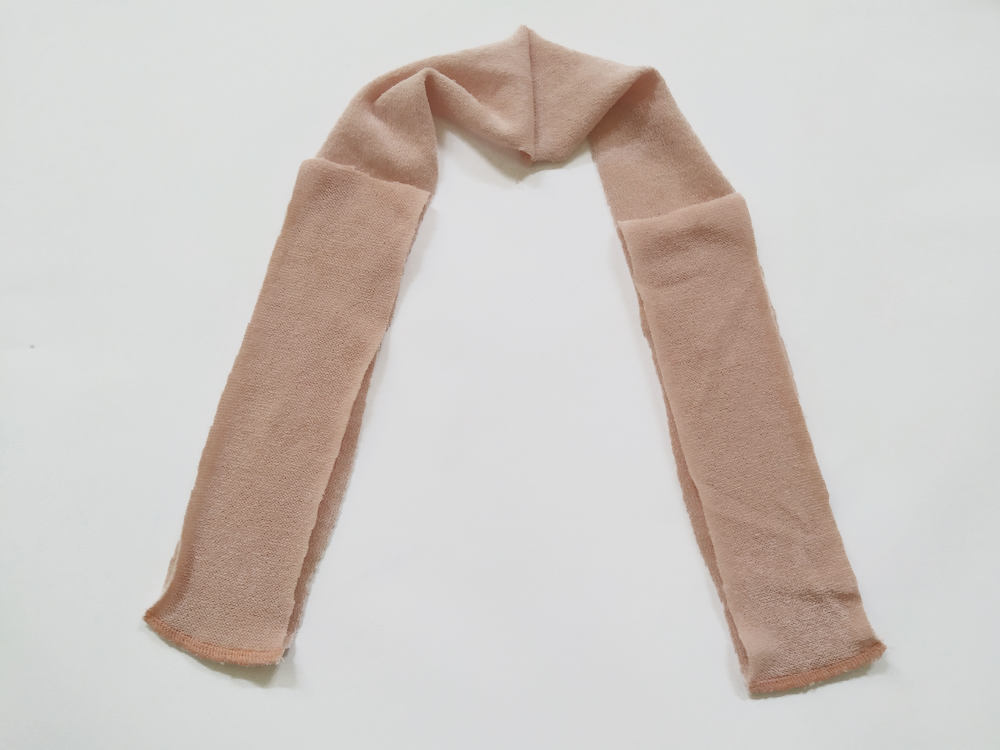
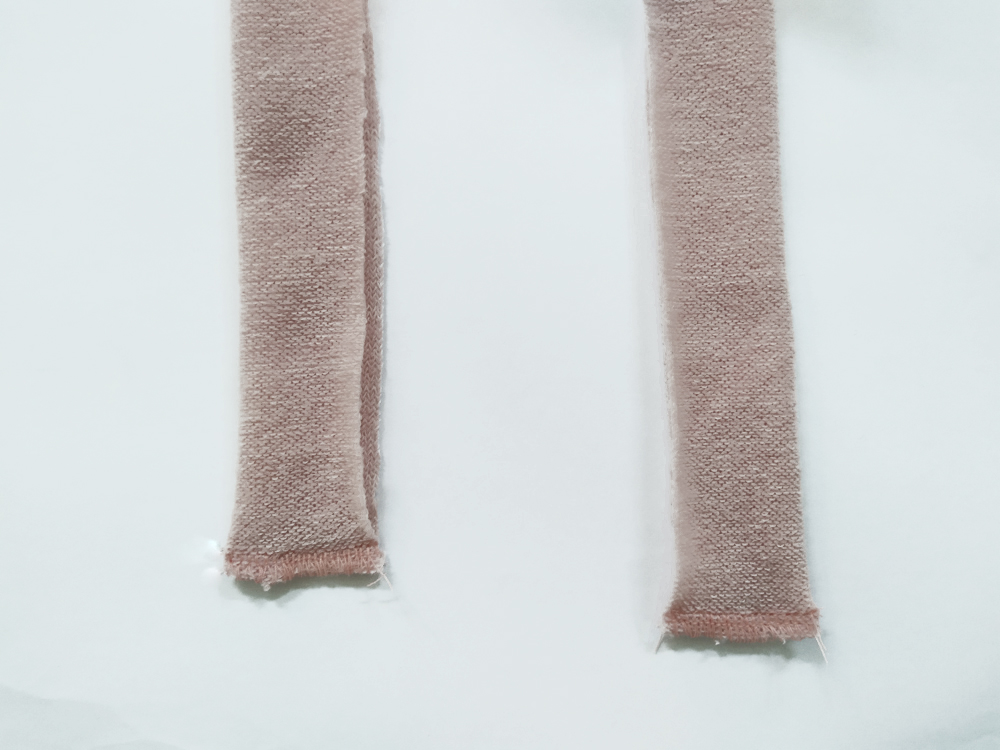
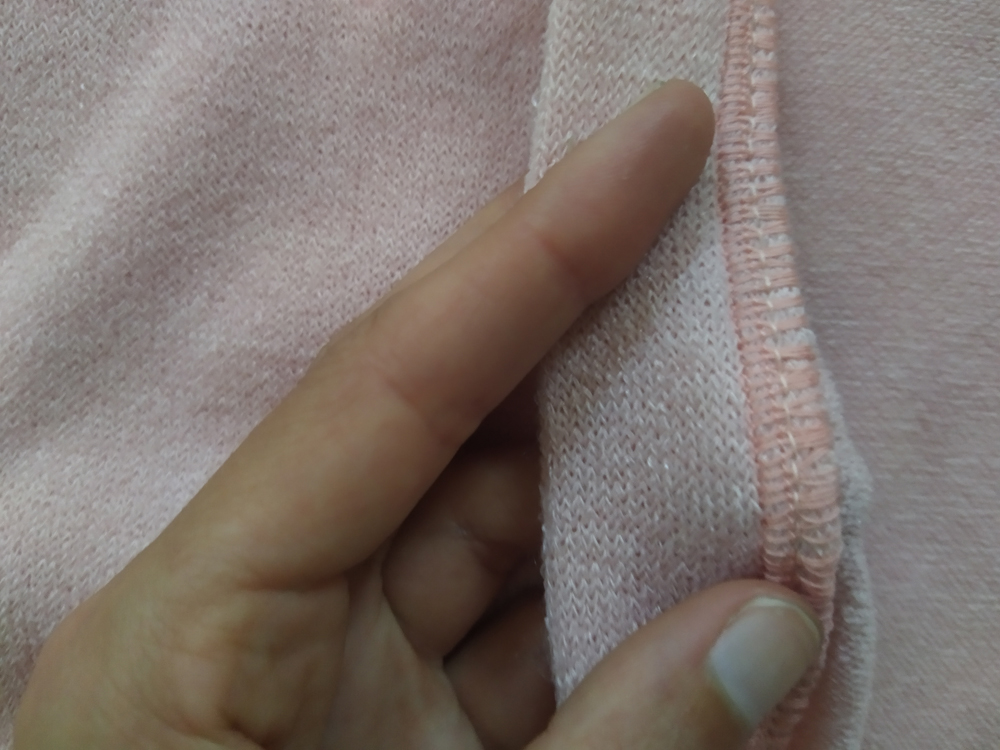
 5 : Sew the ends of your front (D) and back (E) hembands, right sides together. Press seams open or towards the back.
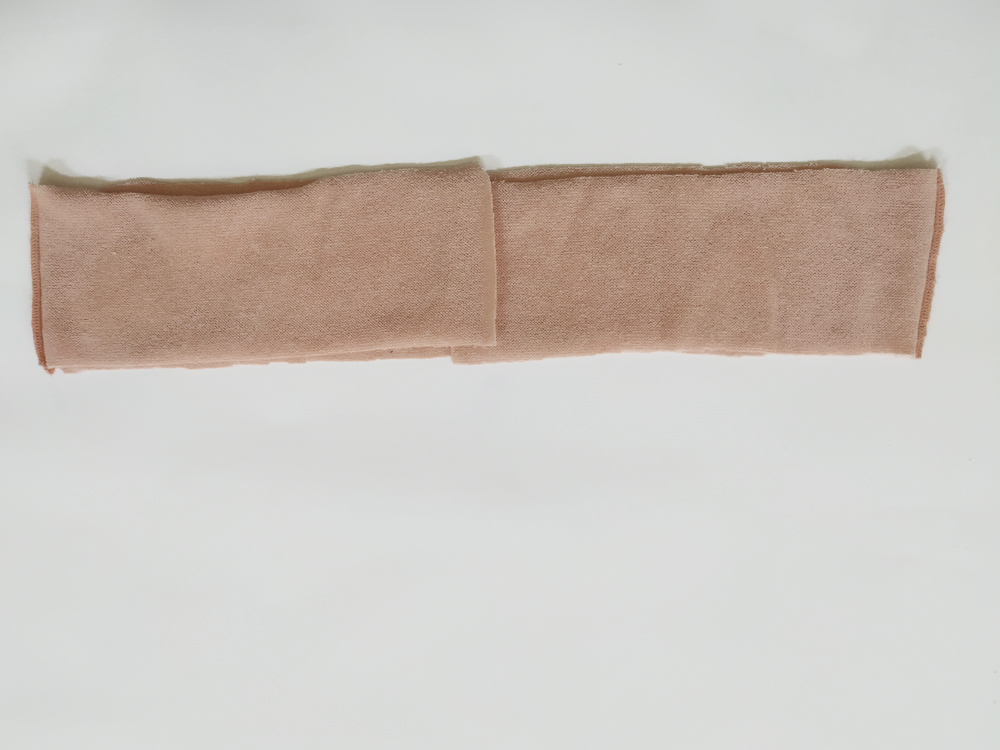
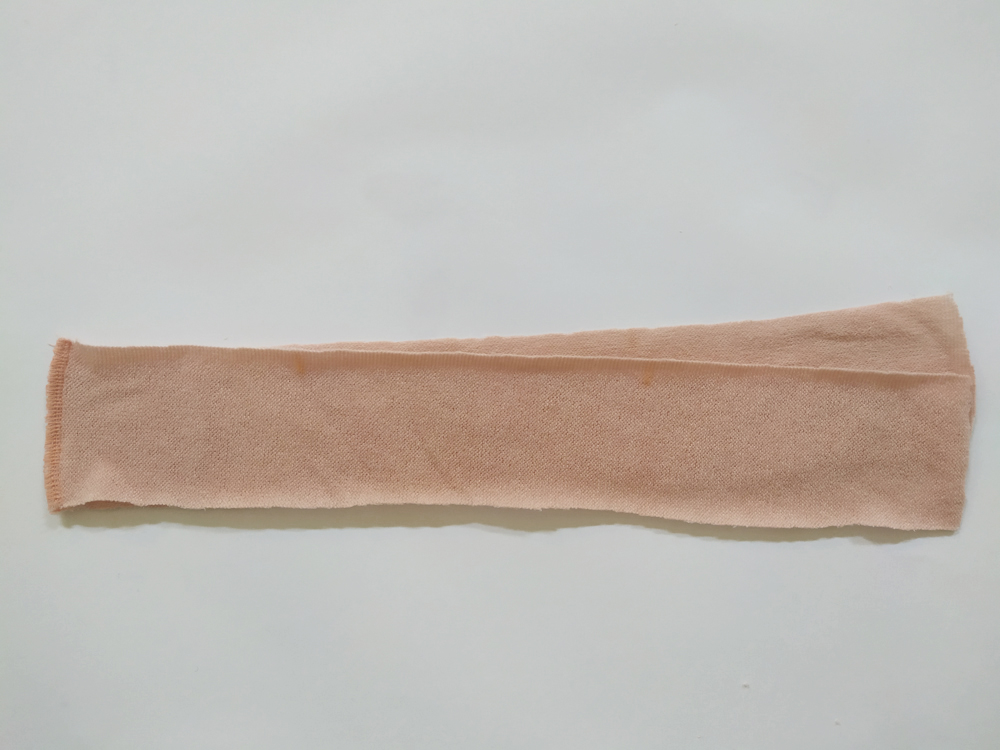
 6 : Fold in half wrong sides together so that the raw edges meet. Press the folded edge.
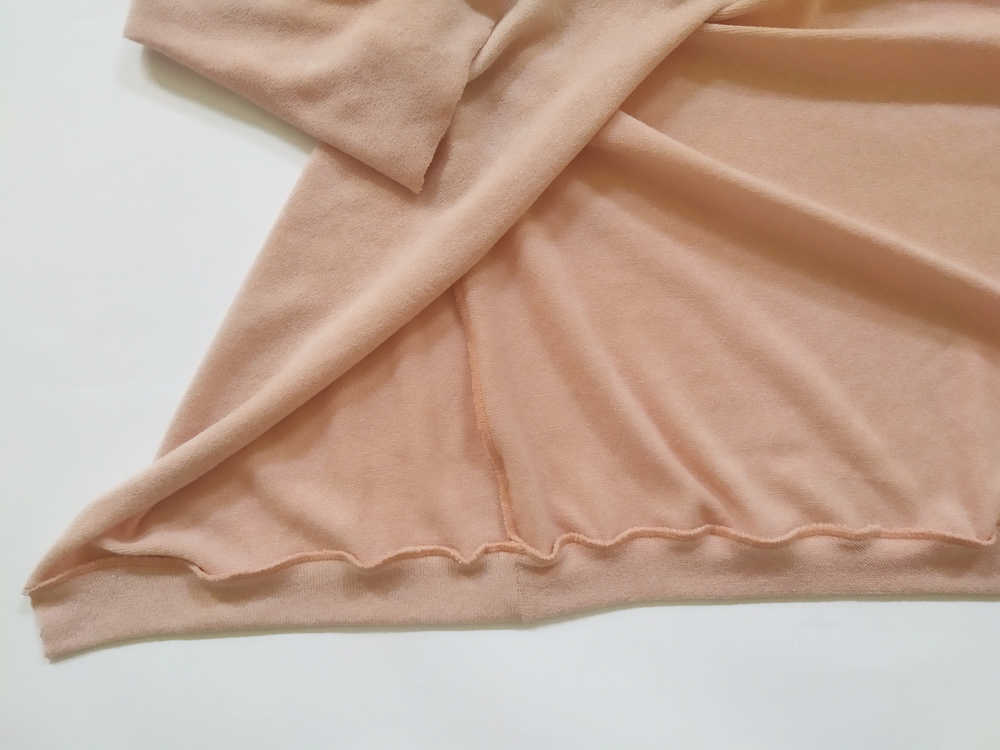 7 : Align the hem band evenly around the right side of your lower garment matching the side seams and notches. Stitch stretching the binding to fit the lower edge. Press seam towards the inside.
 8: Sew the straight ends (center back) of your upper neckbands (G), right sides together. Press seams open or towards on side.
 9 : Sew the upper (G) and lower (H) neckbands together along the angled seam lines, right sides together. Press seams open.
 10 : Fold the ends of the neckband in half, right sides together so that the raw edges meet. Sew starting at the folded edge. Turn right side out. Press.
 11 : Align the raw edges of the cardigan and the neckband, right sides together. Match the notches, the ends of the neckband and the finished length of the center front.

 12 : Press seam towards the inside and edgstitch the seam allowance.
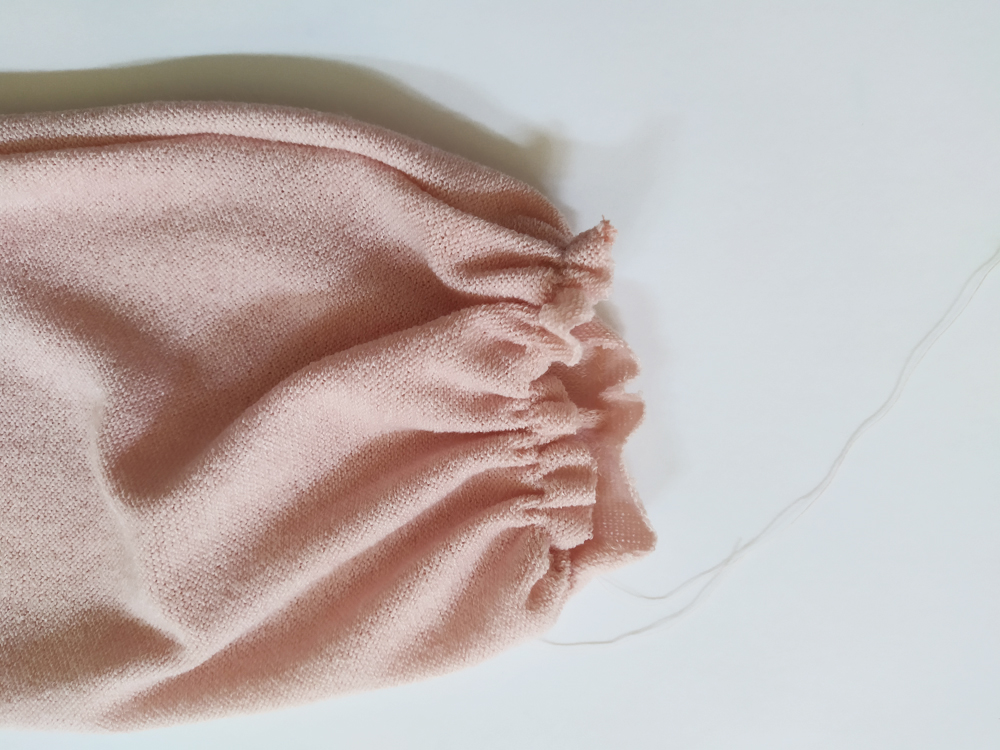 13 : Gather the sleeve. Set the machine on the longest stitch and sew two parallel lines. Gently pull the two front threads, gathering up the material as you pull until your gathered fabric is the exact width of the cuff band.
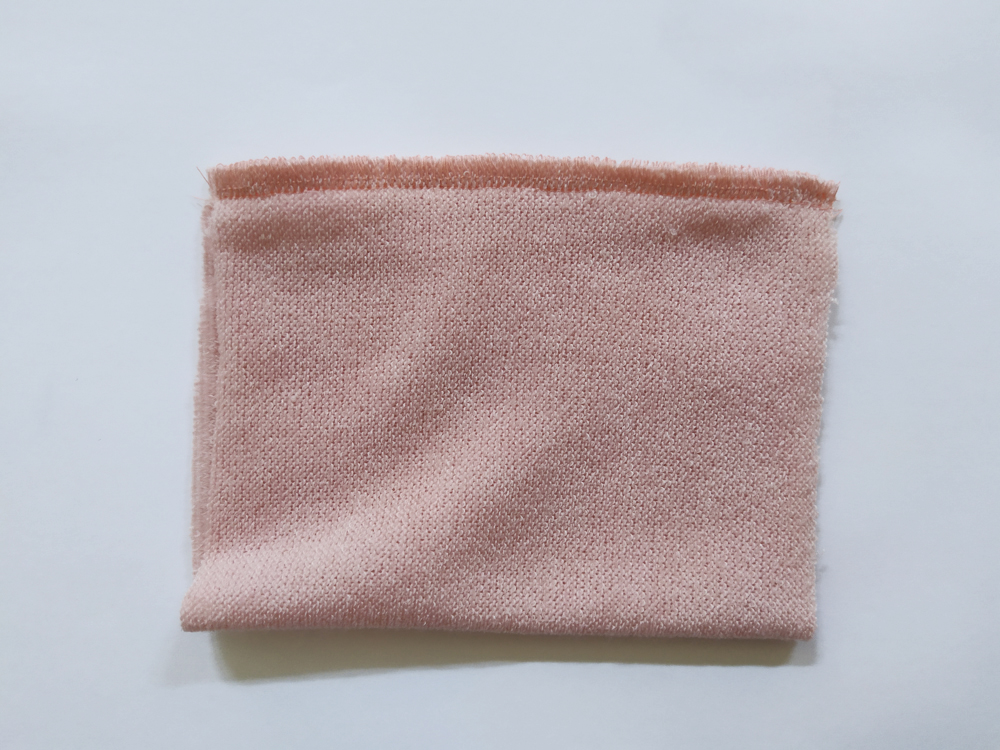 14: Sew the two ends of the cuff together with right sides facing. Press seams open or towards one side if you are using a serger.
 15 : Fold in half wrong sides together so that the raw edges meet. Press the folded edge.
 16 : Align the cuff evenly around the right sides of the sleeve. Stitch or serge along the seam line.
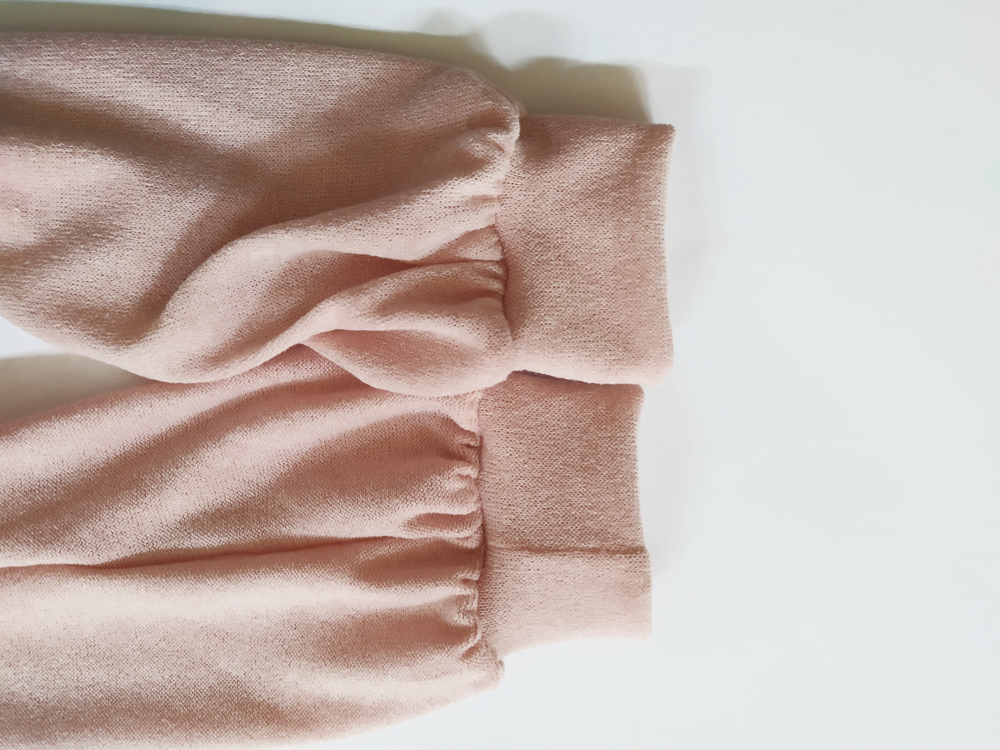 17 : Press seam towards the sleeve.
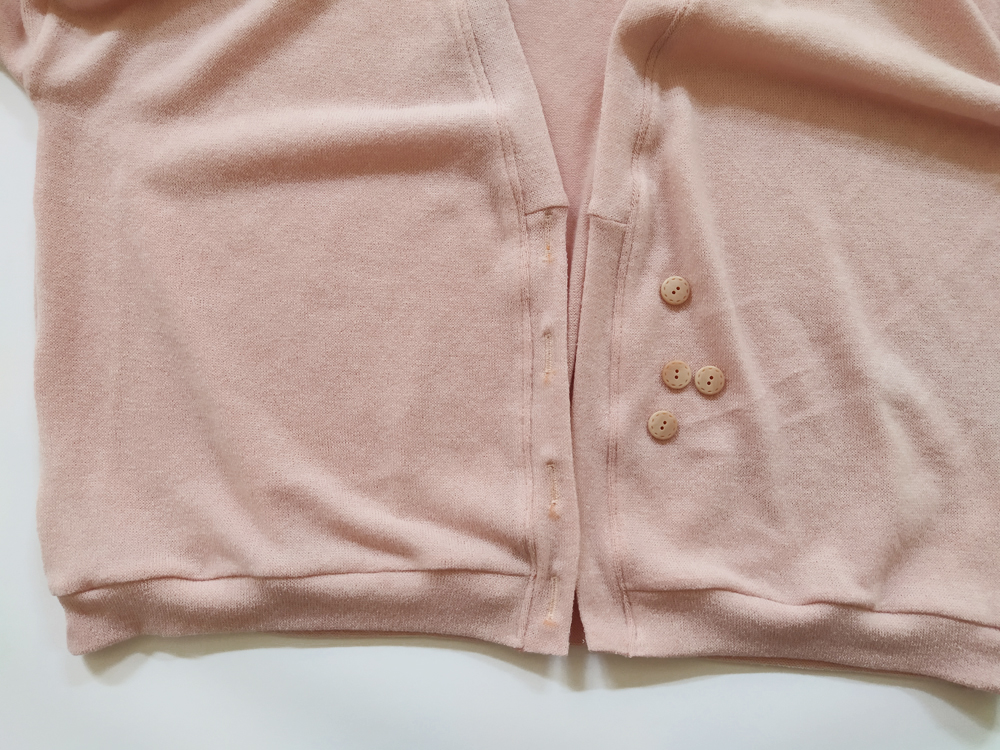 18 : Sew 4 buttonholes with a regular spacing to your cardigan.
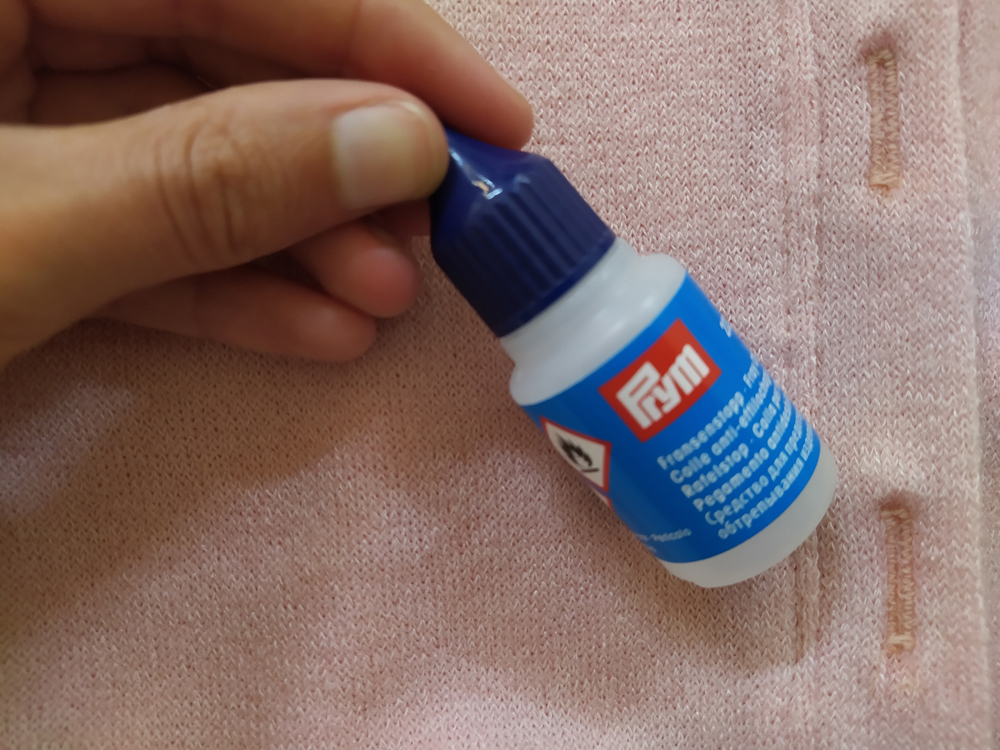 19 : Place a “line” of Fray-check in between the 2 rows of zig-zag stiching of each buttonhole. Let dry.
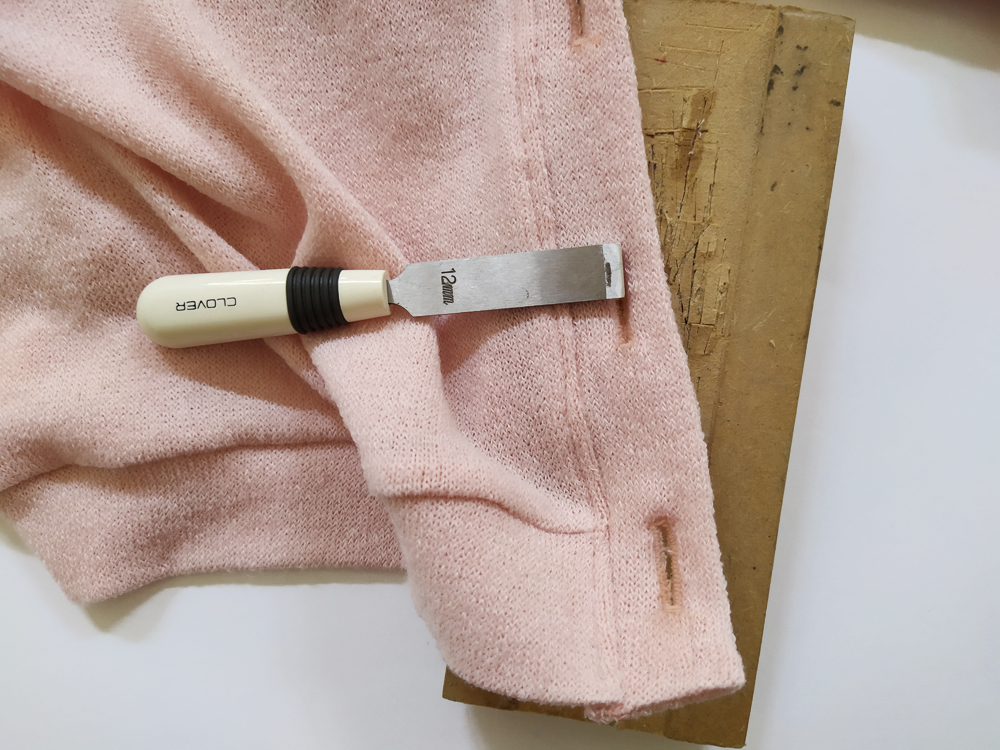 20 : Stop trying to cut open your buttonholes with dull seam rippers! Using a little chisel will leave a beautiful openings without snipping the threads you just laboured to sew.
 21 : Use the actual buttonholes to mark the placement of your buttons.
Bonne couture,
Raphaëlle
Est-ce que les marges de couture sont incluses dans le patron ? Merci !
Oui il y a une bonne raison évidemment, rien n'est fait au hasard, c'est soit un choix pratique soit un choix esthétique.
La jonction frontale entre la bande du bas et la bande du haut de l'encolure permet de marquer l'angle du vêtement. Sans cela, l'angle de l'encolure devant de la veste (qui n'est pas juste une ligne droite) perdrait son dessin. Cela permet aussi de pouvoir caser le patron dans un tout petit morceau de tissu.
J'ai le patron du cardigan mais je ne l'ai pass encore réalisé. Pourquoi faire la bande d'encolure en 4 morceaux au lieu de 2? J'aurais trouvé plus esthétique de la faire d'un seul tenant à partir du milieu dos mais peut-être y a-t-il une bonne raison. Merci par avance de votre réponse.
Pourriez-vous me donner plus de précision sur ce que vous n'avez pas compris afin que je puisse vous aider ?
La poche du cardigan se monte simplement comme n'importe quelle poche plaquée. Il faut retourner les bords de la poche vers l'envers, repasser pour maintenir les plis en place, l'épingler sur le buste devant et piquer tout autour (sauf l'ouverture) avec un point élastique (type point zigzag).
Belle journée et bonne couture,
Raphaëlle
J'aurais bien aimé voir comment s'y prendre pour monter la poche du cardigan Jamie version longue car je n'ai pas compris.
D'avance merci beaucoup !
Patricia