Pablo, choosing the right size and blending between sizes
![]()
The Pablo sewing pattern is an overall / apron that wraps around your hips and ties at the waist. It has a very particular even really unusual shape and you will need a few fittings to tame it.
To choose which size to print and cut you need to take the following measurements:
- - Your waistline, at the thinnest part of your torso, a little above the belly button.
- - Your full hip circumference, the larger part of your lower body.

- -If your waist and hip measurements correspond exactly to a size in the size chart, you're in luck, all you have to do is select this size on the layers PDF and print your pattern!
- -If your waist measurement fall in a smaller size than your hips measurement, go with the hips size.
- -If, on the other hand, your waist measurement fall in a bigger size than your hip measurement go with the waist size.
- -If your waist fall in a bigger size than your hip measurement and your waist-to-hip ratio is very important, follow this tutorial to blend between the sizes.
Ex: Your waist measurement corresponds to 44 but your hip measurement to 36.
![]()
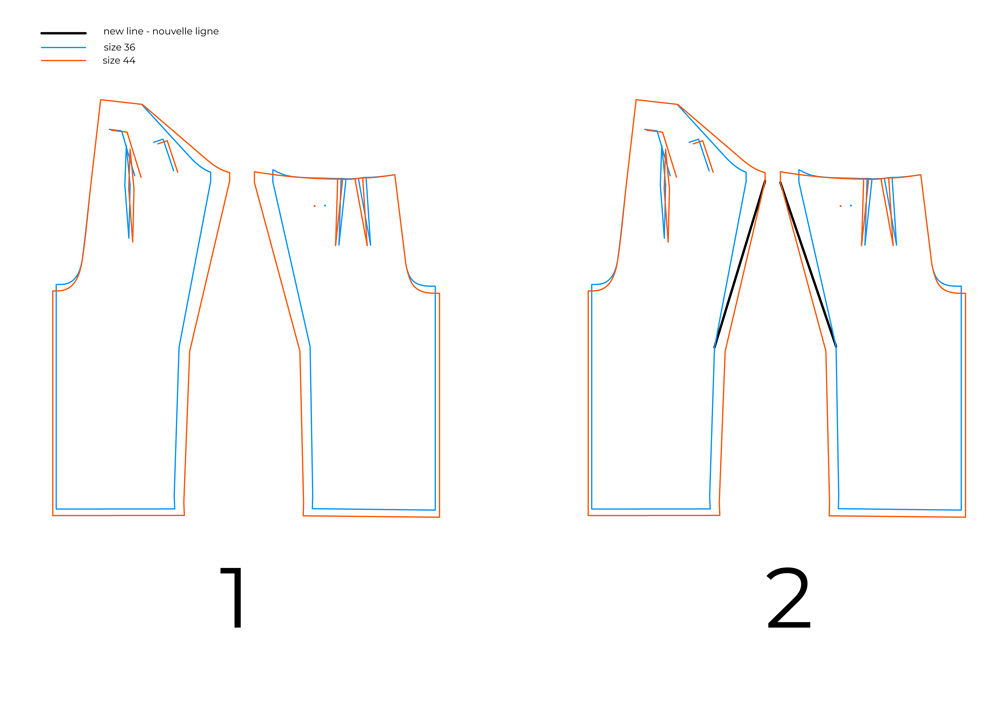
Step 1 : Print Pablo in the two sizes you need, ie 44 and 36.
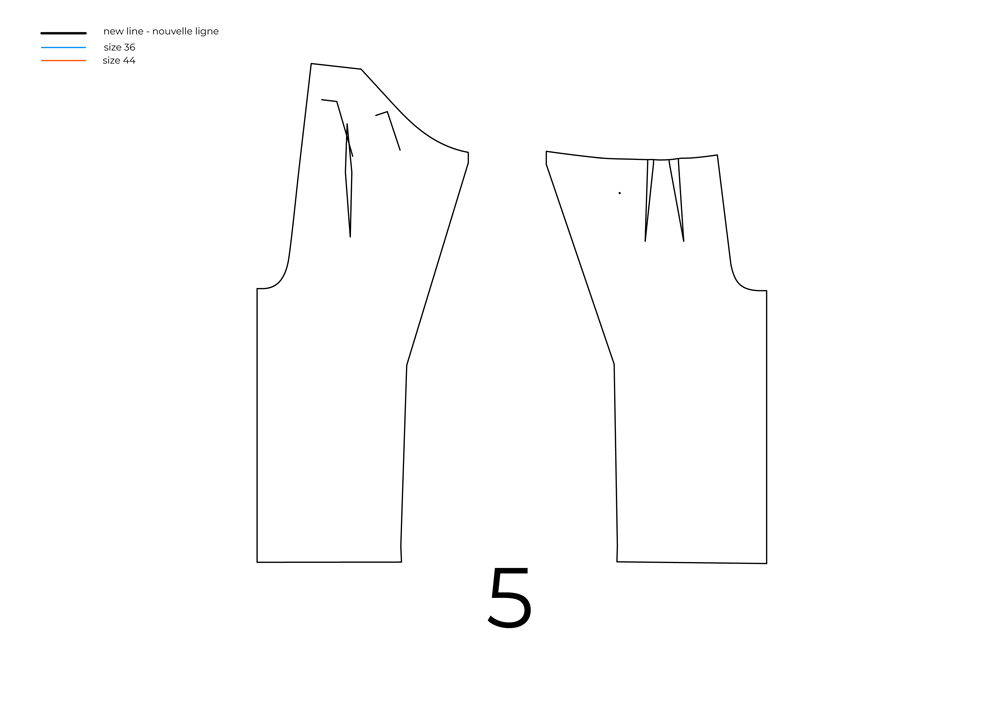
Step 2 : Connect the 36 under the hip level to the 44 at the waist level following the illustration above (black line).
EDIT: it is possible to grade more on the back than on the front. Too much grading on the front can lead in some gapping on the bib front fold. In this example grade from size 36 to 41 on the front and on the back from size 36 to 44.
![]()
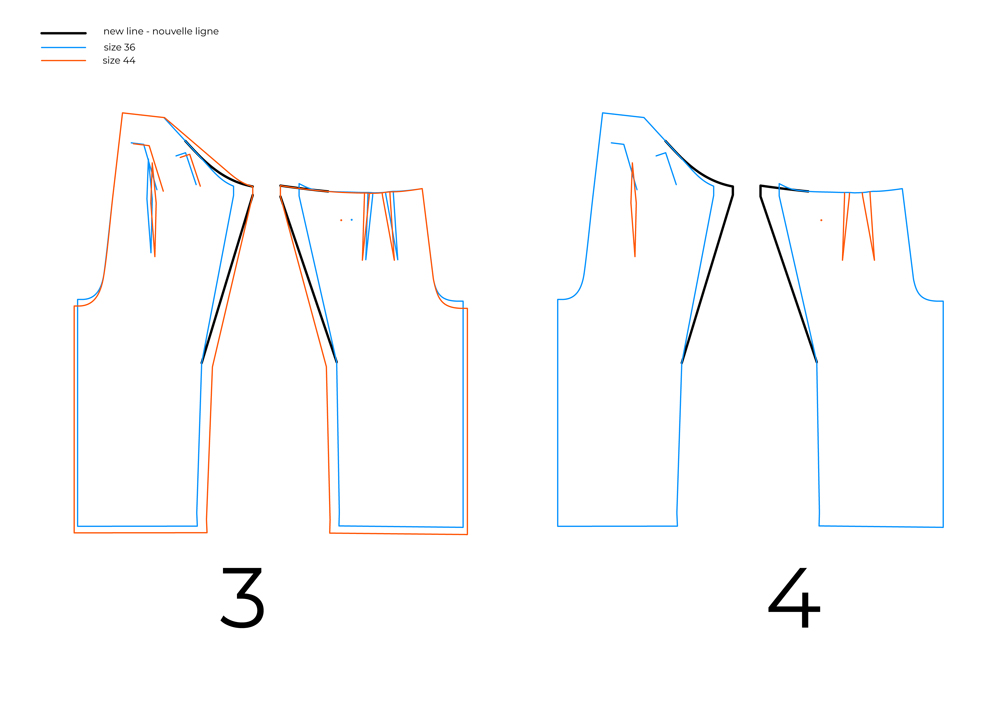
Step 3 : Connect the waist point size 44 to the bib size 36 for the front and trace the new waistline for the back.
Step 4 : Select the size 44 for the darts and back pockets and size 36 for the front pockets, legs and bib.
![]()
Voilà ! This way, you have widened the pattern at the waist while keeping the crotch and leg of size 36.
![]()
Comments
No comment at this time!
Leave your comment