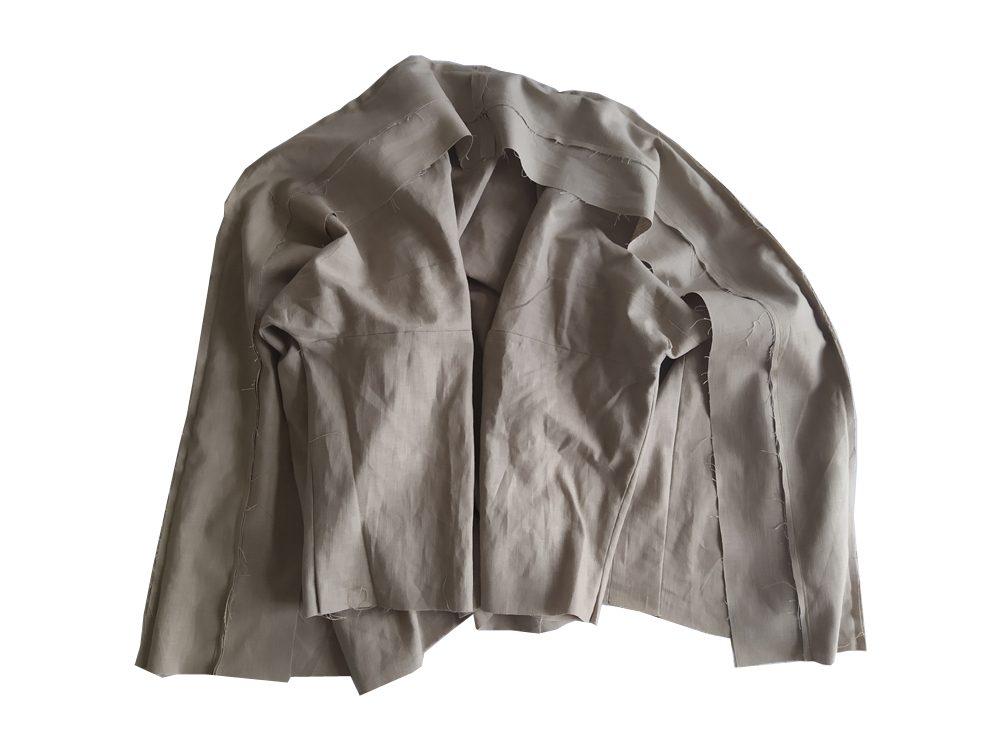
Sew along, the Pekka jacket

Sew along with us as we walk you through making the Pekka jacket! You will notice that the sew along can differ from the sewing instructions included with the pattern. First you’re going to need to gather the supplies you’ll need to sew a perfect Pekka!
The Pépite collection was designed specifically for motivated beginners and seamstresses who love simple and quick projects. As I created this collection, I considered the following three requirements:
1 - The design must not require any notions apart from the fabric, thread and pattern (no zippers, no buttons, no snaps)
2 - All designs must be appropriate for advanced beginner to intermediate level sewers.
3 - The search for simplicity and ease in sewing should not be to the detriment of style and form.
Supplies:
- Fabric (for the fabric head back to the instructions to know what kind of fabric you need and the yardage)
- 1 bobbin of regular thread matching the fabric color

Let's start
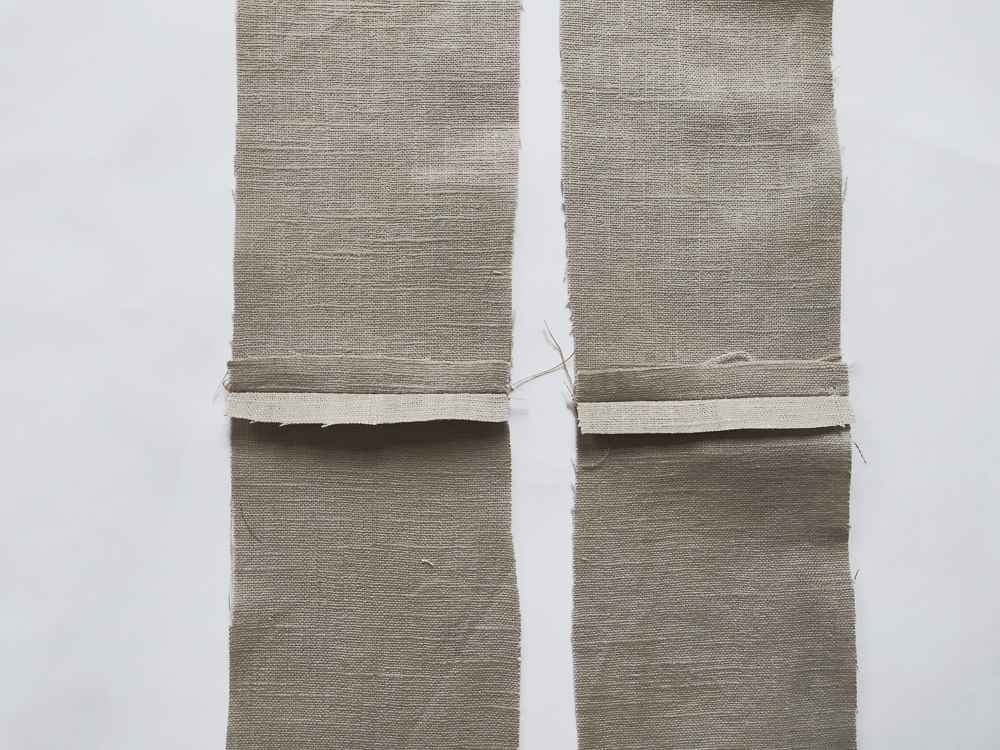
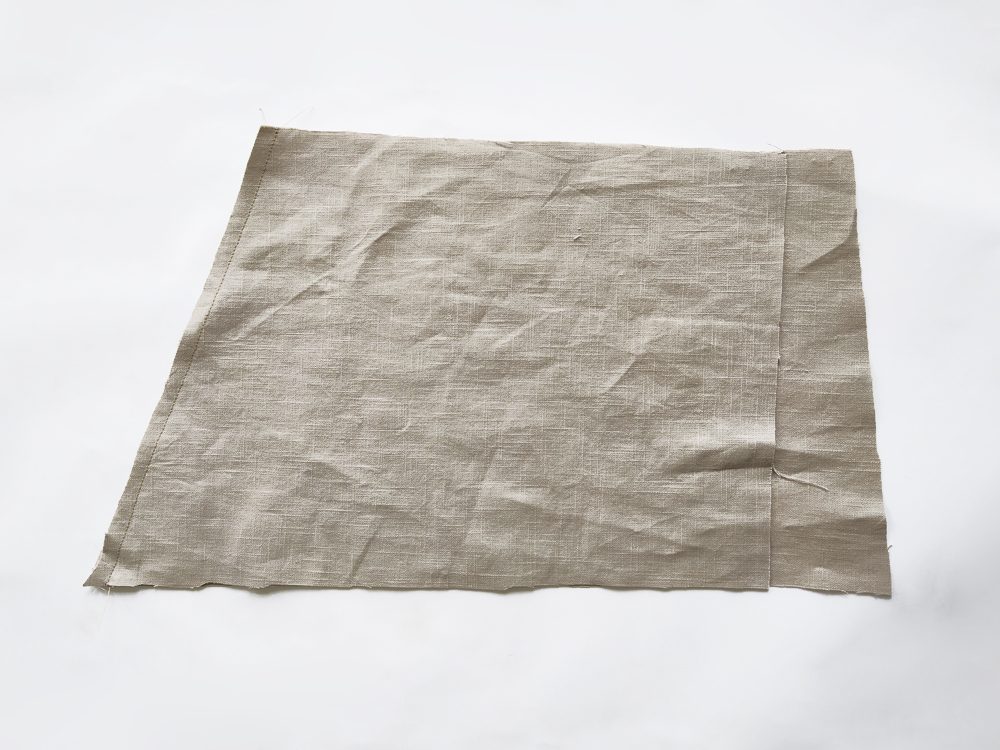 1: With right sides together, stitch the pocket (A) to the pocket facing (B) at the top. Press seam allowances open.
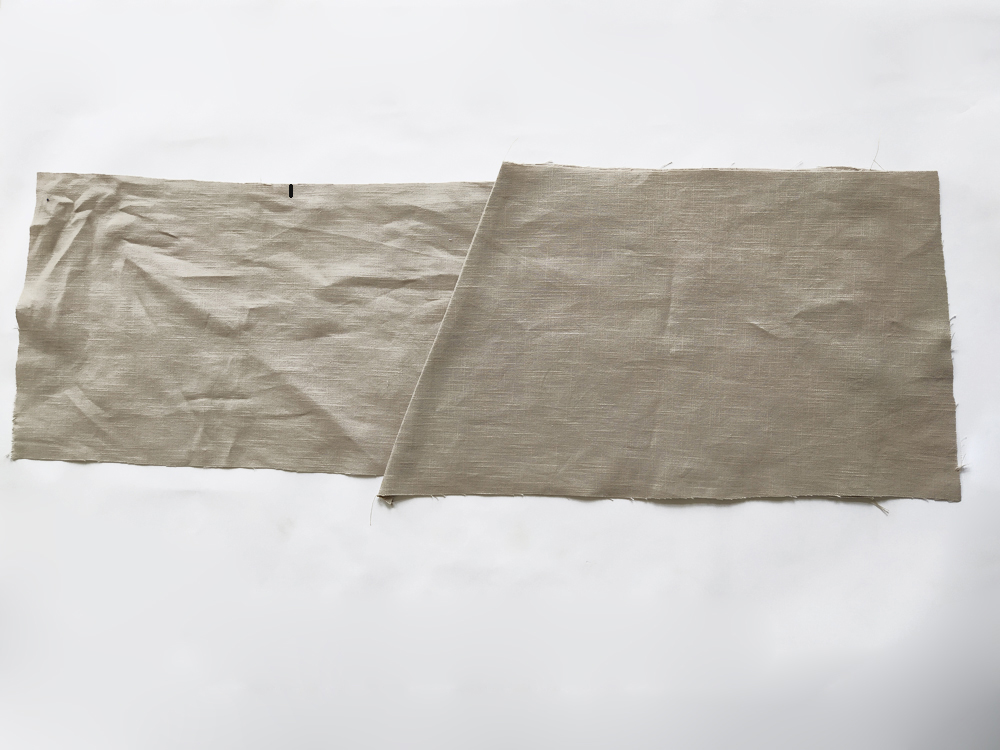
 2: Flip the pocket facing (B) to the wrong side of the large pocket (A).
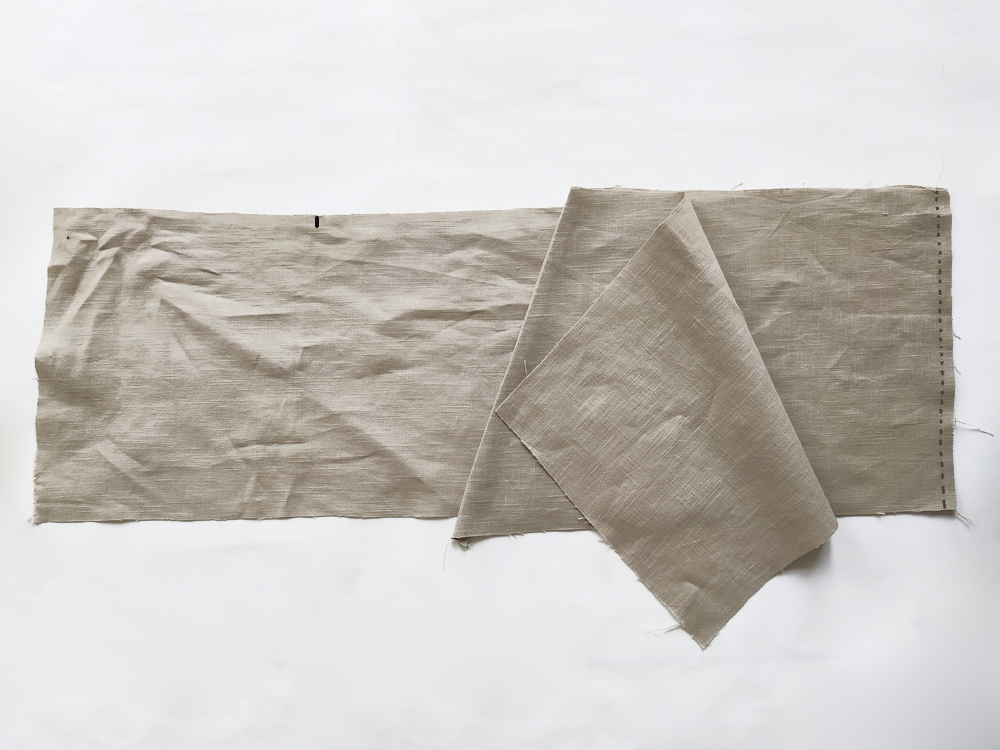
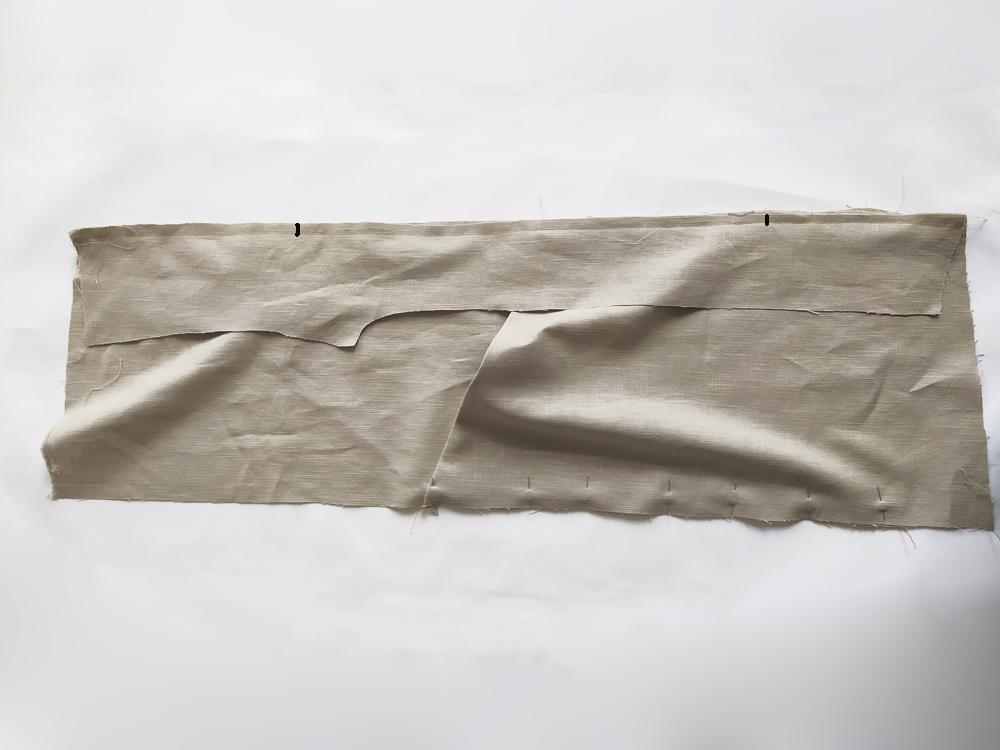
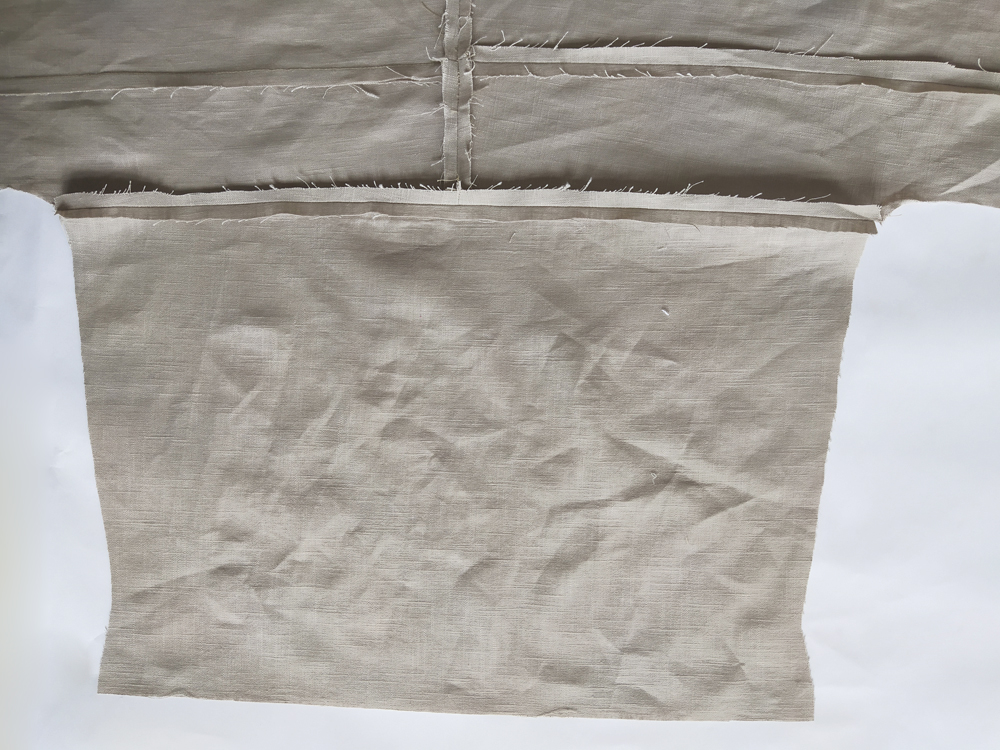
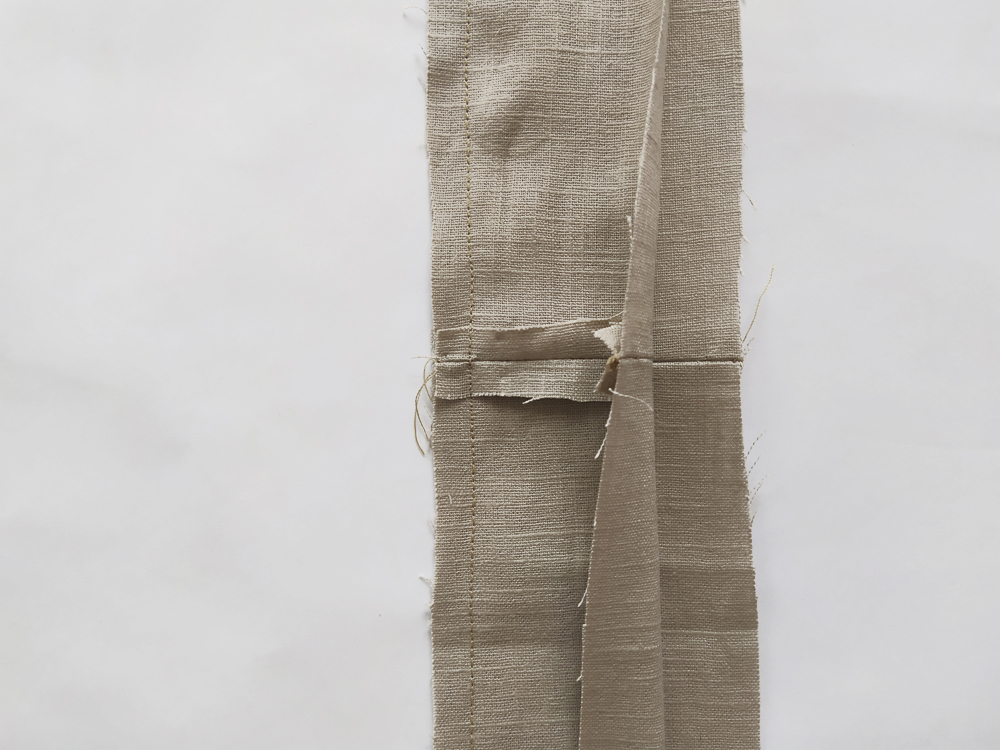
3: To create the pocket bag: With right sides together, and matching notches, sew the center front bodice (C) to the bottom of the pocket facing (B).

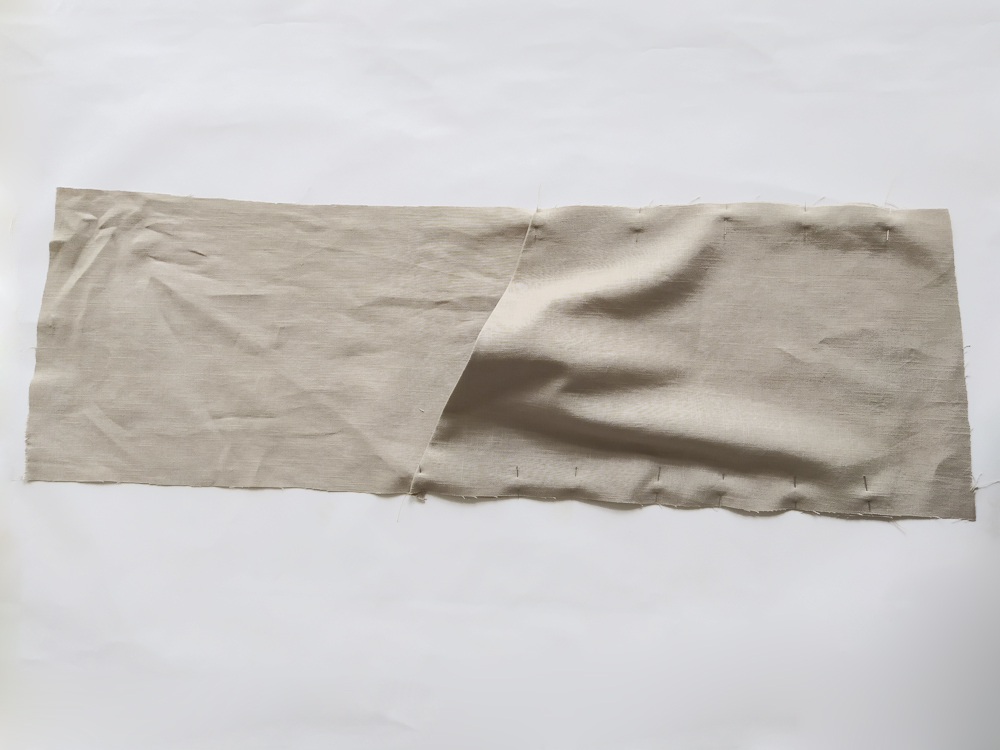 4: Pin (or baste) the sides of the pocket to the sides of the center front bodice (C). The pocket is larger than the center front bodice, which will cause the pocket to gape. Don’t worry, it’s totally normal.
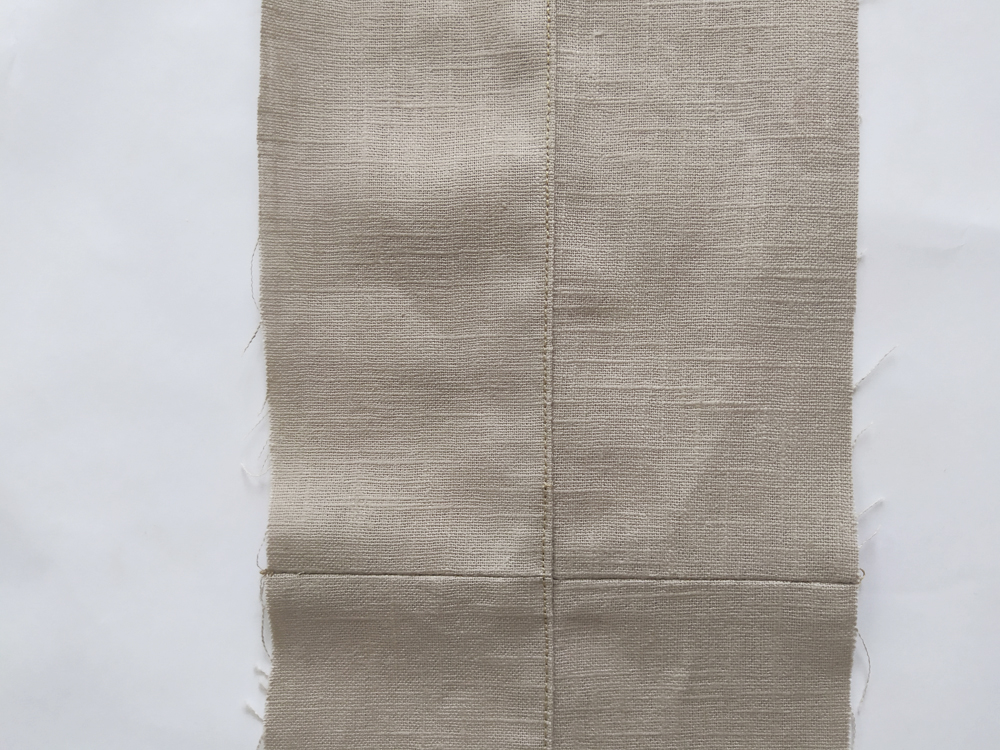
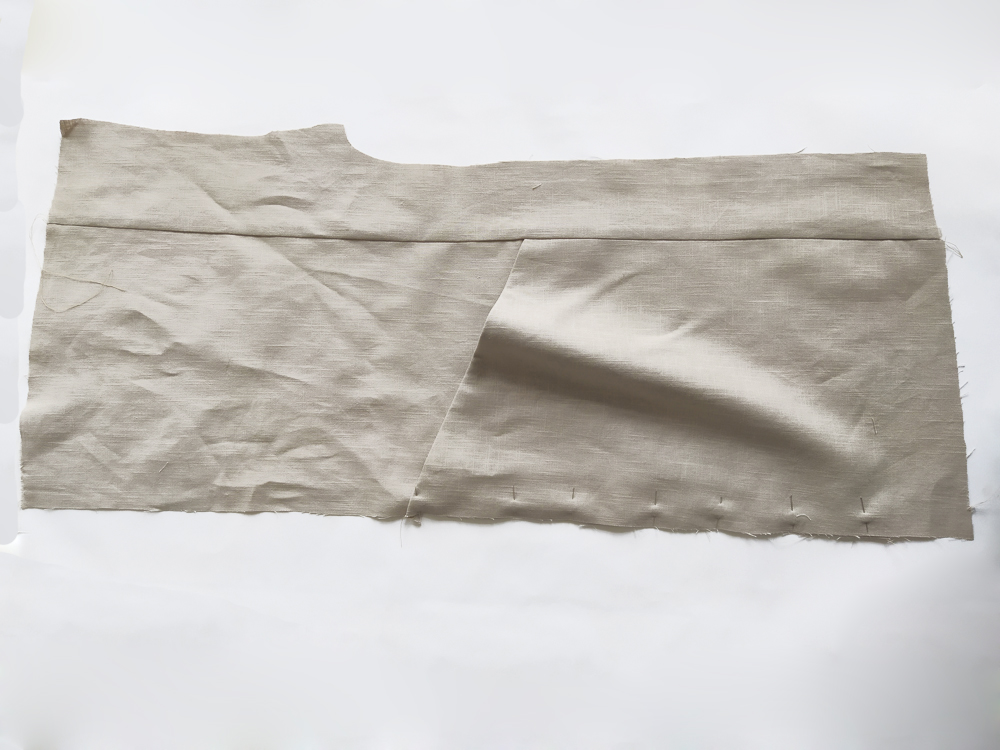 5: With right sides together, and matching notches, sew the front side piece (D) to the center front bodice. Press the seams open. Repeat previous steps for the other front pieces.
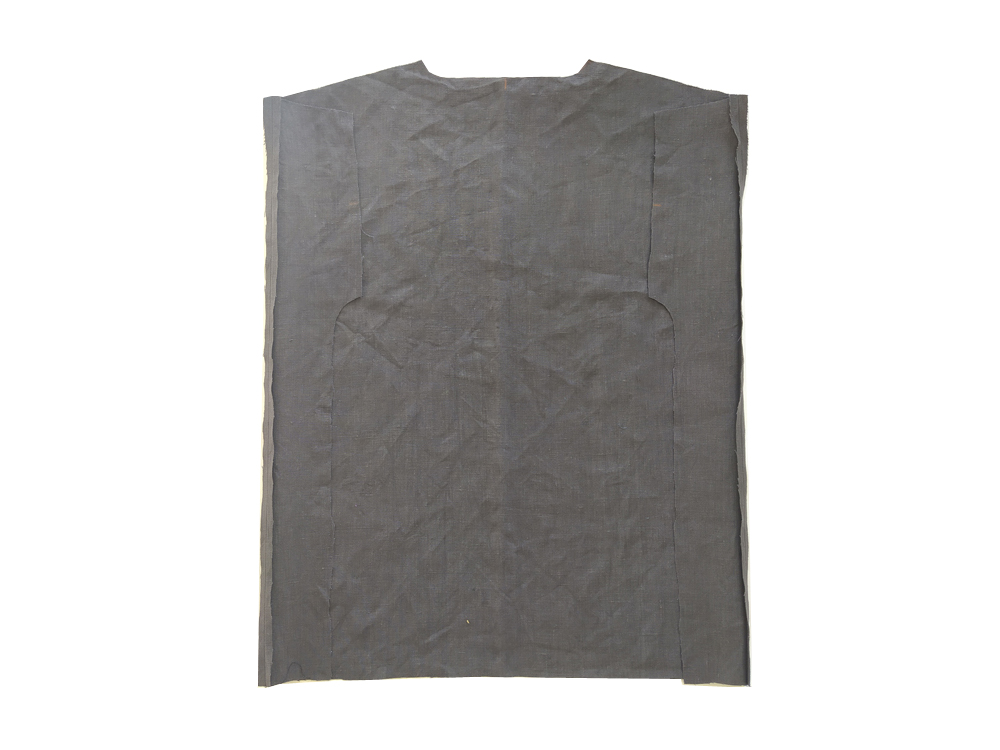
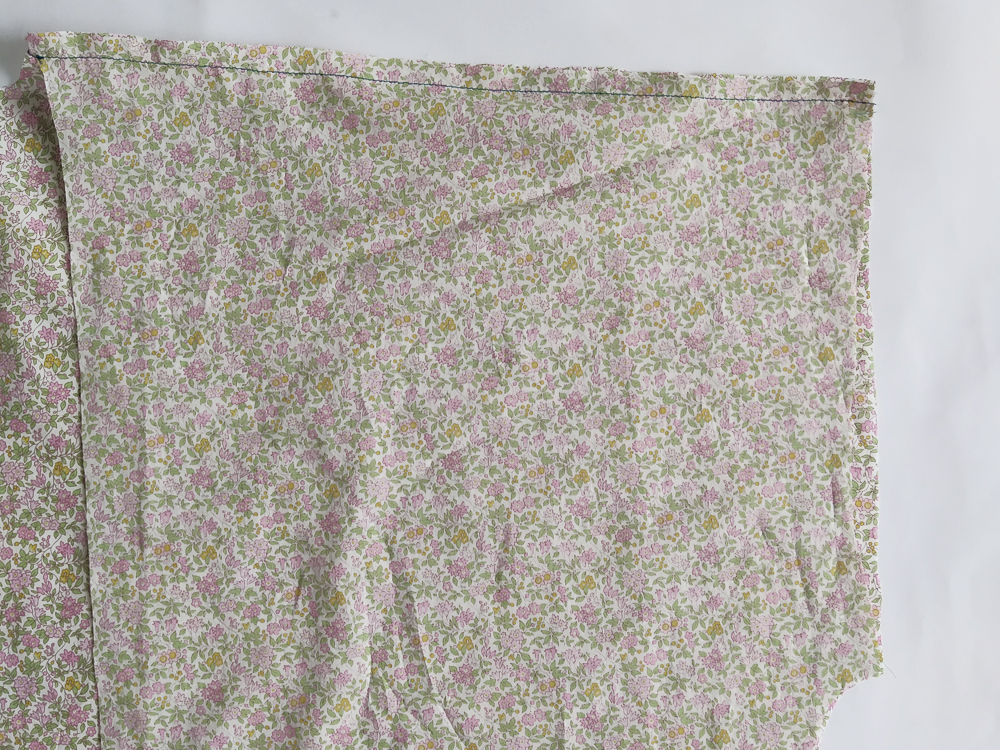
 6: With right sides together, stitch the center back piece (E) to the back side pieces (F). Press the seams open.
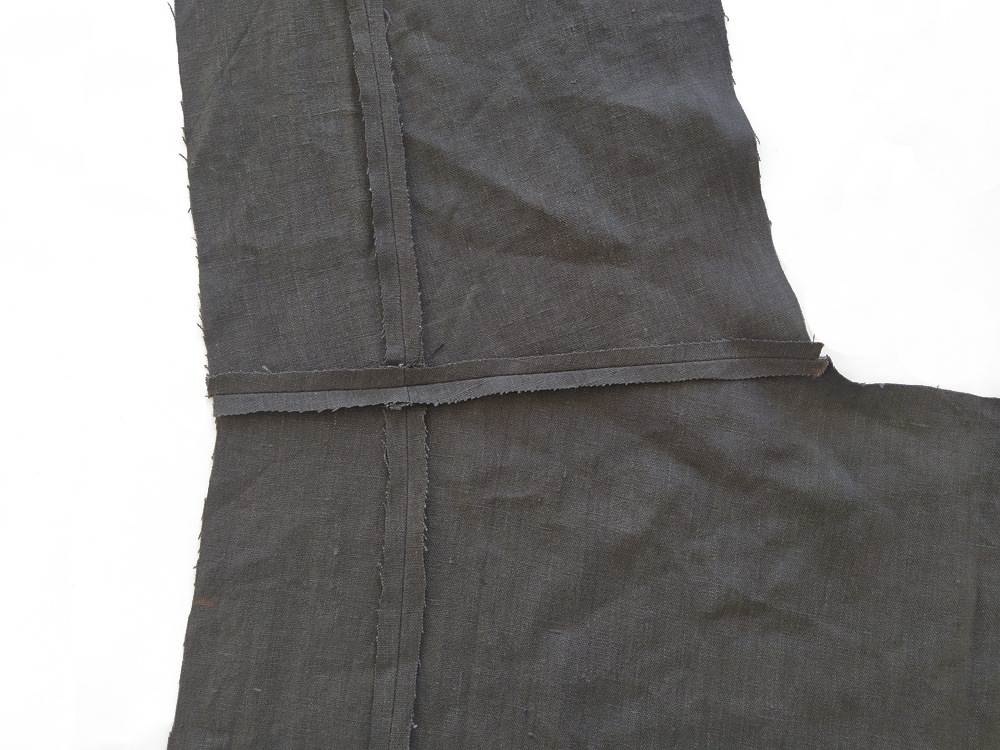
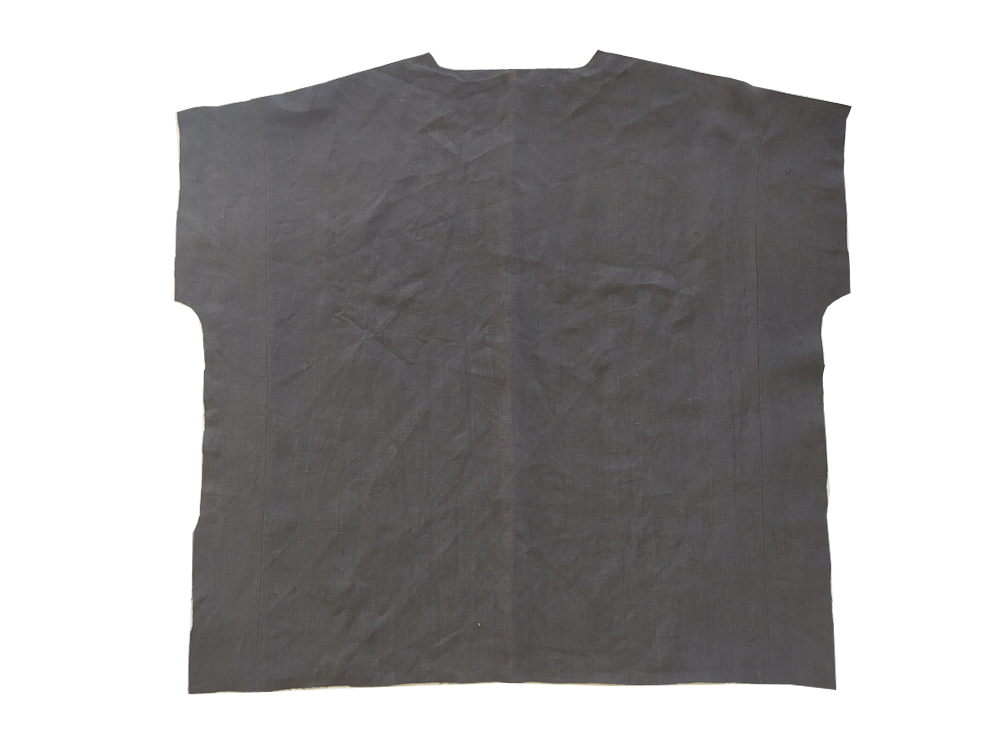
 7: With right sides together, pin and stitch front shoulder to back shoulder. Check to make sure the seams are aligned and press the seams open.
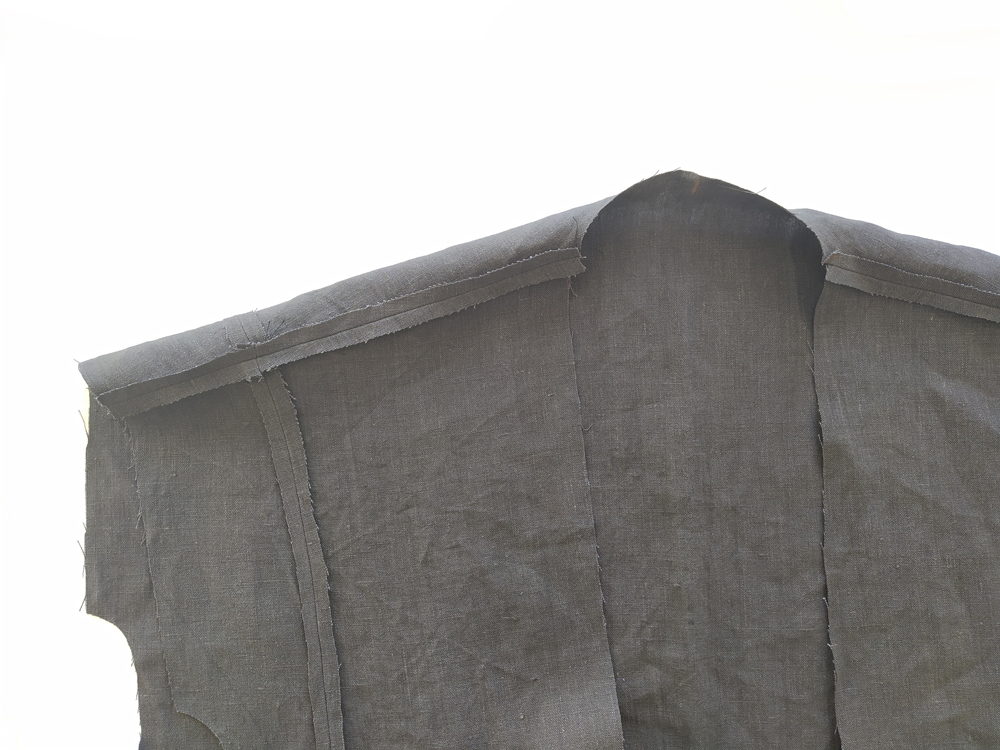
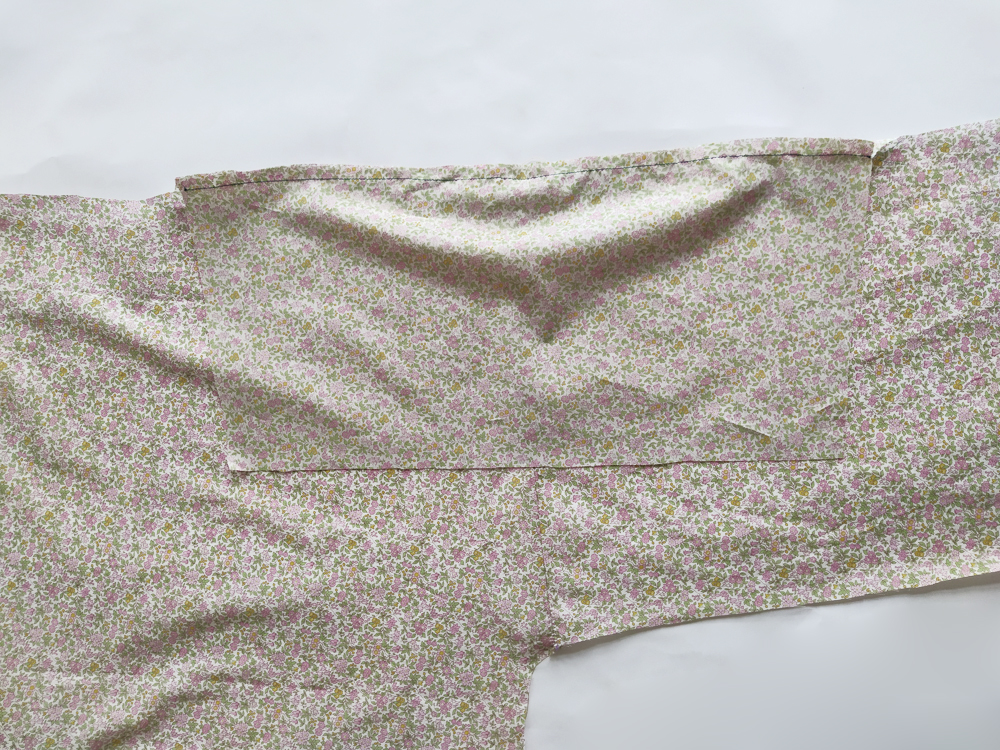
 8: WIth right sides together, and matching notches (one notch on the back and two on the front), pin and sew the sleeves (G or G’) to the garment body. Press seams open.
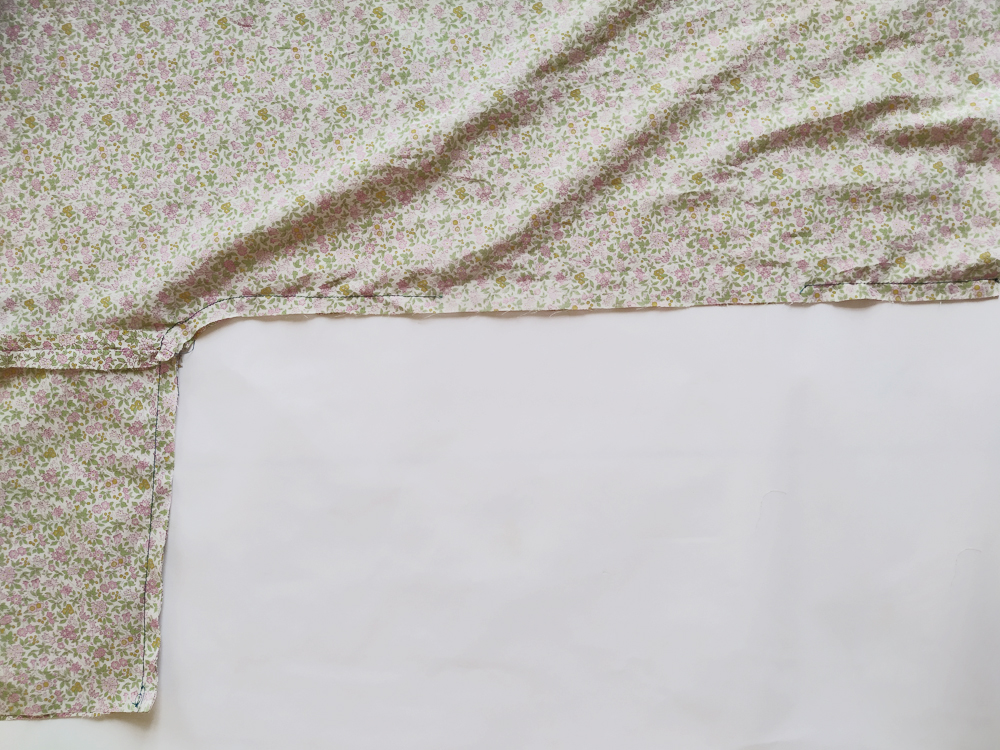
 9: With right sides together, pin the front to the back at the sides and underarms, making sure the armhole seams are lined up. Sew a continuous seam beginning at the bottom of the sleeve and ending at the bottom of the garment.
 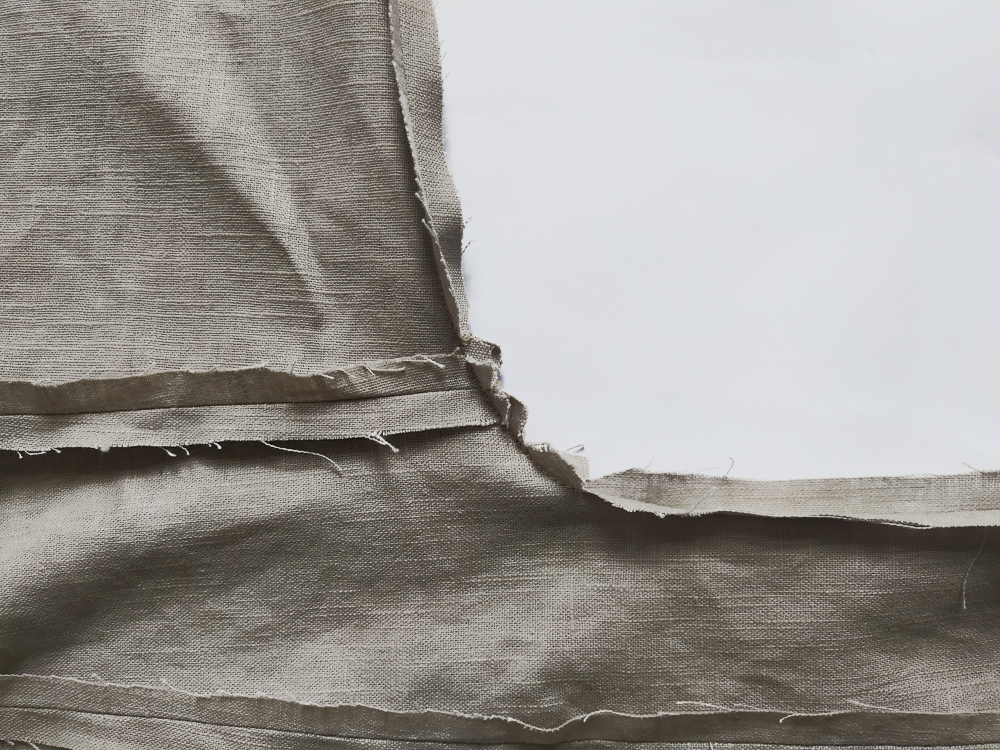 10 : Clip the curves of the underside of the sleeve, making sure not to clip through your stitches. Press seams open. Repeat for both sides.
 11 : With right sides together, sew the neck bands (H or H’) along the short ends. Press seams open.
 12 : With right sides together, sew the neck bands together along one of the long edges. Press the seams towards one side, then edgestitch the seam 2 mm from the first row of stitches.
 13 : With right sides together, pin and sew the neckband to the jacket shell. The side of the neckband without the row of edgestitching should be against the body for (H) and the opposite for (H’). Press seam open.
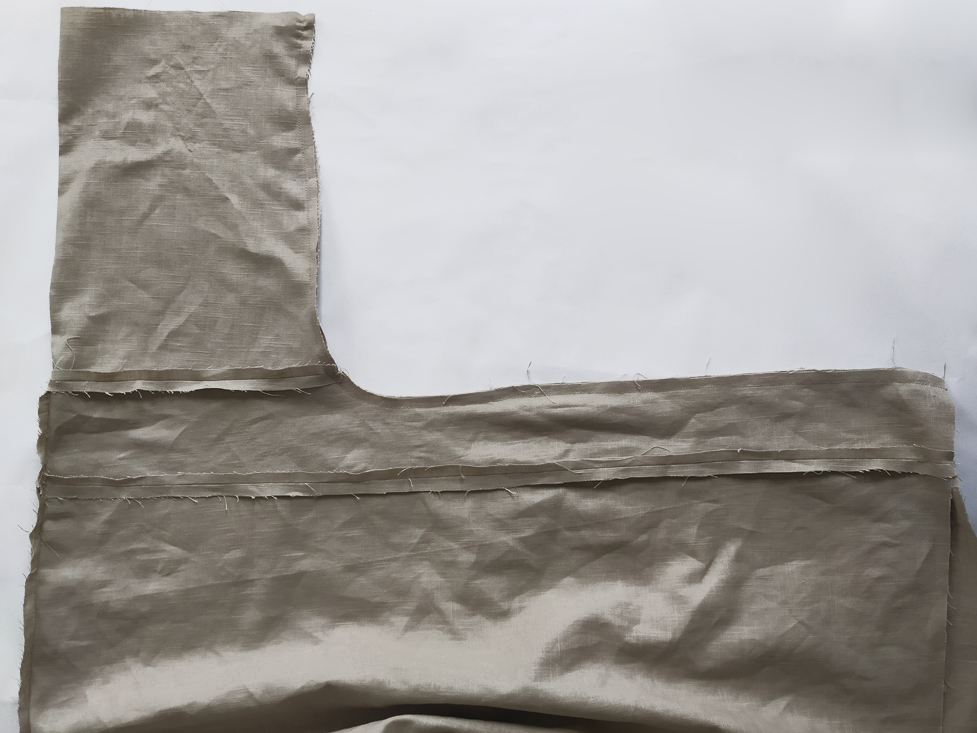
14 : The lining: with right sides together, pin and sew the back lining (J) to the front lining (I) at the shoulders. Press seams open.
15 : With right sides together, pin and stitch the lining sleeves (K or K’) to the body of the lining. Press seam open.
16 : With right sides together, pin the front lining to the back lining at the sides and underarms, making sure the armhole seams are lined up. Sew a continuous seam beginning at the bottom of the sleeve and ending at the bottom of the garment. Leave an opening of about 20 cm on one of the sides seams. This opening will allow you to turn the garment to the right side at the end.
17 : Clip the curves of the underside of the sleeve, making sure not to clip through your stitches. Press seams open. Repeat for both sides.

18 : Turn the hem of the lining sleeve 10 mm towards the wrong side. Press to create a fold.
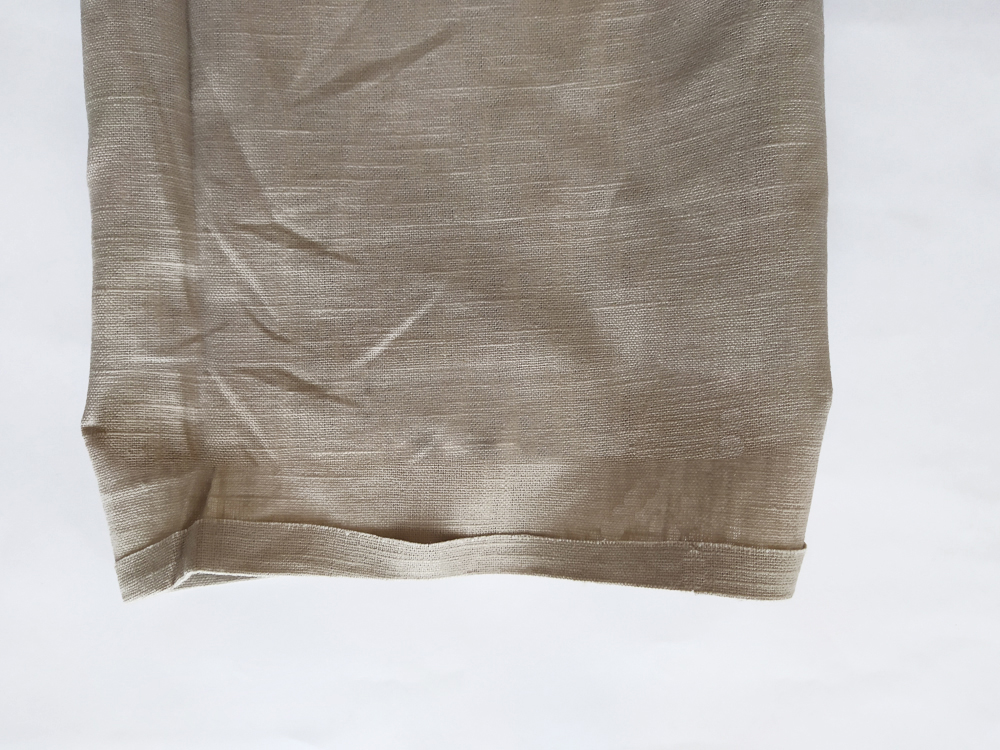
19 : Turn the hem of the jacket body 10 mm towards the wrong side. Press to create a fold. 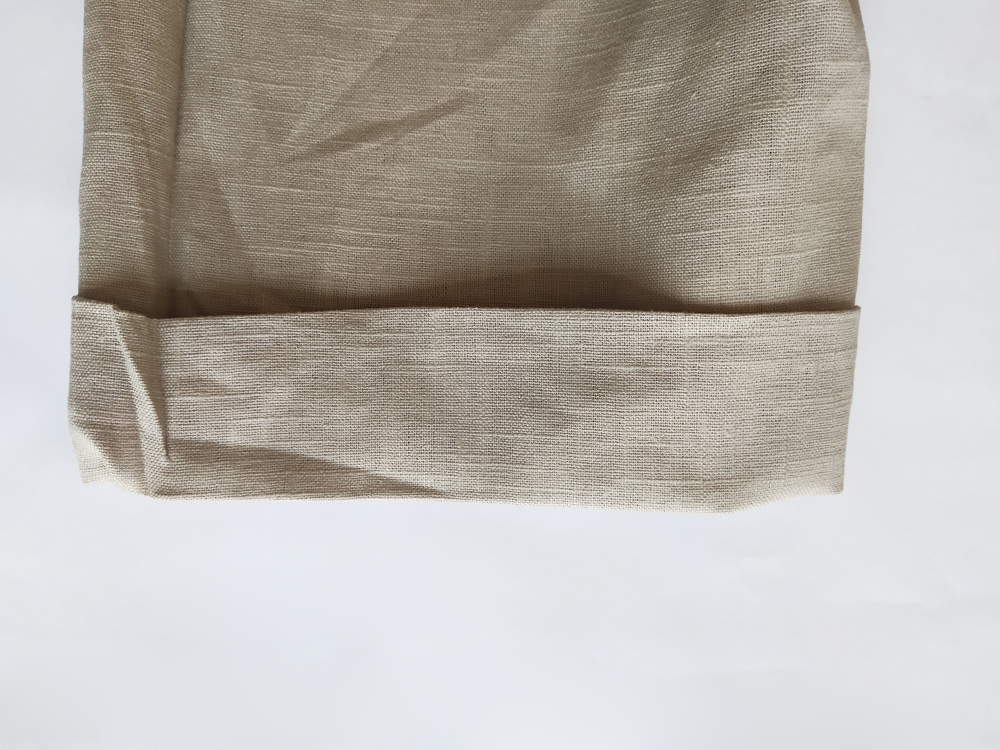

20 : Turn the pressed edge of the lining sleeve 50 mm towards the wrong side. Press to create a fold but this time, unfold the hem. 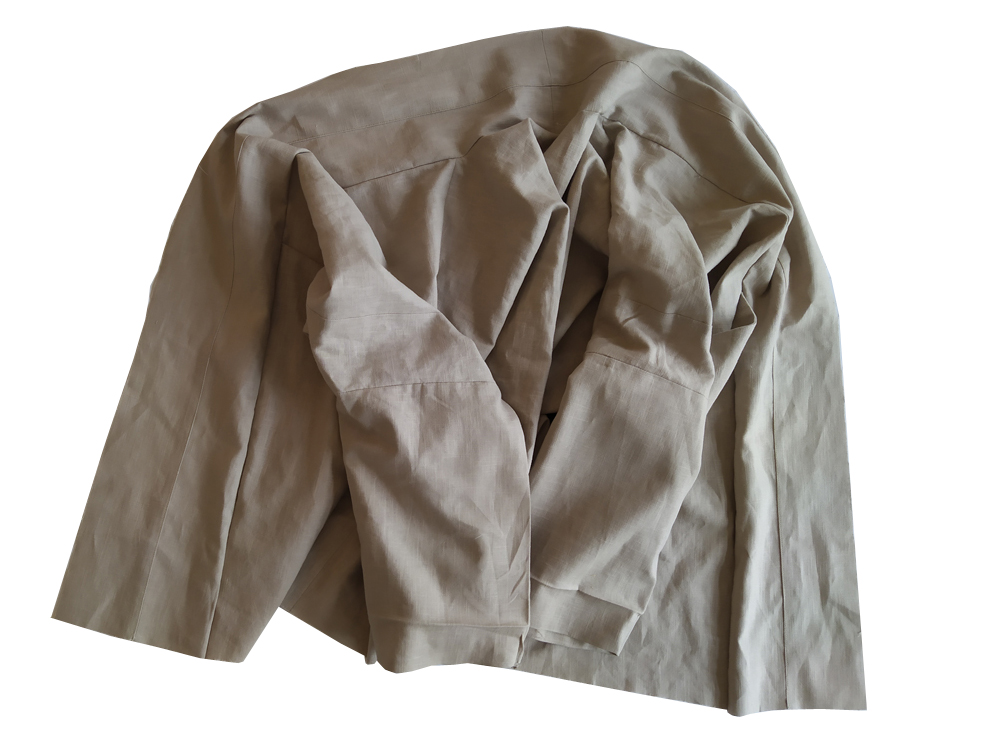
21: Spread the jacket shell out right side in front of you, lay the lining on the top, right sides together. Pin the lining to the collar band and sew a continuous seam beginning at the bottom left and ending at the bottom right.
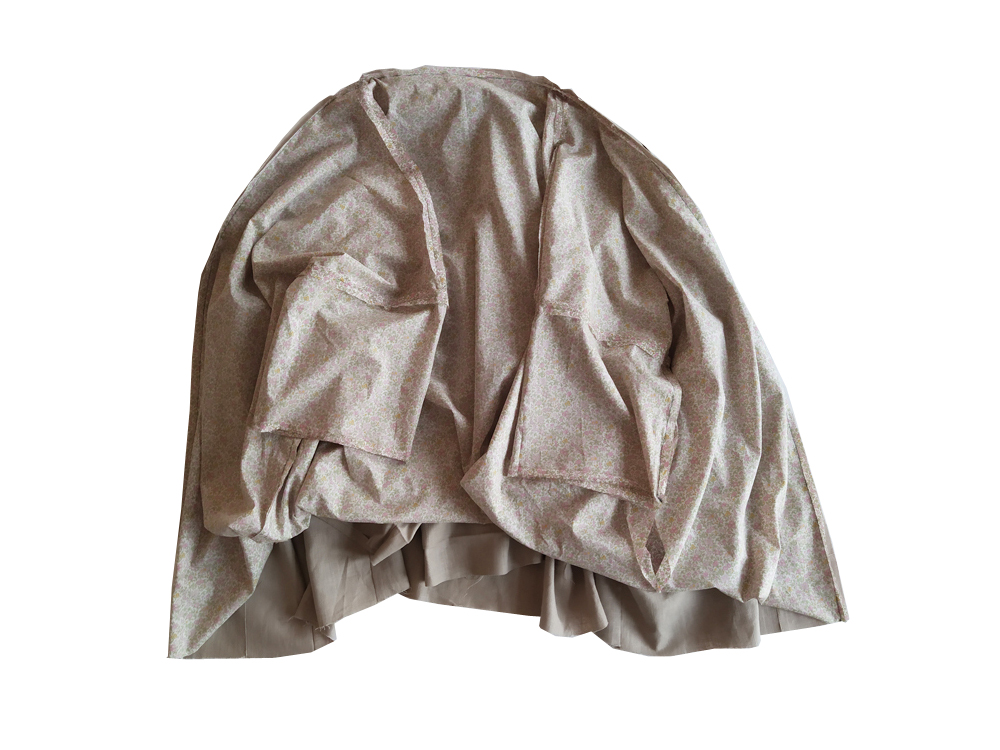
22 : With wrong sides together, tuck the lining sleeves into the jacket sleeves. Spread the jacket out in front of you. Follow the video tutorial below to line the jacket.
Give a final press to your garment and that’s it, you are now done with your Pekka jacket !
Comments
No comment at this time!
Leave your comment