Sew along, the Pio pants for kids
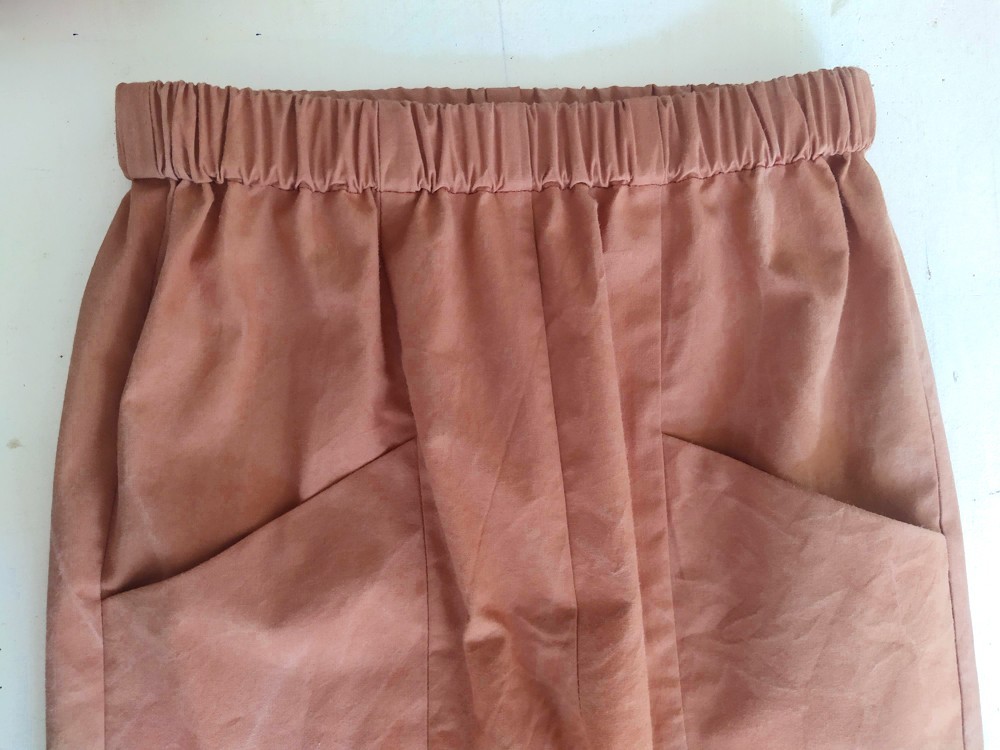
Sew along with us as we walk you through making the Pio pants kids version! You will notice that the sew along can differ from the sewing instructions included with the pattern. First you’re going to need to gather the supplies you’ll need to sew a perfect Pio!
Supplies:
- - Fabric (for the fabric head back to the instructions to know what kind of fabric you need and the yardage)
- - 1 bobbin of regular thread matching the fabric color or 3 if you are using a serger
- - 2,5 cm wide elastic
![]()
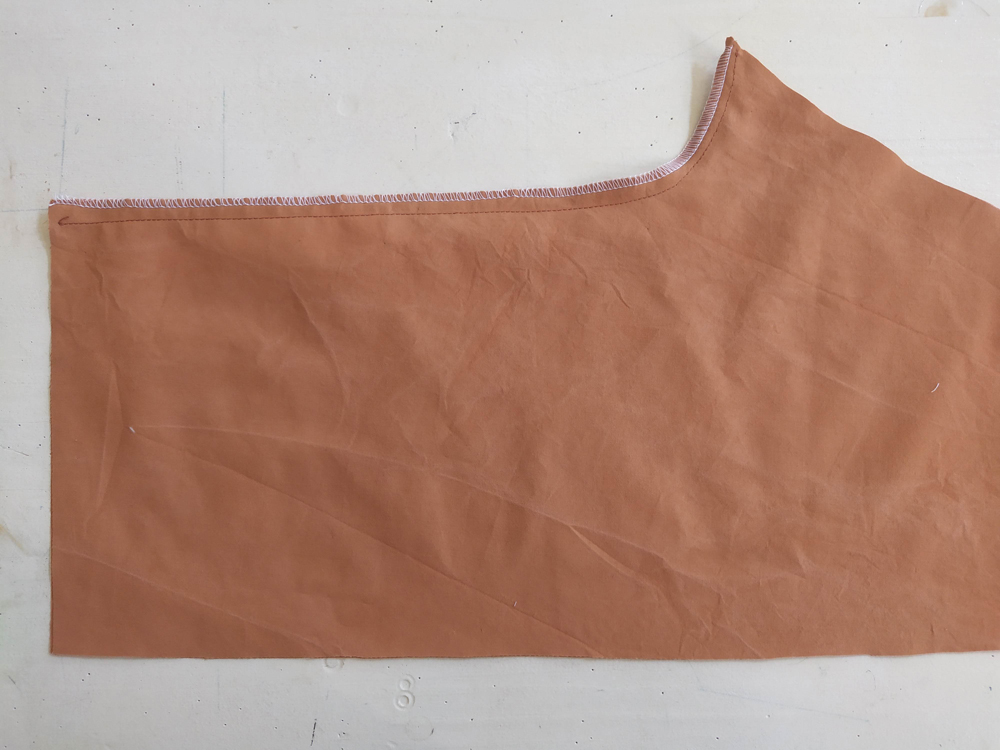
With right sides together, sew the two back pieces (A) together along the center back seam line. Finish the edges together and press them toward the right side of the garment. Edgestitch seam.
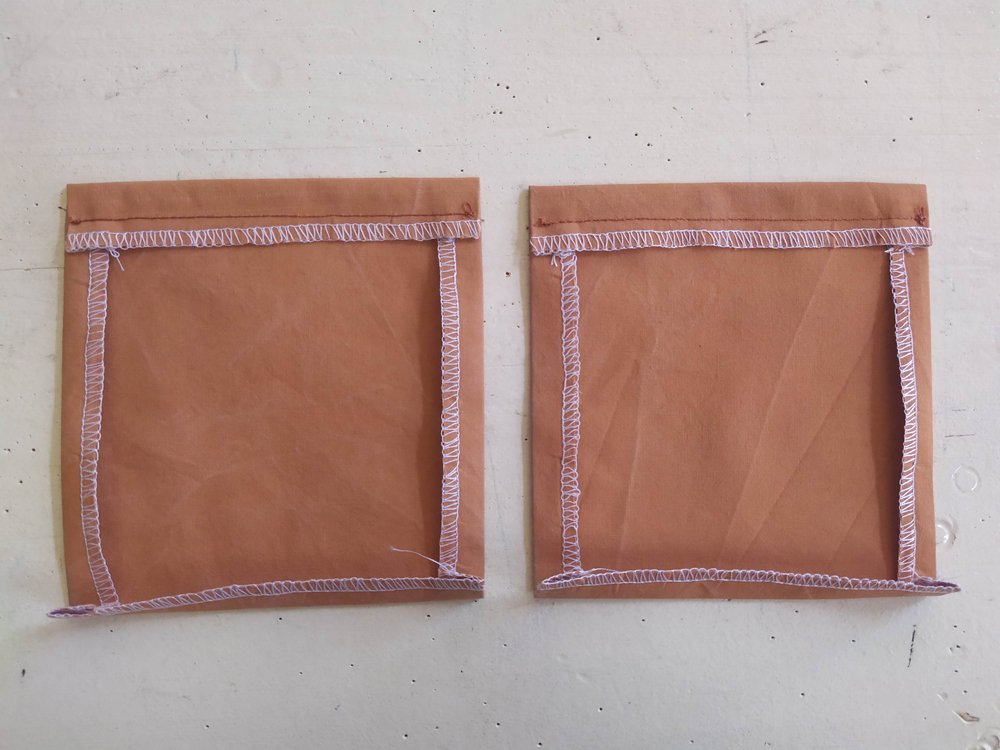
Finish the four raw edges of the back patch pocket (B).
Fold the left and right edges 1 cm toward the inside, wrong sides together. Press.
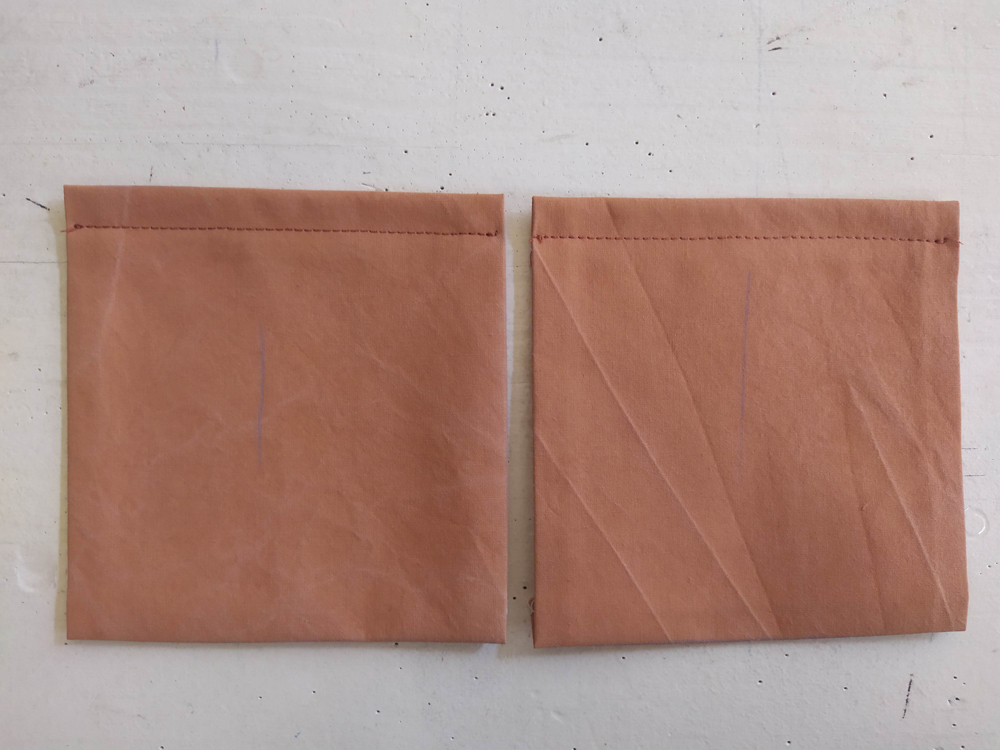
Fold the top edge of the pocket 1.5 cm toward the inside, wrong sides together.
Pin, press and topstitch.
Fold the bottom edge 1 cm toward the inside, wrong sides together. Press.
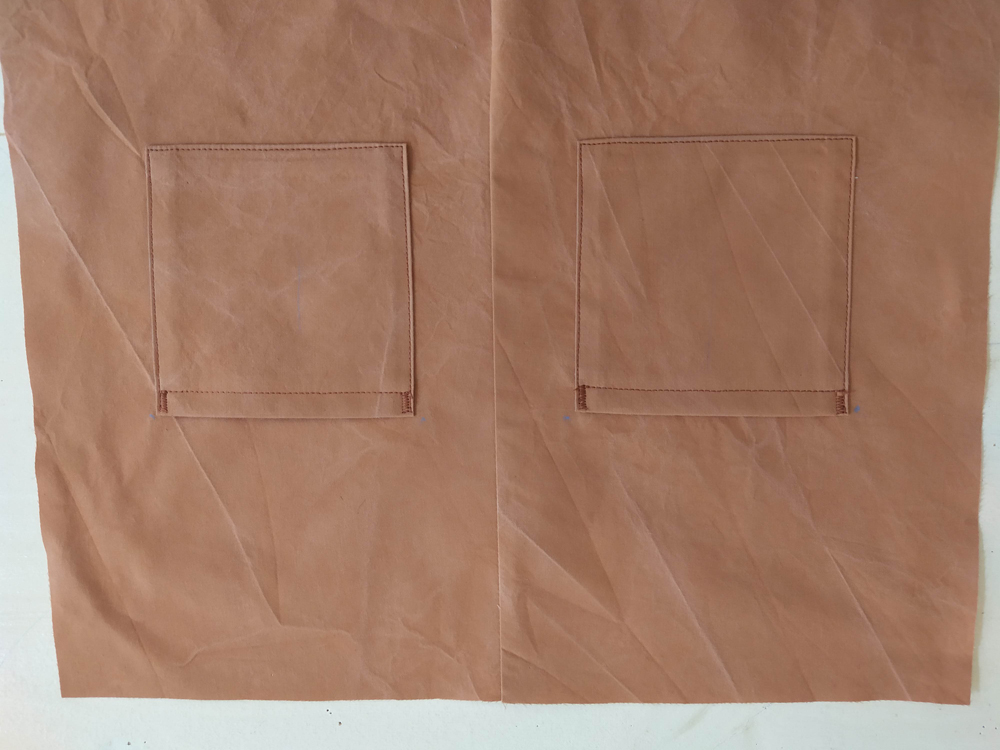
Pin the pockets (B) on the center back pieces (A), matching the corners to the placement marks.
Topstitch pocket in place 2 mm from the edges.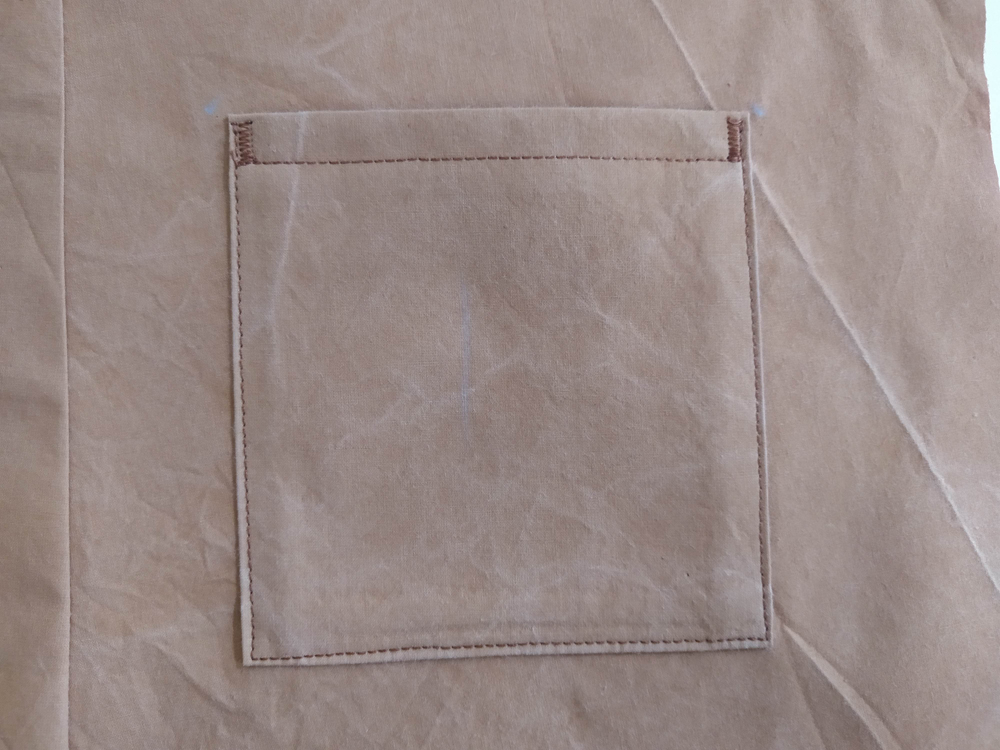
Finish the top edges of the pockets by sewing a zigzag stitch to reinforce.
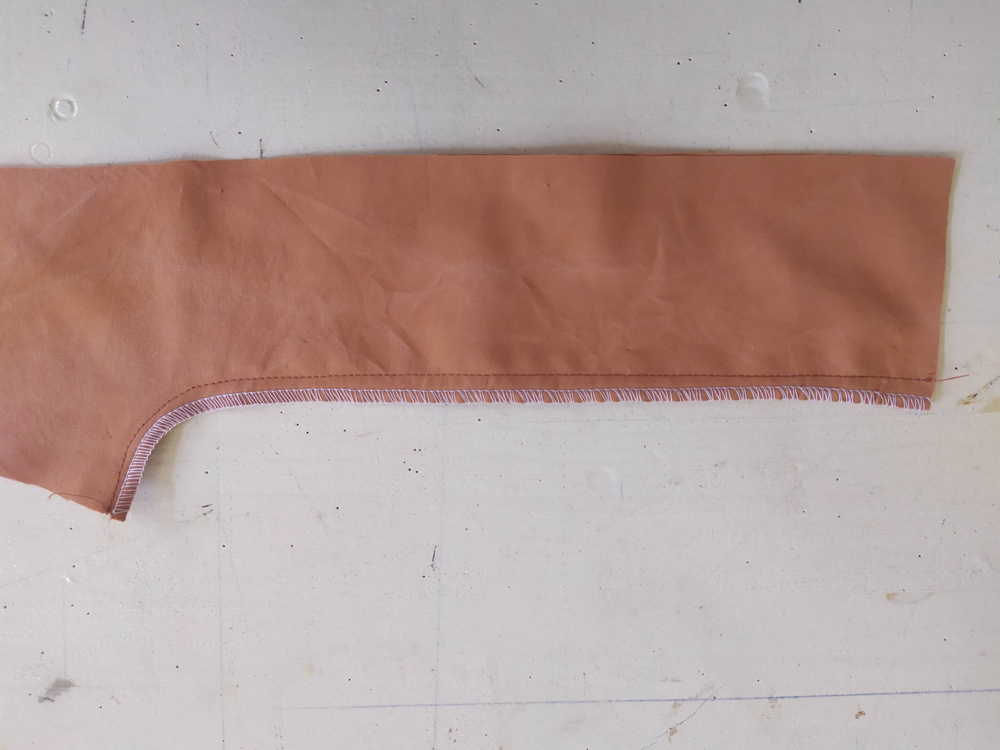
With right sides together, sew the center front pieces (F). Finish the seams together and press them toward the left side of the garment. Edgestitch.
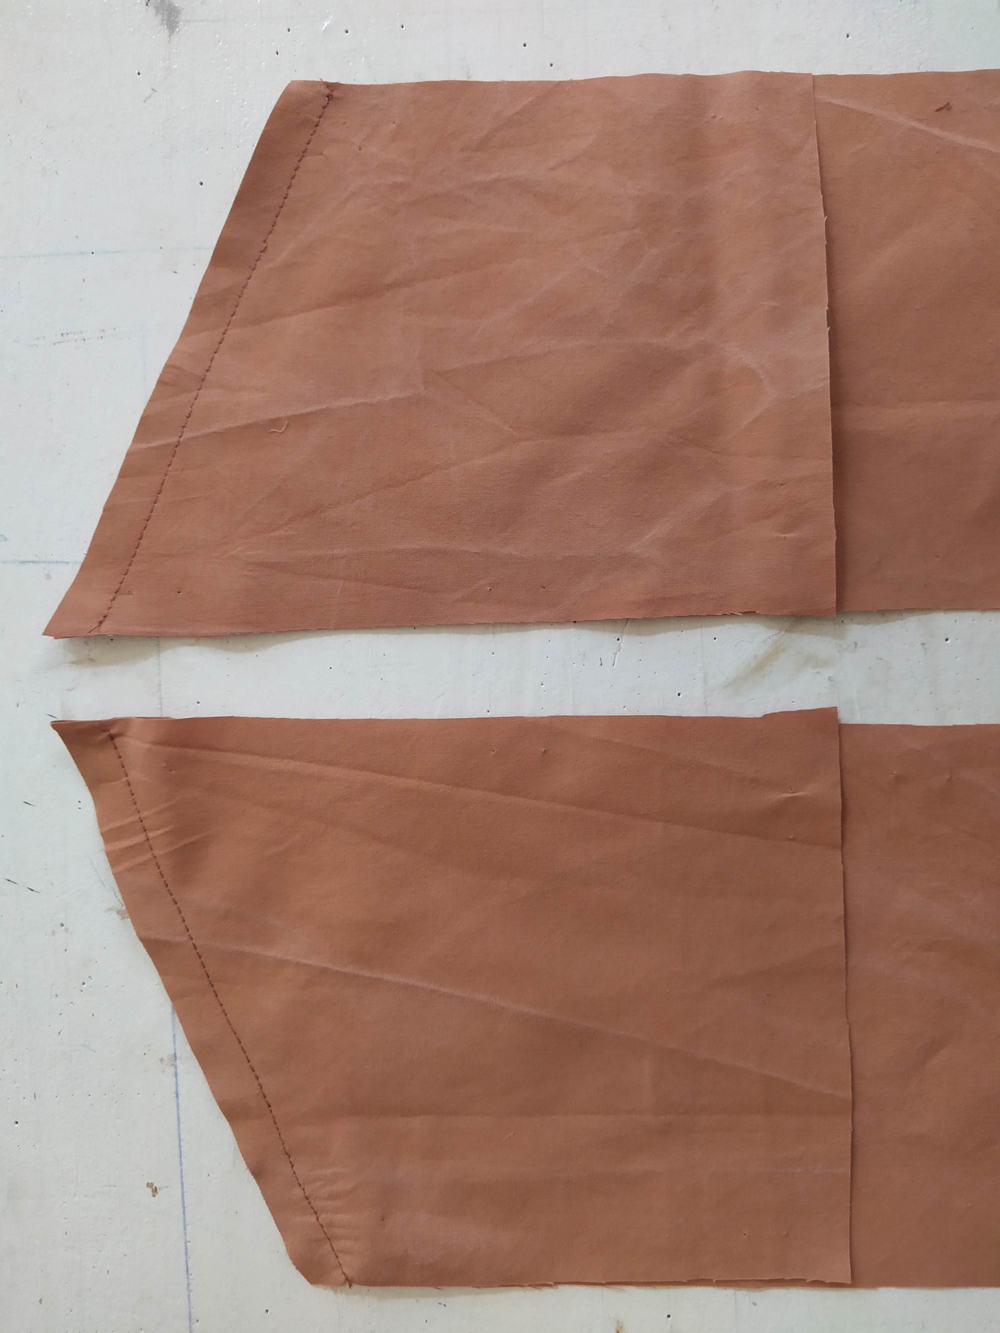
With right sides together stitch pocket facing (C) to the front side leg piece 1 (D).
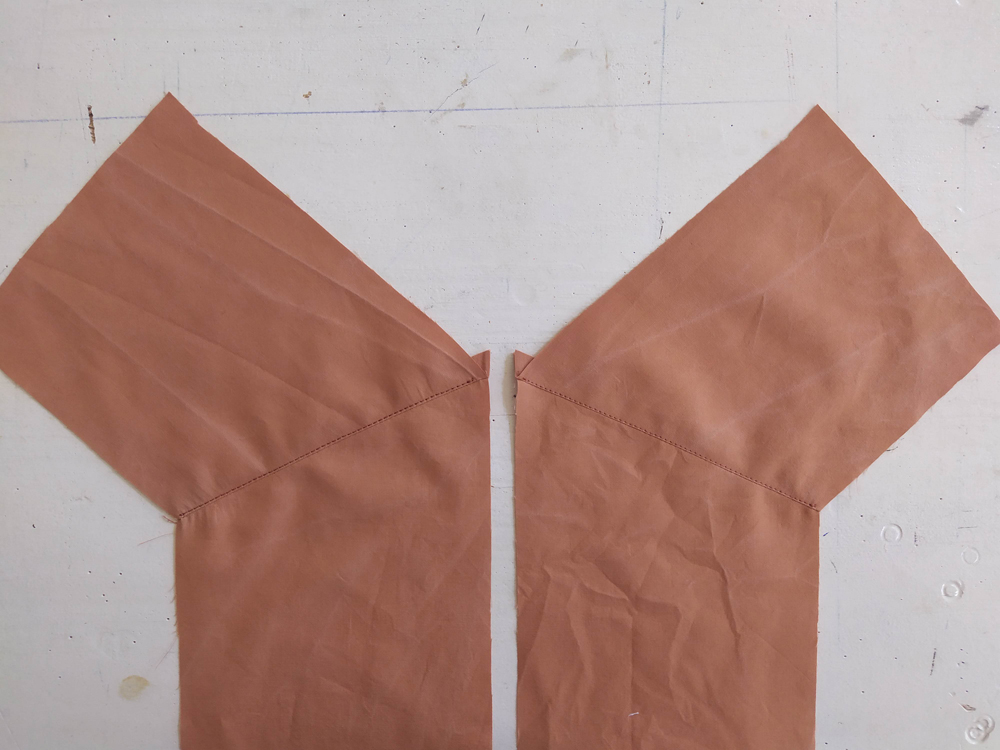
Press seam towards the pocket facing (C) and understitch.
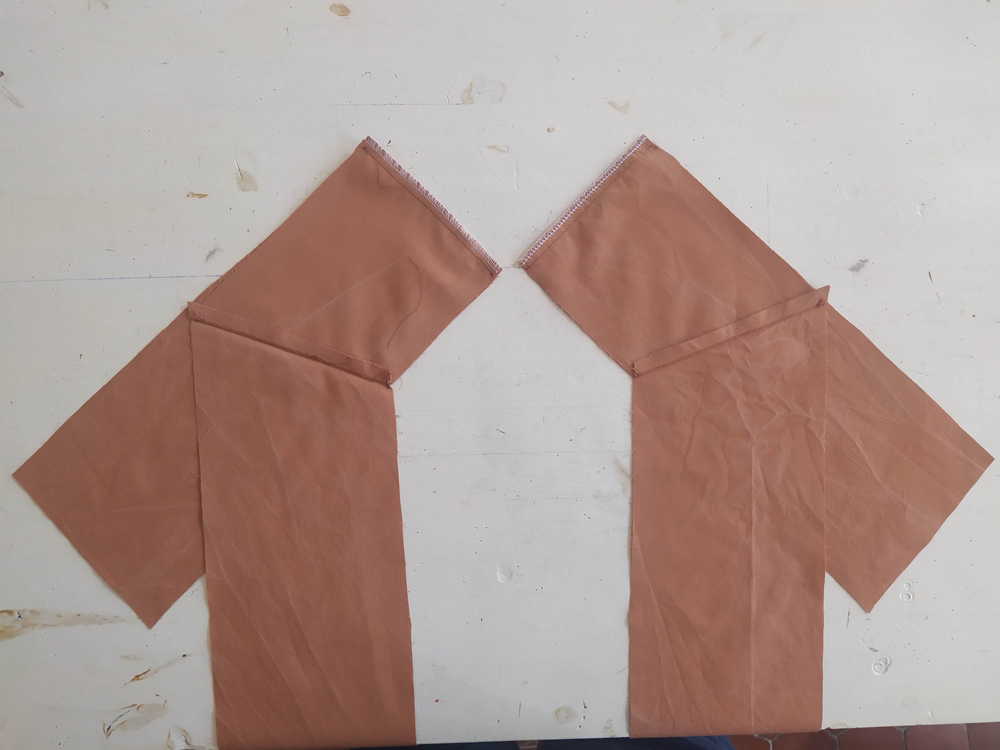
To create the pocket pouch:
With right sides together, and matching notches, stitch the side front piece 2 (E) to the pocket (C). Finish the seam.
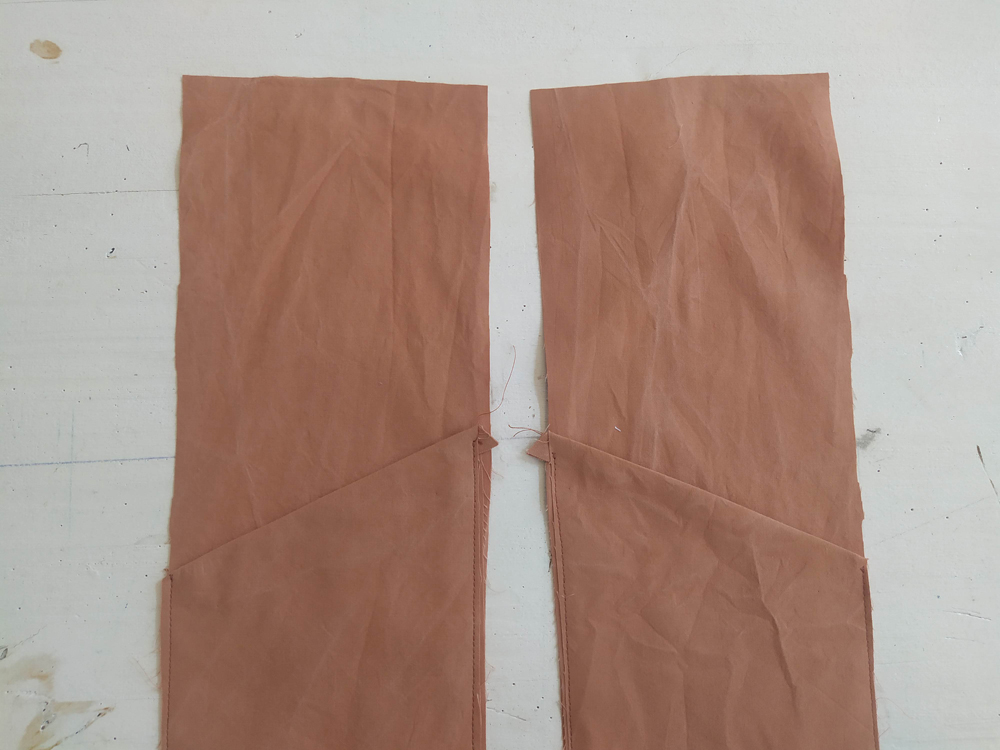
Flip the pocket facing and bottom of the bodice to the wrong side of the leg piece.
Baste the sides of the pocket to the body of the garment in order to keep it even.
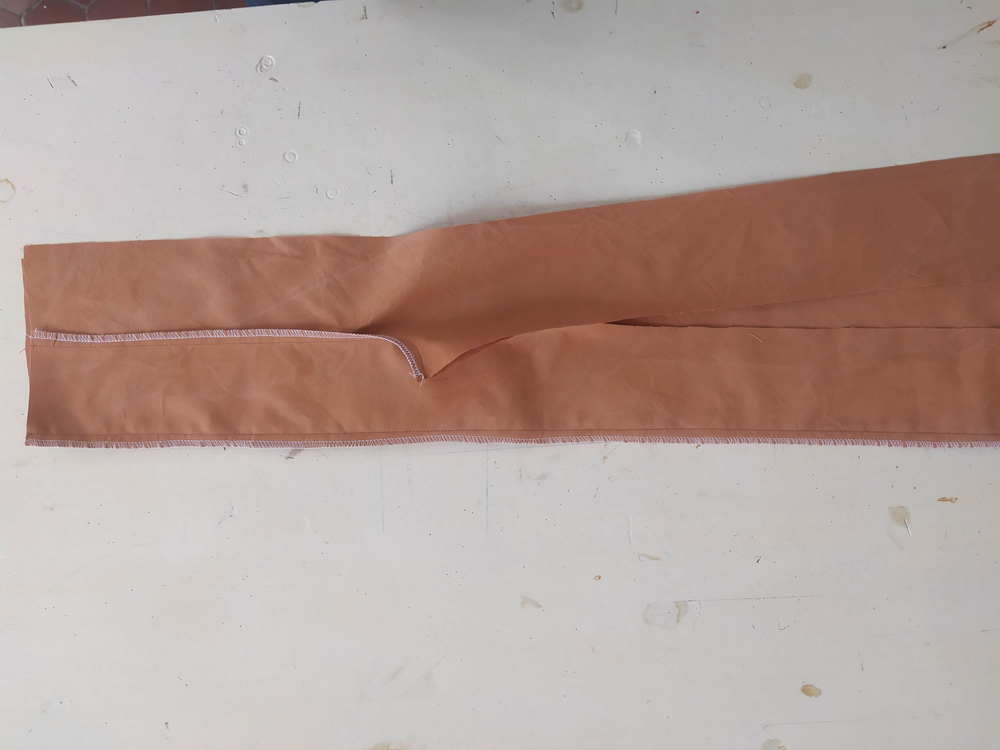
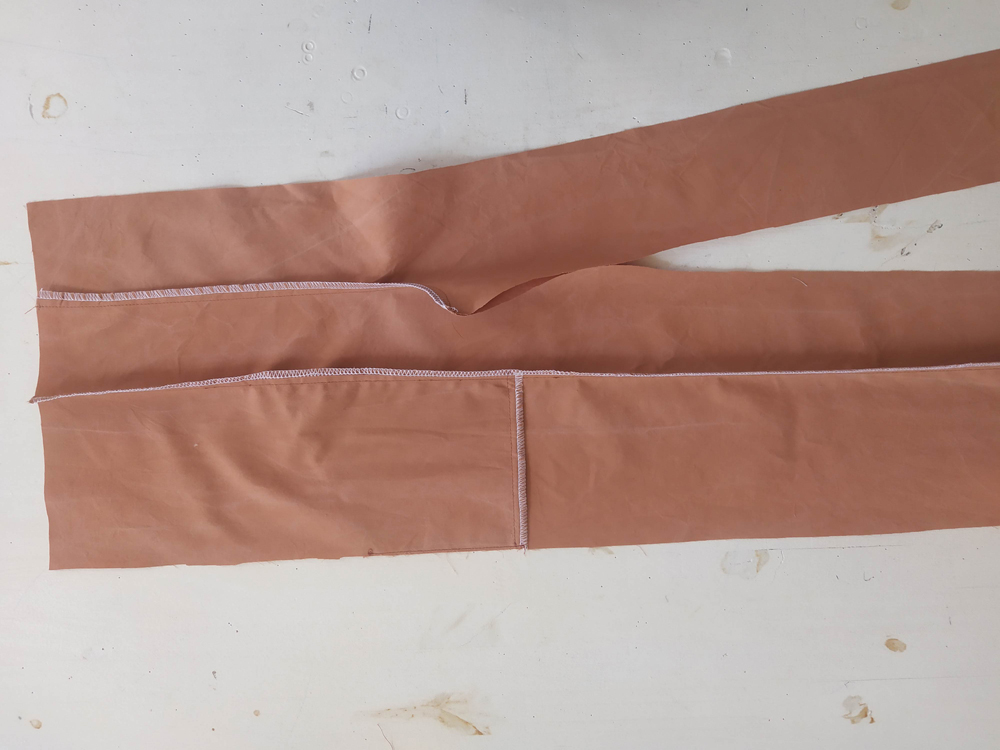
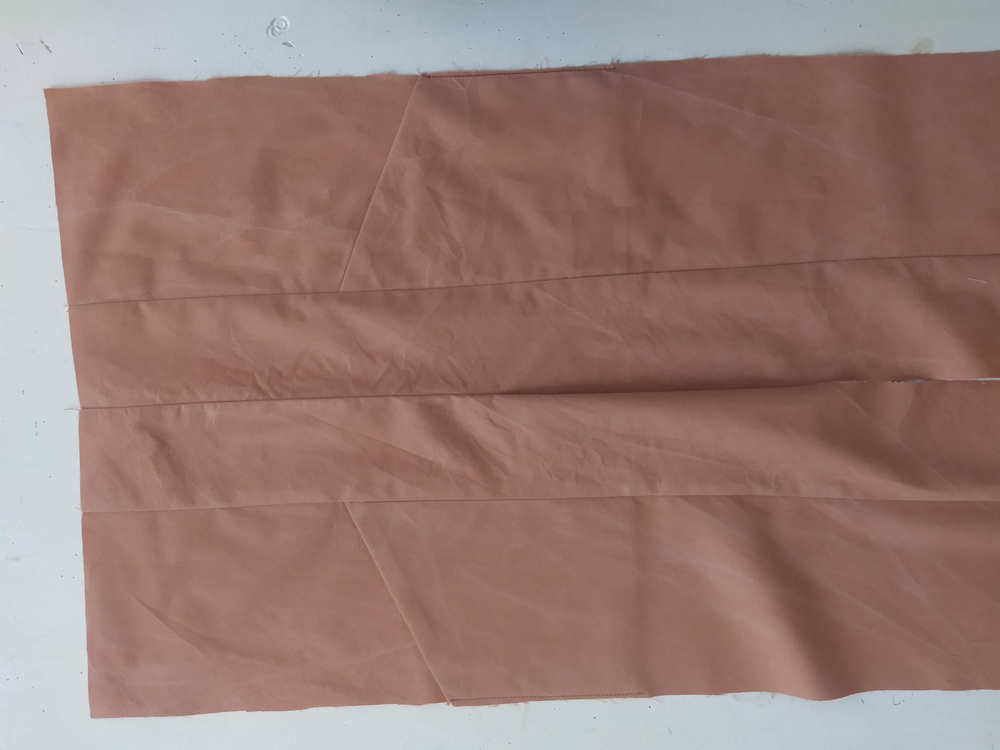
With right sides together, pin center front (F) to the front sides (E, C & D). Finish the seams together and press them toward the center of the garment.
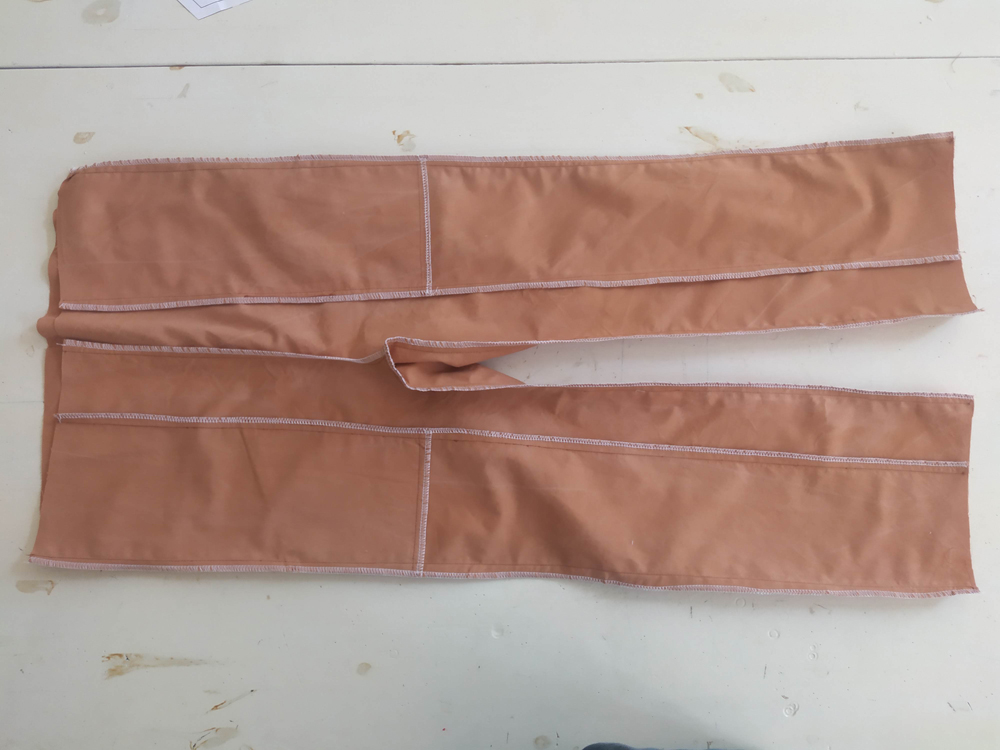
With right sides together, sew the front and the back pieces at the sides. Finish the seams together and press them toward the back of the garment.
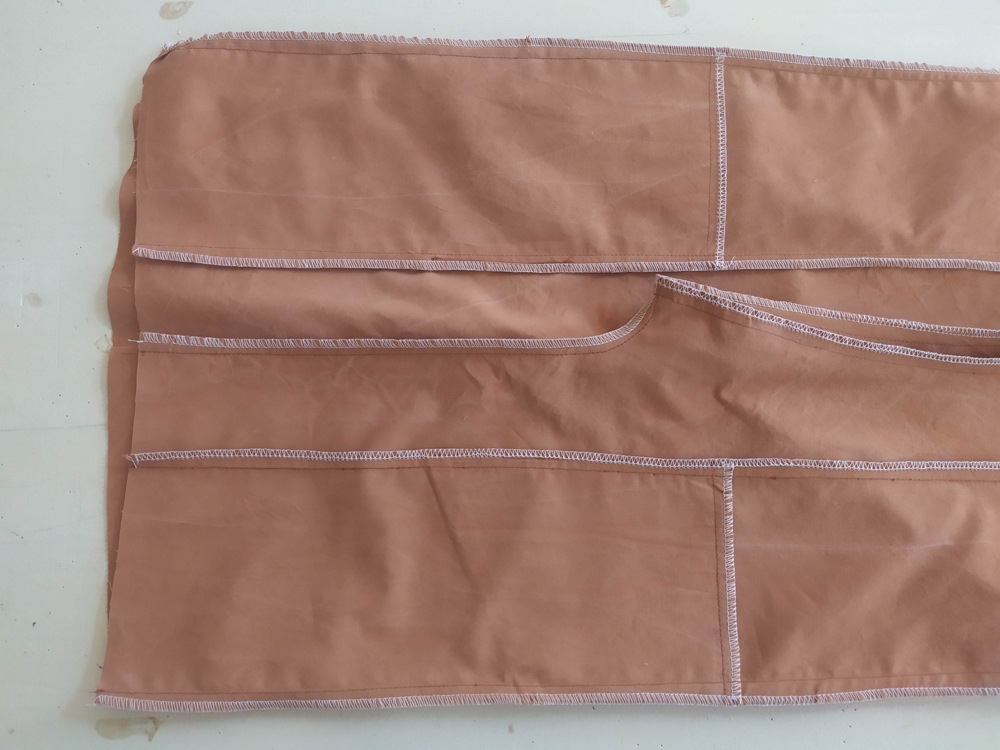
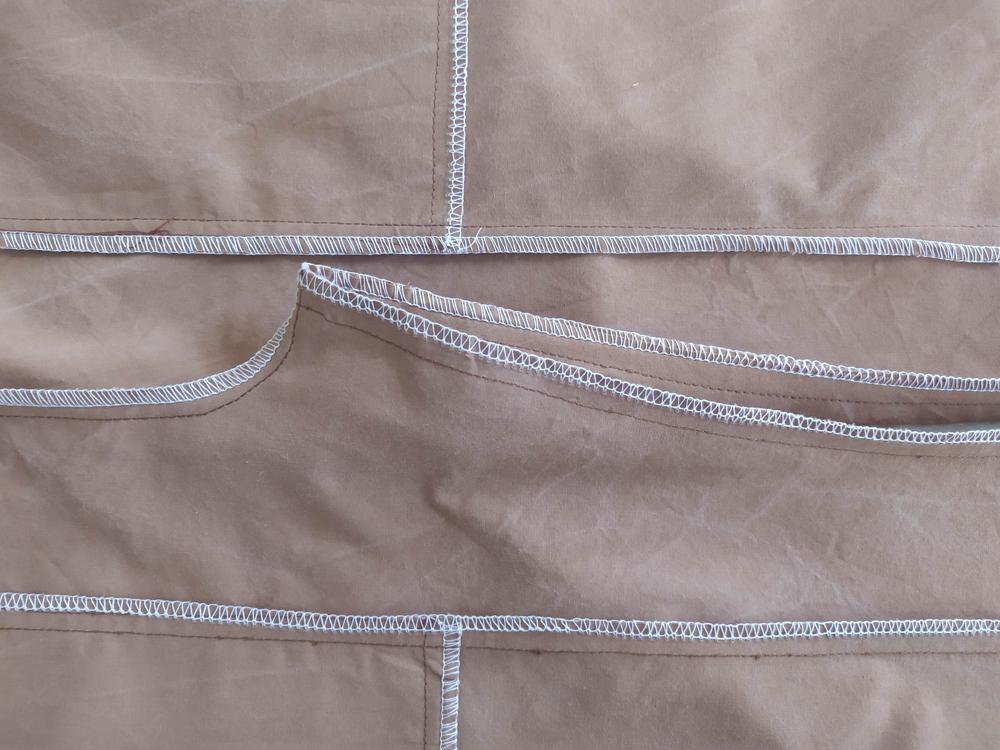
With right sides together, sew the front and the back pieces at the inseam. Finish the seams together and press them toward the back of the garment.
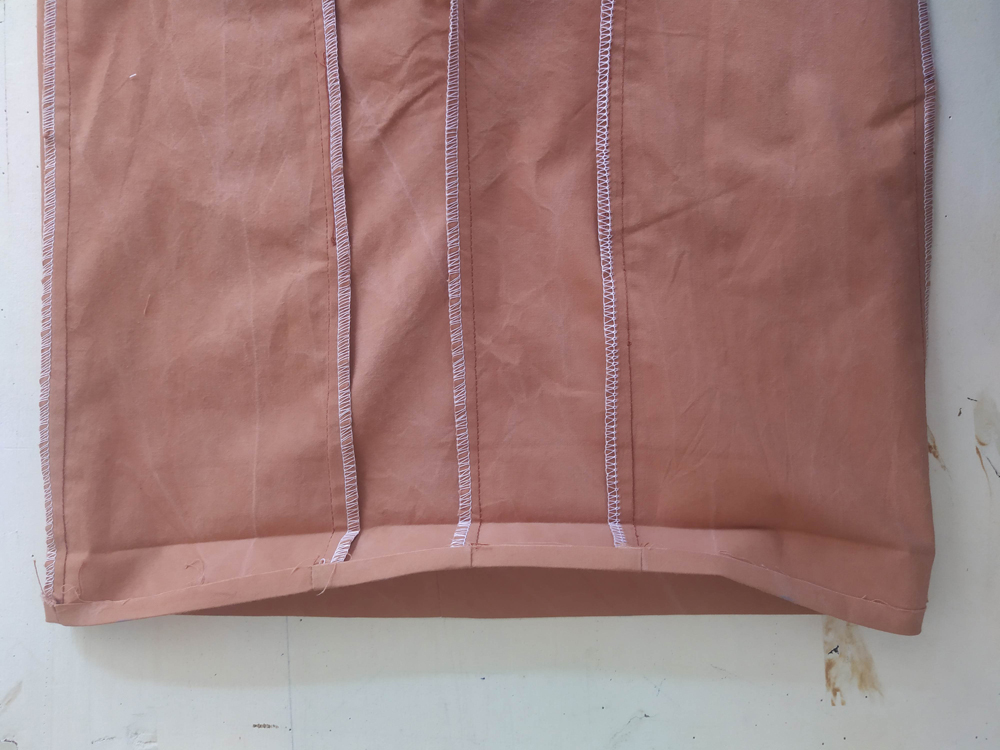
Fold the top edge of the pants 1 cm to the inside, wrong sides together. Press.
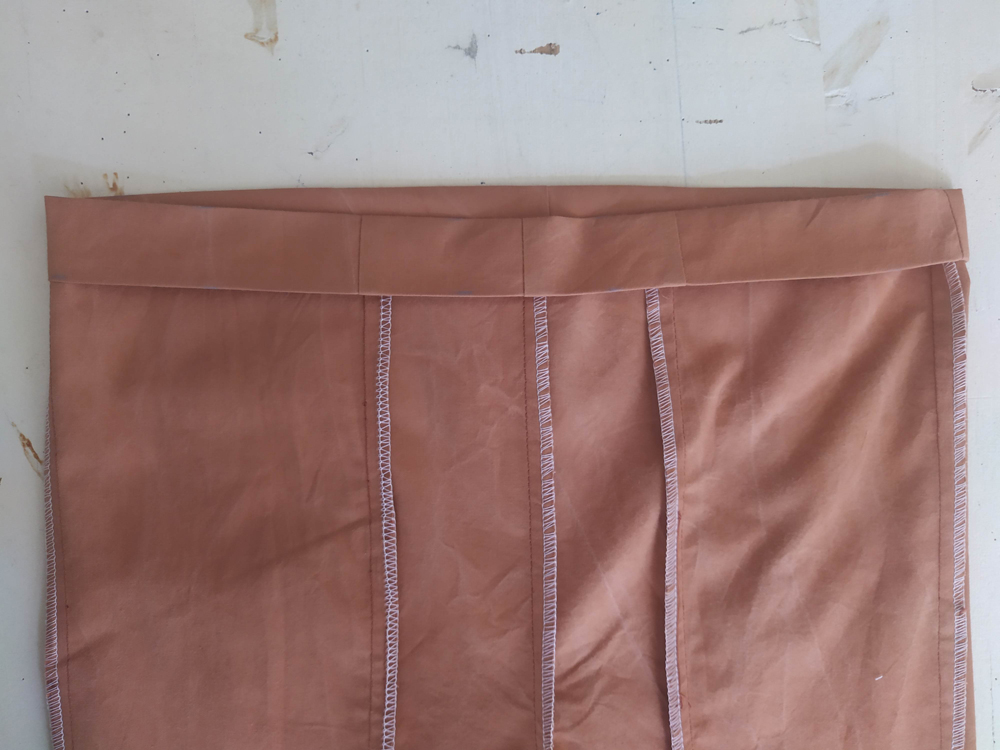
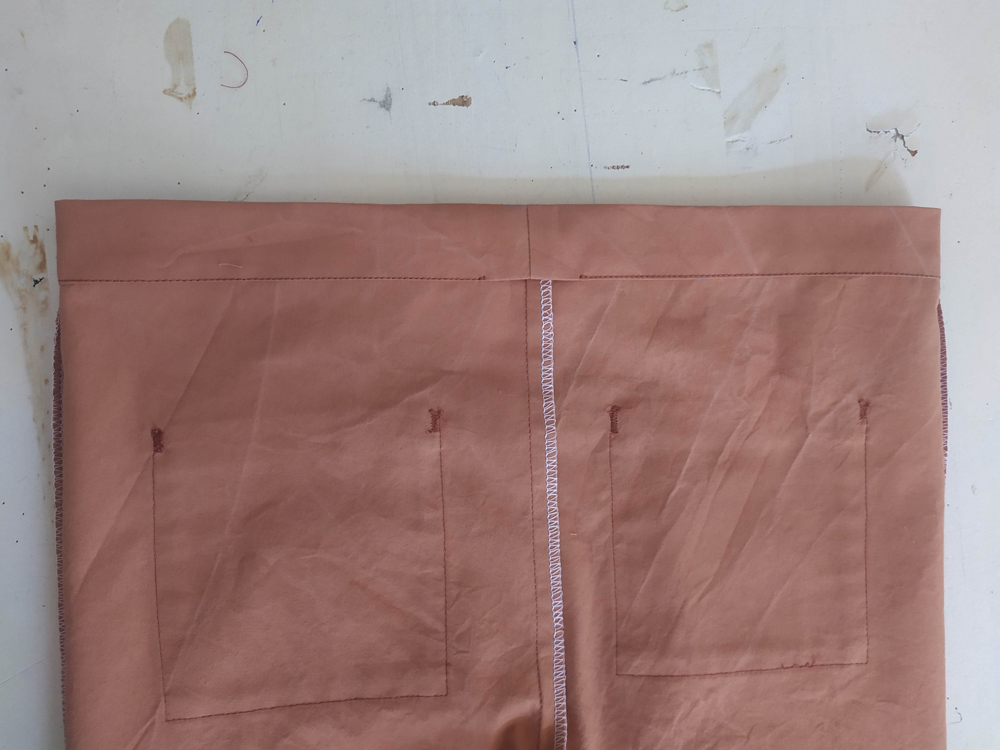
Fold again 3 cm to the inside. Pin in place and press. Sew a line of stitches 2 mm from the folded edge to create the channel for your elastic. Leave an opening of about 2.5 cm to insert the elastic.
![]()
Wrap the elastic around the kid waist to determine the length you need to cut. The elastic should feel slightly stretched around the waist (above the belly button). Add 4 cm seam allowance before cutting.
![]()
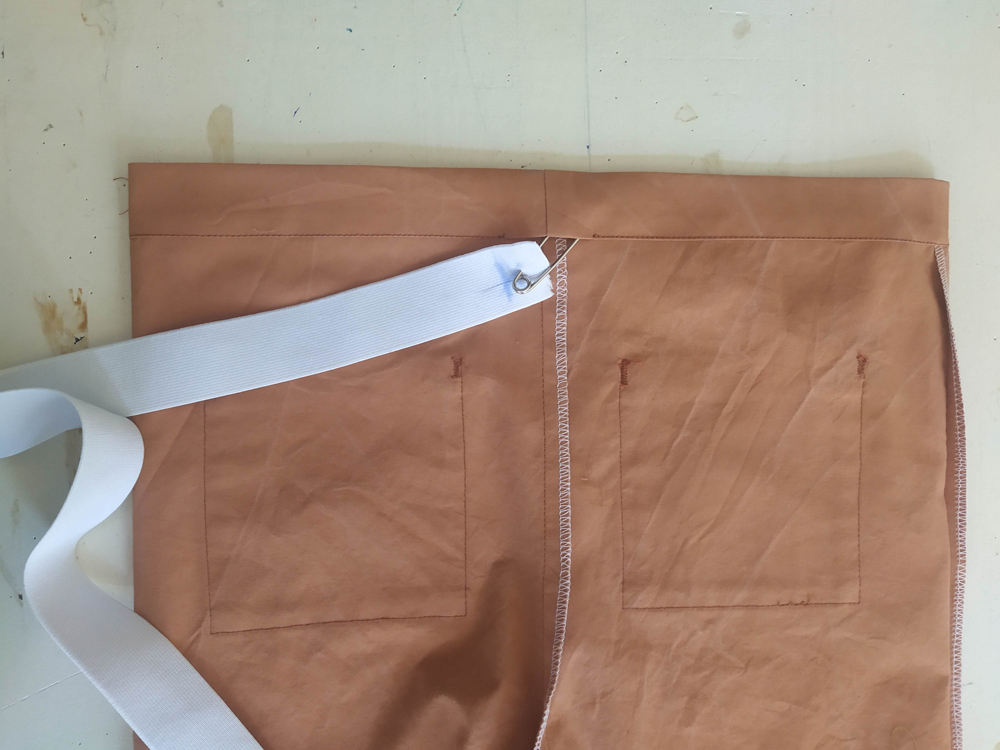
Attach a safety pin to the end of one side of your elastic. Insert the safety pin into the opening. Move the elastic through the channel by sliding the fabric over the pin, then pulling the elastic forward.
Make sure to stop regularly to ensure that the elastic is not twisting.
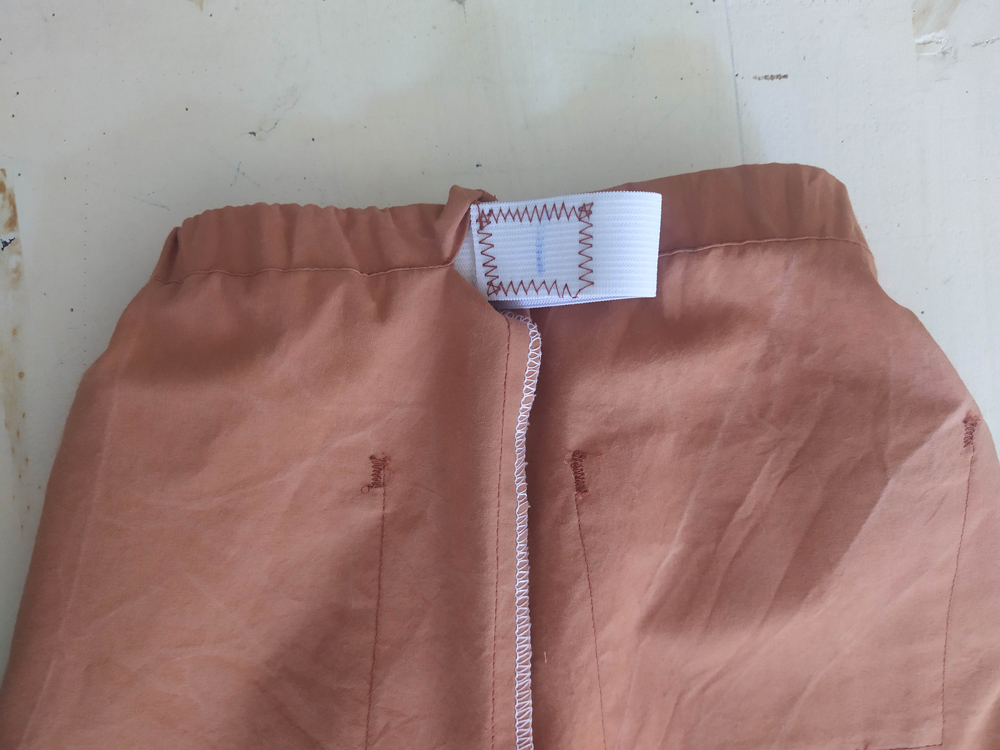
Overlap the two ends of the elastic at the seam allowance markings that you made (2 cm from the edge), and sew with a zigzag stitch.
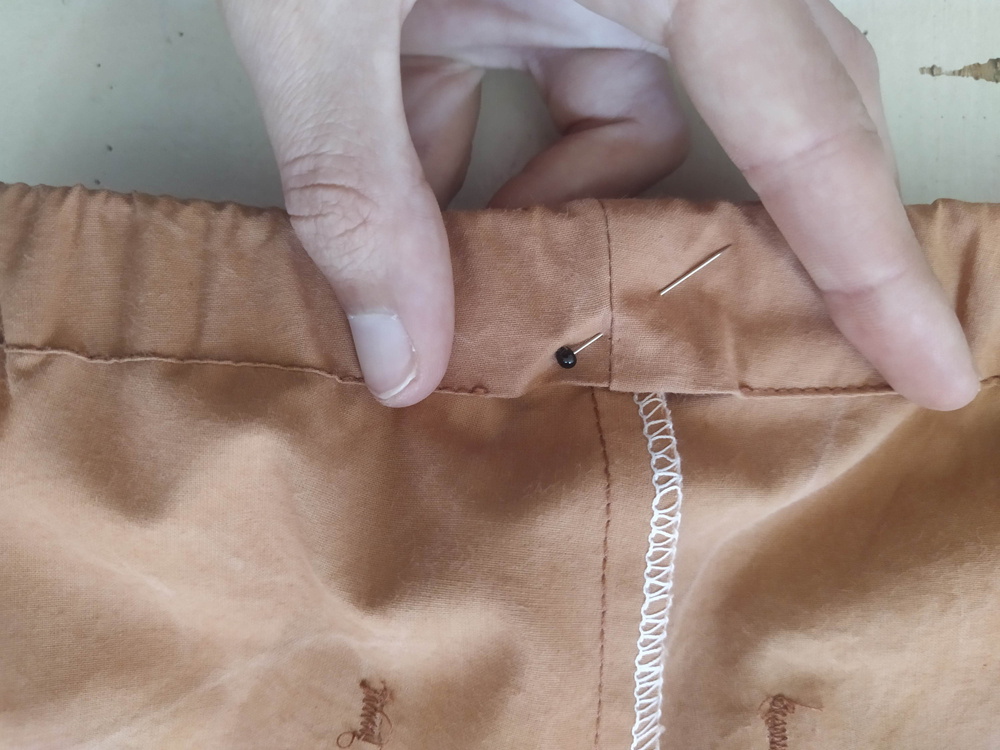
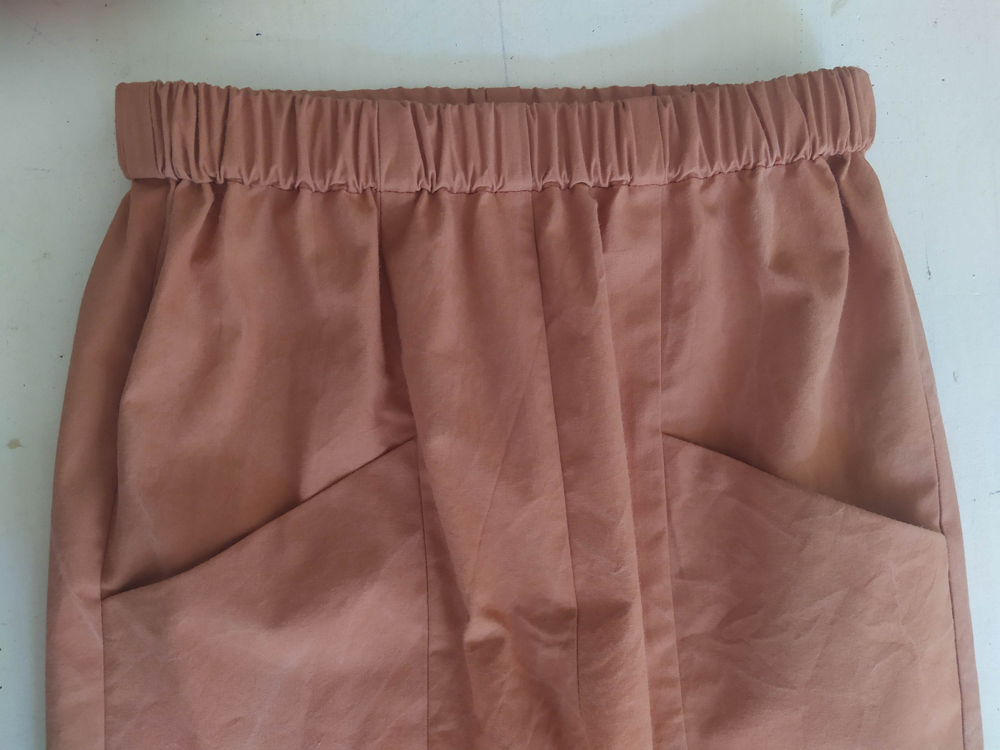
Evenly distribute the gathers along the waistband and try on the pants to ensure that the elastic fits well. Stitch the waistband opening shut.
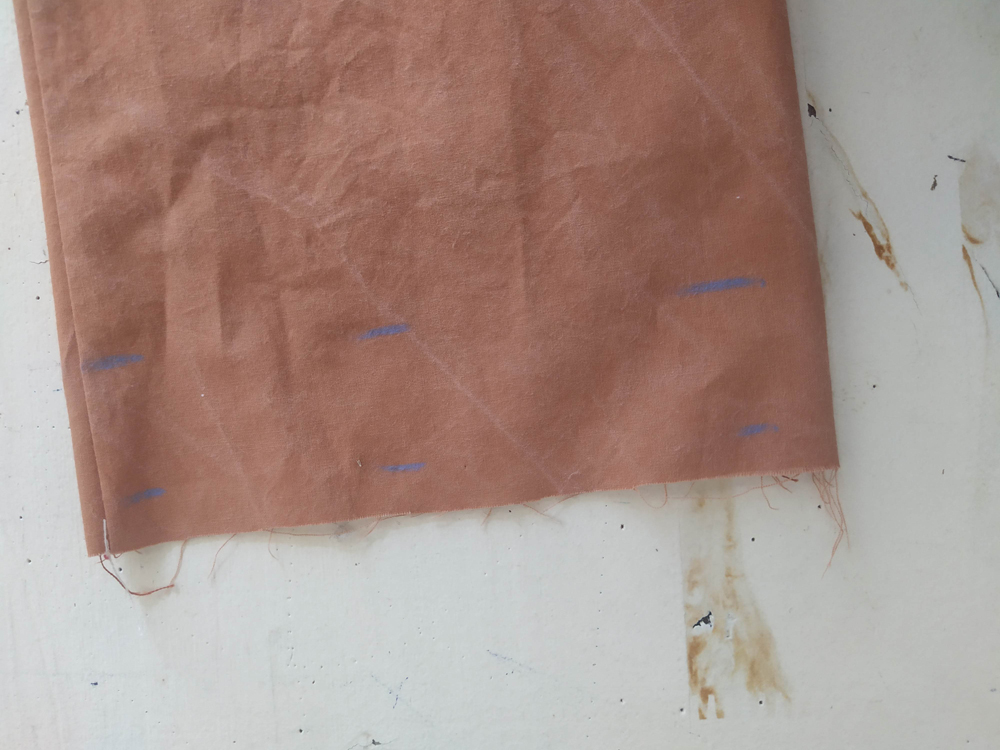
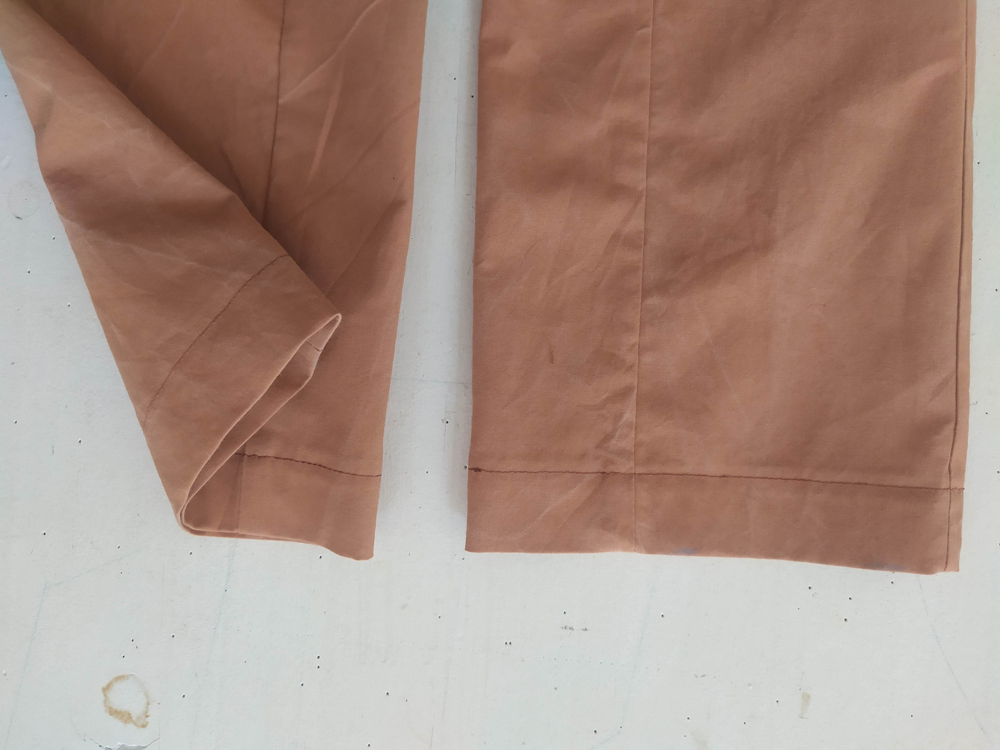
Time to hem! Press the bottom edge of the fabric 1 cm to the wrong side. Turn the pressed edge under an additional 3 cm, press again and edgestitch in place.
![]()
Voilà, c'est terminé !

Comments
No comment at this time!
Leave your comment