Sew along, the Primo Tshirt

Sew along with us as we walk you through making the Primo basic Tshirt! You will notice that the sew along can differ from the sewing instructions included with the pattern. First you’re going to need to gather the supplies you’ll need to sew a perfect Primo! This sample was sewn with a serger and overlocker but you can use a regular sewing machine too.
![]()
Supplies:
- Fabric (for the fabric head back to the instructions to know what kind of fabric you need and the yardage)
- 1 bobbin of regular thread matching the fabric color or 3 if you are using a serger.
- A walking foot (optional)
- A twin needle (optional)

Let's start
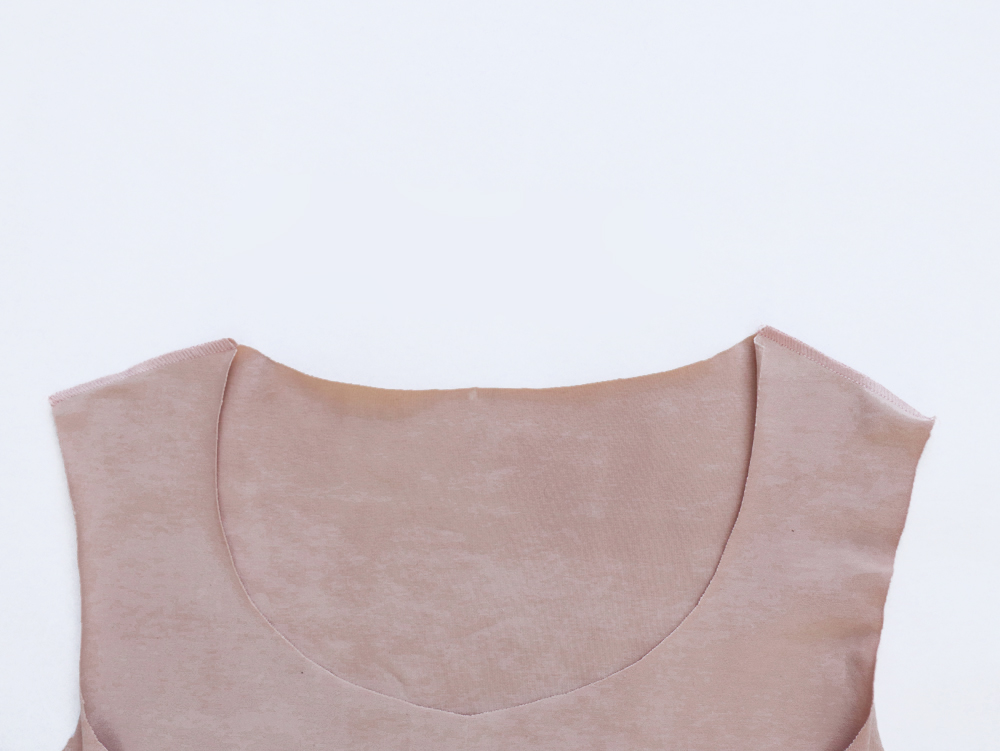 1: With right sides together, stitch the shoulders of the front and back bodices together. Press the seams towards the back of the garment to finish.
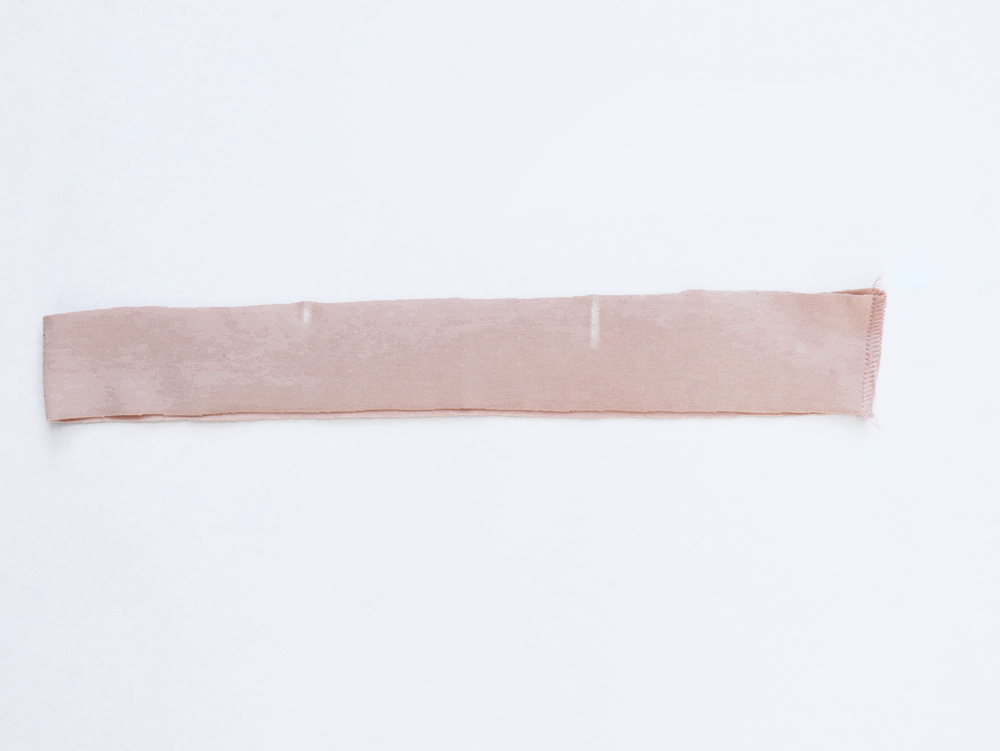 2: Sew the two ends of the neckband together with right sides facing. Press seams open or towards one side if you are using a serger.
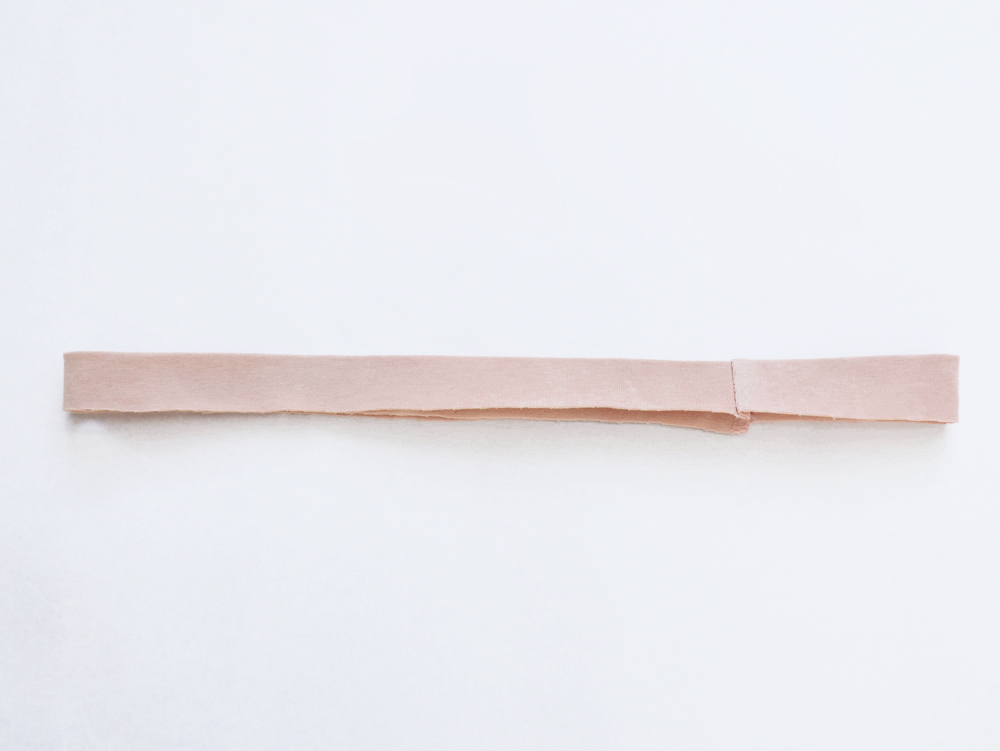 3: Fold in half wrong sides together so that the raw edges meet. Press the folded edge.
 4: Align the neckband around the right side of the neck edge following the markings.
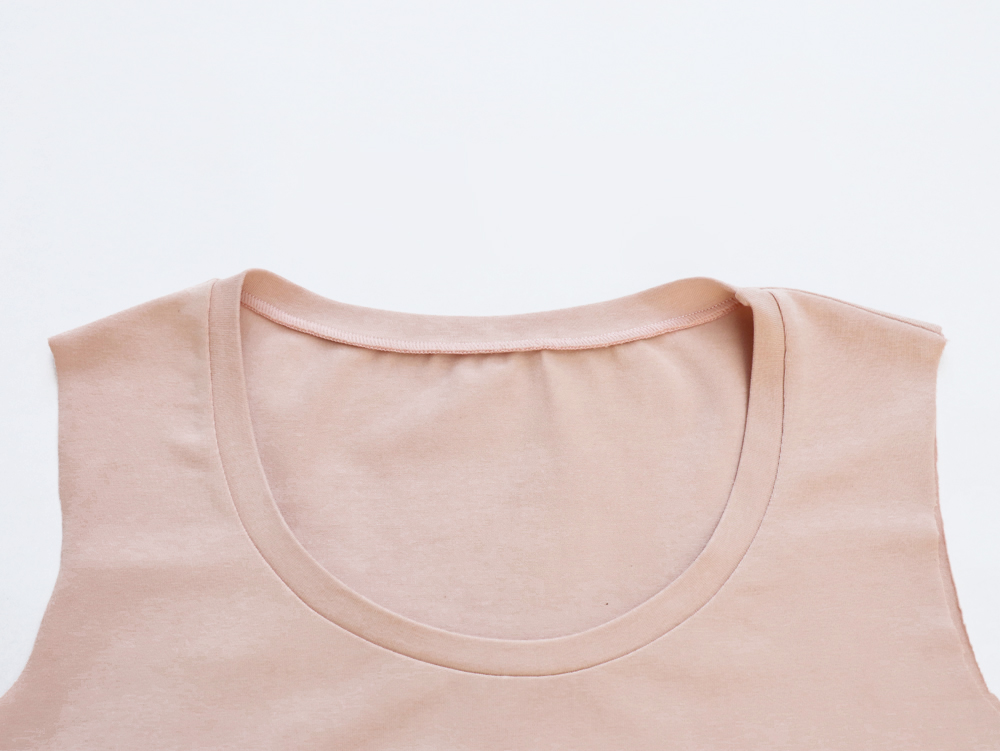
 5: Stitch along the seam line stretching the binding to fit the neck edge. A good, steamy iron can help a lot in sewing, especially when it comes to a neckband in knit fabrics – the steam will help the neckband to sit nice and flat.
TIP: The thing is, there’s no SET RULE for how long to make a neckband, because it has a lot to do with how stretchy your knit is. Always baste you neckband in place with a long stitch before sewing it for real and ajust if needed!
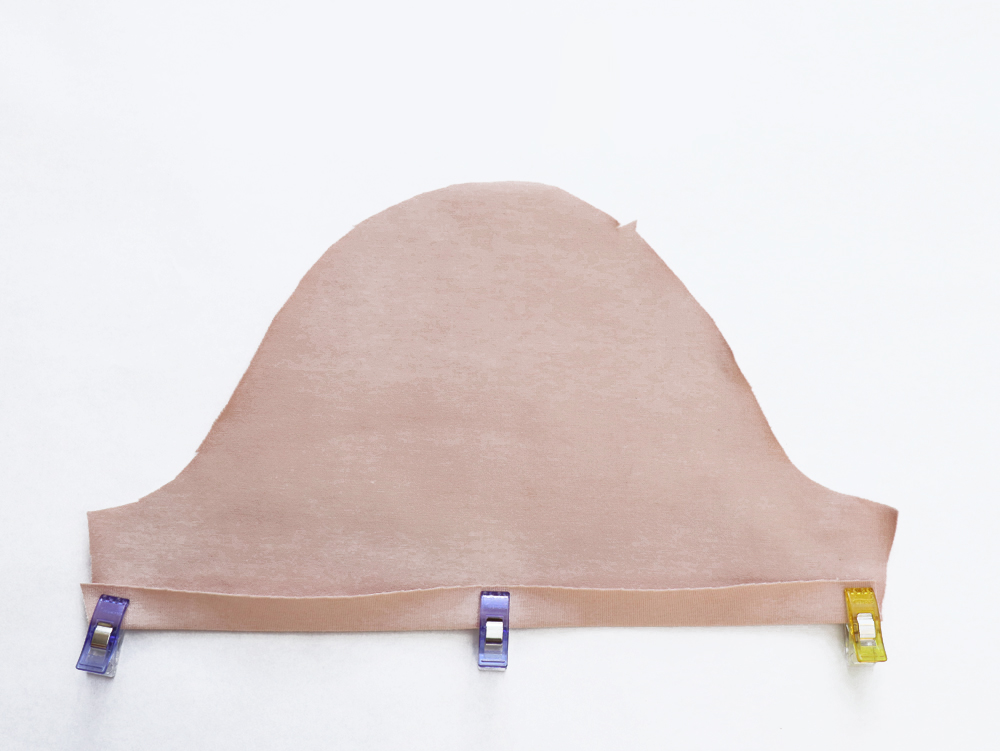
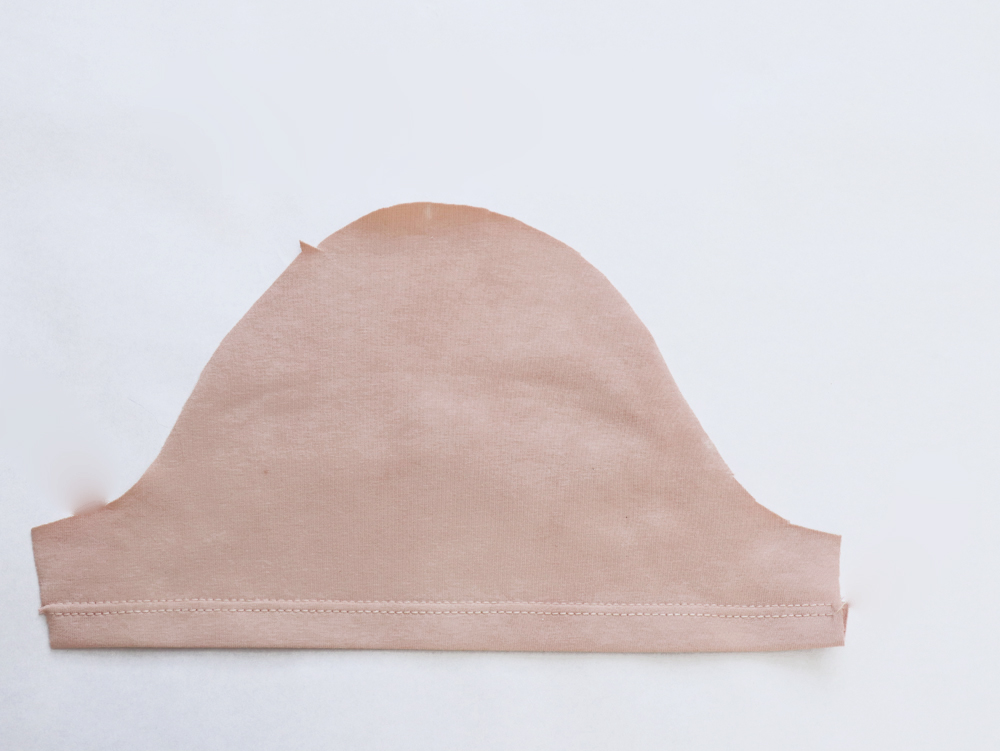
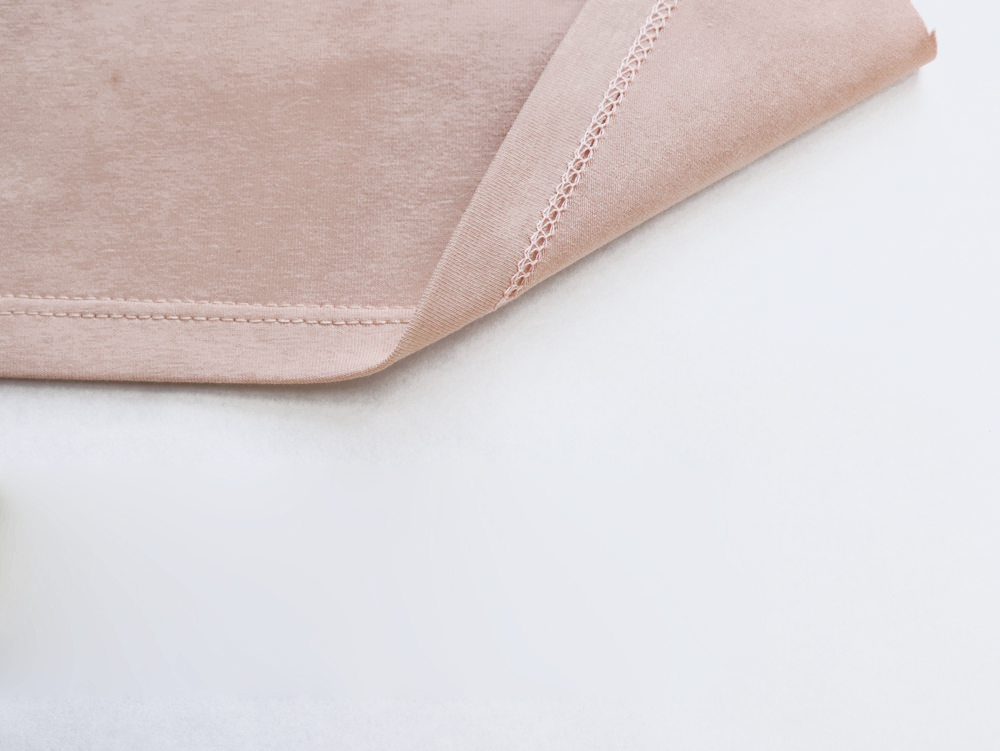
6: Press up your 1,5 cm seam allowance. Stitch in place using a zigzag stitch or a twin needle or an overlocker. Give the stitching line a press to get everything flattened out.
(In the pattern's instruction booklet, the sleeve hem is done afterwards, if you want to stick to this logic, please skip this step and go directly to step 7).

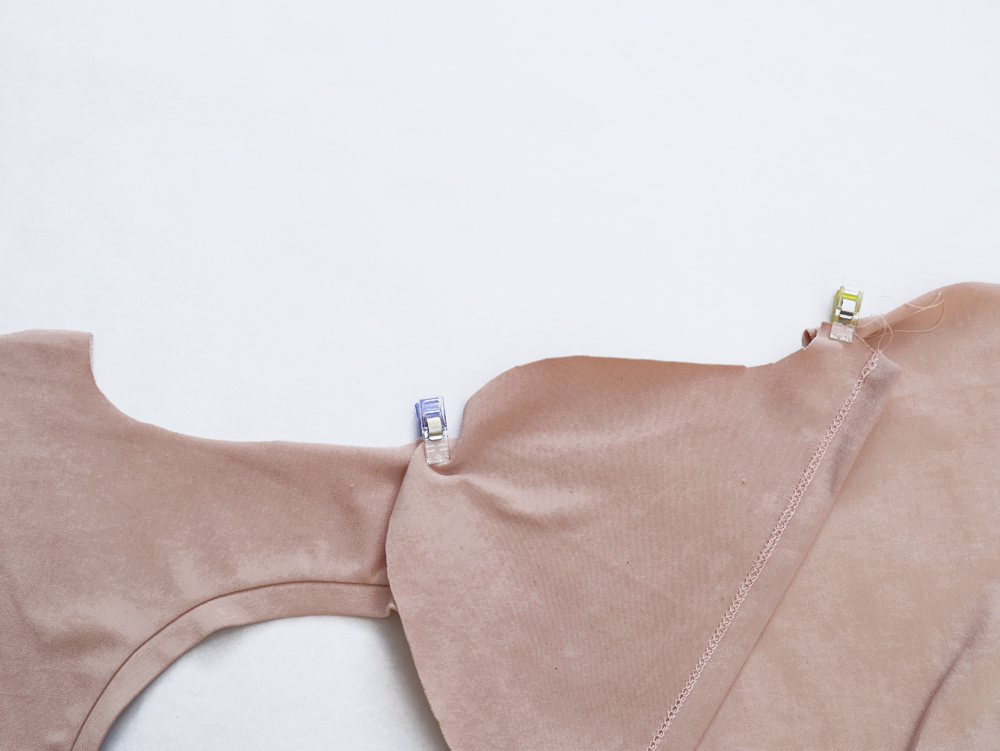
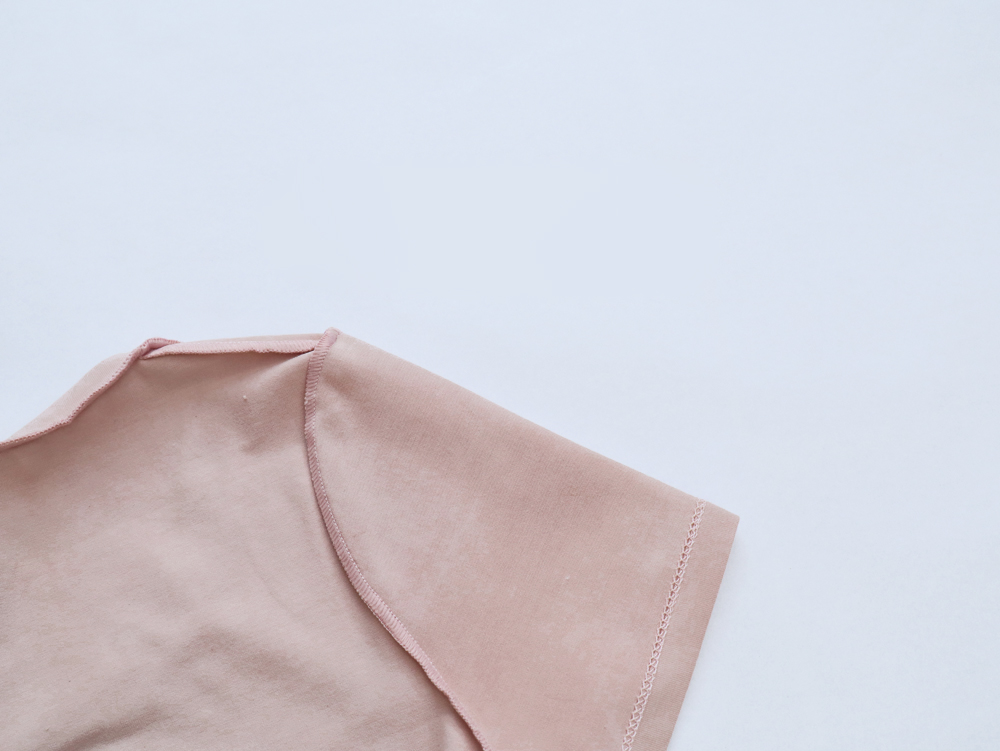
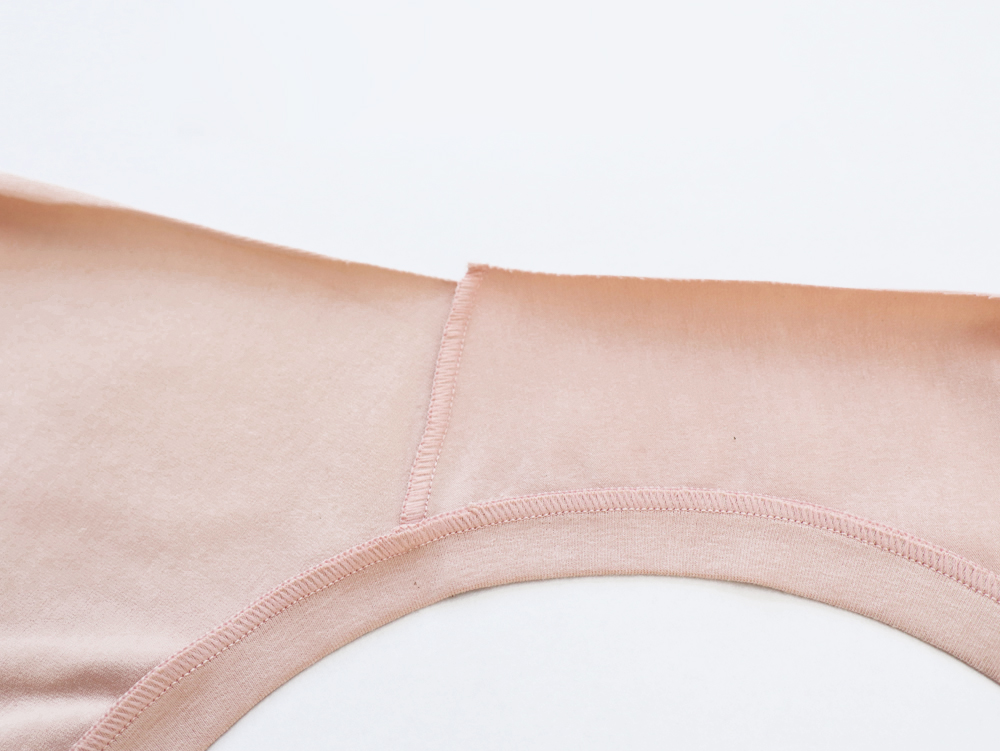
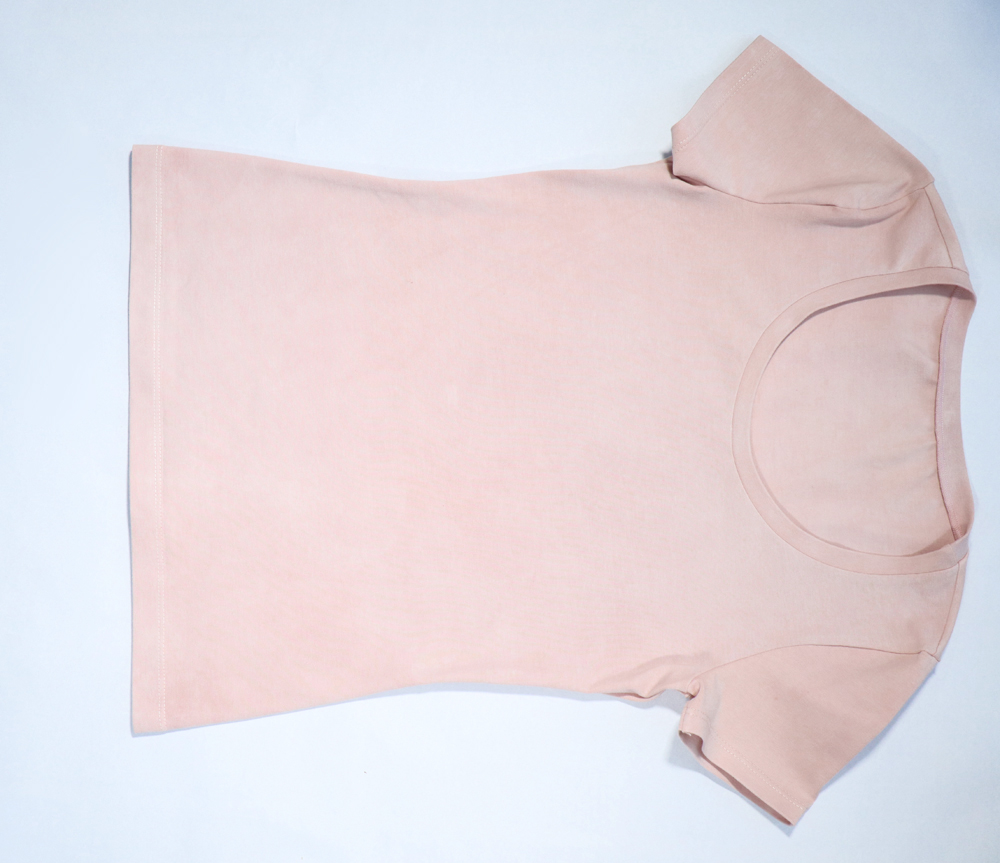
 7: Spread out your garment so you get a ‘C’ shape where the sleeve should go. Align the sleeve cap to the armhole following the notches (1 for the back 2 for the front). Sew or serge the sleeve in. Press the sleeve cap really flat and the seam allowance toward the inside. Please follow this tutorial if you want more detailed step by step photos to attach the sleeve to the bodice.
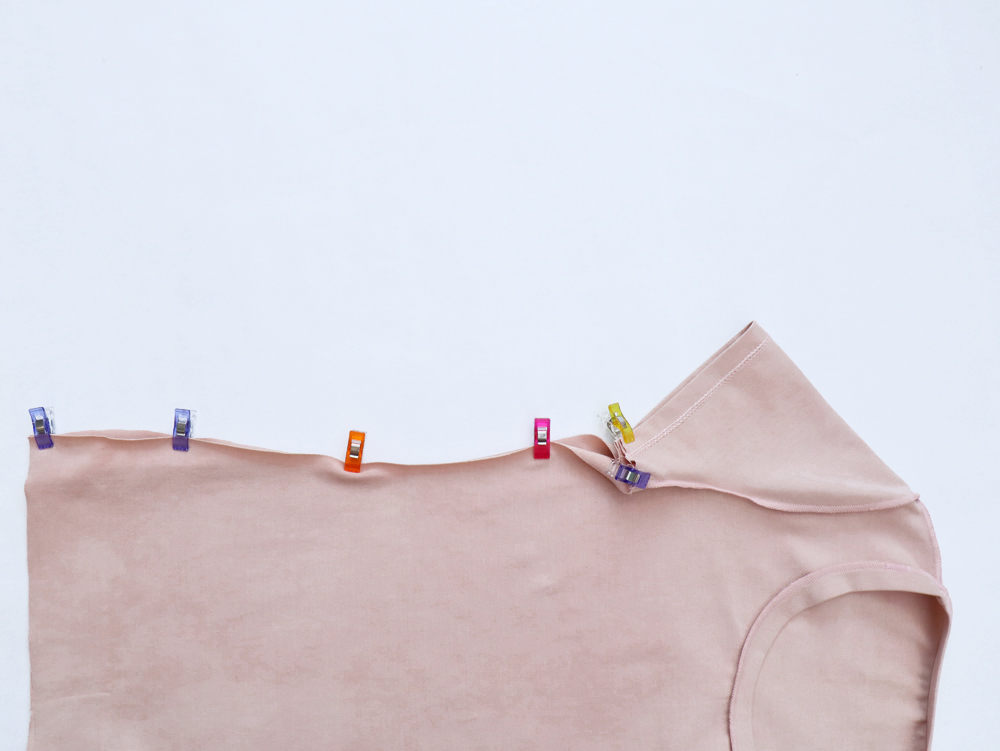

8: Pin the side seams and sleeves together all at once. Sew up from the end of the sleeve to the bottom of your garment keeping the sleeve seam allowance towards the inside. Press seams open or towards the back if you are using a serger.
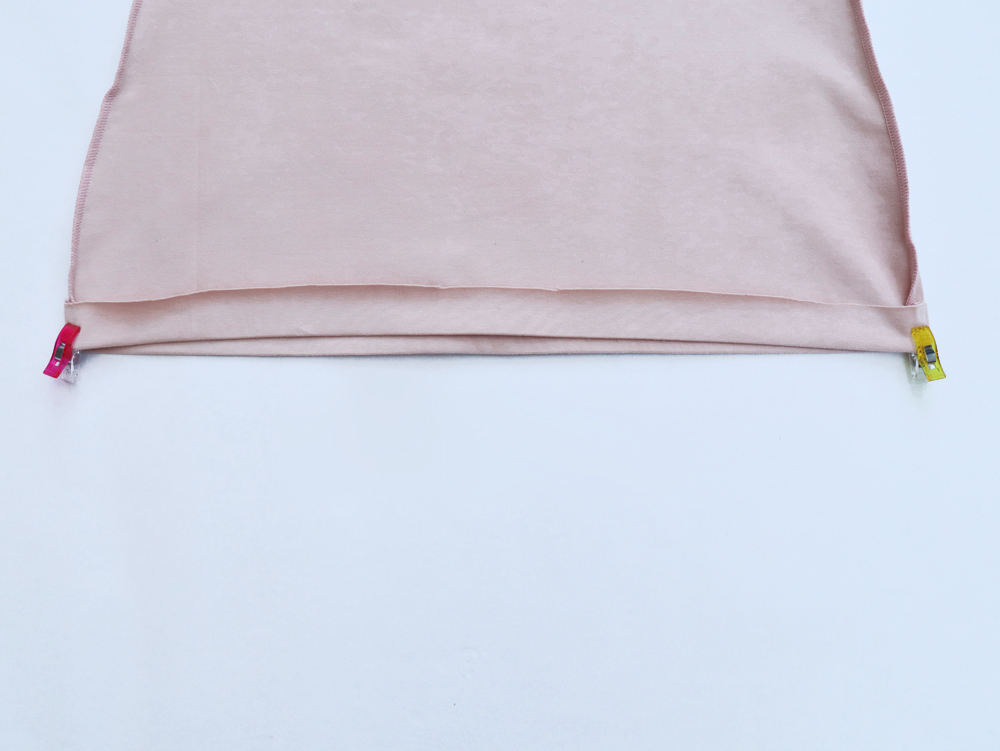
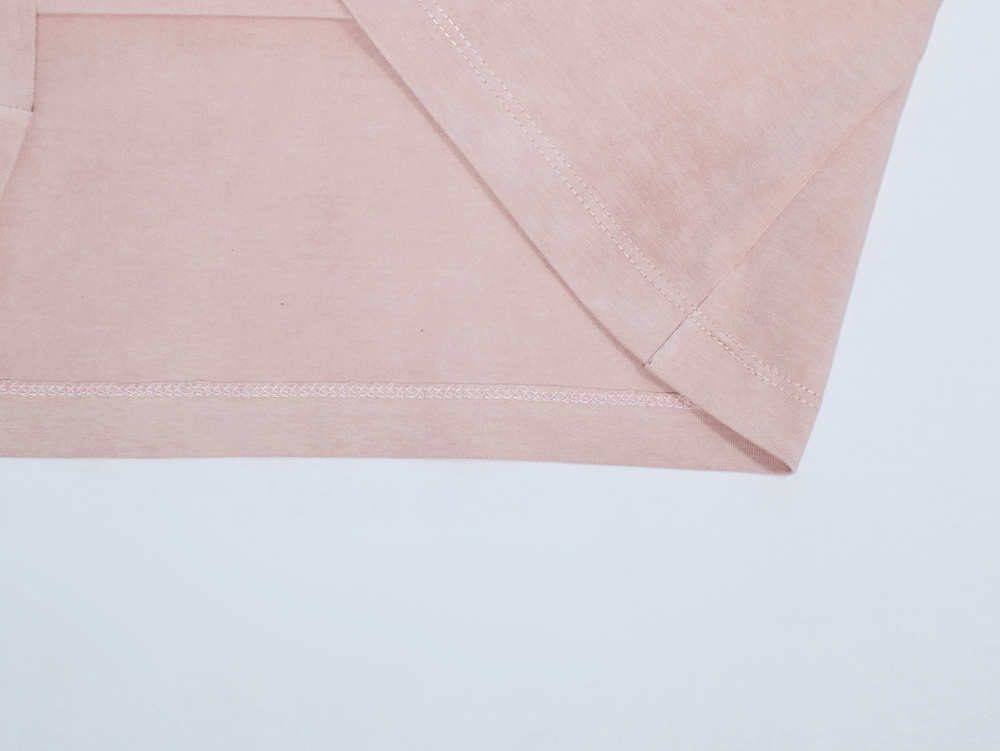
 9: Press up your 2 cm seam allowance. Stitch in place using a zigzag stitch or a twin needle or an overlocker. Give the stitching line a press to get everything flattened out.
Comments
No comment at this time!
Leave your comment