The Bust Cup Dilemma in pattern drafting - Article 1

![]()
Hello everyone,
Here's my inaugural article for "L'atelier des modélistes" (@latelier_des_modelistes on Instagram), a venture that might eventually have its dedicated website. For now, however, I'm utilizing the RTS blog.
After a brief hiatus, marked by intense study, I'm back to delve into a critical subject: understanding the bust cup. Perhaps you've meticulously drafted your bodice block pattern following a patterndrafting manual or a tutorial on YouTube. Yet, the moment of truth arrives during the toile's creation. You notice significant gaping at the armhole, forming a bulky fabric "wing" that you're tempted to pinch for a more flattering look. Despite the fabric not being tight across the chest, nothing seems to fall into place, and the excess fabric above the chest is a concern.
So, why doesn't it drape correctly, even when adhering meticulously to the method and trusting in your measurements? I'll explore this in greater detail below.
Through my experiences as a patternmaker, I've come to realize the pivotal role played by the bust cup in the creation of the basic pattern. It influences how the garment drapes at the armhole and helps avoid those irksome fabric wings. But what exactly is the "bust cup"? How is it calculated in the realm of fashion patternmaking? And why is it conspicuously absent from the majority of patternmaking manuals?
Welcome to the thrilling universe of garment creation, where each body is unique and deserving of celebration in all its diversity. In this article and those to follow, we'll stray from the conventional paths of fashion to explore the rich tapestry of morphologies that define our world.
The standard body, often referenced in fashion schools and adopted by many ready-to-wear brands, serves as a simplified and idealized representation of the female form. It emerges from a blend of meticulous measurements, often drawn from campaigns conducted by institutes like IFTH (France) or ASTM (USA), and an idealized set of proportions designed to facilitate the establishment of grading rules. Characterized by specific proportions—around 25 cm difference between bust and waist circumferences, a clearly defined waist, a specific shoulder slope for the back and front, an average stature of approximately 168 cm, and various other parameters—the standard body forms the basis for the fashion industry's normalization efforts.
For the fashion industry, standardization is crucial for creating a benchmark, paving the way for the development of a comprehensive clothing line. While some ready-to-wear brands may opt for fuller or more athletic body types, and others may cater to different statures, the predominant approach still leans heavily on the standard body described earlier. The grading rules, fundamental to the industry, flow directly from this standard.

However, we understand that reality is much more nuanced. Body shapes are diverse, cup sizes vary, shoulders incline in different ways, and sizes extend beyond a standard range. This article is specifically crafted for those whose bodies deviate from these established norms.
Whether you find yourself in a description that differs from this standard, or even if you identify with it but wear a D cup or larger, this article and the ones to come will pique your interest.
Personally, I align quite well with the standards, and most patternmaking methods I've tested yield a fairly satisfactory toile with only minor adjustments. However, as mentioned earlier, these methods align with a body standardized by the fashion industry with a B cup. This information is implicit and, in 90% of cases, not mentioned in manuals.
The majority of methods operate in semi-customization, meaning some measurements are indicated as general, and others are taken on the person for whom the pattern is to be drafted. French or European patternmaking methods mostly fall under what I would classify as semi-custom, while American methods lean more towards full customization.
The process of patterndrafting methods applied in the fashion industry is as follows: circumference measurements such as bust, waist, and hip are divided in half to determine the width of the back panel and the front panel. Then, a side seam adjustment is applied to compensate for the volume created by the chest. This method works well for small cup sizes and slim morphologies. For larger body types, those with abdominal volume, or a larger cup size, this method doesn't work effectively and requires numerous adjustments, which can be challenging for novices, especially without guidance.
I imagine this is starting to become apparent to you. Look at yourself in the mirror, turn to the side—does dividing your bust circumference in half to trace your basic pattern seem logical? Don't you have much more volume on the front of your bust? If you have a belly, don't you have much more volume on the front of your body too? Will a simple adjustment of the side seam be sufficient to remain true to your shapes?

But what is the bust cup, and how is it calculated in fashion patternmaking?
In the first place, it's important to understand the difference between the cup size in lingerie and the cup size in fashion patternmaking. While most seamstresses are familiar with their lingerie cup size, they might not know their cup size in fashion patternmaking.
Lingerie uses the bust and underbust measurements to calculate the cup size, which makes sense as your bra relies on a band that sits under your bust. Fashion patternmaking calculates the cup size by taking the difference between the upper bust and bust measurements. The variance between these two measurements determines the cup size.
There's a high probability that your cup size in fashion patternmaking and lingerie could be quite different. To determine your cup size in fashion patternmaking, here's what you can do:
With the assistance of someone close to you, take two measurements based on the diagram below.
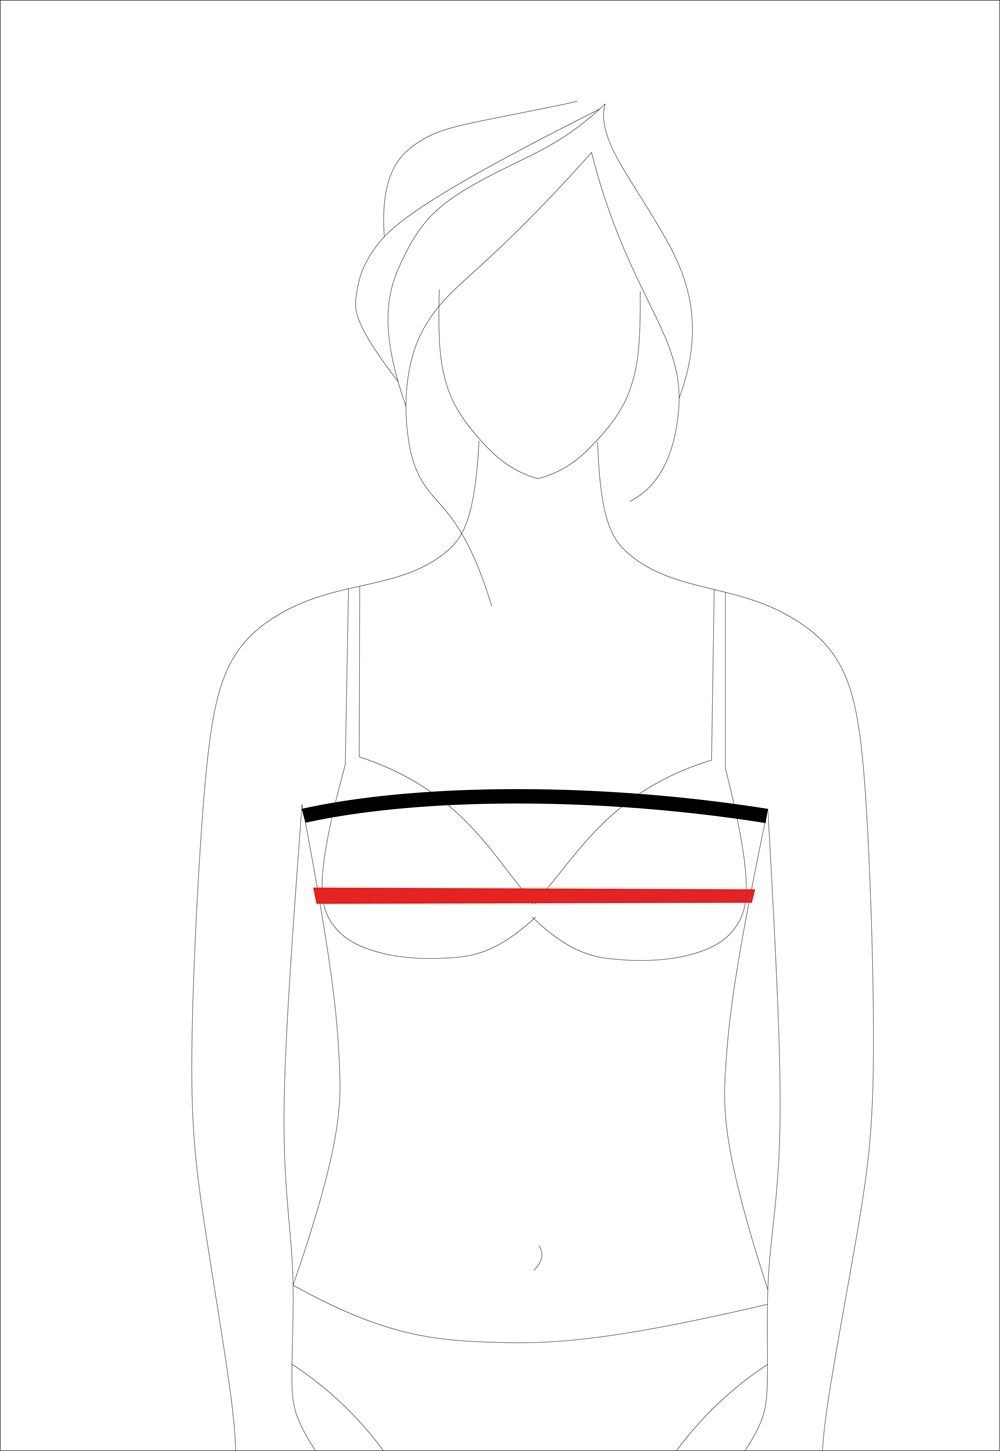
The upper bust measurement: take the measurement just below the armpits and on the top of the bust. If you have a smaller bust, the tape measure will be almost parallel to the ground. However, if you have a larger bust, the tape measure will rise towards the front. In the case of a voluminous bust, it is preferable to take this measurement without wearing a bra.
The bust measurement: take the measurement at the fullest part, passing through the nipple and remaining parallel to the ground.
Calculate the difference between your bust and upper bust measurements and refer to the table below:
- 2.5 cm = Cup A
- 5 cm = Cup B
- 7.5 cm = Cup C
- 10 cm = Cup D
- 12.5 cm = Cup E
- 15 cm = Cup F
(Conversions to inches: 1 inch = 2.54 cm)
Don't worry if this differs significantly from your commercially purchased lingerie cup size.
If you're following this article closely, you're probably wondering, "Why is this crucial upper bust measurement not mentioned in patternmaking manuals?" It's not addressed because it's implicitly calculated in the method based on a B cup. Even in made-to-measure pattern drafting manuals, this measurement is not discussed, yet it's crucial for certain body types!
You're likely wondering how incorporating the cup size concept will specifically change the drafting of your basic bust pattern. Well, among other things, it will affect the force (width) of the bust dart. Some made-to-measure pattern methods discuss this dart force in relation to the cup size while remaining somewhat vague, suggesting you apply the classic calculation of dividing the bust measurement. Then, if your cup size is larger than B, they recommend adding 1 cm for a C cup, 2 cm for a D cup ect... to the calculated value.
Other methods ignore the cup size, suggesting you trace as if you have a B cup and recommend an adjustment for a larger bust before testing the toile. Some methods address this in the "toile adjustments" section, proposing direct adjustments on the toile by pinching the excess fabric forming at the armhole, transferring this to the paper pattern, then moving it to the side dart and making a new toile. Finally, other guides suggest partially unpicking the toile and directly manipulating the bust dart on the person. As my husband would say, there are only bad methods; you just have to choose yours ;-)
All these techniques work and hold their value for a slightly more voluminous bust, but in the case of a very ample bust, they clearly have their limitations.
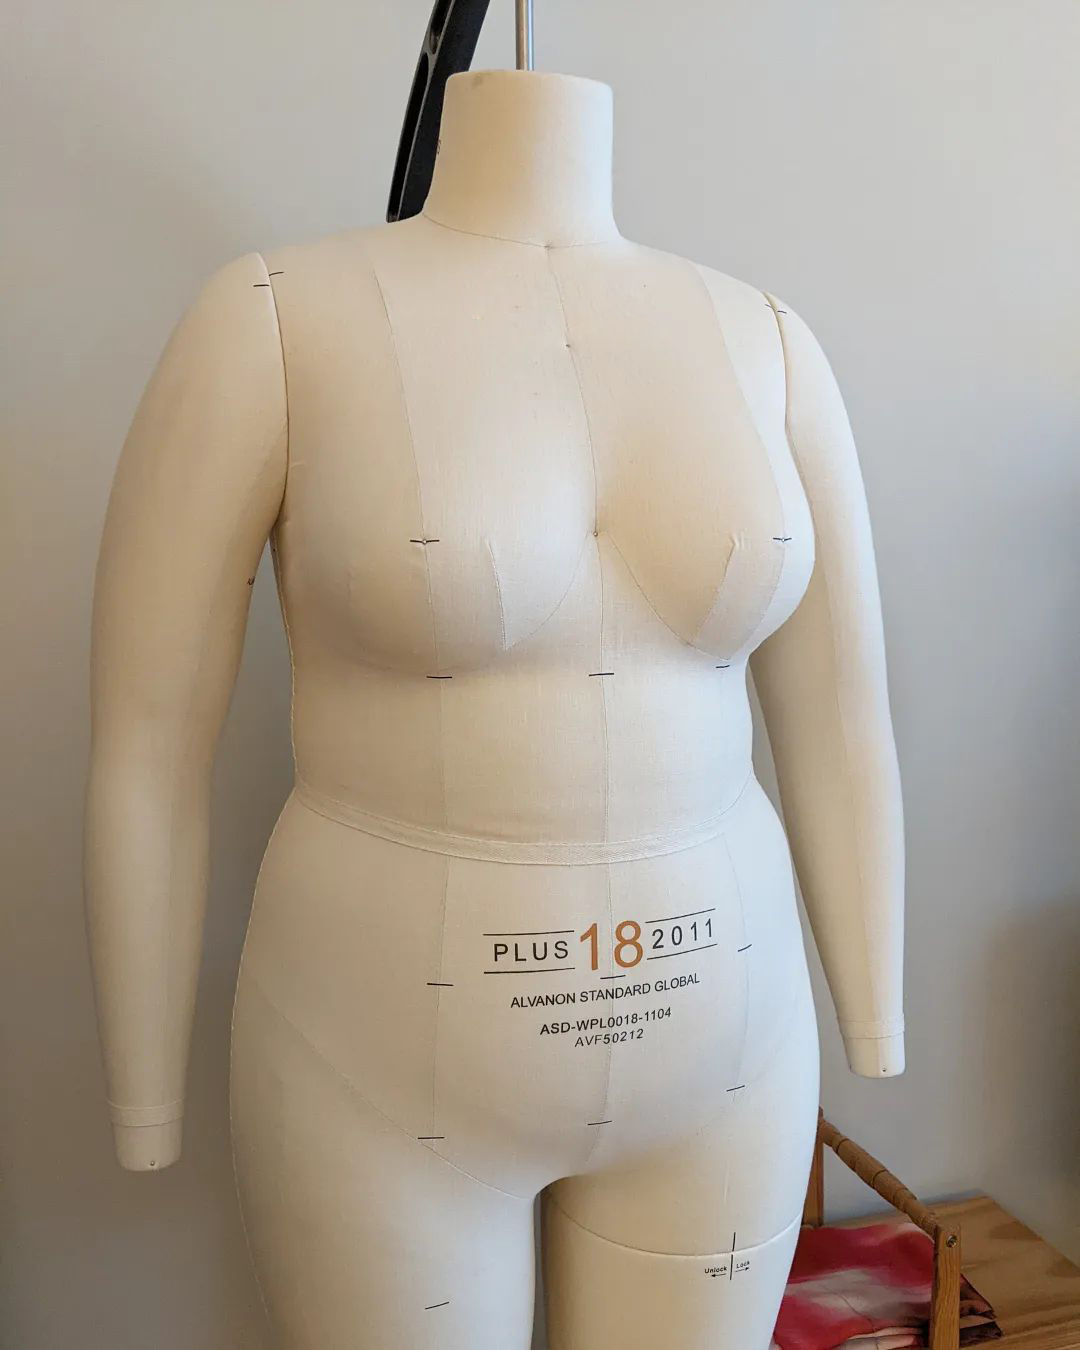
In certain situations, I even encountered difficulties in completing the pattern. For instance, with the measurements of my dress form, which also has a cup size D and corresponds to a size 50 in my range 2, I couldn't finish the pattern with the DP Studio method. The measurements simply didn't align with this method, making it impossible to finalize the pattern. This situation was largely attributable to the length of the front bust, due to the volume of the chest, and how the tracing of the back shoulder stems from the front. I was simply stuck at a stage and couldn't proceed further. Other methods allowed me to complete the pattern, but the value of the dart was so negligible, and the absurd back width, that I didn't even need to create a toile to see that the drape of the fabric would be problematic.
Be aware, do not misunderstand. I am not criticizing the pattern-making methods applied in the fashion industry that have proven effective and suit bodies considered standard. To reiterate, in the context of a ready-to-wear or ready-to-sew brand, it is essential to establish a standard. However, I lament the lack of information in most methods regarding the fact that the calculations are based on a B cup. Moreover, some so-called bespoke methods address this issue in a less detailed manner, leaving novices in the dark and potentially making them believe they have not followed the method correctly or that their body is not worth the effort. If you plan to draft your basic bodice based on your measurements, especially with a generous bust, it is crucial to understand this challenge to avoid any confusion during fittings.
I'll pause here for now and look forward to reconnecting in a few weeks for the next article, where we'll delve into the intricacies of the subject. If this piques your interest, stay tuned!
![]()
Je suis super contente de tu mettes ça sur ton site web, car je ne suis pas fan d'Instagram où je ne retrouve jamais rien.
Je suis sure que cette série sur le modélisme va être passionnante (ça commence bien en tout cas !)