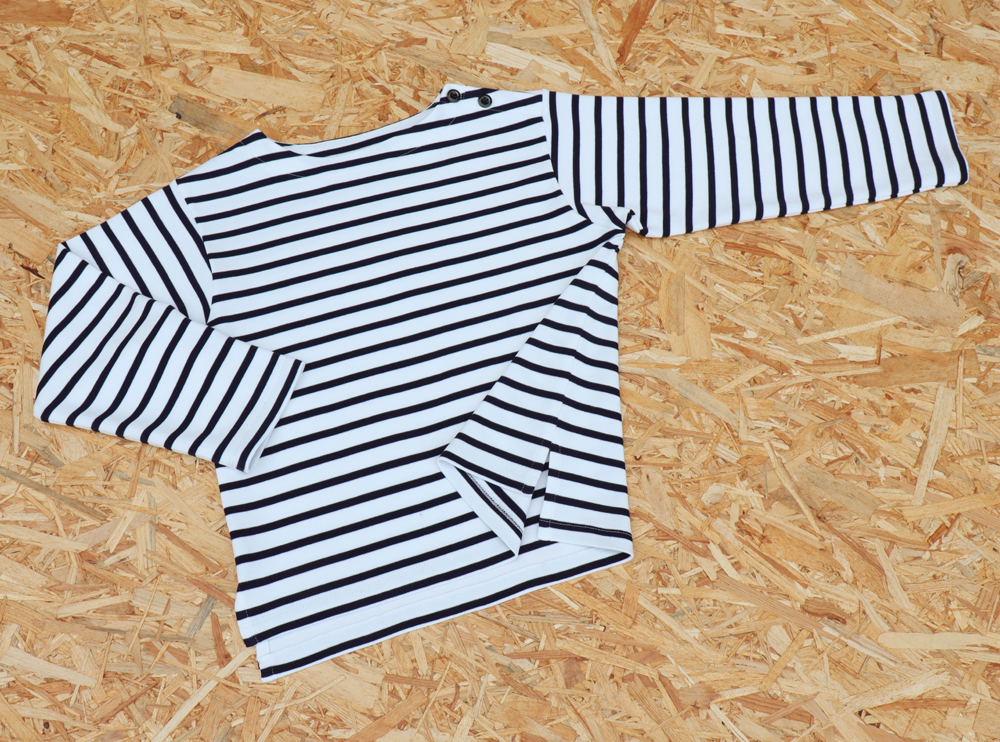
Pénélope, the sew along

Sew along with us as we walk you through the step by step sew along of the Pénélope marinière.
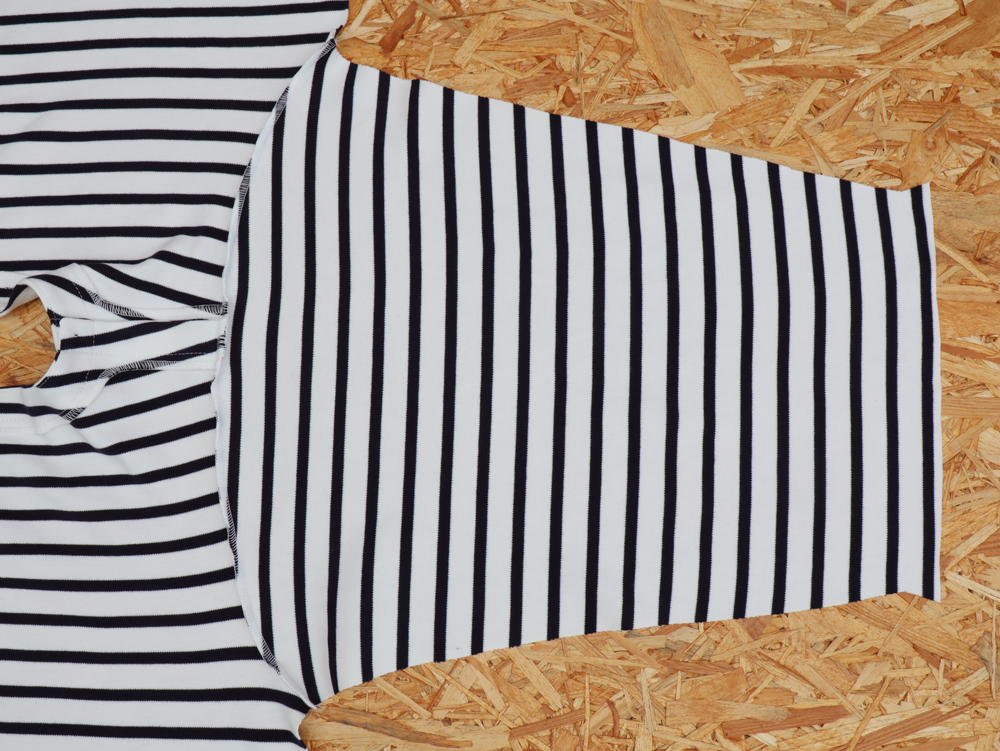
The hem of the sleeves and sides of the shirt should be serged and then sewn on your machine with a zigzag or stretch stitch. This will allow you to create the side vents. The rest of the shirt can be constructed using your serger or your sewing machine, depending on what kind of machine you have available.![]()
With right sides together, sew the short ends together. Press the seam allowance toward the front or press them open.
Apply fusible knit interfacing to the facings where the buttons and buttonholes will be placed.
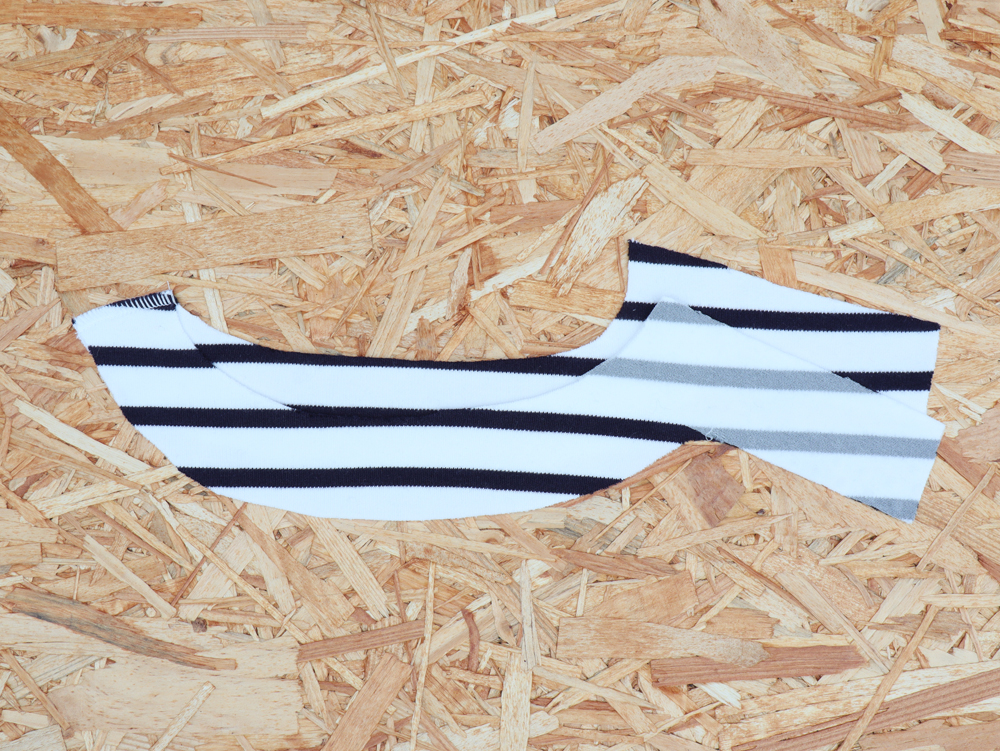
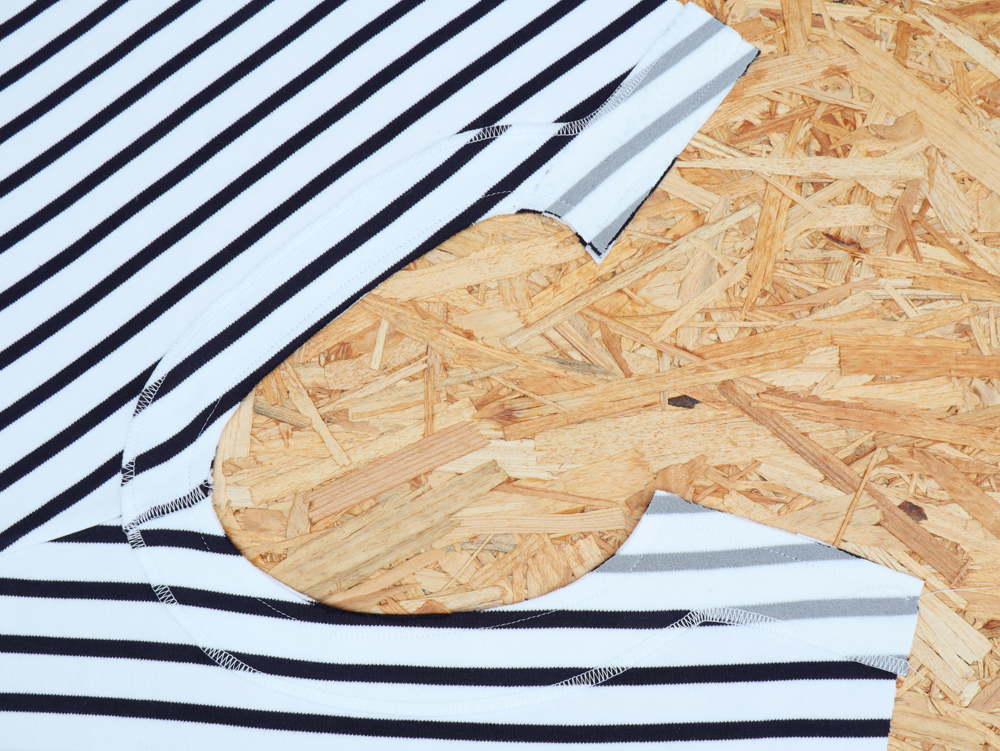
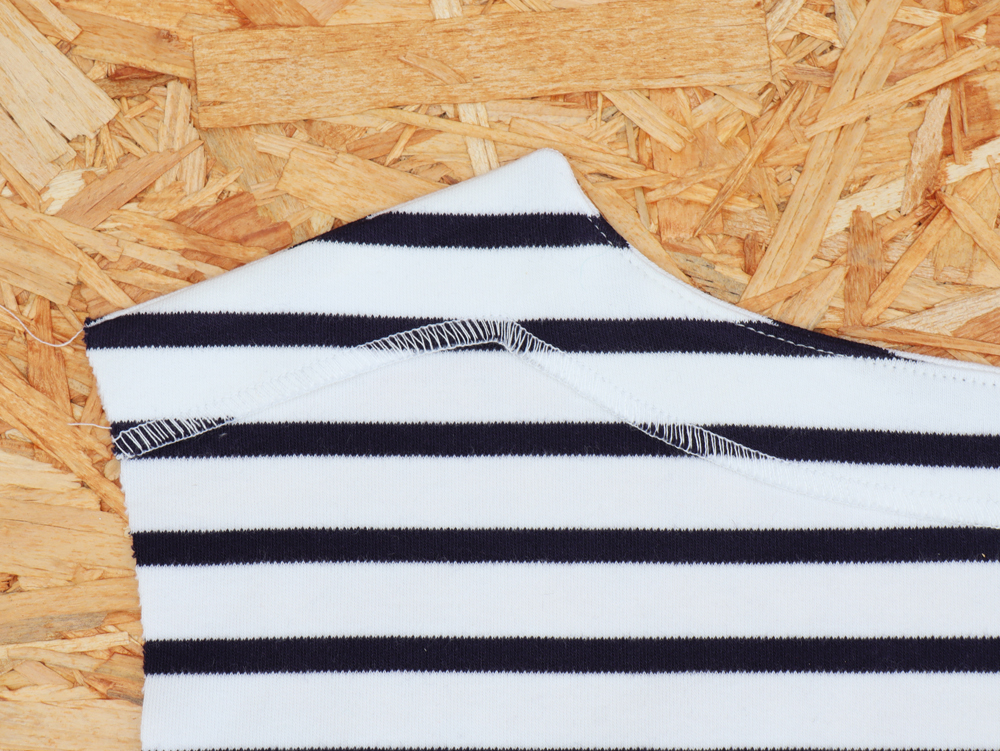
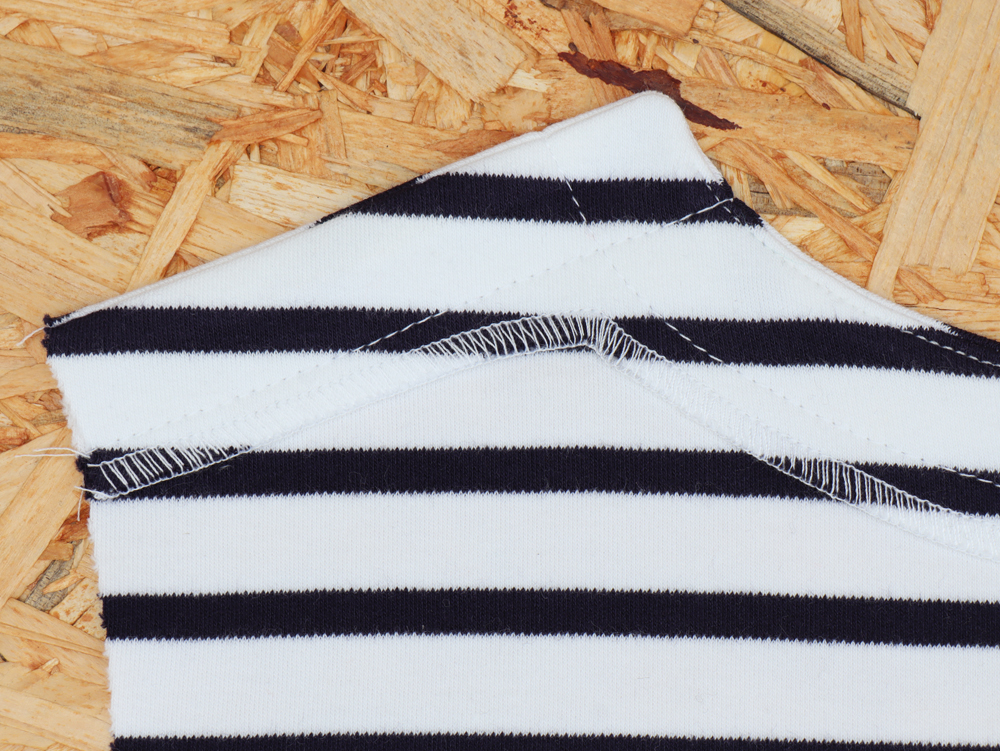
With right sides together, place your front and back pieces together and sew the shoulder seam of the right side (as worn). Serge the seam allowance together and press toward the back.

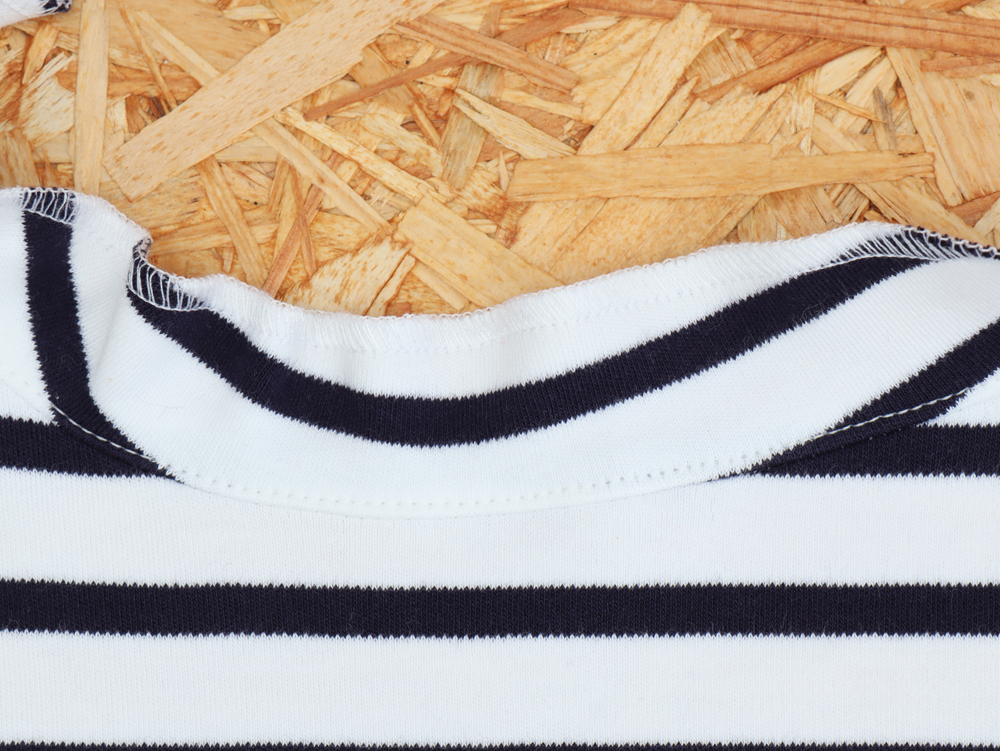
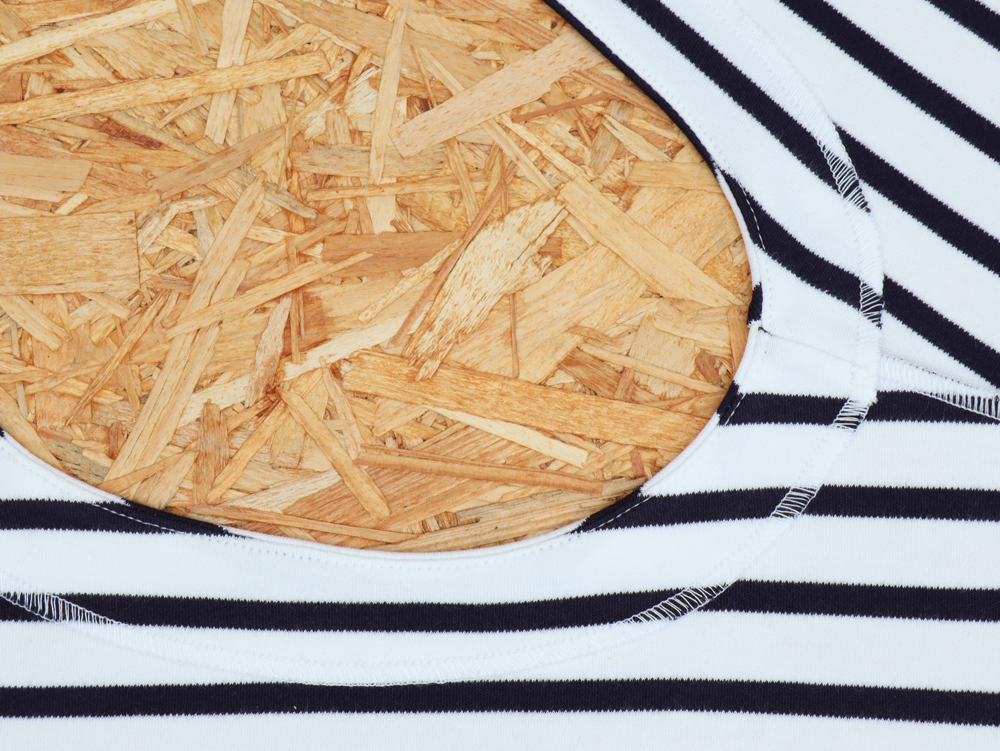
Lay your bodice pieces so the right side is facing up. With right sides together, place the facing on the neckline, ensuring that the shoulder seams match up.
Pin the facing to the neckline. Sew the pieces together, beginning at the left back shoulder and ending at the left front shoulder. 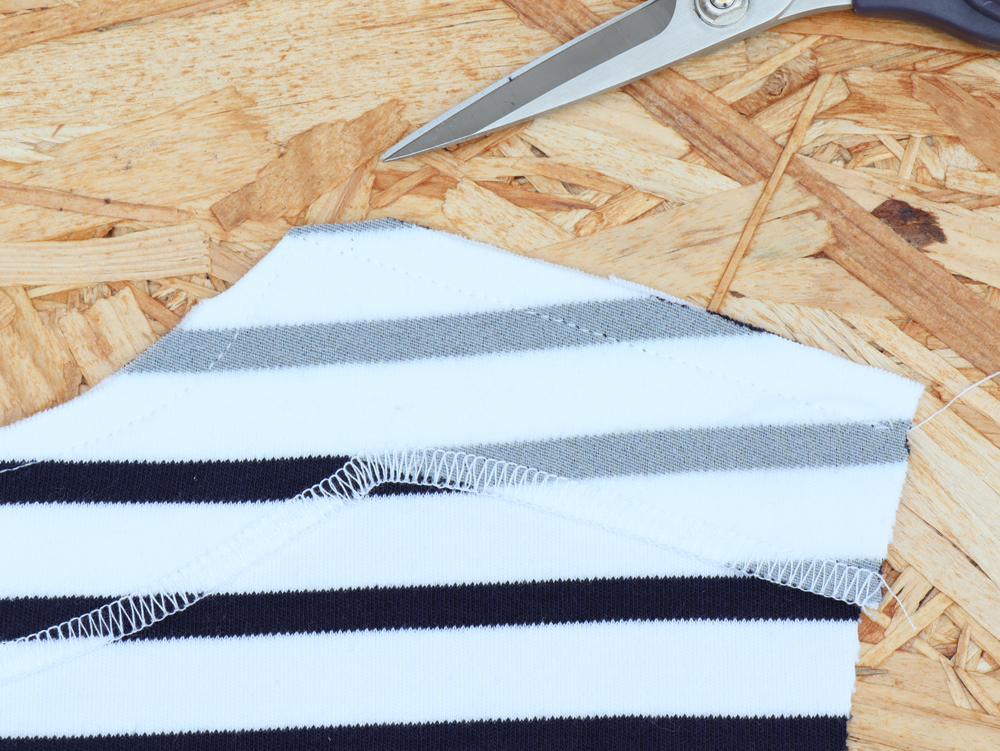
Clip corners.
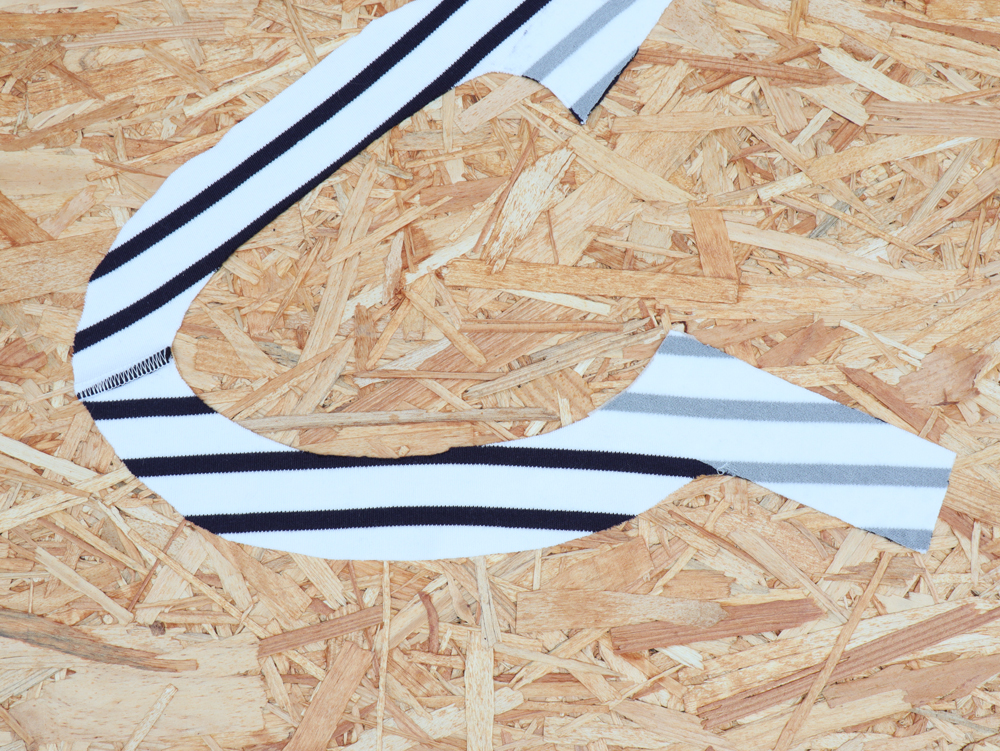
Flip the facing right-side out and press the seam allowance toward the facing.
Understitch the facing. Understitching is a finishing stitch that secures the seam allowance to the facing. Once you flip the facing to the inside of the garment, the undestitching will not be visible on the outside of the garment. This keeps the facing from rolling to the outside, providing a professional finish. 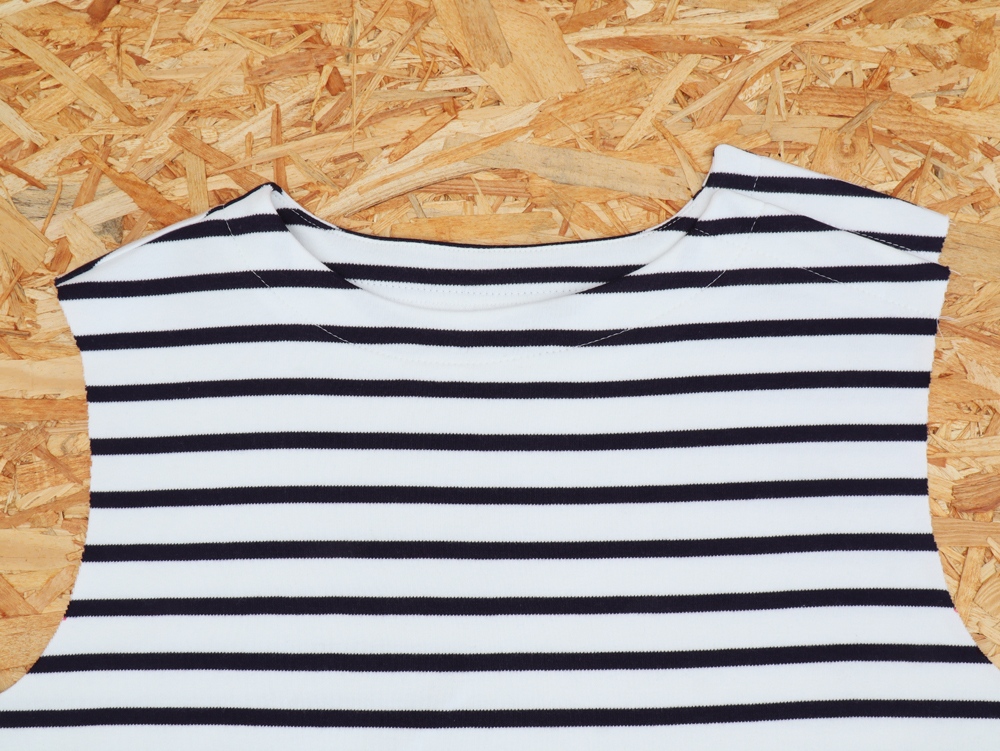
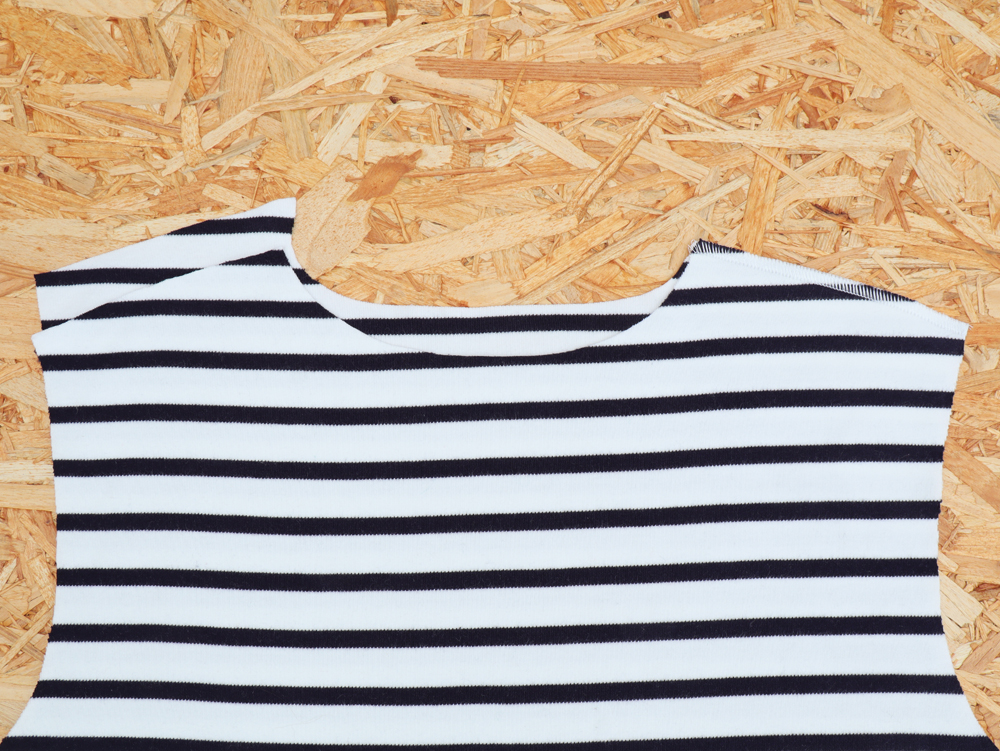
Flip the facing to the inside of the bodice and press. Topstitch 20mm from the edge to keep the facing in place.
Always topstitch on the right side of the garment because you will have a better-looking stitch.
Begin by sewing the button plackets. If you need to, you can trace the outside of the facing on the right side of the shirt using an erasable marker or tailor’s chalk.
Next, topstitch around the neckline, crossing the line of stitches at the button placket.
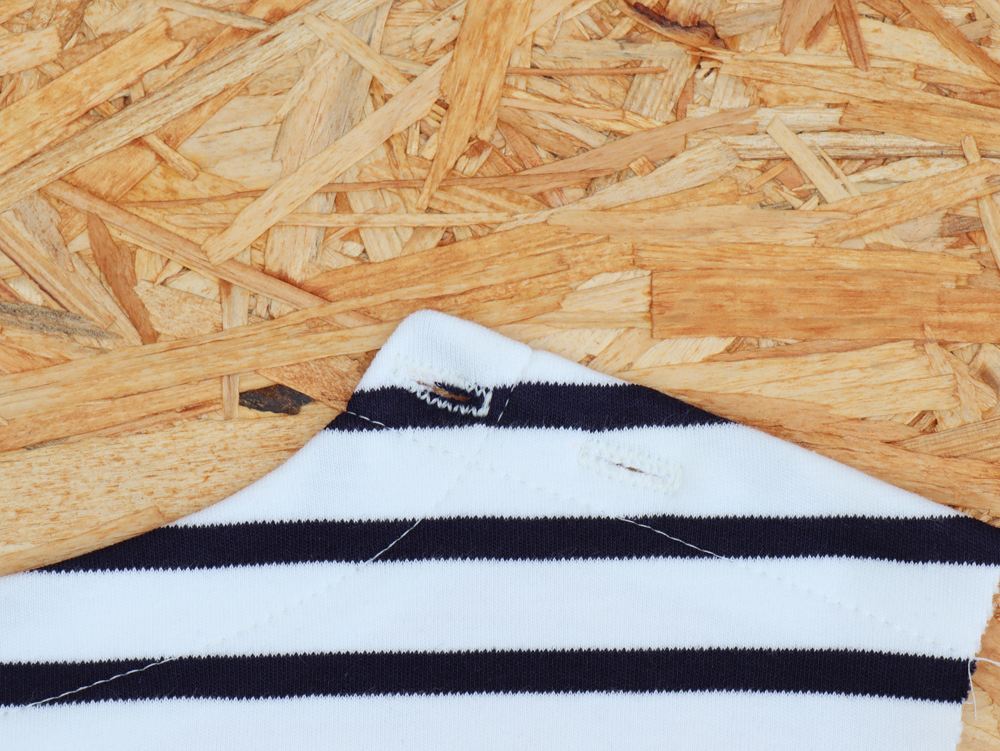
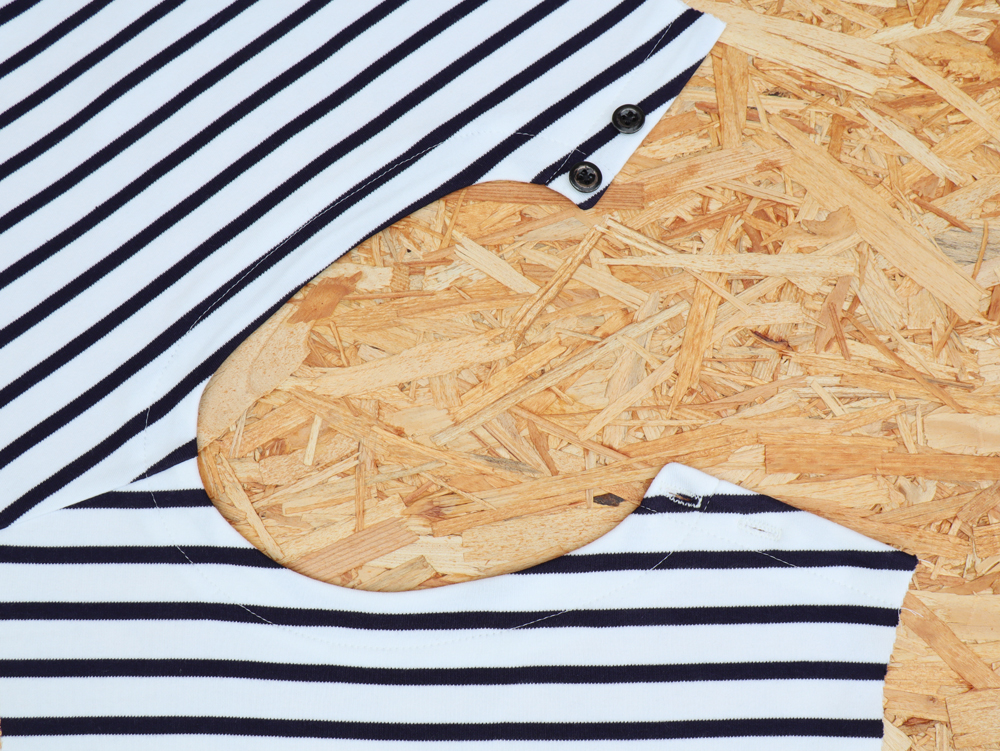
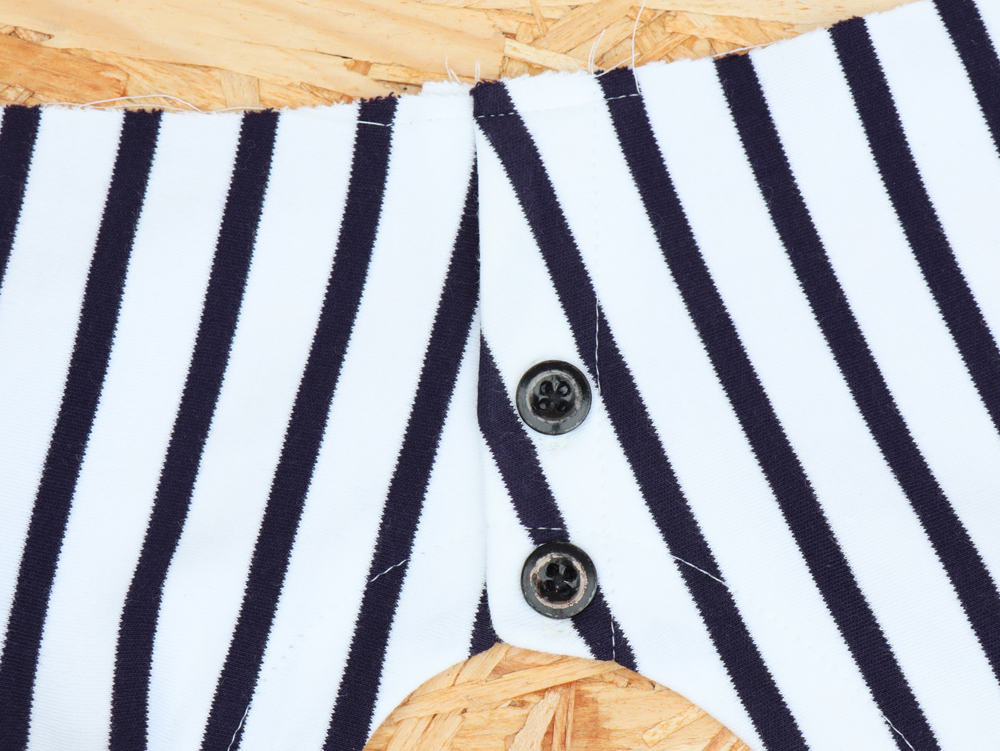
Sew the buttonholes on the front button placket and the two buttons on the back button placket. The first buttonhole should be sewn close to the neckline and the second one should be roughly 2-3 cm from the first.
Pin the two button plackets together, with the buttonholes on top. Sew in the seam allowance at the shoulder edge where the sleeve will be attached. This will keep your shoulder seam together when you attach the sleeve.
With right sides together, sew the sleeves to the bodice. You will need to slightly stretch the fabric as you go, it’s normal. Serge the seam allowance together and press toward the bodice. 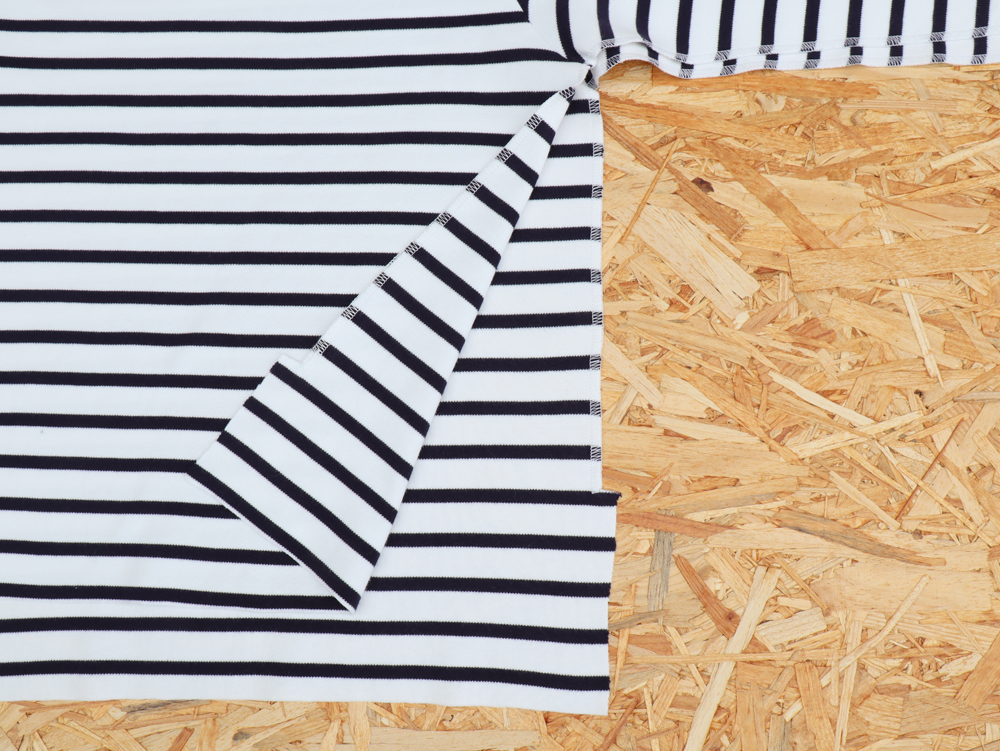
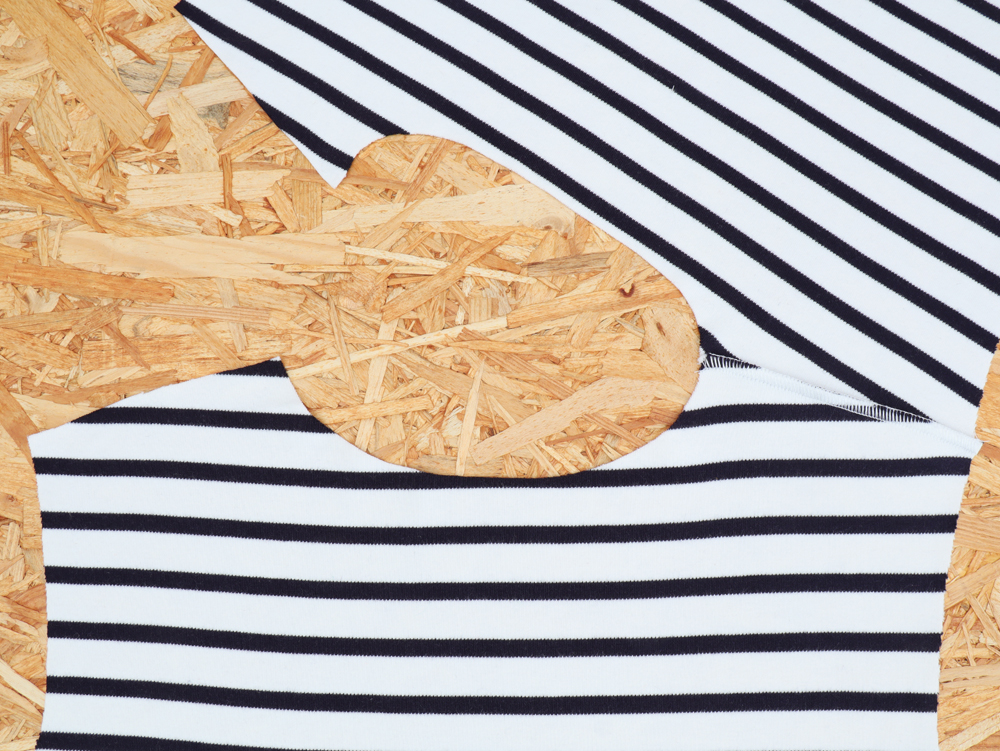
Serge the bottom edge of the sleeves and sides of the front and back bodice pieces.
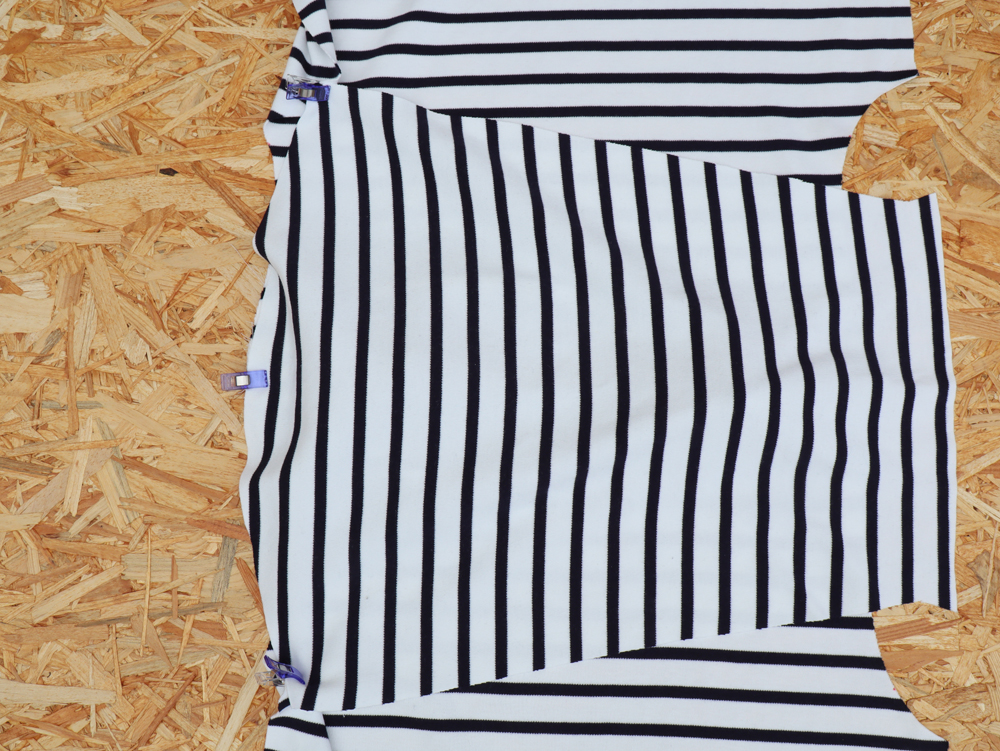
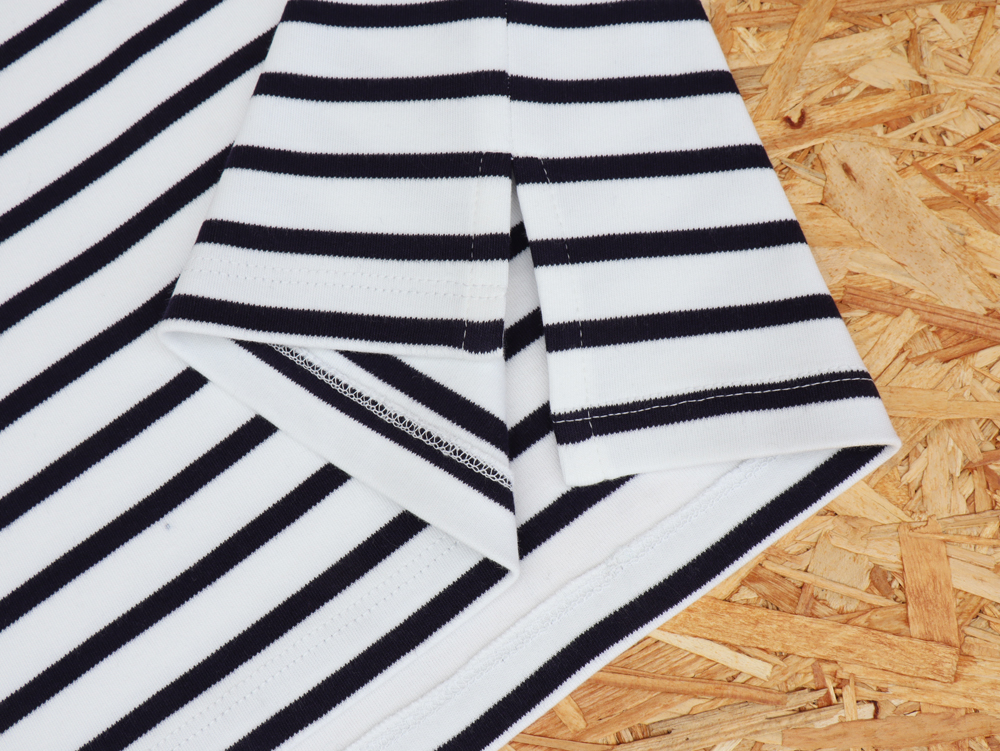
With right sides together, pin the front and back bodice pieces at the side seam, making sure to match the underarm seam. Beginning at the end of the sleeve, sew until you have passed the beginning of the side vent by 7 mm.

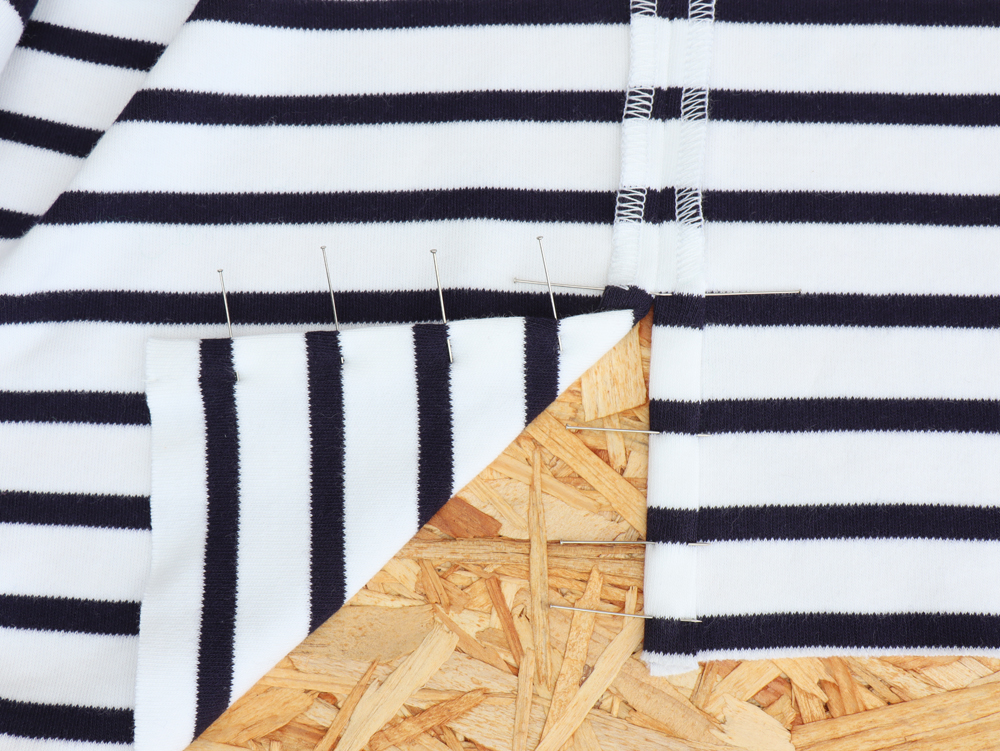
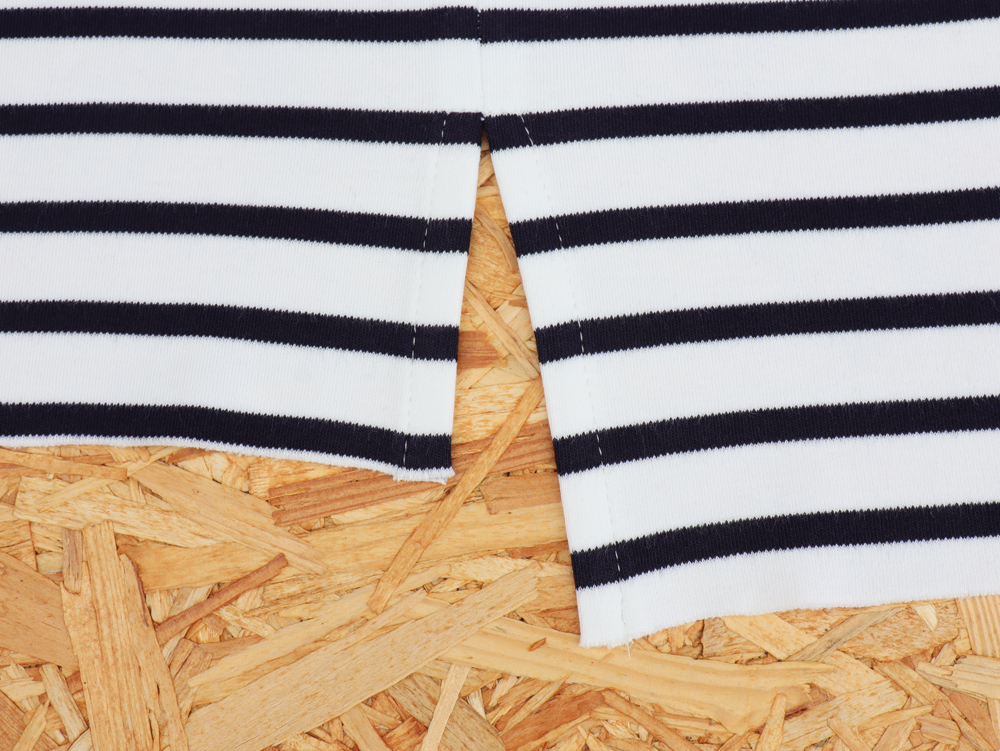
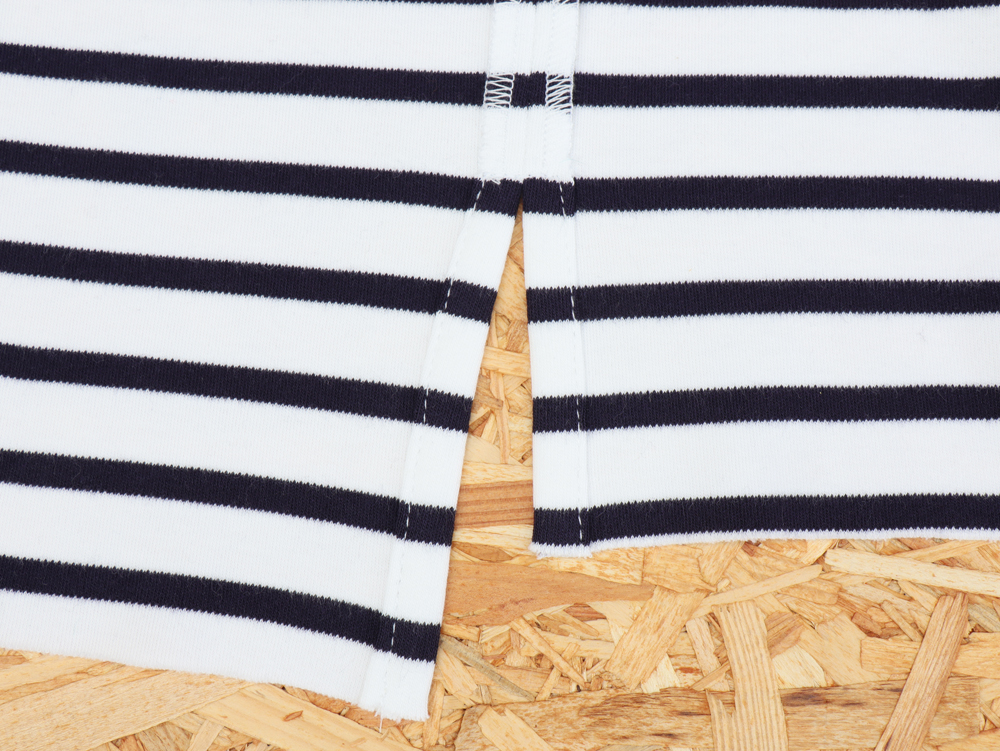
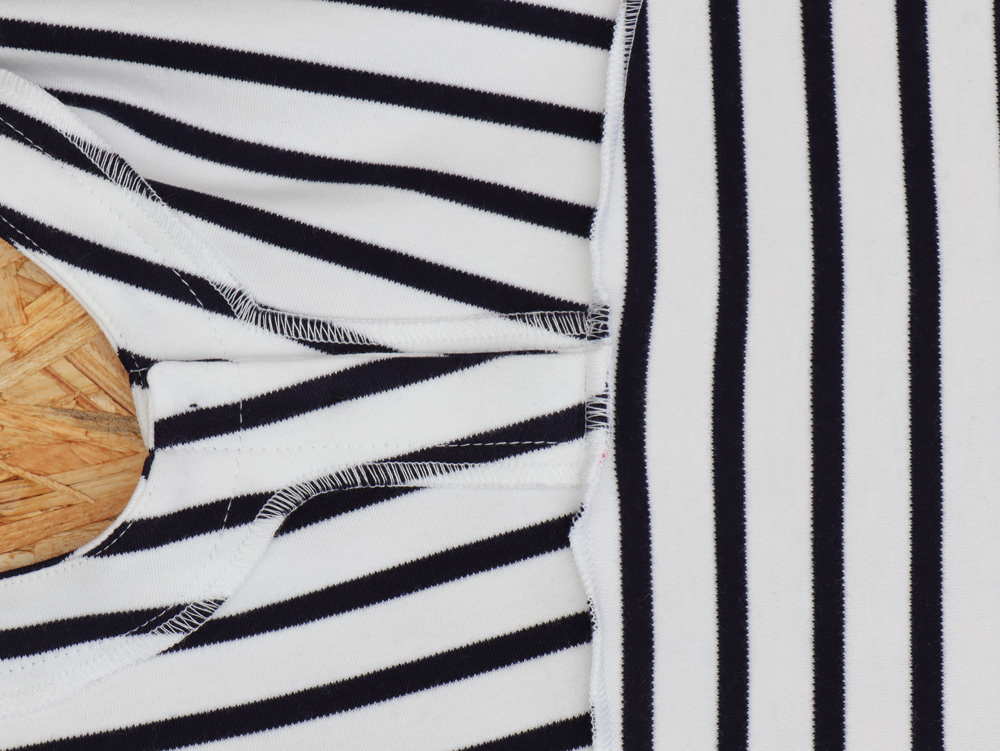
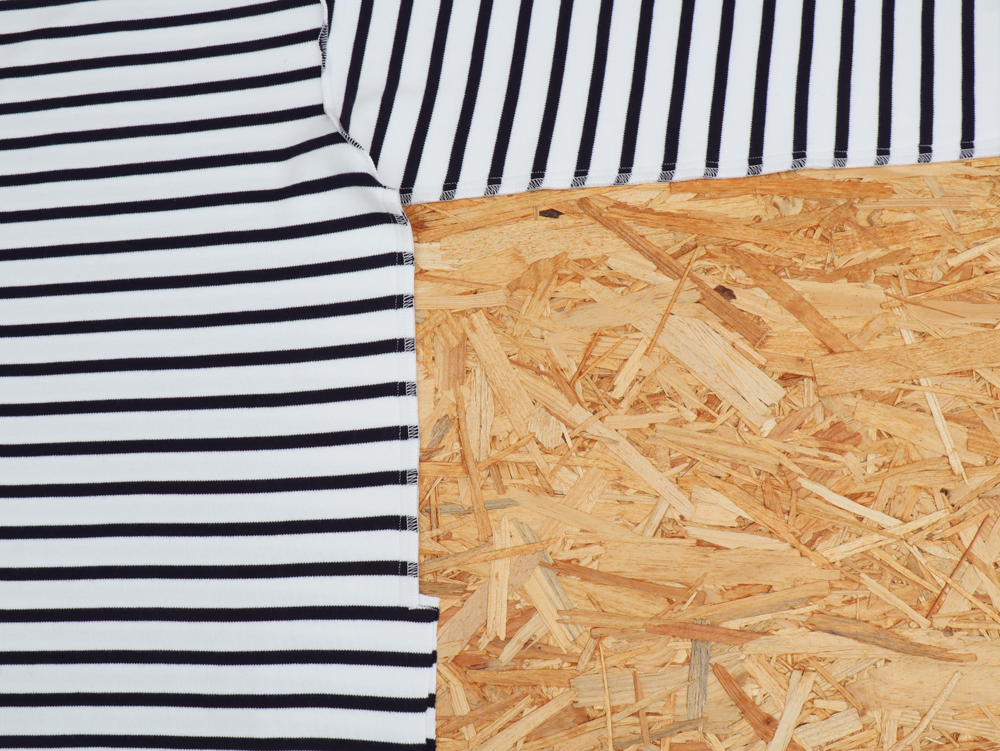
At the side vents, fold 7 mm toward the wrong side. Press the seam allowances open. By doing so, you will refold the side vents, enclosing the raw edges. Topstitch around the side vent, 5 mm from the edge. Next, reinforce the top of the vent with a bartack (tight, narrow zigzag stitch). 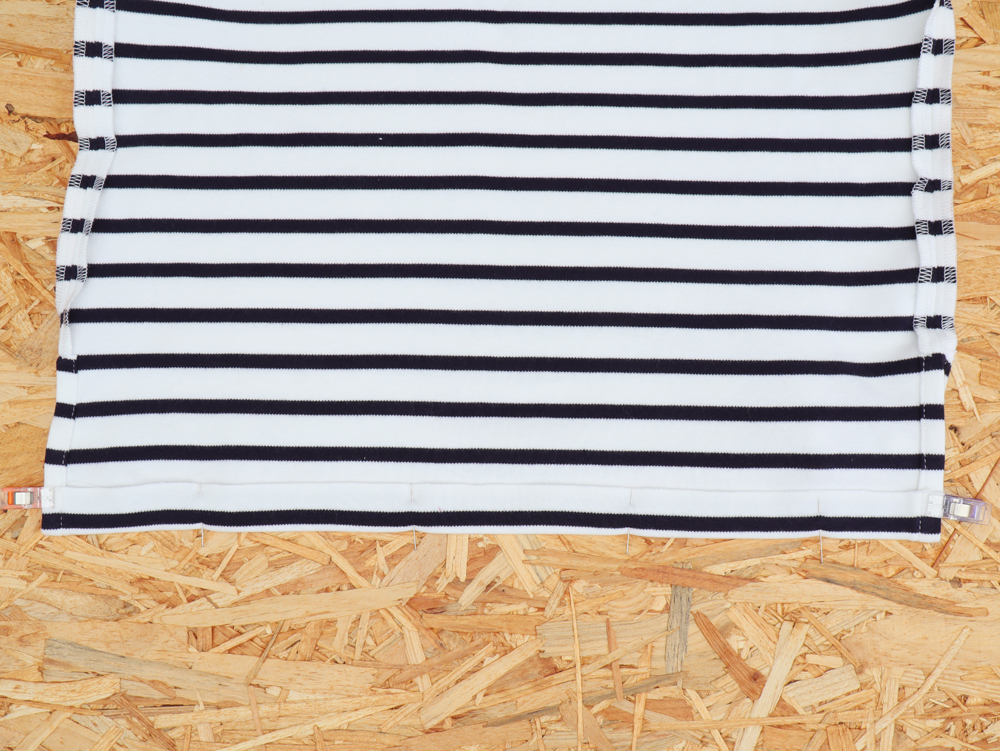
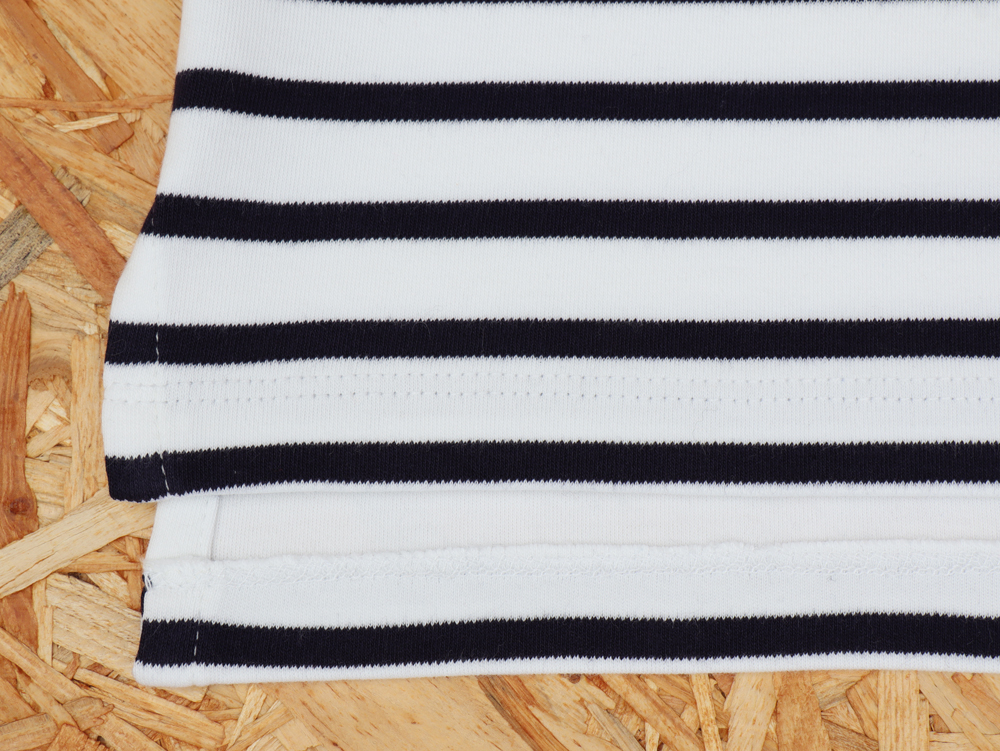
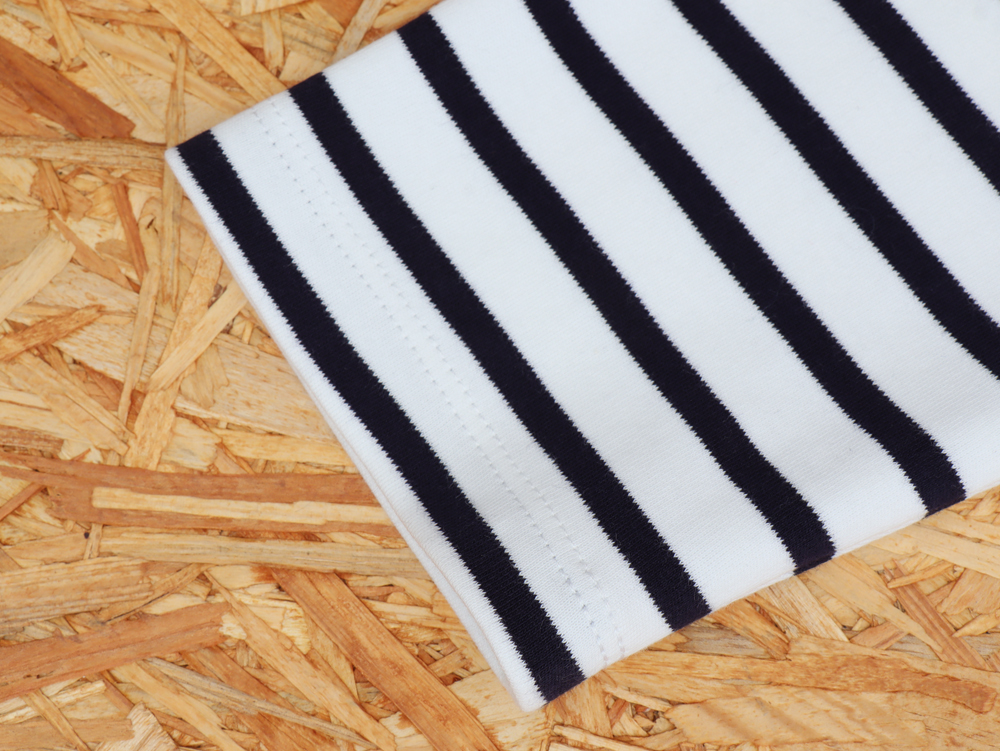
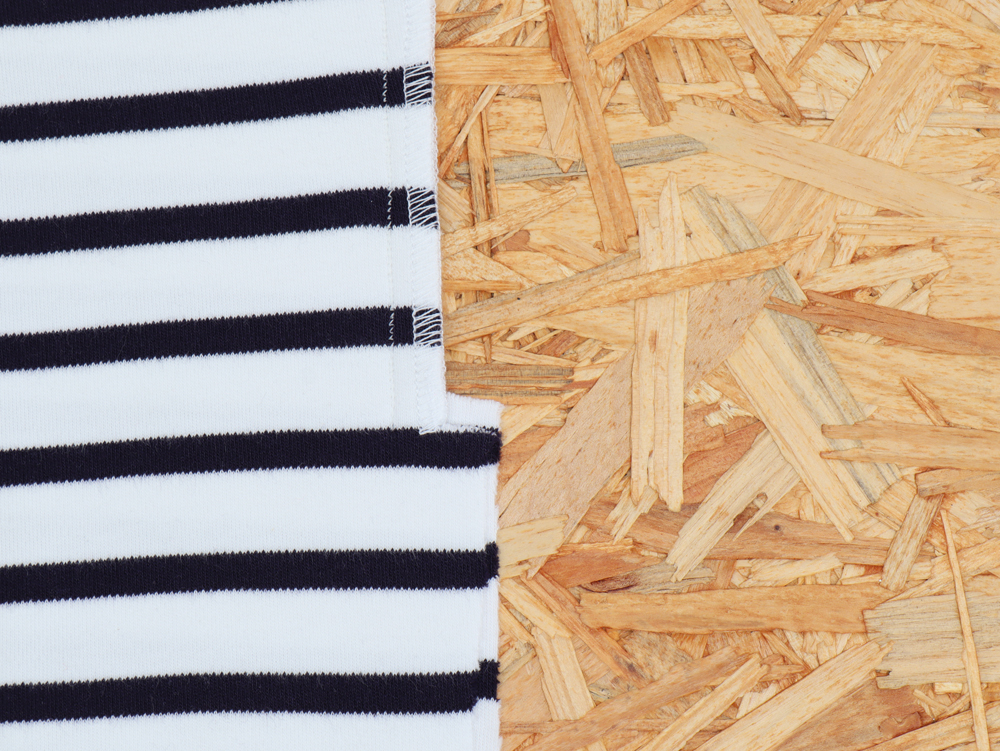
Serge the bottom edge of the front and back bodice pieces, as well as bottom of the sleeves. Create the hem by folding the fabric 2 cm toward the wrong side. Press then topstitch in place.
Voilà, c'est terminé !
![]()
Comments
Leave your comment