Prosper, the sew along

Sew along with me as I walk you through the step-by-step sew along of the Prosper chore jacket.
![]()
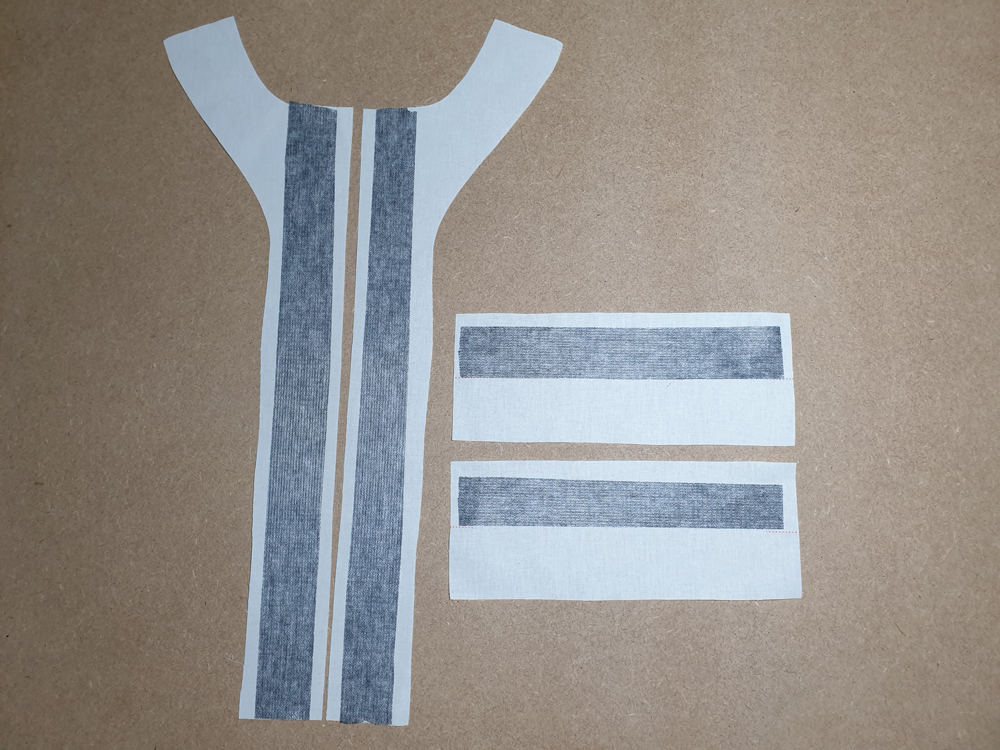
Apply fusible interfacing to the front facings and to one half of the sleeve cuffs.
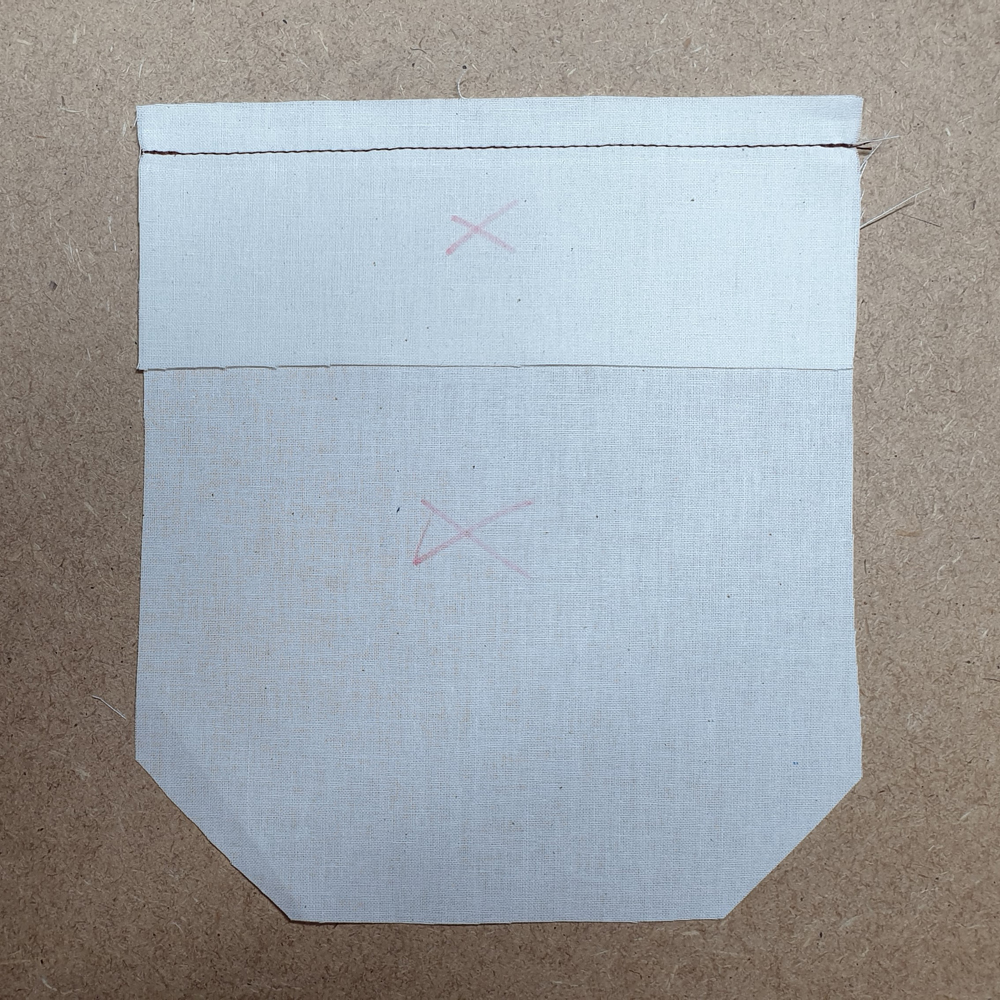
Serge the sides and bottoms of the pockets (C) and (E), leaving the top edge unfinished. Pin the right side of the pocket facing to the top of the wrong side of the pocket and sew.
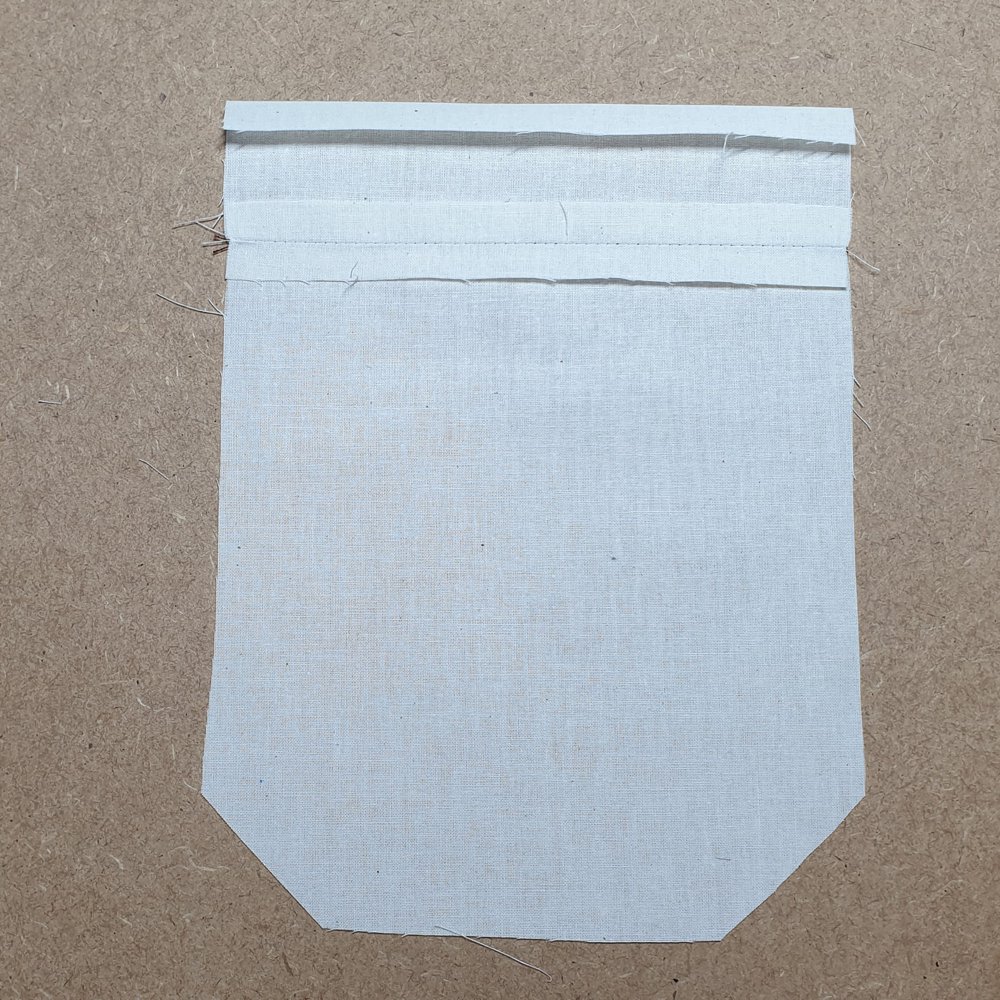
Press the seam open. Fold the top edge of the pocket facing 1 cm toward the wrong side and press.
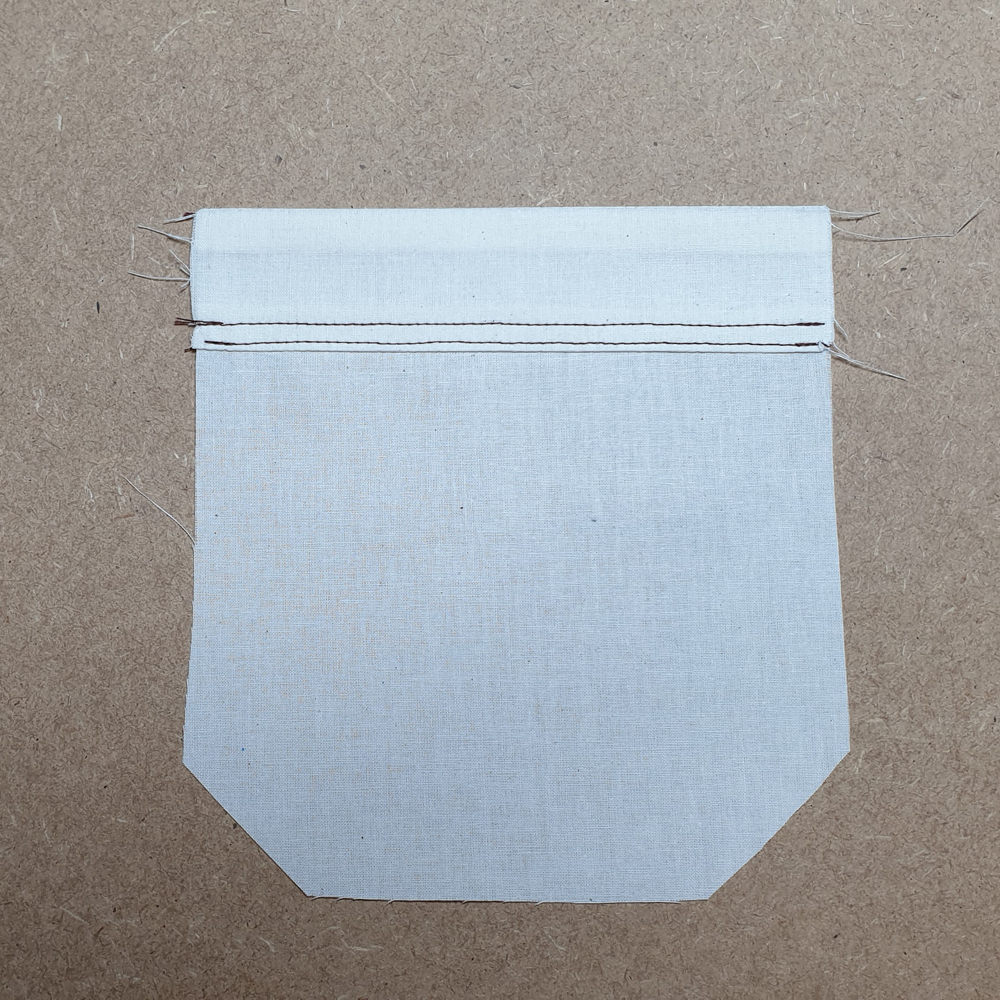
Flip the pocket facing to the right side of the pocket and topstitch in place, first at 2 mm then again at 6 mm from the edge of the facing.
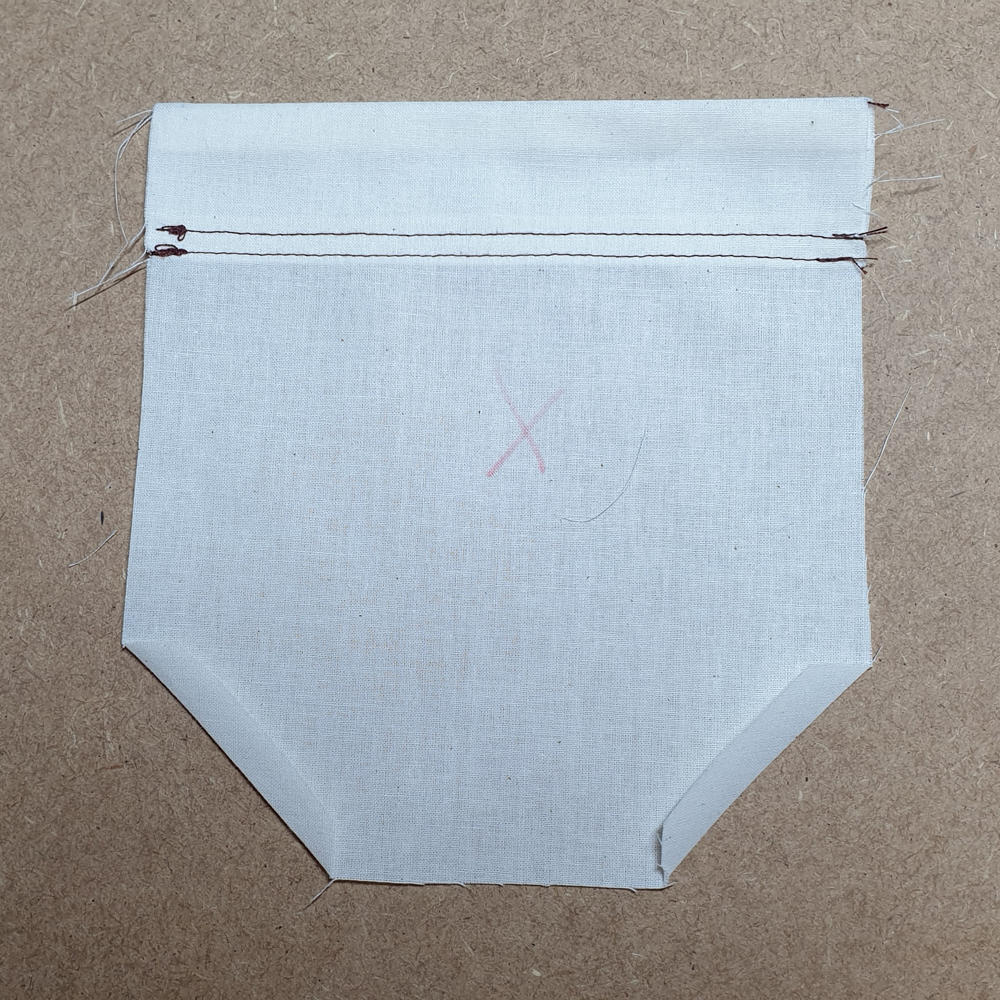
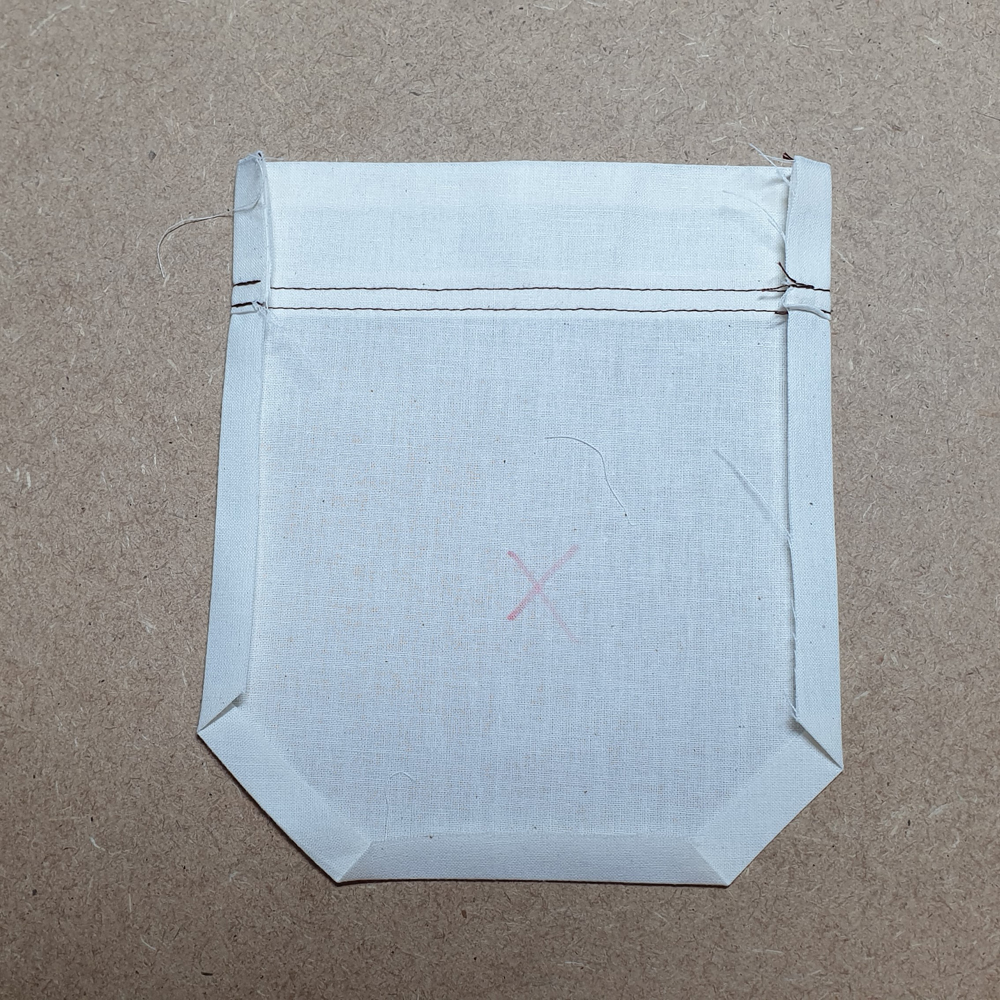
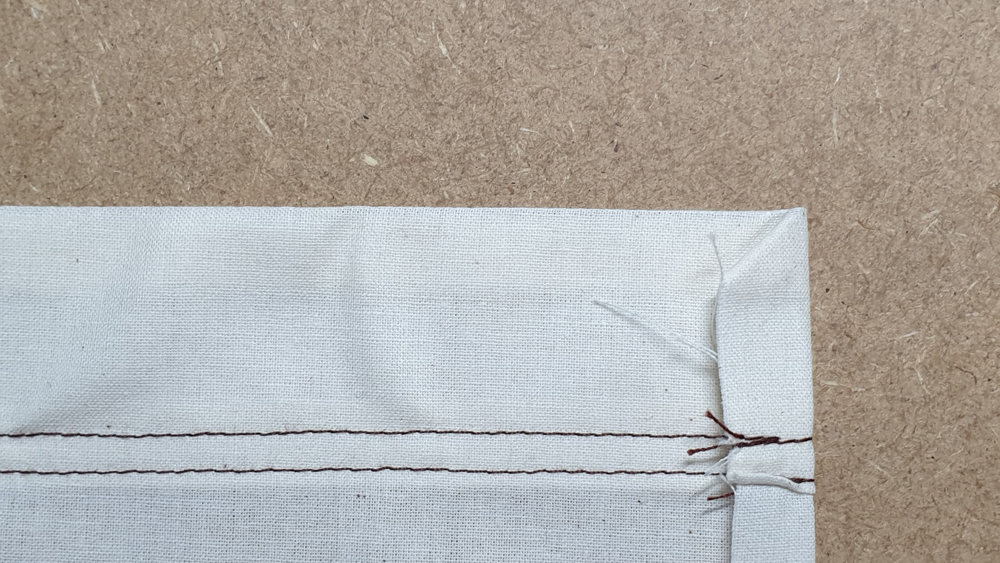
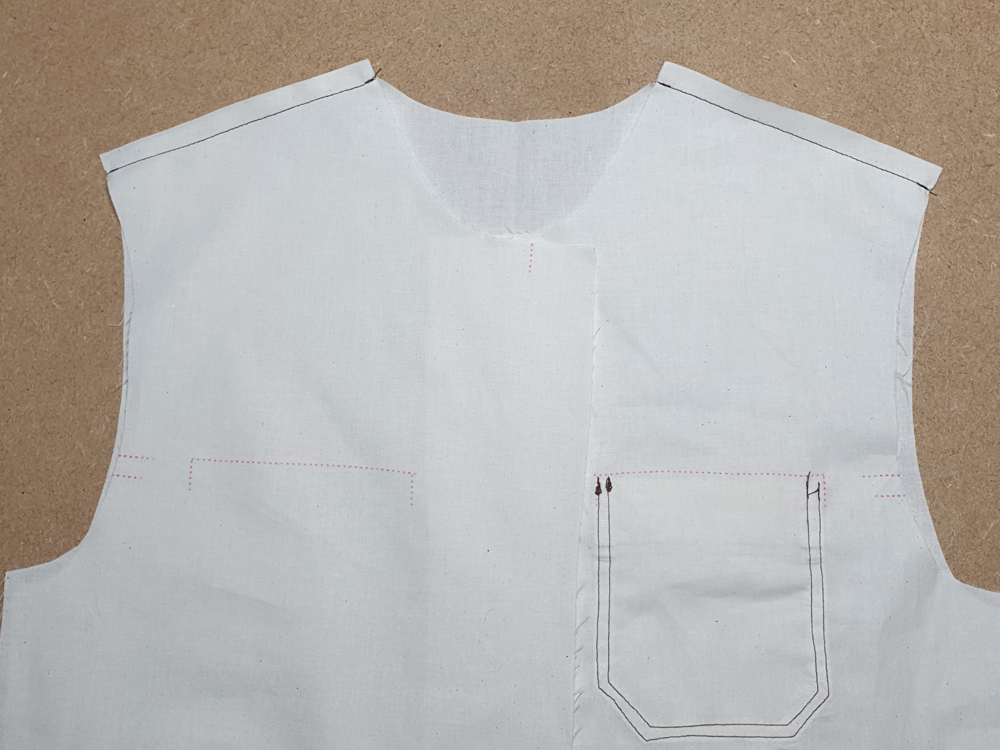
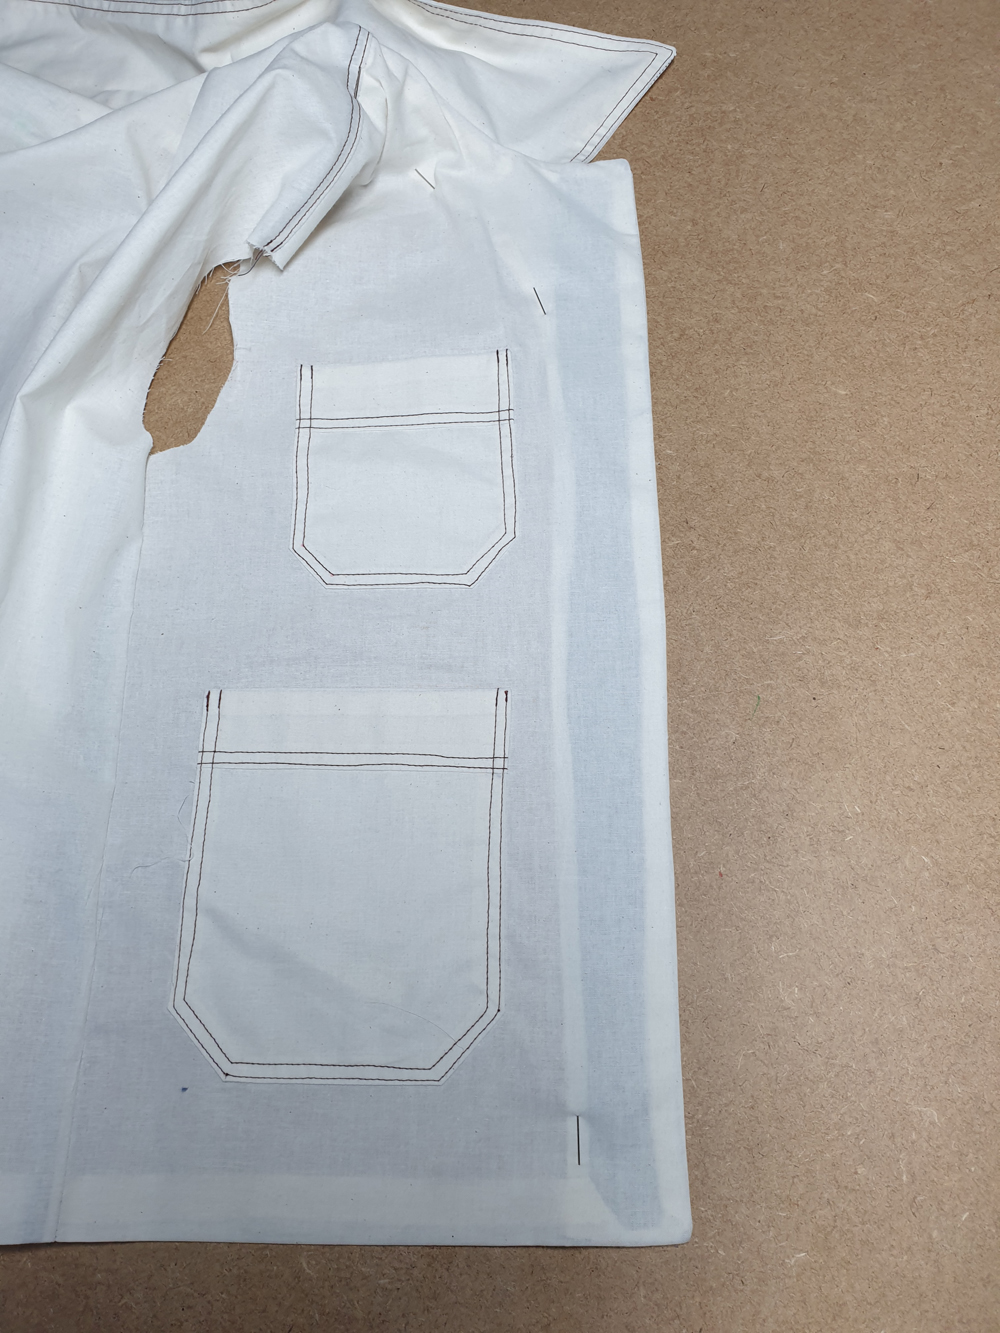
Beginning with the small slanted sides, fold the sides of the pocket 1 cm toward the inside. If your fabric isn’t too thick, you can fold the top corners of your pocket seam allowance.
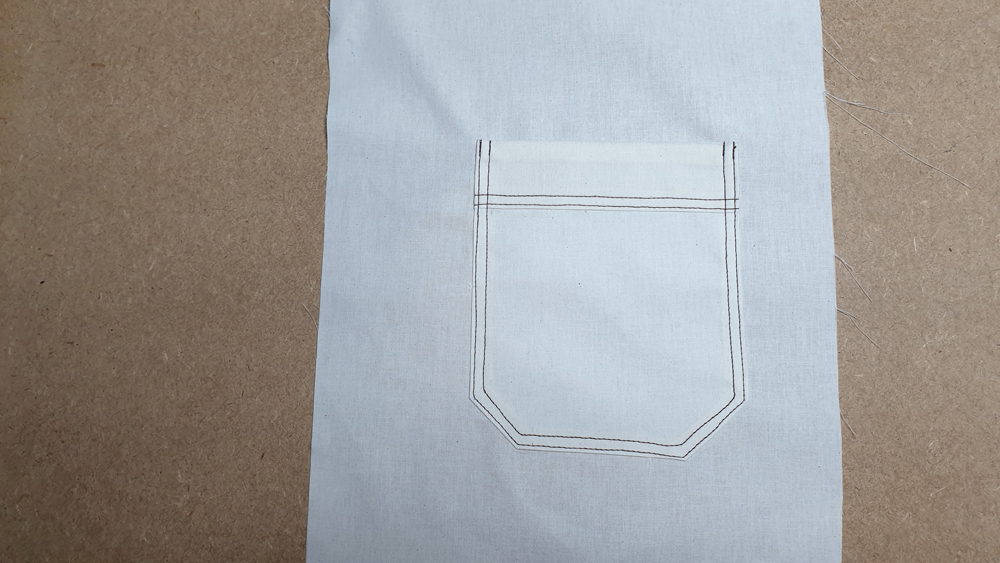

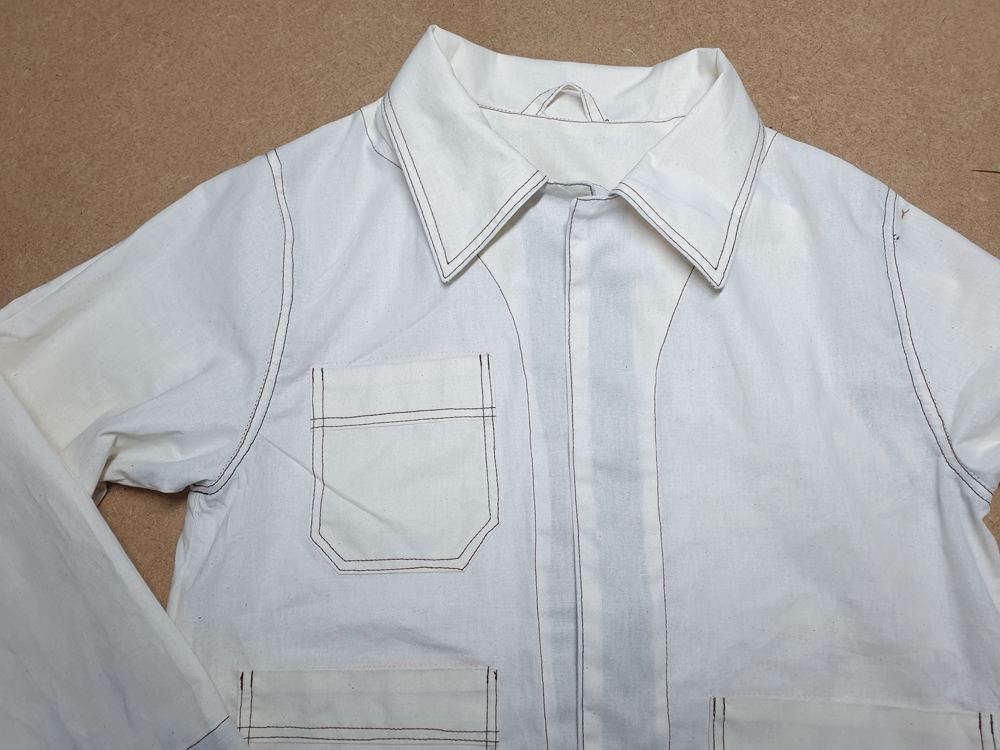
Following the markings, place and pin your pockets on the front bodice piece (A). Sew the pockets in place by topstitching, first at 2 mm then again at 6 mm from the edge.
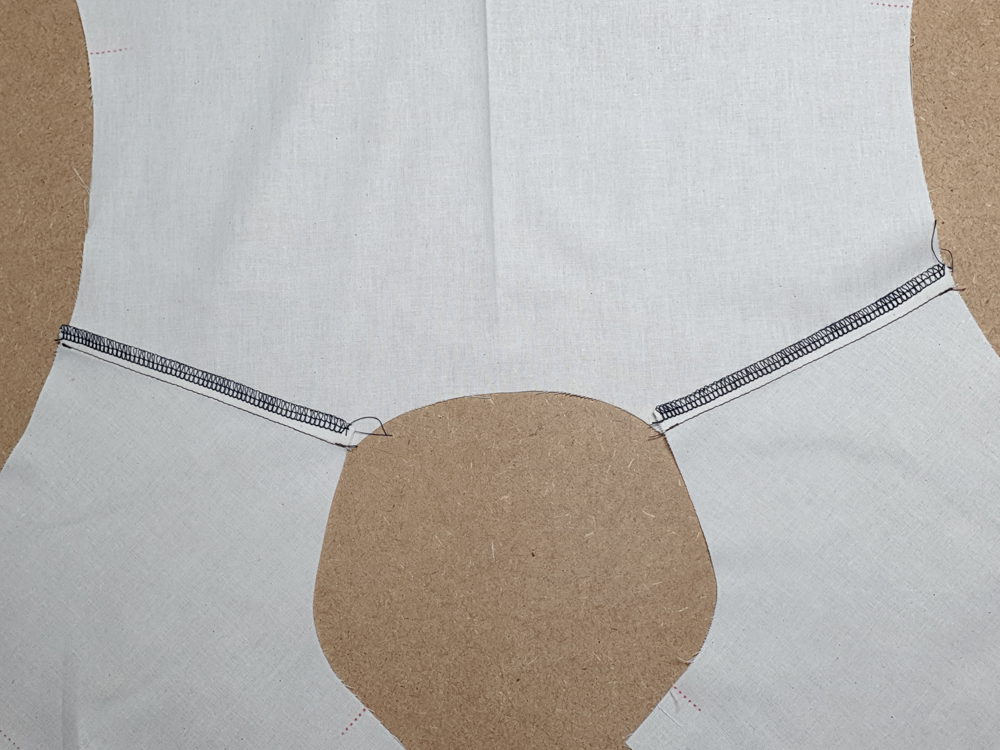
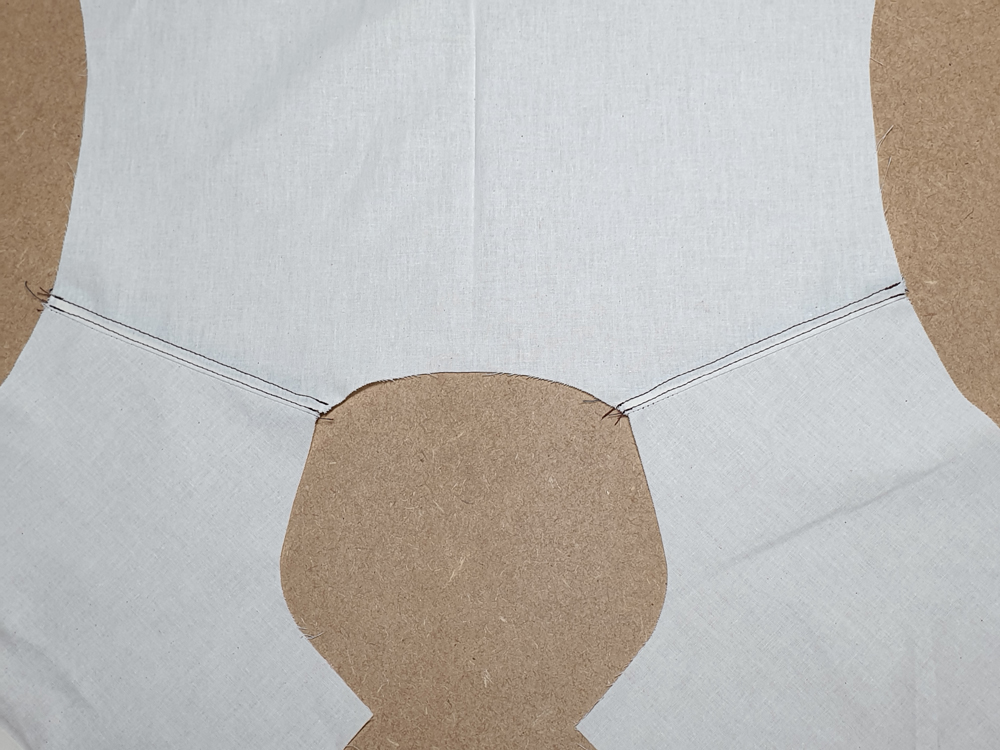
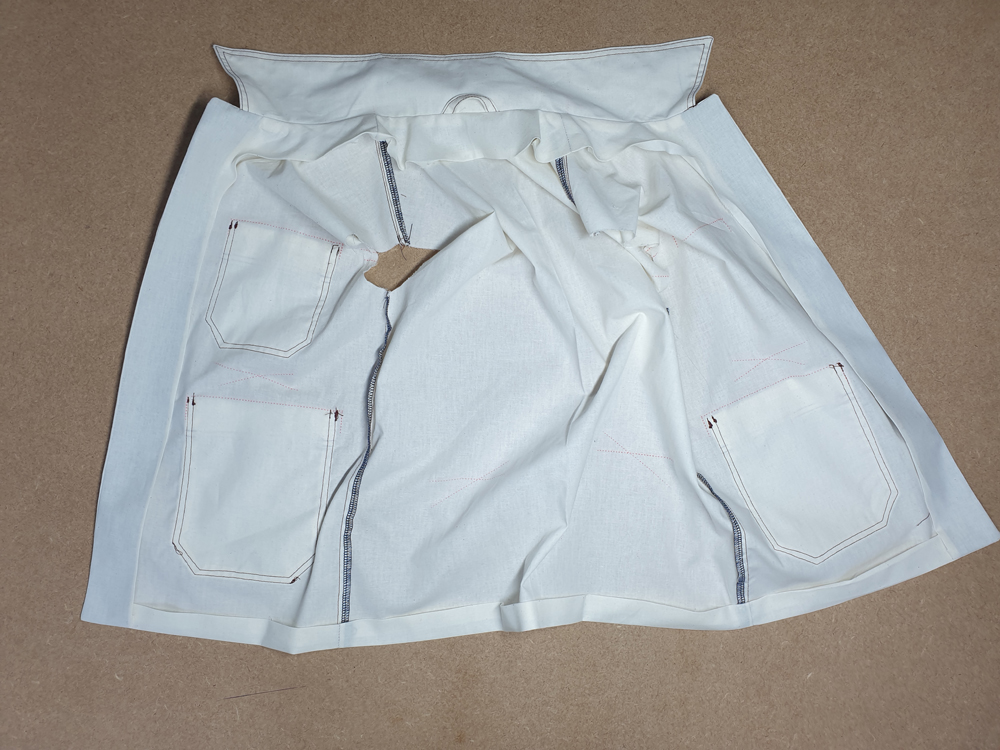
With right sides together, pin your front bodice pieces (A) to the back bodice piece (B) at the shoulder. Sew, finish the seam allowances together and press them toward the back. Topstitch the seam allowances first at 2 mm then again at 6 mm from the seam.
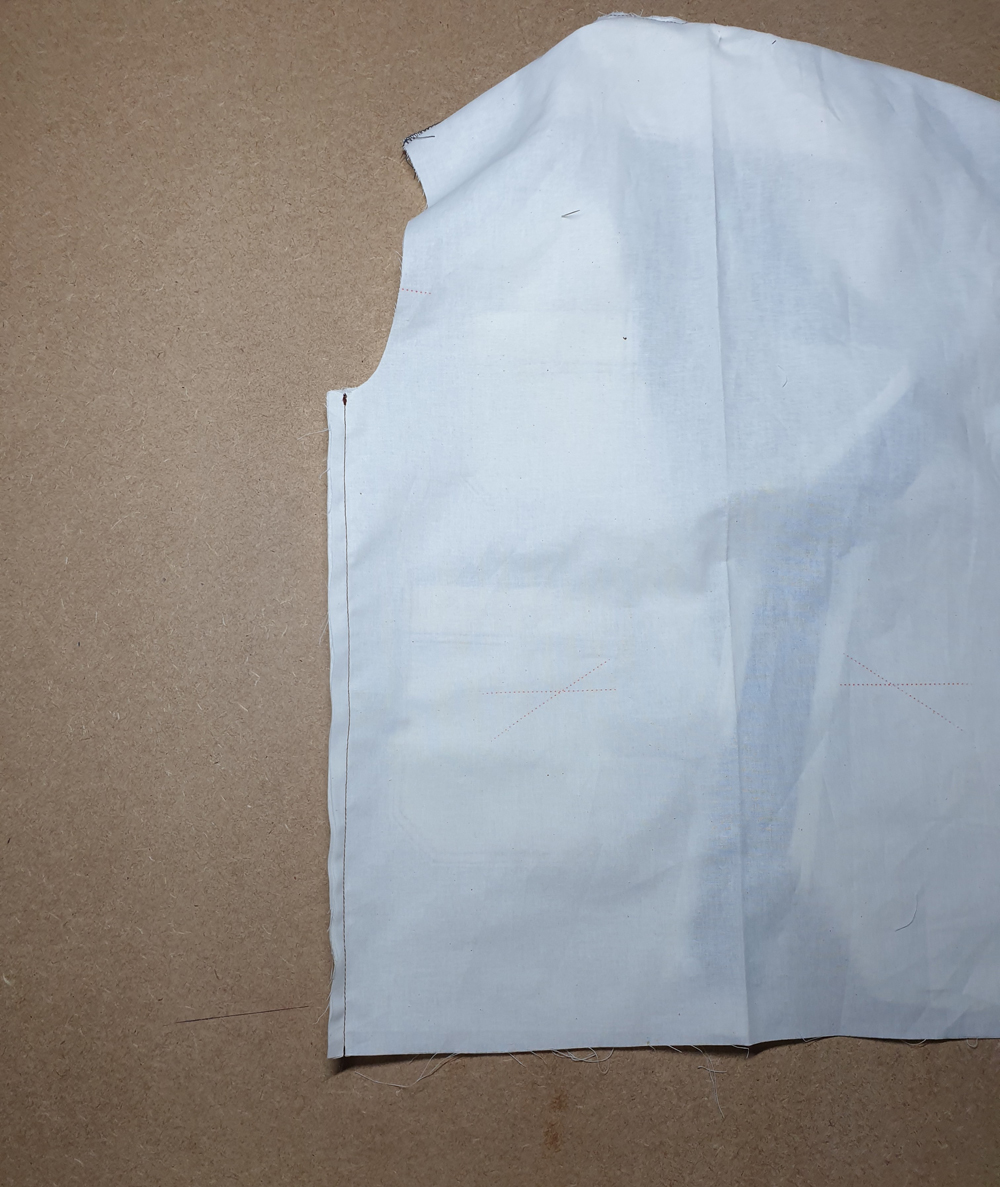
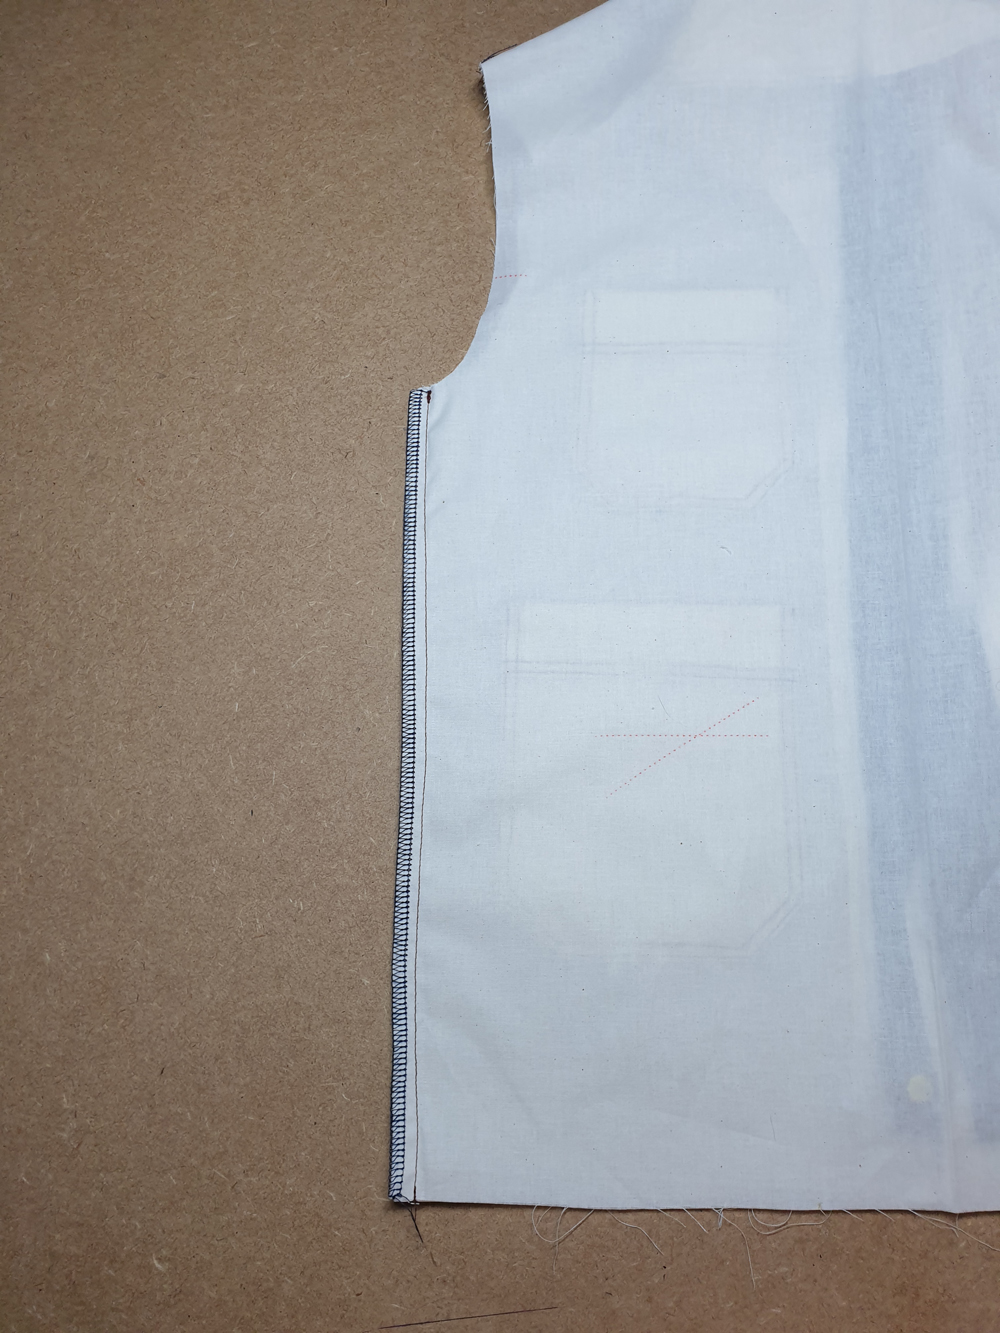
With right sides together, pin and sew the side seams of the bodice. Finish the seam allowances together and press them toward the back.
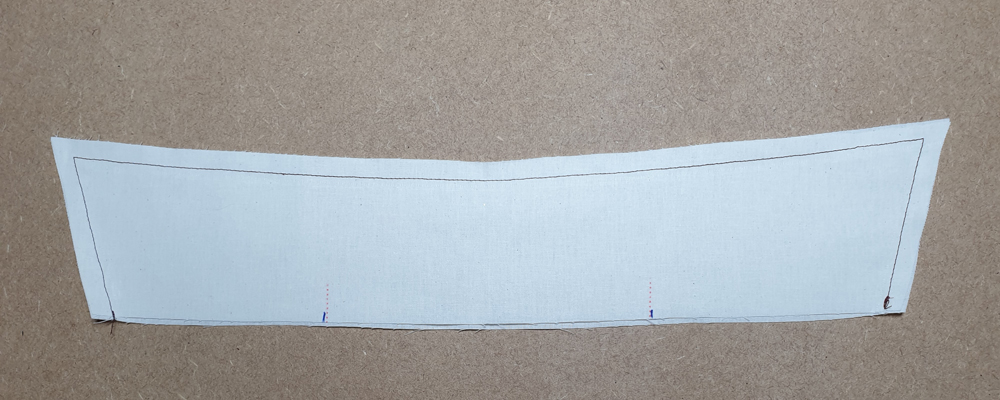
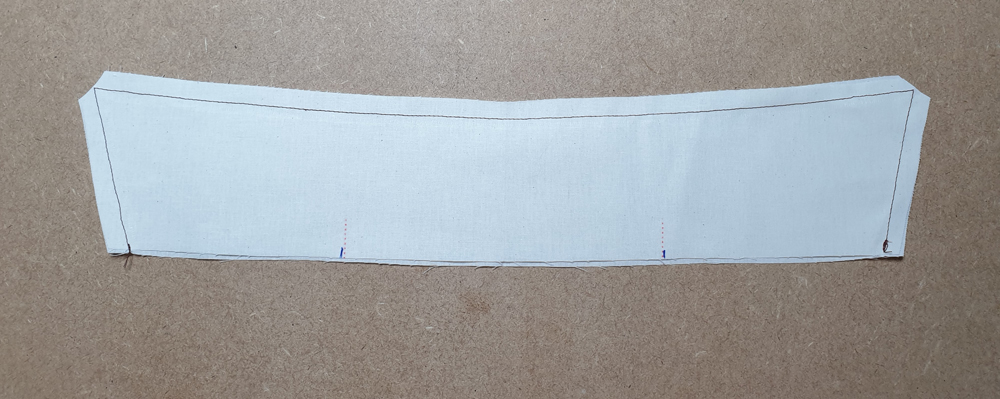
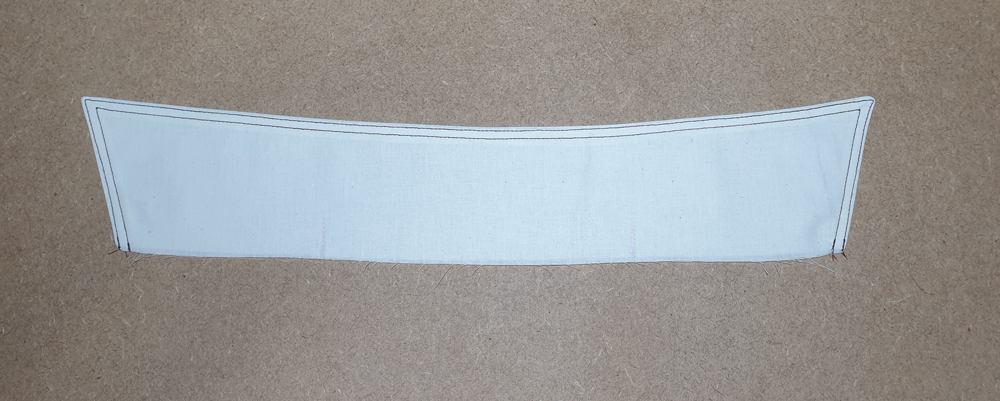
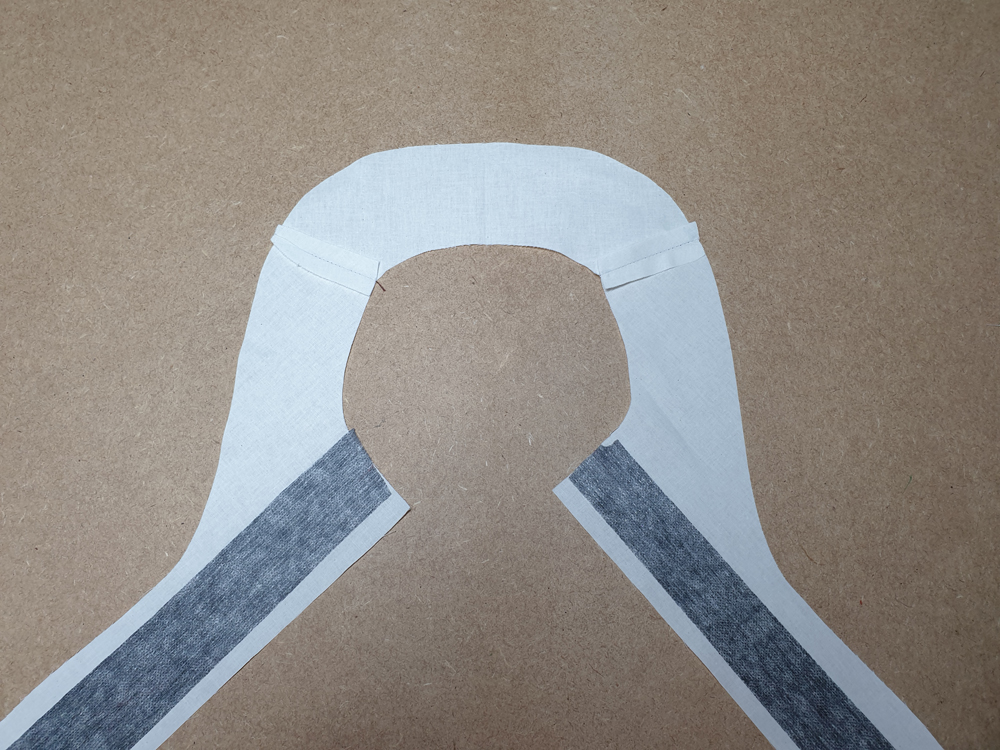
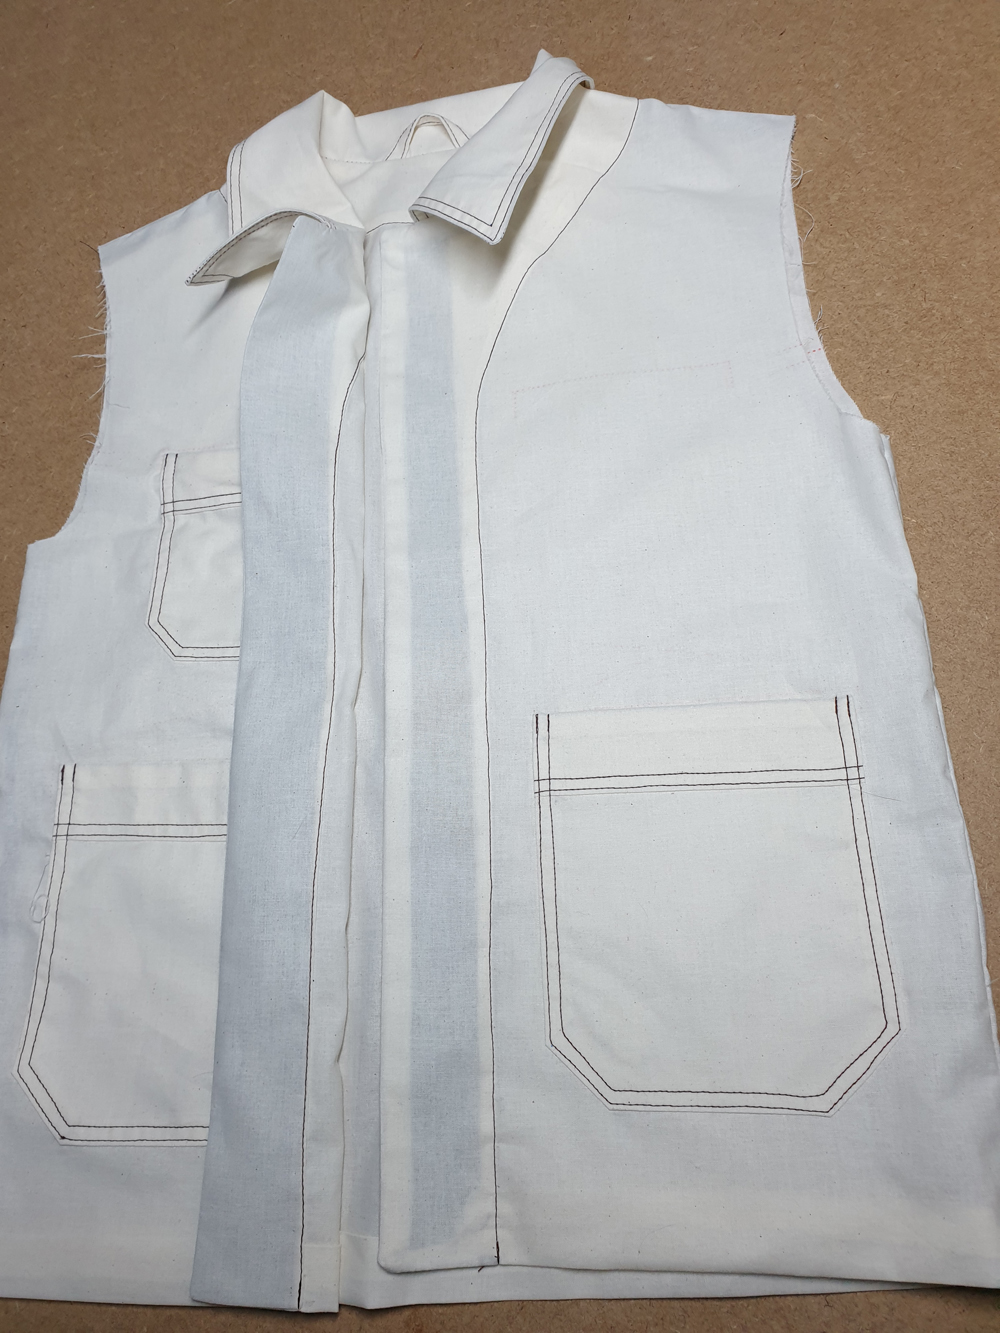
With right sides together, pin and sew the collar pieces (J). Clip the corners. Turn the collar right-side out. Press and topstitch the collar first at 2 mm then again at 6 mm from the outer edge.
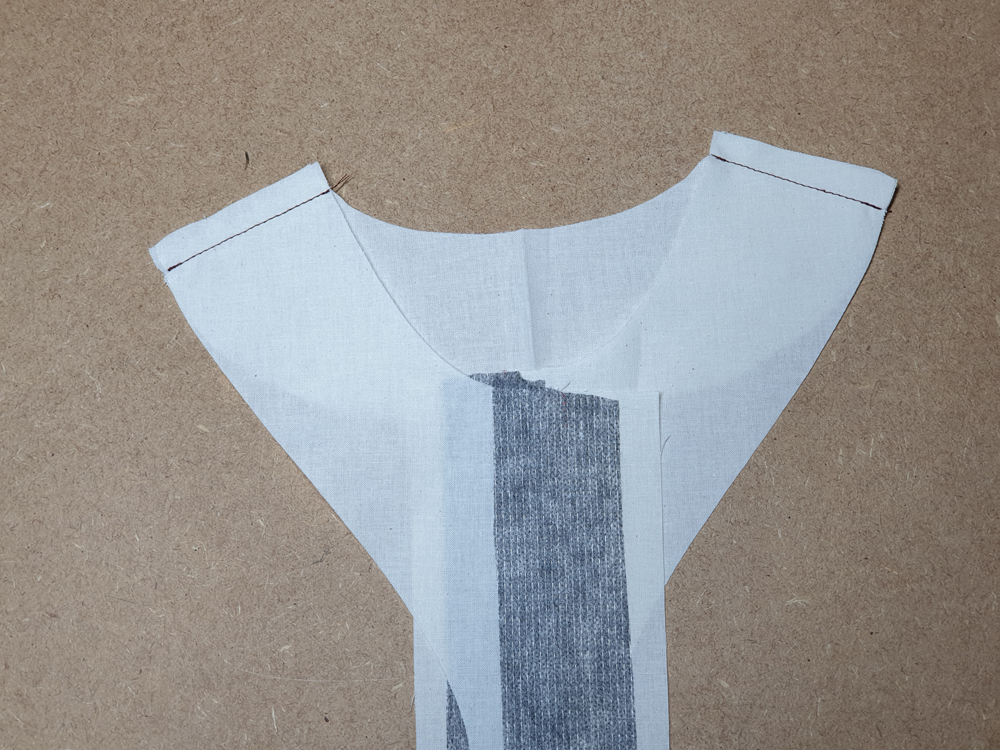
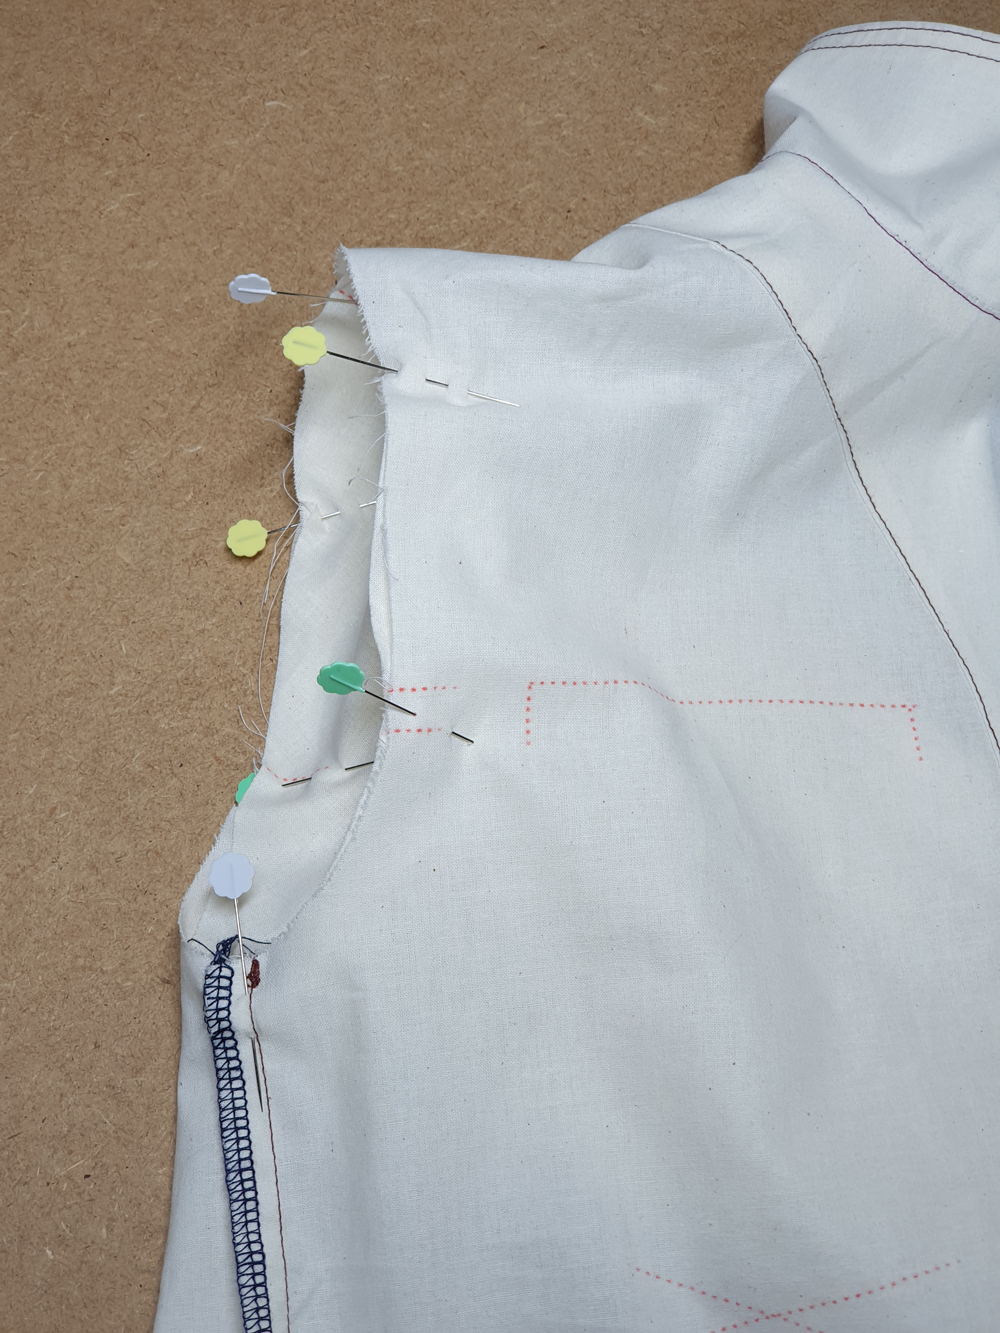
With right sides together, pin and sew facings (H) and (I) at the shoulder. Press the seams open.
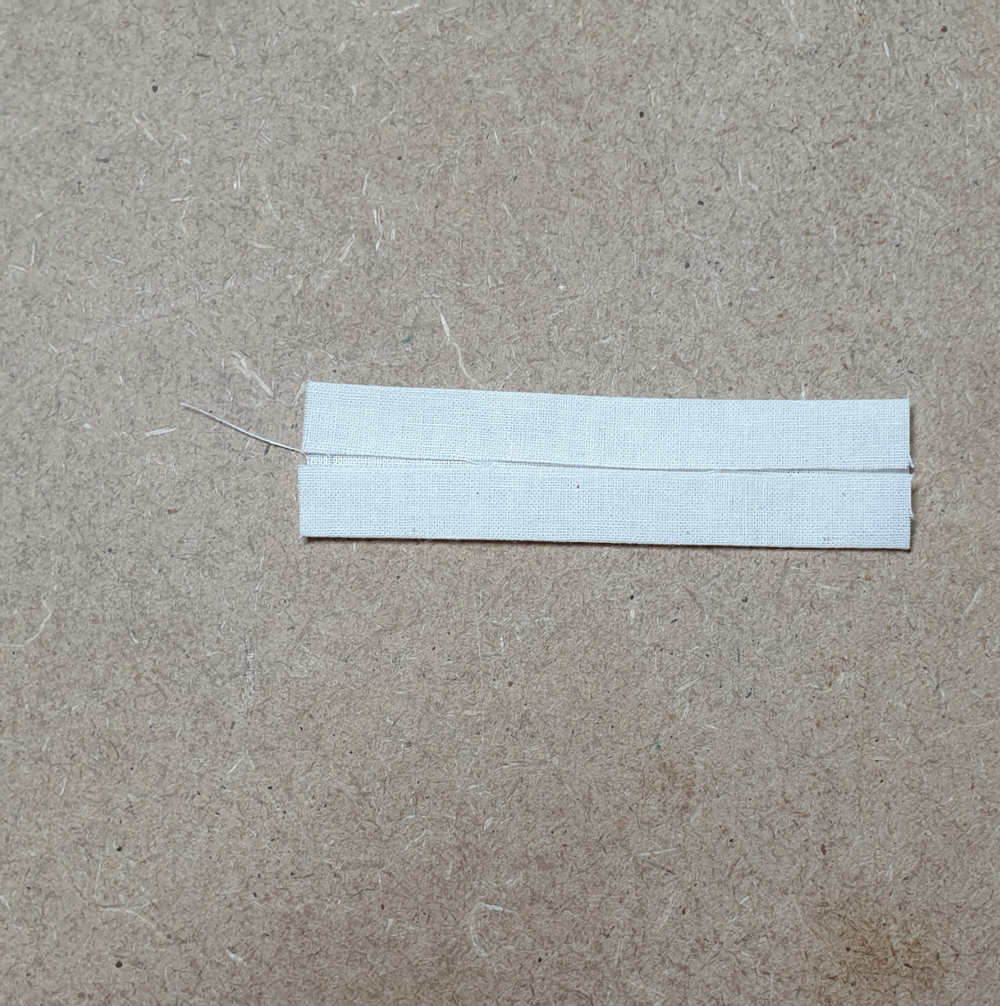
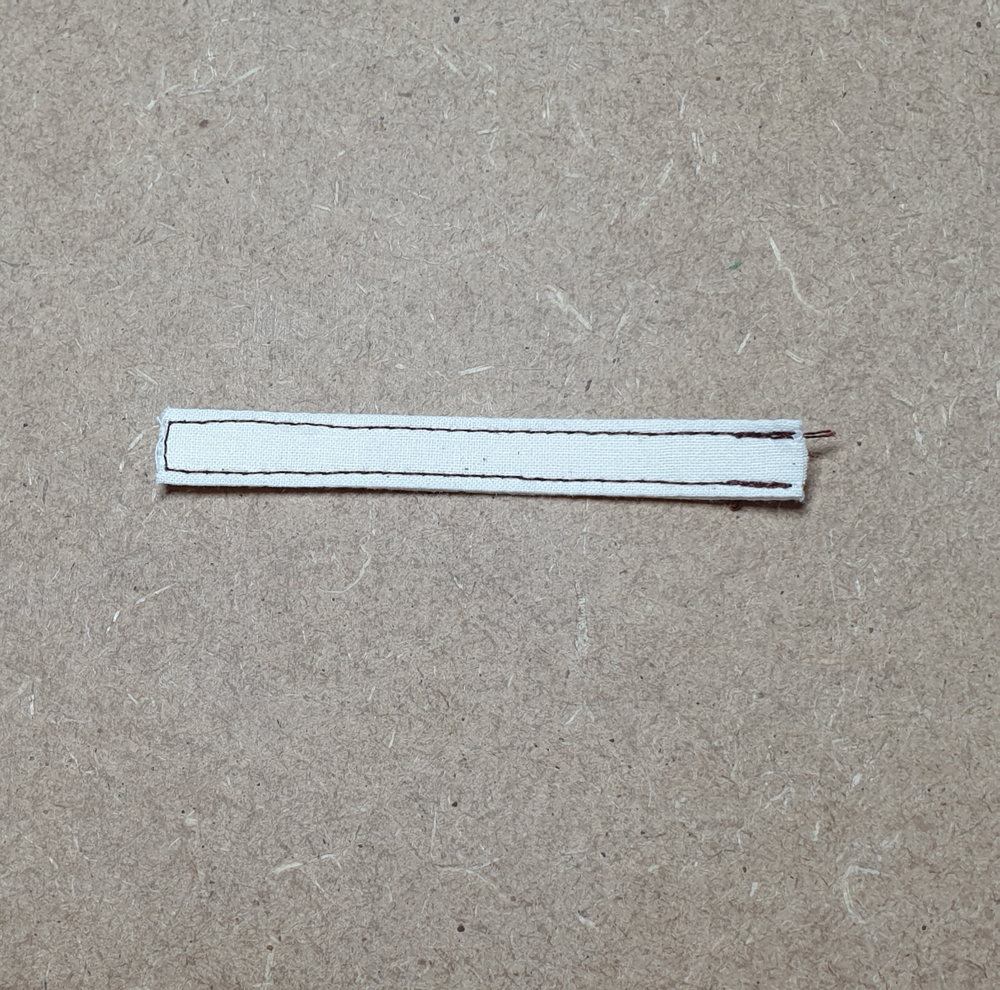
Button loop (L): use a rectangle of 4 x 8 cm. Fold the long sides of the rectangle in half with the wrong sides together and press. Next, fold each long edge to meet in the middle crease and press again. Topstitch both of the long edges 2 mm from the edge.
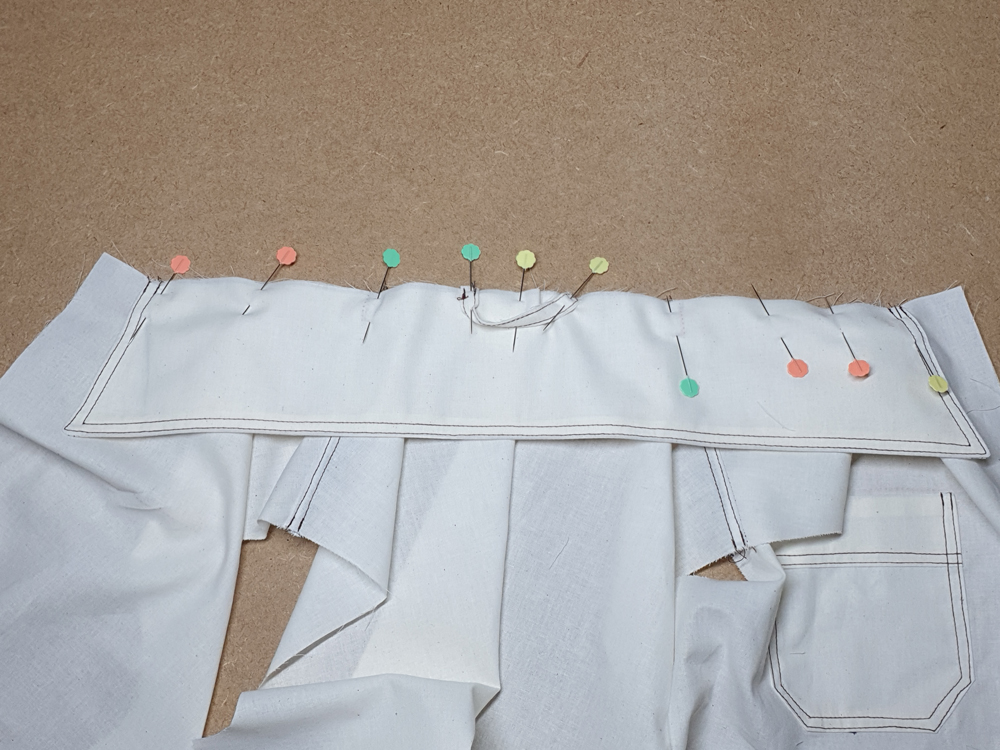
Attach the collar to the bodice: Pin the wrong side of the collar to the right side of the neckline, making sure to line up the markings and shoulder seams and center back. At the same time, pin the button loop to either side of the center back. Baste the collar and button loop to the neckline within the seam allowance.
Attach the facing to the jacket. With right sides together, carefully pin the facing to the collar and front opening. The facing is shorter than the bodice, it’s normal. Sew from one end of the facing to the other.
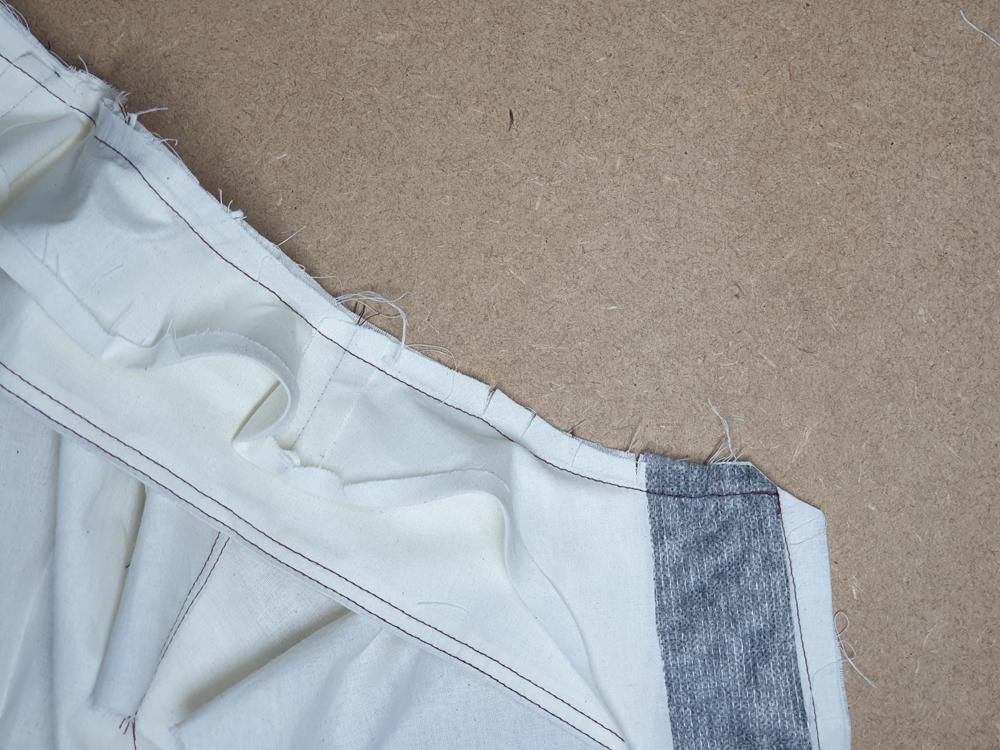

Clip the curve of the neckline as well as the corners.
Fold and press the raw edge of the facing under 5 mm. You may find this easier if you first serge the raw edge then fold the serged edge under. Or, if you have serger thread that perfectly matches your fabric, you might choose to serge and forgot folding the raw edge. It’s a little less polished, but easier to do. Up to you !
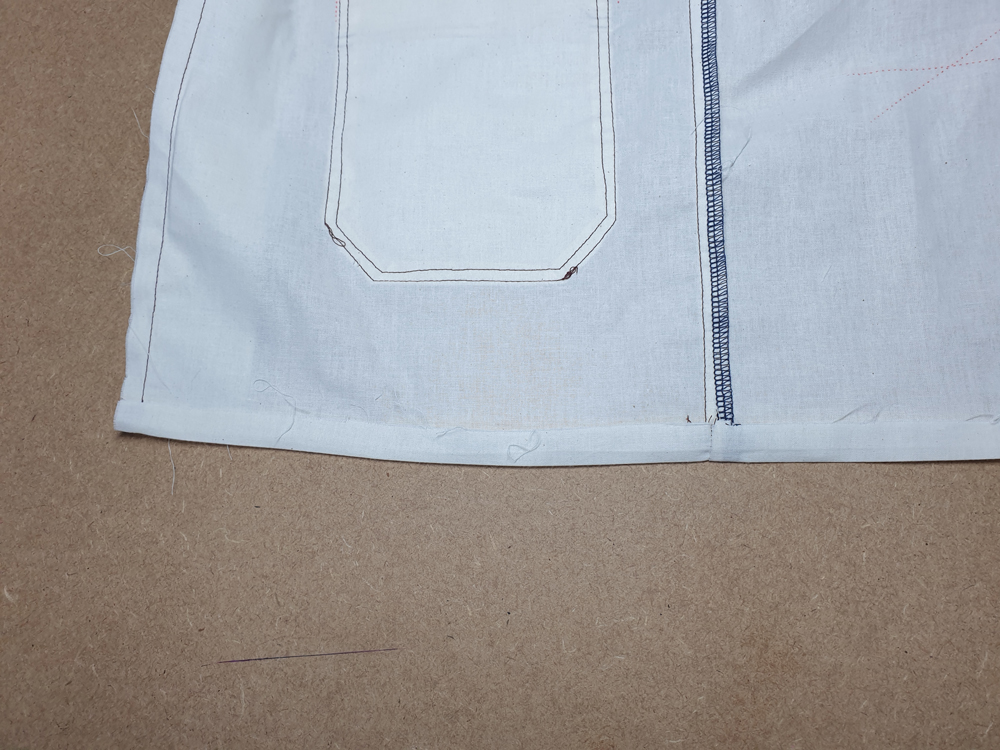
Fold and press the raw edge of the jacket hem under 1.5 cm.
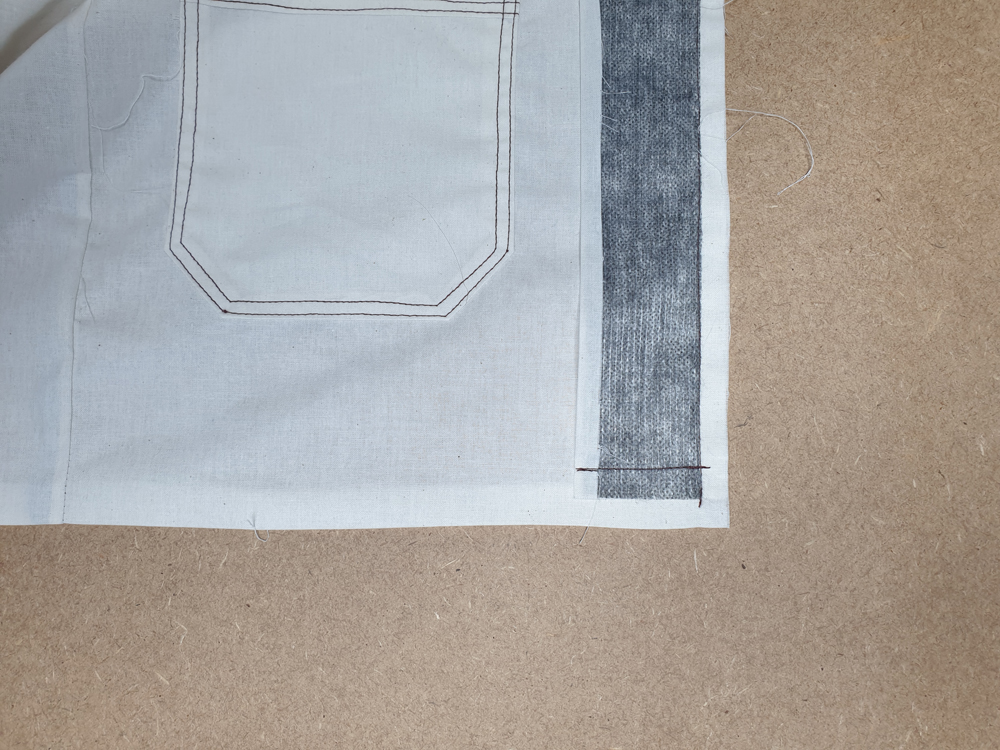
Sew the bottoms of the facing 2 cm from the edge.
then clip the corners.
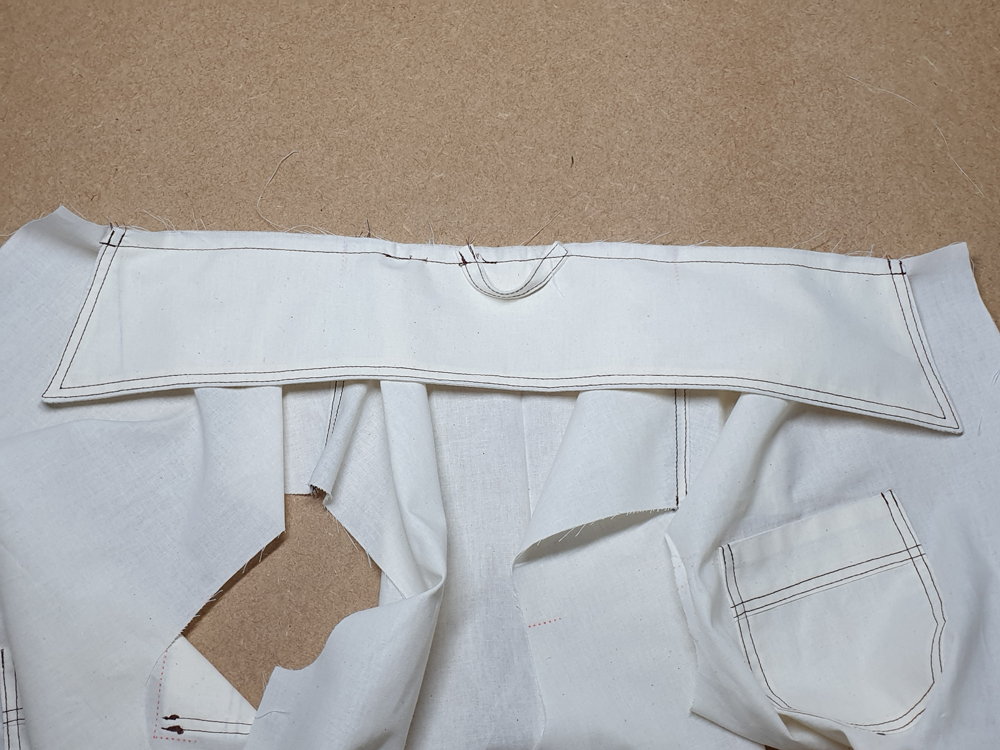
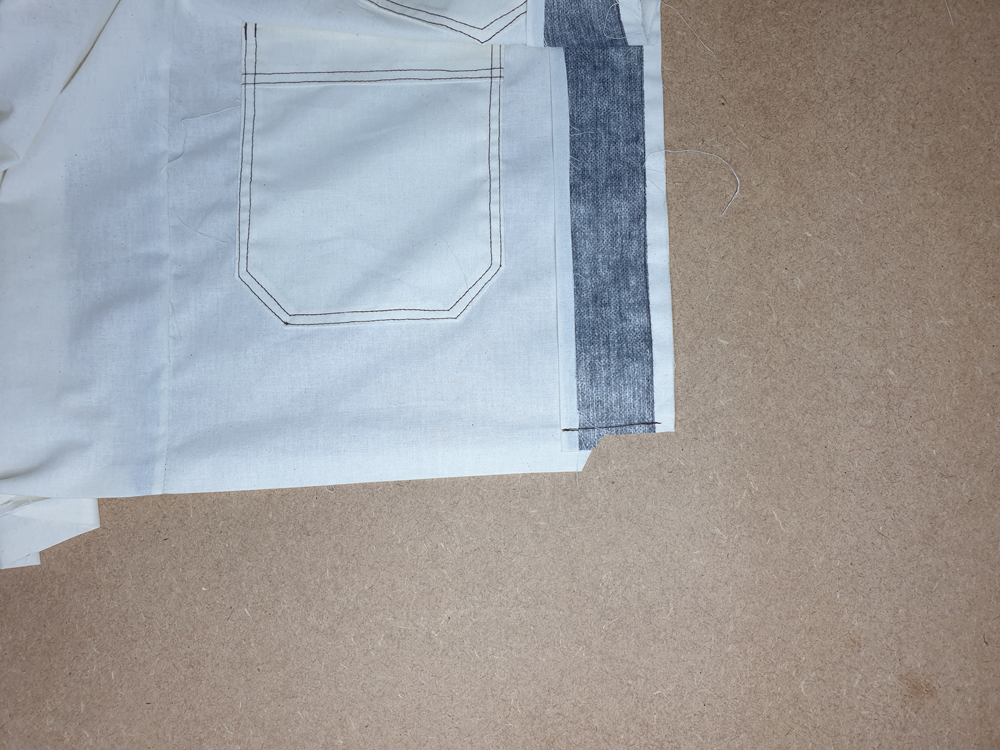
Turn the facings to the inside of the jacket. Press the 2 cm hem which was created by itself when you sewed the bottom edge.
Baste the facing in place.
With the jacket facing up, topstitch the facing 2 mm from the folded edge.
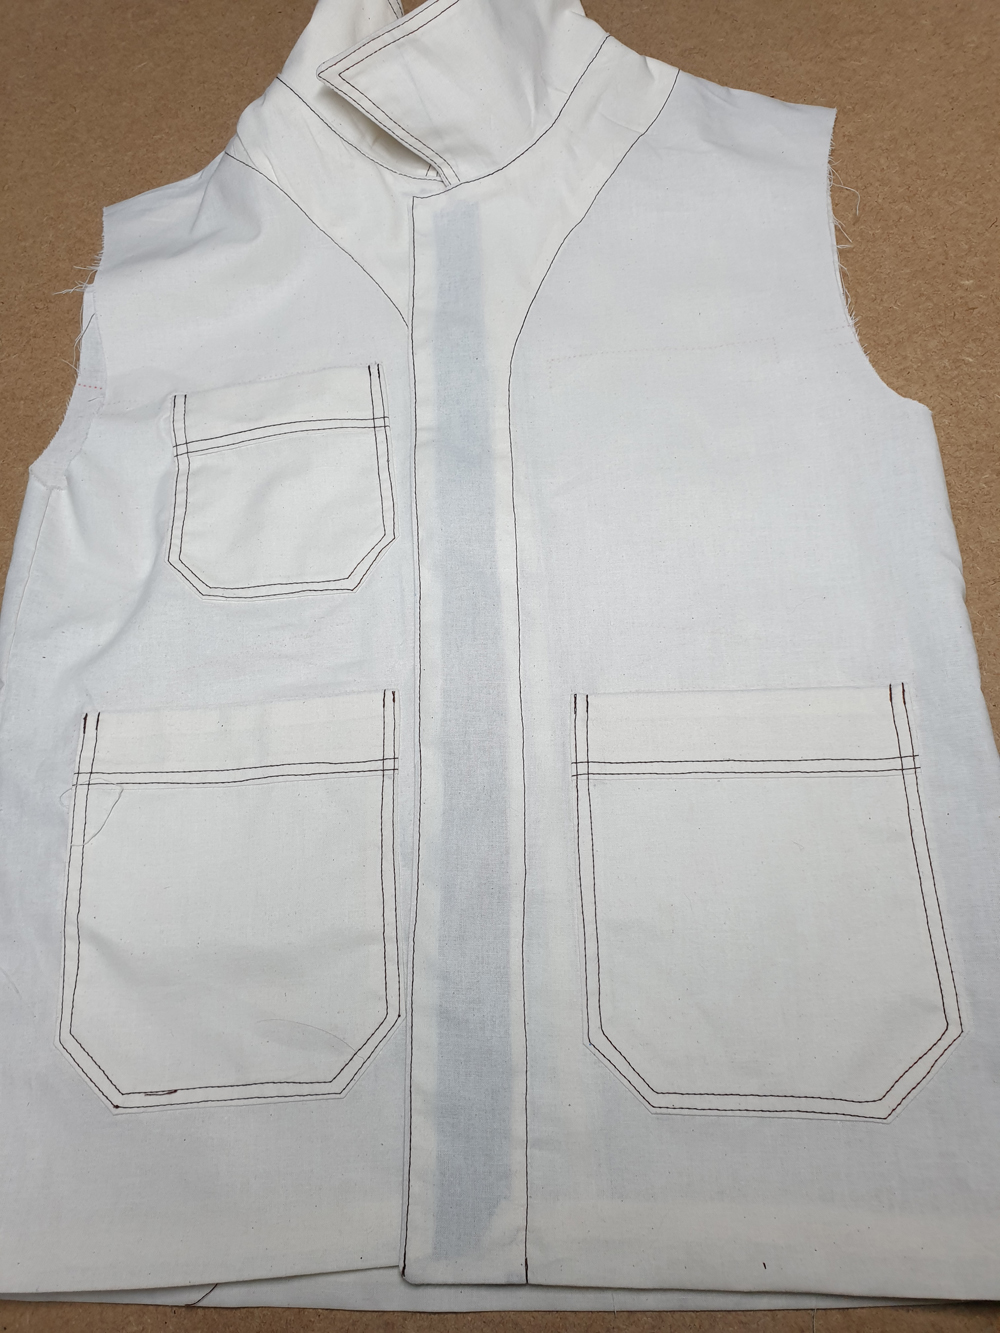
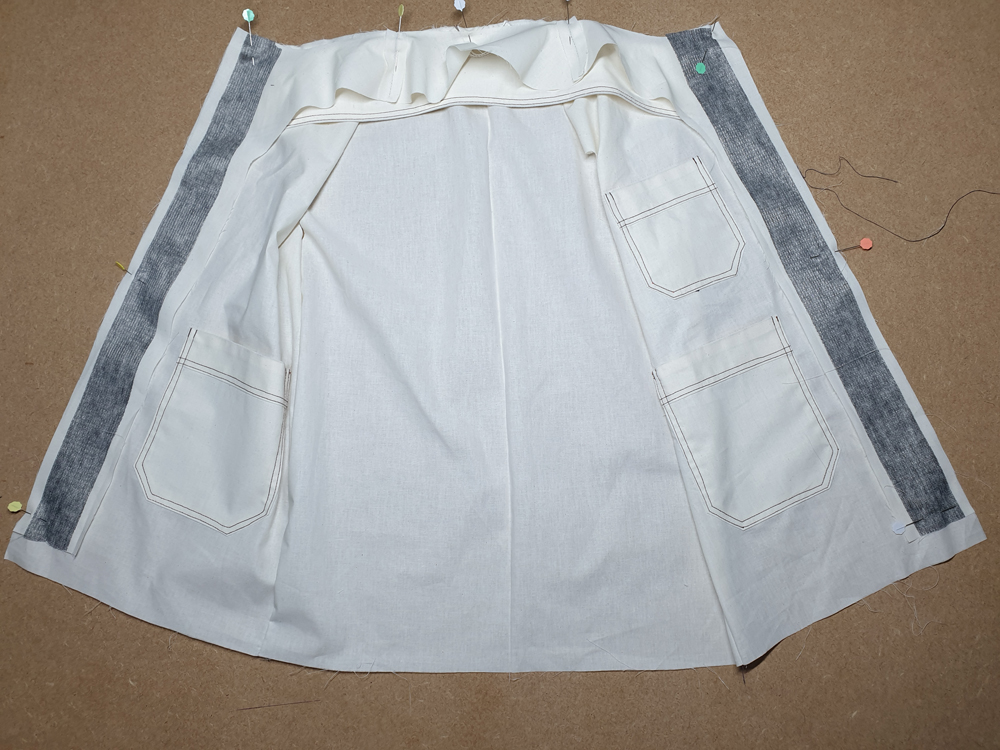
Create the button placket by topstitching all the way around the neckline and jacket openings.
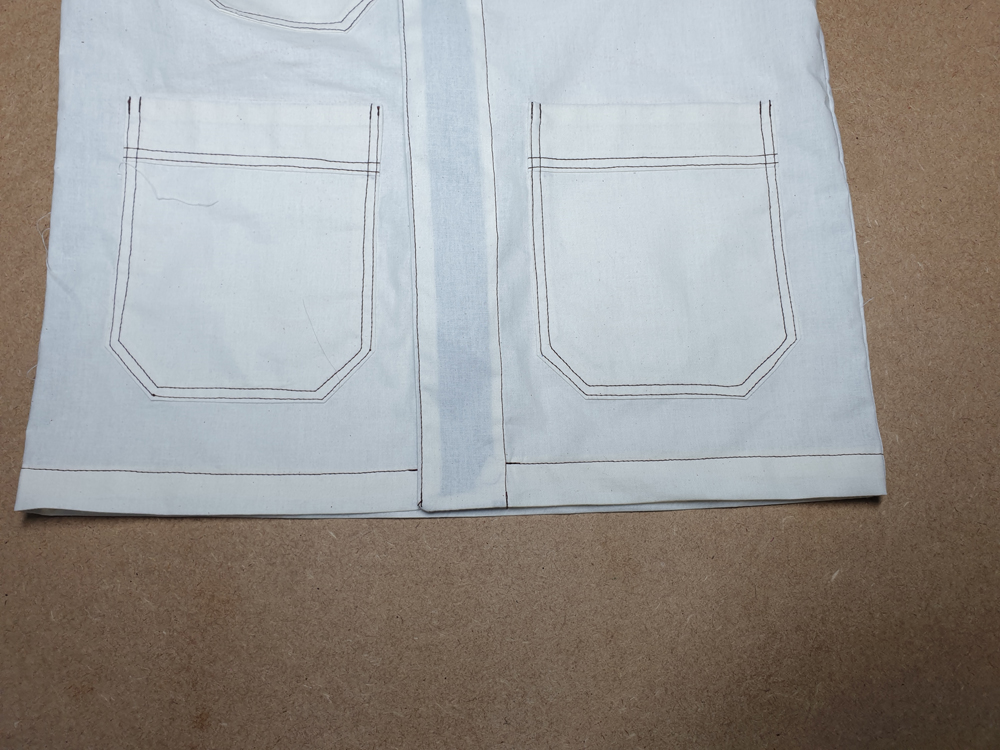
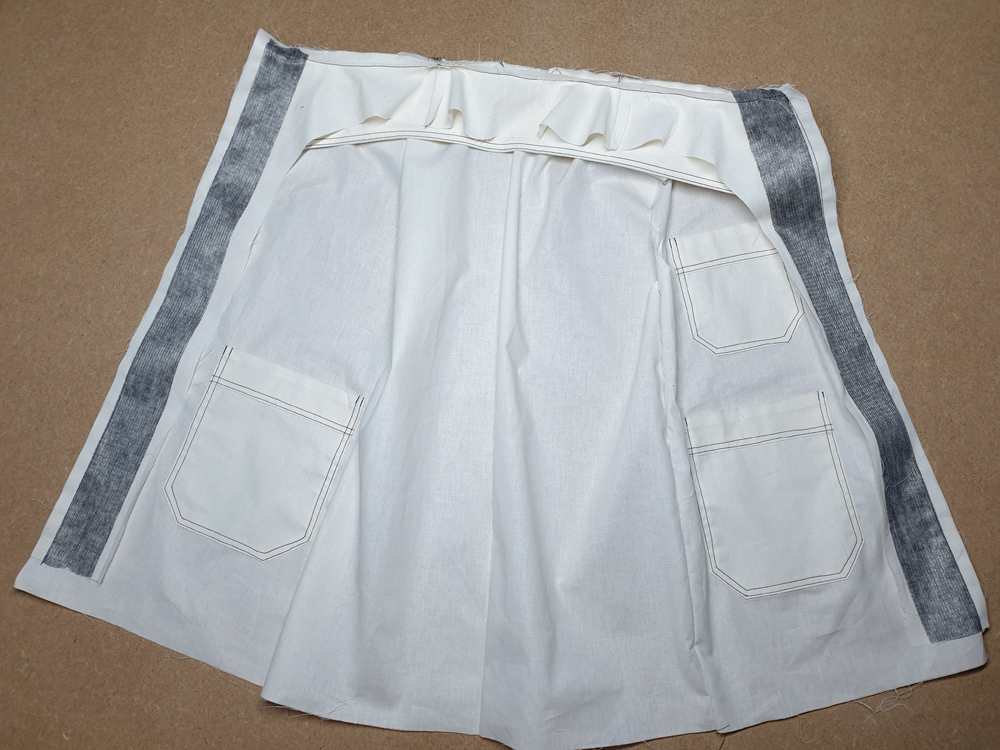
Sew the hem in place by topstitching the bottom of the jacket 1.8 cm from the edge. Start and end your row of stitches at the topstitching of the facing.
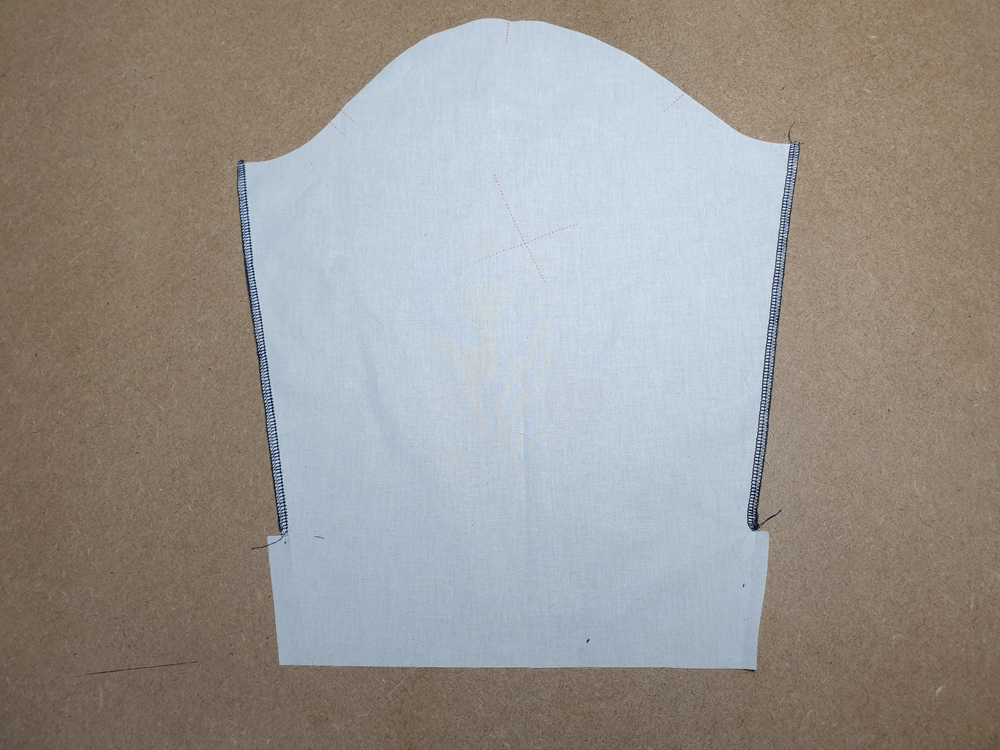
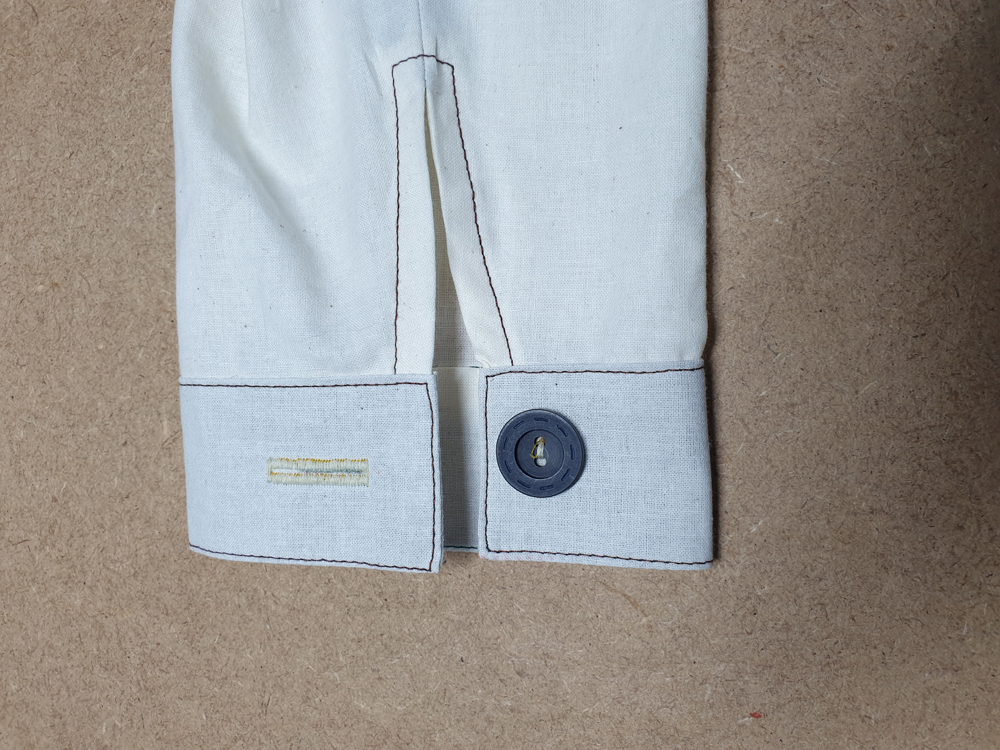
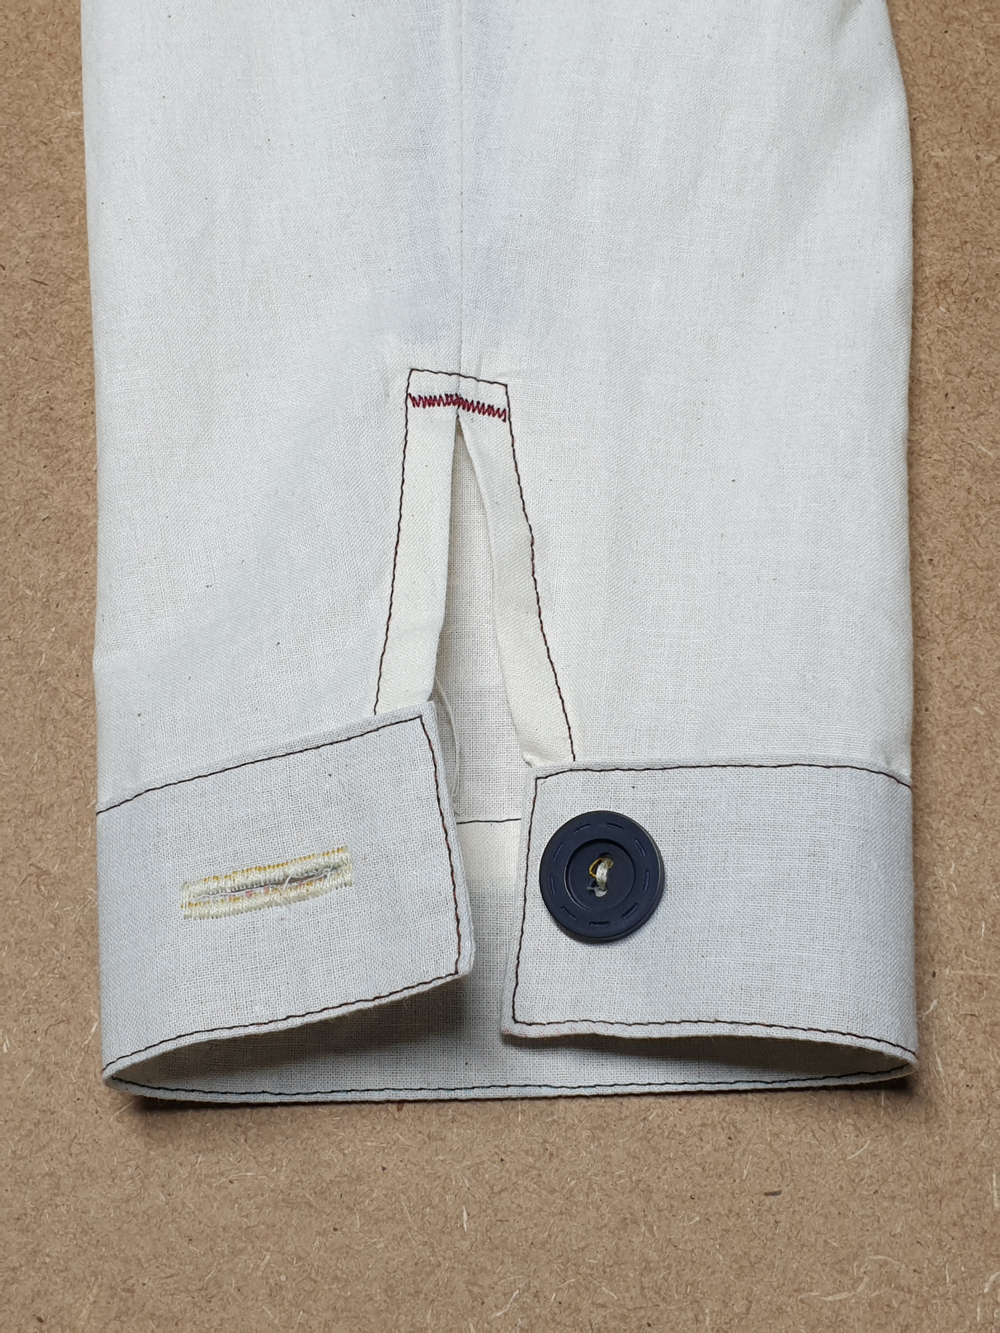
With right sides together, pin and sew the sleeve seams, stopping 1 cm after where the placket will begin.
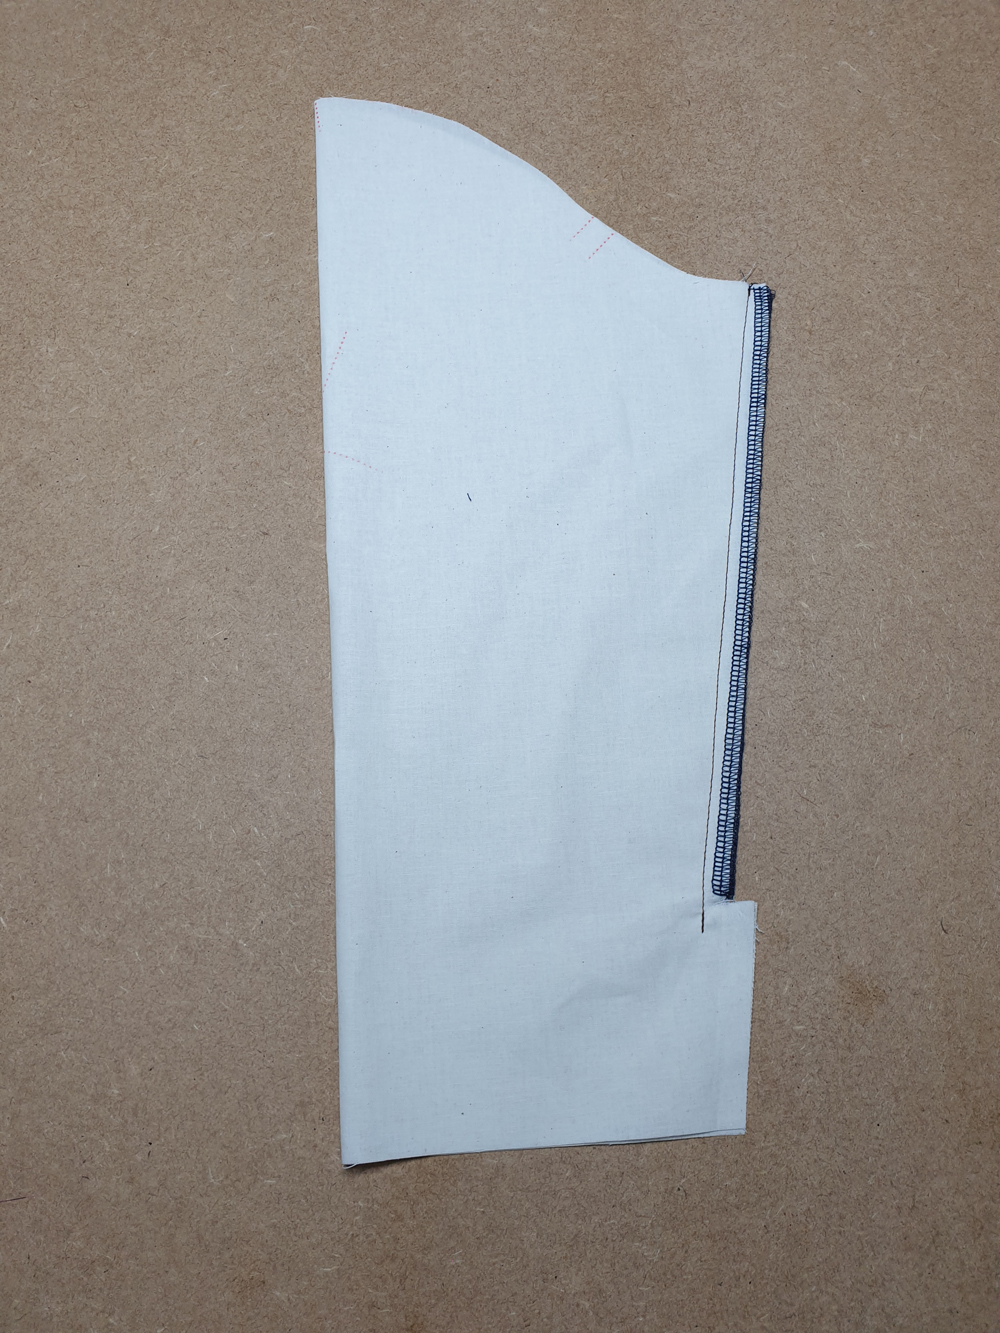
At the sleeve plackets, fold 1 cm toward the wrong side.
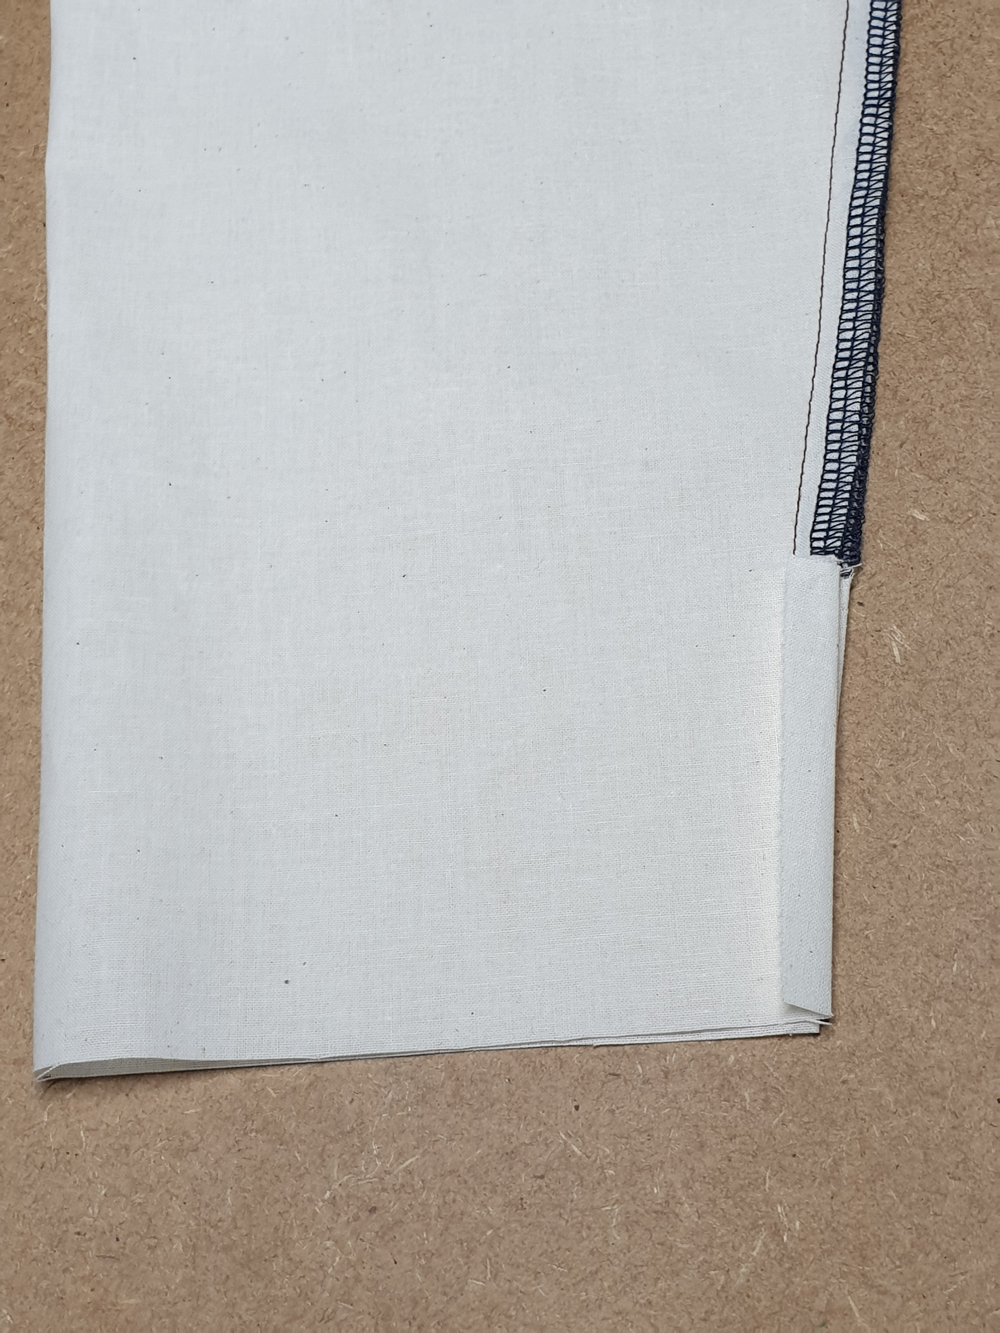
Fold the seam allowance by 1 cm towards the wrong side, aligning it with the sleeve slit.

Press the seam allowance of the sleeve open. By doing so, you will refold the plackets, enclosing the raw edges.
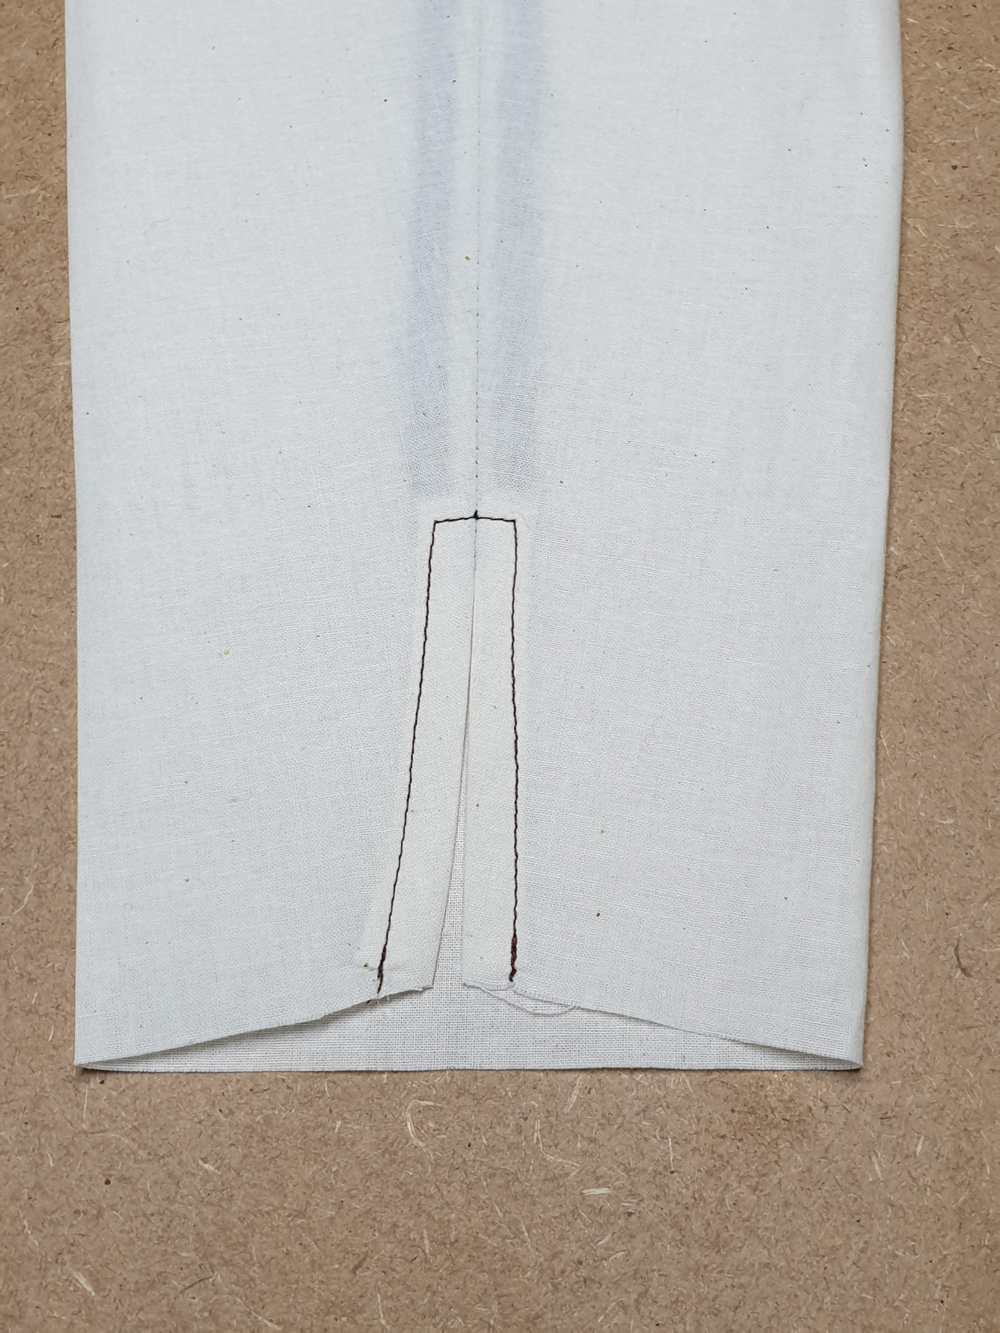
Topstitch around the sleeve plackets, 8 mm from the edge.
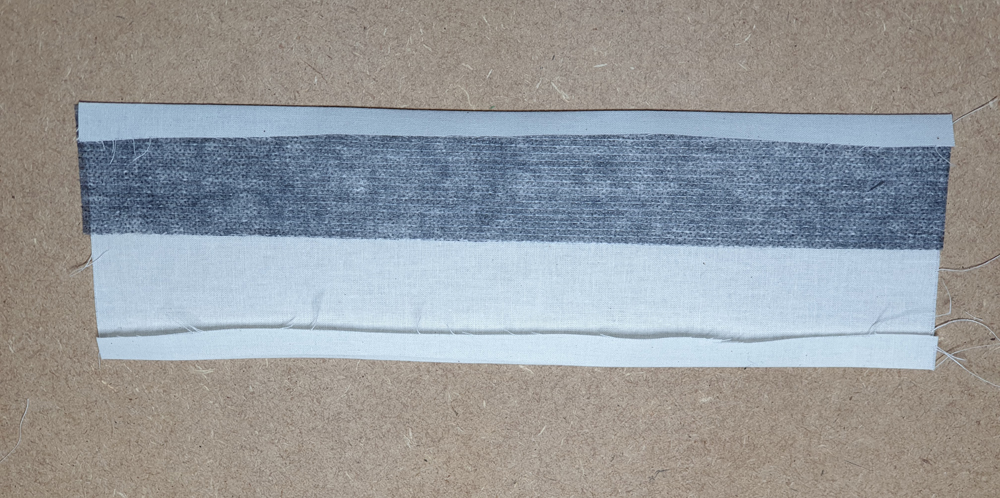
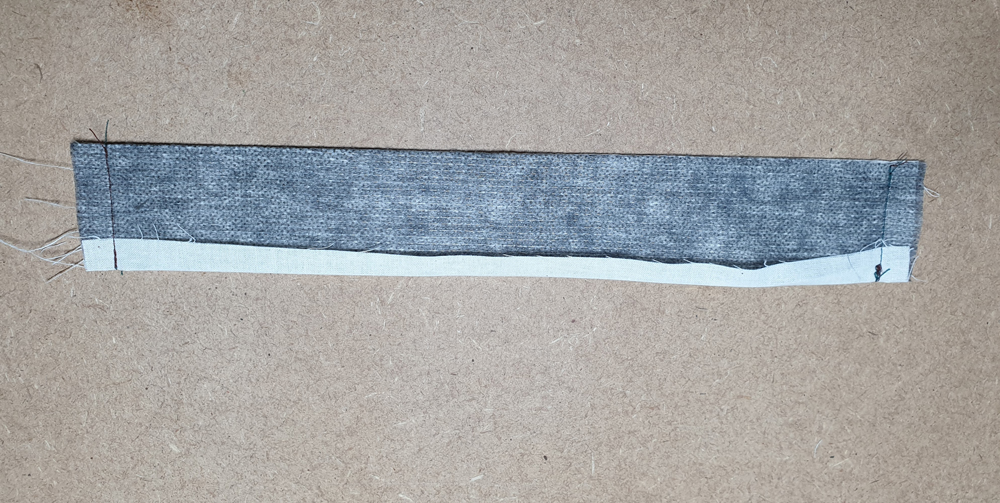
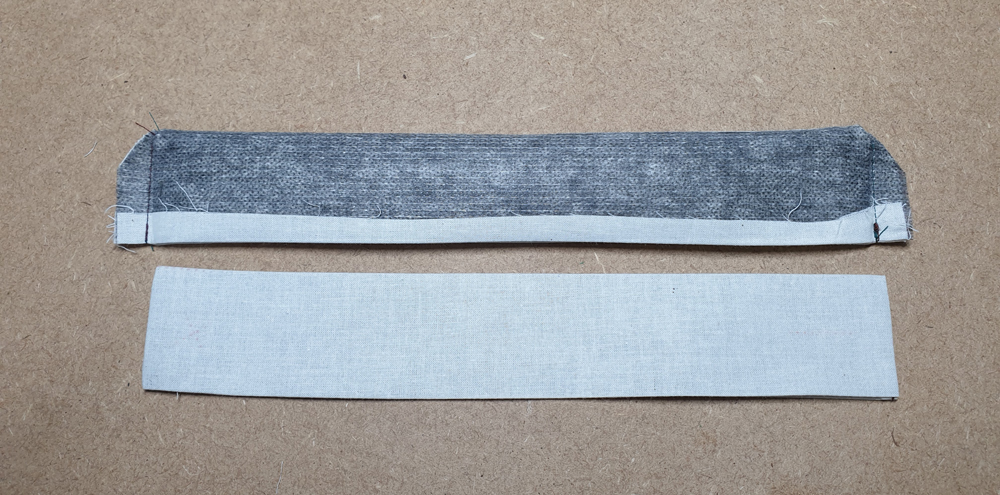
Along the long edge of the sleeve cuffs (K) fold the seam allowance to the wrong side. With right sides together, fold the cuffs in half and sew the short edges. Clip the corners, turn the cuffs right-side out and press.
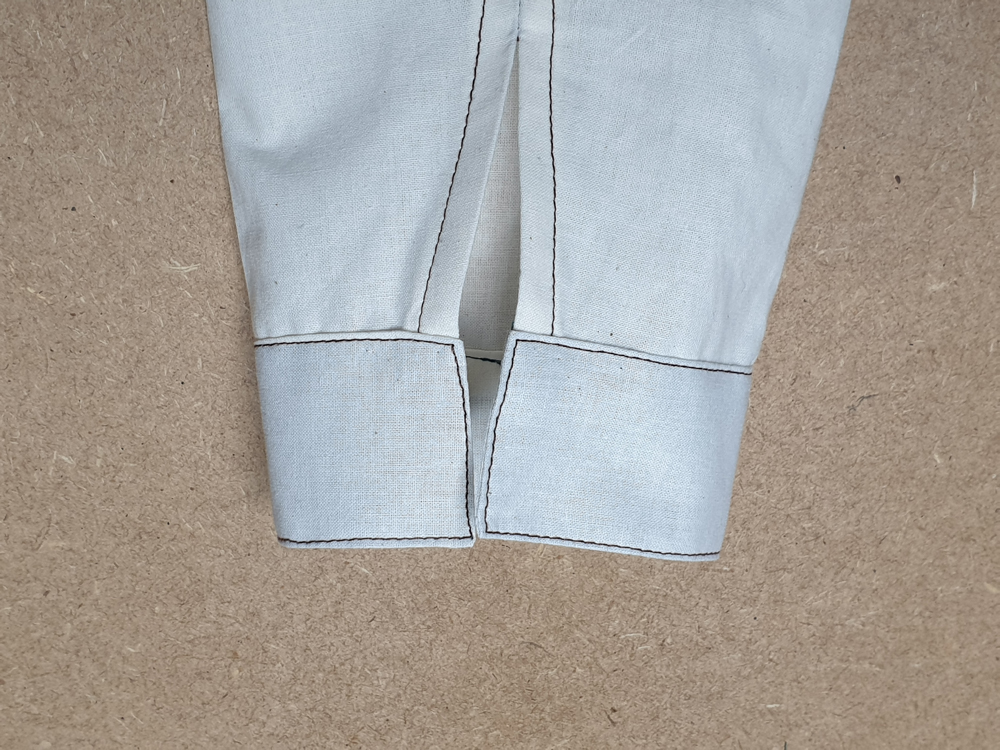
Insert the bottom of the sleeve into the cuff. The interfaced part of the cuff should be on the outside. With the jacket facing up, topstitch the cuff in place.
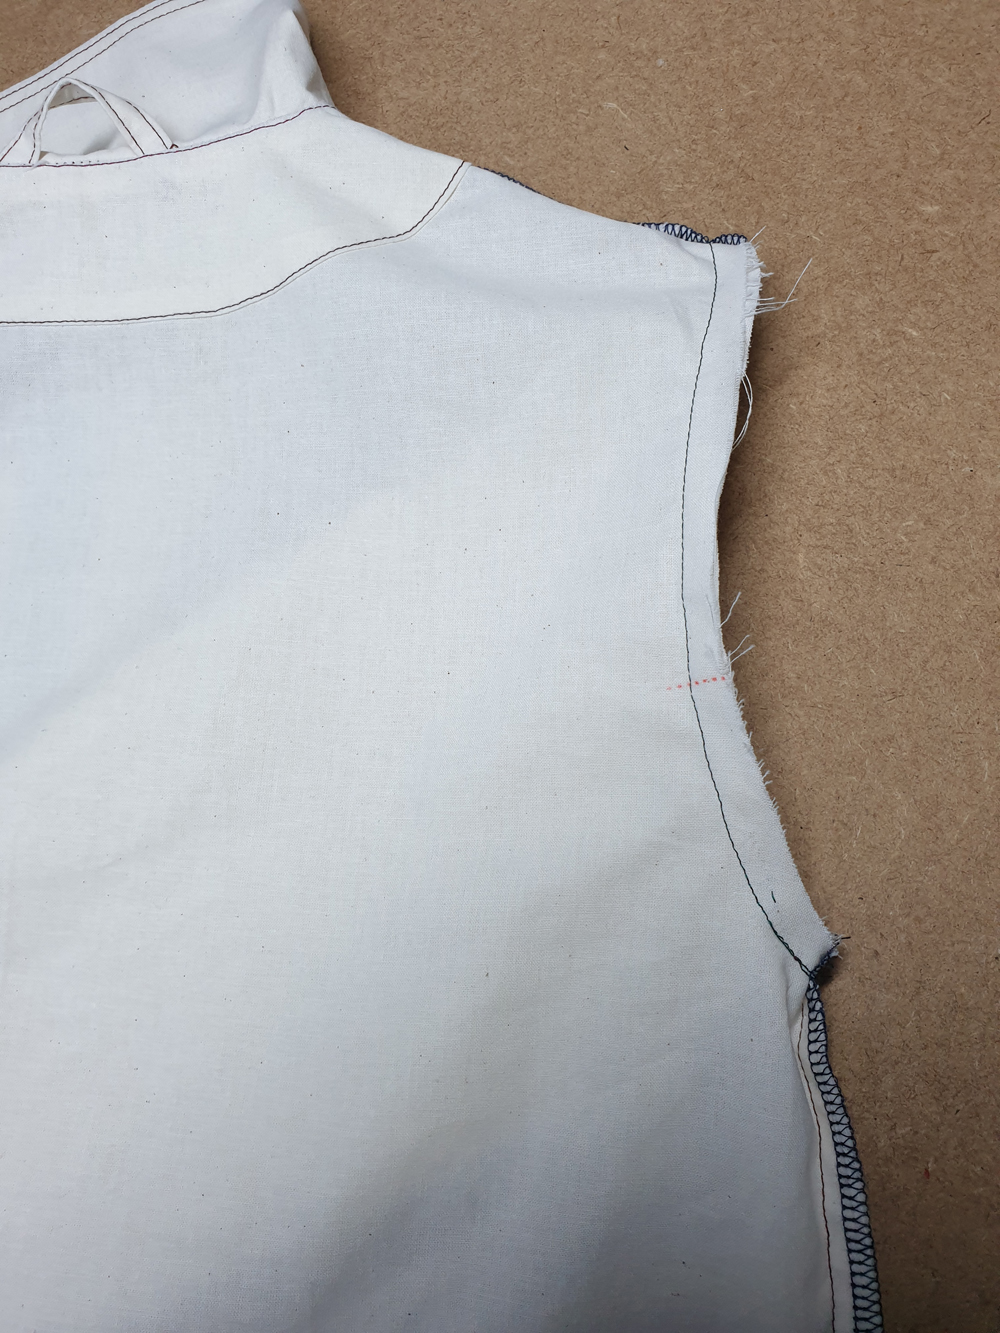
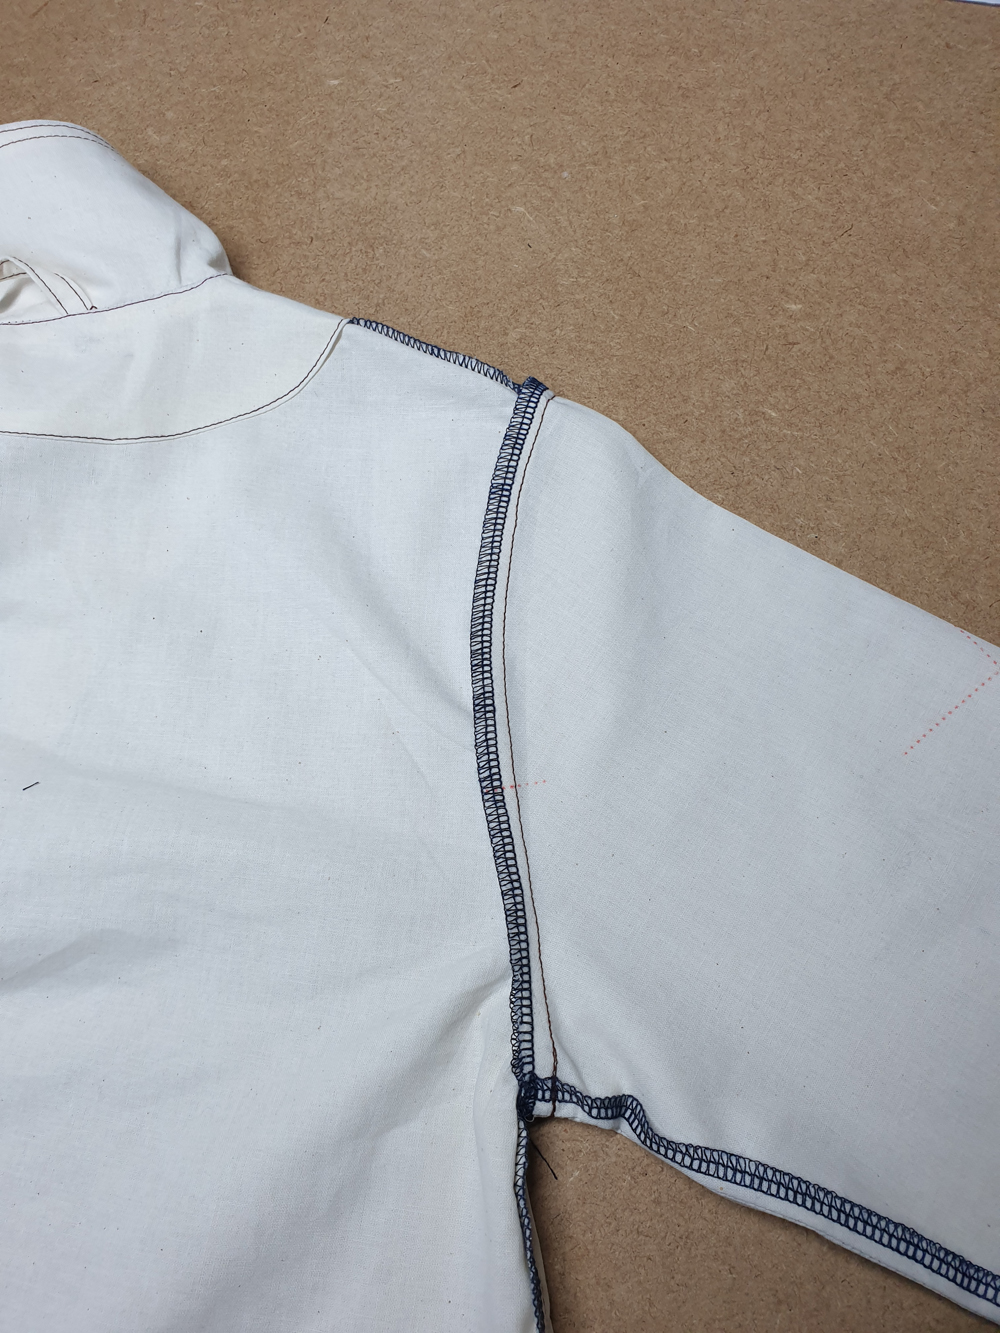
Turn the jacket bodice inside-out and keep your sleeve right-side out. Place the sleeve into the armhole. Make sure to line up the front and back notches (2 notches in the front and 1 notch in the back), as well as the shoulder seam. Pin and sew. Serge the seam allowance together and press them toward the jacket bodice.
Topstitch the seam allowances of the armhole first at 2 mm then again at 6 mm from the seam.
Sew the buttonholes and buttons according to the pattern markings. For the sleeve cuff: the buttonhole should be on the front of the cuff and the button should be sewn to the back.
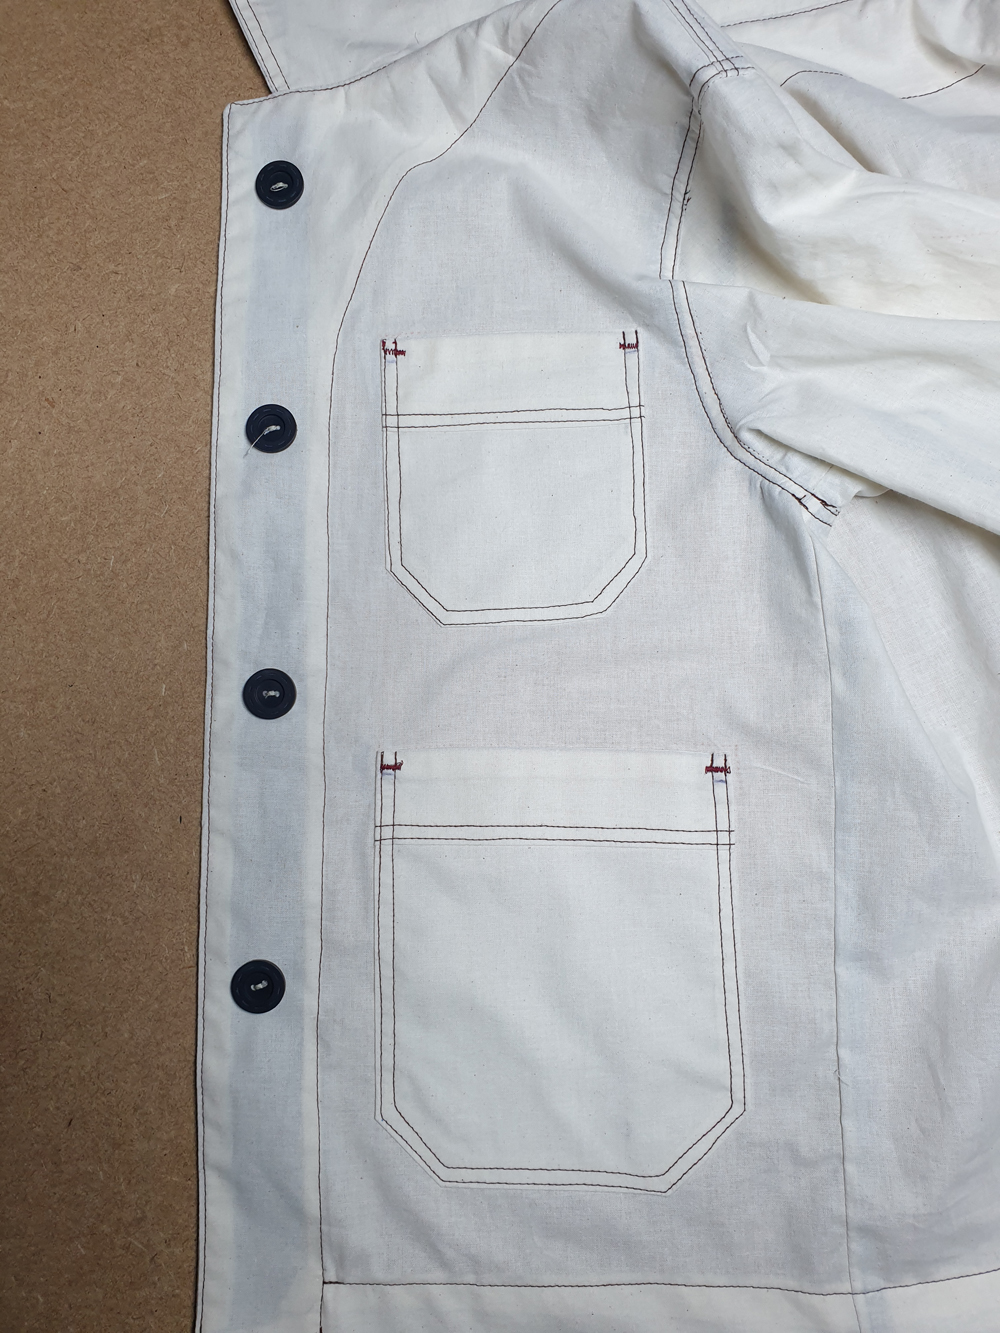
For the bodice: sew the buttonholes horizontally. In general, the buttonholes should be installed on the right side (as worn) and buttons on the left for girls. For boys, the buttonholes should be installed on the left side (as worn) and buttons on the right.
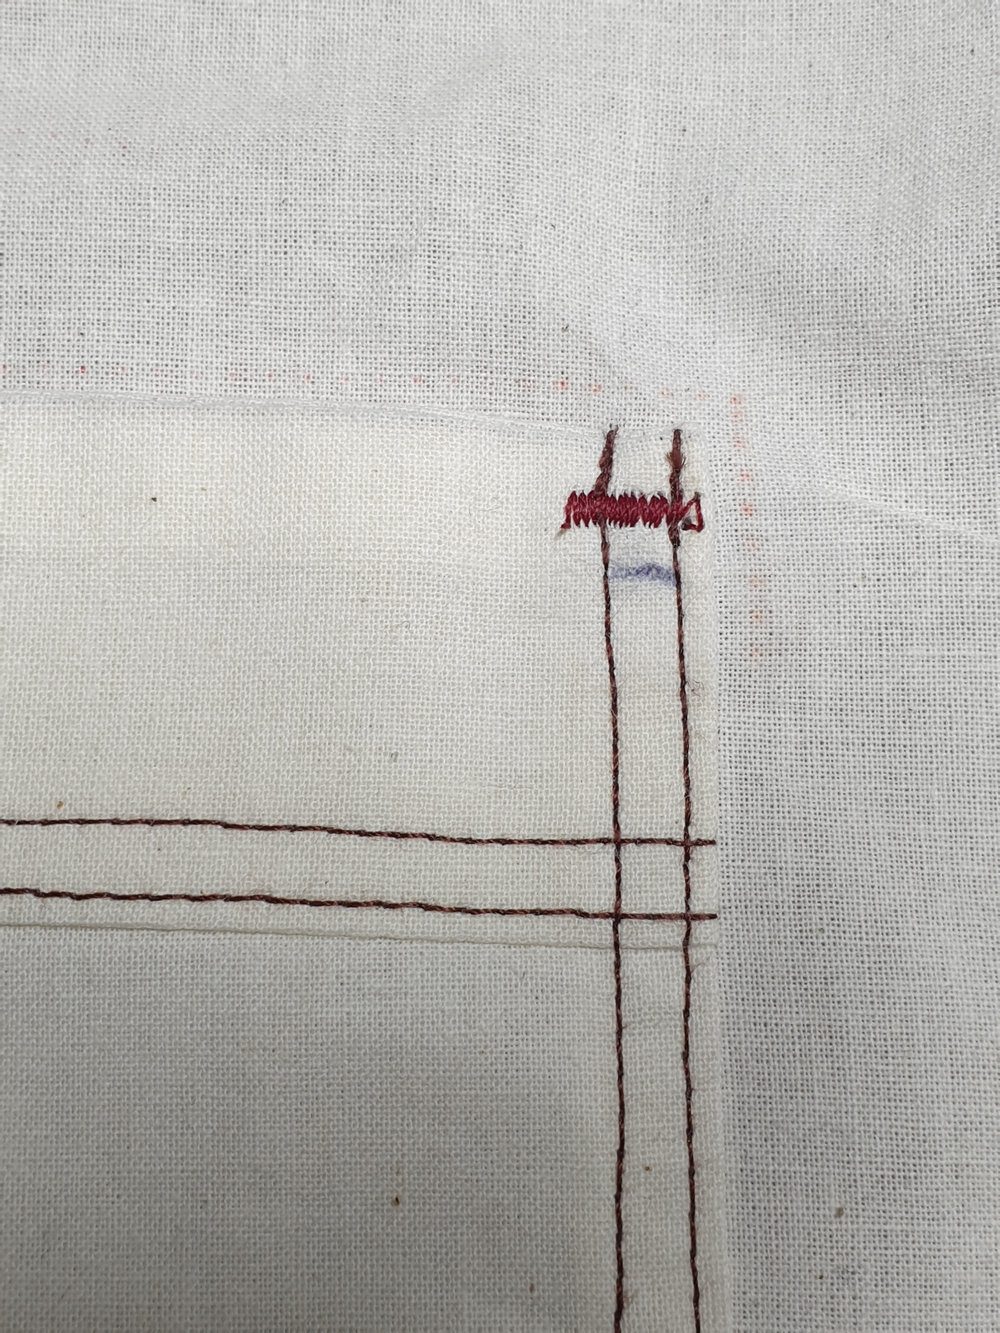
To reinforce the tops of the pockets and sleeve placket, sew a tight, narrow zigzag stitch (width=2mm, length=5 mm).
Voilà, c'est terminé !
![]()
Comments
No comment at this time!
Leave your comment