Sew along, the Jasper jacket

Sew along with us as we walk you through making the Jasper jacket! You will notice that the sew along can differ from the sewing instructions included in your download. First you’re going to need to gather the supplies you’ll need to sew a perfect Jasper!
Supplies:
- Fabric (for the fabric head back to the instructions to know what kind of fabric you need and the yardage)
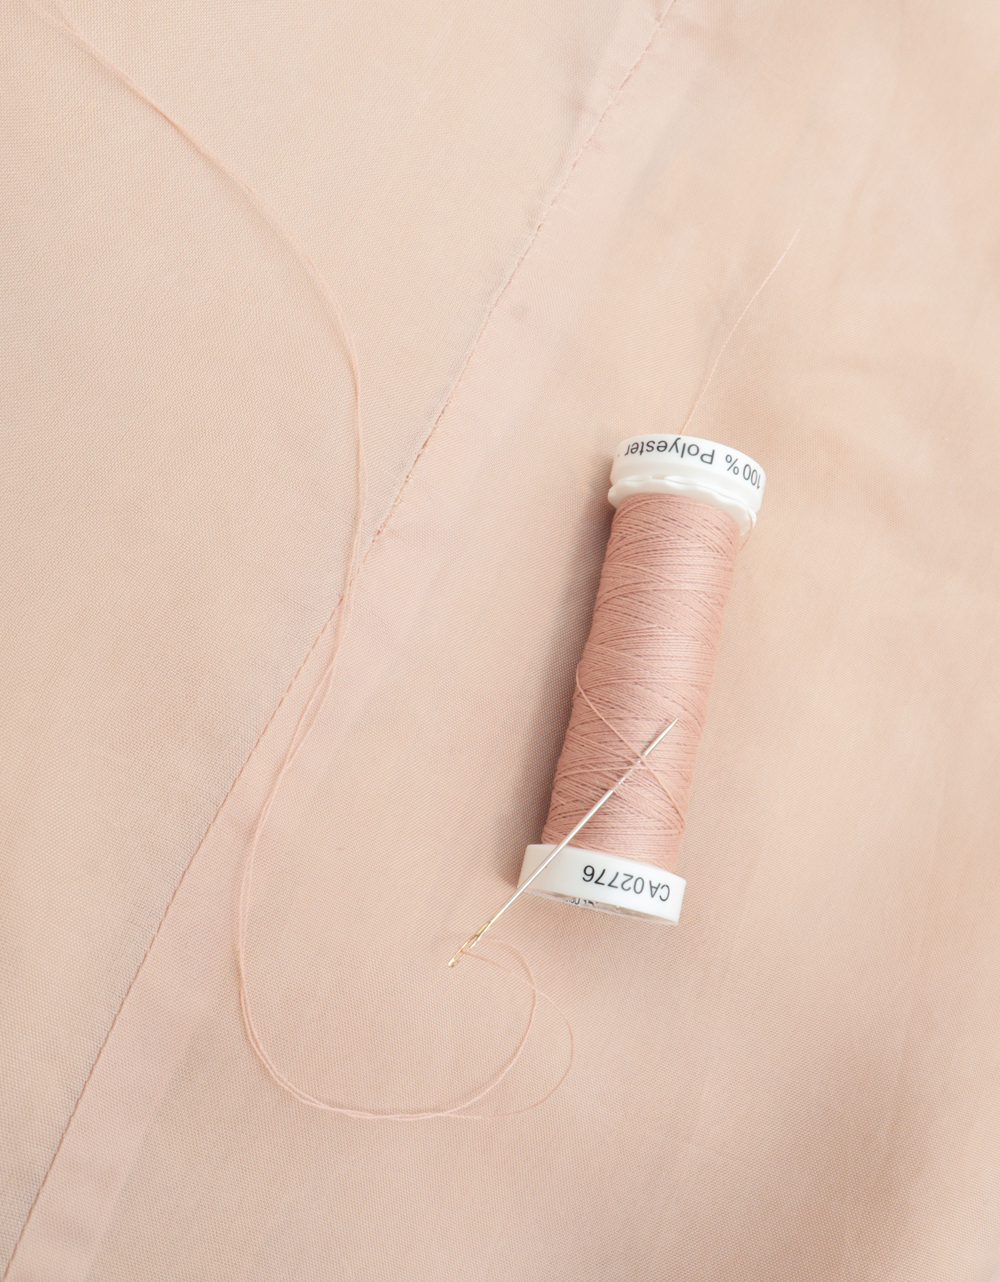
- 1 bobbin of regular thread matching the shell fabric color and 1 matching the lining fabric.
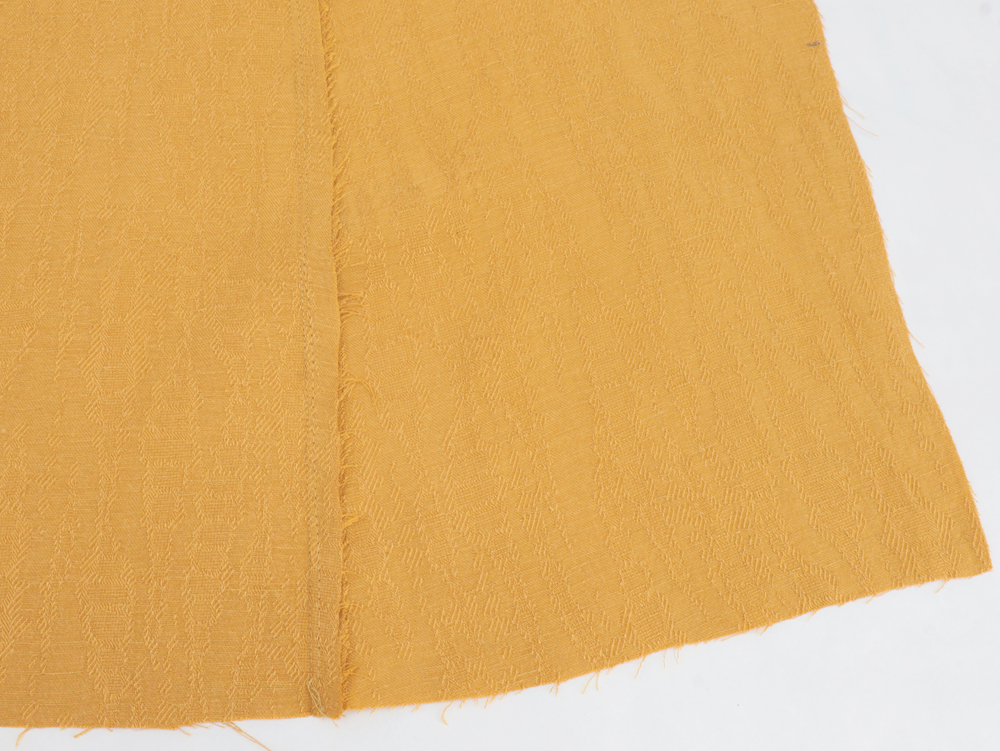
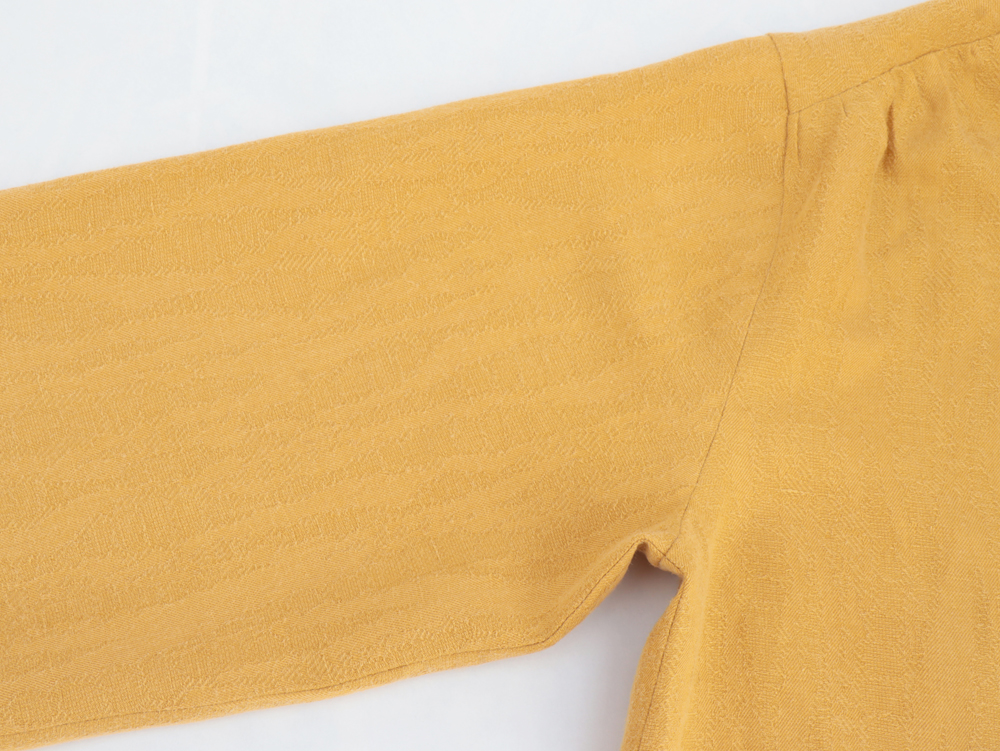
- The fabric used for this sew along comes from Metermeter HOYA JACQUARD LINEN BLEND 165 g/ - AMBER it's a tencel and linen blend.
- The lining fabric also comes from Metermeter SANDED BEMBERG CUPRO (75G) - NUDE
- 40 cm x 90 cm of light weight fusible interfacing: Entoilage tissé volumineux thermocollant - Tissus jersey & Lainages
![]()
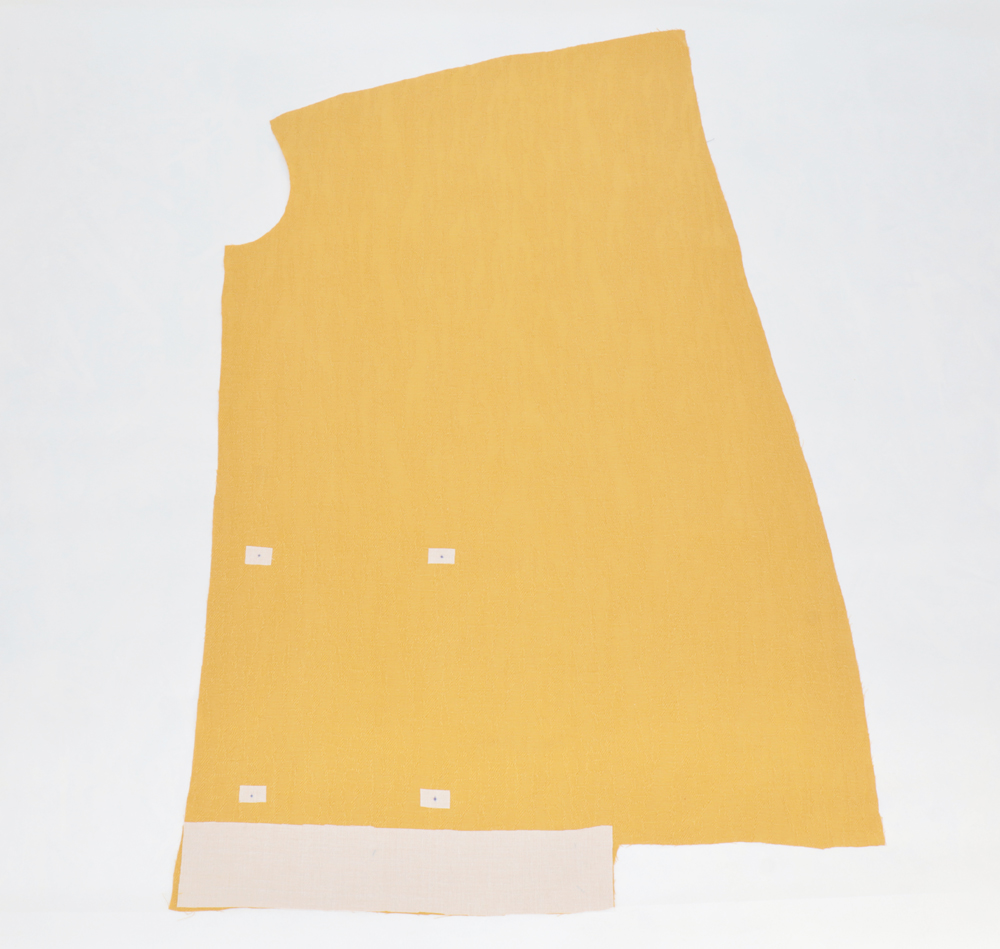
Interface the front bodices as indicated in the instruction booklet. Reinforce the pockets placements with little pieces of interfacing ironed on the wrong side of the shell fabric. With a chalk mark the center of all the pieces cut on fold.
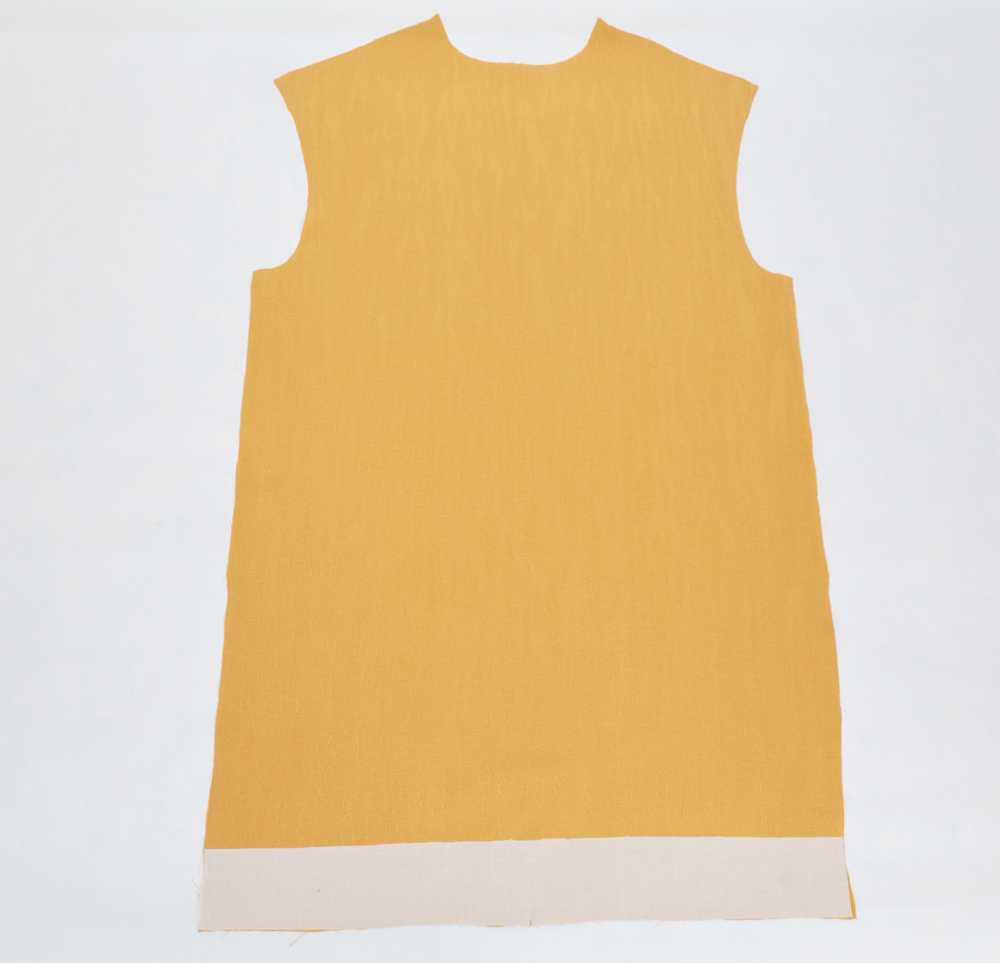
Interface the back bodice as indicated in the instruction booklet.
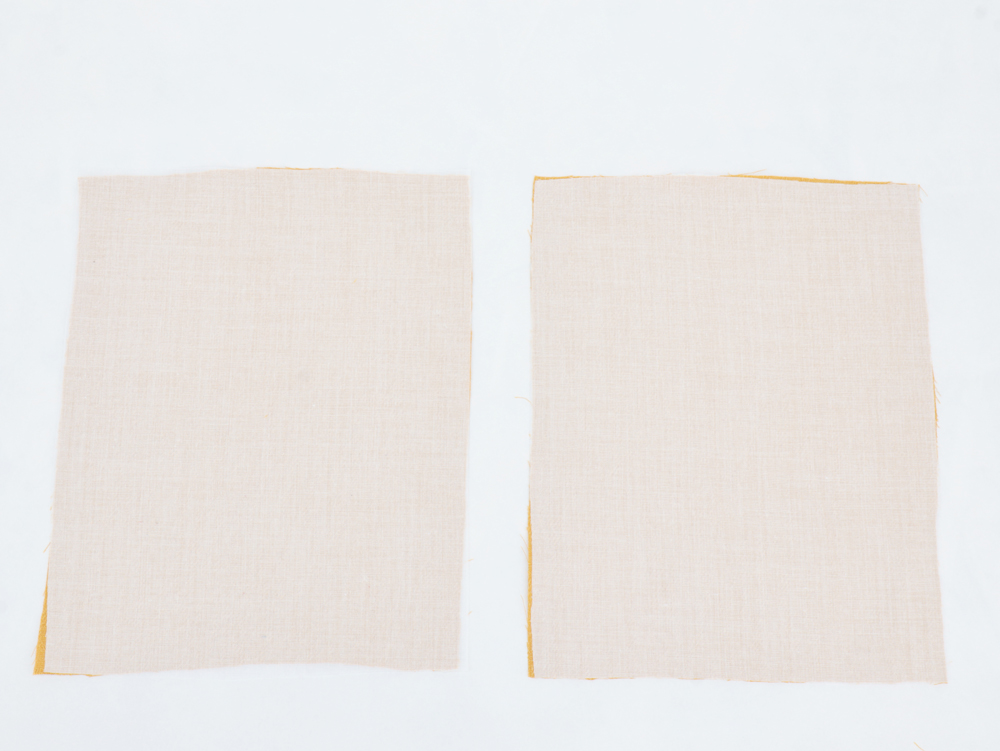
Interface the pockets as indicated in the instruction booklet.
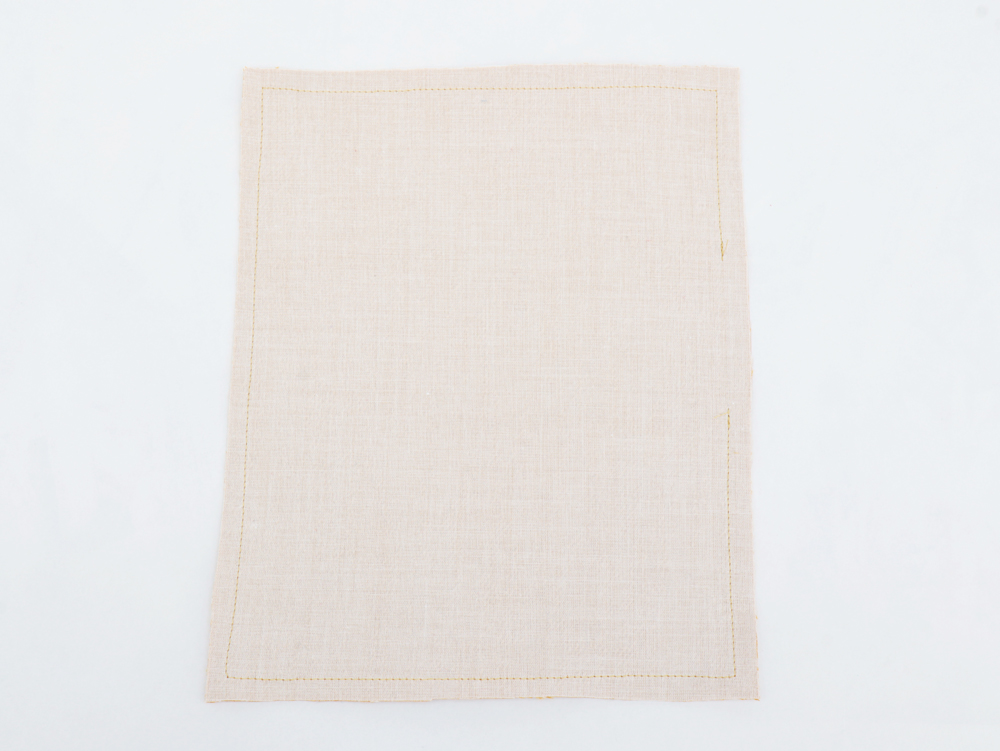
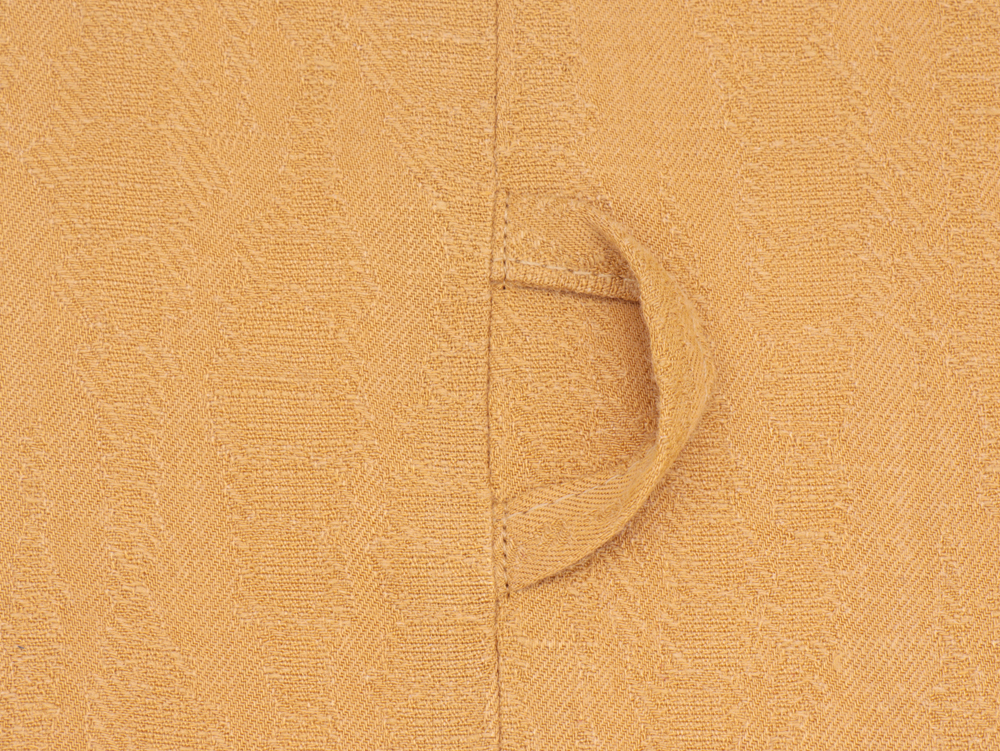
With right sides together, stitch lining pocket piece on facing, leaving a gap in the middle for turning.
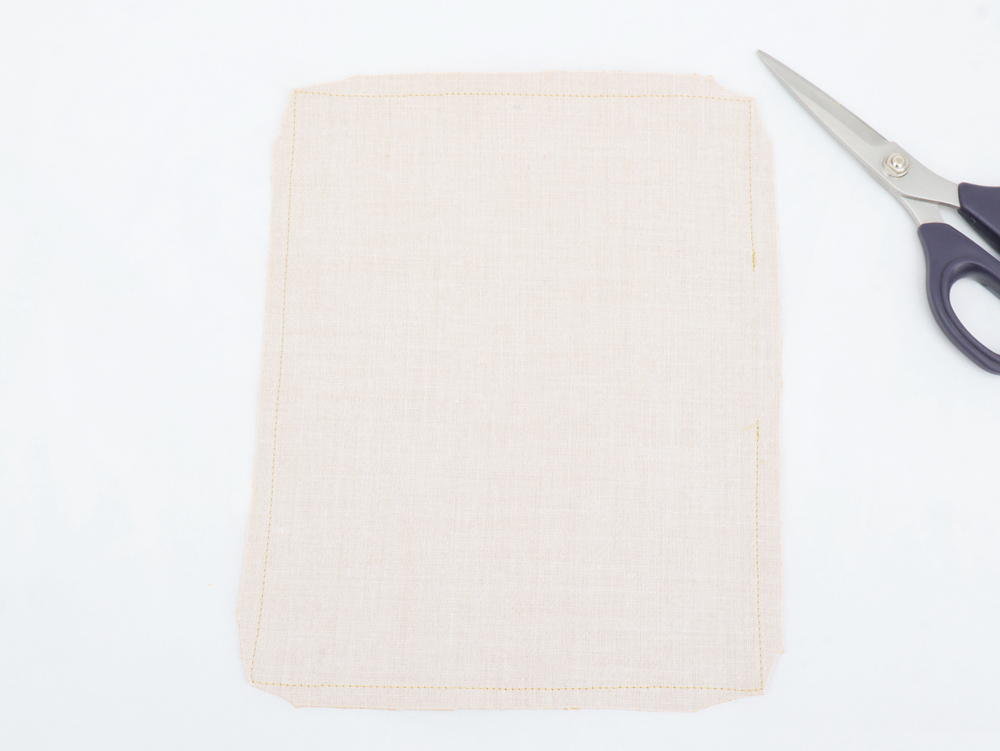
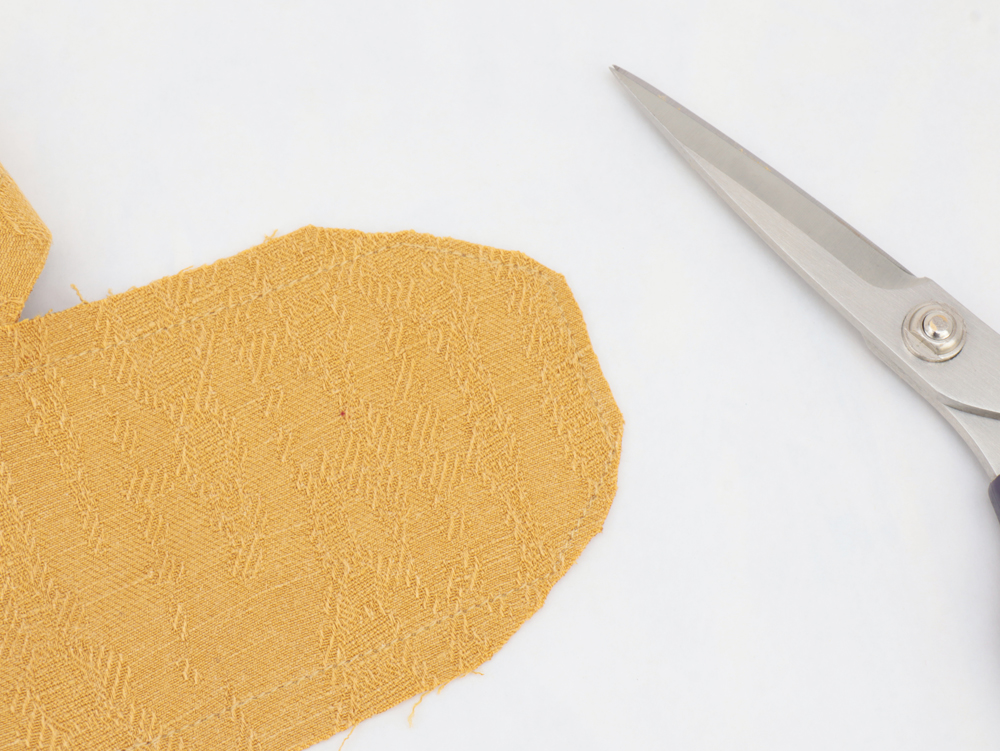
Trim off seam allowances, cutting across the corners right up close to the stitching line.
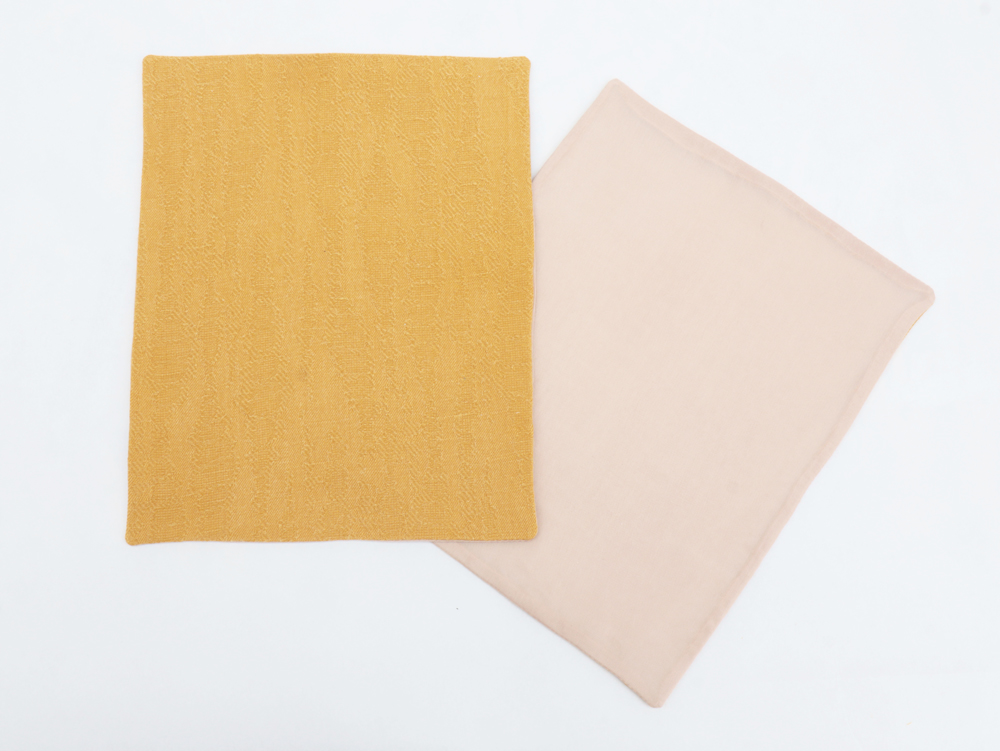
Turn pockets right side out. Press. Pocket fabric should fold over the backside of the lining, hiding all seams.
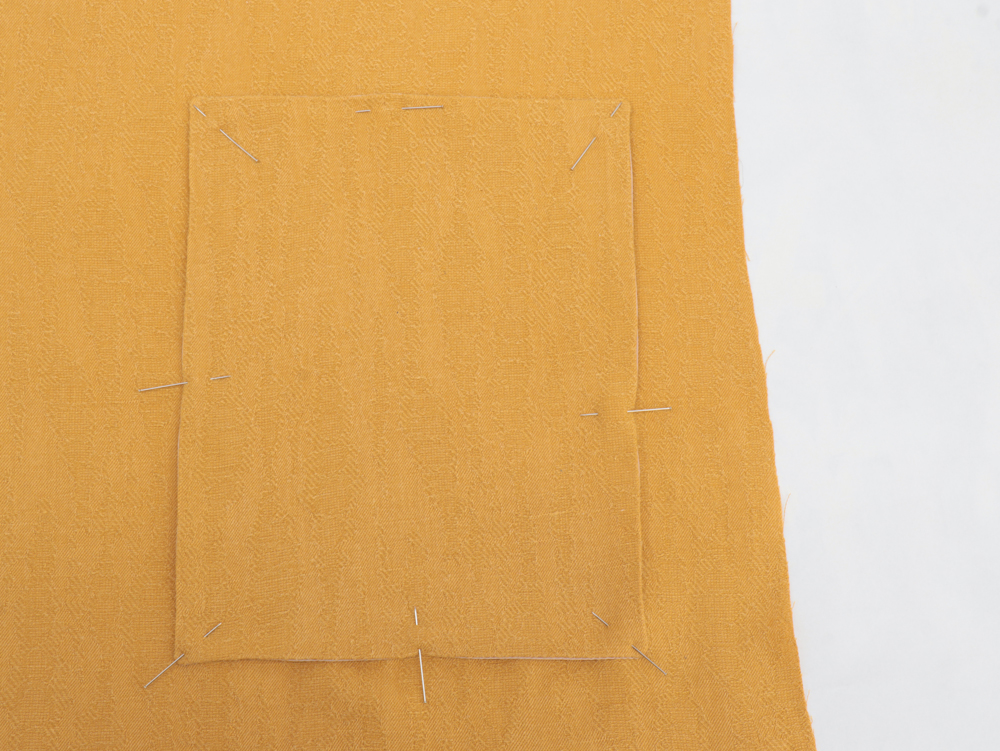
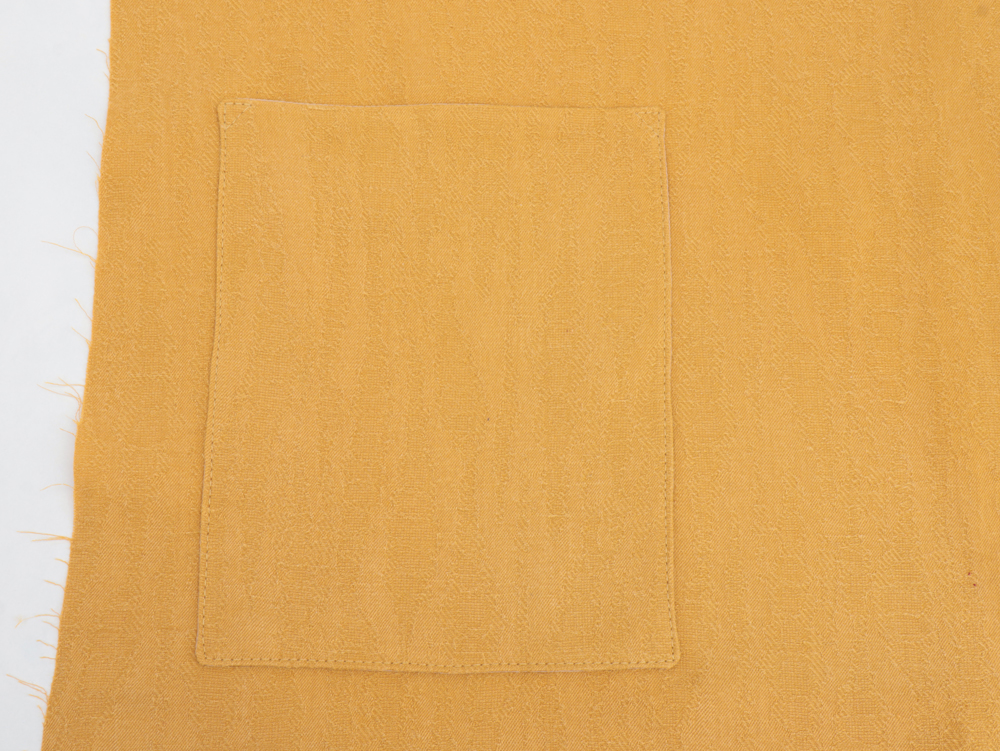
 Apply the pockets to the garment fabric following the markings. Reinforce the corners by sewing a little triangle at each corners. Be sure to sew a discreet backstitch at the start.
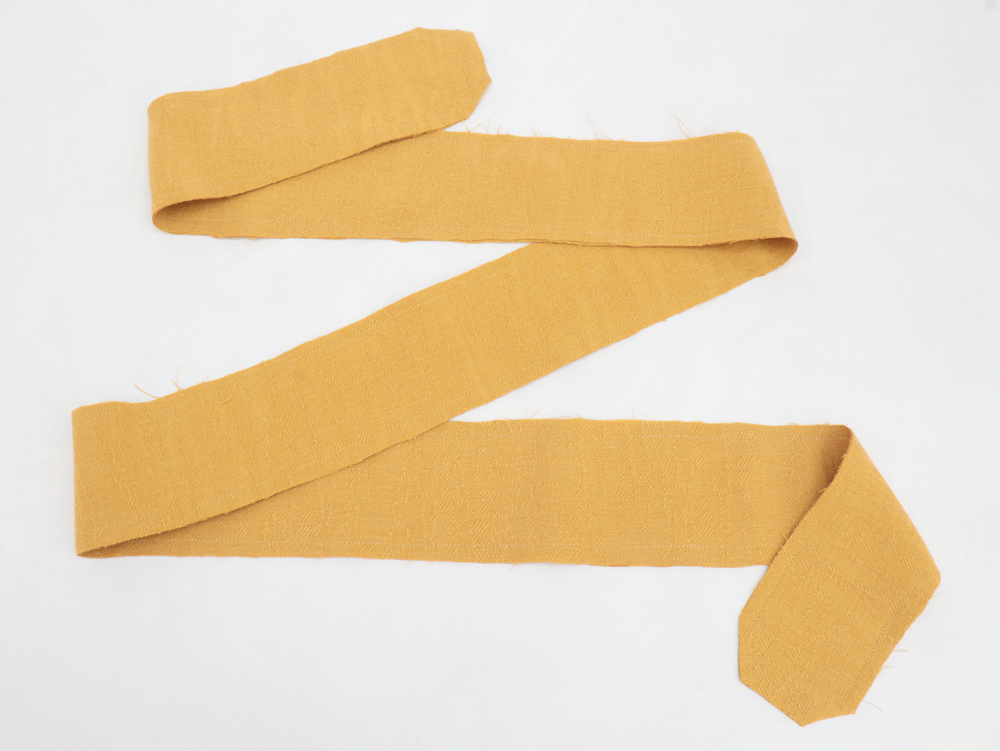
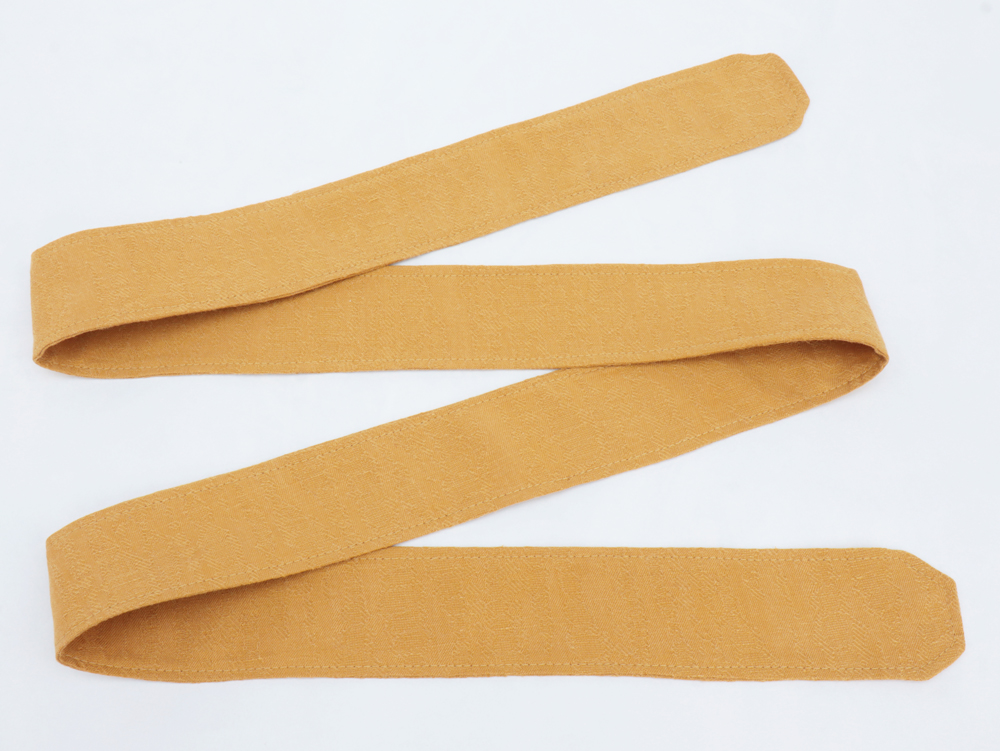
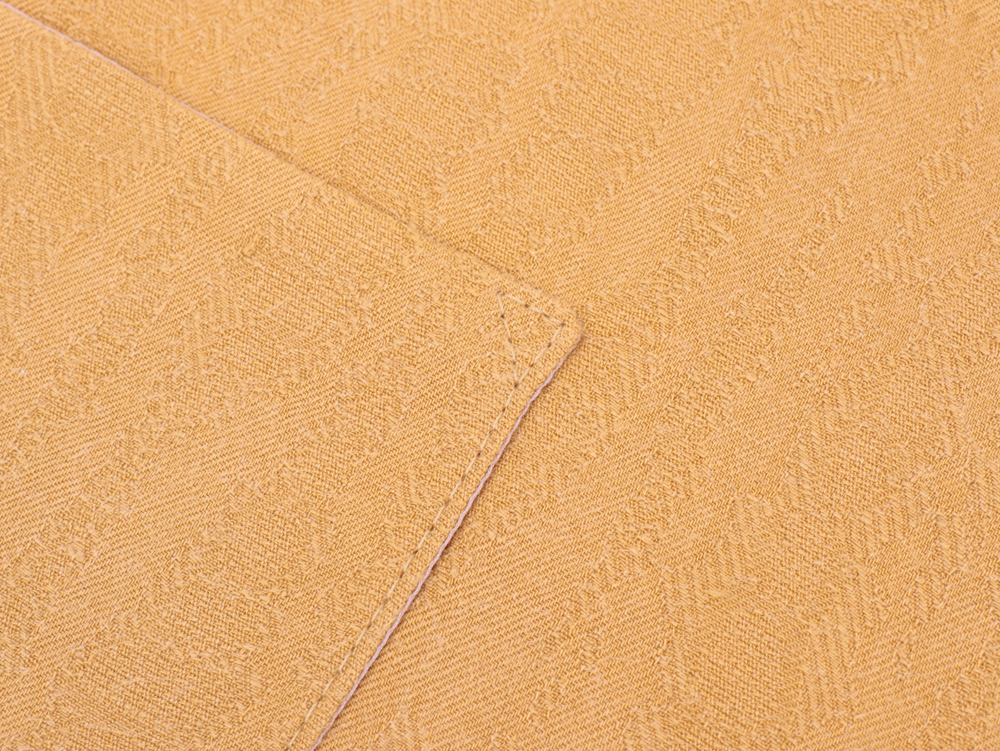
With right sides together, stitch the two parts together, leaving a gap in the middle for turning. Trim off seam allowances, cutting across the corners right up close to the stitching line. Turn the belt right side out. Press. Topstitch at 3 mm from the outside edge.
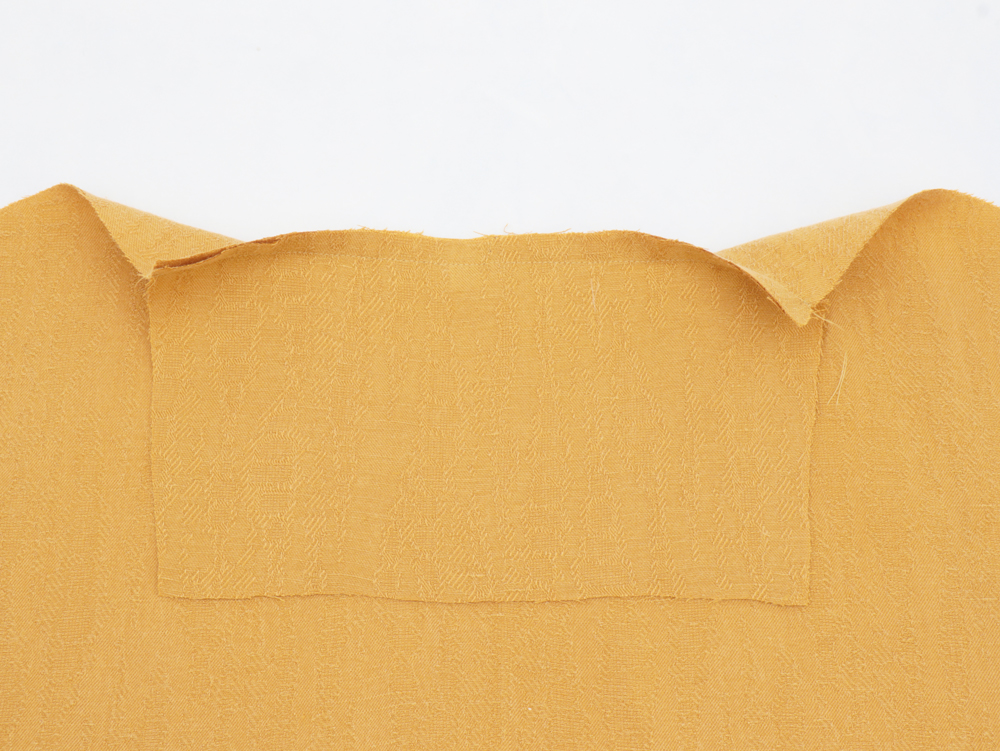
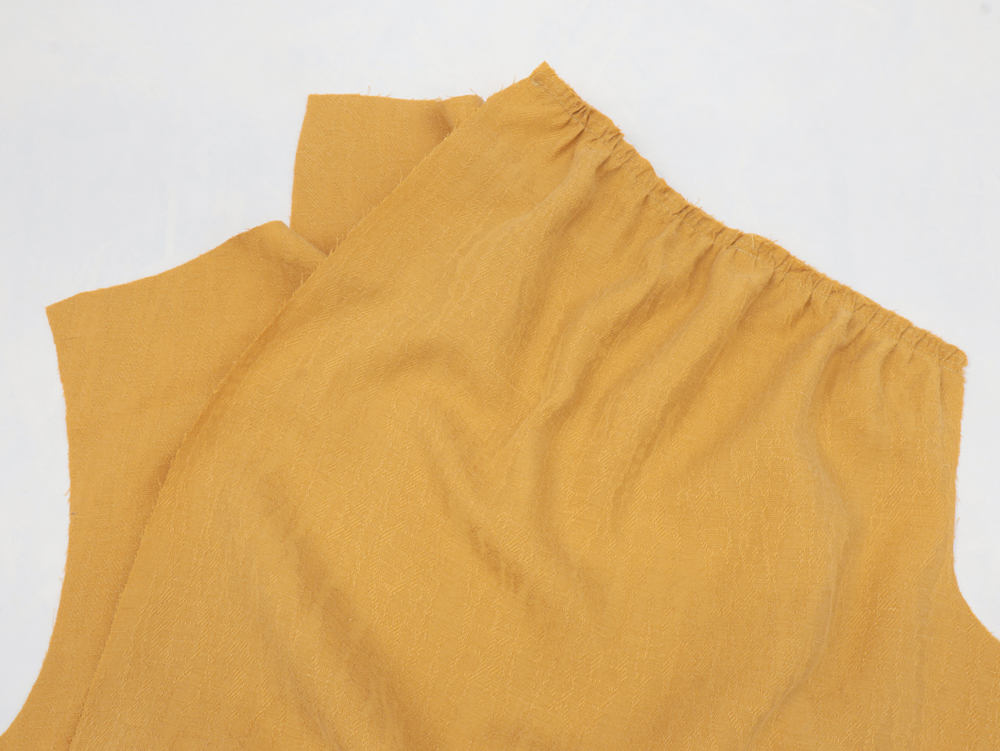
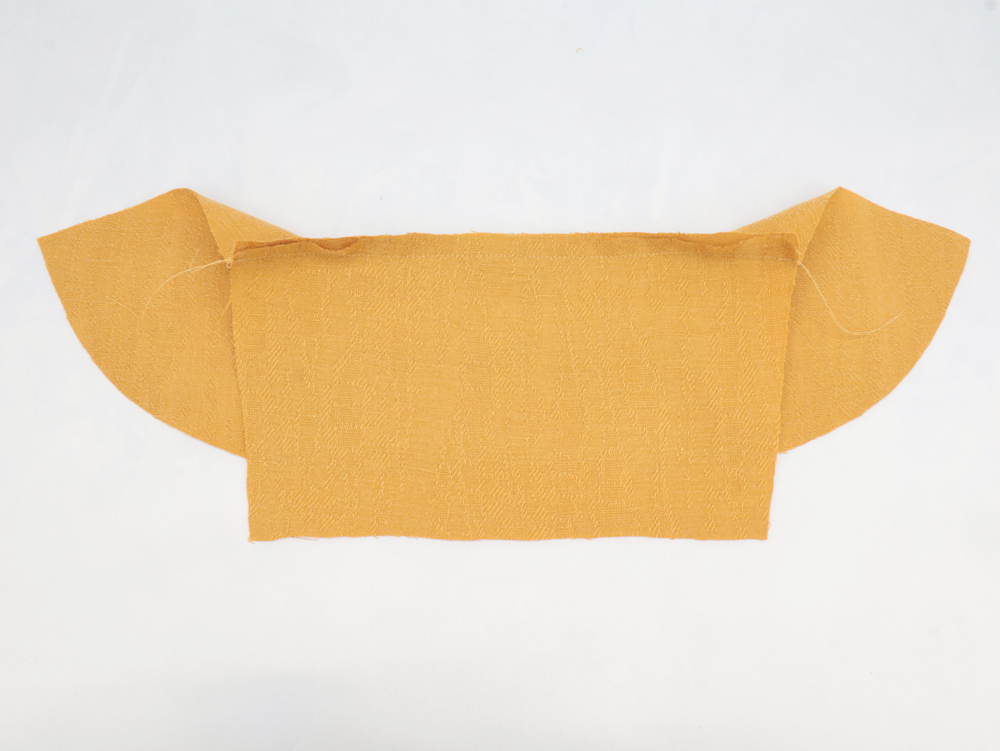
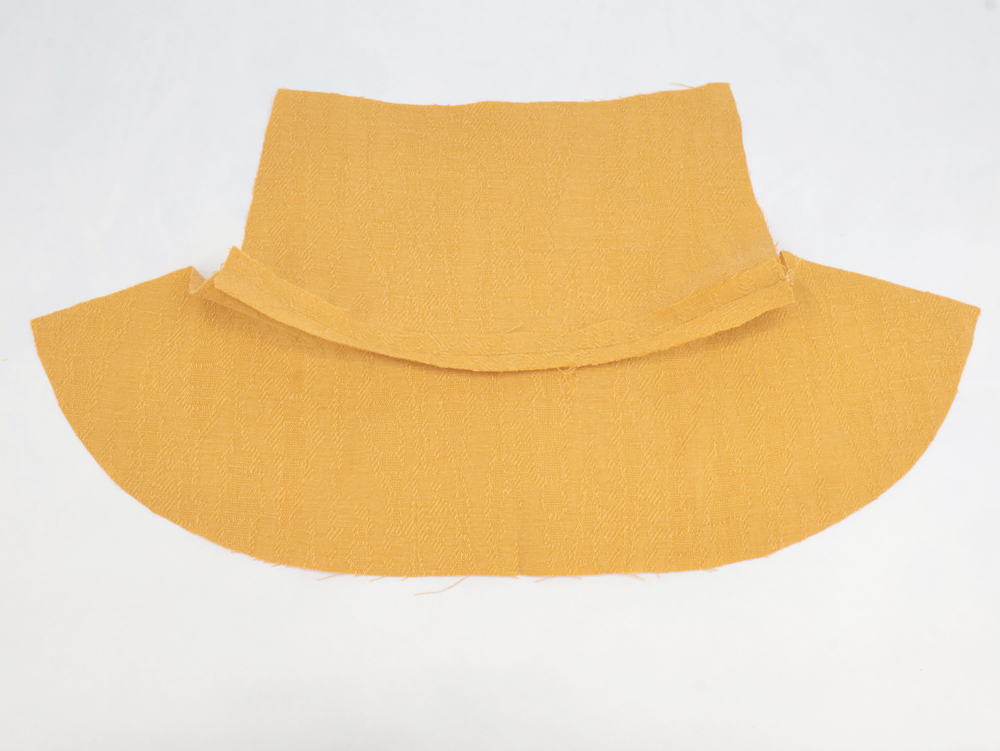
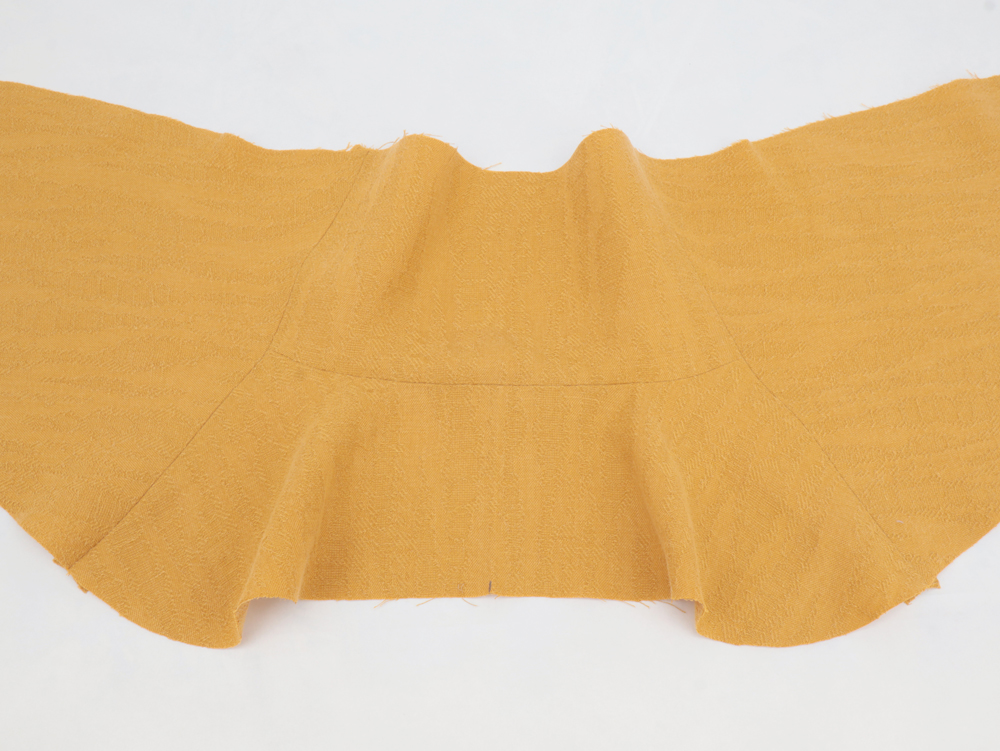
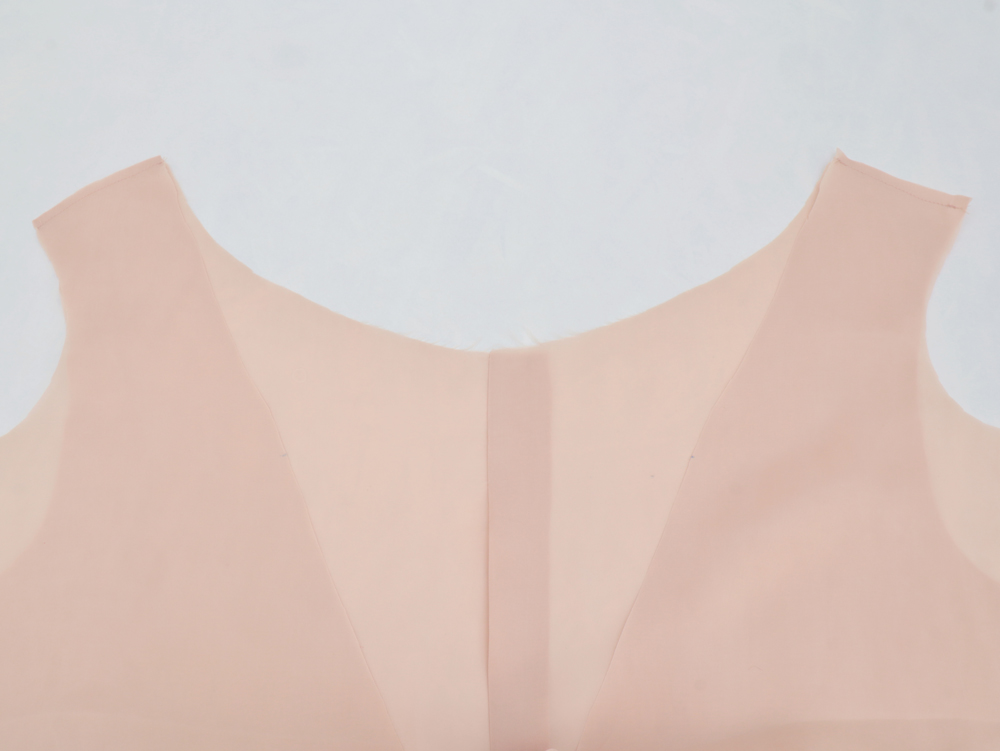
With right sides together, stitch the long side of the back collar (C) to the back bodice (B).
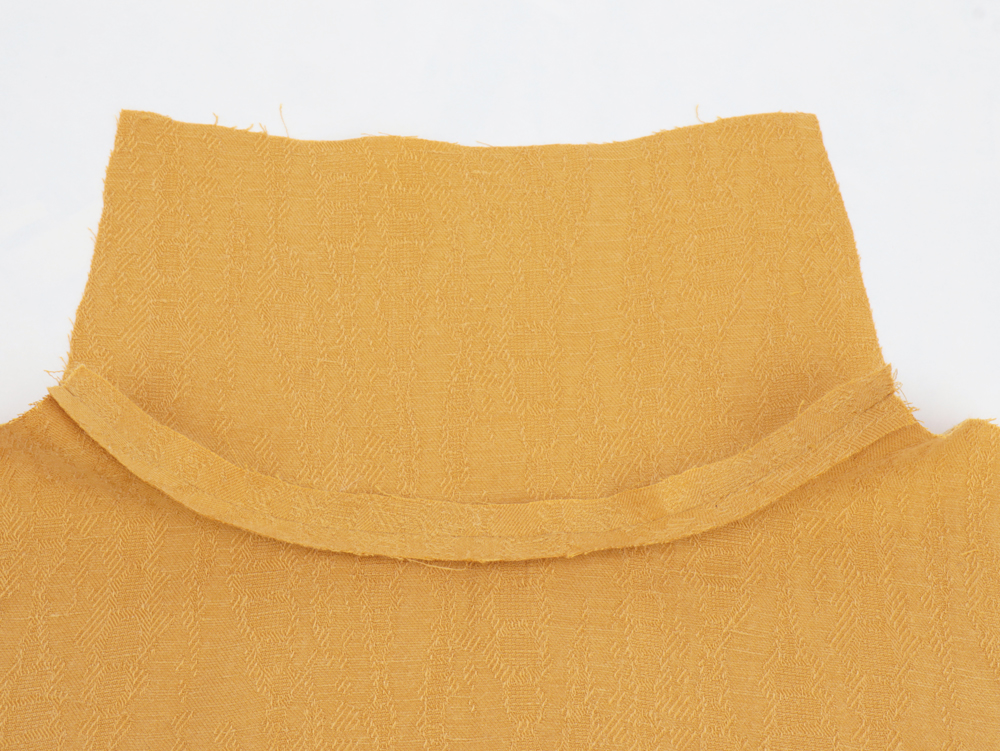
Press seams open.
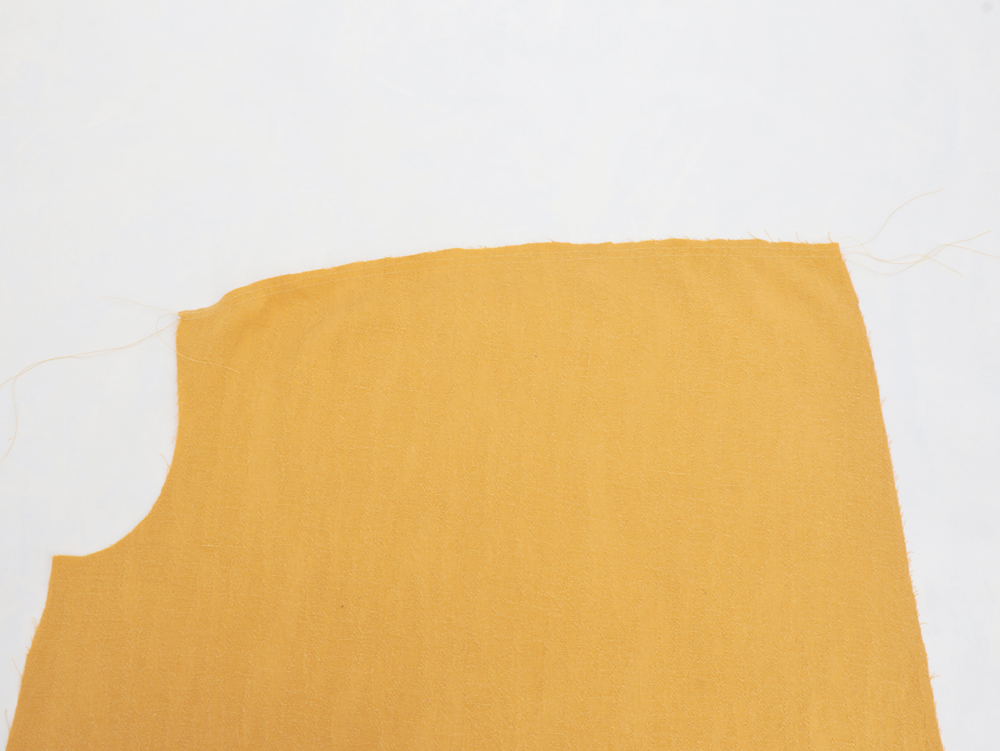
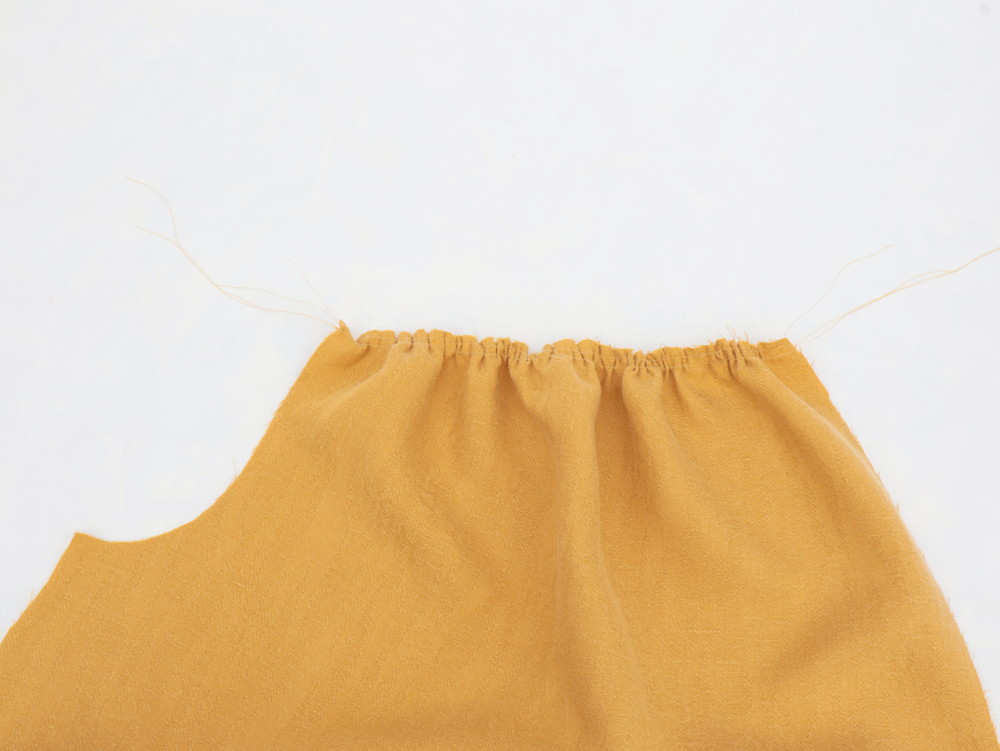
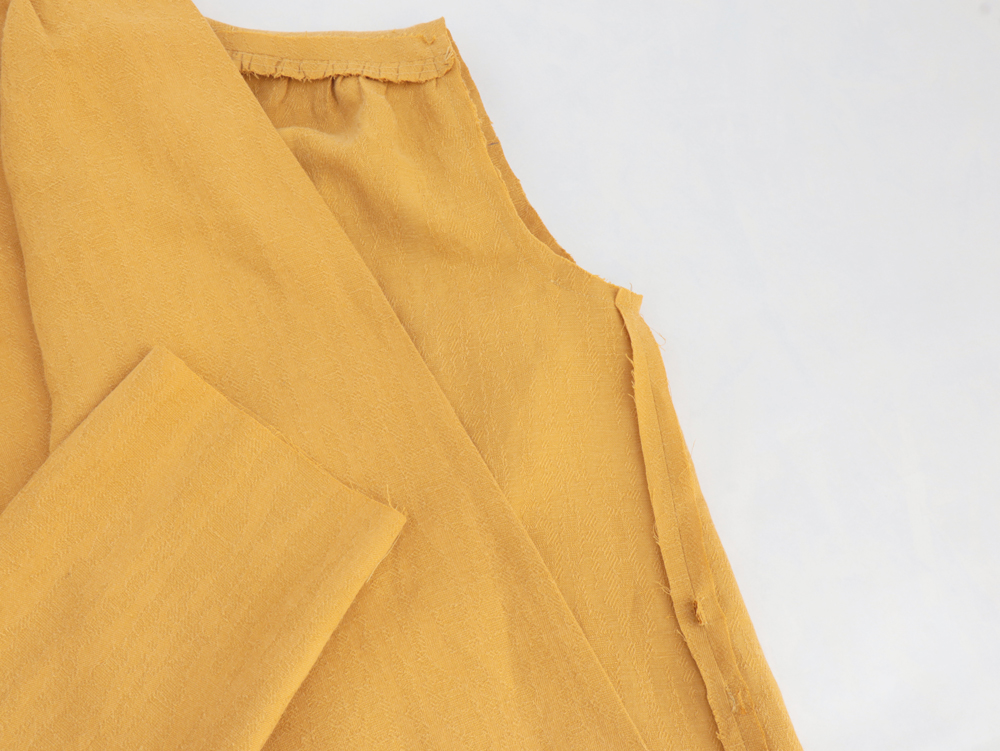
Place three lines of gathering stitches along the front bodices'shoulders. Do not pull the loose threads near the shoulder pit but tie them together in order not to distort the armhole shape. Gently pull the three front threads of the other end, gathering up the material as you pull.
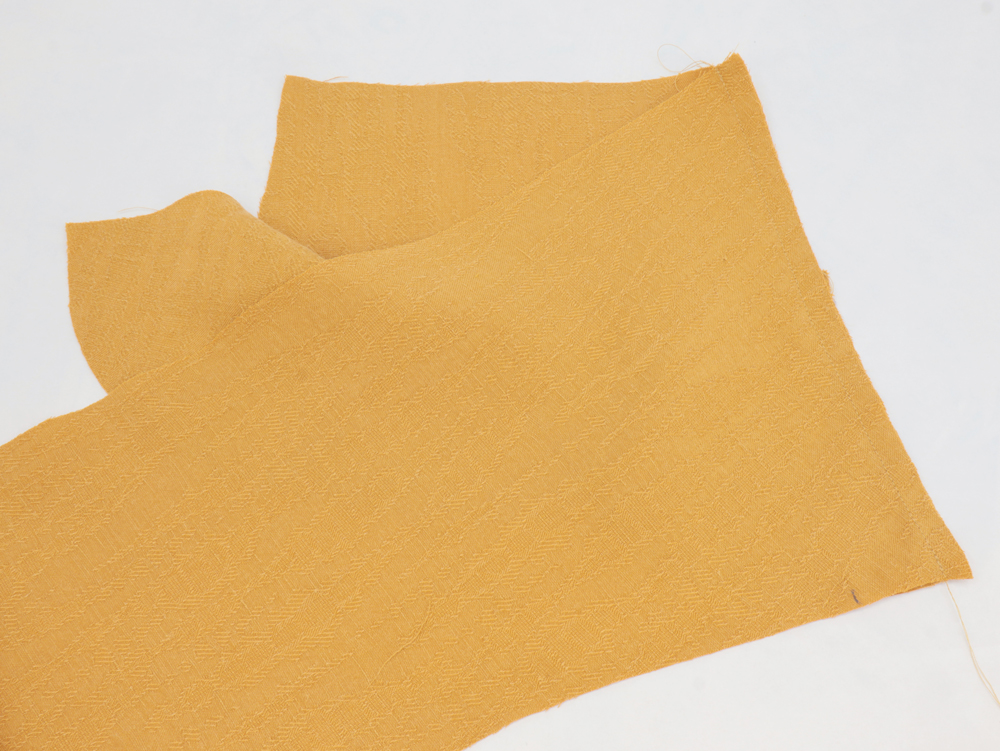
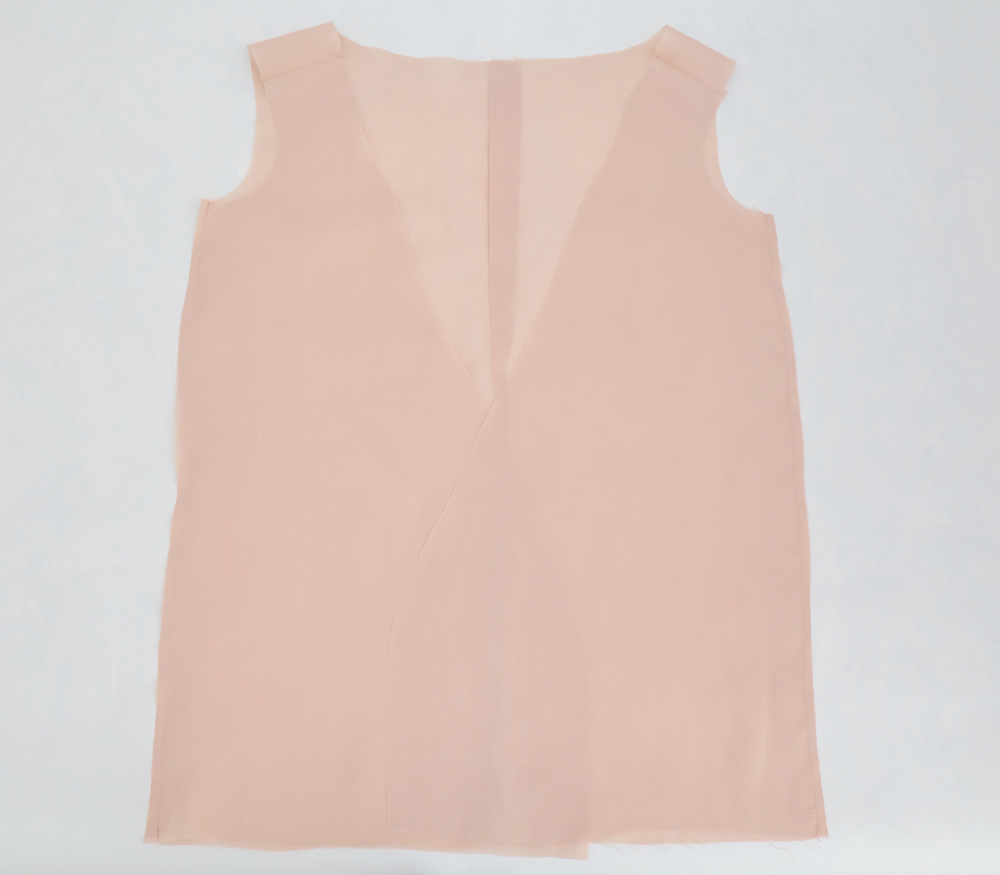
With right sides together, stitch the shoulders of front (A) and back (B) bodices, right sides together.
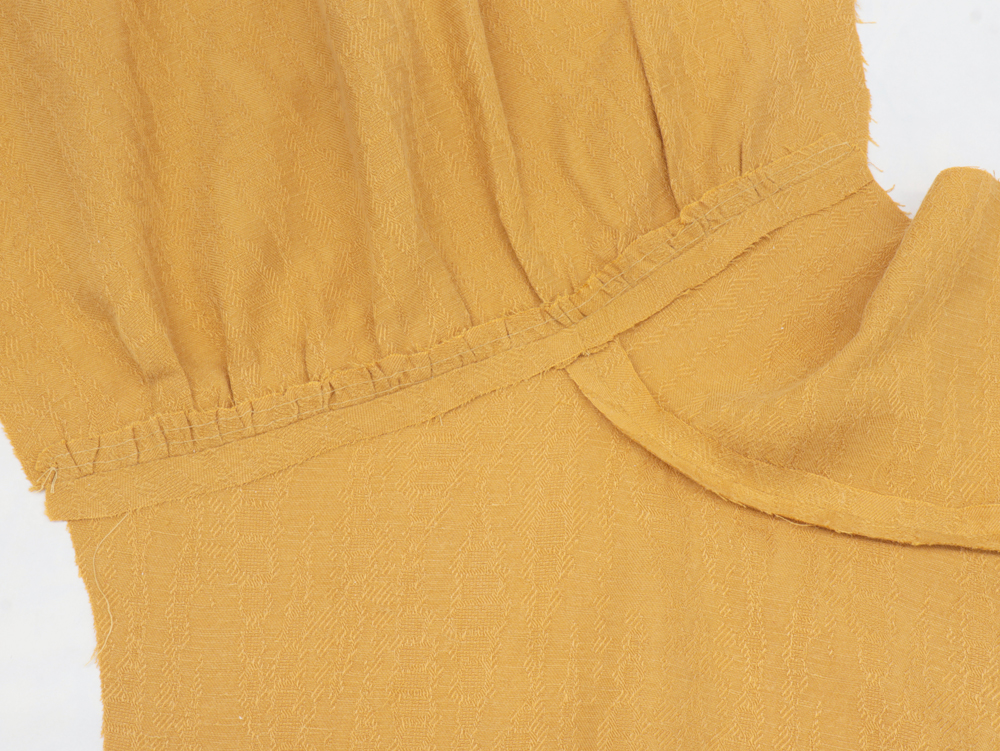
Press seams open. Press well to flatten the gathers.
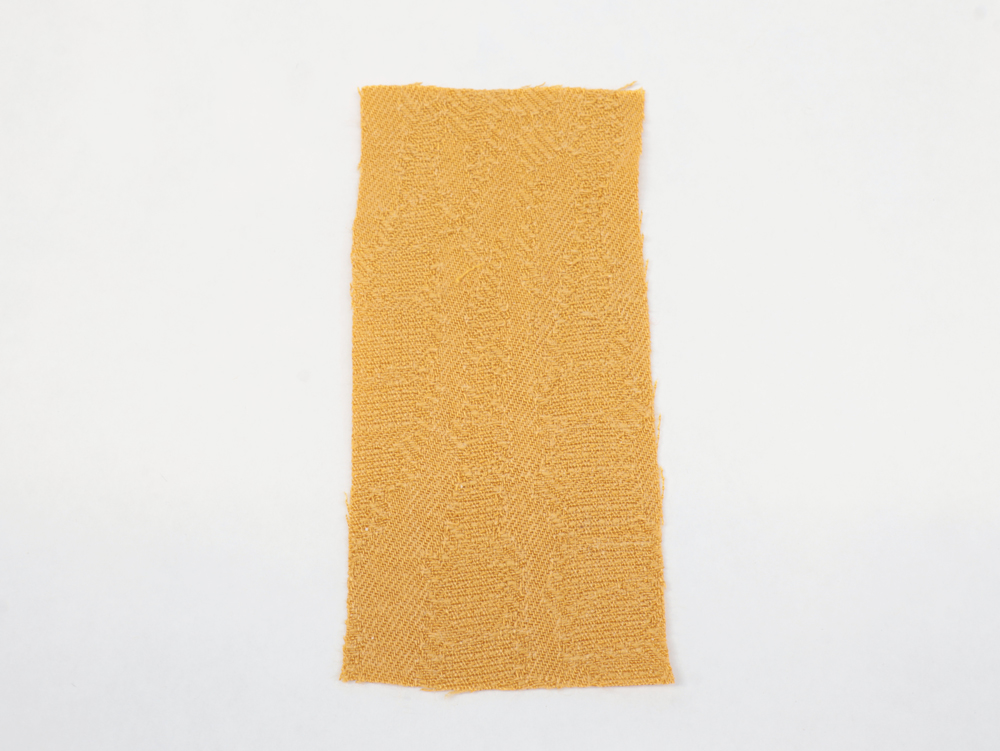
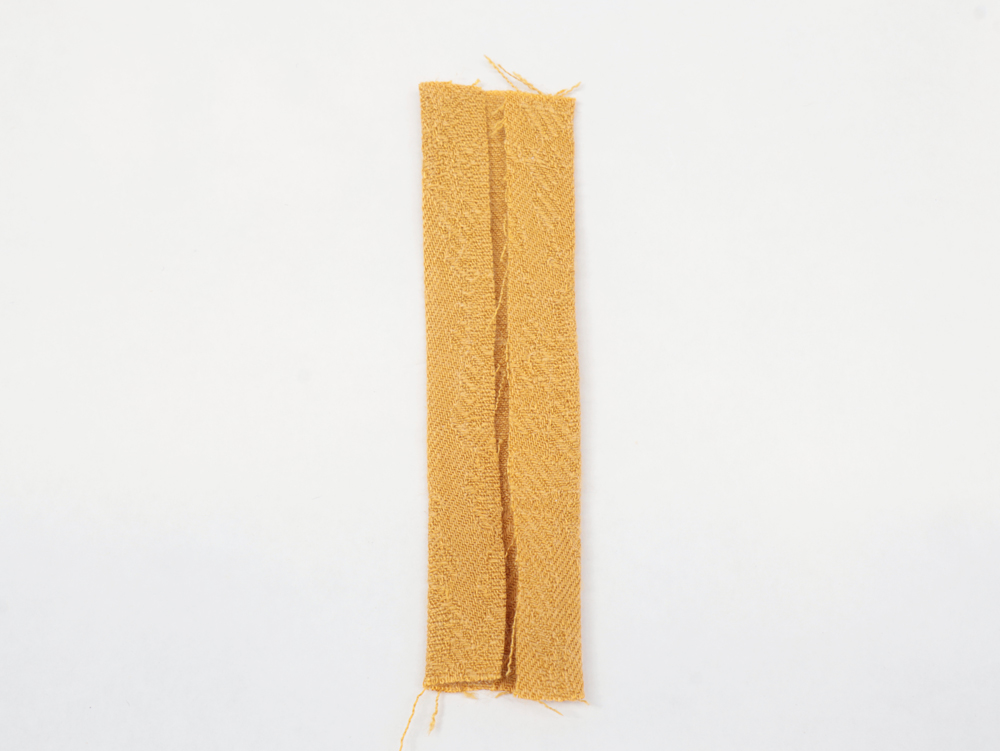
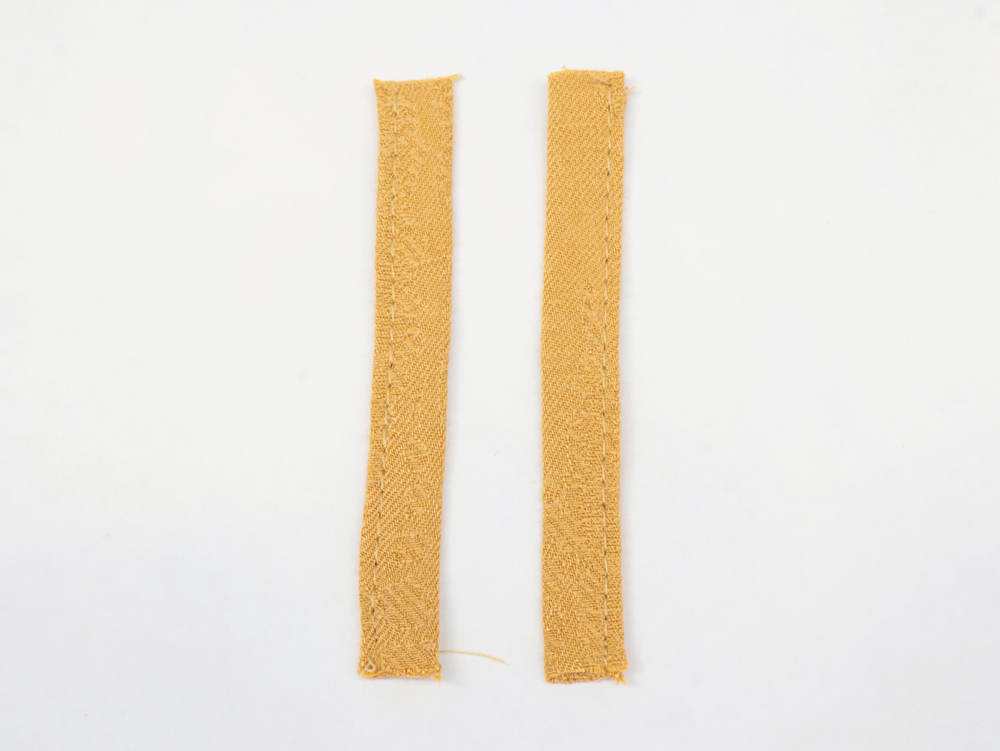
The belt loops: Fold both sides to the middle, wrong sides together and press. Fold again in two, press, stitch in place.
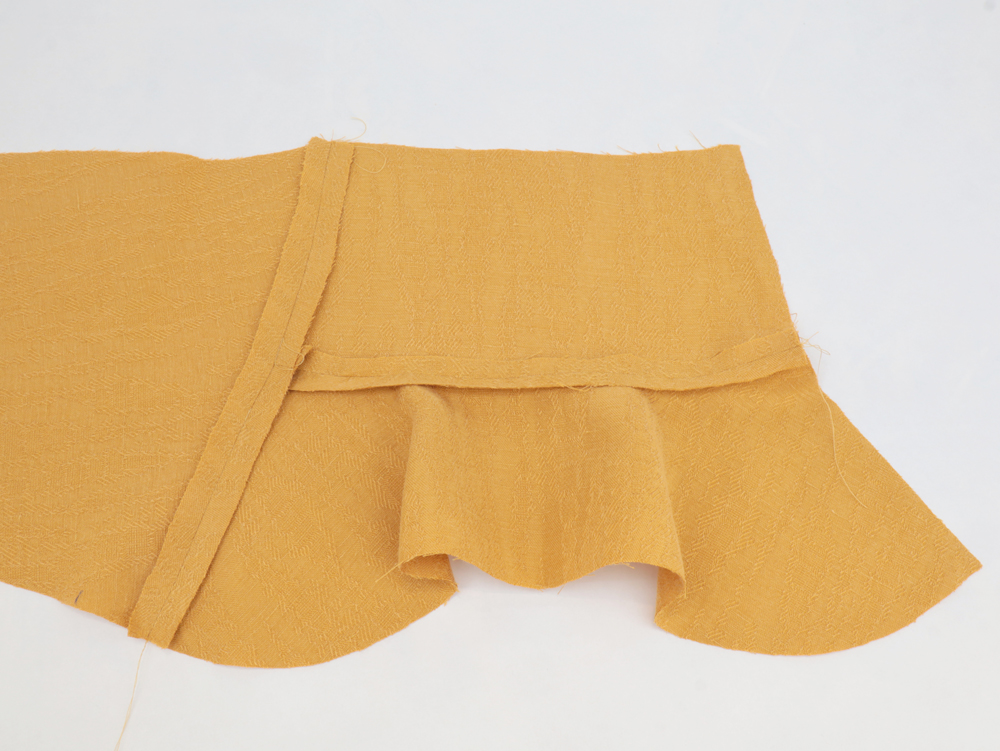
With right sides together, stitch the sides of the front and back bodice. Before you sew the side seams, place the belt loops at your waist level.
Press seams open.
Understitch the belt loops against the back bodice (B).
With right sides together, stitch the long side of the second back collar (C) to the back facing (G).
Press seams open.
With right sides together, stitch the front facing (H) shoulder to the back facings + back collar (C + G). You might want to refer to the instruction booklet for this step.
Press seams open.
With right sides together, stitch the bodice and facing together.
Press seams open.
Then, press seams towards the bodice and understitch.
Stitch the bodice and facing neckline seam allowances together to prevent the necklines from moving separetly. You can stitch them only on a few centimeters. 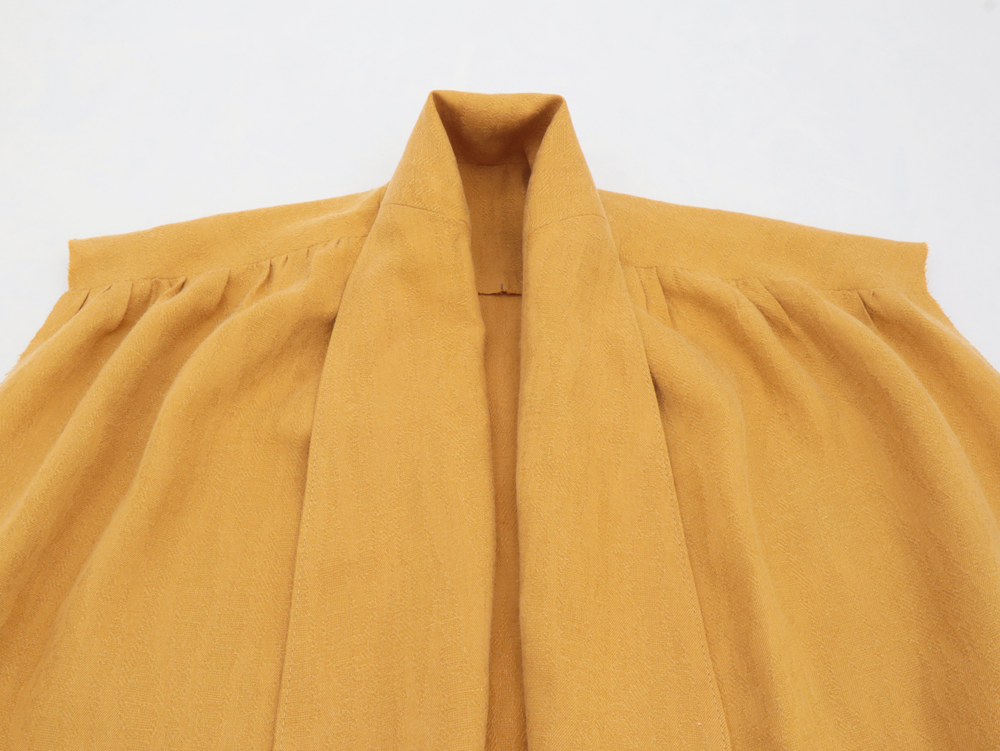
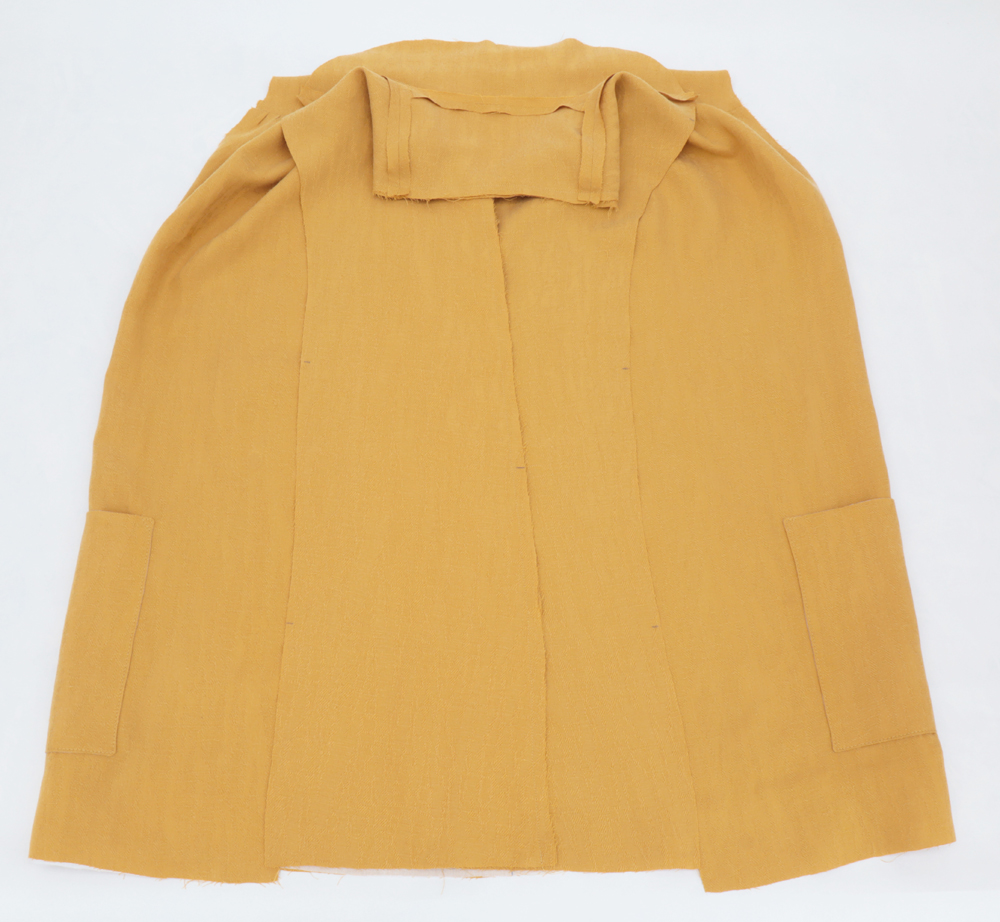
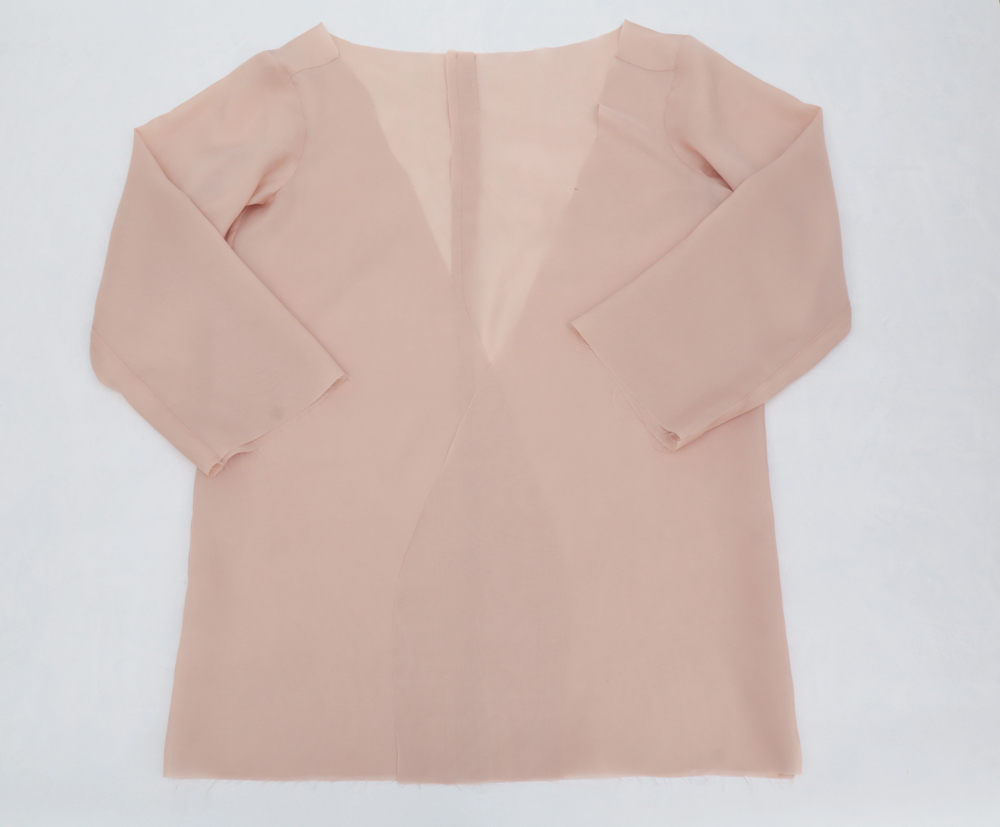
Well done, the bodice is almost finished!
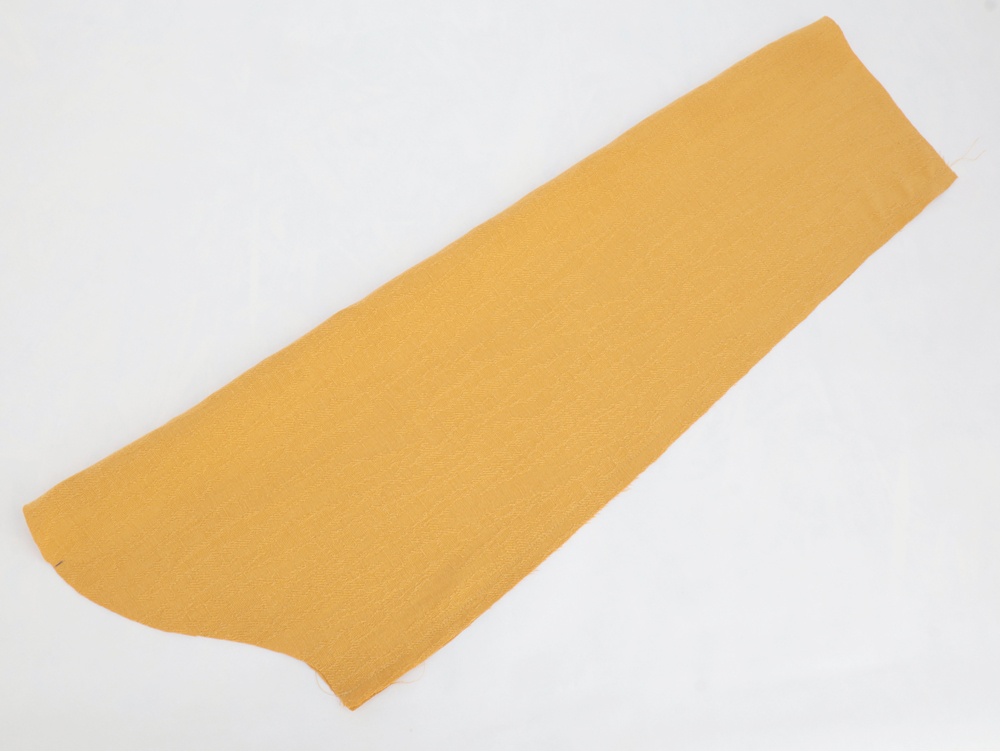
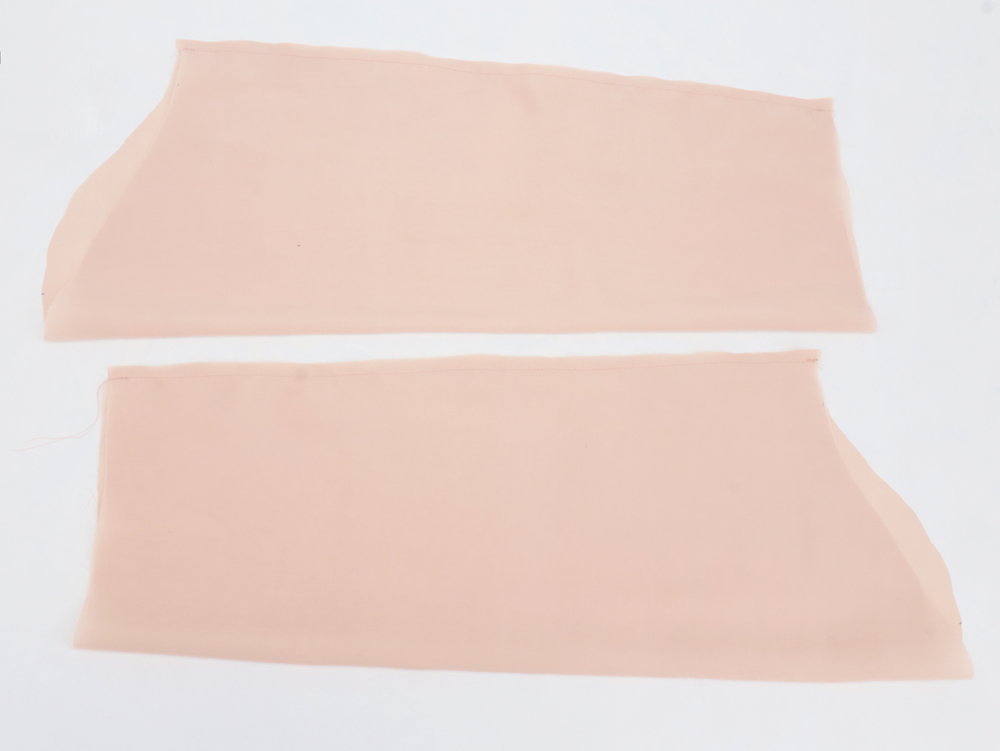
With right sides together, stitch the sides of the sleeve.
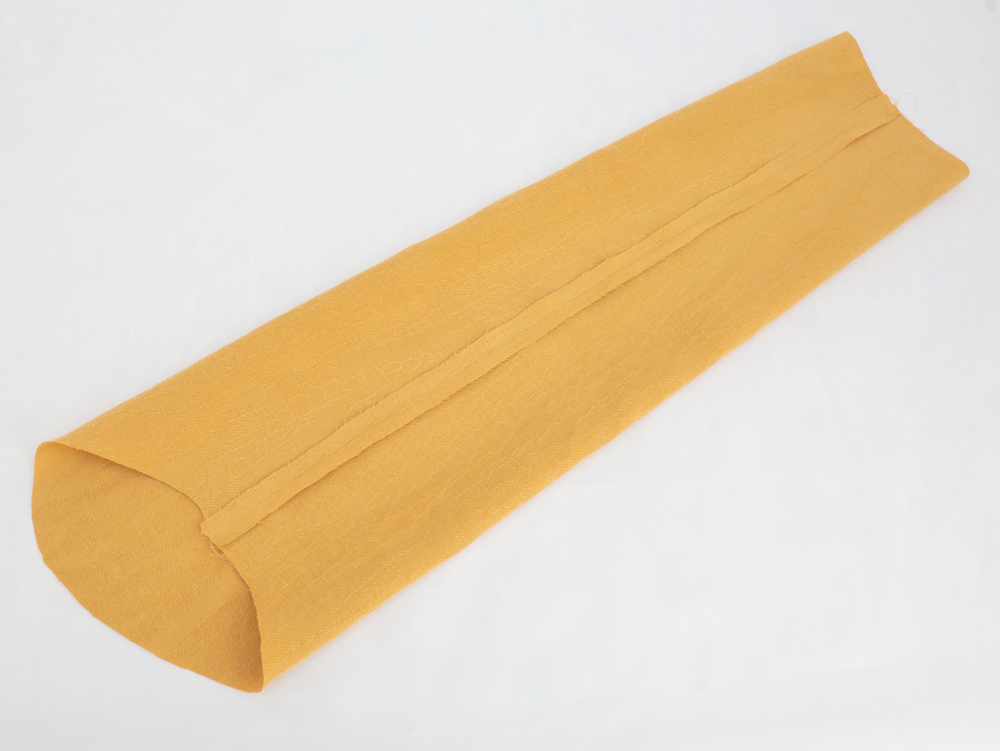
Press seams open.
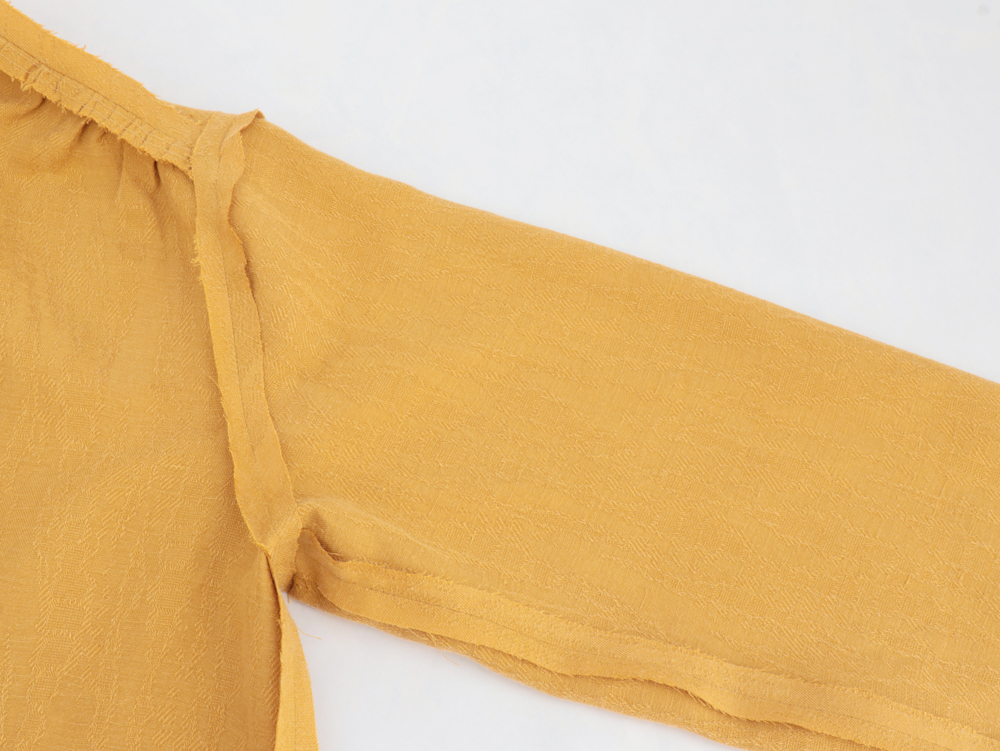
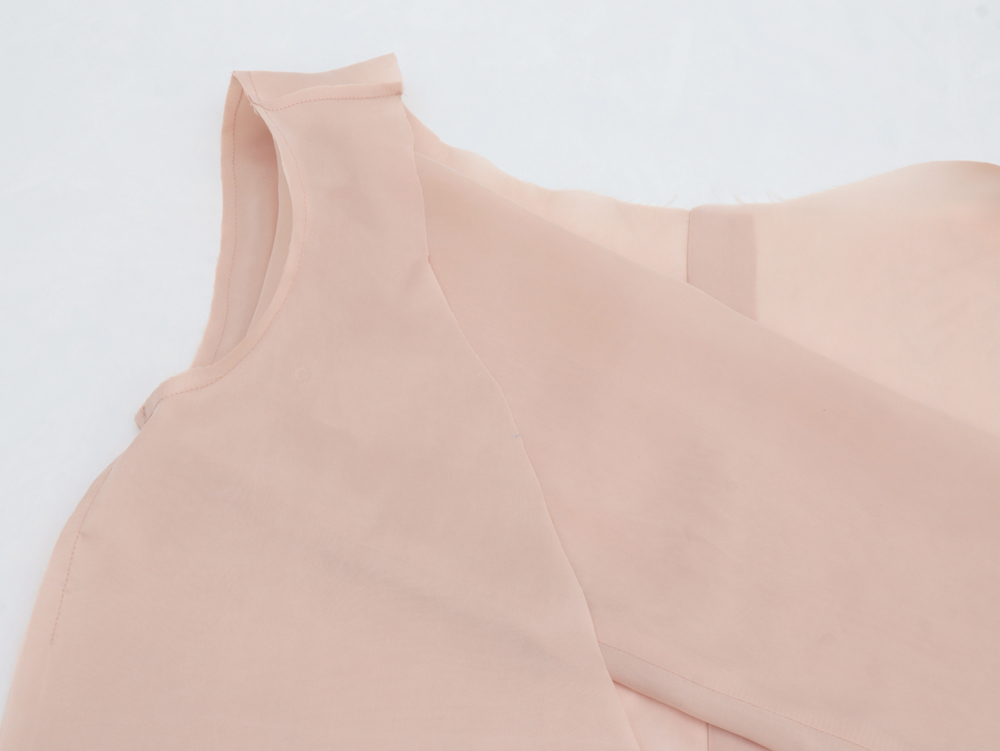
Turn the sleeve right side out, and turn the garment wrong side out. Place the sleeve inside the armhole and match up the side seams with right sides facing. Align notches (1 for the back and 2 for the front). This sleeve has no ease. Sew the sleeve to the garment with a 1 cm seam allowance. Press seams open.
Optionnal: Serge the seams together and understitch seams towards the bodice (approx a 4 cm line around the shoulder notch).
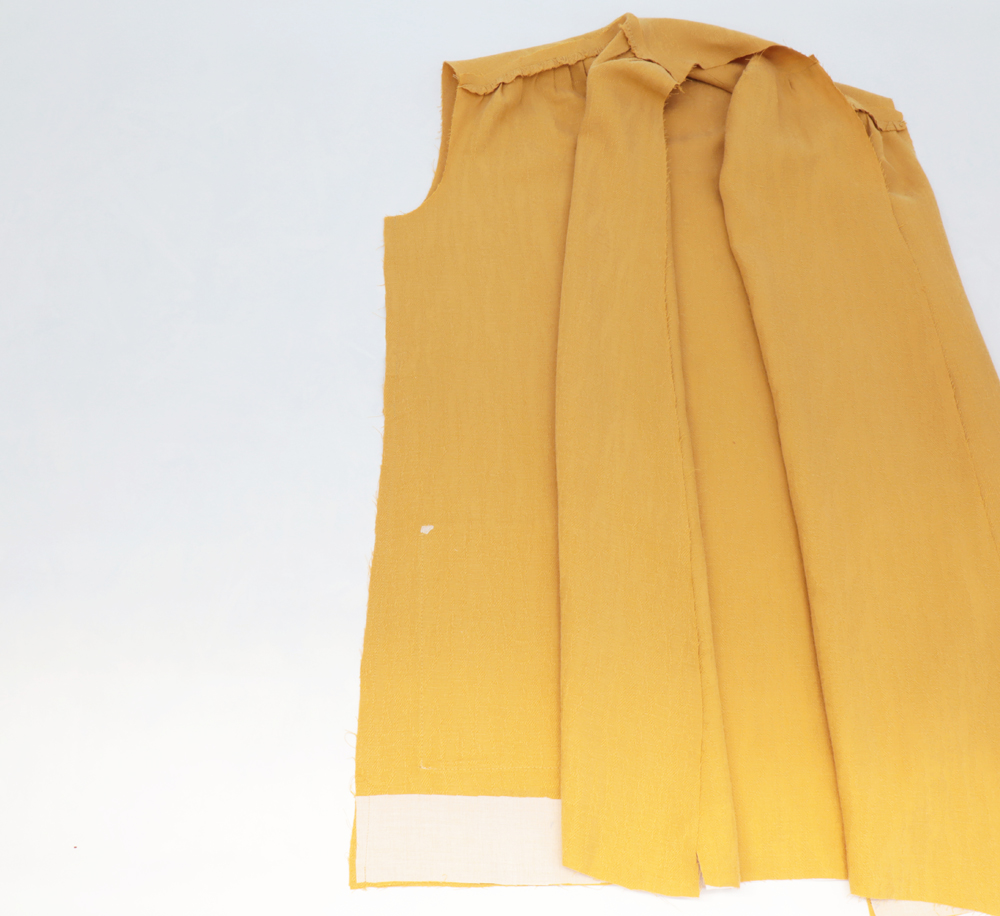
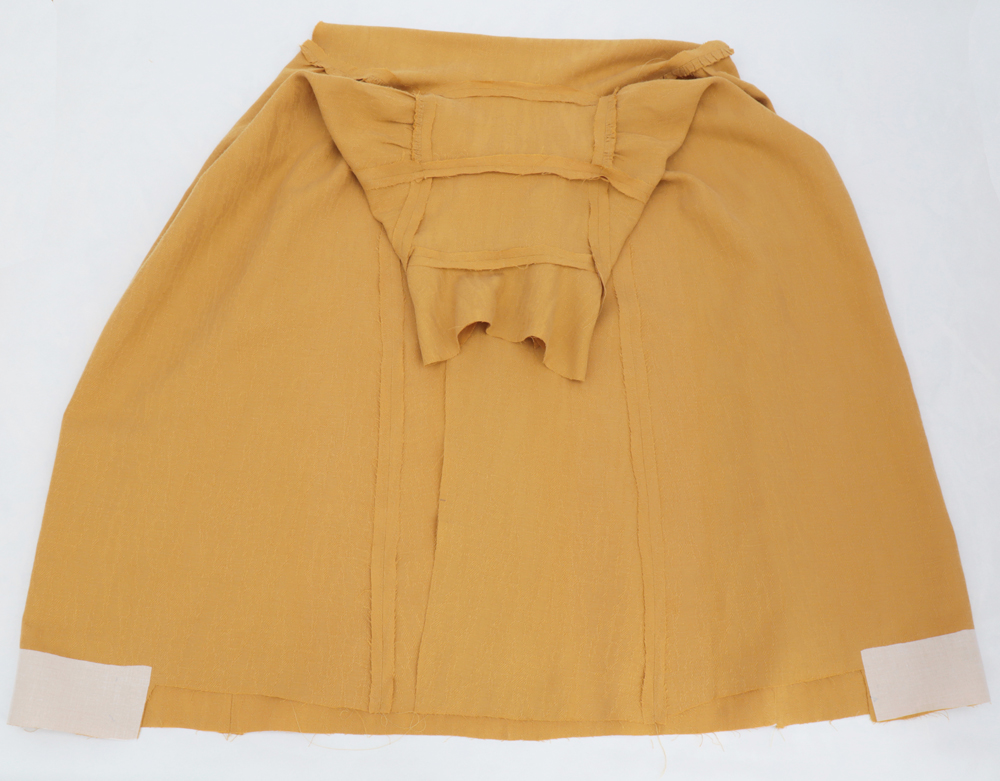
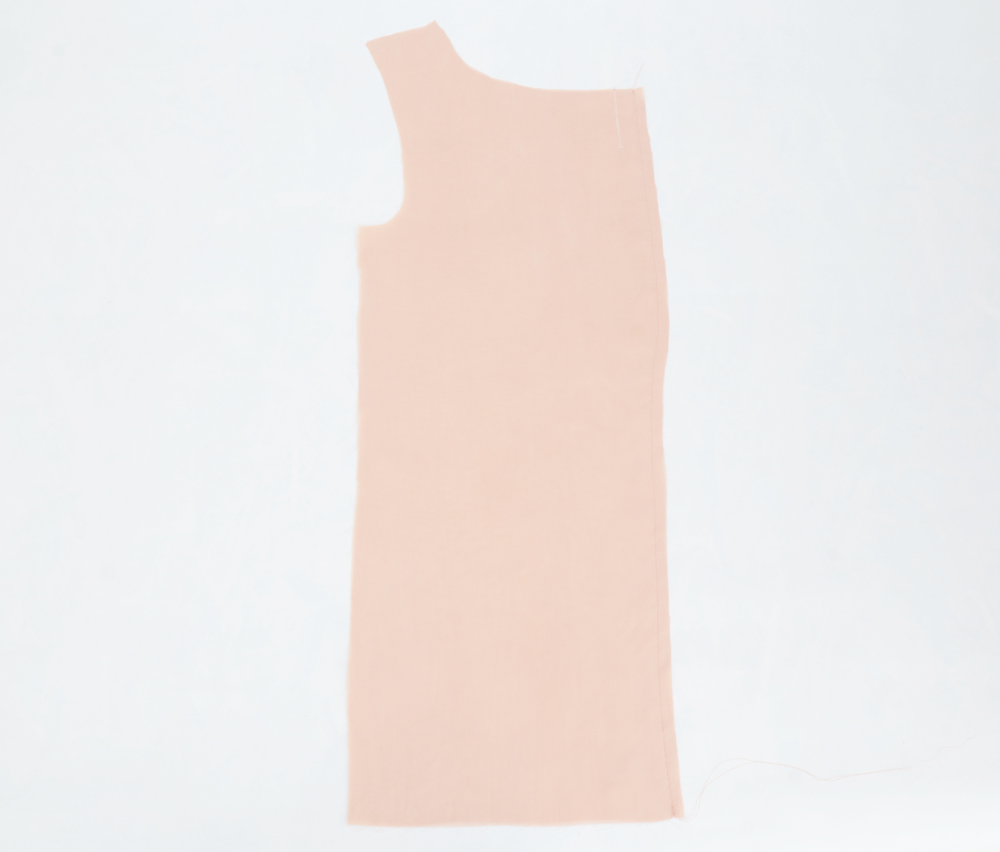 Stitch the back lining pieces right sides together.
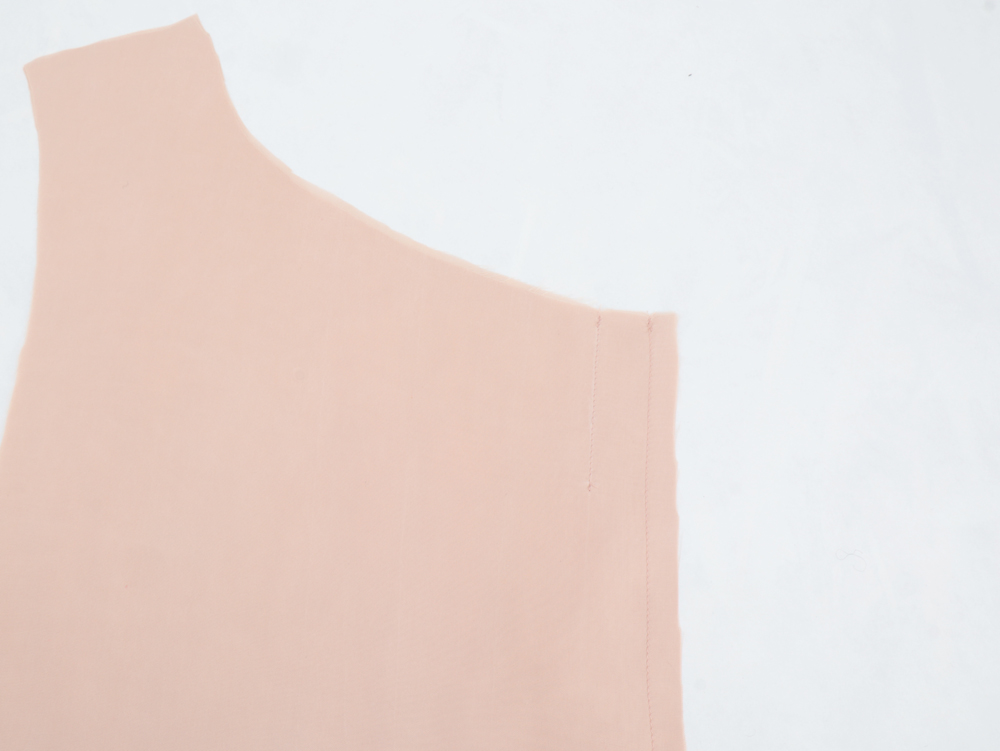
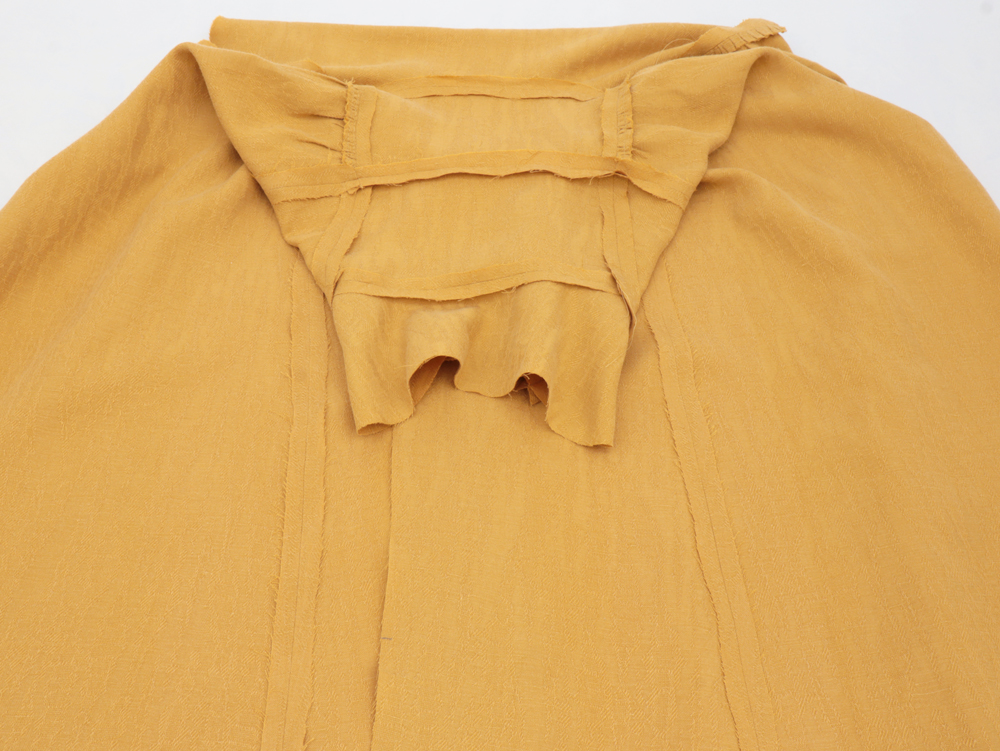
Stitch along the line at the top.
Press the pleat toward the right. Baste the pleat in place at the top.
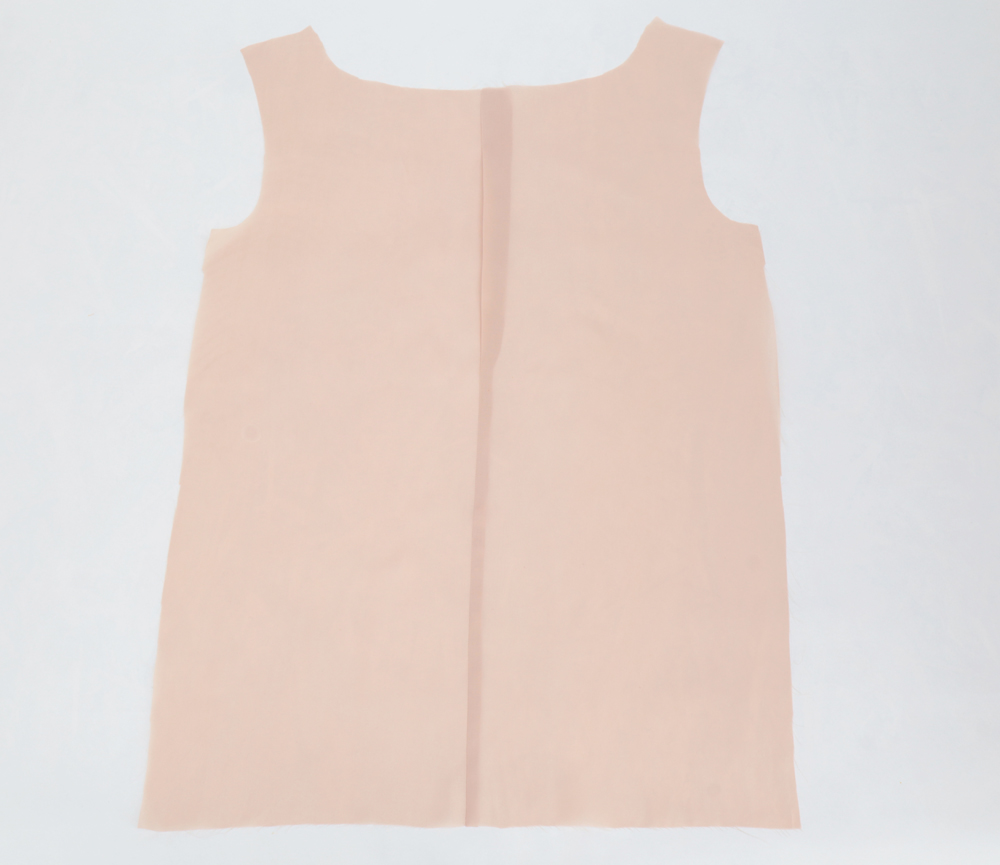
With right sides together, stitch the front and back lining pieces at the soulder. Press seams open.
With right sides together, stitch the side front lining pieces to the side back lining, leaving one side open about 10 cm. Press seams open.
Stitch the sleeves, press seams open.
Stitch the sleeves to the bodice.
![]()
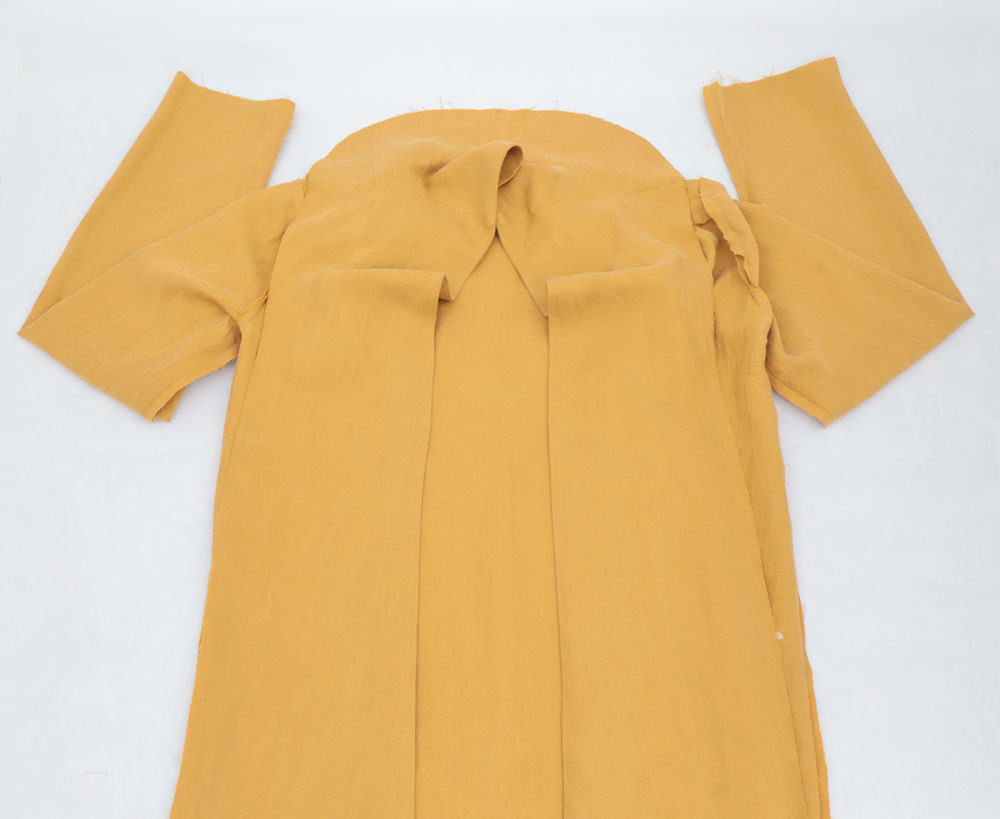
Open the jacket shell with right side facing you. The sleeves must be wrong side out.
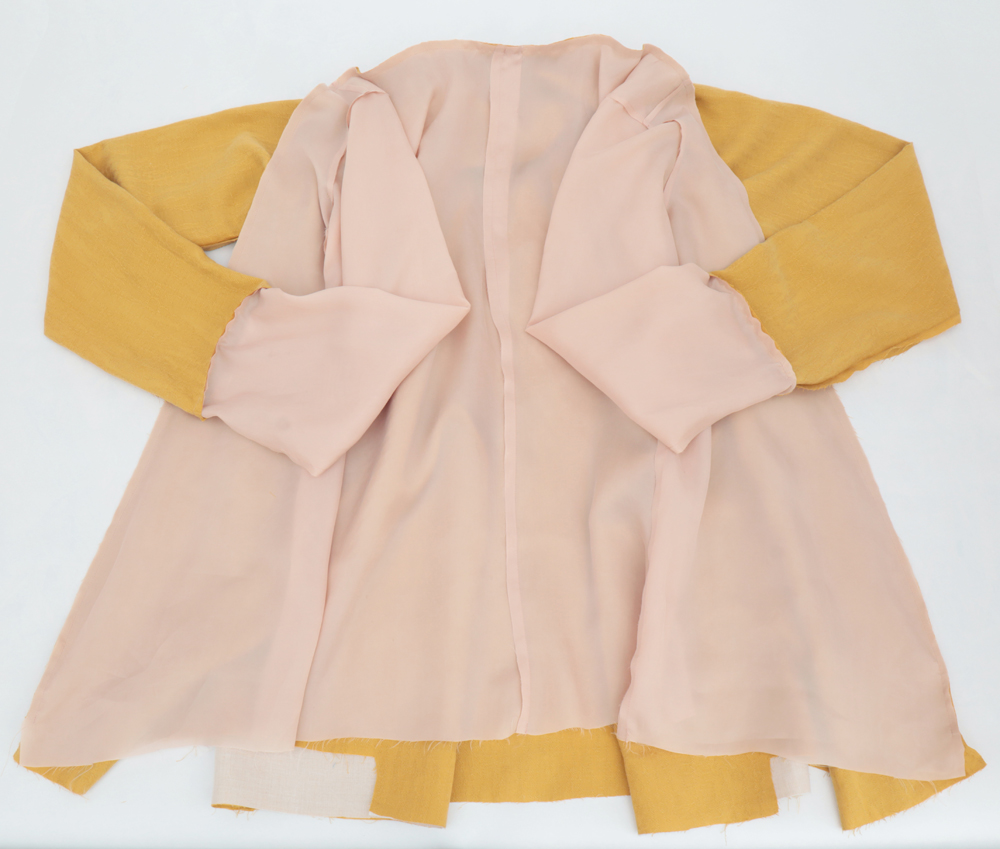
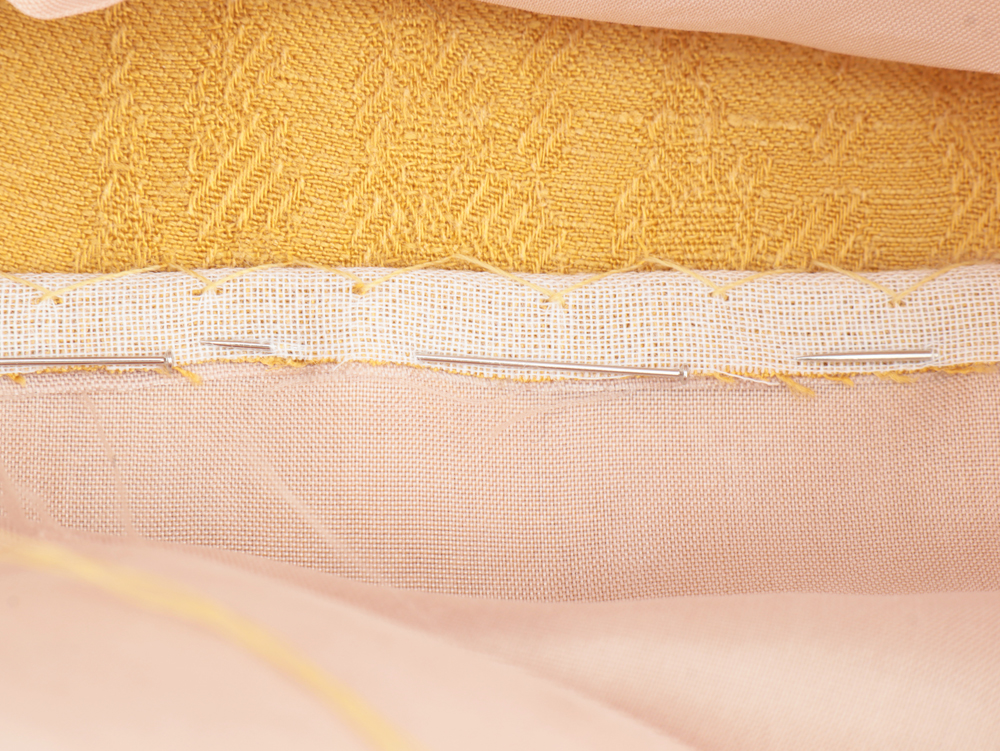
With right sides together, pin the lining edge to the facing edge. Stitch.
Stop and start at the bottom dots. Leave the bottom of the lining and jacket shell loose.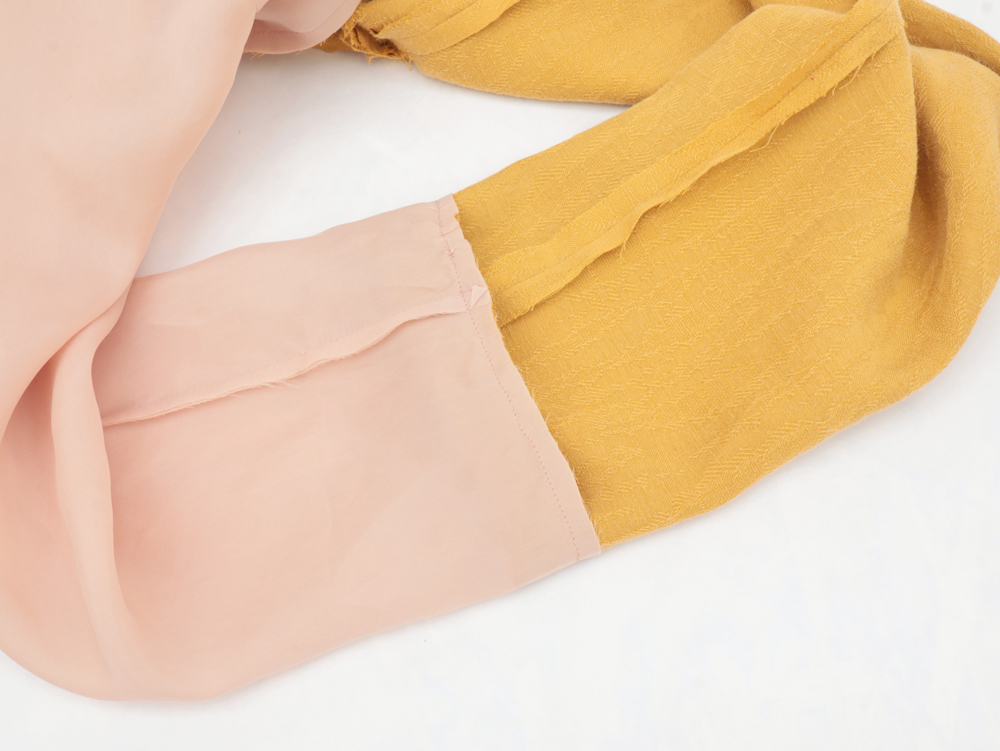
Turn the edges of the sleeve sheel about 3 cm right side up. Insert the sleeve shell into the sleeve lining matching seams and making sure neither the jacket nor lining is twisted. Stitch the two layers together and repeat for the other sleeve.
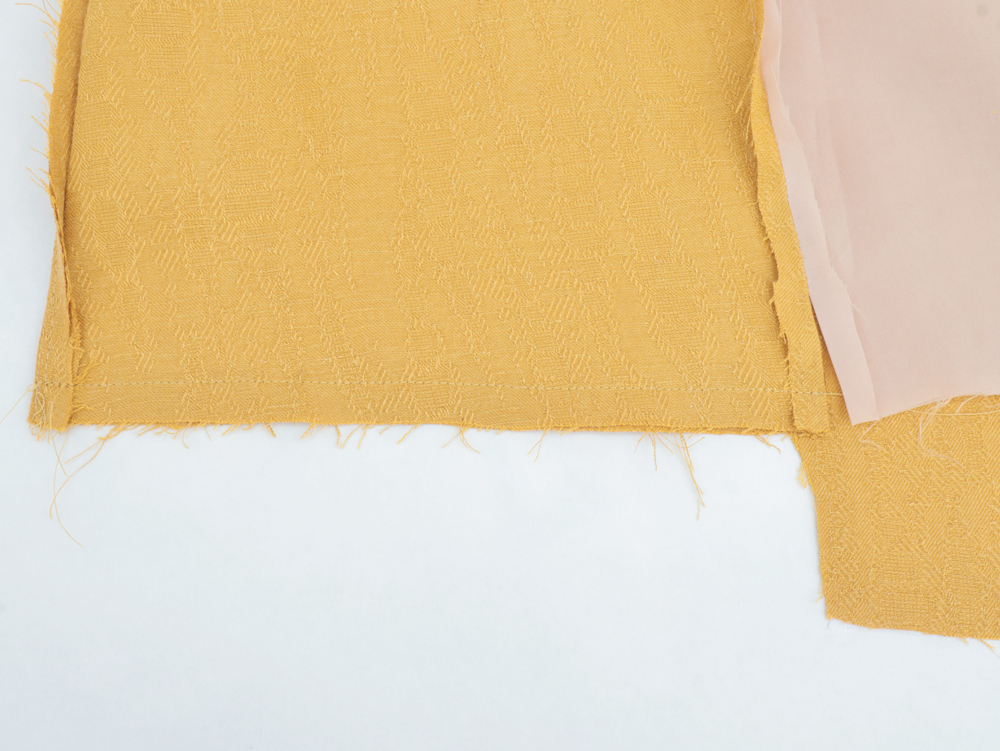
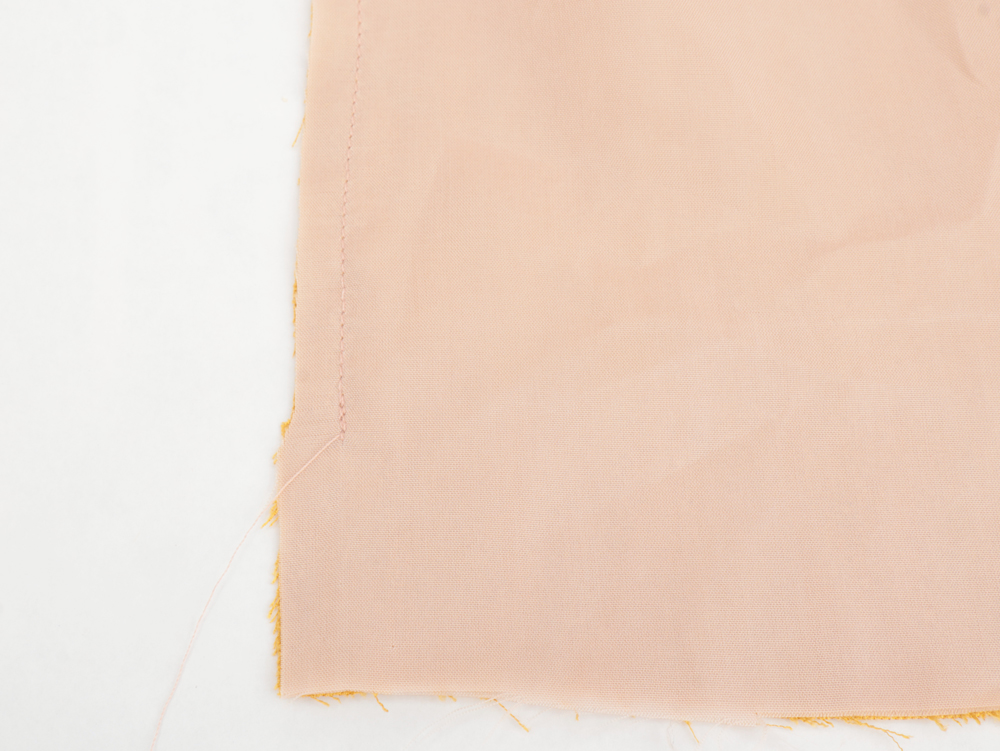
With right sides together, sew the bottom part of the jacket shell facing together.
- - Make sure the seam allowance goes toward the facing.
- - Get the lining out of your way.
- - Stitch the jacket shell and facing together with a 1 cm seam allowance.
You can follow this tutorial if you need more visual help for this step and the next ones.
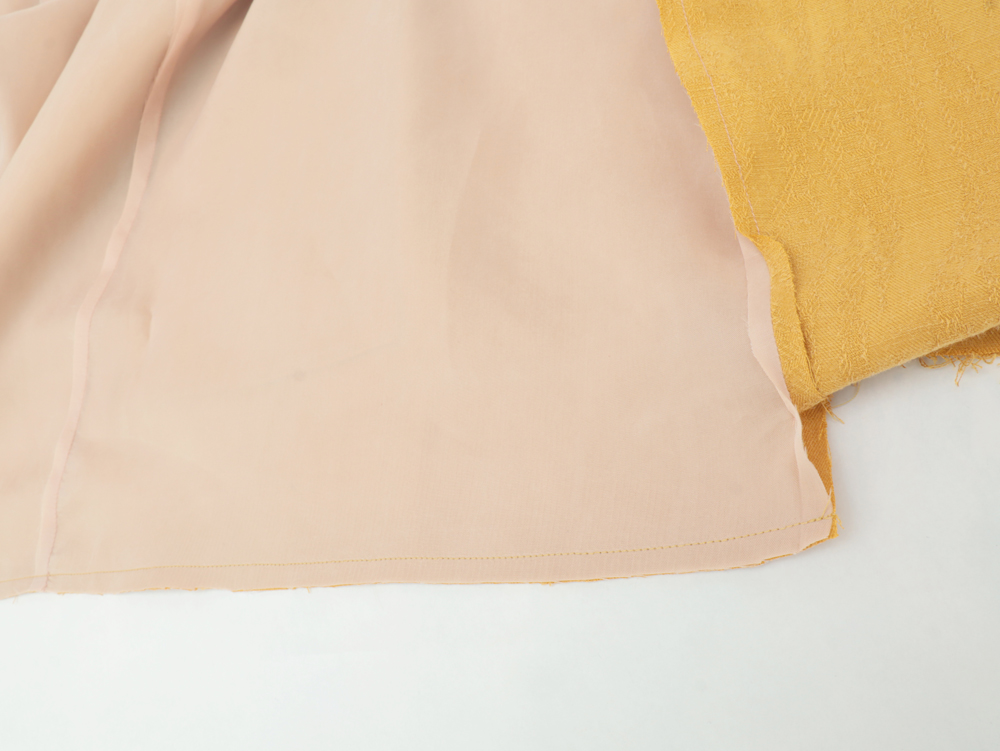
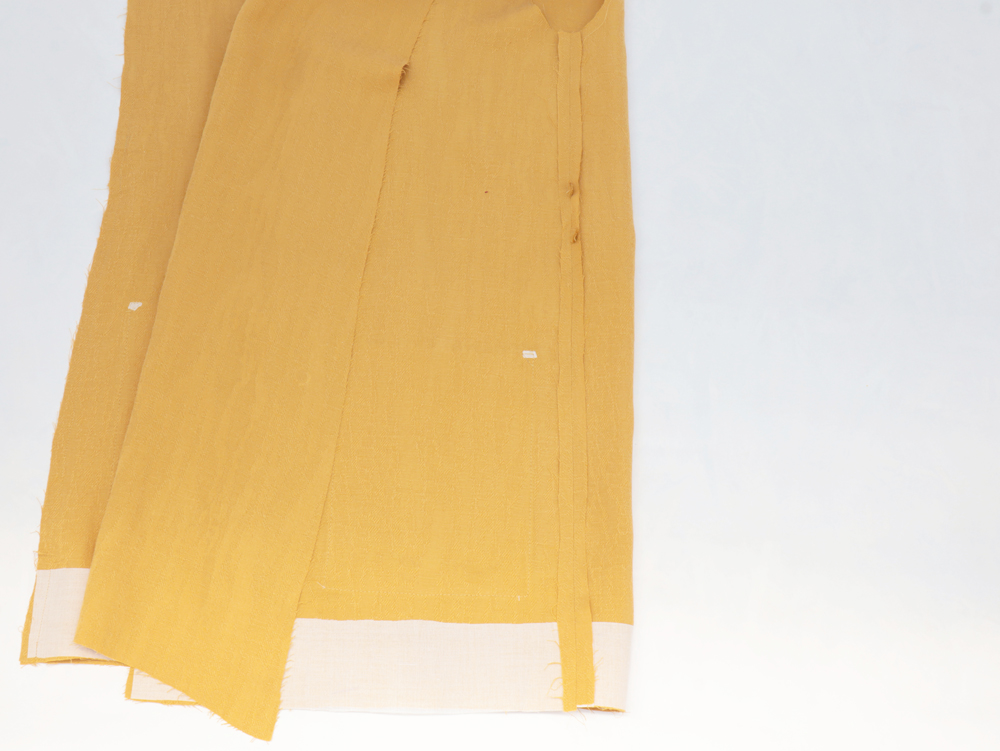
Attach the bottom of the lining and the bottom of the bodice right sides together. Stitch with a 1 cm seam allowance. Turn the jacket right side out.
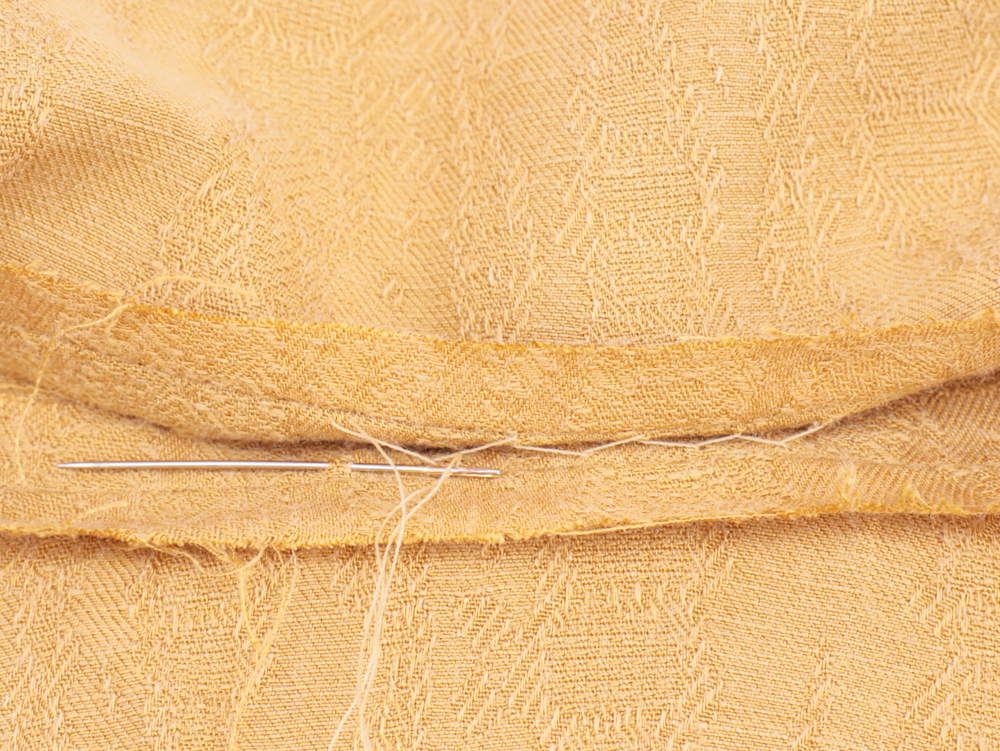
Press the pleat and the jacket hem. Handstitch the little opening between the facing and bodice.
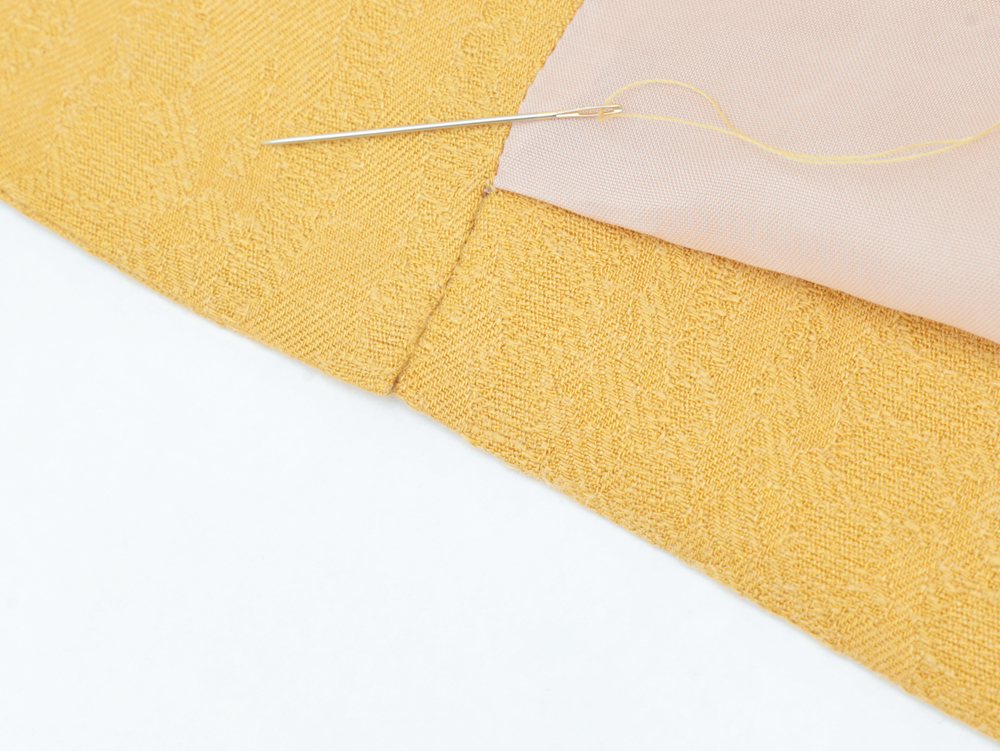
Tack the lining seam allowances to the jacket seam allowances. Give a good press to the jacket and the sleeves hems.
Close the side opening.
![]()

![]()
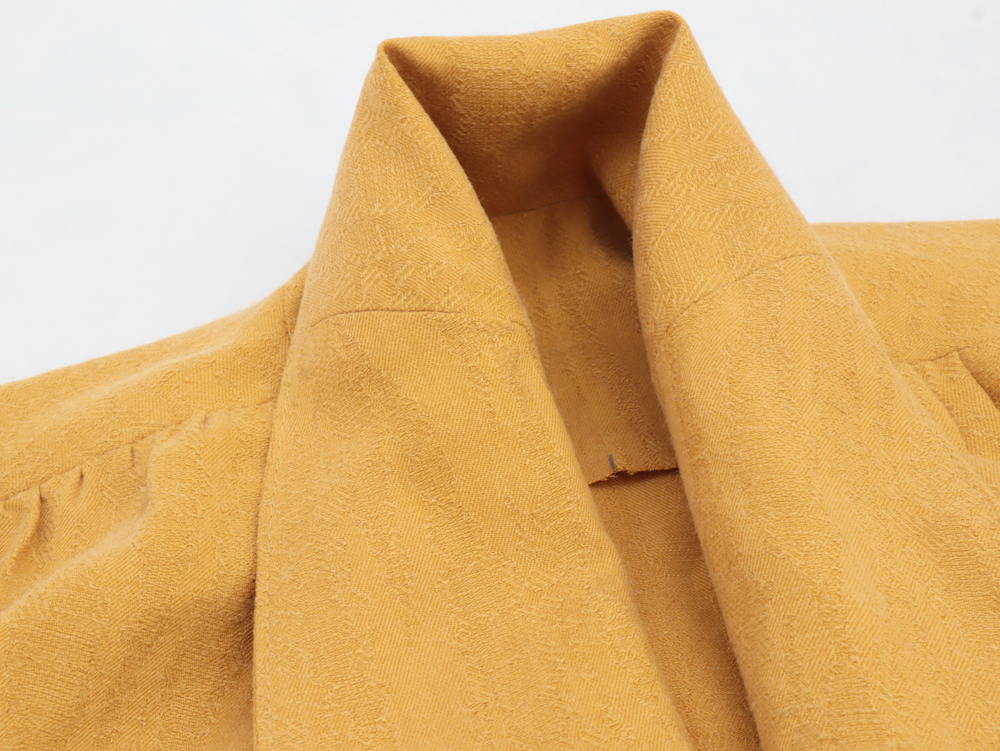
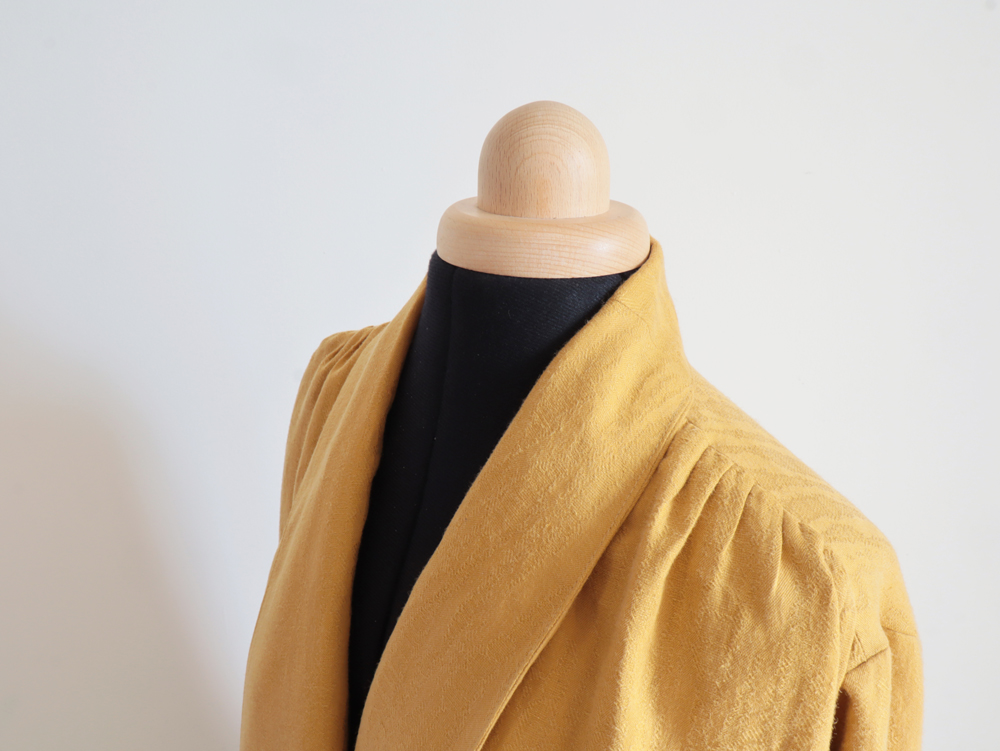
Give your garment a good final press and wear it with pride!
![]()
Comments
No comment at this time!
Leave your comment