Sew along: the Jazz overalls with knife pleats

Welcome on the Jazz overalls with pleats (instead of gathers) sew along ! This hack is very easy to acheive. Sew along with us as we walk you through making theses beautiful overalls with knife pleats. Knife pleats are folds of fabric that are pressed in one direction on the right side of the fabric. They may be used in small numbers as a style effect or for an entire part of a garment. They may be soft or pressed crisp, depending on the style required, and may be stitched down or hang free. They can also be spaced further apart or go in two directions.
This hack was inspired by Emilie from the blog Mgplusplus. She made herself some Jazz overalls with pleats instead of gathers a few weeks ago, I loved it and decided to contact her to ask if she could make a tutorial for my journal and she said yes!
![]()
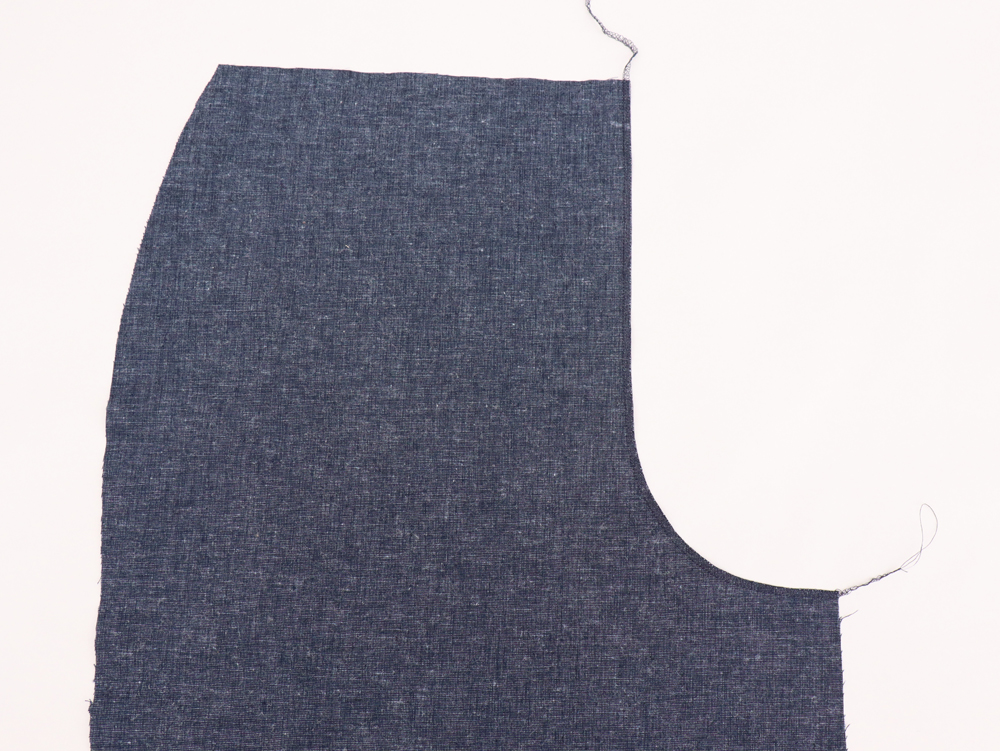
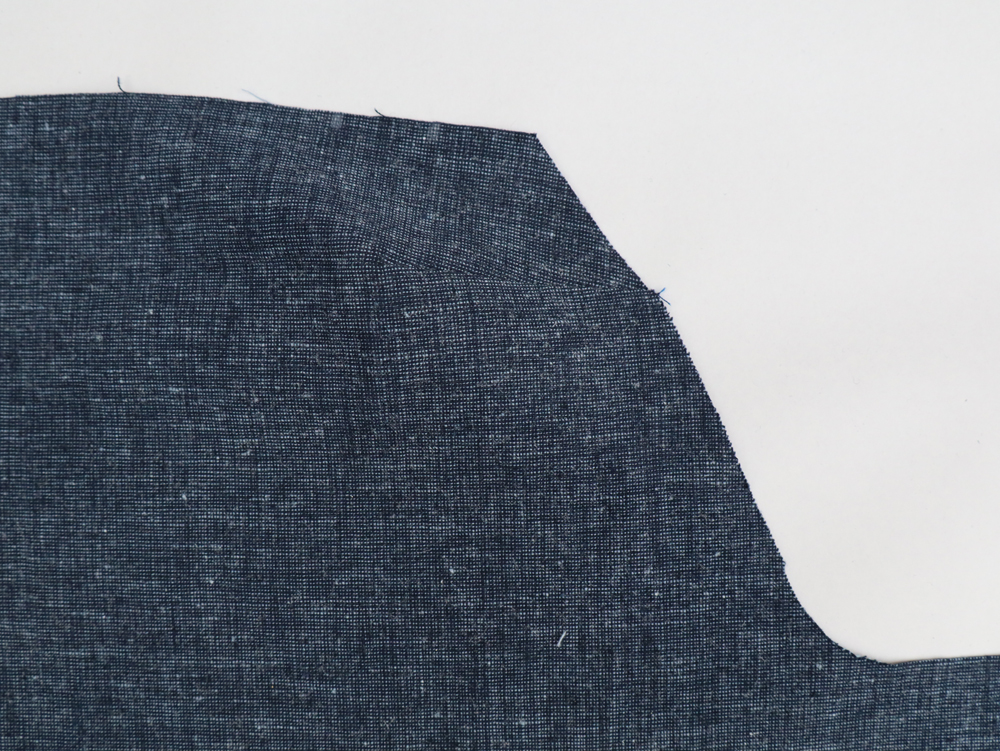
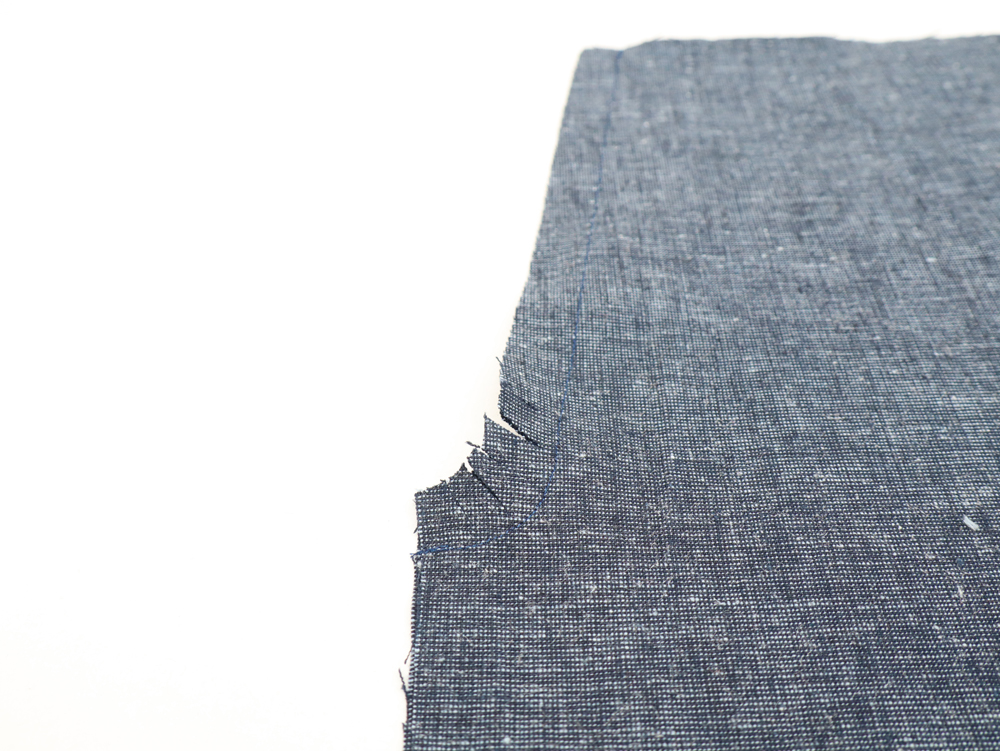
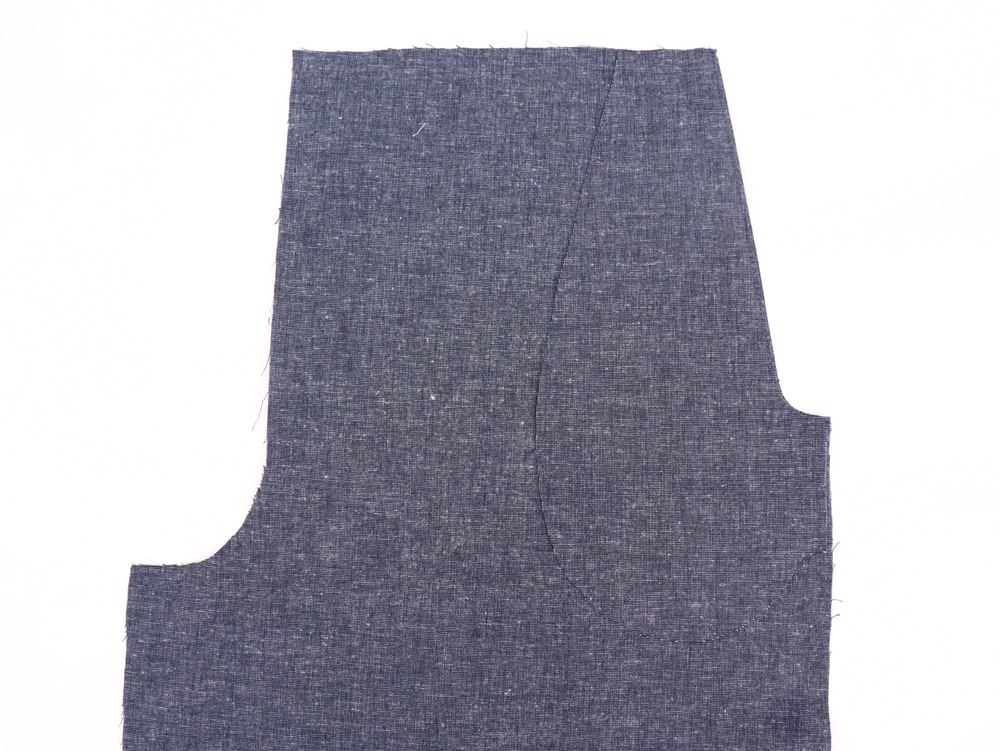
Just to double check, did you trace the right pattern piece for the back leg using the black curved line on the pattern?
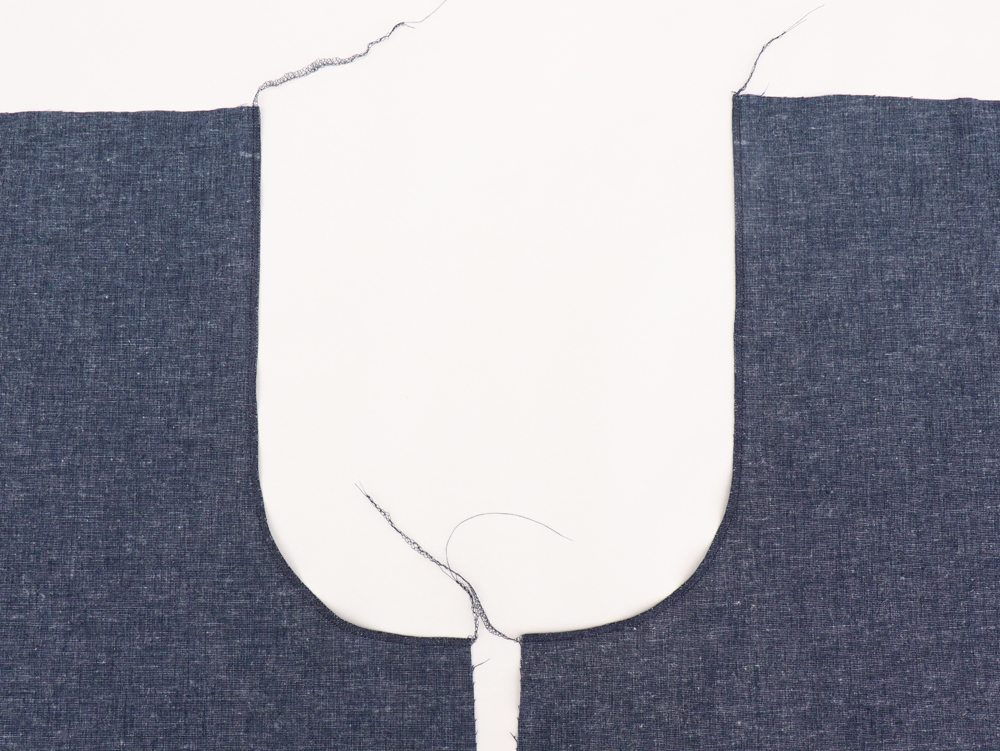
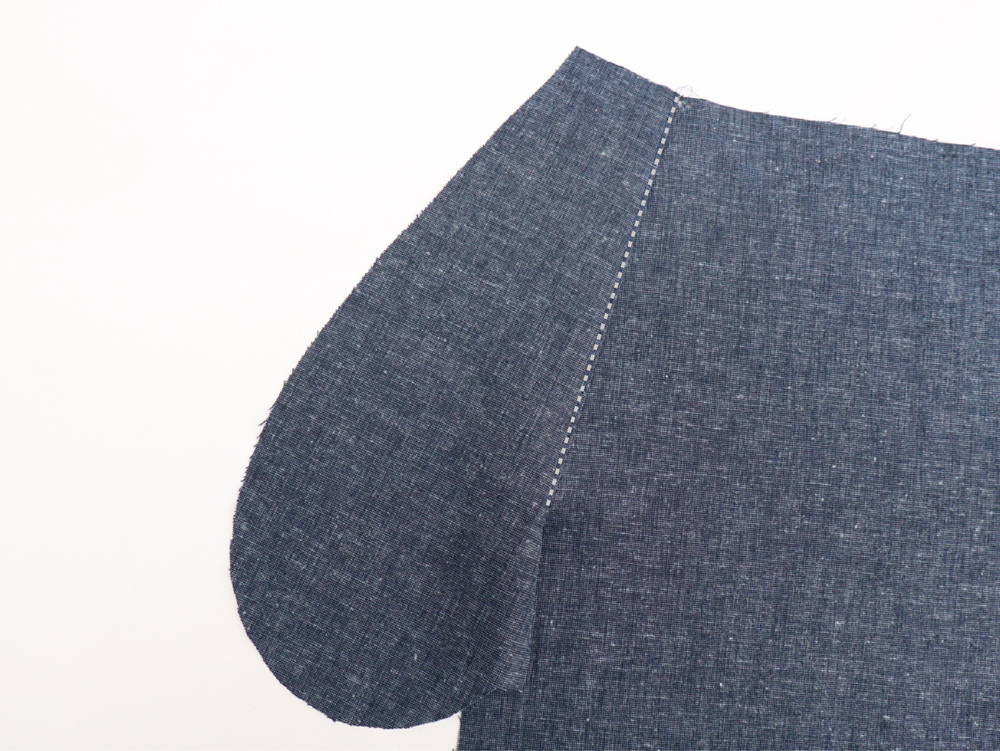
Serge the center back pieces.
![]()
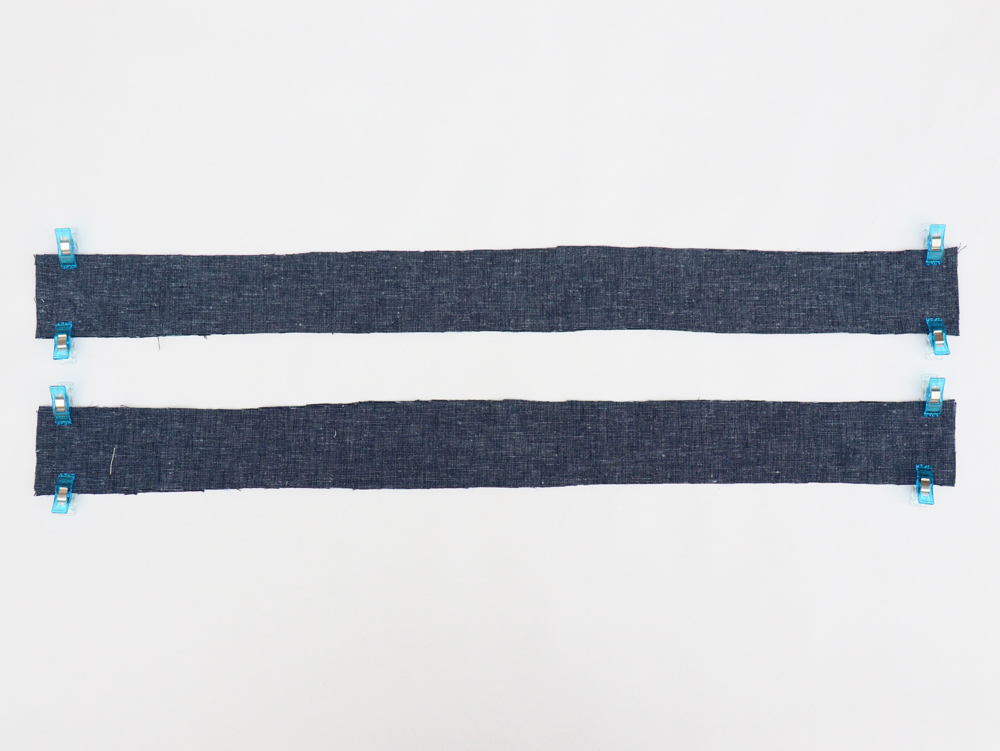
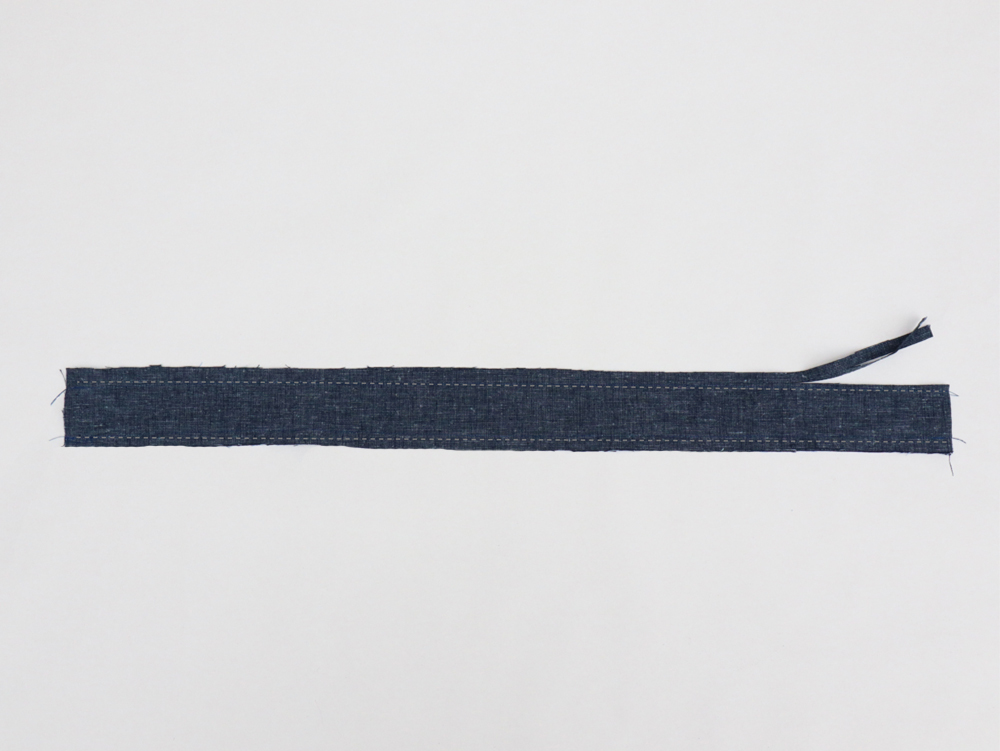
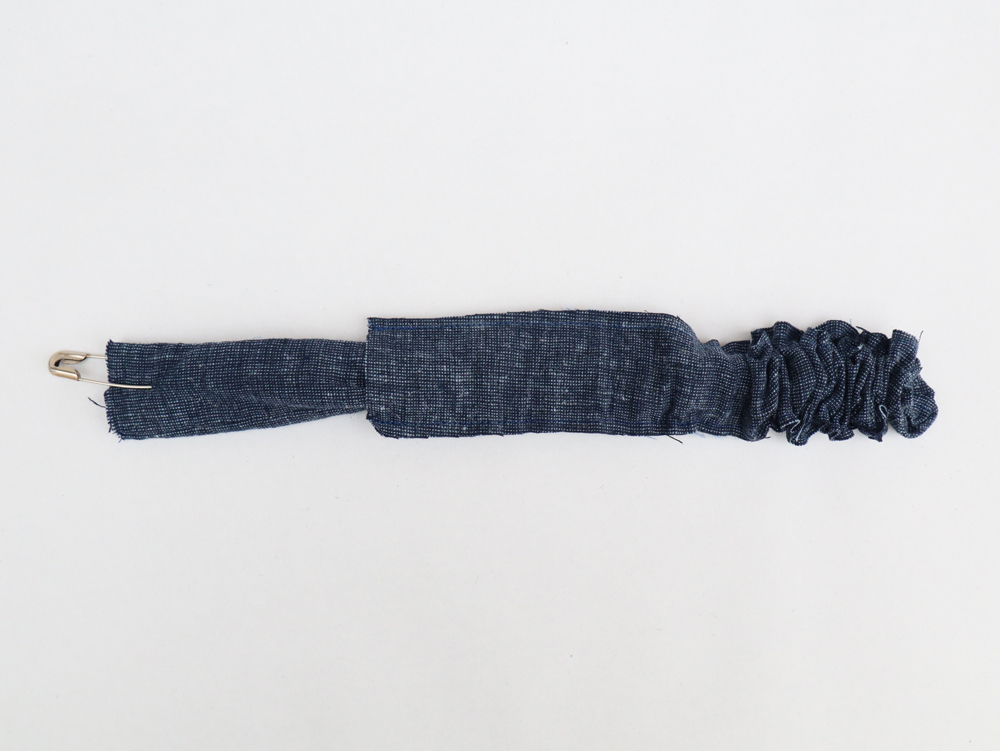
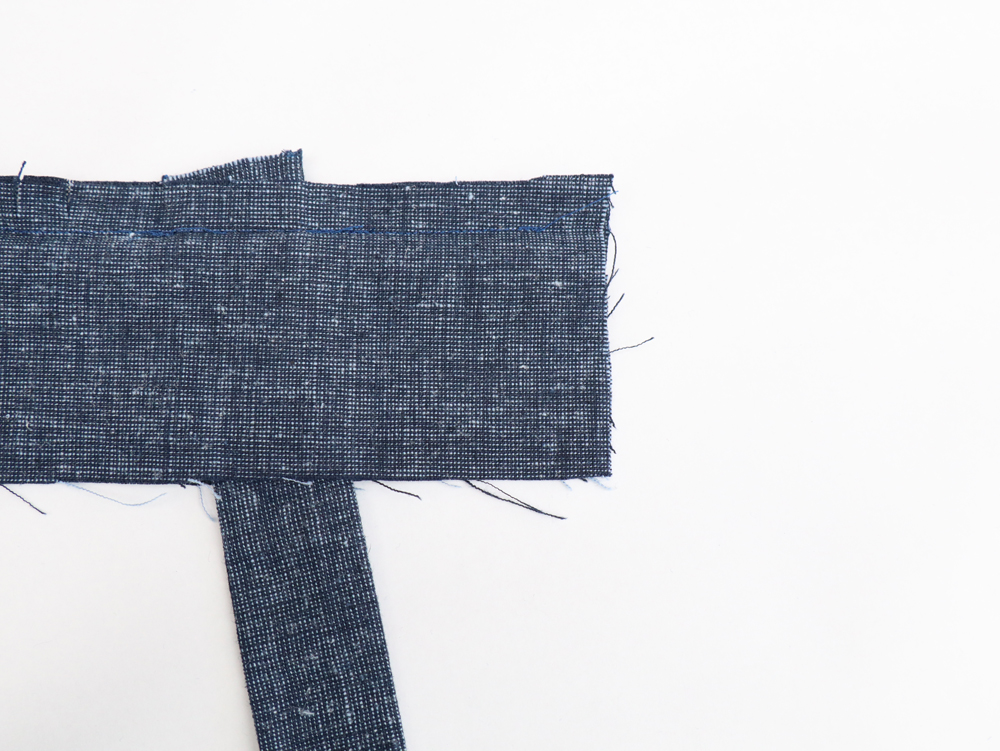
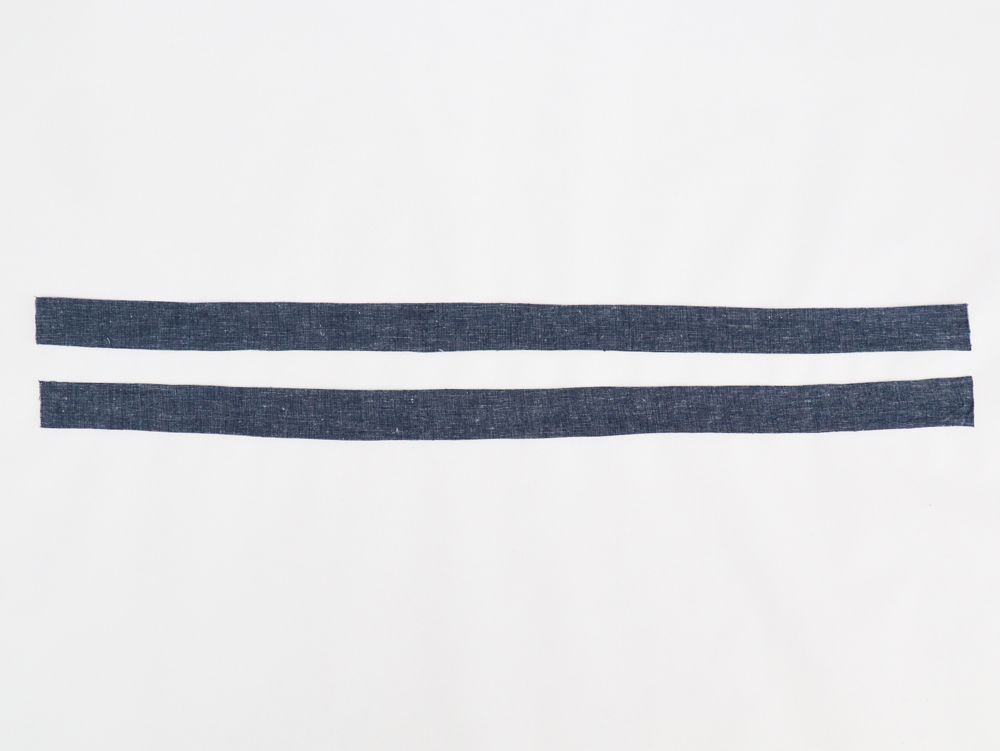 Sew the two bib straps right sides together. Trim seam allowance to 5mm. Turn you straps right side out using a safty pin. Pierce the fabric about 6mm away from the edge. Turn the pin around so the head of it is inside the fabric. Start pushing the safety pin through the tube of the fabric to the other side. Once you've gathered enough of the fabric, you'll notice that the gathers at the very end have started to fold in on themselves. Pull of the very ends of these folds to get that fabric to turn right side out and allow you to gather more fabric on the safety pin. Press.
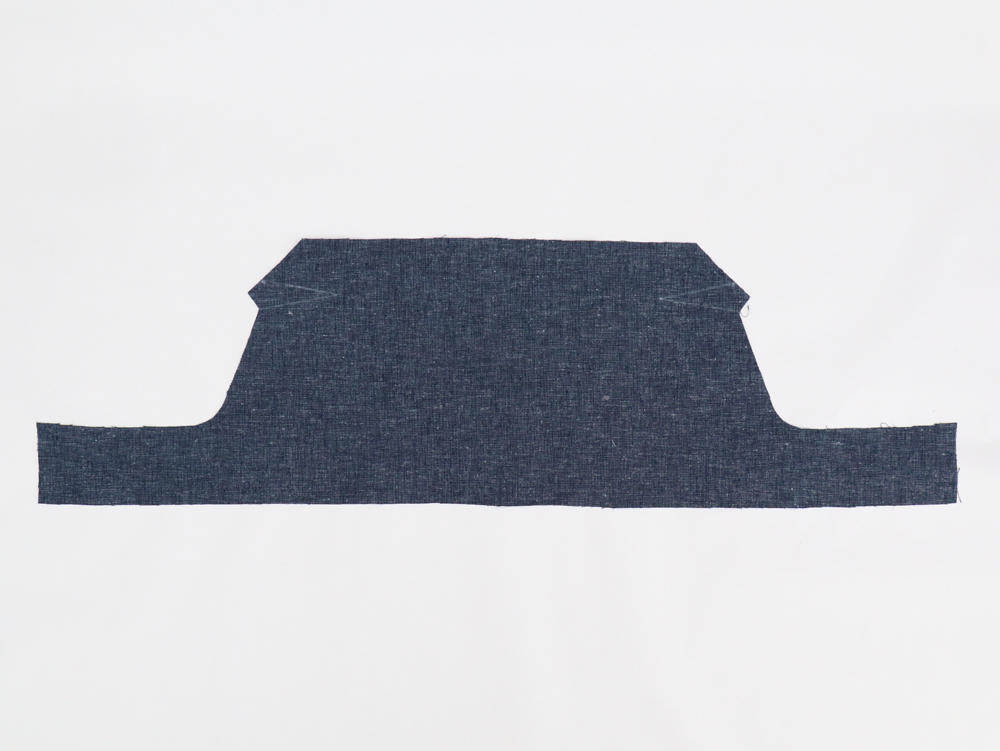
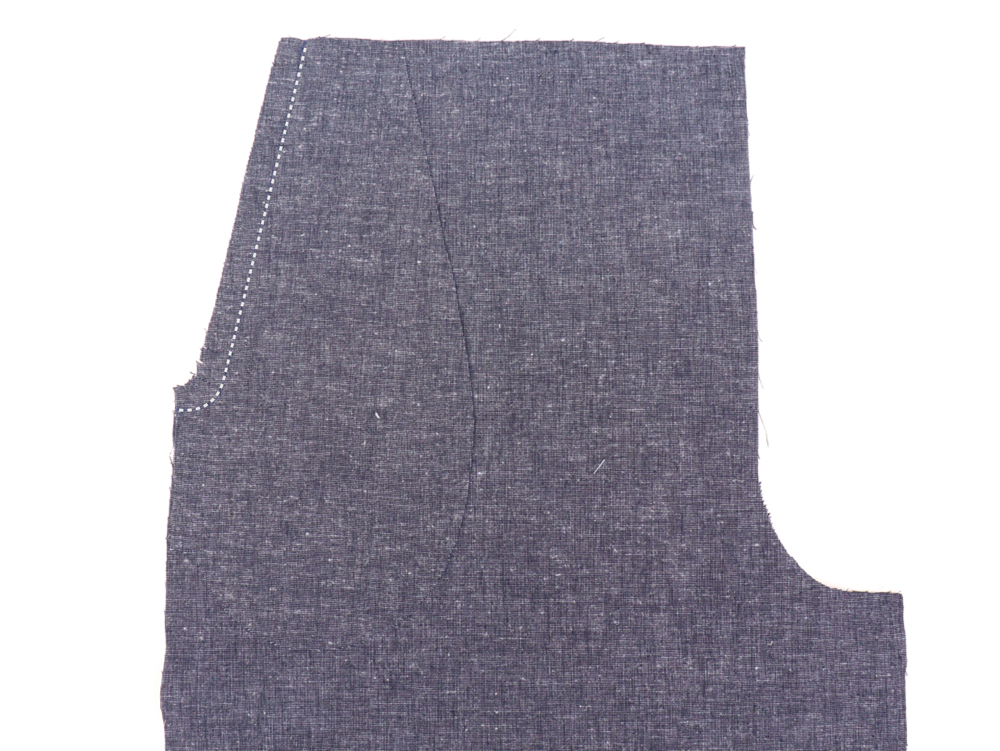
Wrong side of the fabric facing you, draw the dart (with tailor’s chalk or a fabric marker)
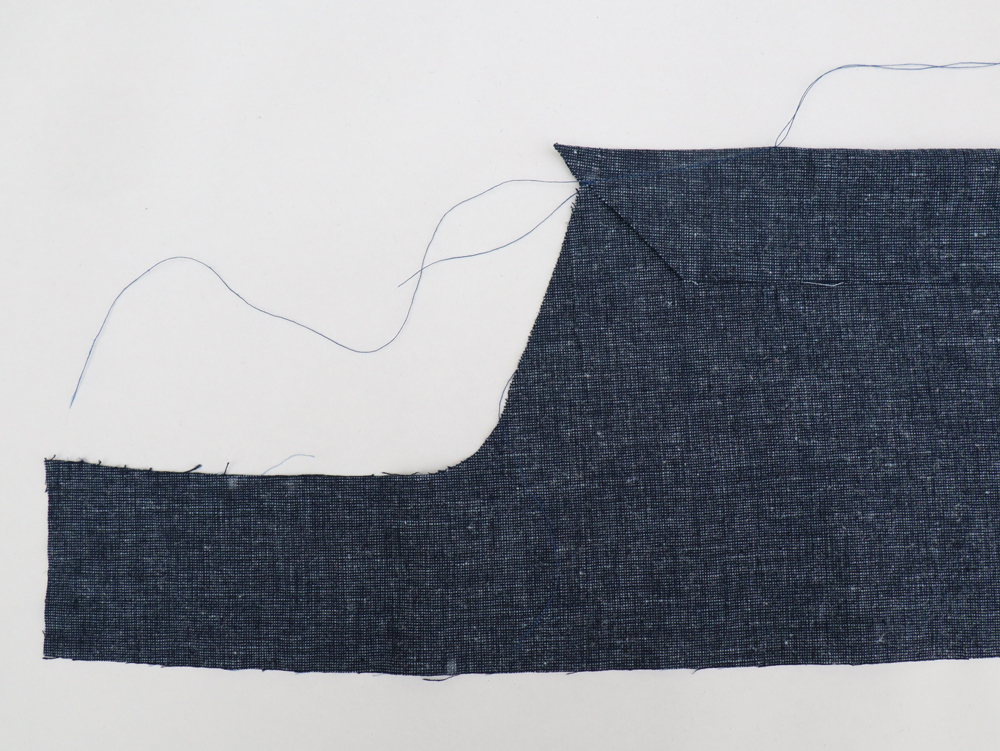
 Fold the dart using the center line and matching up the side lines. Lightly pin in place. Wrong side of the fabric facing you, draw the dart (with tailor’s chalk, fabric marker or Slowly sew along the marked line starting from the edge of the fabric moving towards the top of the dart.. After sewing off the fabric, leave a long thread tail. Knot the tail close to the edge. This keeps the thread from coming undone. Take care not to pull the knot right against the fabric as it will cause puckering just as backstitching at the end will. Press the darts towards the bottom.
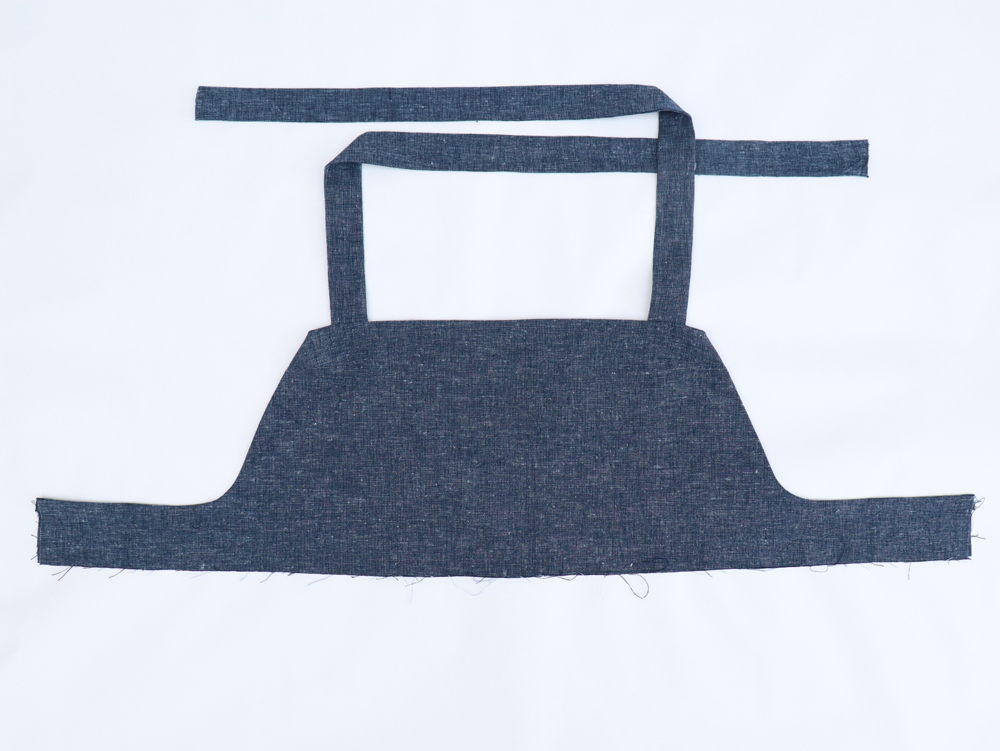
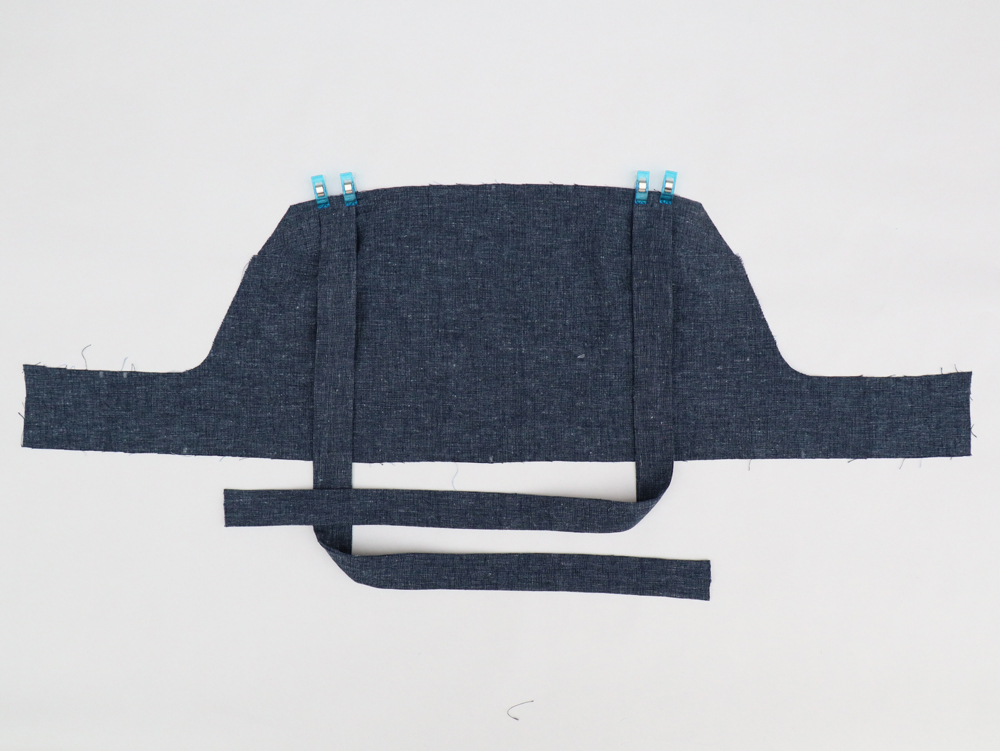 Pin the straps to the bib following the markings, right sides together.

 Pin the bibs right sides together keeping the straps in between. Start and stop your stitching line 25 mm from the edges. Leave an opening in between the markings to insert the straps ends later.
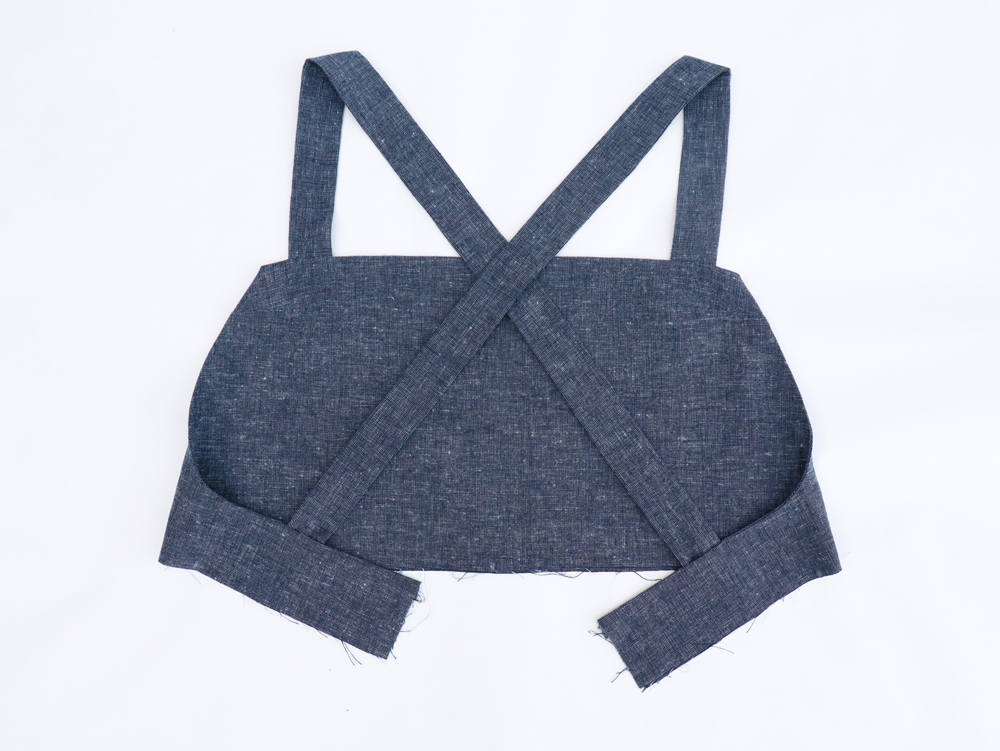
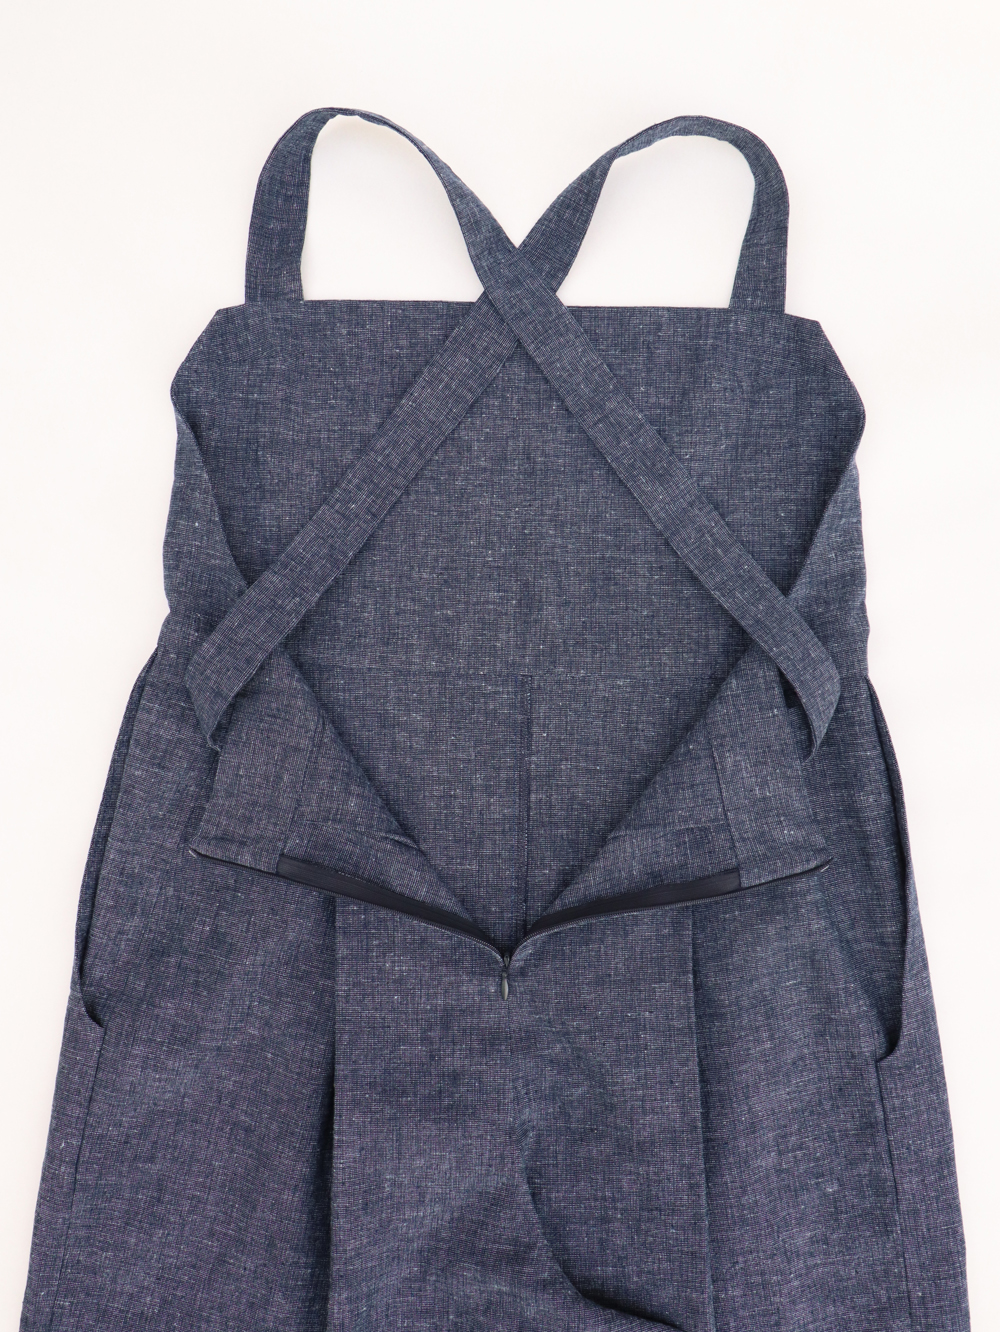
 Turn right side out and press. Cross the straps at the back and insert the ends into the back openings. Pin the straps ends and stitch in place. You can baste stitch first to be able to adjust the straps length later.
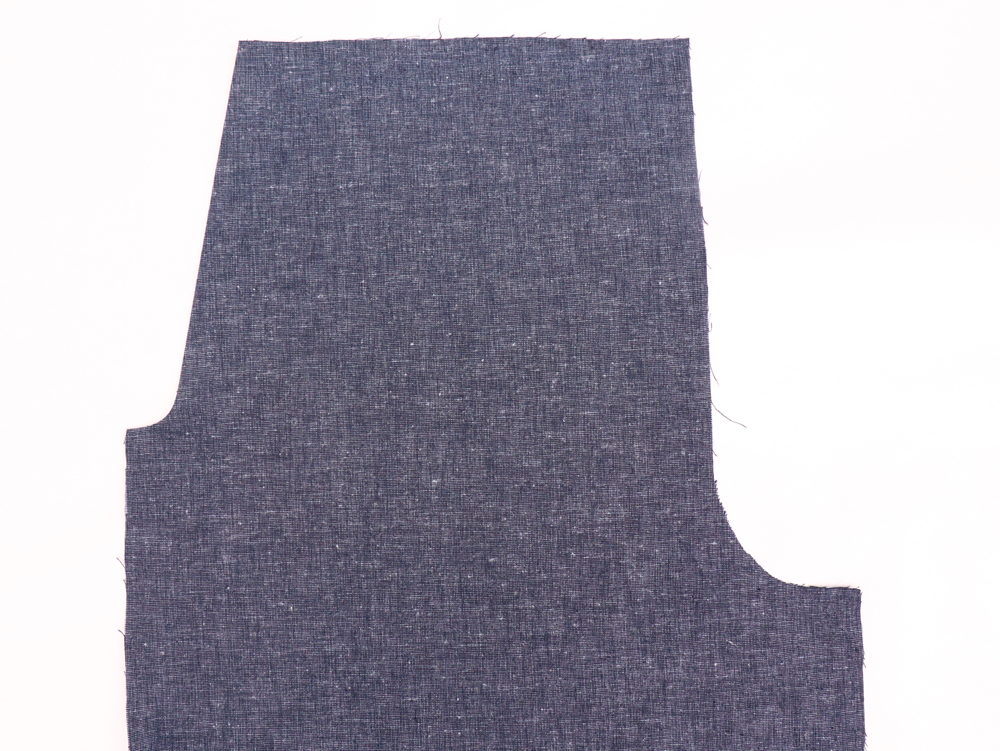
 Place pocket facing on front leg/skirt piece, right sides together. Sew along the pocket entrance. Clip the curves.
 Understitch the seam allowances towards the facing.
 Press the pocket facing to wrong side of the leg.
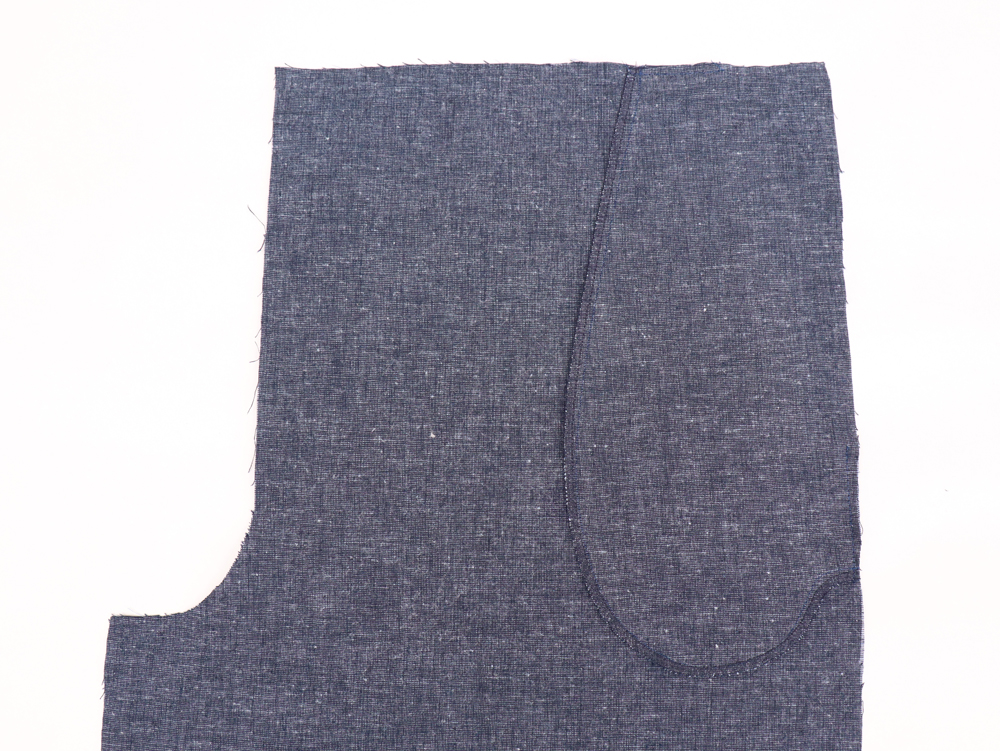 Now with the wrong side of your leg facing you, lay on the pocket pouch piece - right side of the pocket pouch facing the right side of the pocket facing. Pin along the outer curve. Stitch into place the two pieces together. Serge the seams together.
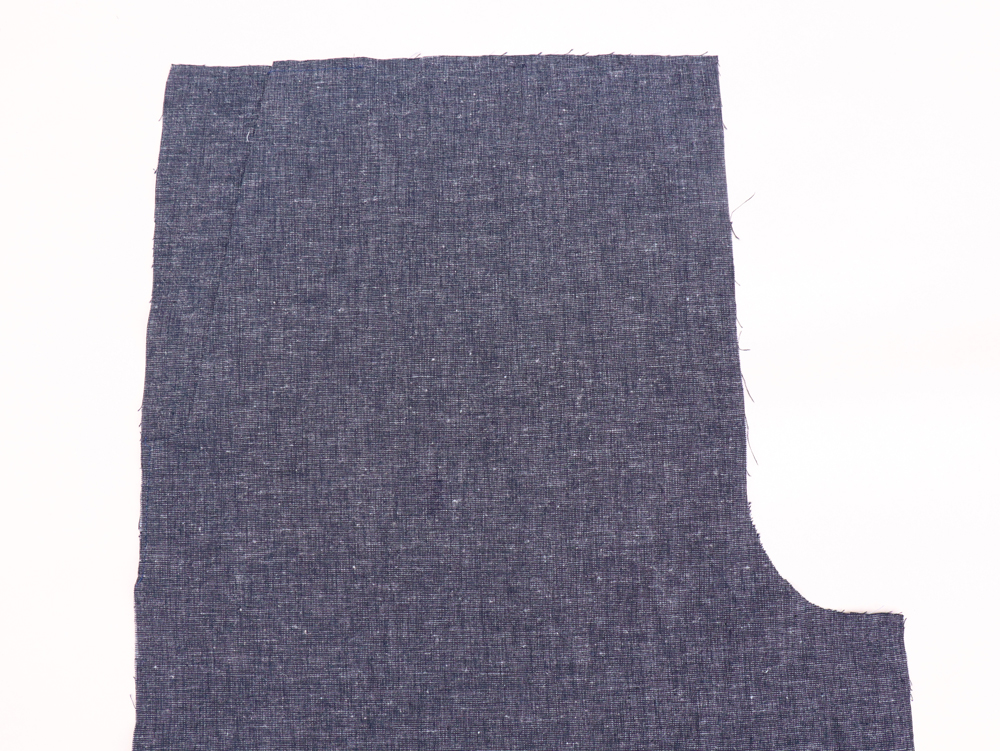
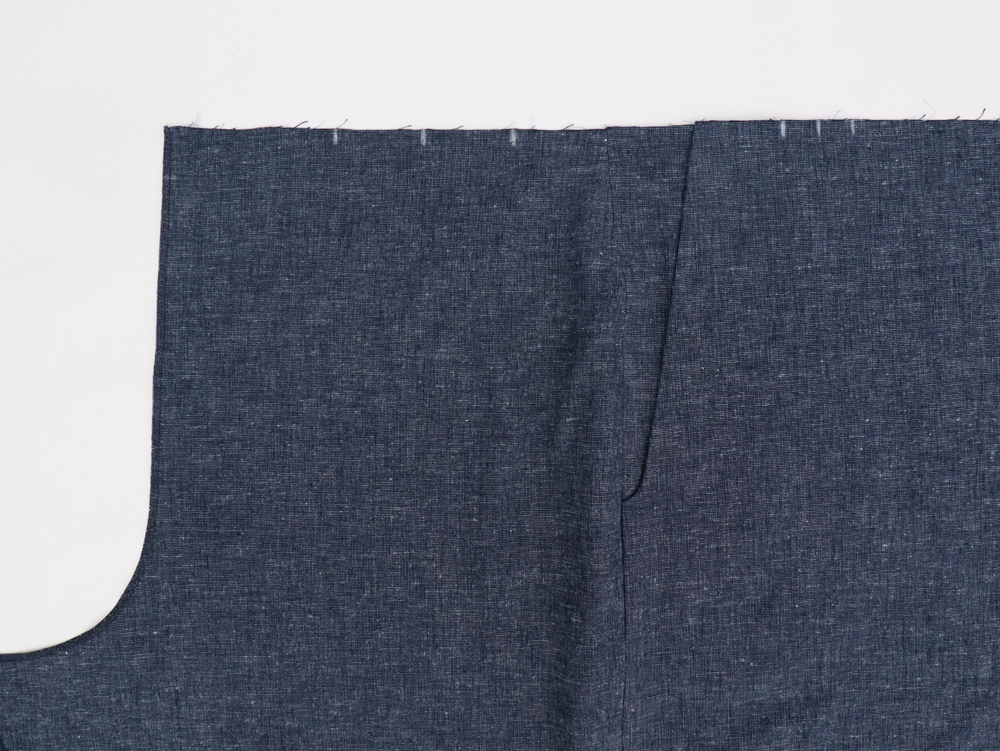
Baste the pocket pouch to the leg along the waistline and down the side seam, making sure that the pocket and leg panel are smooth and flat.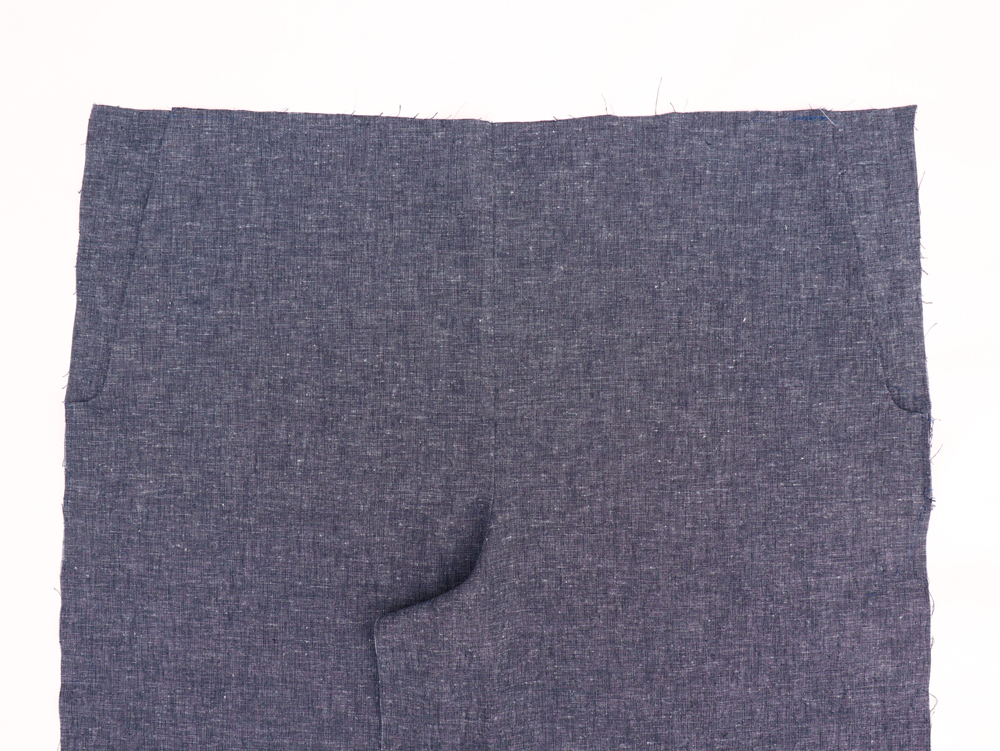 Align the two front parts right sides together and pin from the crotch point up to the waist. Stitch into place. Serge seams together and press towards the left.
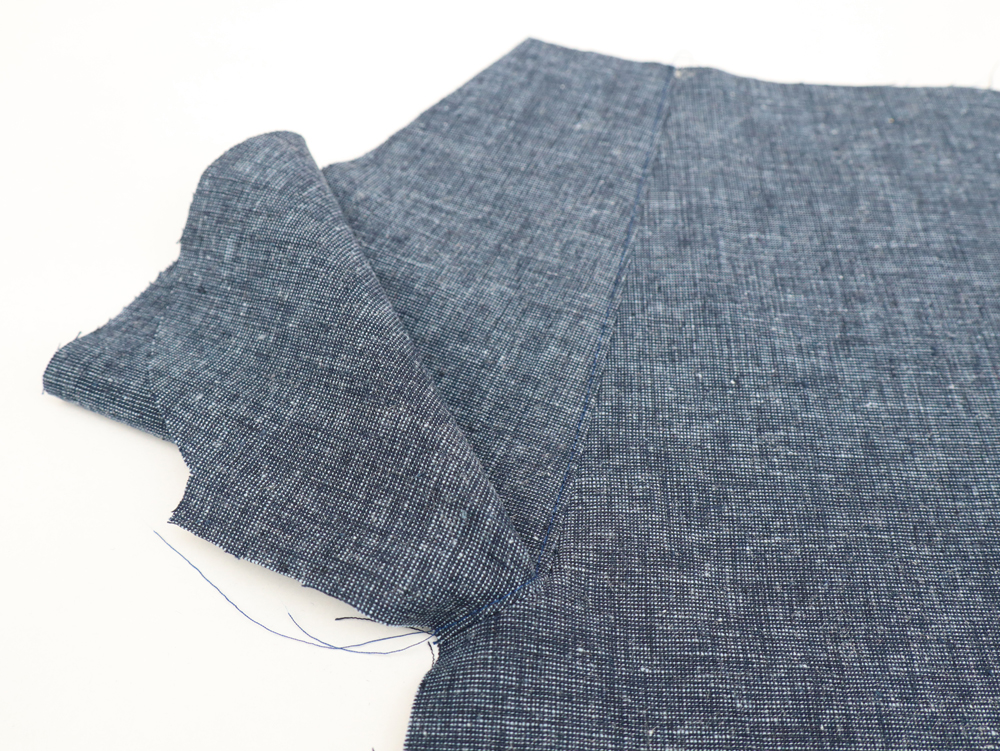
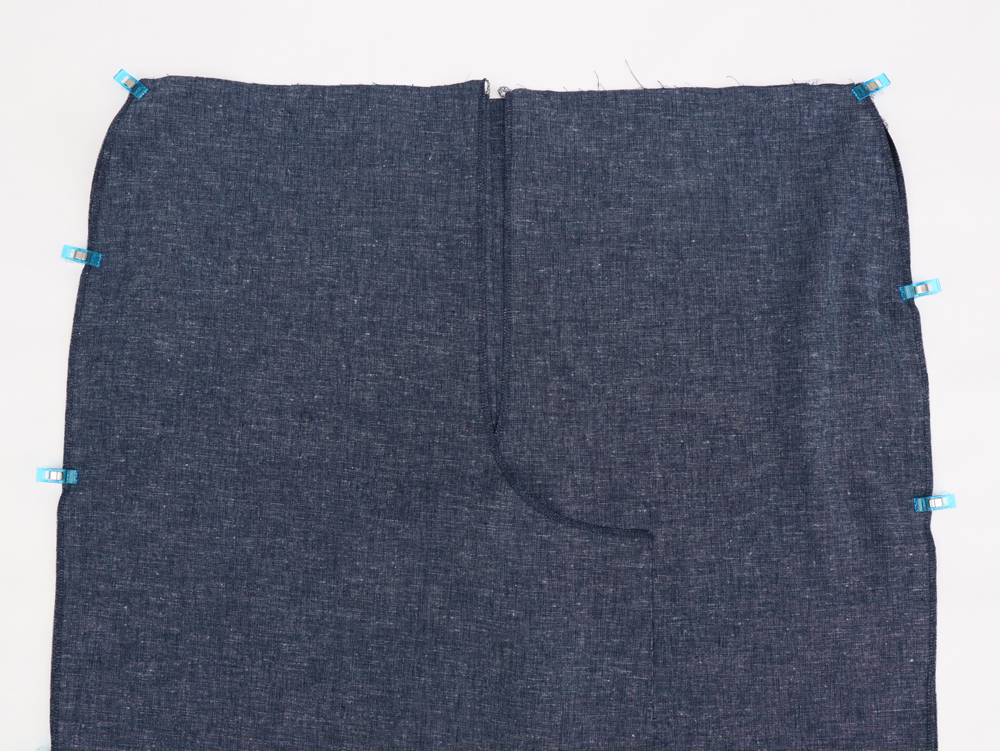 Align the front and back legs right sides together and pin the sides. Stitch into place. Serge seams together and press towards the back.
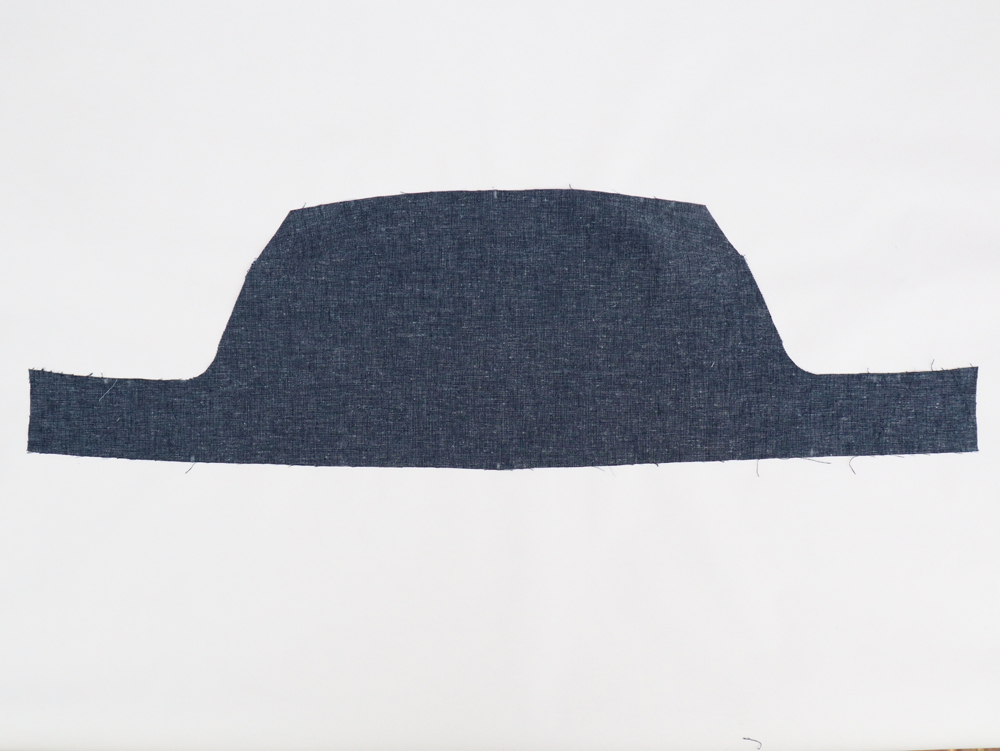
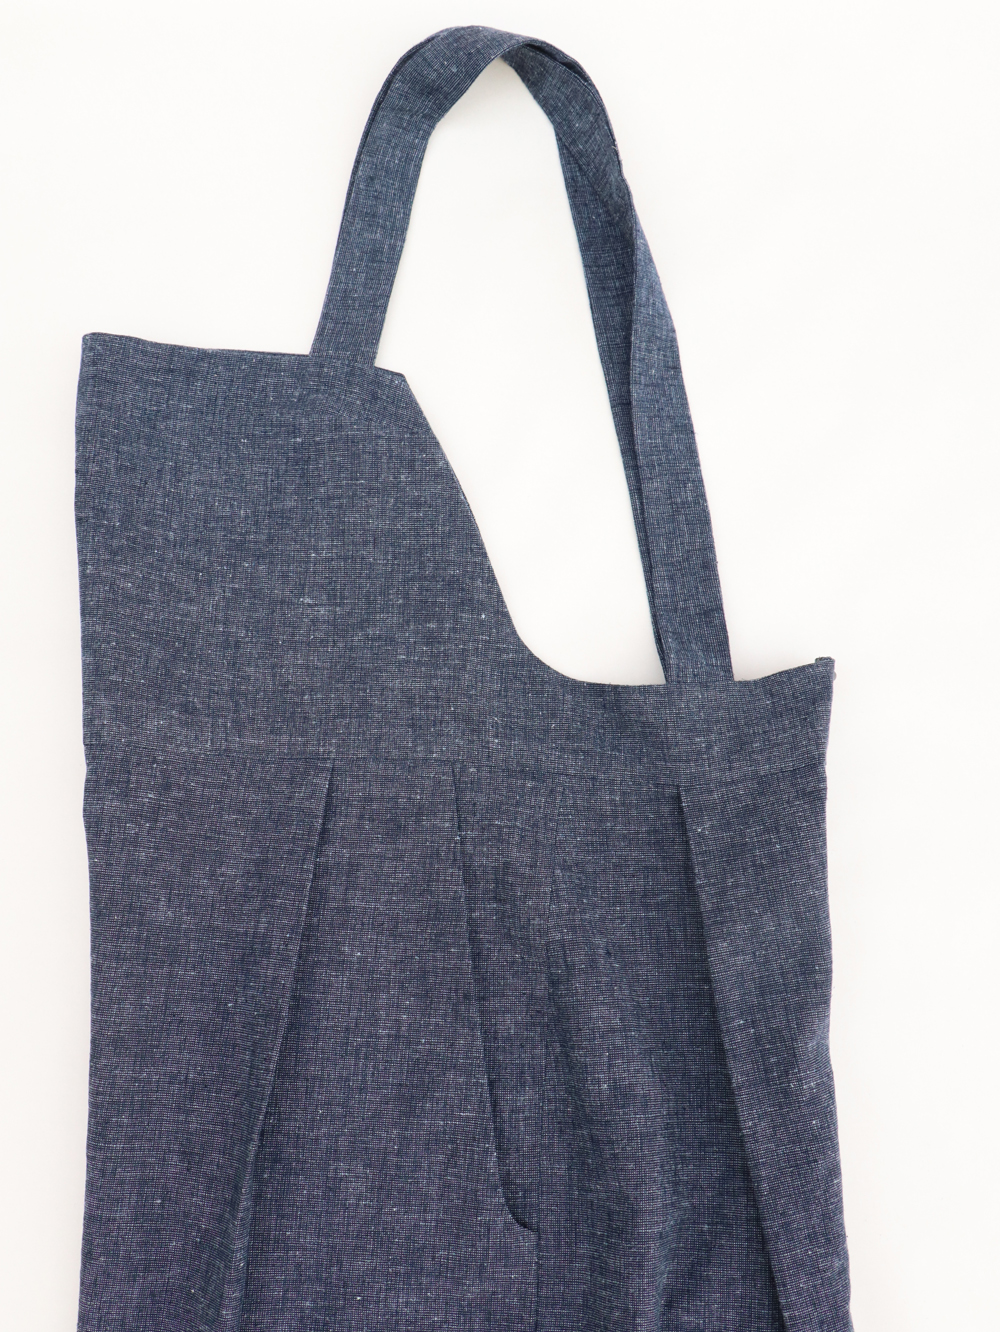
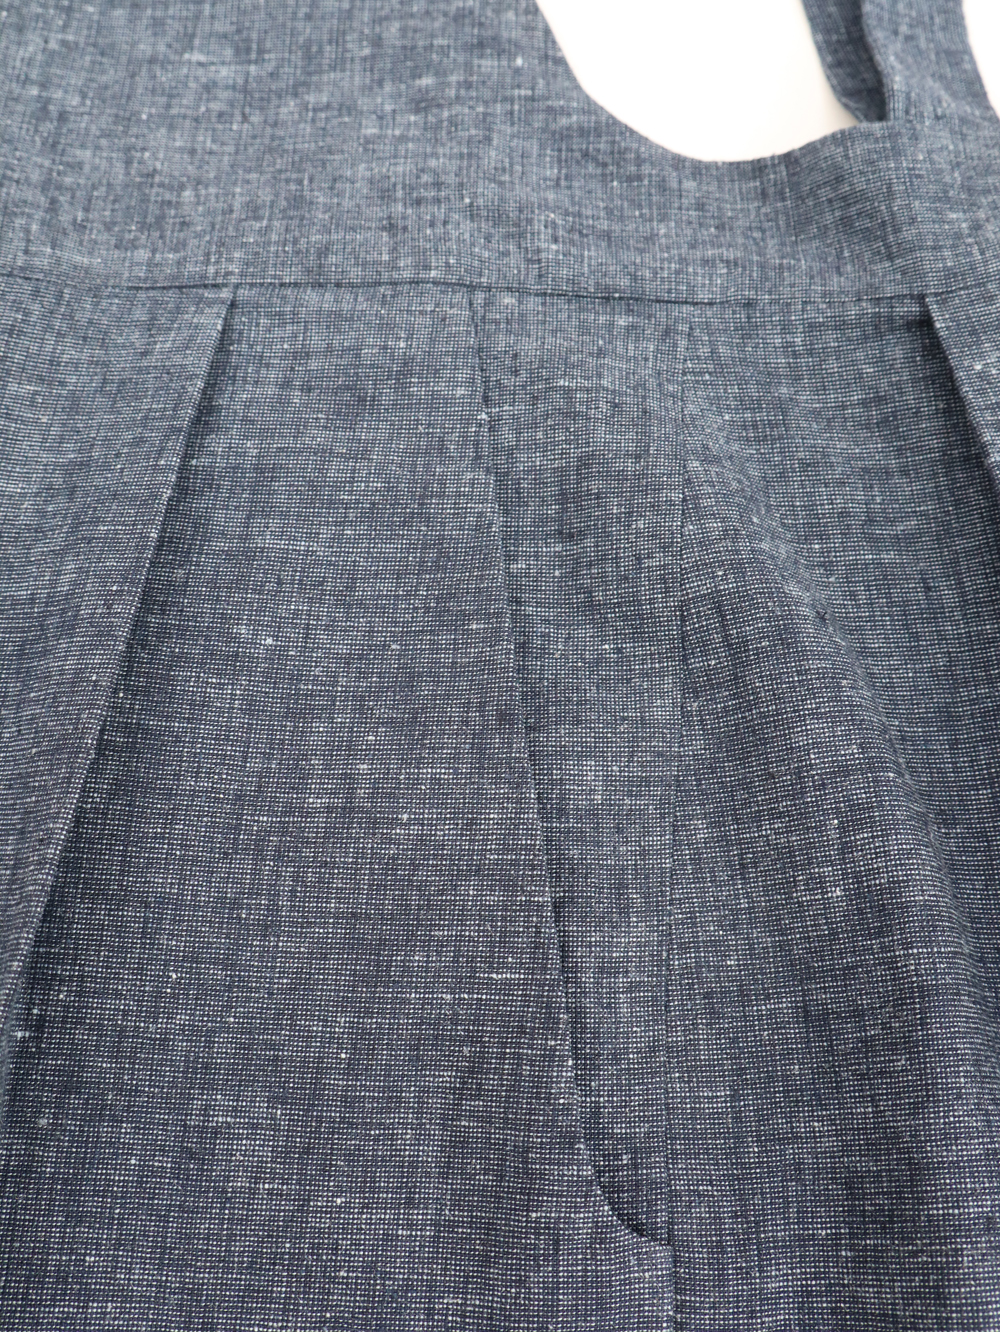
 Measure the difference in lenght between the half front bodice waistline (from side seam to center seam) and the half front bottom waistline (from side seam to center seam). The measurement you find will be the depth of your front pleat, divide this measurement by 2. Mark the center of the half bottom with a chalk on your garment, this will also be the center of your knife pleat. Mark the fold line and placement line (the edges) of the pleat with a chalk. Repeat for the other front half and for the back.
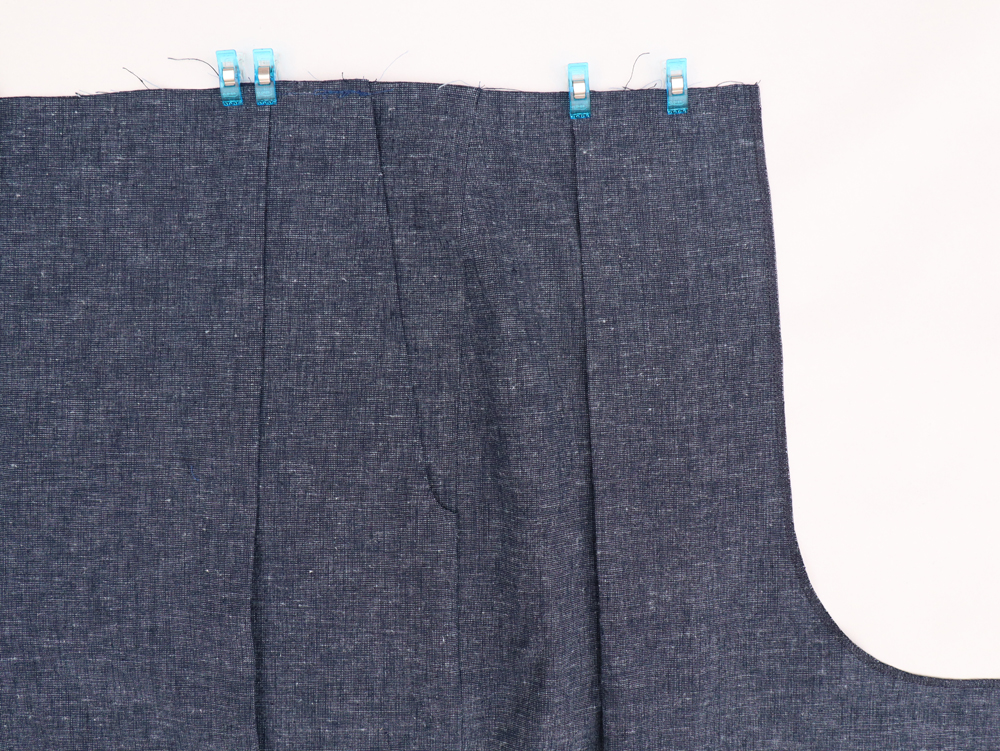 Fold the first mark (fold line) to the third mark (placement line) to form the first pleat. When your pleats are all formed and pinned in place, and you’ve doubled checked that it all measures up and fits your bib, take your fabric to a sewing machine and run a line of straight stitching to baste them in place. Sew about 5 mm away from the edge, taking out the pins as you go. You’ll remove these basting stitches once you have your seam in place.
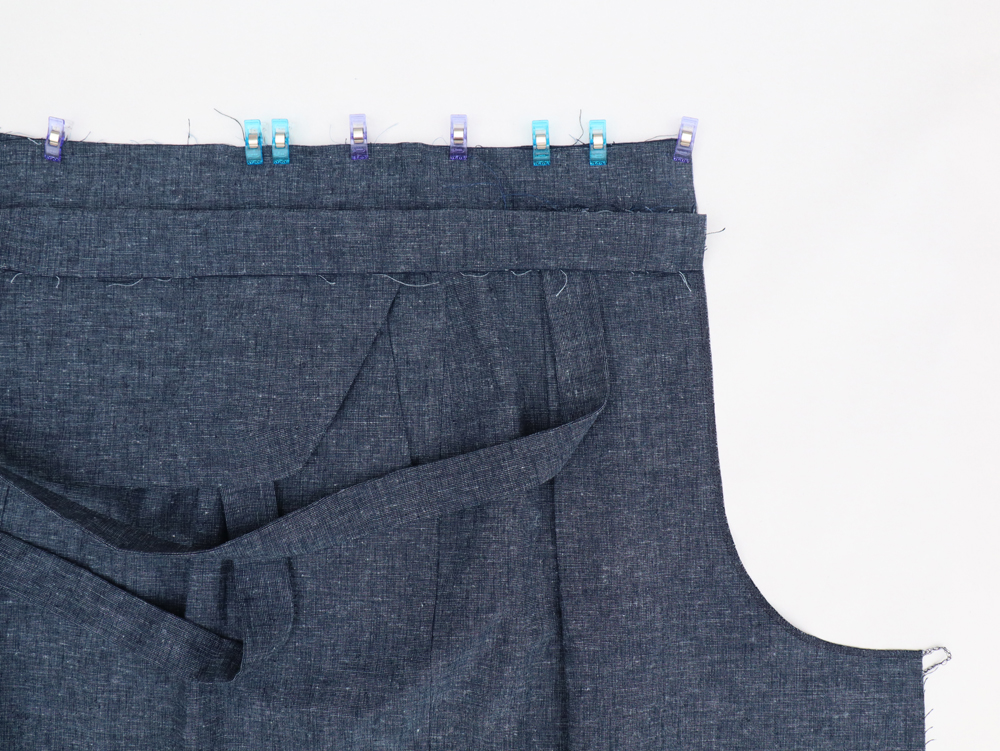 Pin the pant/short/skirt to the outside bib with right sides facing matching the front, back and side seams from the pant to side markings from the bib. Stitch in place along the waist. Remove basting stitches. Press seams towards the bib.
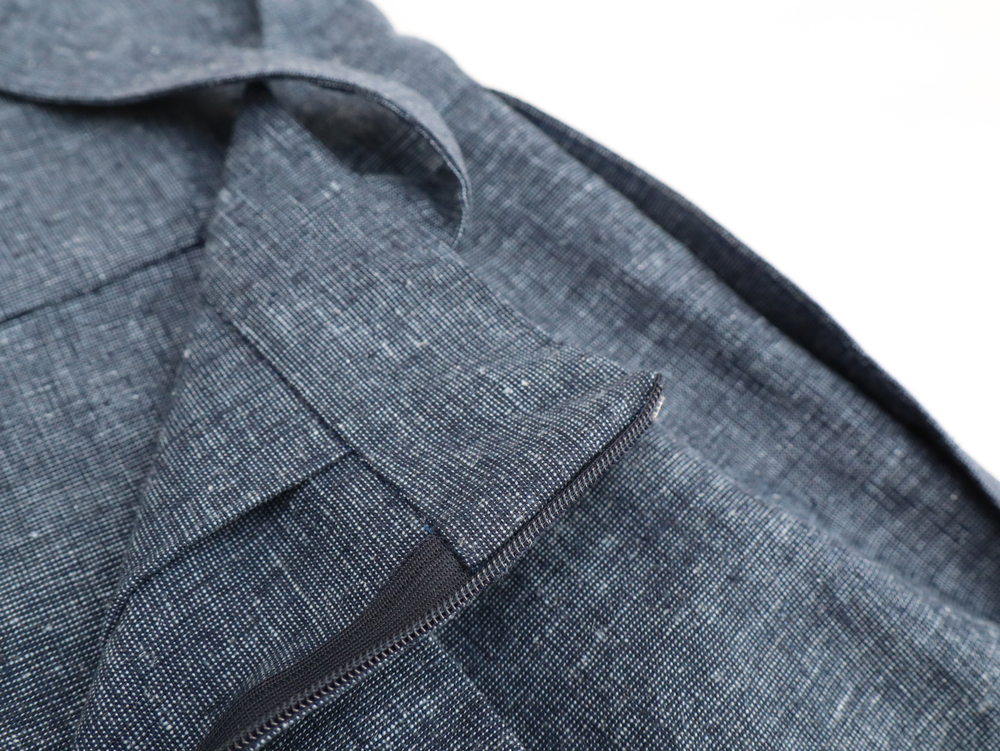
Cut the zipper at 17cm. Lay your garment right side up, facing you. Place the zipper face down on the fabric.
TIP: You'll want to gently press the zipper teeth away from the tape to make it easier to stitch.
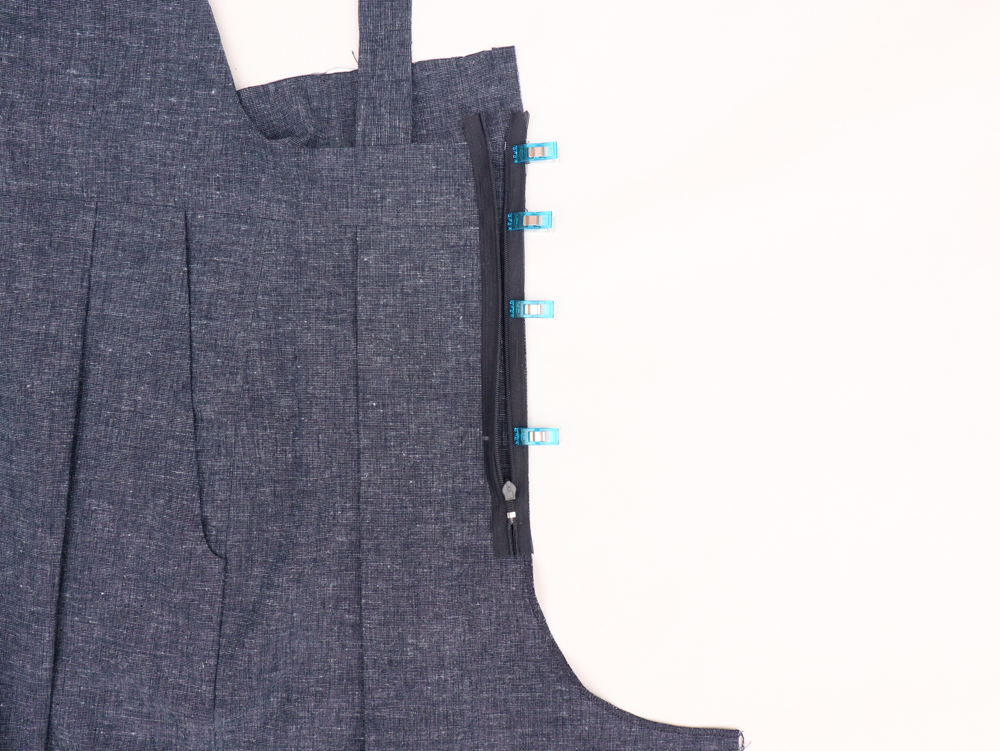
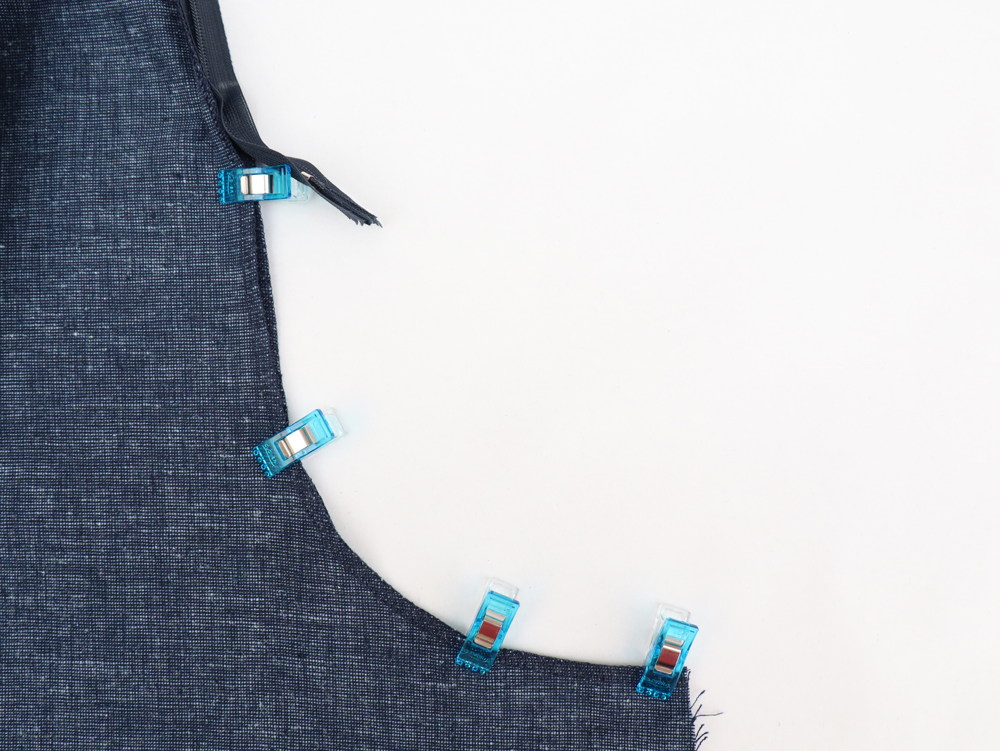
Pin the left zip tape to the left seam allowance, right sides together. Align the zip teeth with the notches. Pin and baste in place.
 While sewing, be sure to peel back the coils to make sure the needle can get as close to them as possible without actually stitching through any coils. Stitch as far down as you can. Pin the right zip tape to the right seam allowance of the overalls in the same way. Stitch.
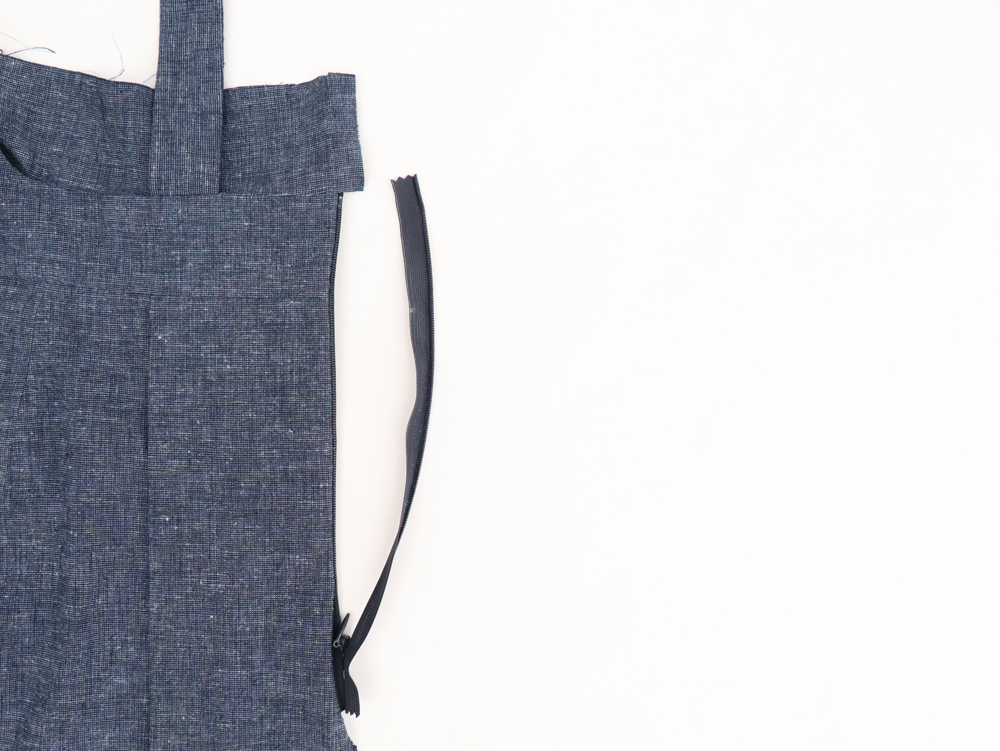
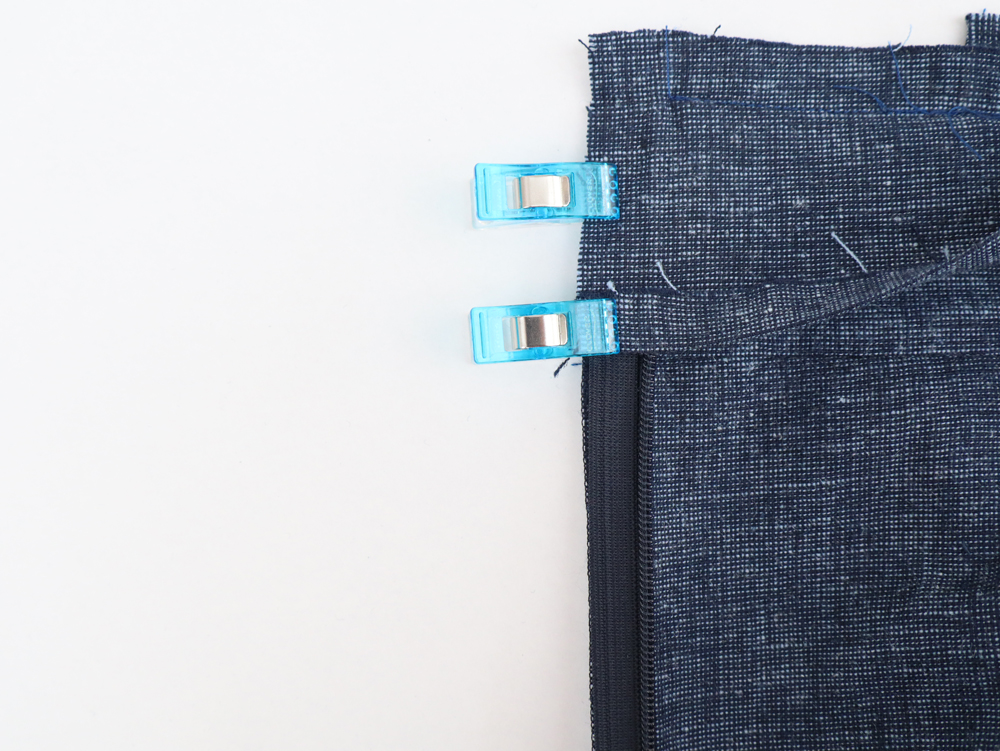
 Sew the rest of the back opening seam. Close the zip. Keeping the ends of the zip tapes out of the way, pin together the back opening seams below the zip. Stitch the seam, starting about 2 cm above the bottom of the zip, get as close as you can to avoid creating a bubble at the bottom of the zip, and sew diagonally up to the seamline.
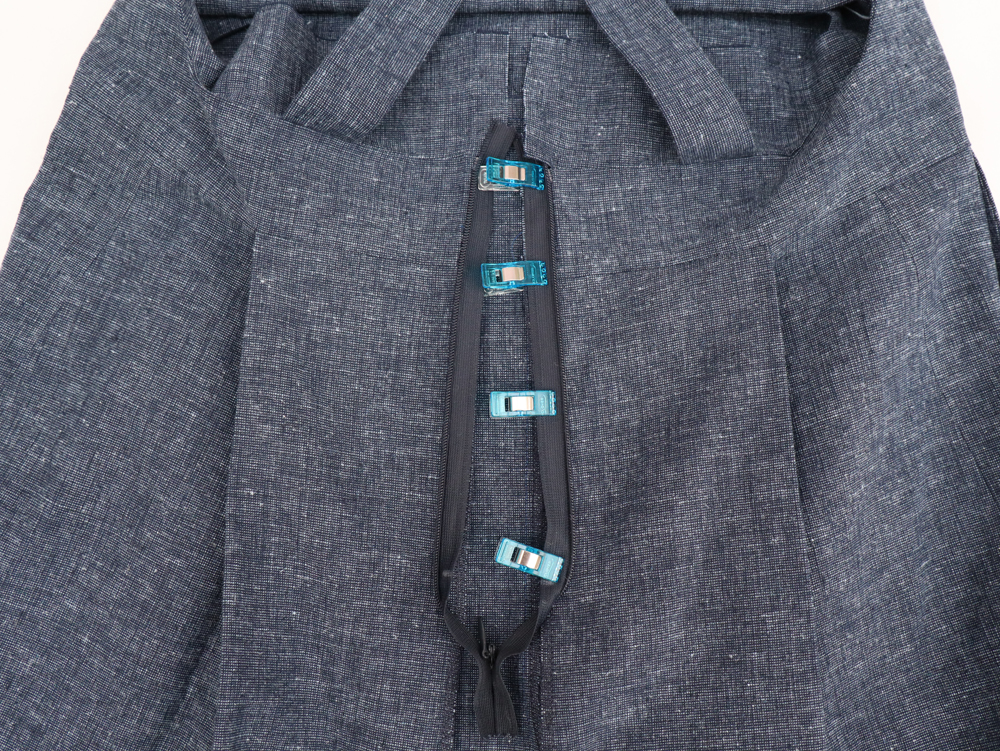
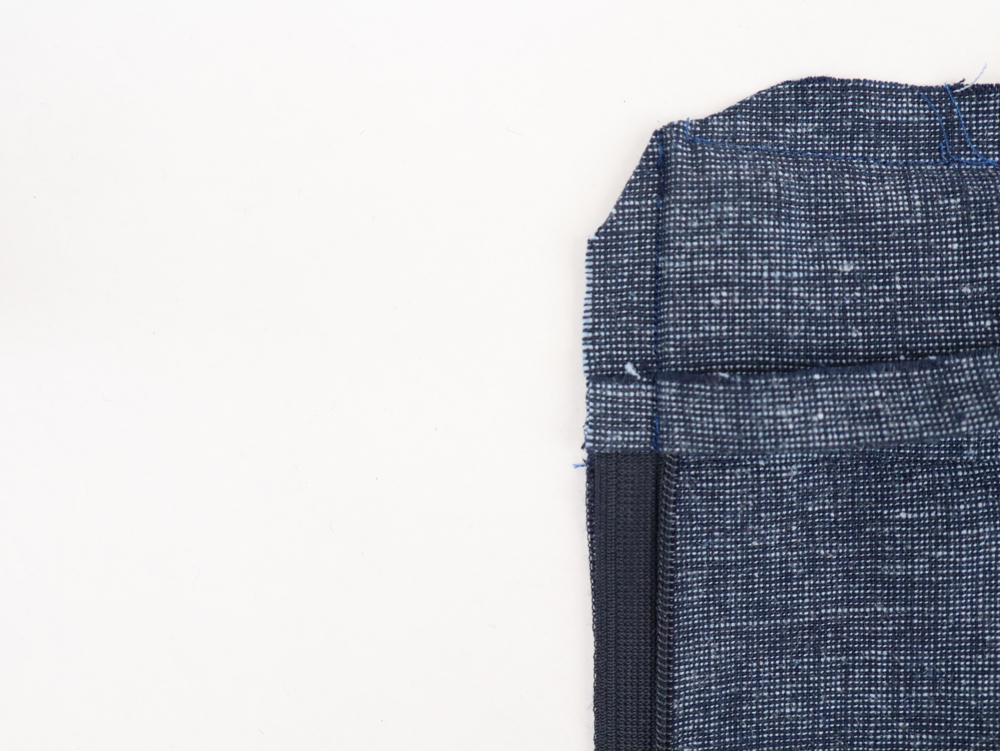 Open the zip and fold the bottom of your inside bib 1 cm to the wrong side. Press. Fold the inside bib over the back of the bodice along the back seam, right sides together. Pin the back edges of the facing to the zip tapes and seam allowances. Stitch the back ends of the facing down close to the zip teeth. Turn the facing right side out. Press.
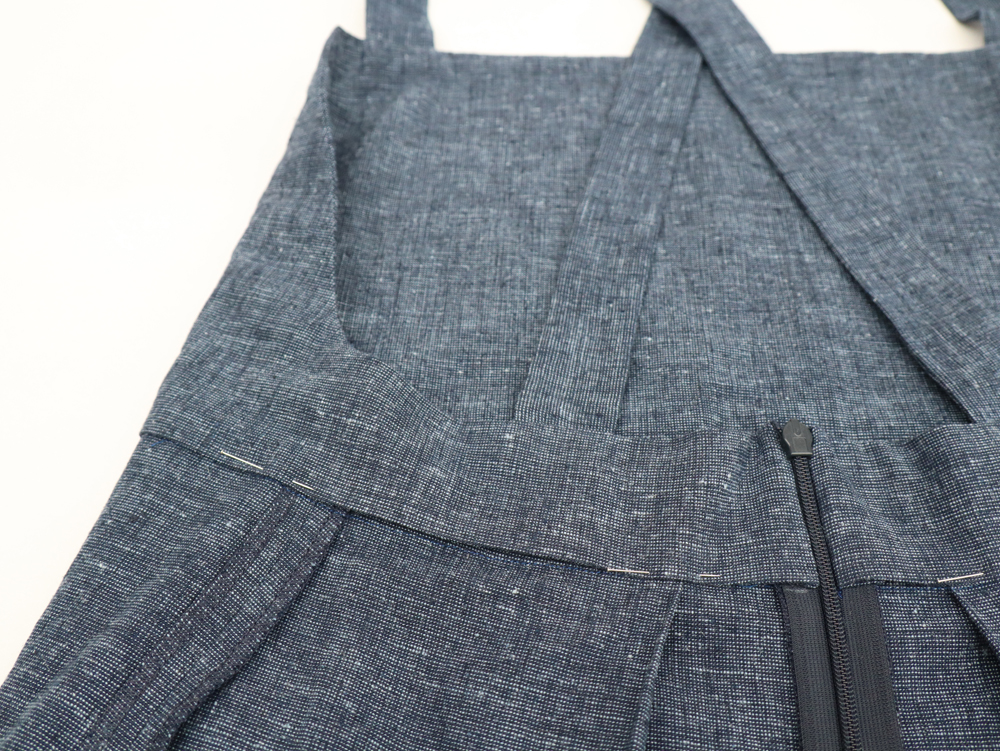
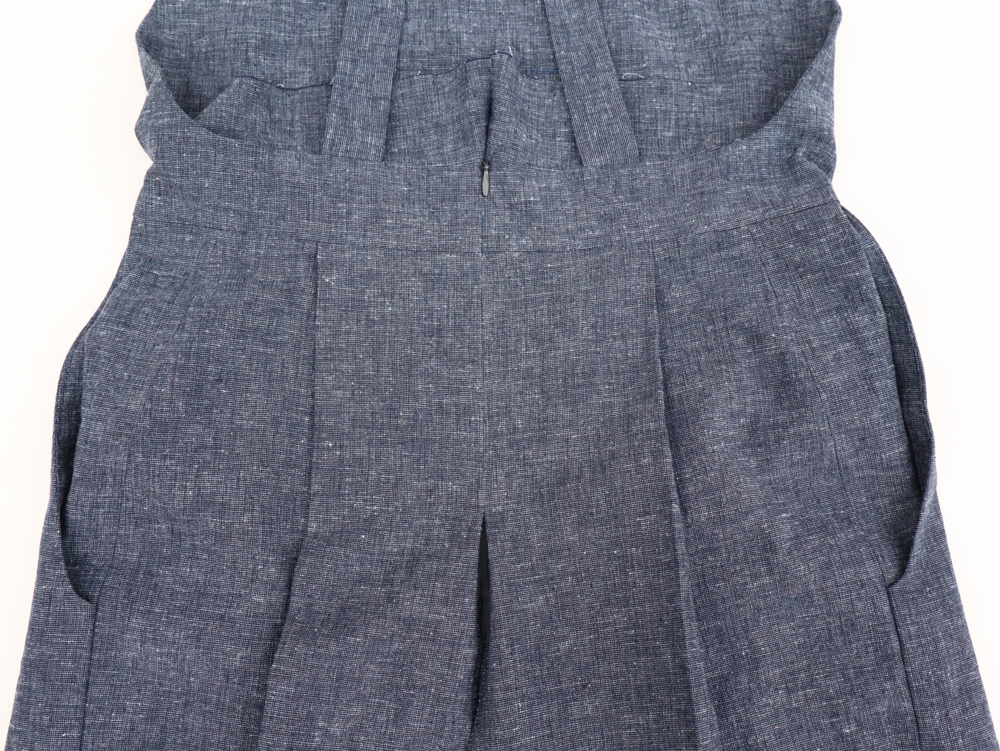
 Try on the dungaree and adjust the straps length if necessary. Pin your inner bib to the pant/short waistline. Slip stitch by hand for a clean finish.
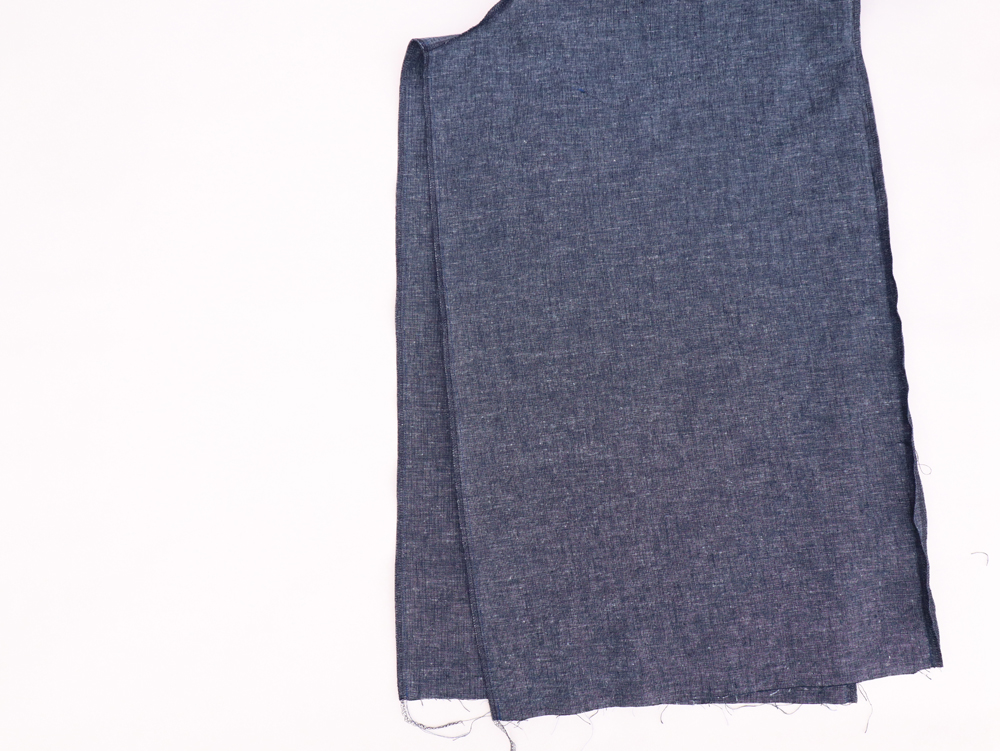
Align the front and back right sides together and pin from the crotch point down to the hem of the pants/shorts. Stitch into place. Press seams open.
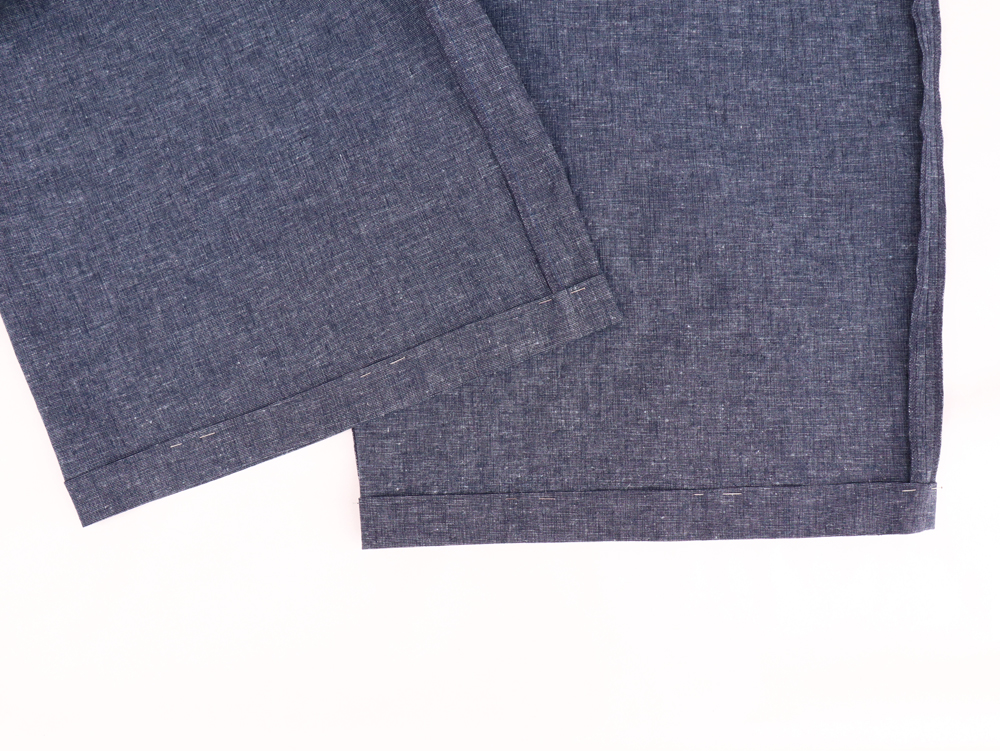
Hem allowance is : 4 cm Fold your fabric 1 cm to wrong side. Press. Fold again 3 cm to wrong side. Press. Topstitch 3 mm in from the pleat.

Well done! You can now rock your overalls everywhere, everyday !
Comments
Leave your comment