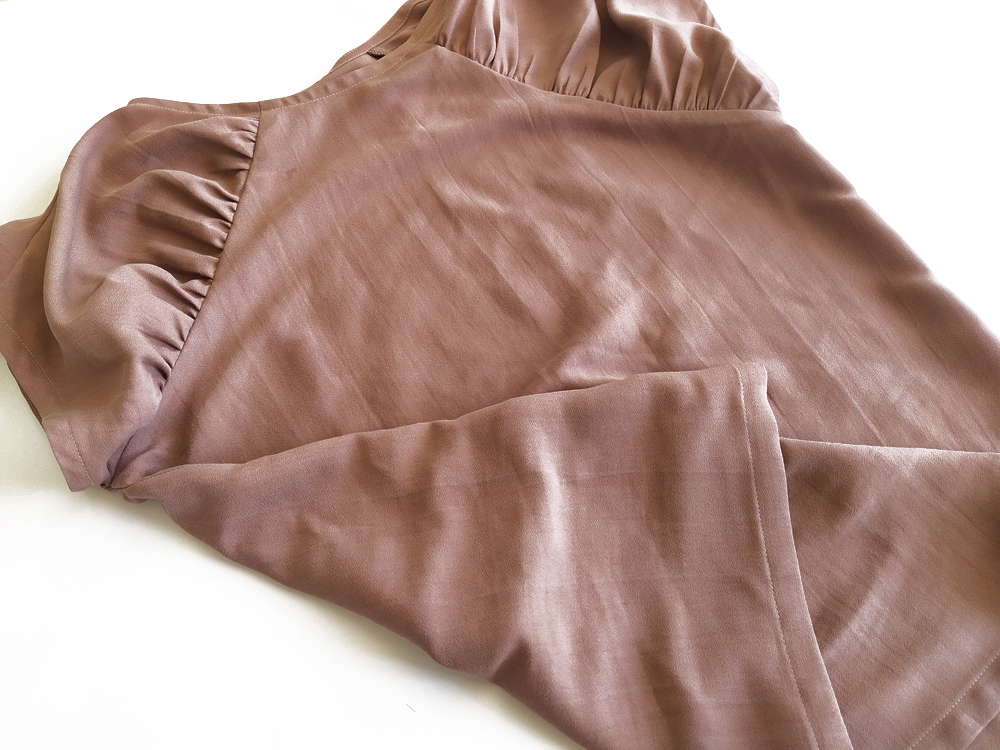
Sew along, the Jude blouse / dress

Sew along with us as we walk you through making the Jude blouse / dress ! You will notice that the sew along can differ from the sewing instructions included in your download. First you’re going to need to gather the supplies you’ll need to sew a perfect Jude!
Supplies:
- Fabric (for the fabric head back to the instructions to know what kind of fabric you need and the yardage)
- 1 bobbin of regular thread matching the fabric color.
- The fabric used for this sew along was from my personnal stash and I can remember where it commes from. It's a very light wight rayon.
- 2 cm wide elastic the length of your waist.
![]()
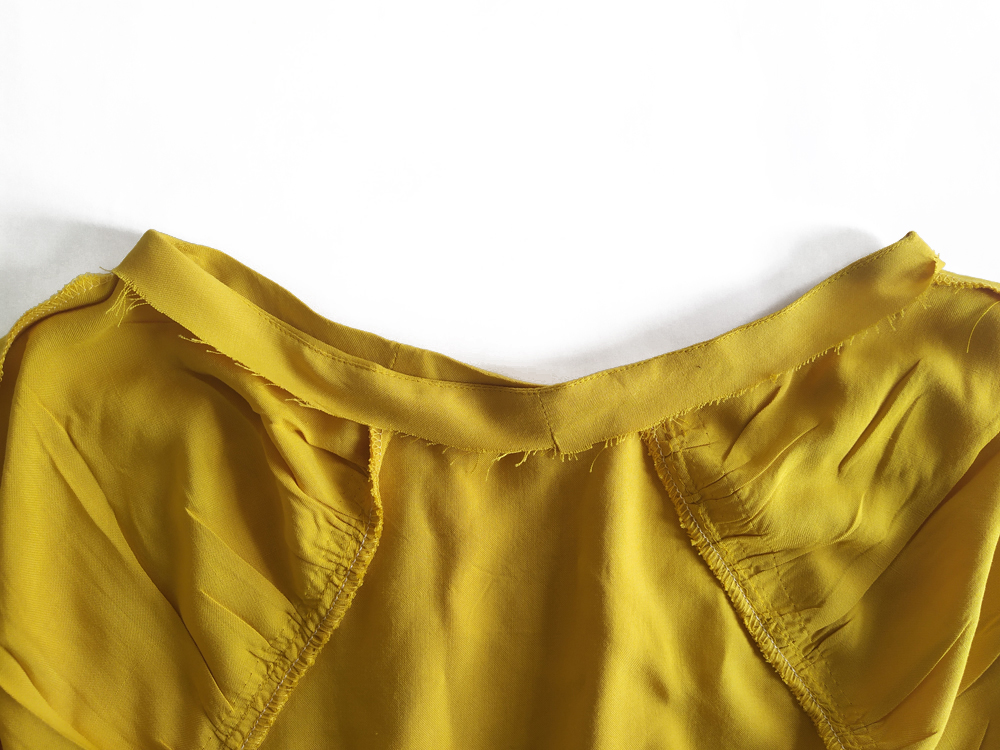
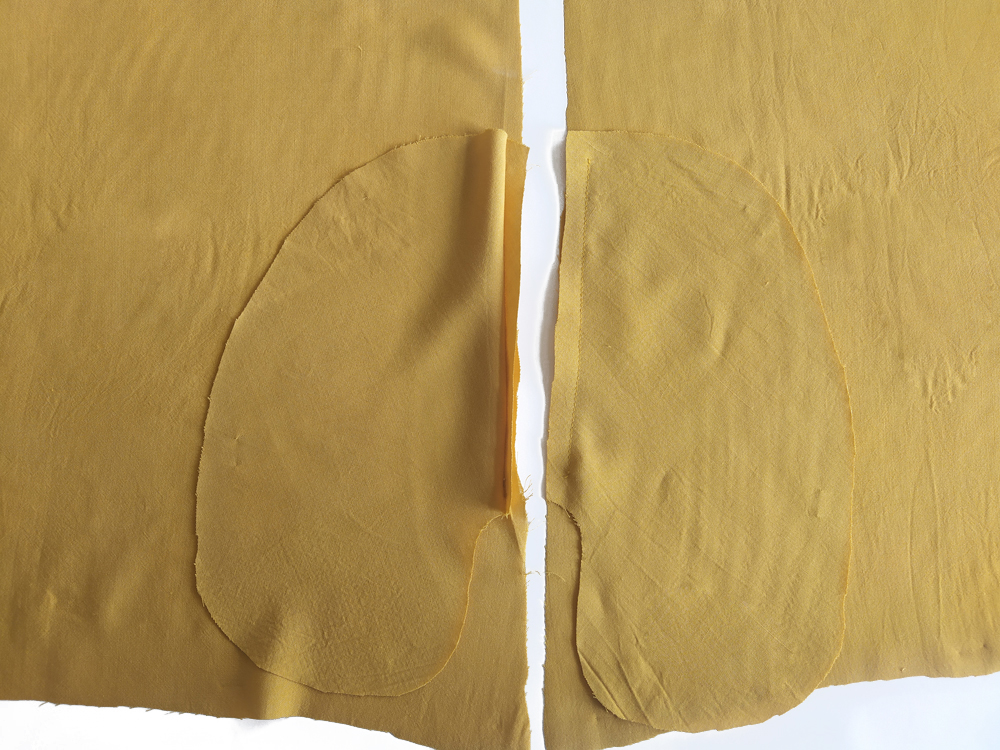
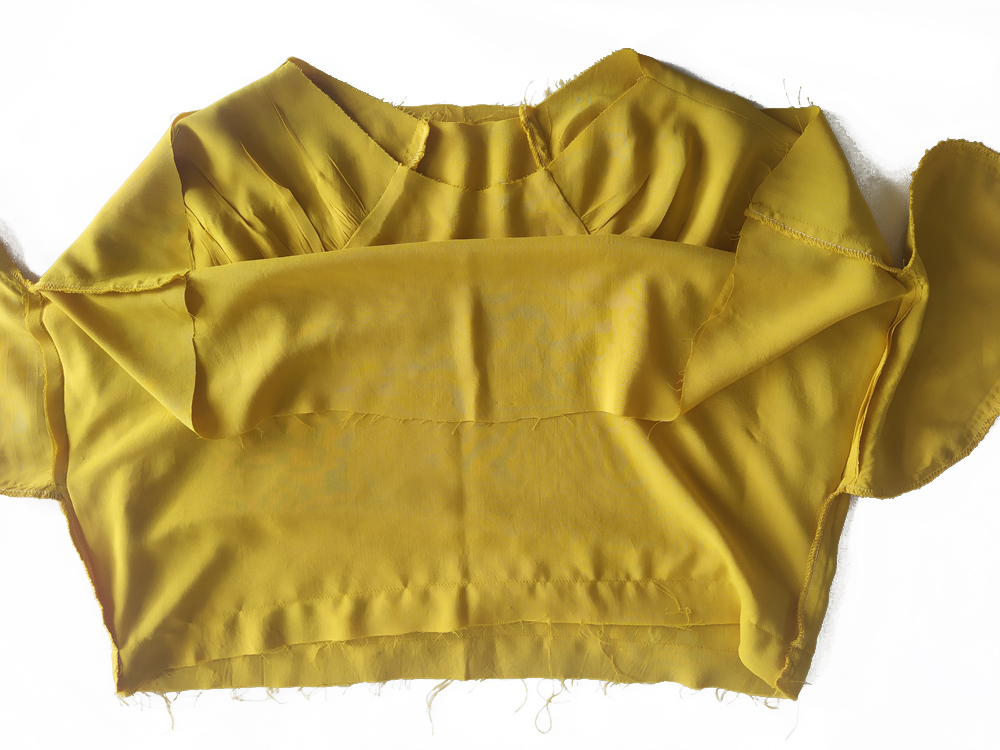
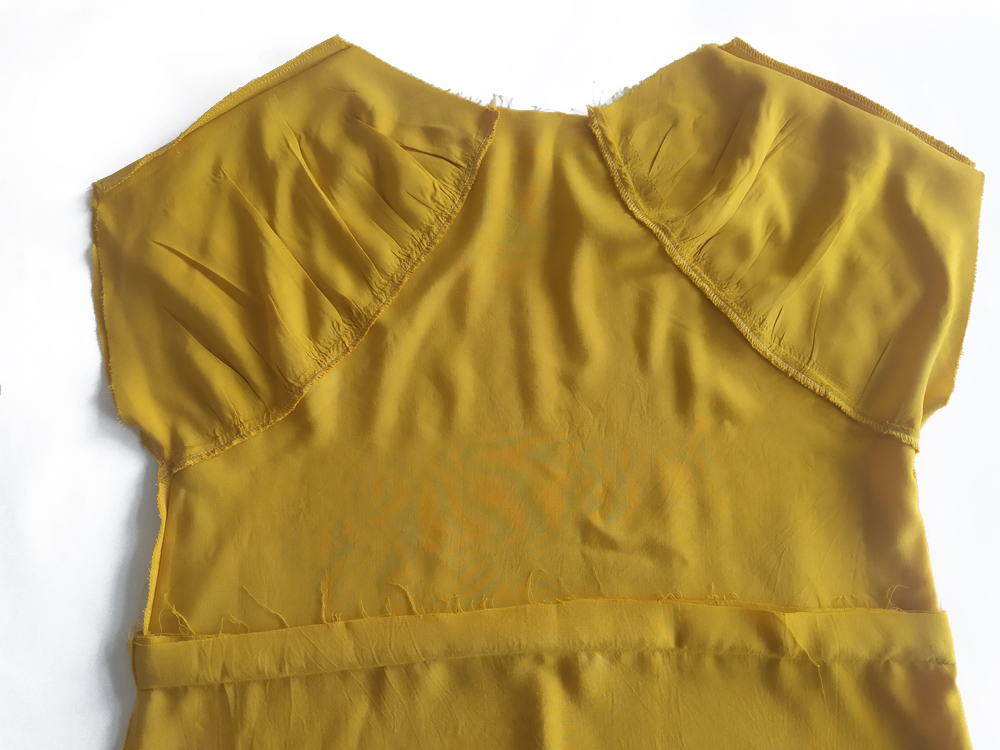
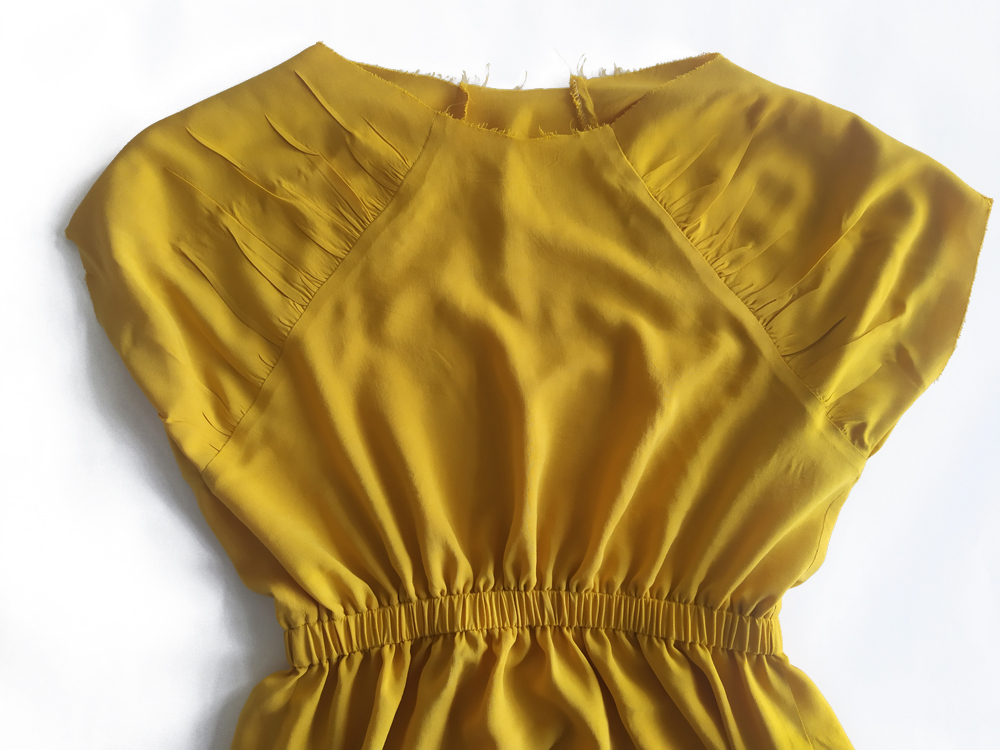
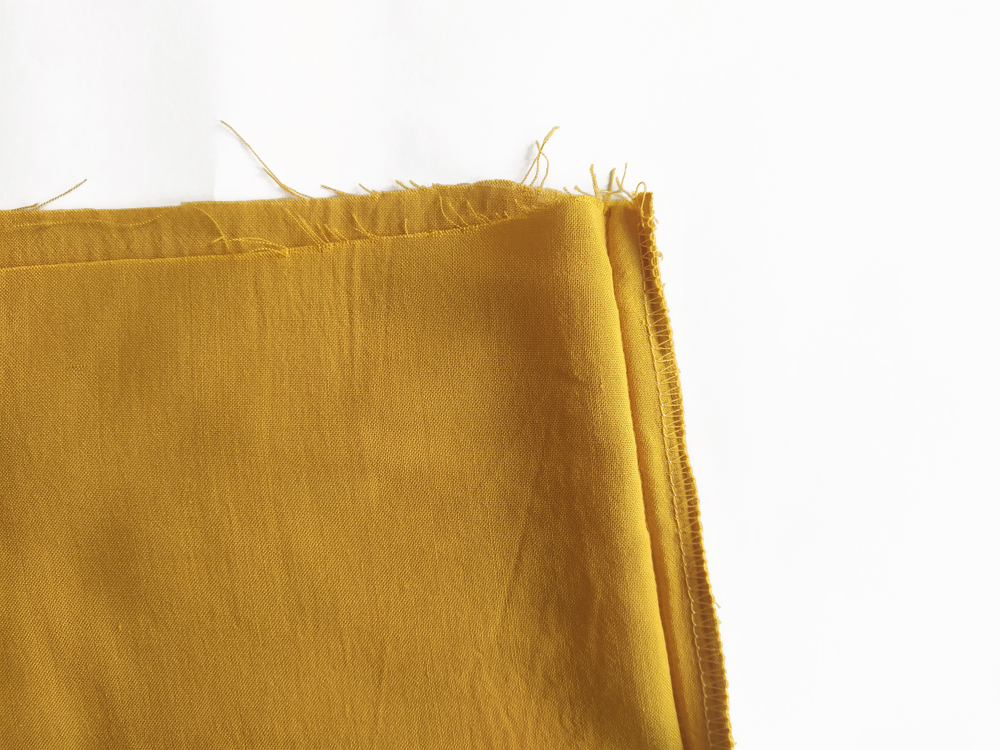
The front and back pieces of the Jude blouse / dress are very similar. To avoid confusing the front and the back, mark the front pieces with a cross using chalk or an erasable marker.
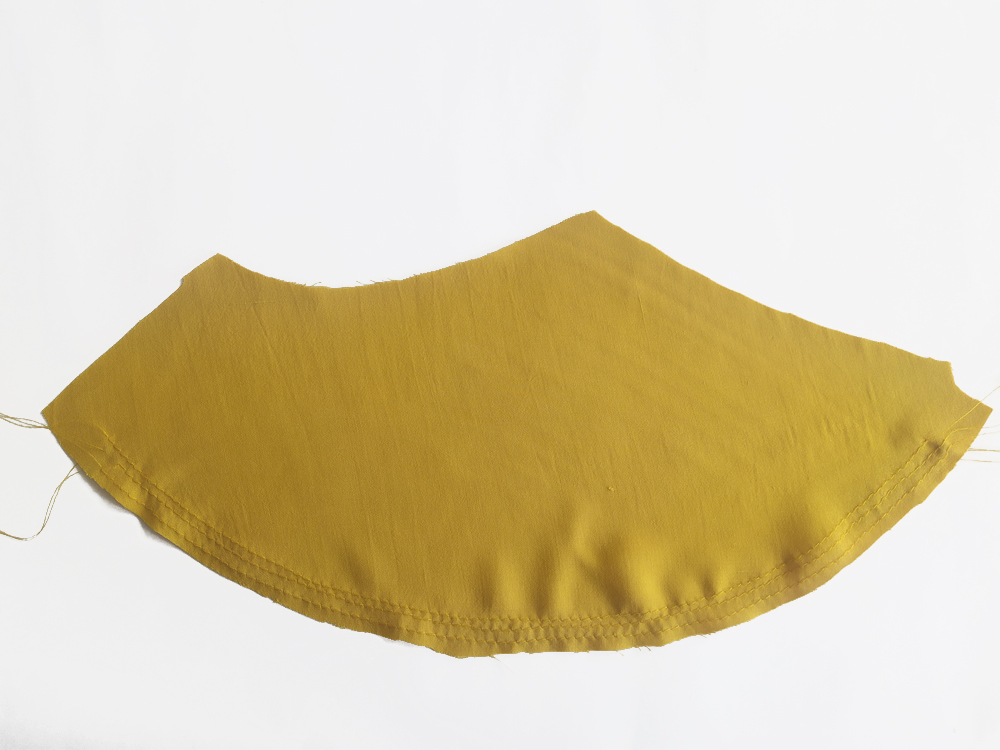
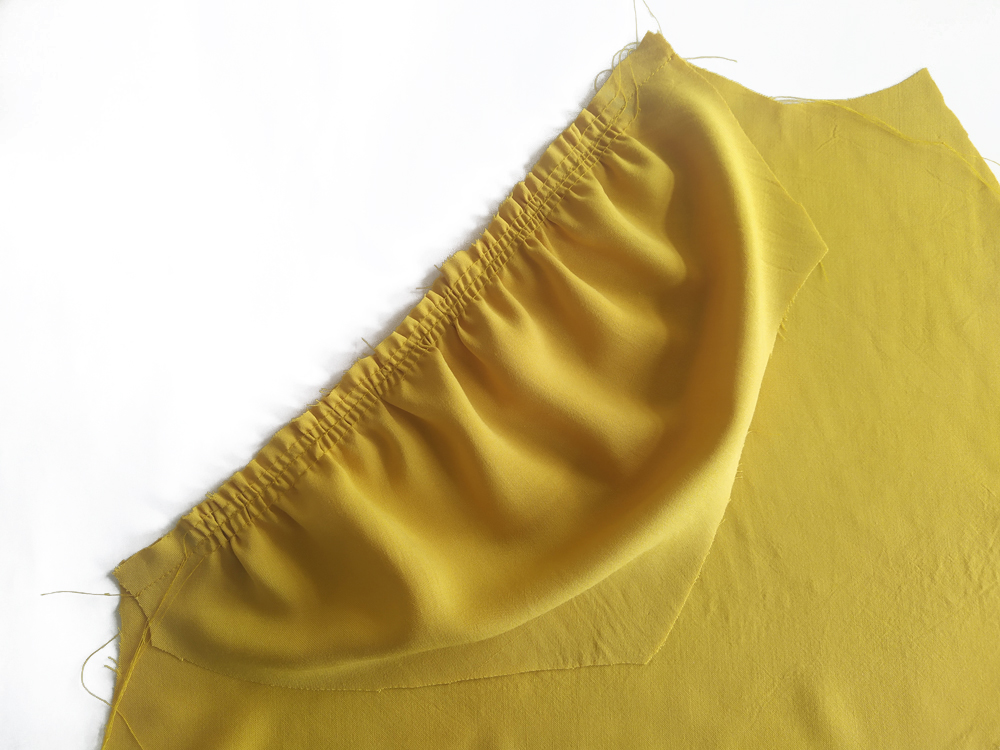
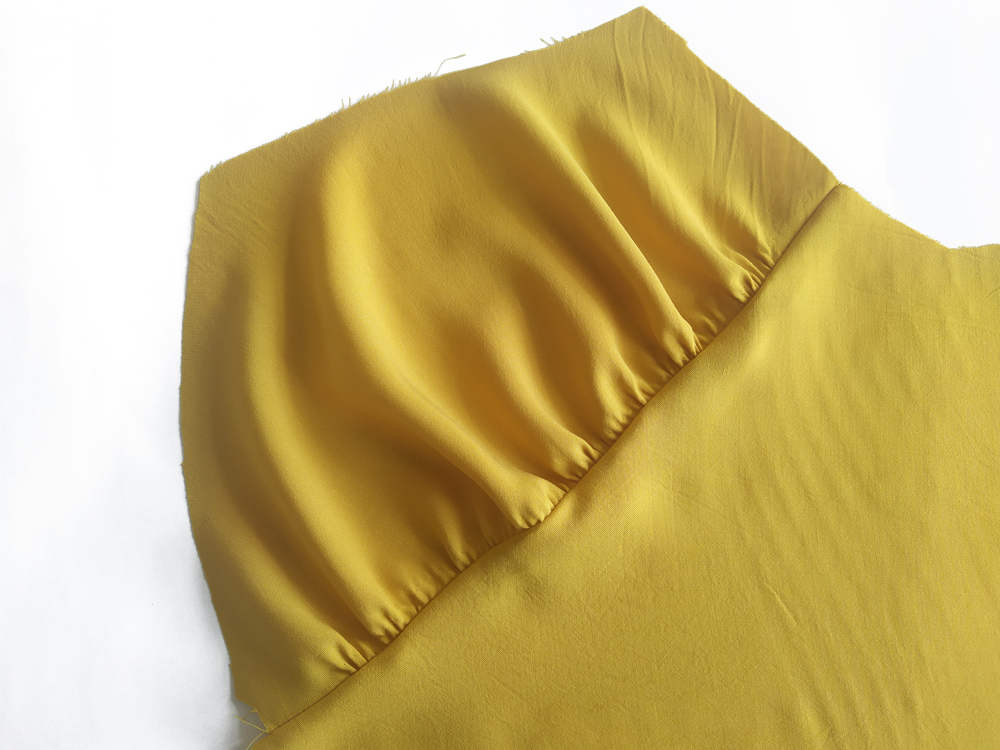
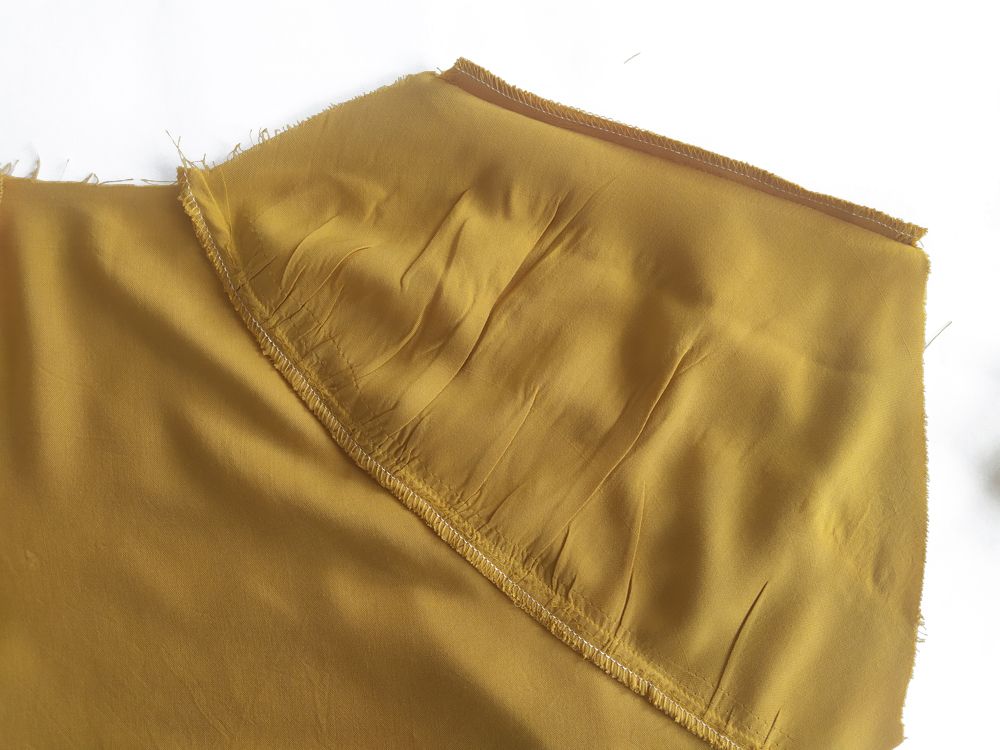
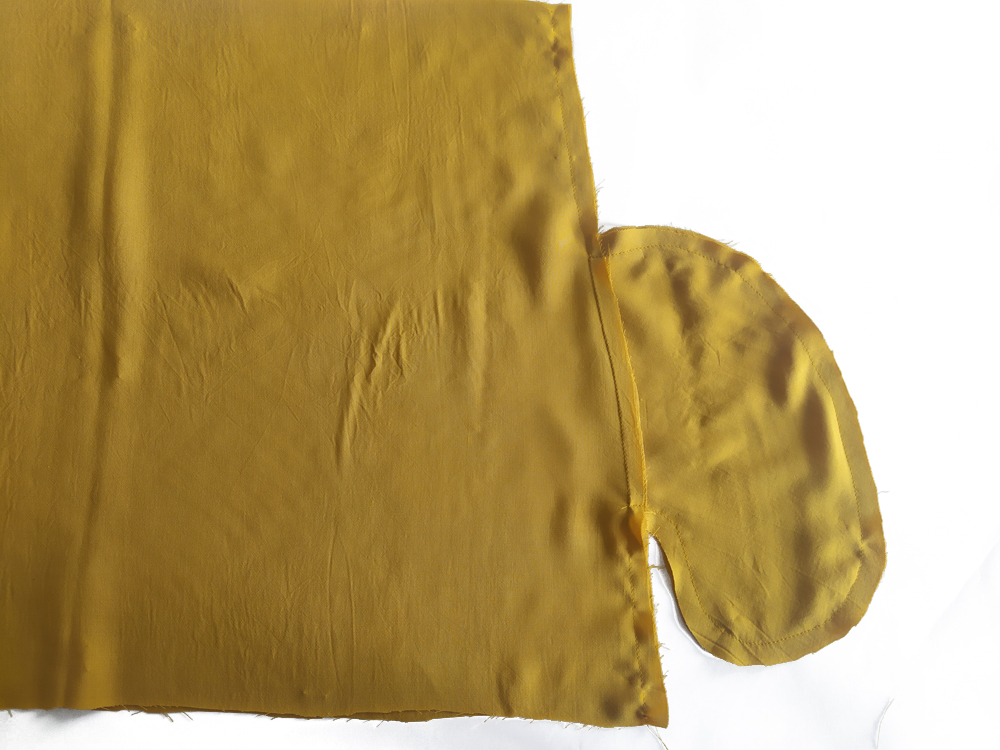
Gather the front sleeves (C). Set the machine on the longest stitch and sew three parallel lines starting and stopping at the notch.
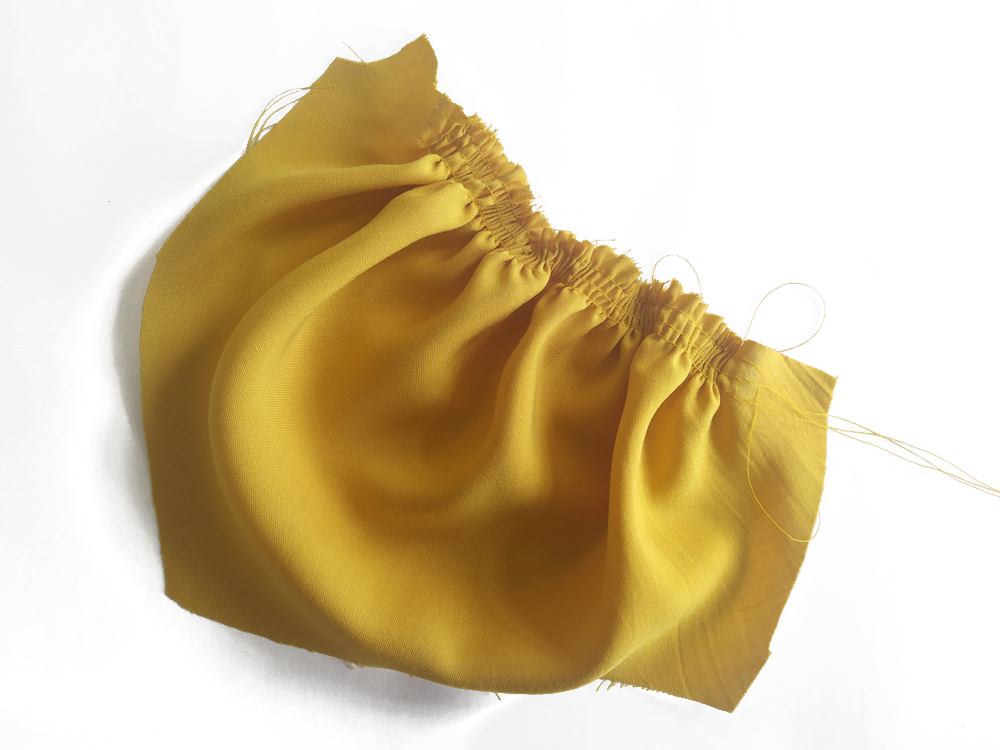
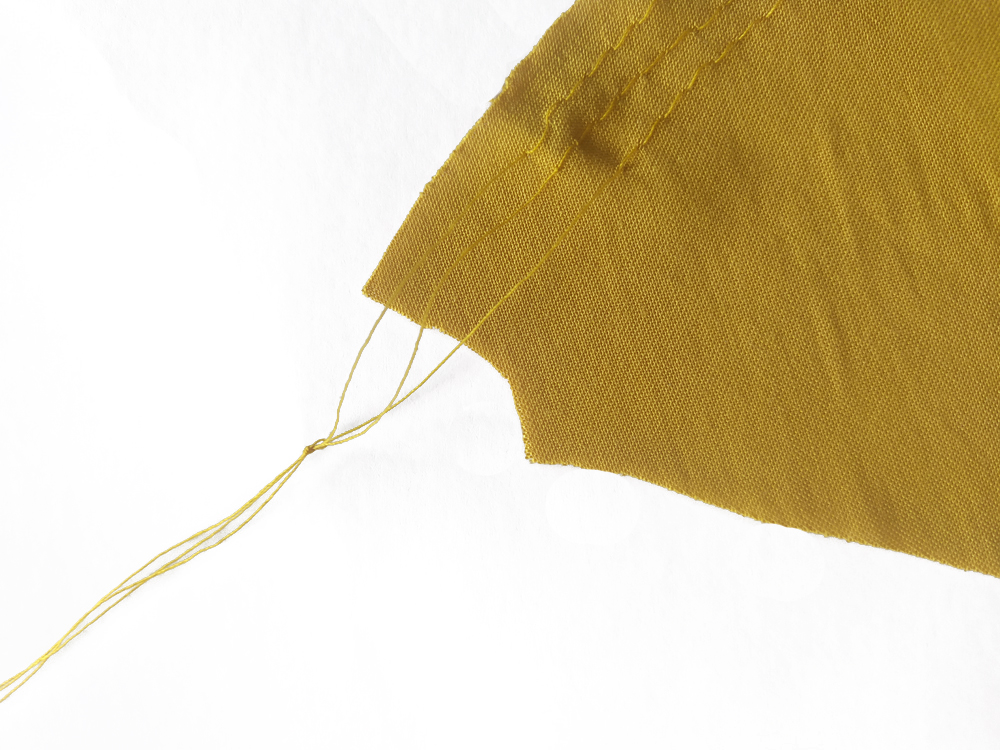
Gently pull the three front threads, gathering up the material as you pull. When your gathers reach the middle, shift to the two front threads on the right side and repeat.
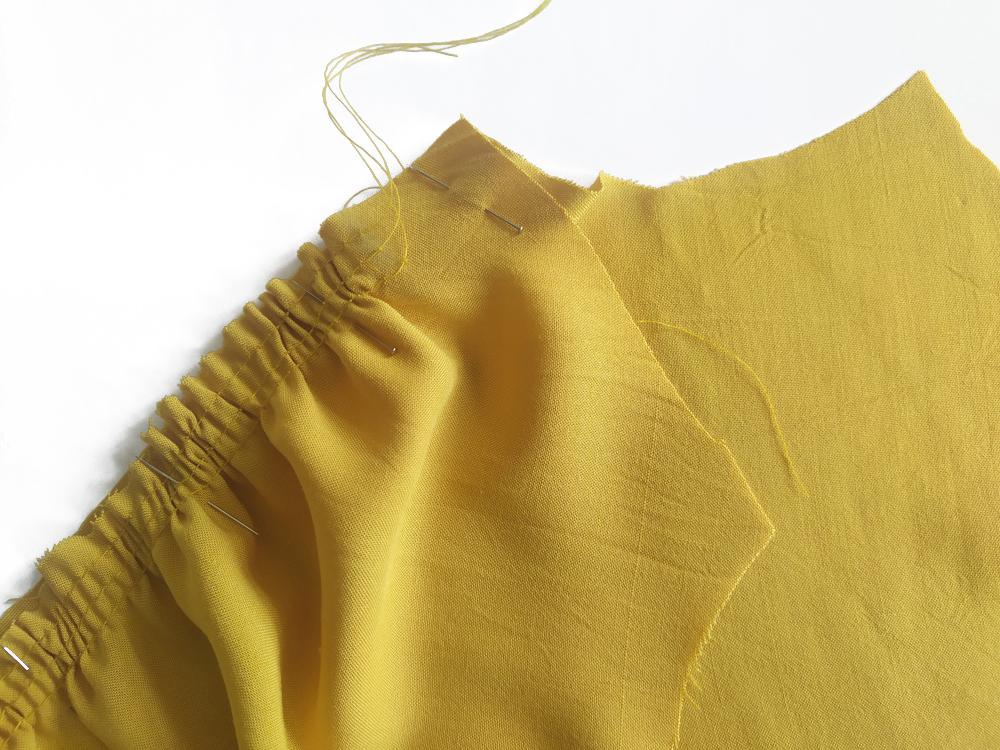
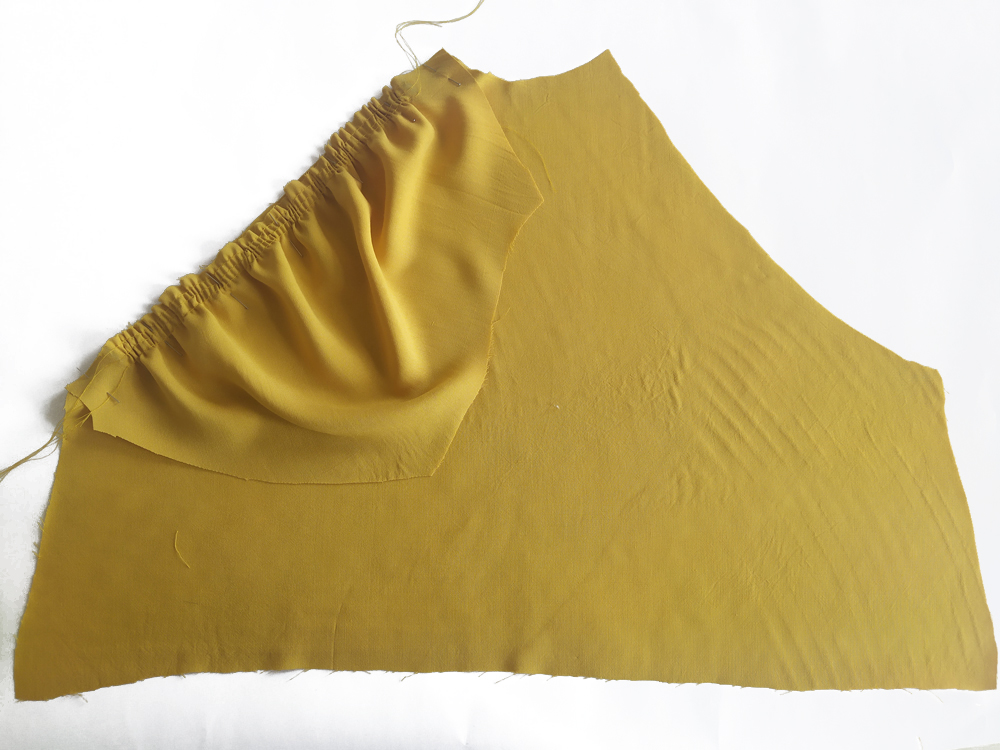
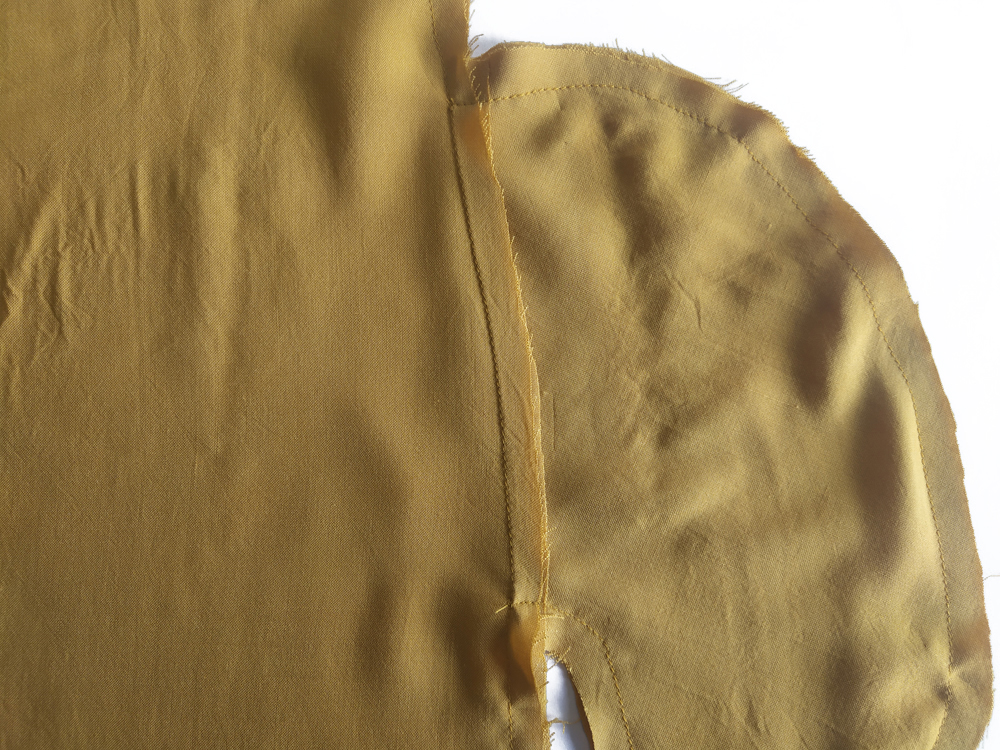
Keep gathering, until the sleeve is the exact size of the front armhole. With right sides together, pin the front sleeve to the front bodice.

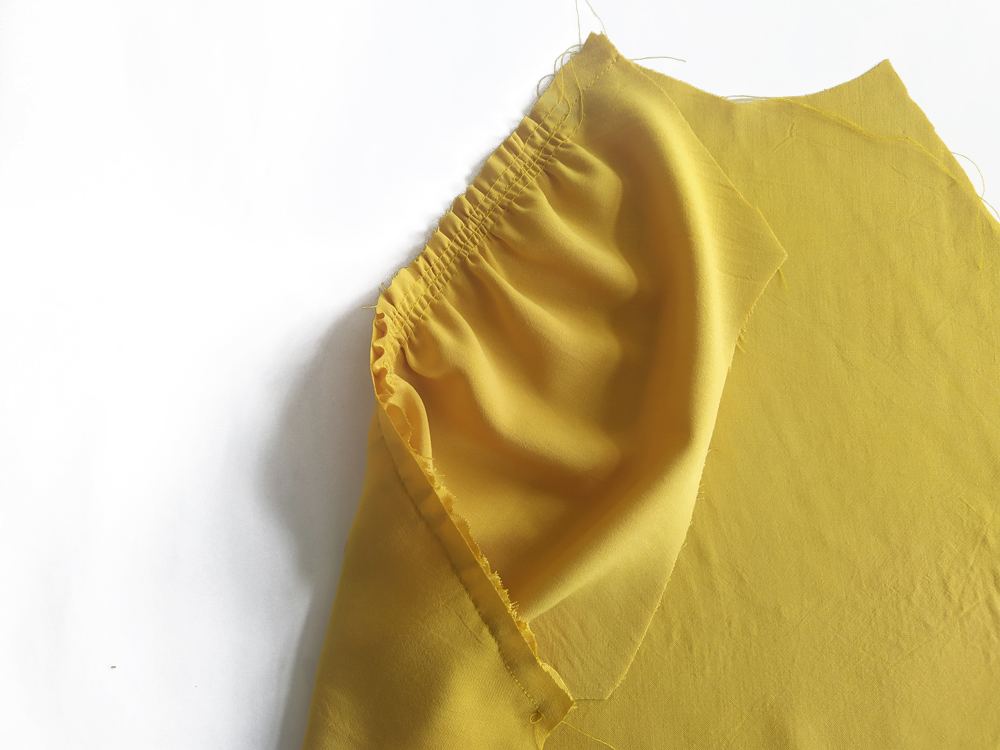
Sew with a 1 cm seam allowance.
Unstitch the gathering stitches.
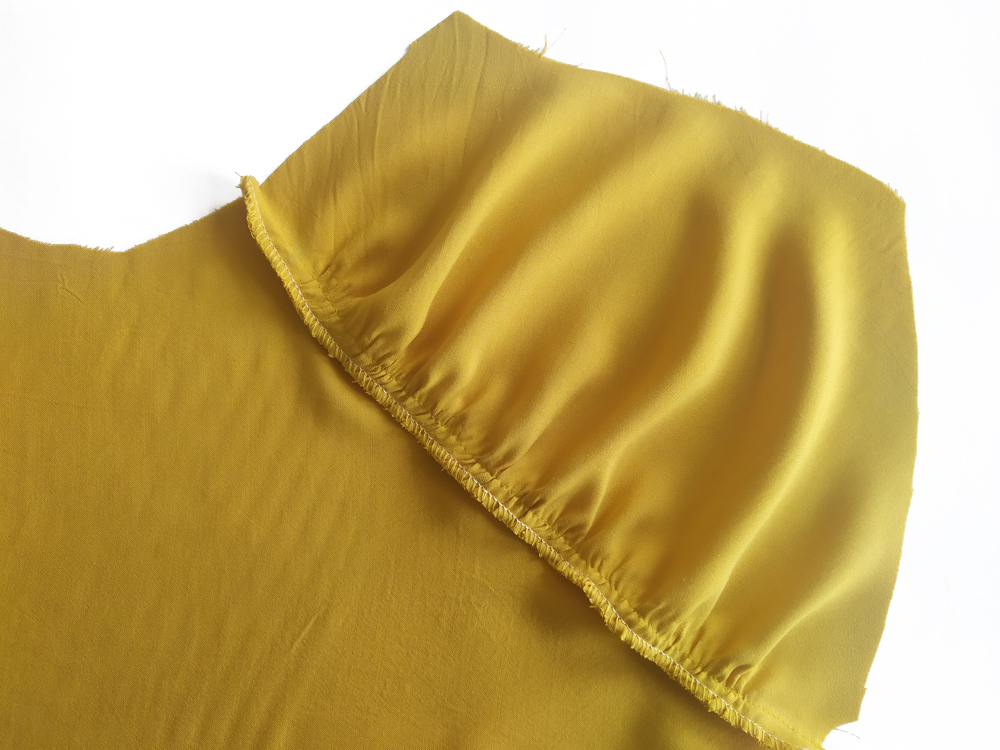
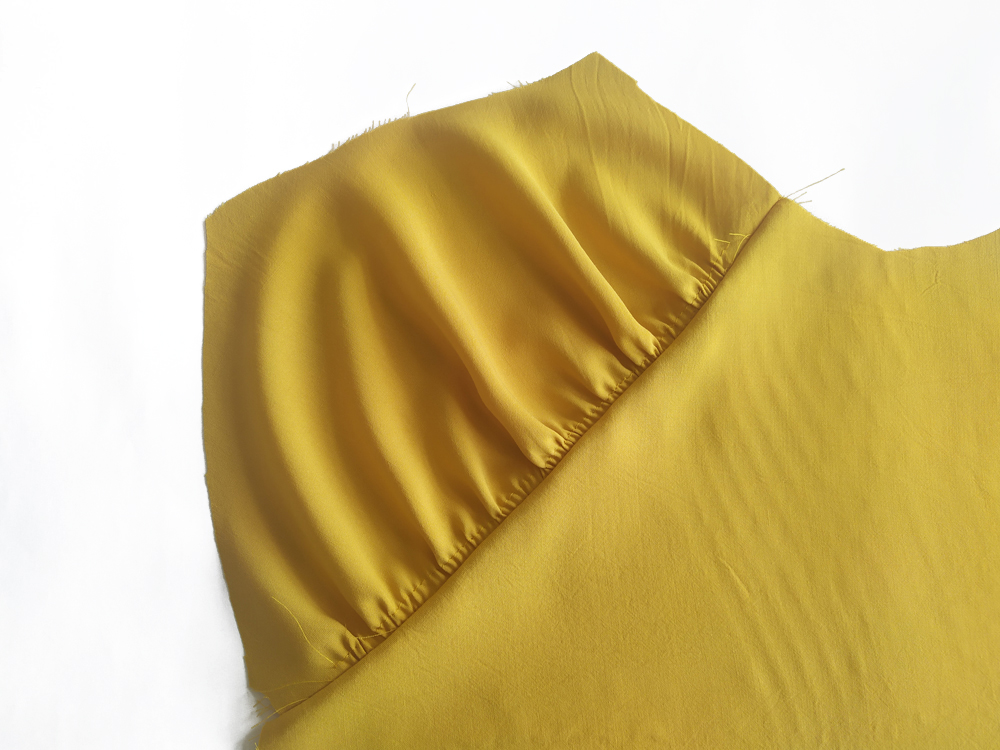
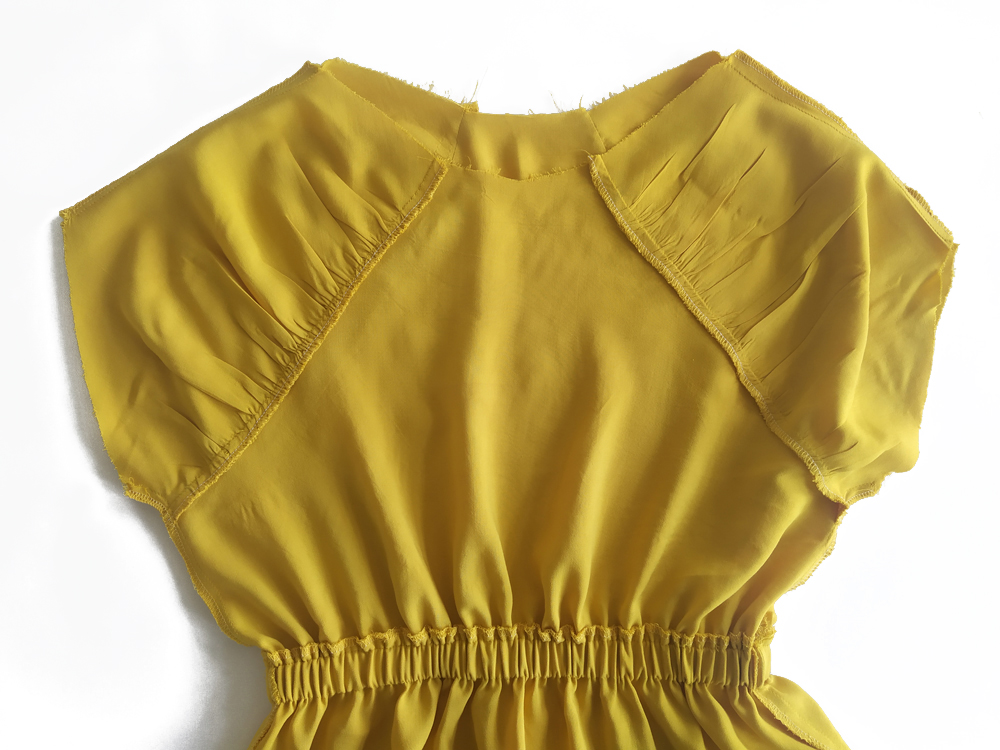
Finish seam and press towards the bodice.
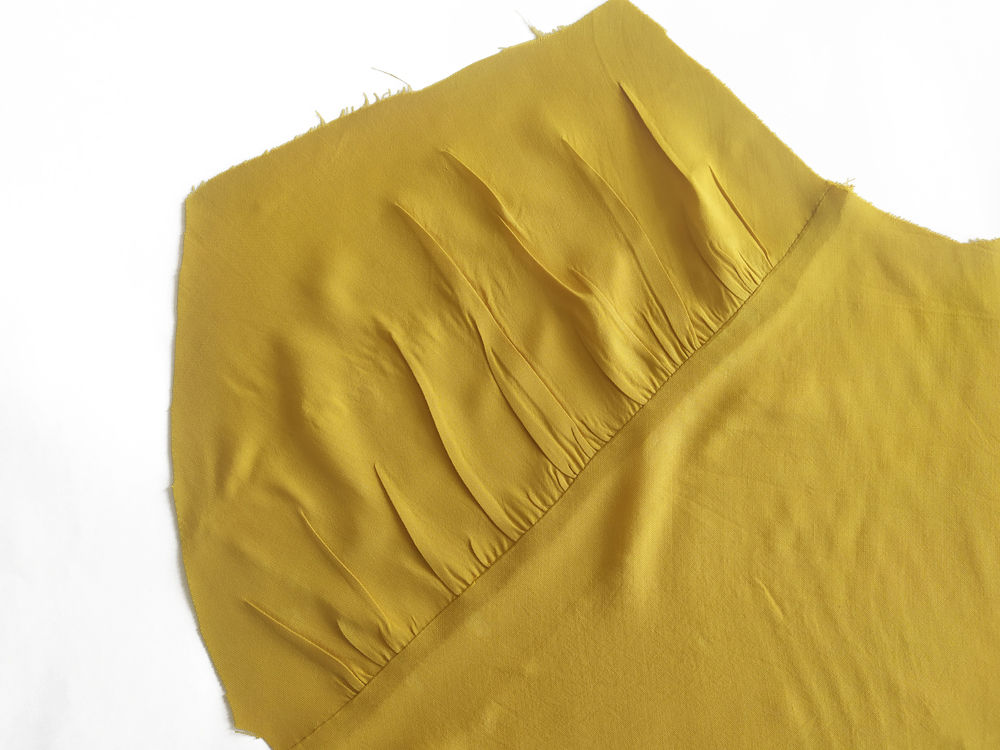
Press well to flatten the gathers.
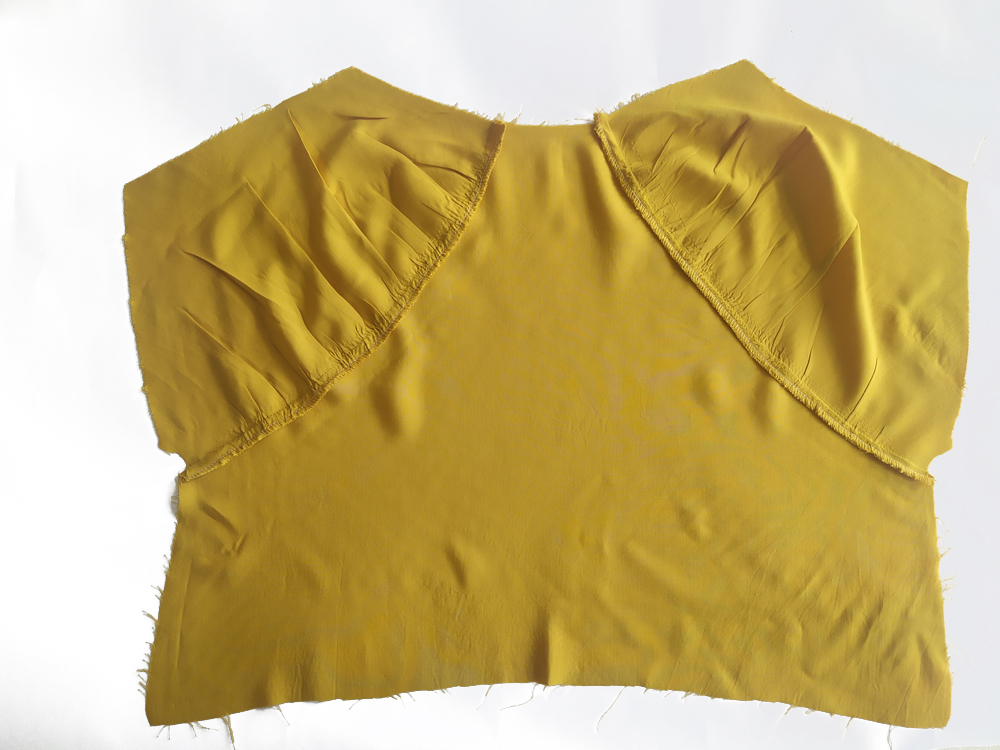
Repeat previous steps for the back bodice (B) and the back sleeves (D).
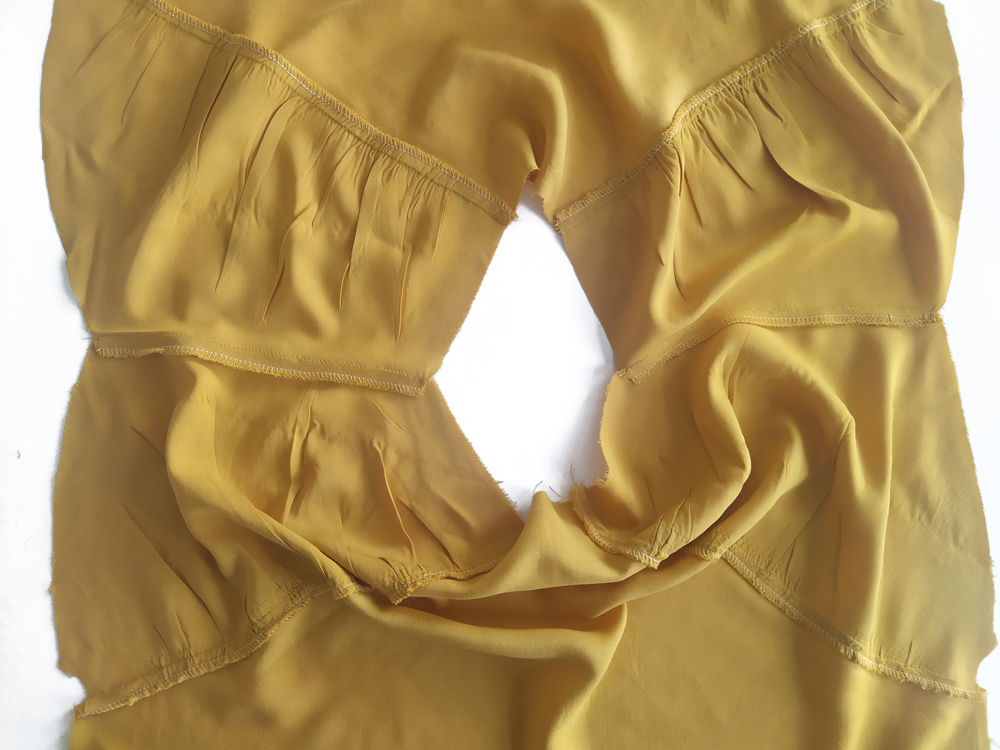
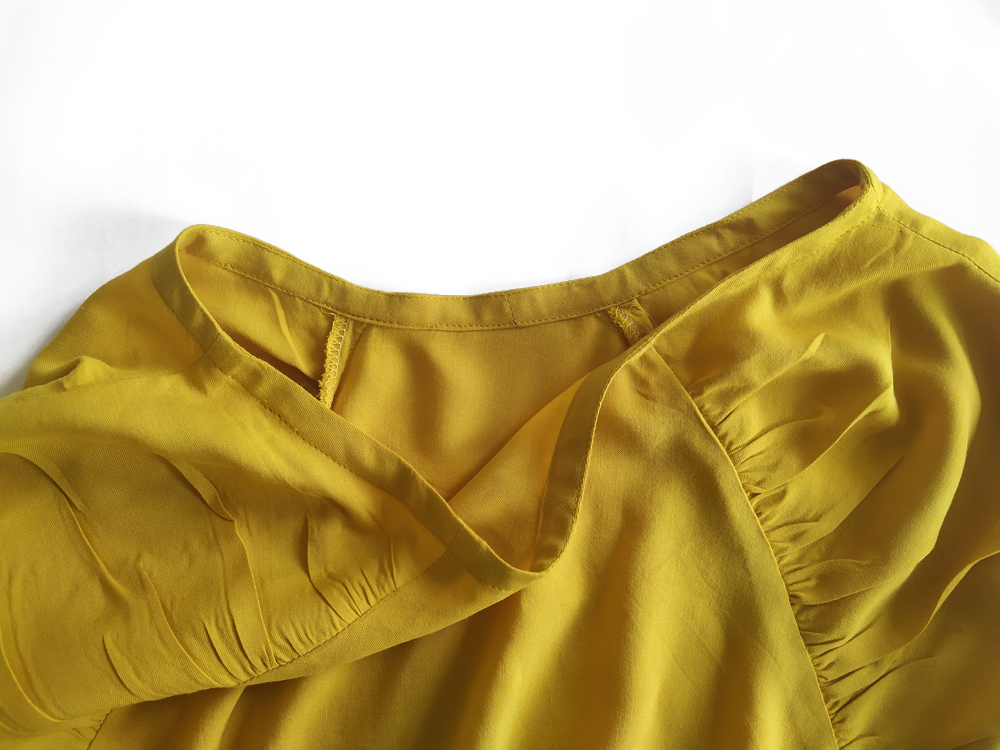
With right sides together, stitch the front bodice to the back bodice at the shoulders. Finish seams and press towards the back.
With right sides together, stitch the front bodice to the back bodice at the side seams. Finish seams and press towards the back.
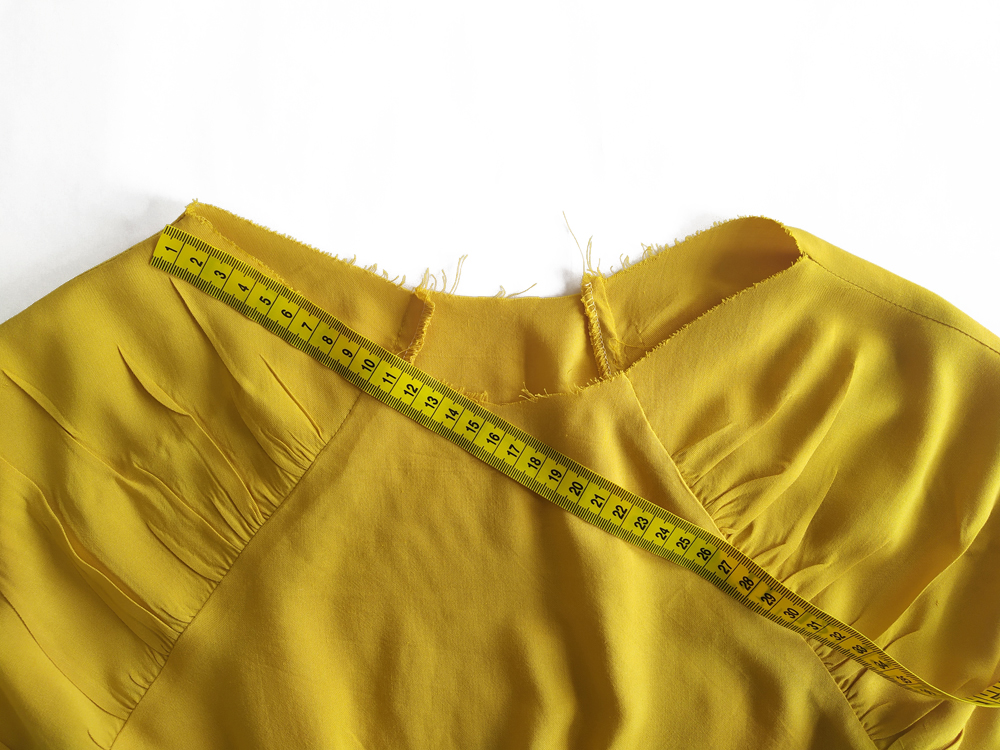
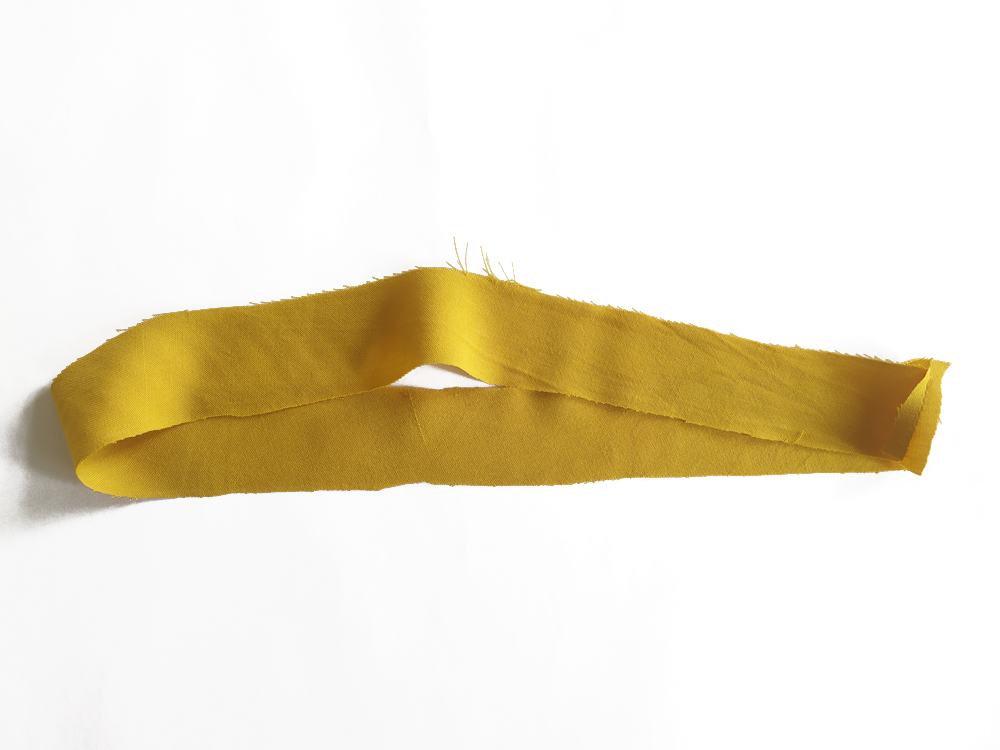
Measure the length of your neckline and cut a strip of bias the same length and 3 cm wide. Measure the length of your sleeve opening and cut a strip of bias the same length and 3 cm wide. Take your bias band and sew the two shorter edges, right sides together. Press the seam allowance open.
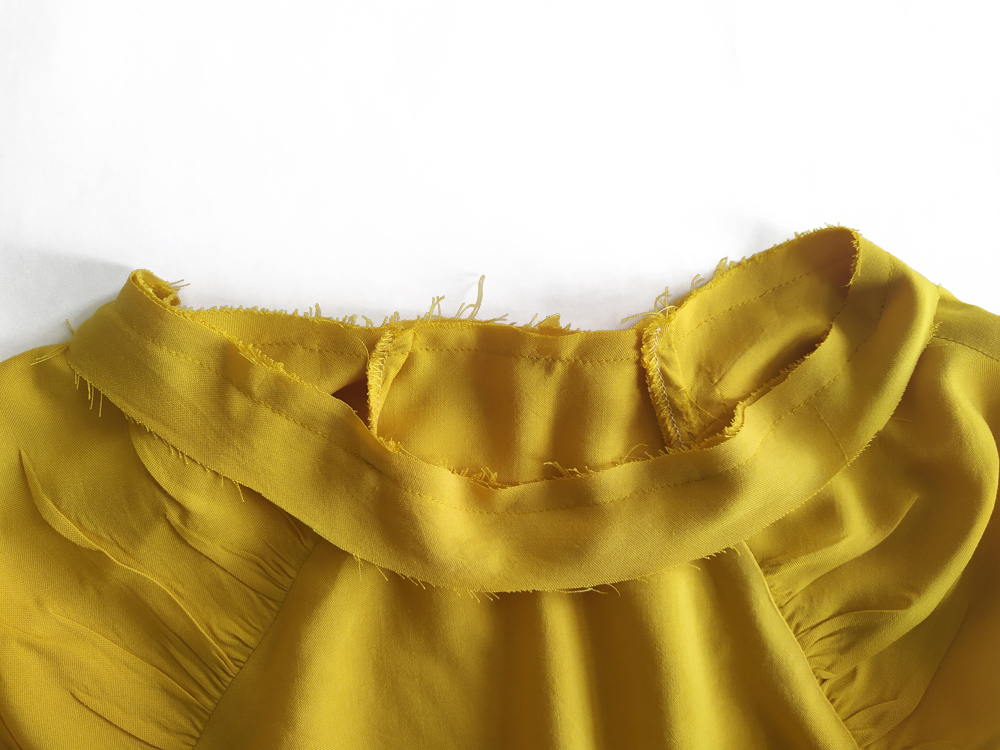
Align the bias band around the neckline and stitch together using a 7 mm seam allowance (the width of your presser foot). Align the binding seam to the center back bodice.
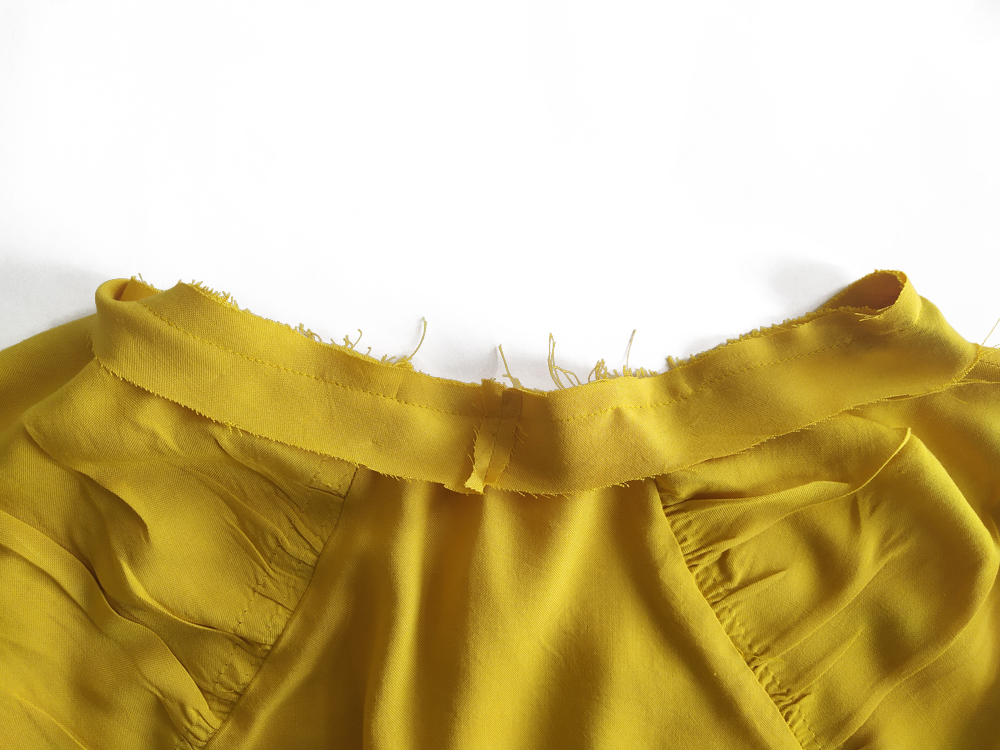
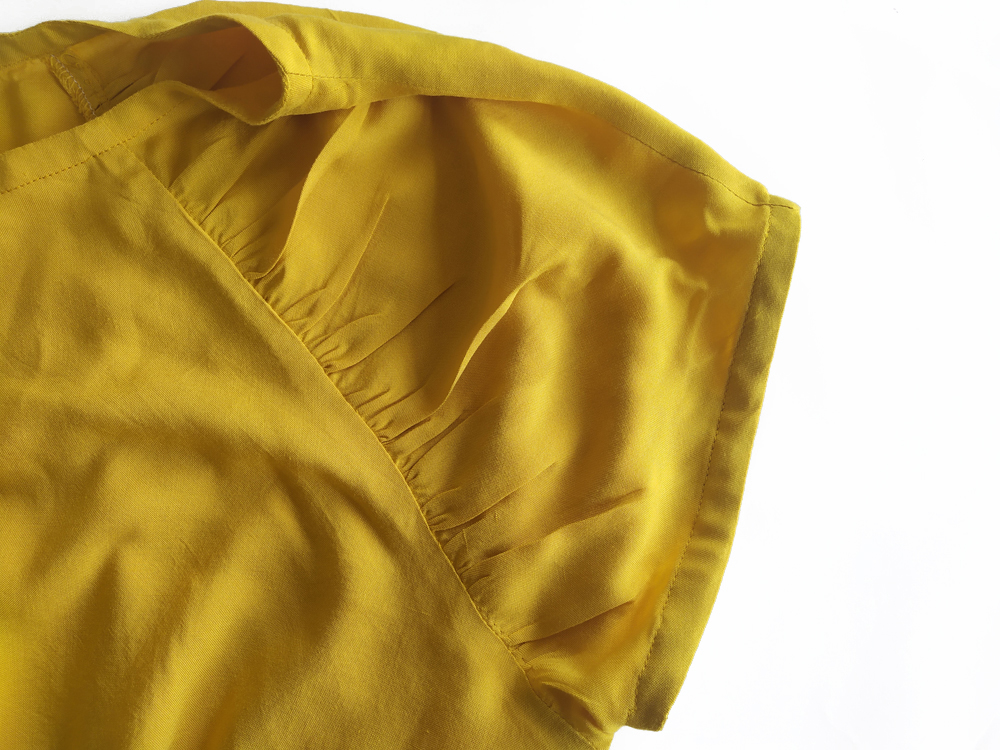
Press the seam allowance and the binding up away from the garment. Understitch through the binding and seam allowance 2mm from the seam line. Understitching will help to force the seam line to the wrong side of the garment so that you can’t see it from the right side.
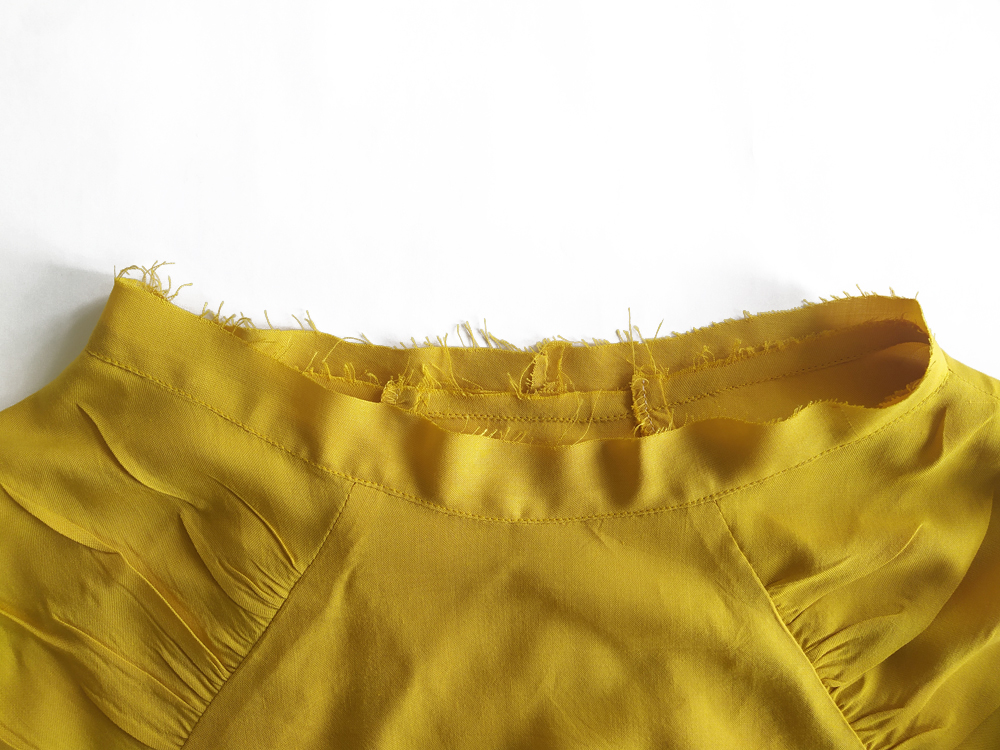
Press the binding to the wrong side of the garment.
Hide the raw edge of the binding under to meet the fold line. Press Press Press! Pin the binding in place if needed. Stitch the neckline binding down. 2mm from the loose edge.
Repeat previous steps for the sleeves. You can follow this step by step tutorial if you need more details.
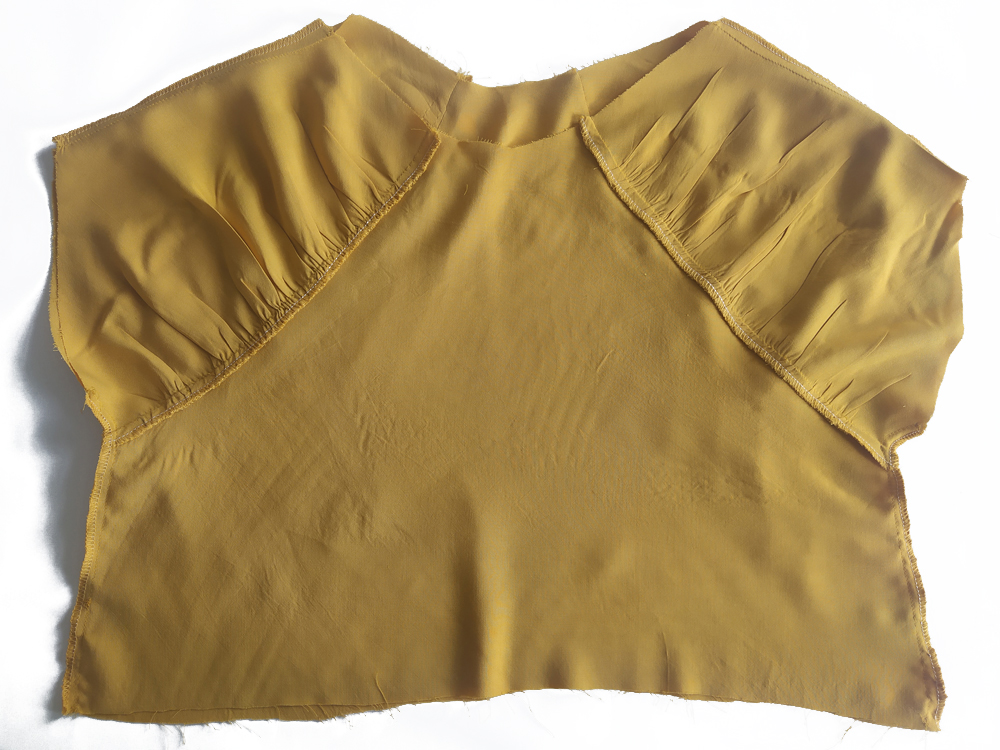
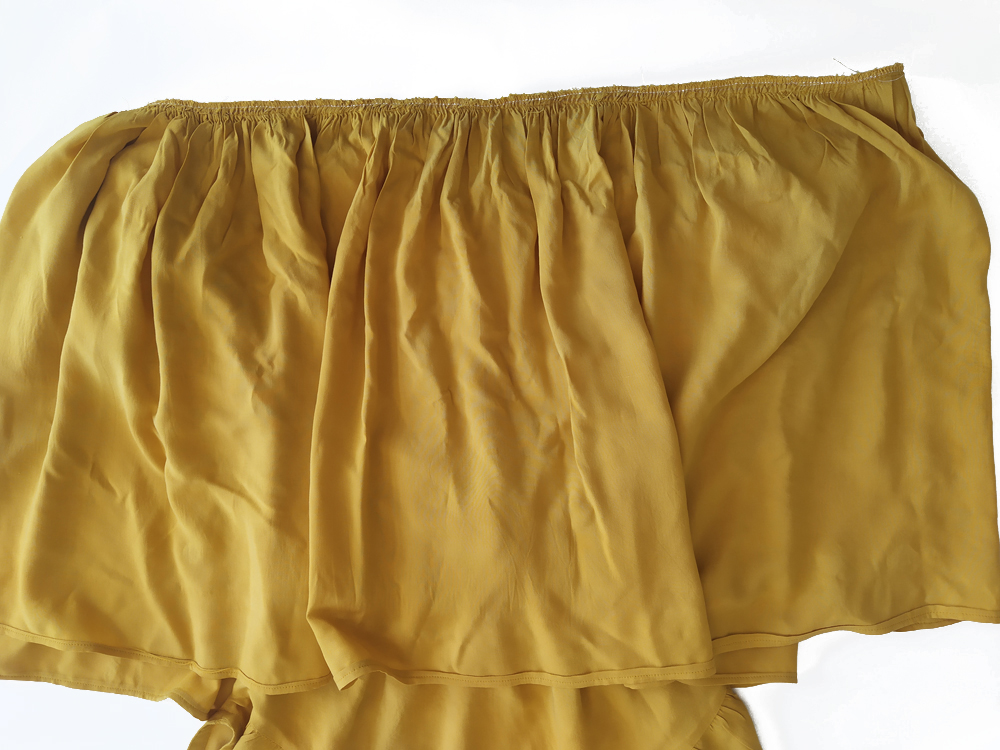
The blouse:
First, press or fold the raw edge over by 1 cm. Press it over again by 2 cm. Stitch close to the open folded edge with a matching bobbin. Because the bobbin thread will show on the right side of the garment, check the bobbin sewing machine tension is correct before you start.
![]()
The following steps only applies to the dress view.
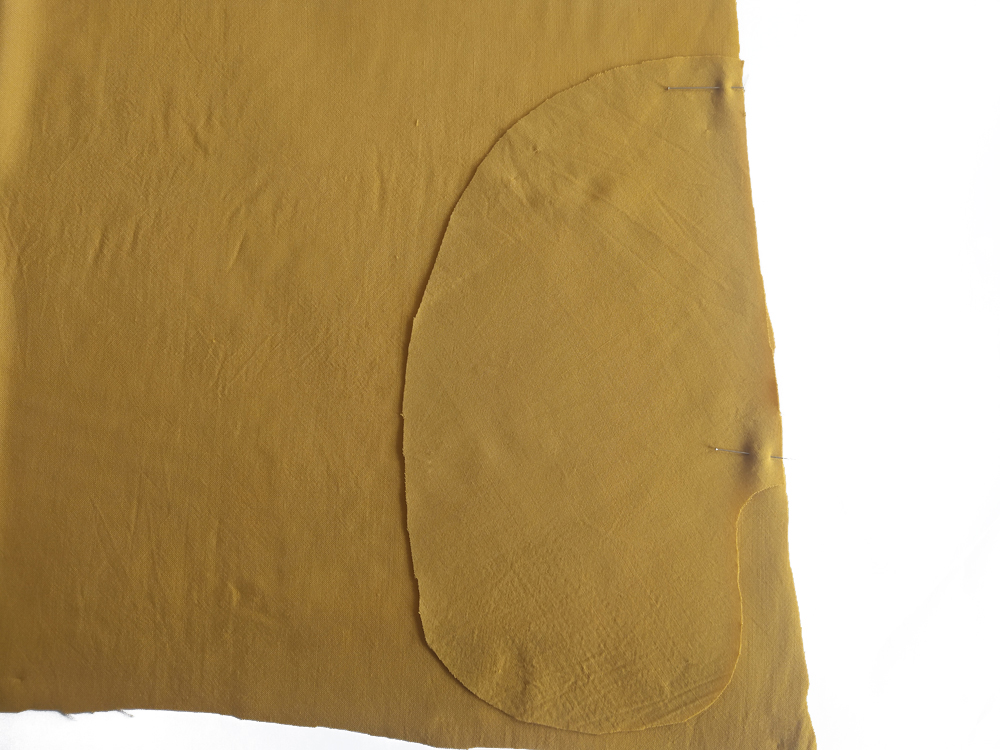
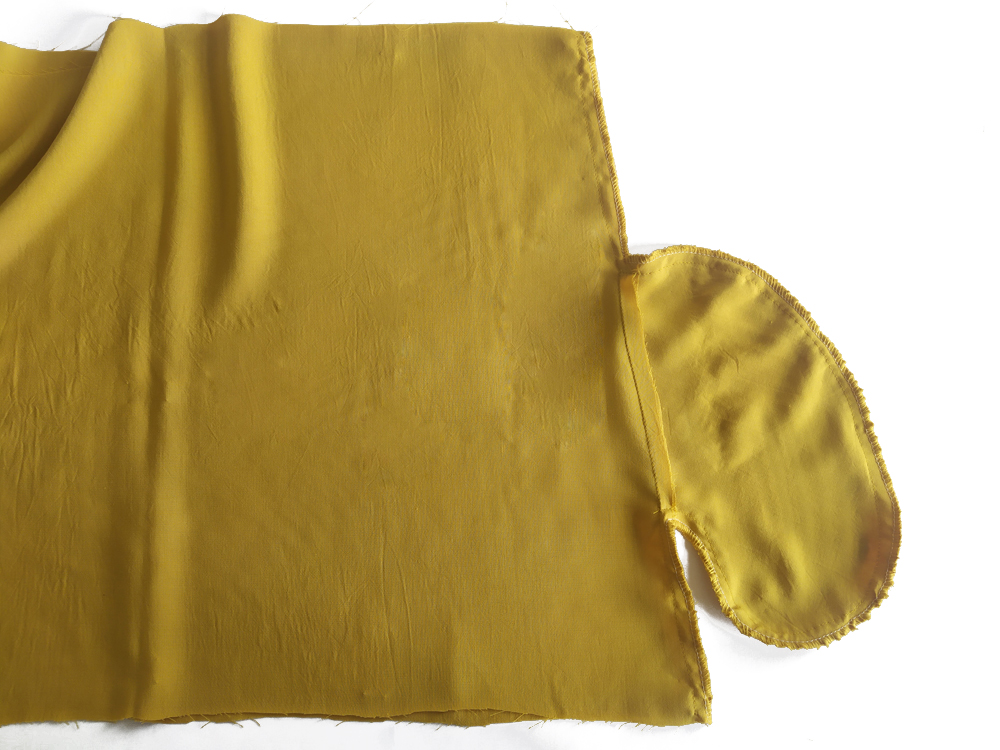
With right sides together, line up the front skirt (E) makings with the pockets markings. Sew the pockets to the skirt between the markings.
Turn the pockets to wrong side and press the seam allowance toward the pockets.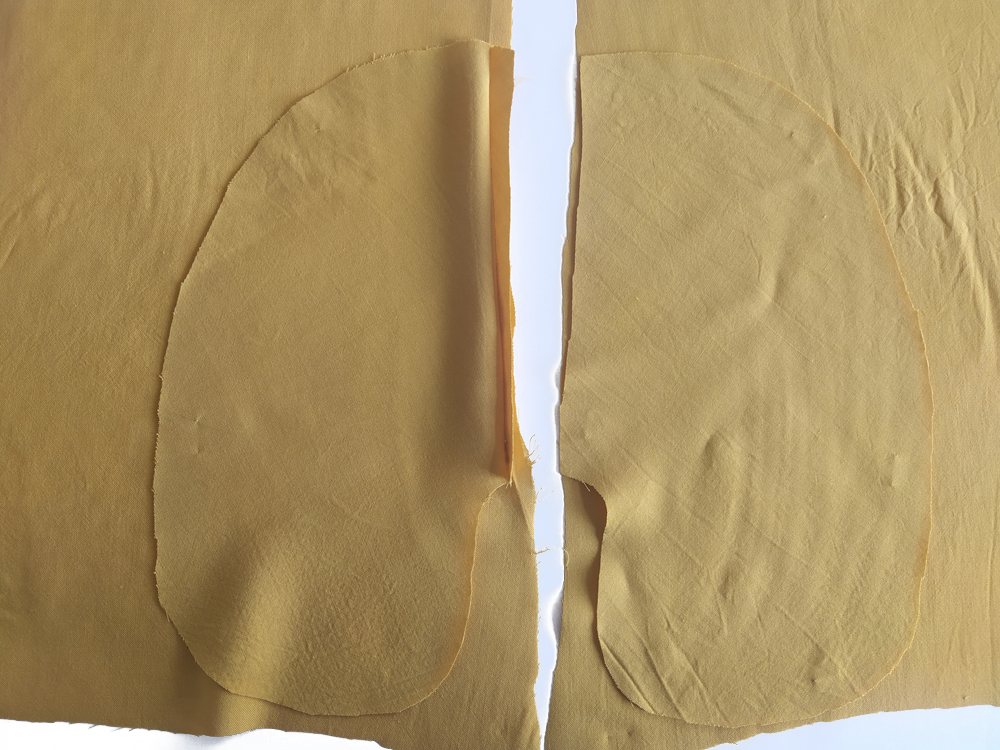
Repeat previous steps for the back skirt (F) pockets. Make sure the front and back pockets' placement is the same.
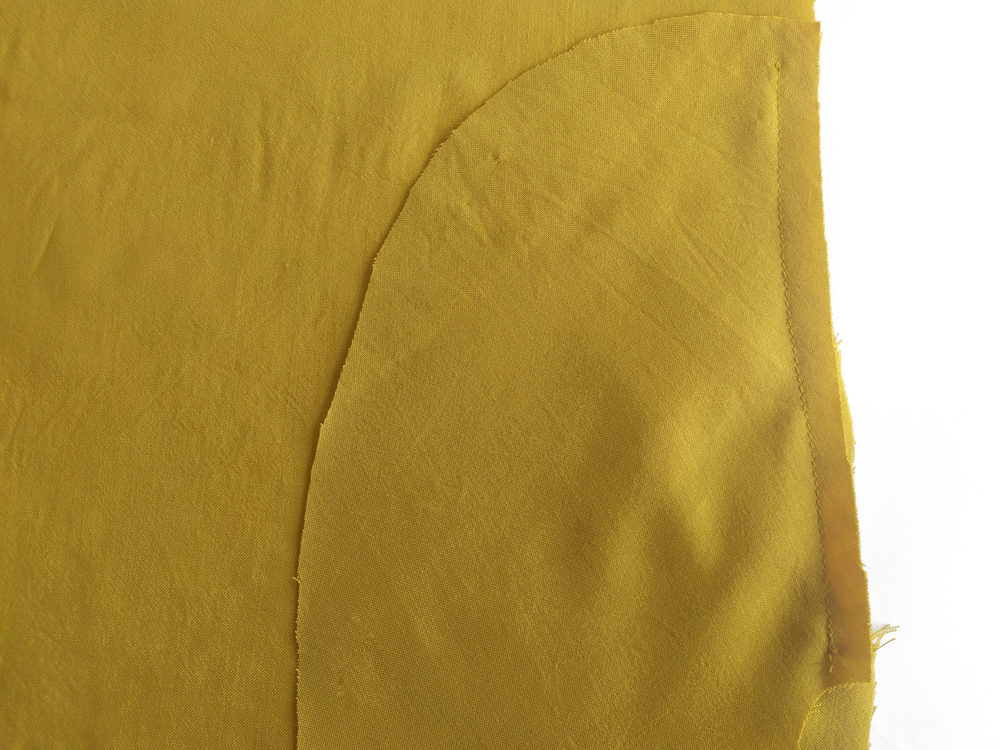
Place the skirt pieces with right sides together. Pin in place. Sew along the entire length of both seams and around the pockets. When you come to the top marking and bottom marking of the pockets, make a sharp pivot into and out of the pocket. Be sure not to sew straight down and sew the pockets shut!
Finish seam allowances.
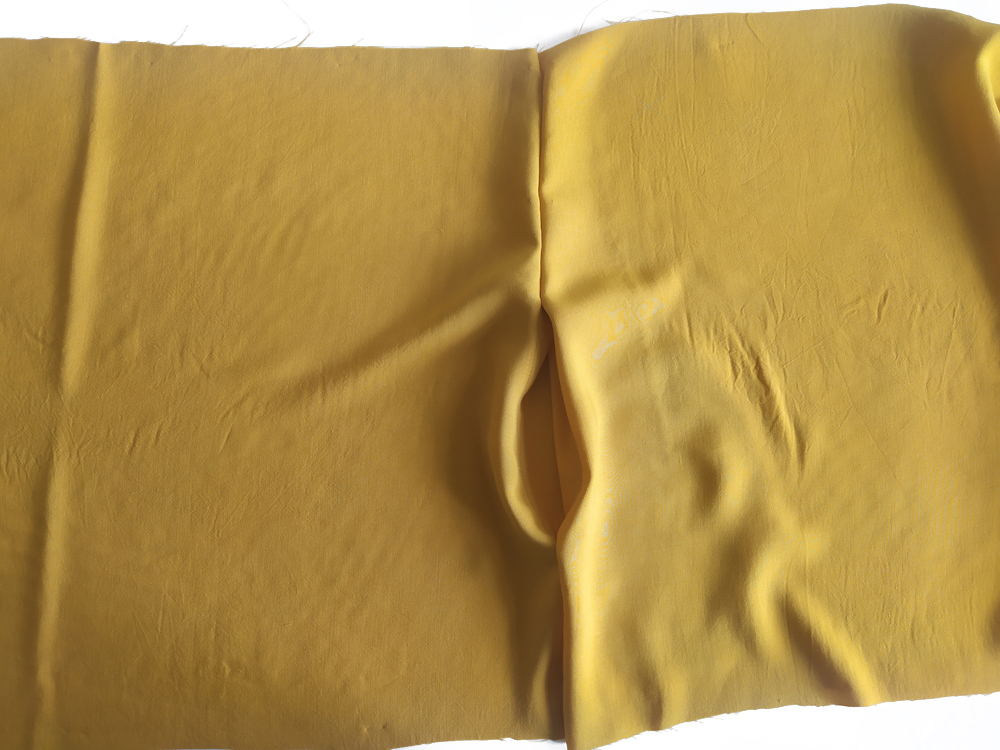
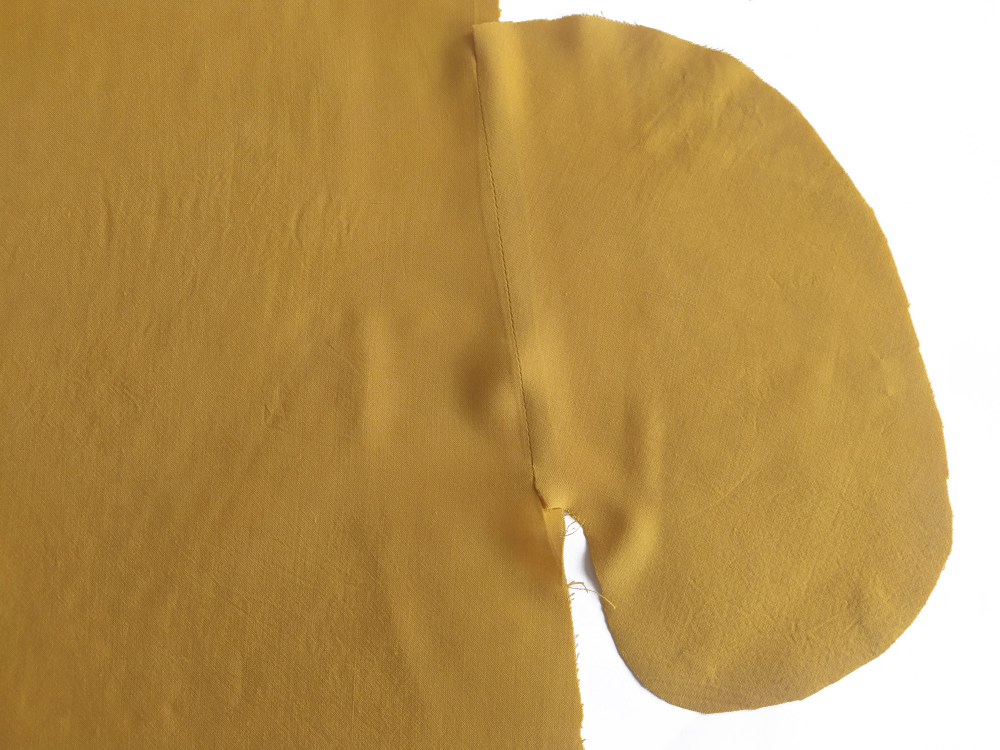
It should look like this.
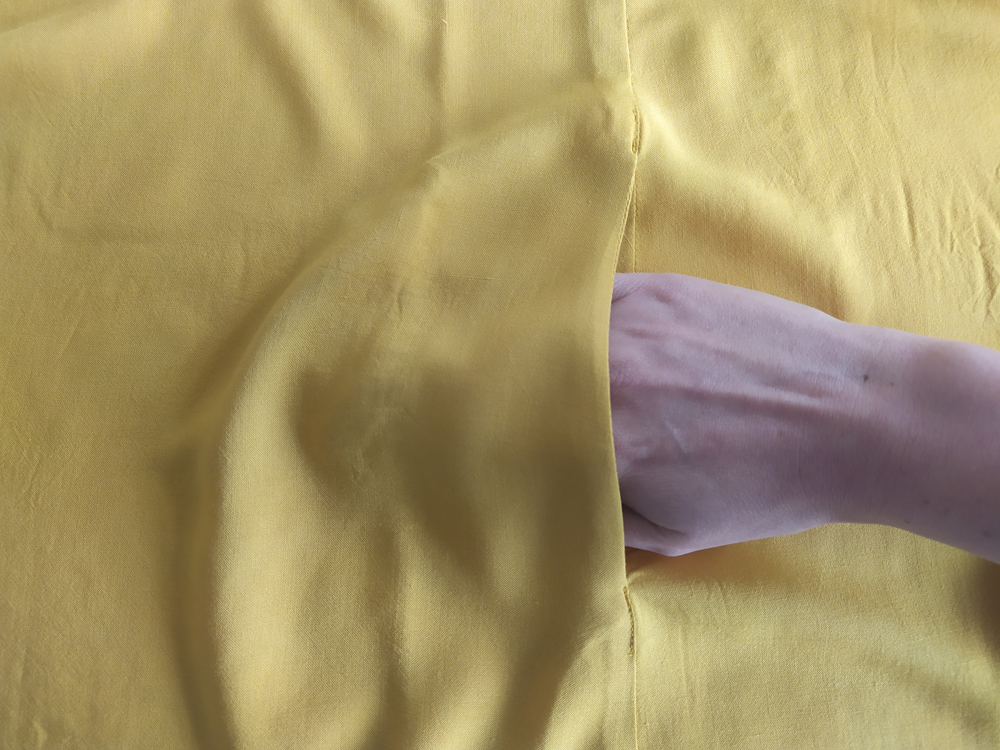
Press seams towards the front skirt. Topstitch the seam allowance at the top and bottom of the pockets. This will ensure the pocket stays in front of the garment.
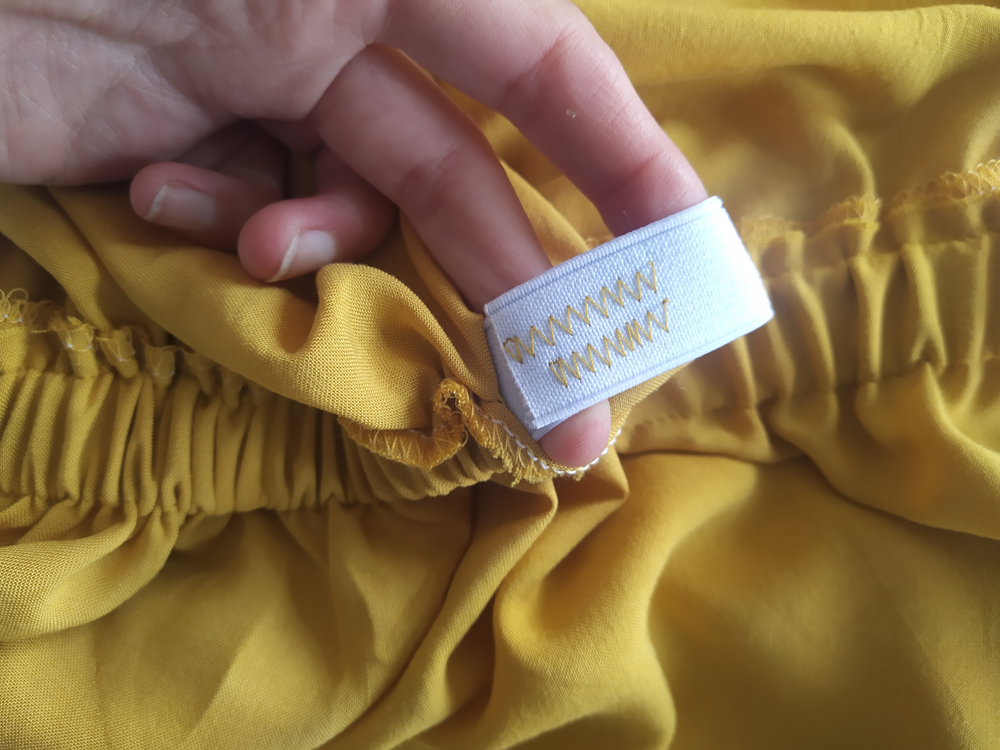
The elastic seam casing: Insert the bodice inside the skirt, right sides together. Line up the waistlines seams. Pin matching the side seams. Sew with a 3 cm seam allowance.
If your fabric is too thick, trim the bodice seam allowance to 1 cm, finish the skirt seam allowance and press seam towards the bodice. If your fabric is thin enough, press both seams towards the bodice.
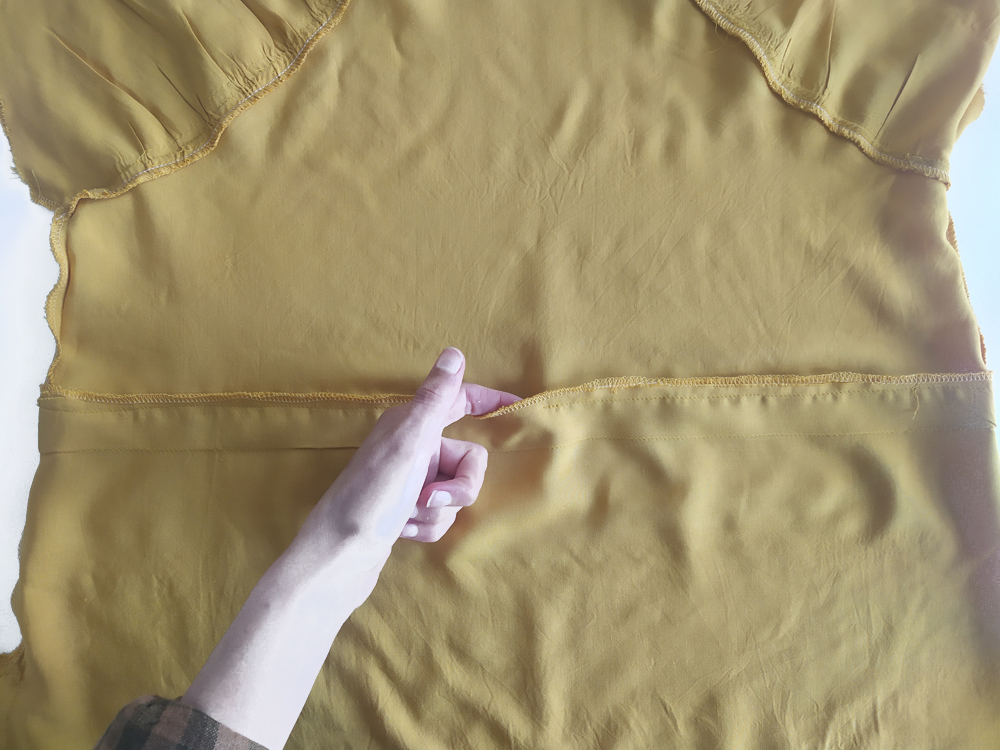
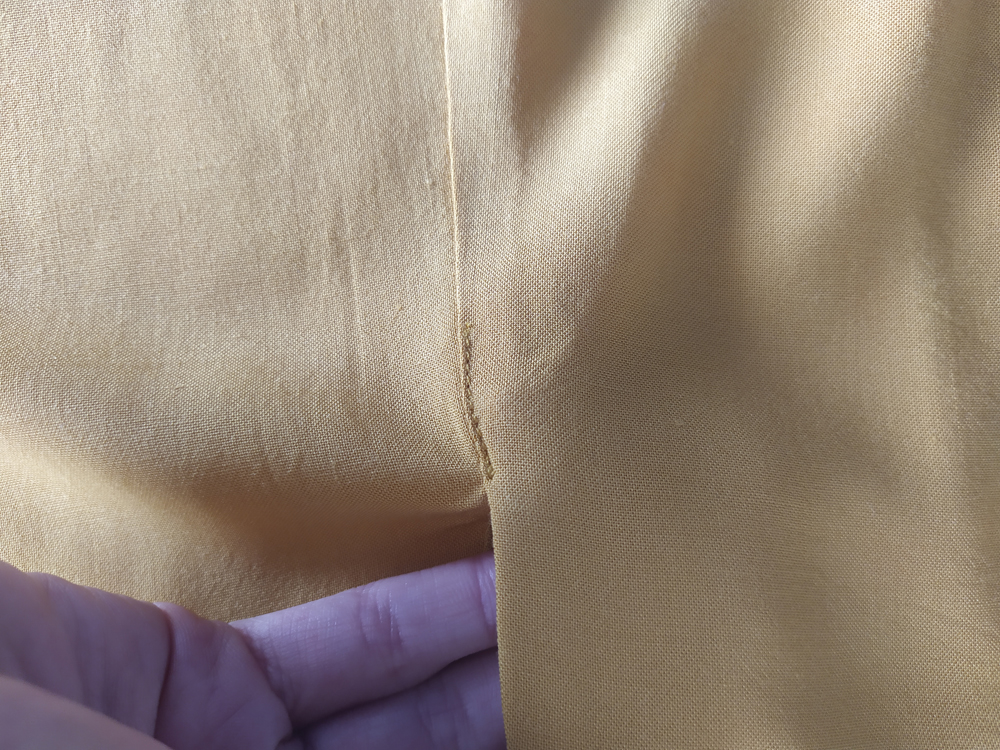
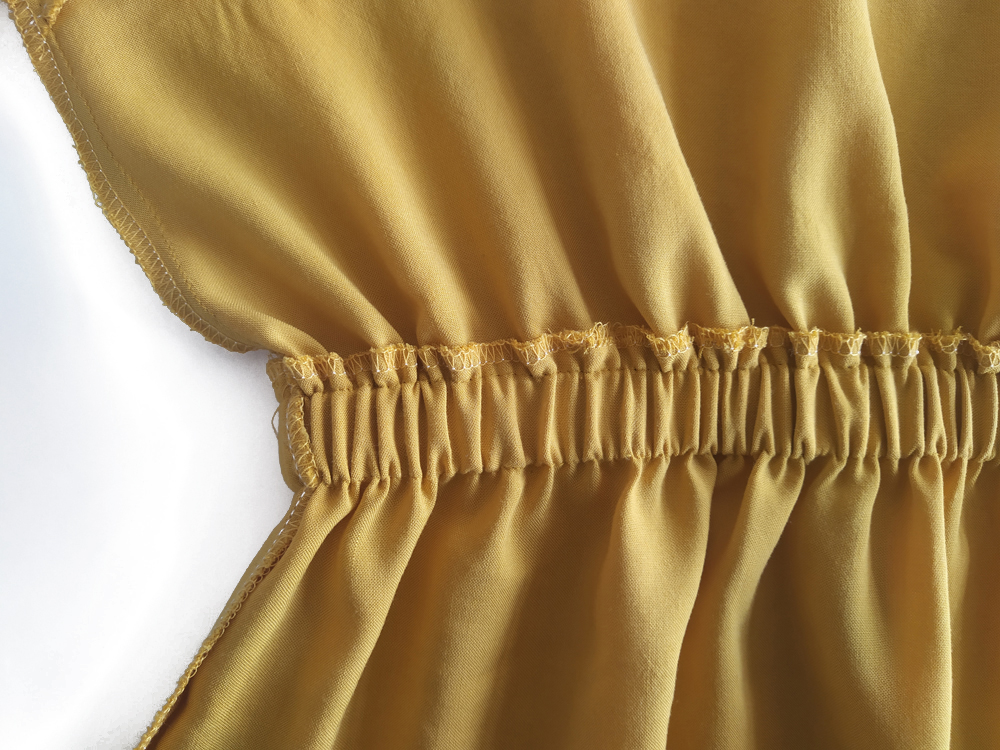
Topstitch through all layers at once, 7 mm from the finished edge. Leave a 3 cm opening at the back to insert the elastic.
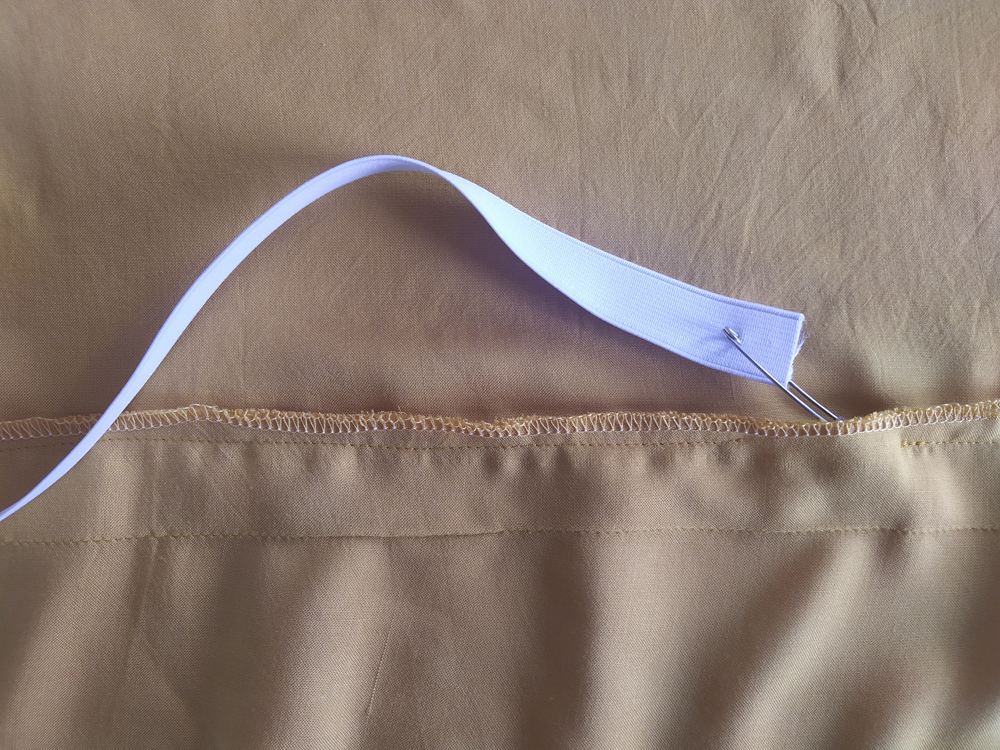
Stretch the elastic around your waist and cut the elastic to comfortable waist measurement plus 2 cm seam allowance. Using a safty pin, insert the elastic through the back opening. Make sure the elastic doesn’t twist inside the casing.
Lap the ends and stitch them in place.
Close the back opening.
Place the frill pieces with right sides together. Pin i the samll raw edges in place. Sew along the entire length of both seams. Finish seam allowances.

Set the machine on the longest stitch and sew three parallel lines for the back frill and for the front frill, starting and stopping at the side seam. Gently pull the three front threads, gathering up the material as you pull. When your gathers reach the middle, shift to the two front threads on the right side and repeat.
Keep gathering, until the frill is the exact size of skirt. With right sides together, stitch the frill to the skirt. Finish seam and press towards the skirt.
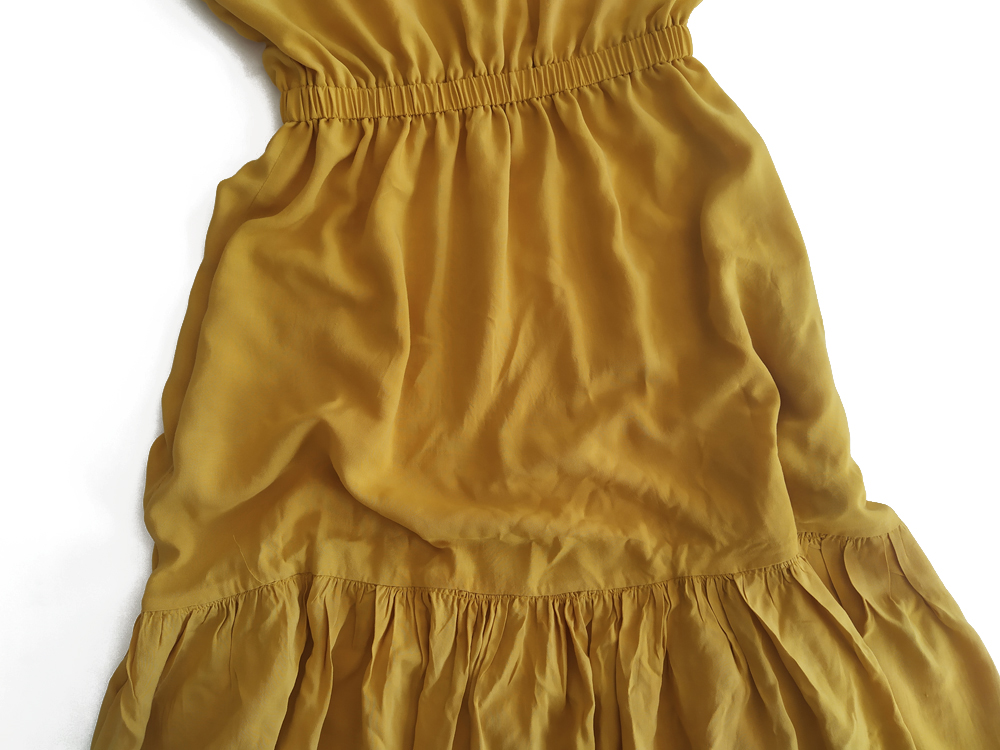
Press well to flatten the gathers.
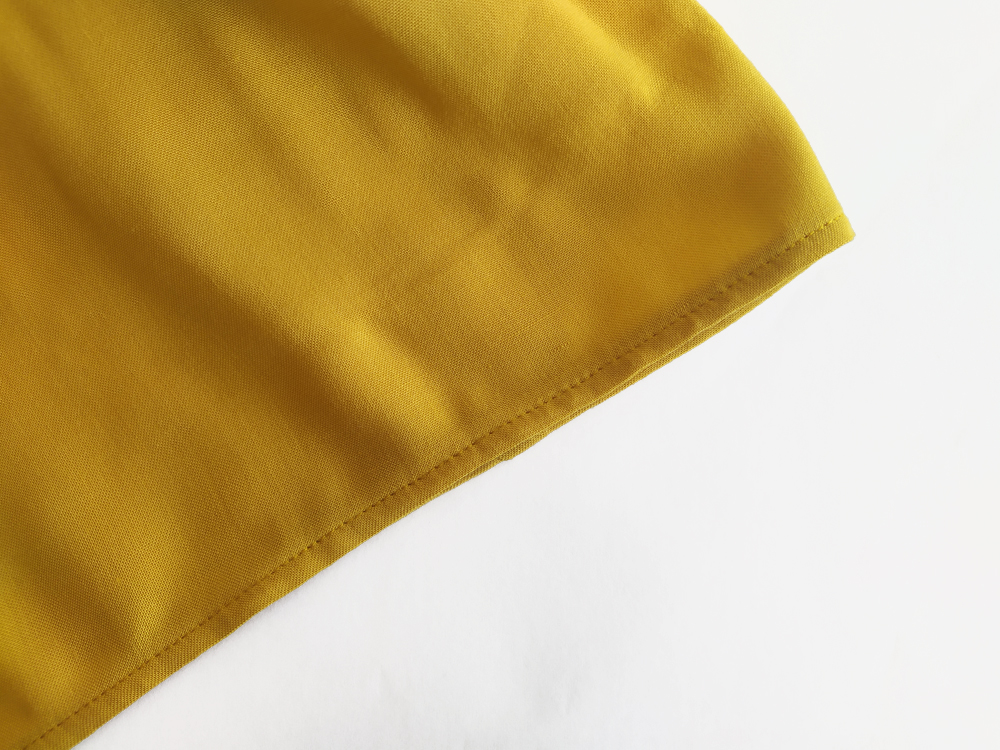
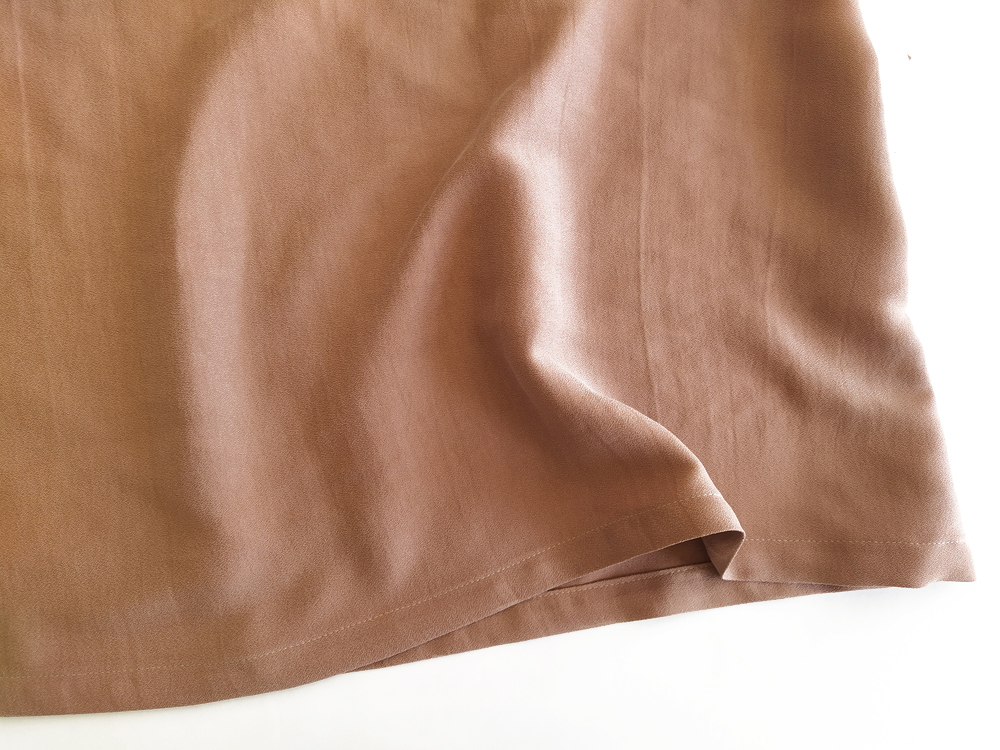
The hem: First, press or fold the raw edge over by 1 cm. Press it over again by 1 cm. Stitch close to the open folded edge with a matching bobbin. Because the bobbin thread will show on the right side of the garment, check the bobbin sewing machine tension is correct before you start.
![]()
Enjoy your new Jude blouse / dress for summer !
![]()
Comments
No comment at this time!
Leave your comment