How to sew bias binding
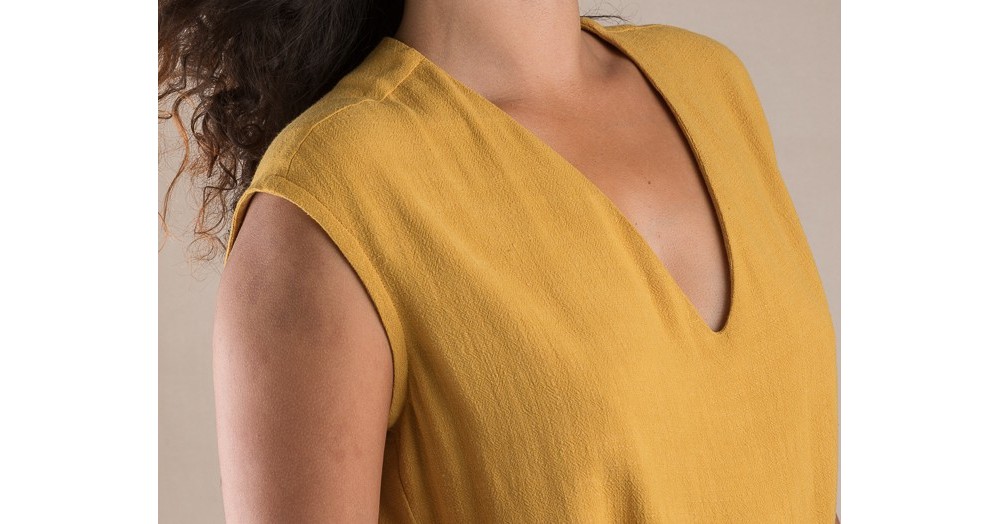
In this tutorial I will show you how to sew a flat bias binding, step by step. Applying bias binding can take a bit of practice, as it can be rippled or not lay flat. The key to a good bias finish is understiching and pressing! You can use this method to finish armholes or necklines or a loose hem. To start, make your bias band, measure your neckline/armhole/keyhole/openning/hem... and cut a biais about 1cm longer and 2,8 cm large.
![]()
 Step 1
If you using biais binding to finish a close shape like a neckline or armhole, begin by taking your bias band and sewing the two shorter edges, right sides togethe. Press the seam allowance open.
Align the bias band around the neckline/armhole/hem and stitch together using a 7 mm seam allowance (the width of your presser foot).
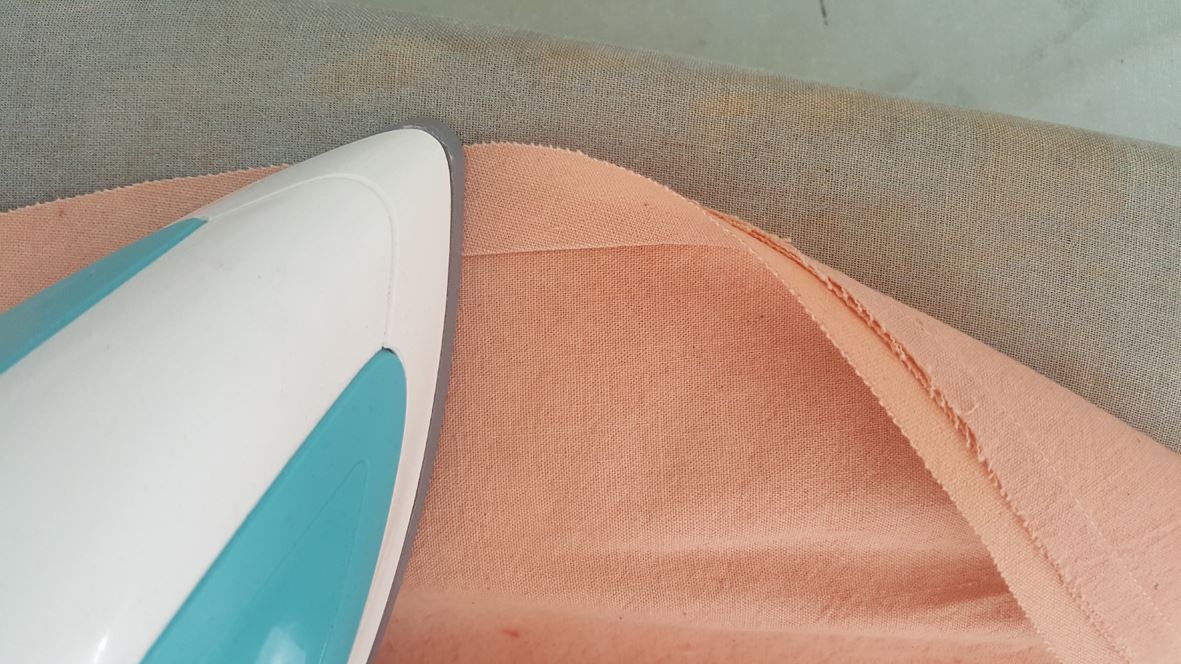 Step 2
Press the seam allowance and the binding up away from the garment.
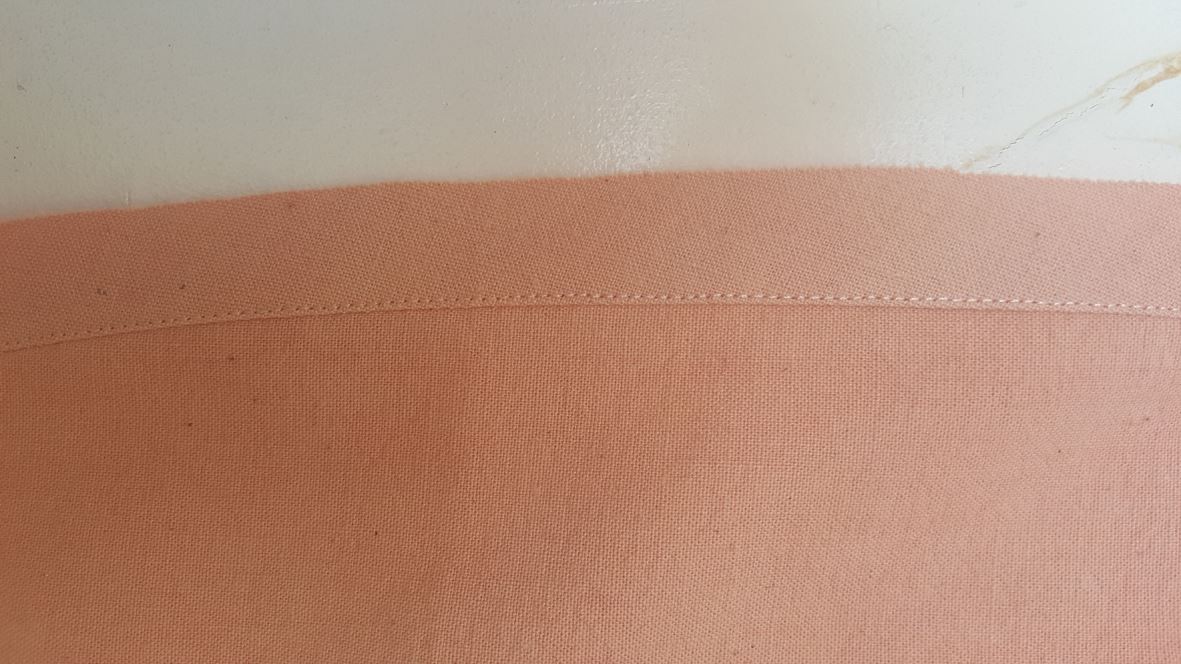 Step 3
Understitch through the binding and seam allowance 2mm from the seam line. Understitching will help to force the seam line to the wrong side of the garment so that you can’t see it from the right side.
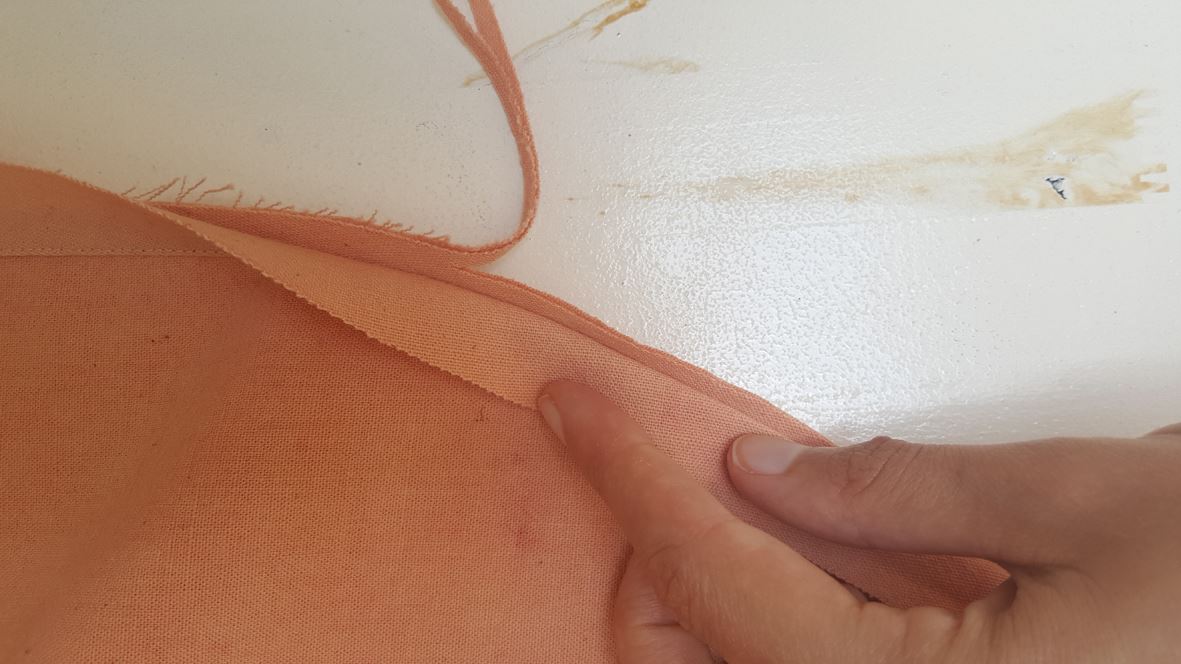 Step 4 (optionnal if your fabric is light weight)
Trim the seam allowances in half. This will reduce bulk and create a better looking neckline.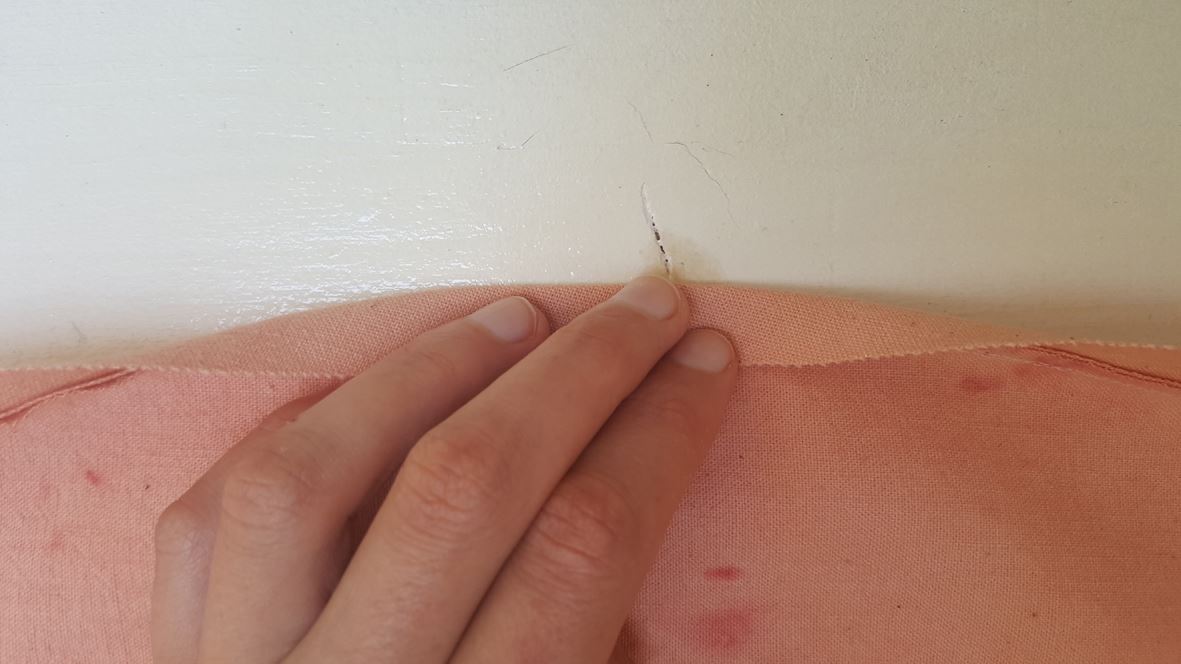 Step 5
Press the binding to the wrong side of the garment.
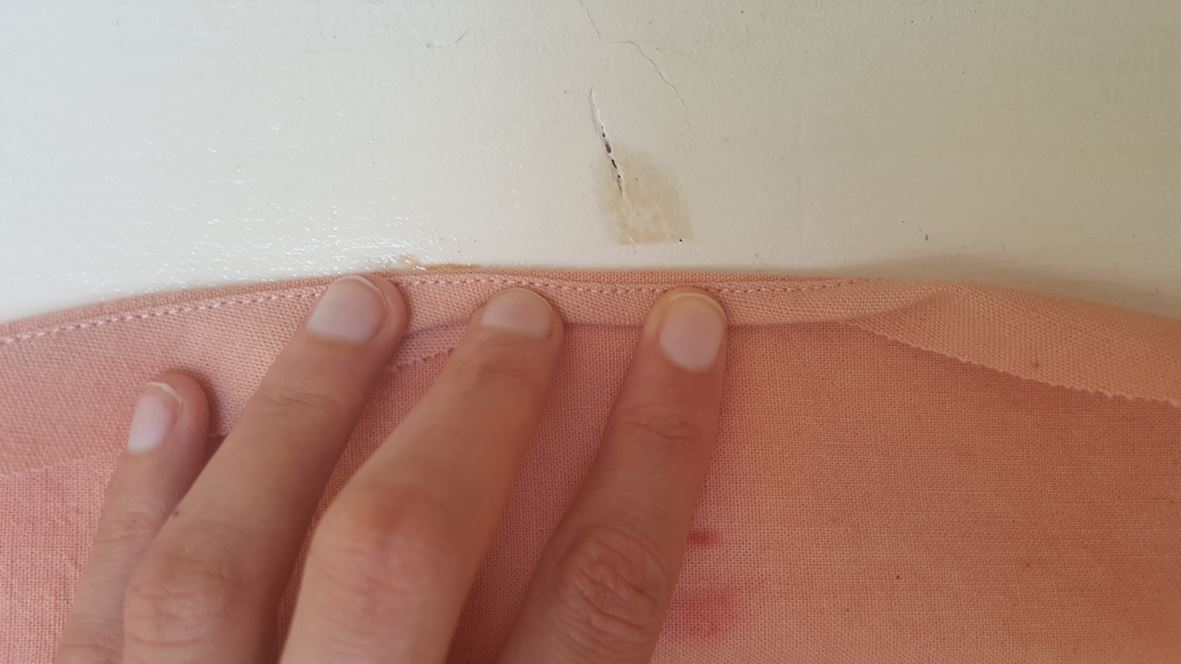 Step 6
Hide the raw edge of the binding under to meet the fold line. Press Press Press!
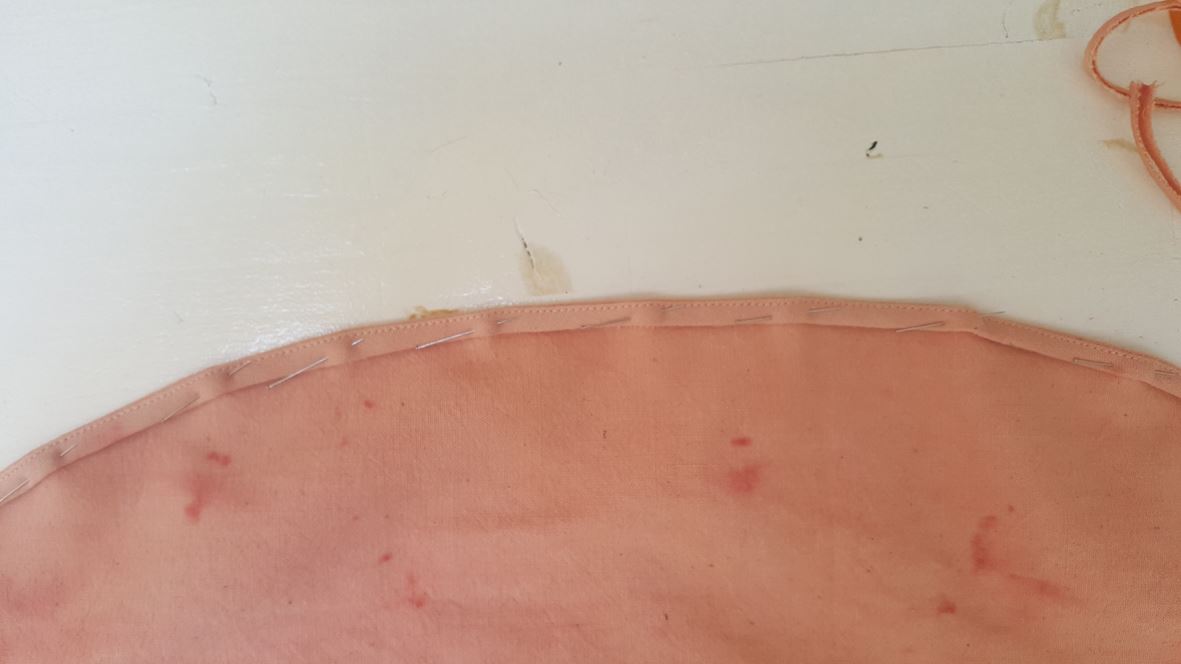 Step 7
Pin the binding in place if needed.
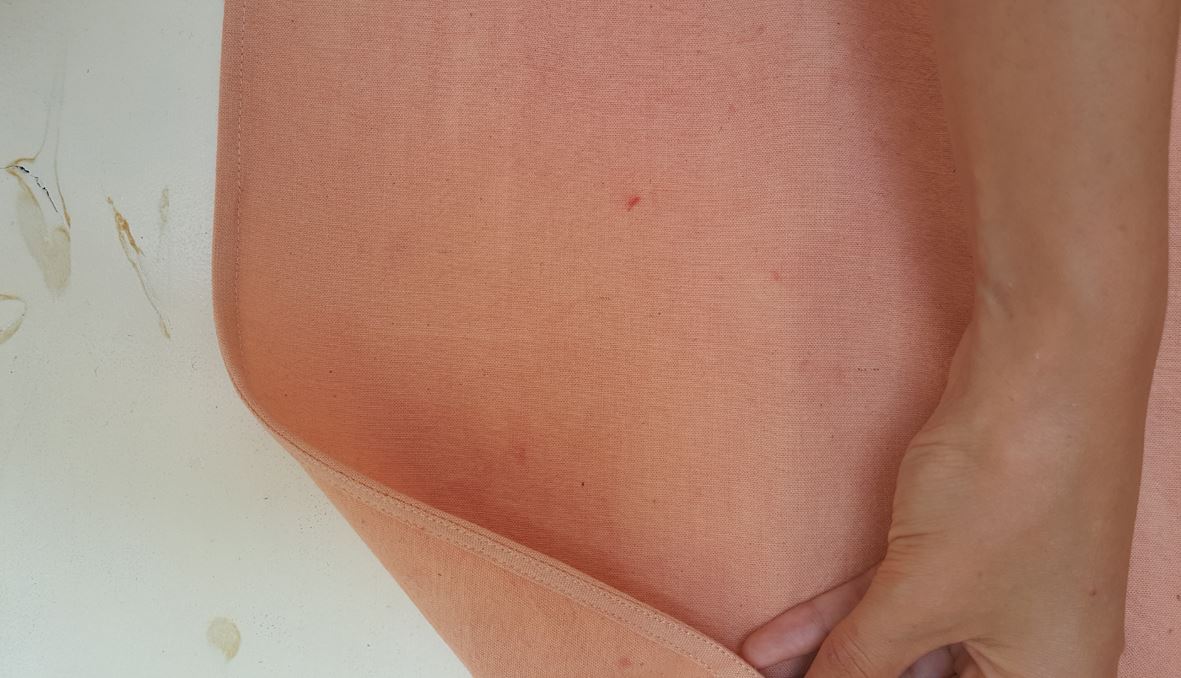
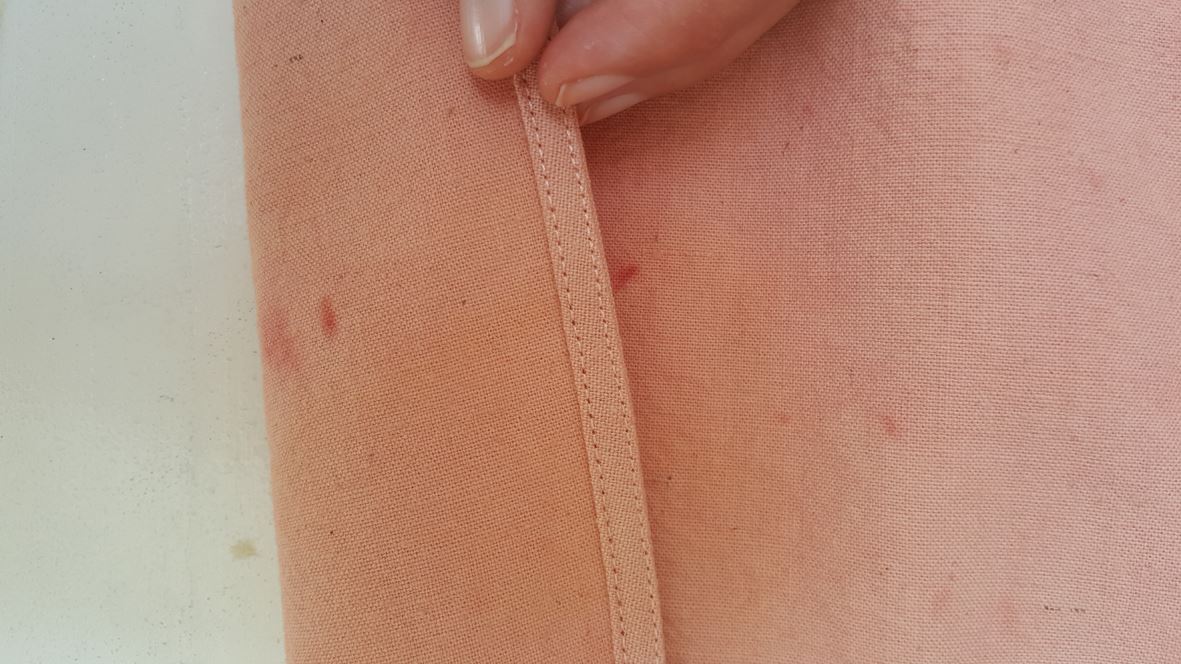 Step 8
Stitch the neckline binding down. 2mm from the loose edge.
![]()
Give your neckline a good press and voilà!
![]()

Bonne couture,
Raphaëlle
A combien de mm est la première couture, celle où l'on place le biais à l'envers sur le vêtement?
Merci. :)
Oui c'est bien ça!