How to sew the Valley jumpsuit bias binding
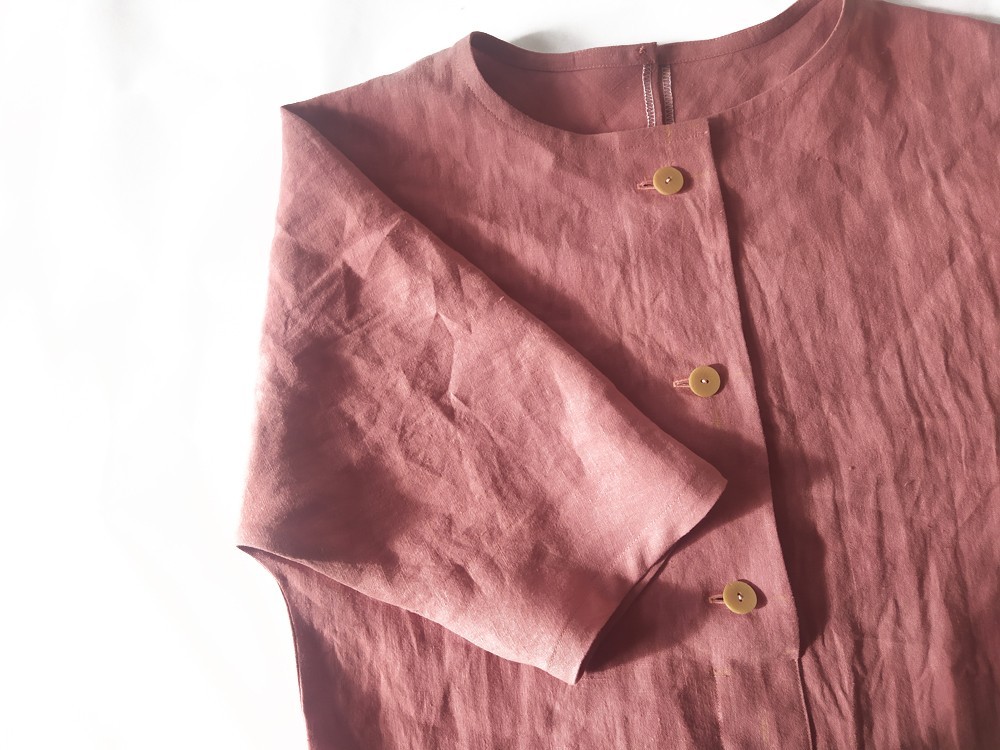
In this tutorial I will show you how to sew a flat bias binding for the Valley jumpsuit. Applying bias binding can take a bit of practice, as it can be rippled or not lay flat. The key to a good bias finish is understiching and pressing! You can use this method to finish armholes or necklines or a loose hem. To start, make your bias band, measure your neckline and cut a biais about 1cm longer and 2,8 cm large.
![]()
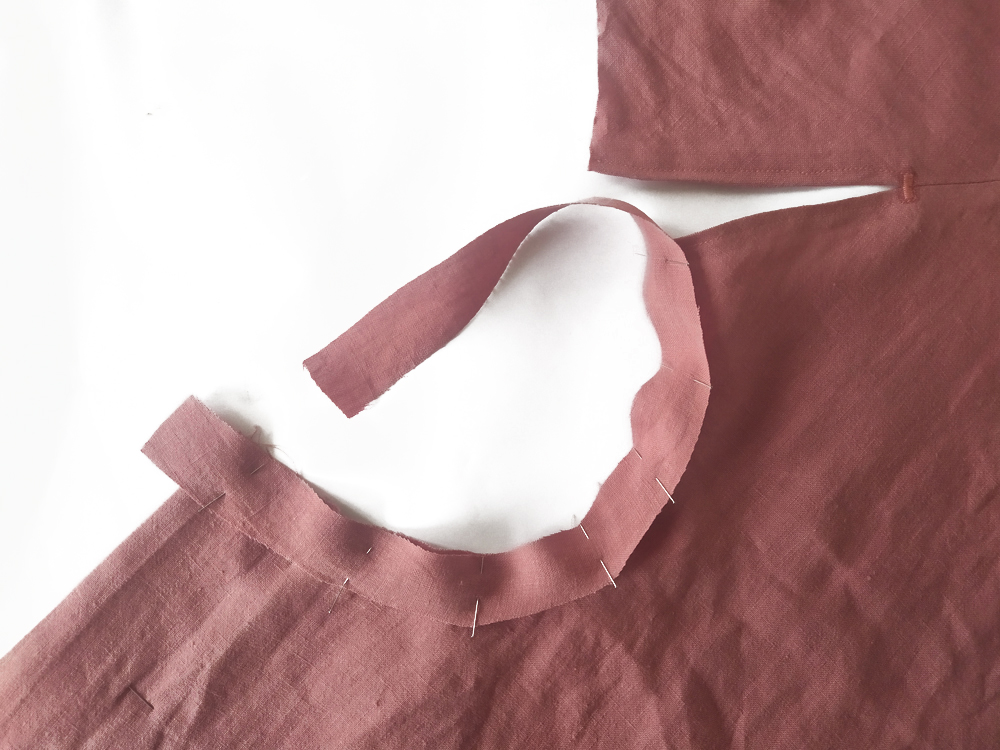 1: Align and pin the bias band around the neckline. Slighlty strech the band as you pin.
![]()
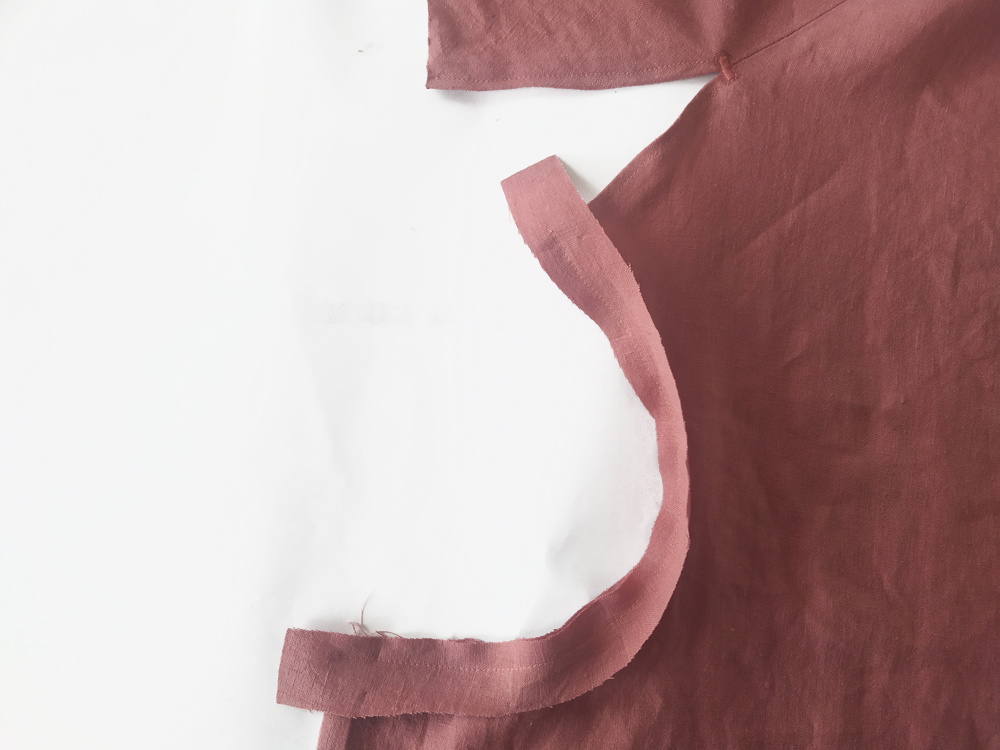 2: Stitch the bias band using a 7 mm seam allowance (the width of your presser foot).
![]()
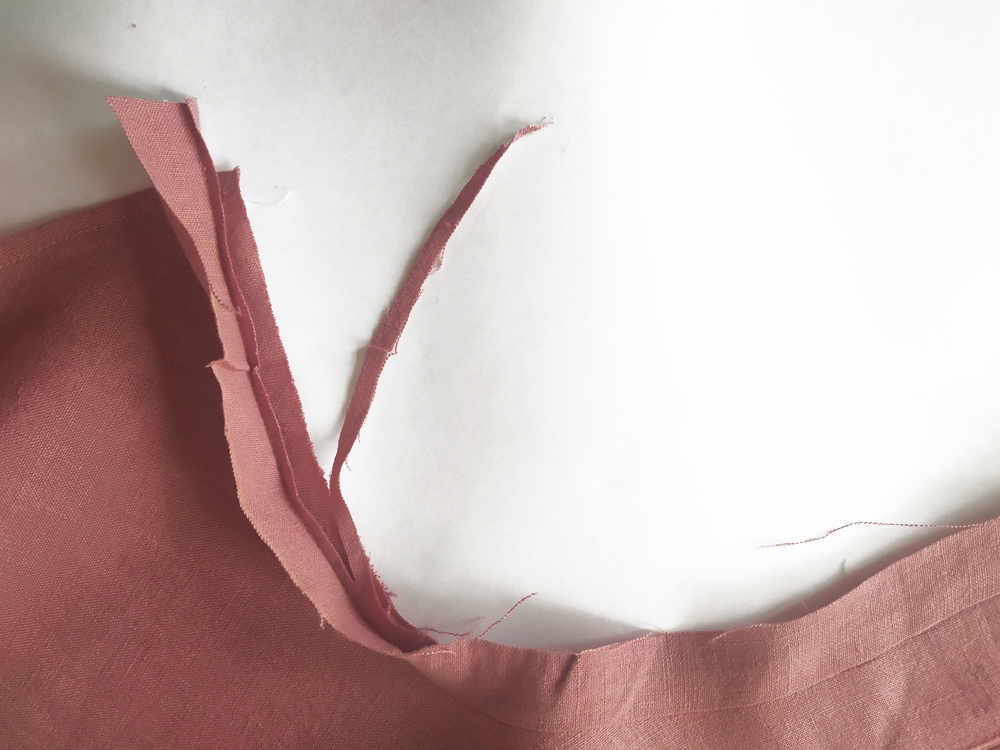 3: Trim the bias seam allowance. This will reduce bulk and create a better looking neckline. It's optional if your fabric is light weight and essential is your fabric is heavy weight.
![]()
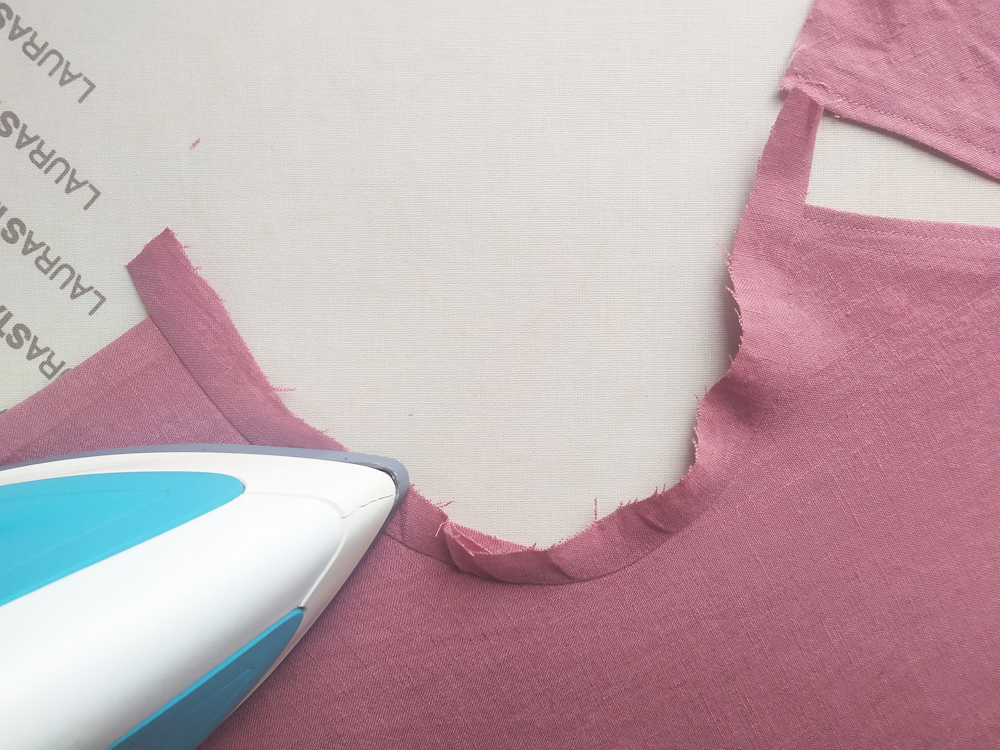 4: Press the seam allowance and the binding up away from the garment.
![]()
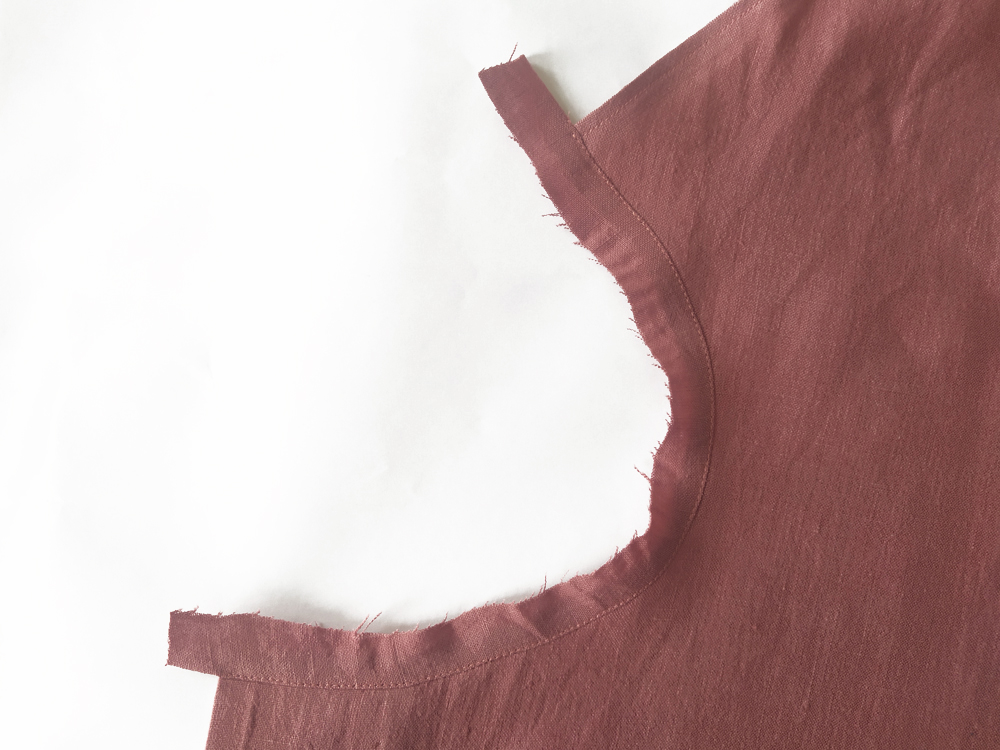 5: Understitch through the binding and seam allowance 2 mm from the seam line. Understitching will help to force the seam line to the wrong side of the garment so that you can’t see it from the right side.
![]()
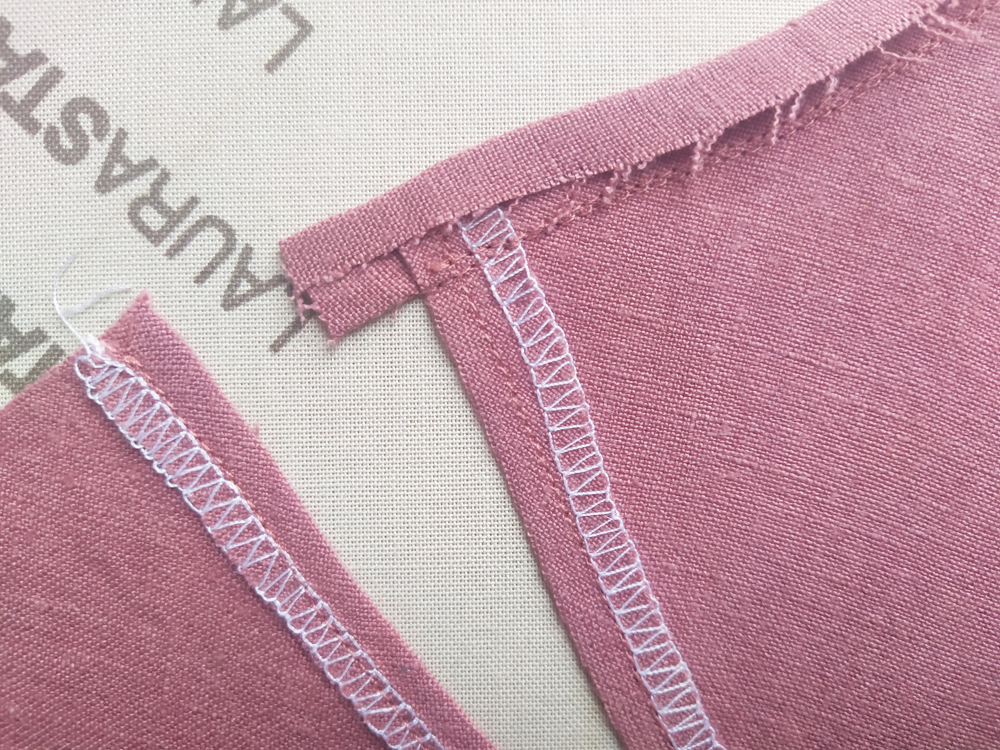 6: Press the binding to the wrong side of the garment.
![]()
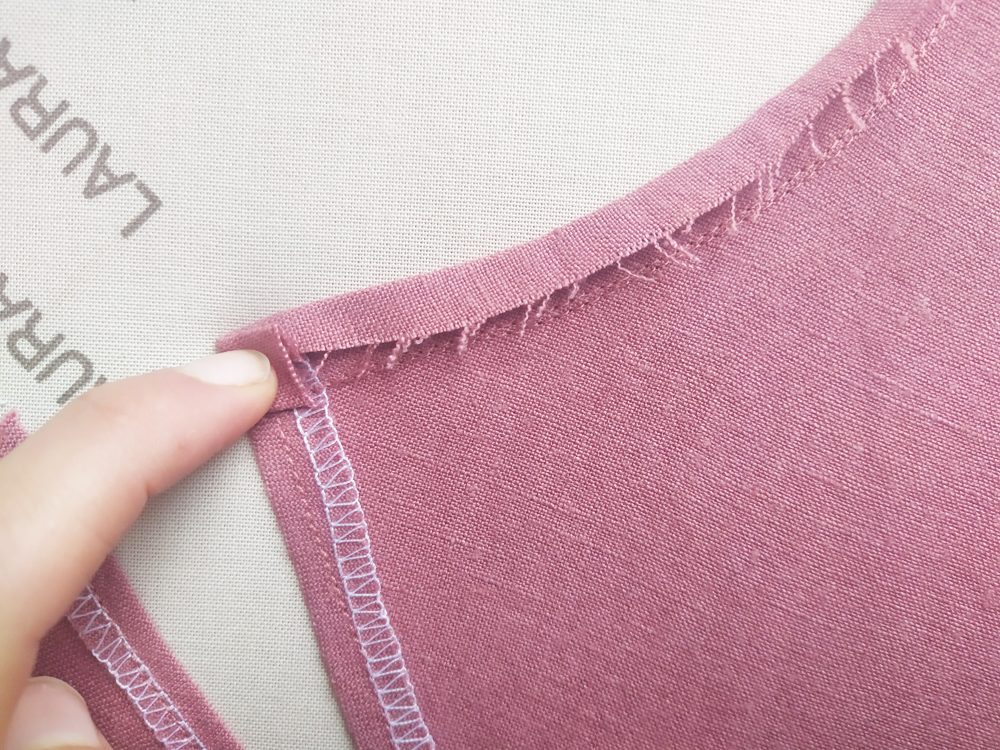 7: Fold the seam allowance towards the inside of the garment and press.
![]()
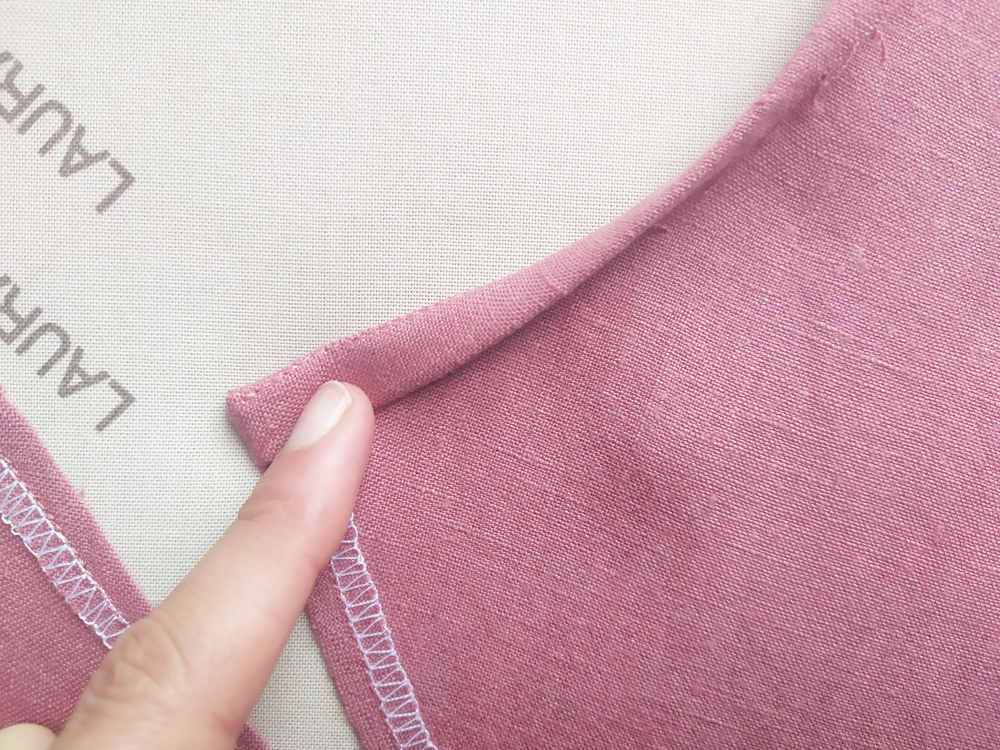
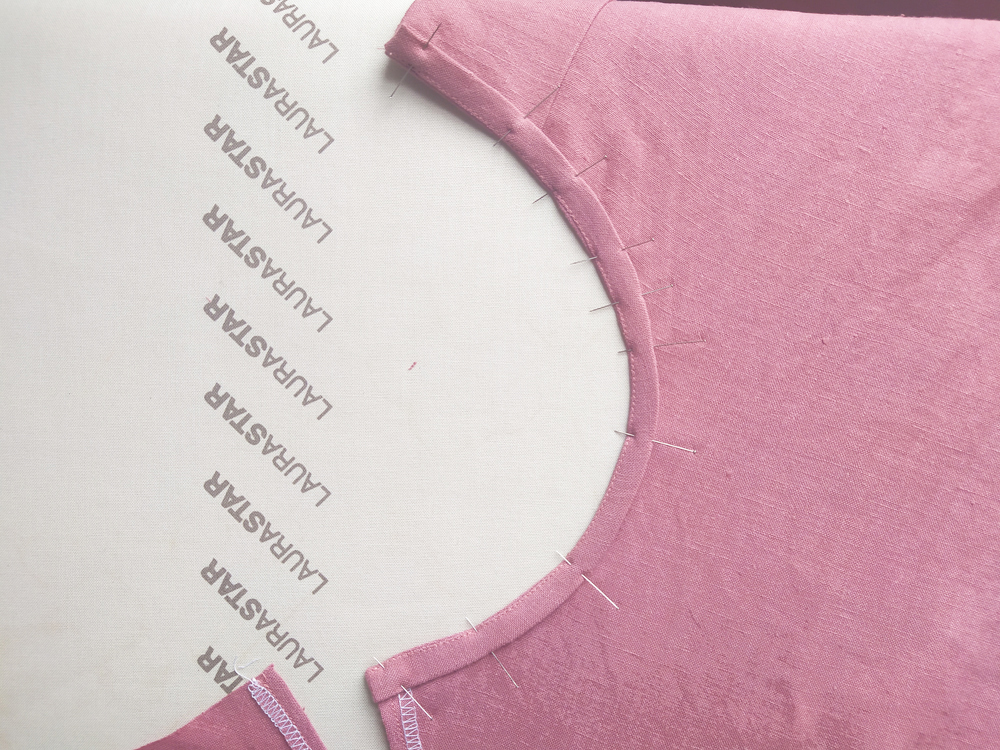 8: Hide the raw edge of the binding under to meet the fold line. Pin.
![]()
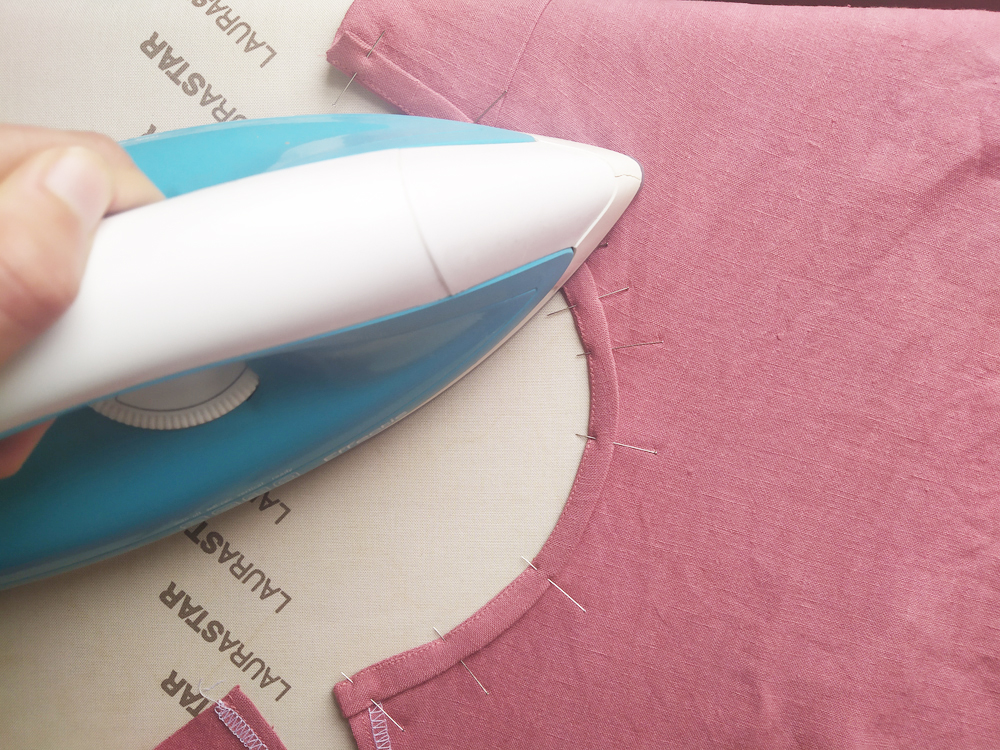 9: Make sure the width of the biais binding is even and press.
![]()
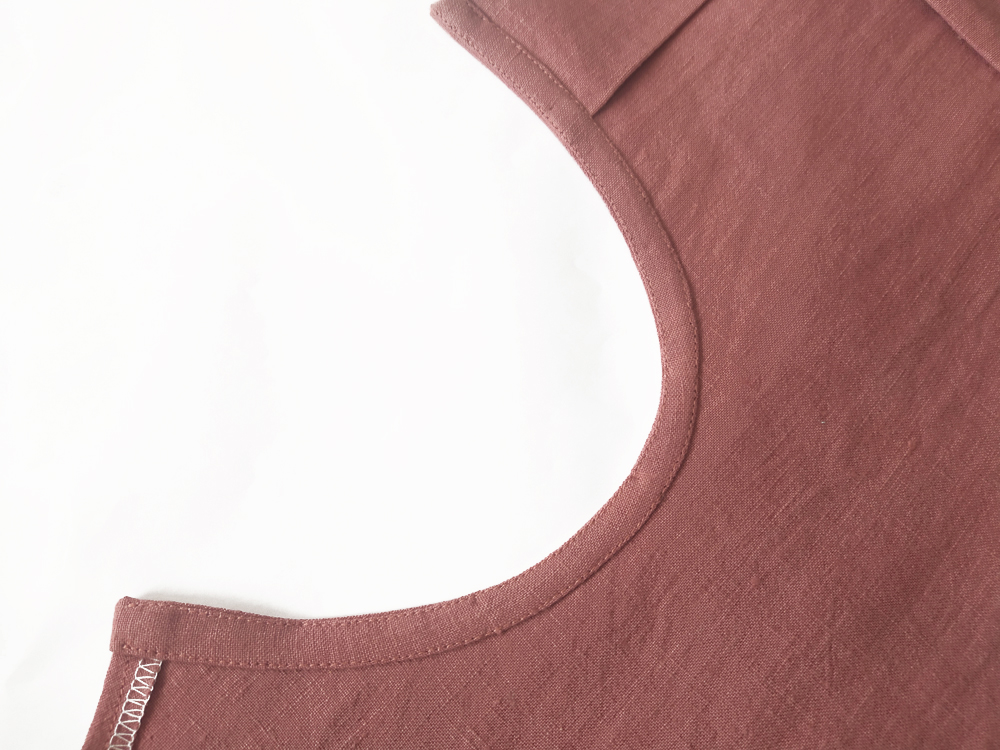
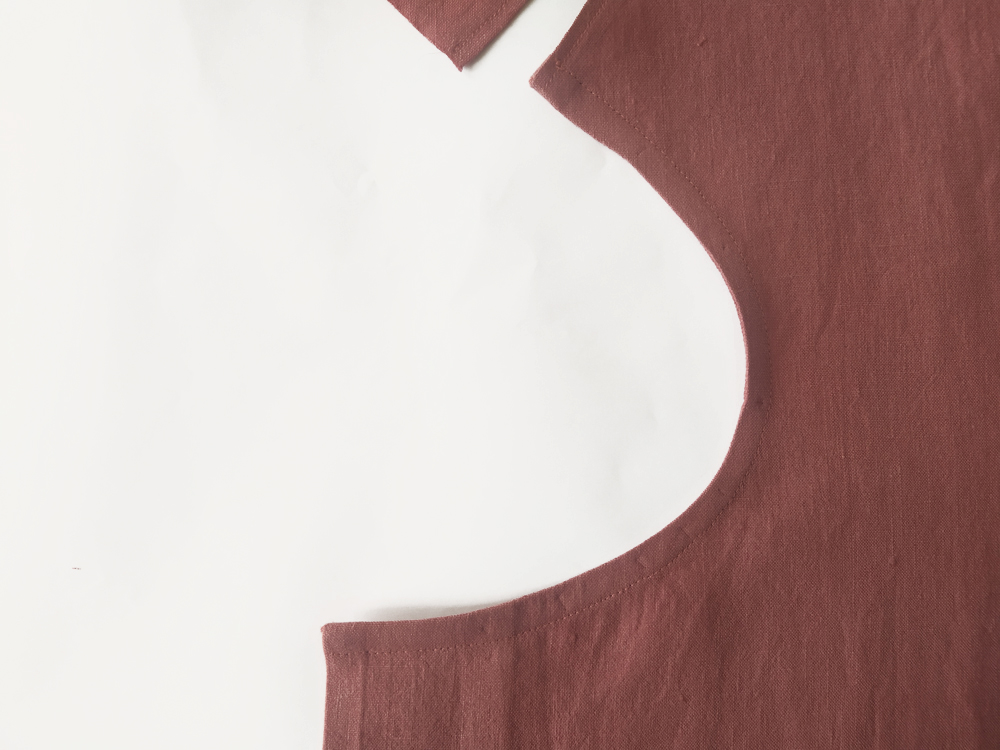
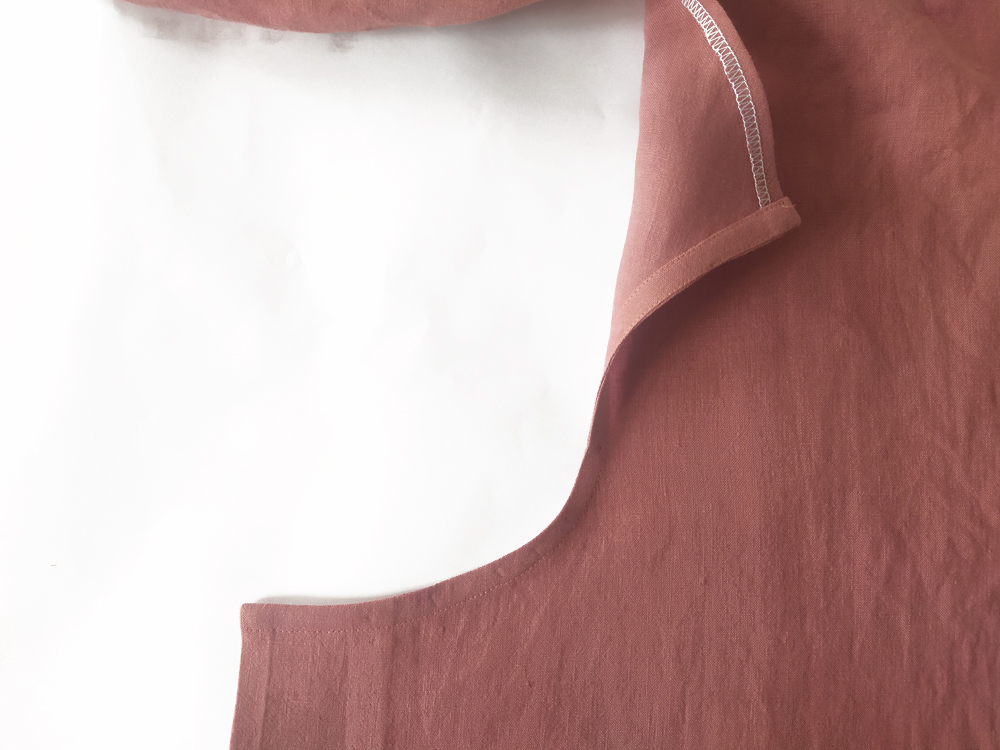 10: Stitch the neckline binding down. 2mm from the loose edge.
![]()

You’ve made it so clear and easy to follow. Nearly finished this beauty of a garment now