How to attach a collar stand with the "burrito" method

In this tutorial we are going to see how to attach a shirt collar stand with the "burrito" method. This method is very complicated to describe with diagrams, which is why I don't use it in the my sewing patterns' instructions but I think it produces the most consistently nice-looking collar stands.
Sew your collar to the collar stand with your usual method, then sew the outer collar stand to the shirt neckline.
* Here the seam allowance of the inner collar stand is folded and pressed to make it easier to sew the inner collar stand later. You don't have to follow this method, we'll unfold it the next steps.

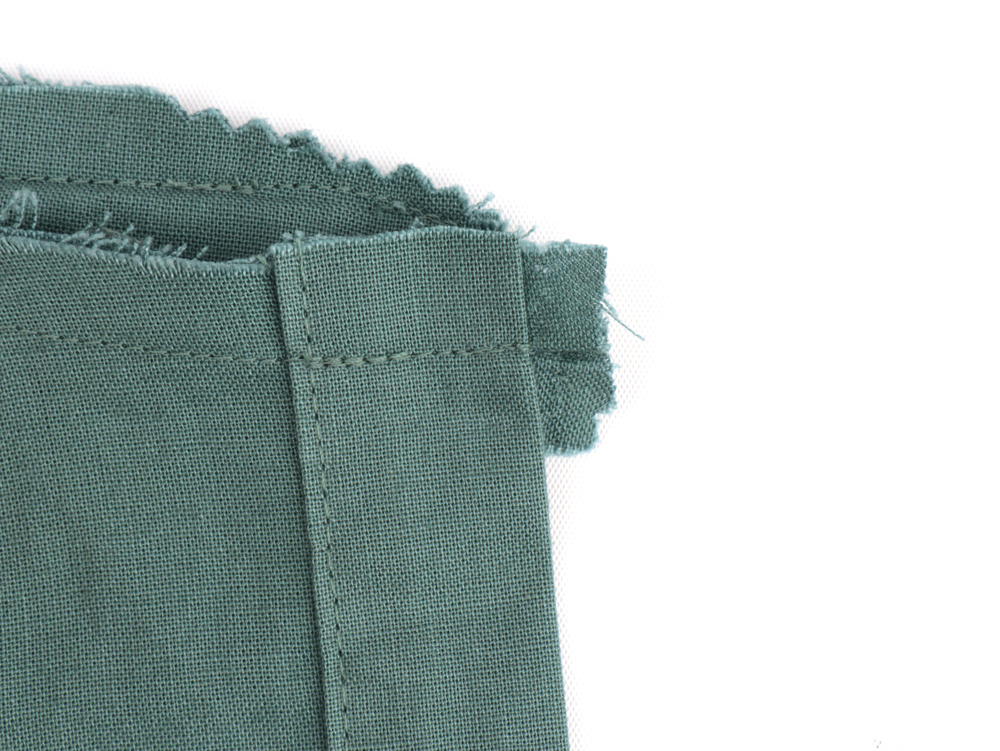
Fold the collar stand over the button placket and collar. Inside collar stand and outside collar stand right sides together.
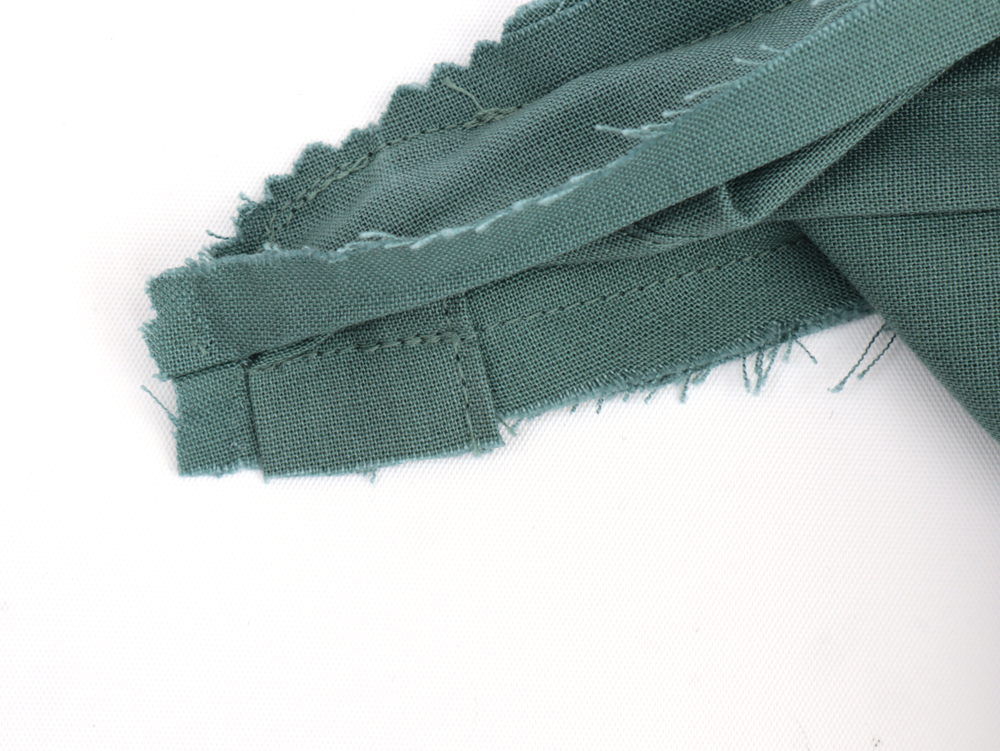
Now here is the tricky part. You need to fold a bit of the front button placket up inside the two collar stands. And you need to do it in a way that you don’t catch the front edge of the placket when you stitch around the front curve of the stand, and also keep the placket out of the way when you stitch a couple of inches along the neck edge of the stand. The collar needs to be pushed out of the way of the stitching, too.
Take a good look at the following pictures:
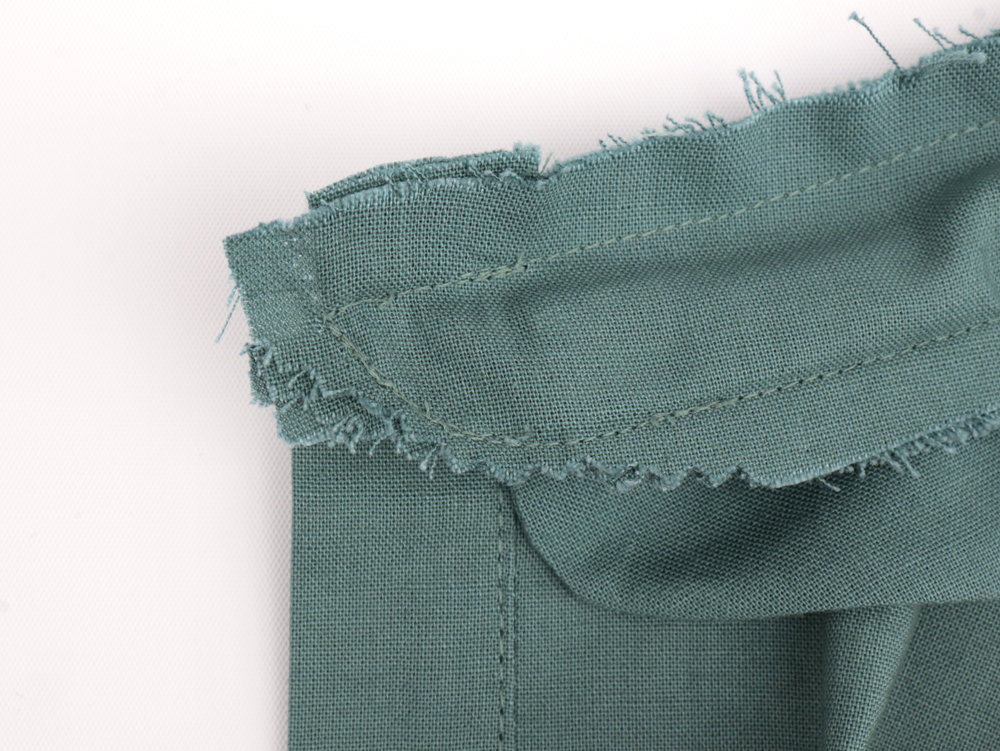
Here the collar is held in place with a pin and we will then move the button placket away.
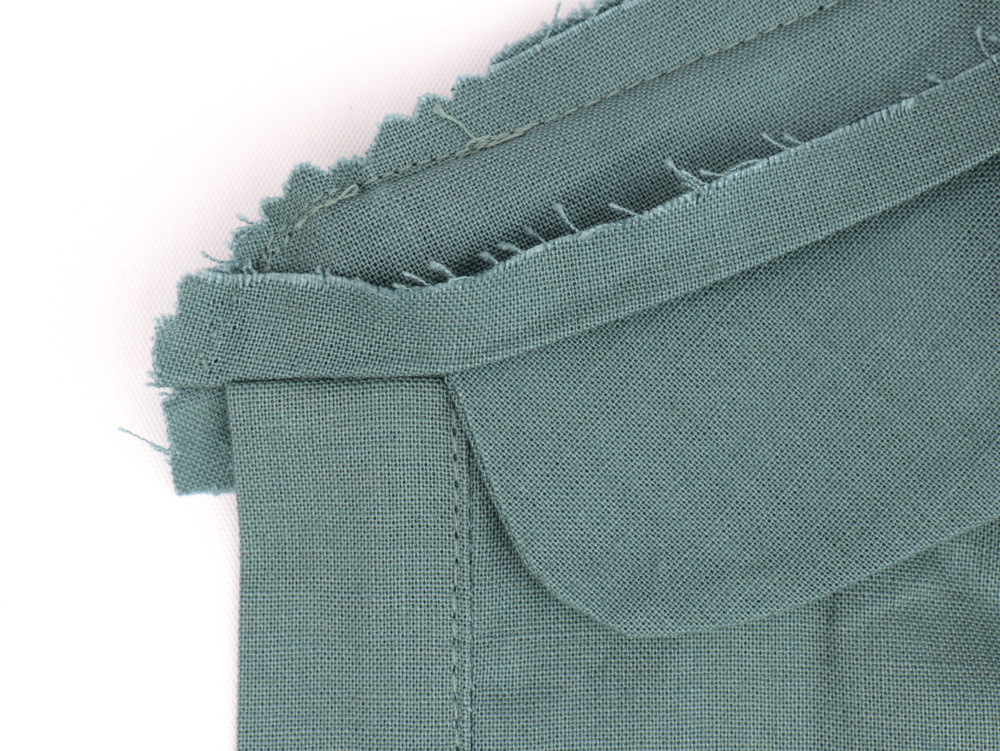
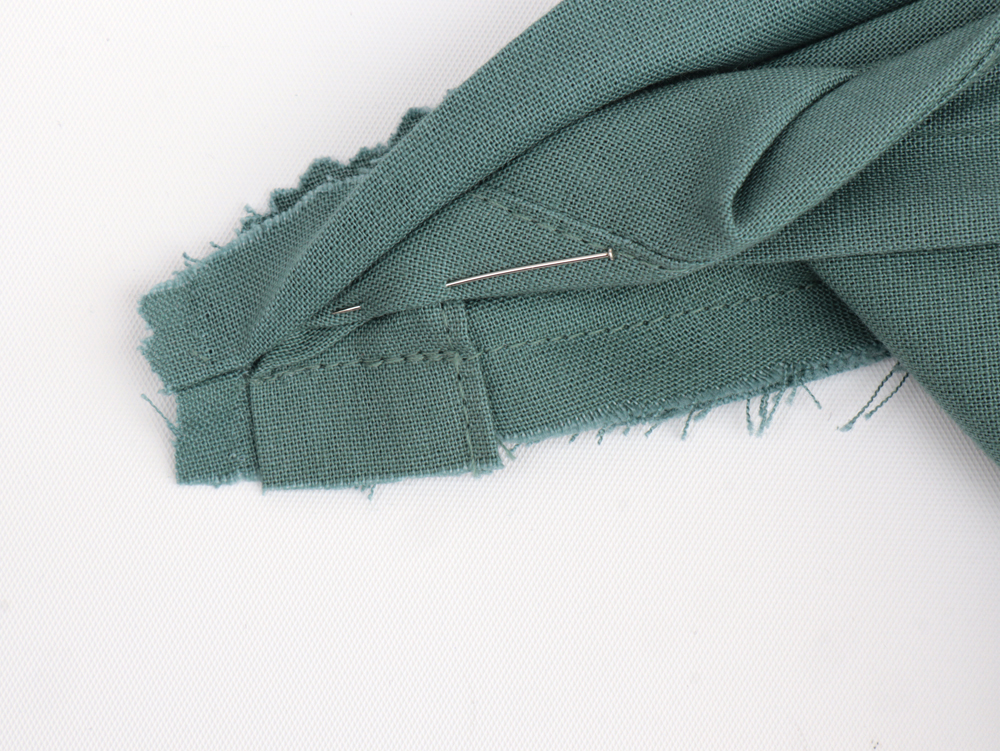 The button placket is now held.
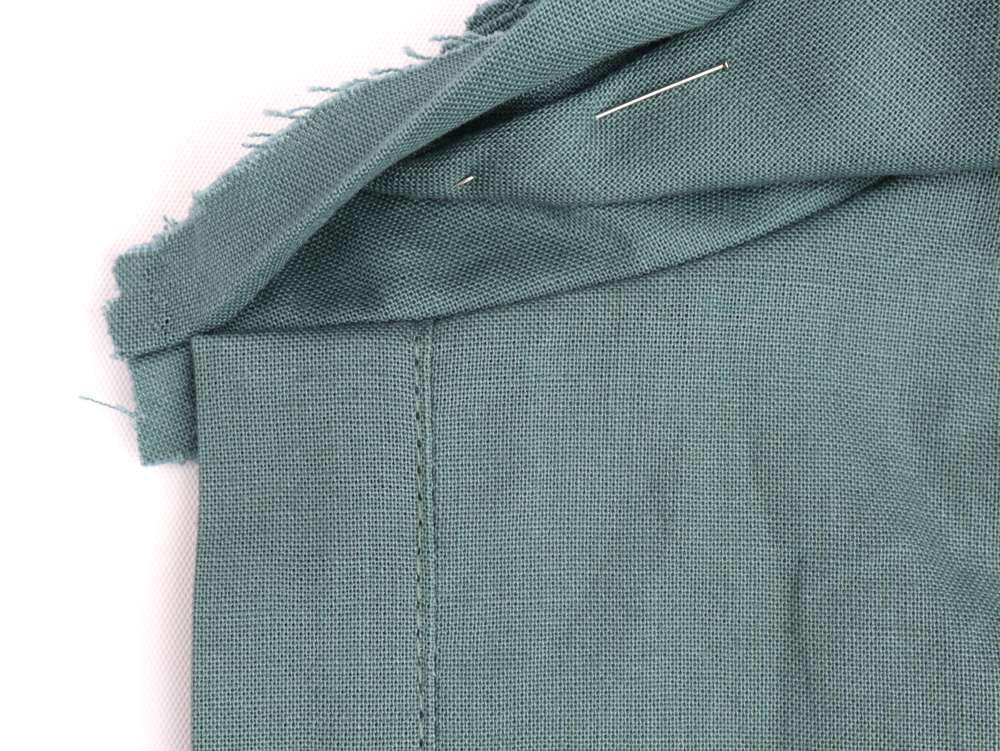
Here the inside collar stand seam allowance is turned down and the two collar stands are held together, raw edge to raw edge, by pins.

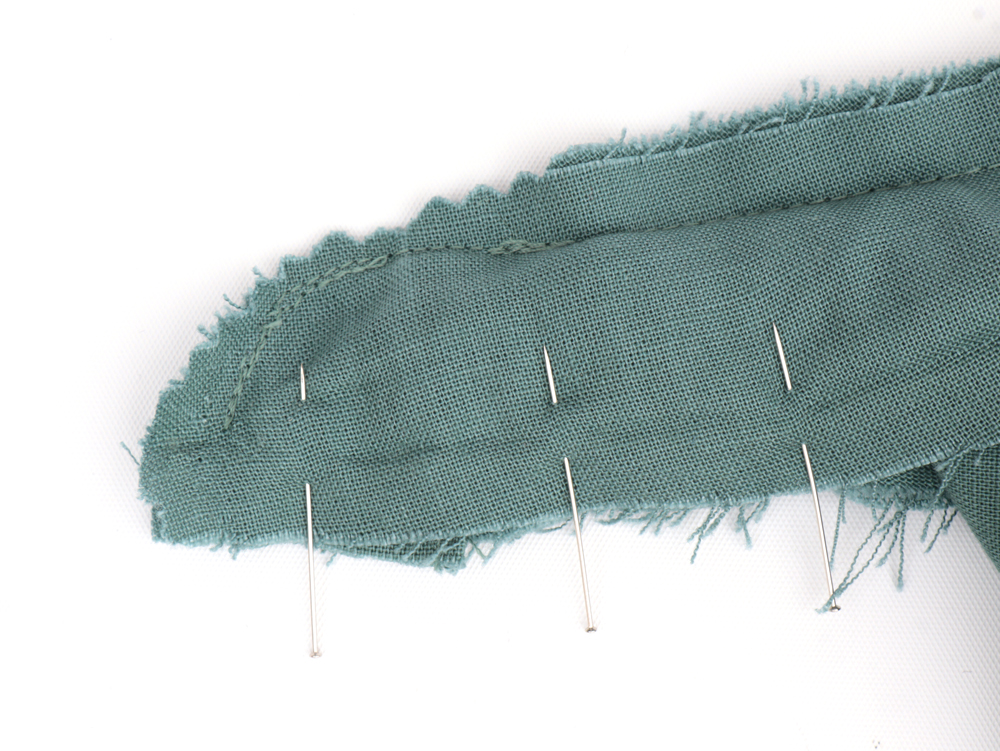
Continue pinning about 4 to 5 cm.
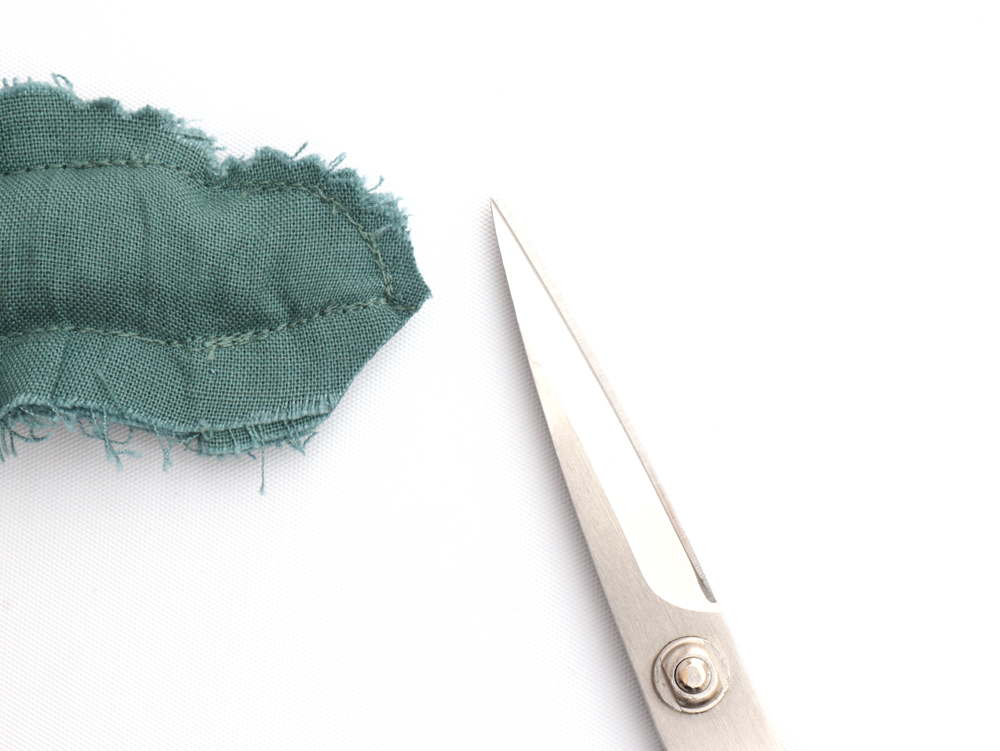
Sew the collar stands together. Do your best to not catch the front placket. You can poke your finger in and push the placket back a bit if you like.
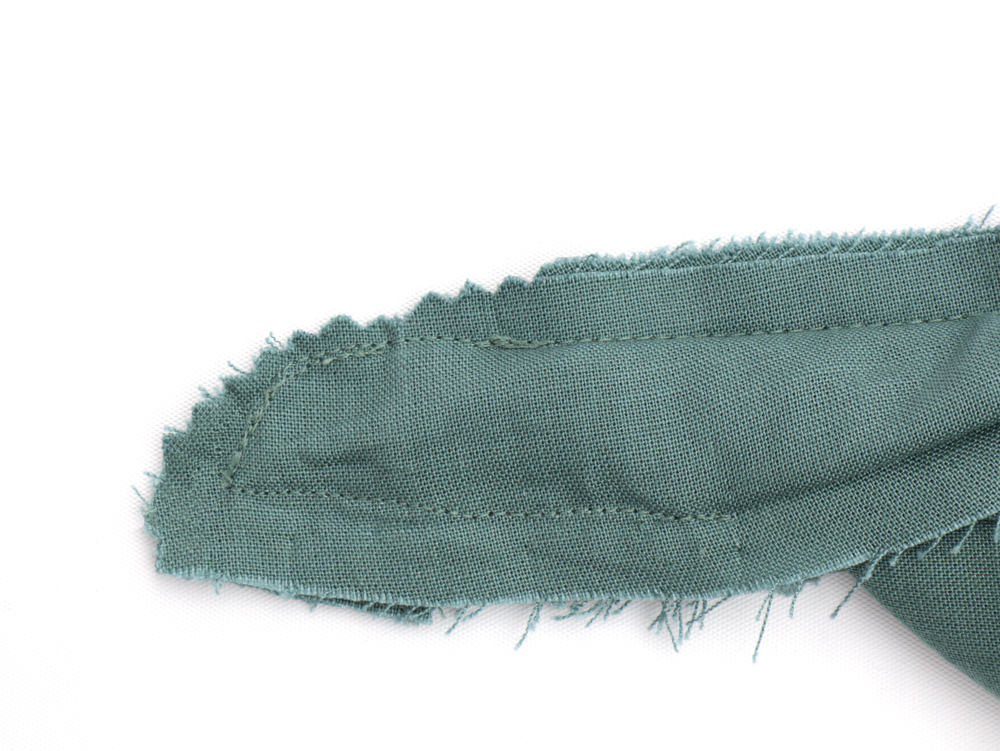
Before you trim the seam allowances, pull on the front placket to turn the stand RS out. this is where you check to see if you caught any part of the placket in the stand stitching. If you did, just unpick and redo it. 
Baste the rest of the inside collar stand.
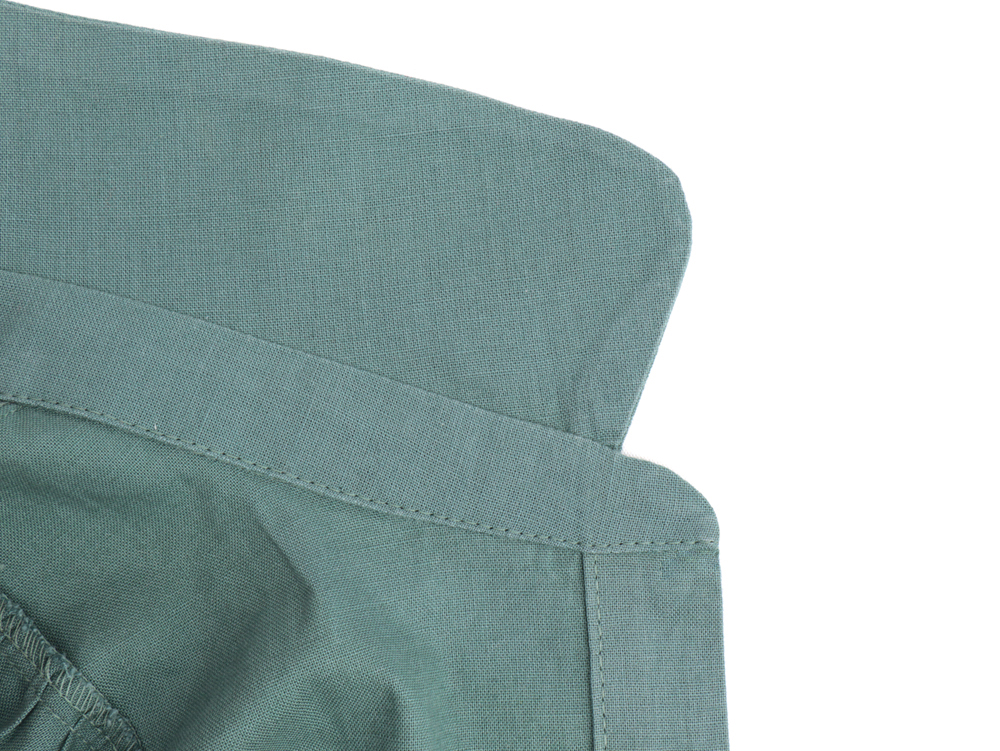
Topstitch, remove basting stitches. There you go, it's over!
![]()
Comments
No comment at this time!
Leave your comment