Sew along, the Jolene shirt with puff sleeves

Sew along with us as we walk you through making the Jolene shirt/shirtdress with puff sleeves (you need the expansion pack + original pattern to sew those sleeves)! In this step by step photo sew along I will be showing you how to use the “burrito method” of attaching the stand, because I think it produces the most consistently nice-looking collar stands. It is very complicated to represent this method with diagrams, which is why the method described in the sewing pattern's instructions is different. ![]()
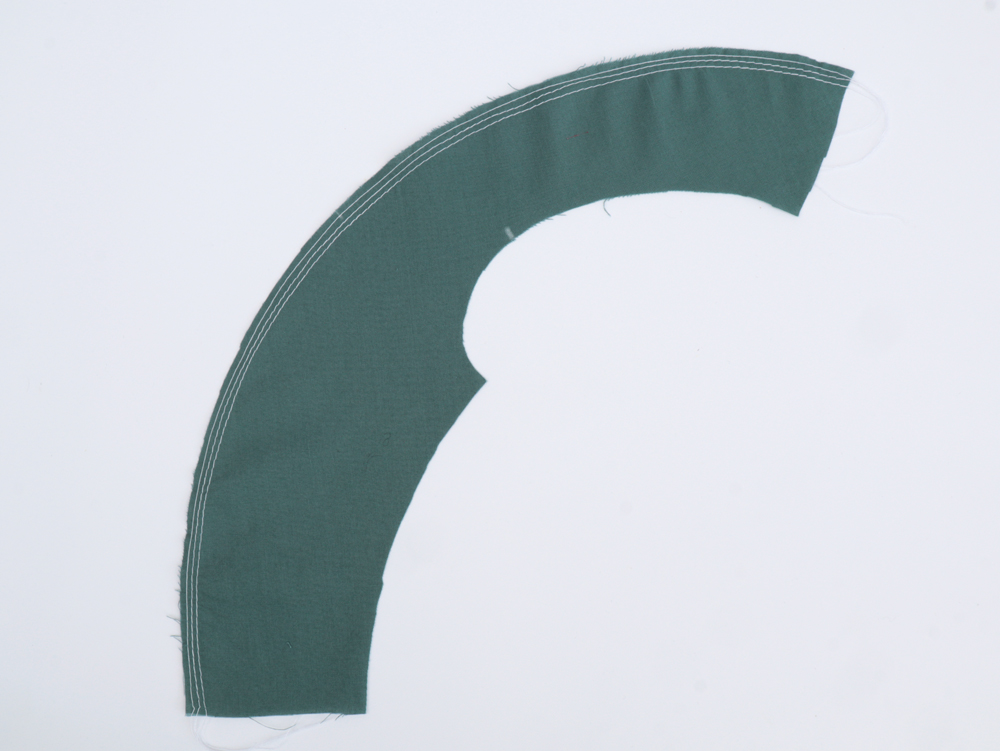
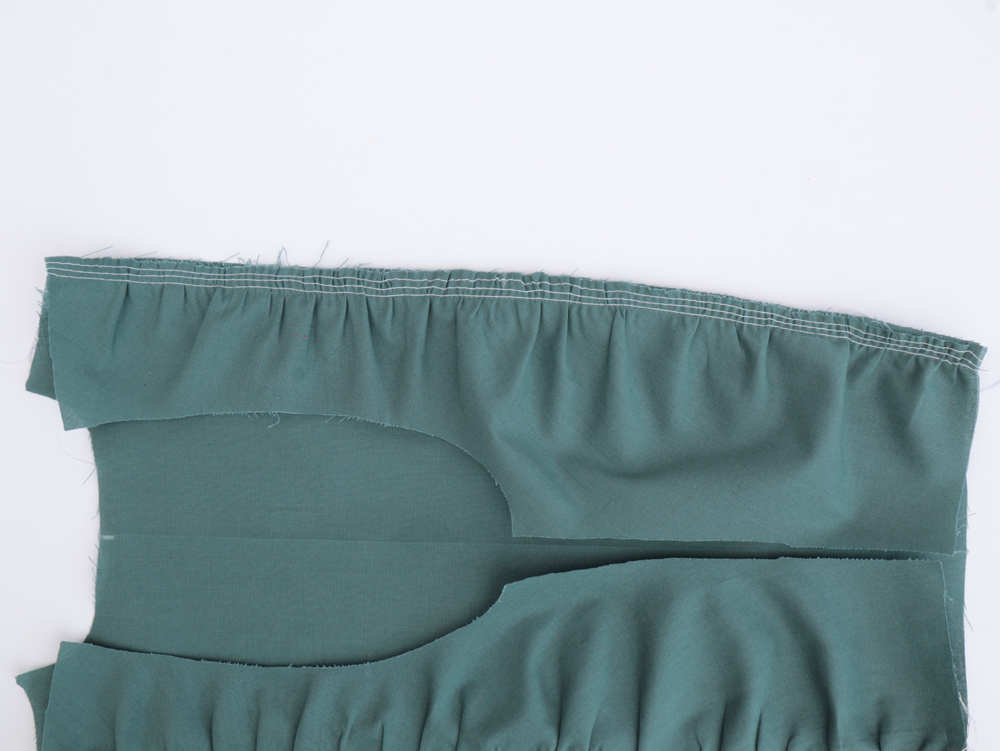
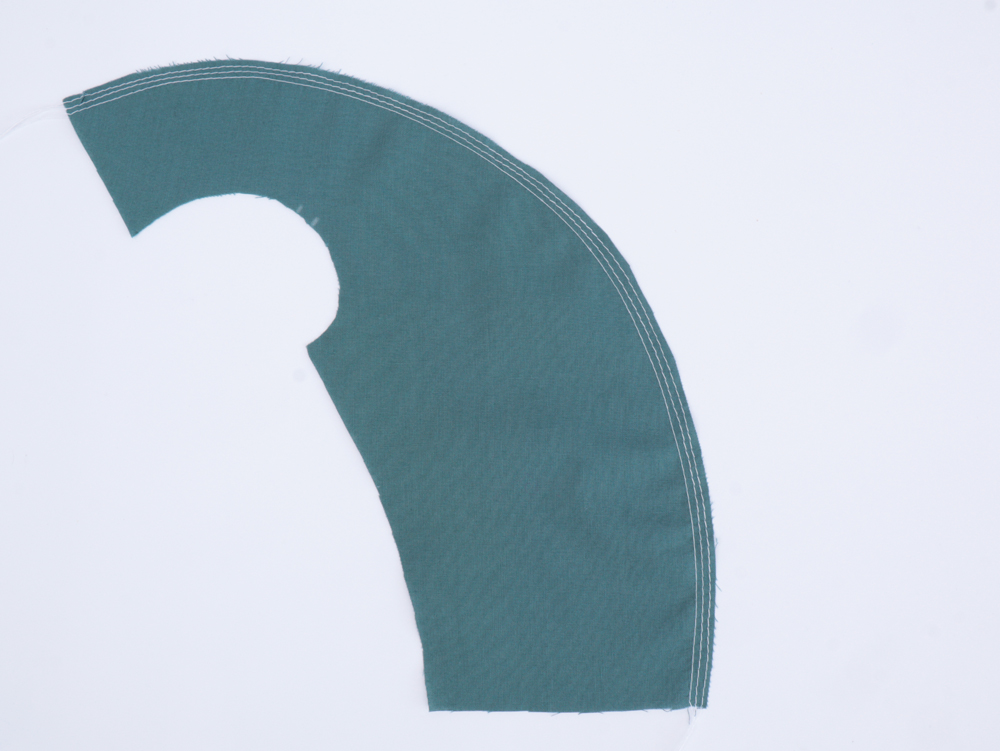
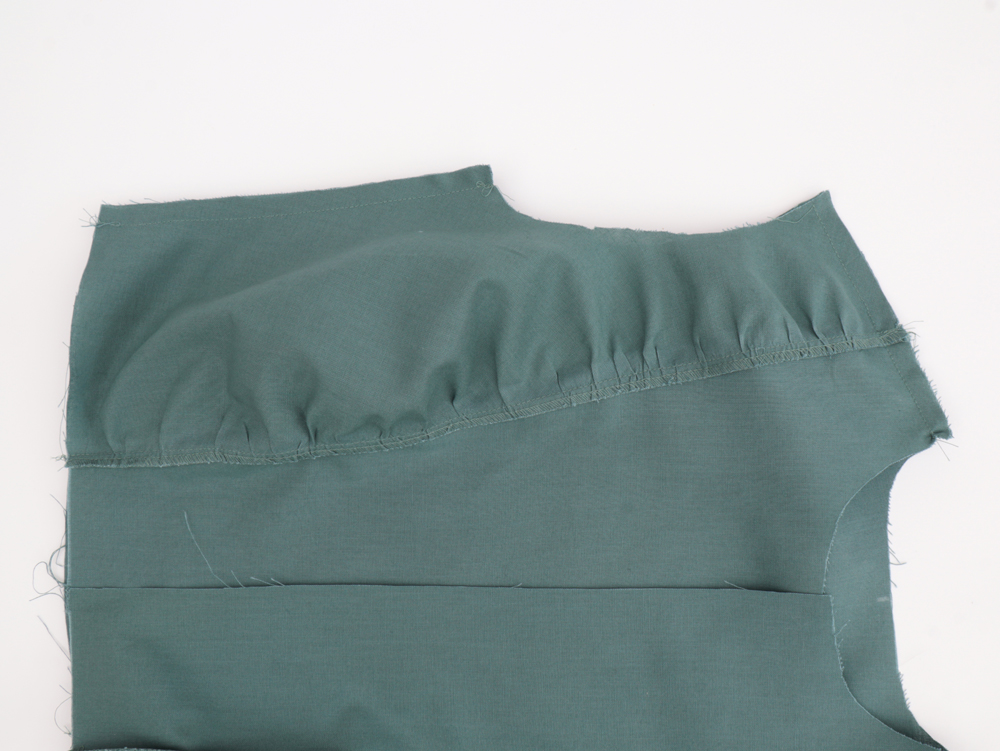
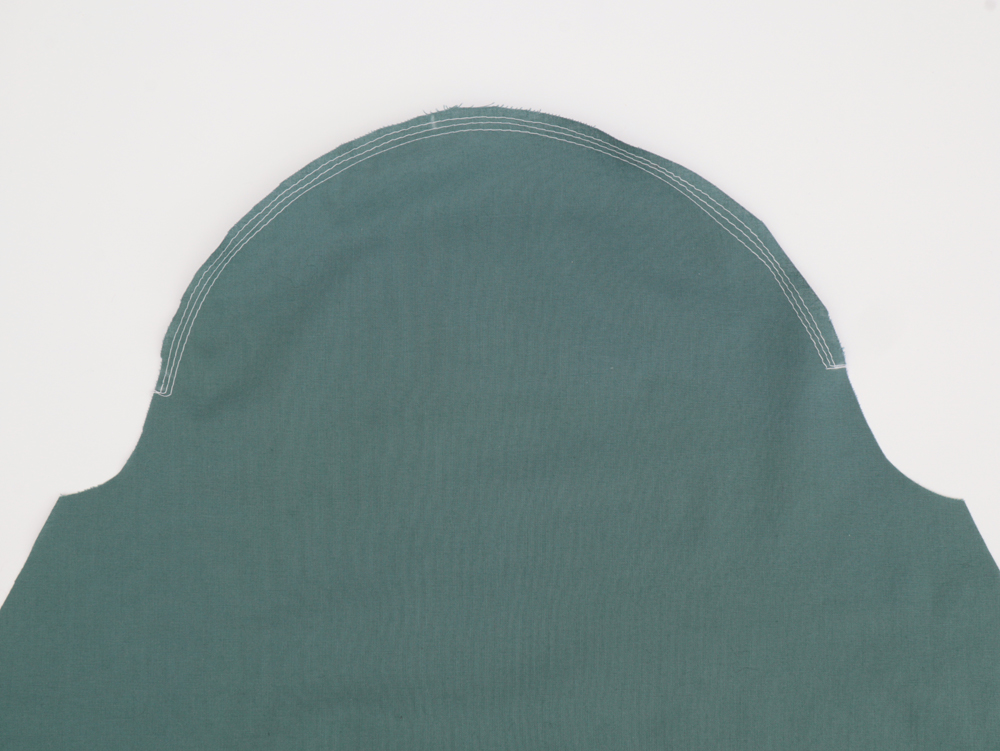
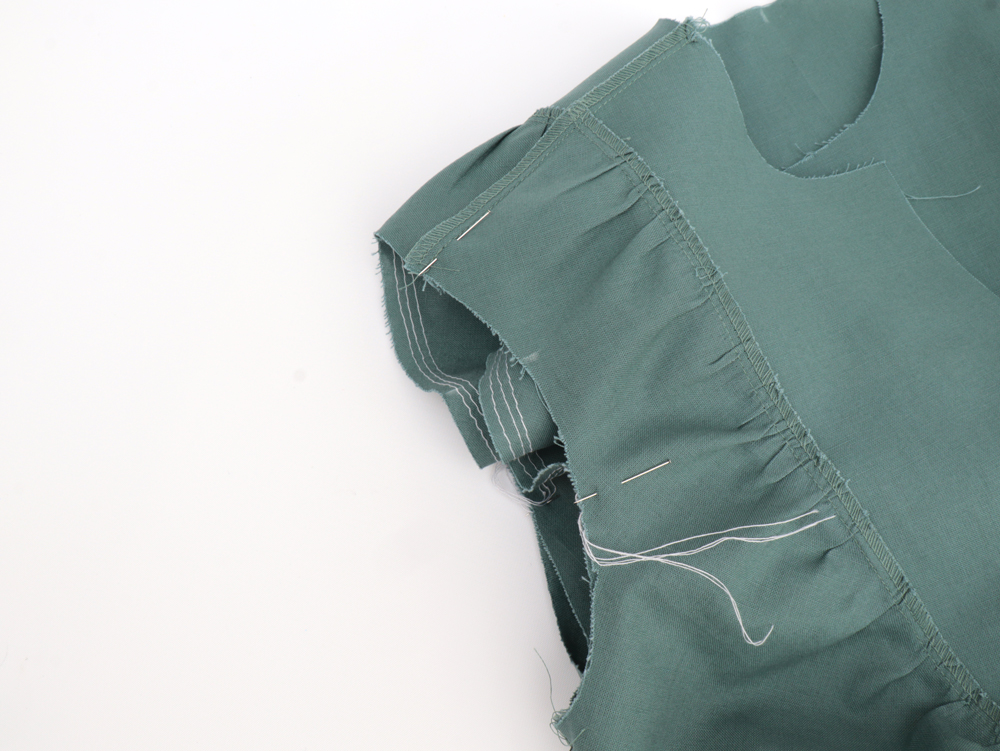
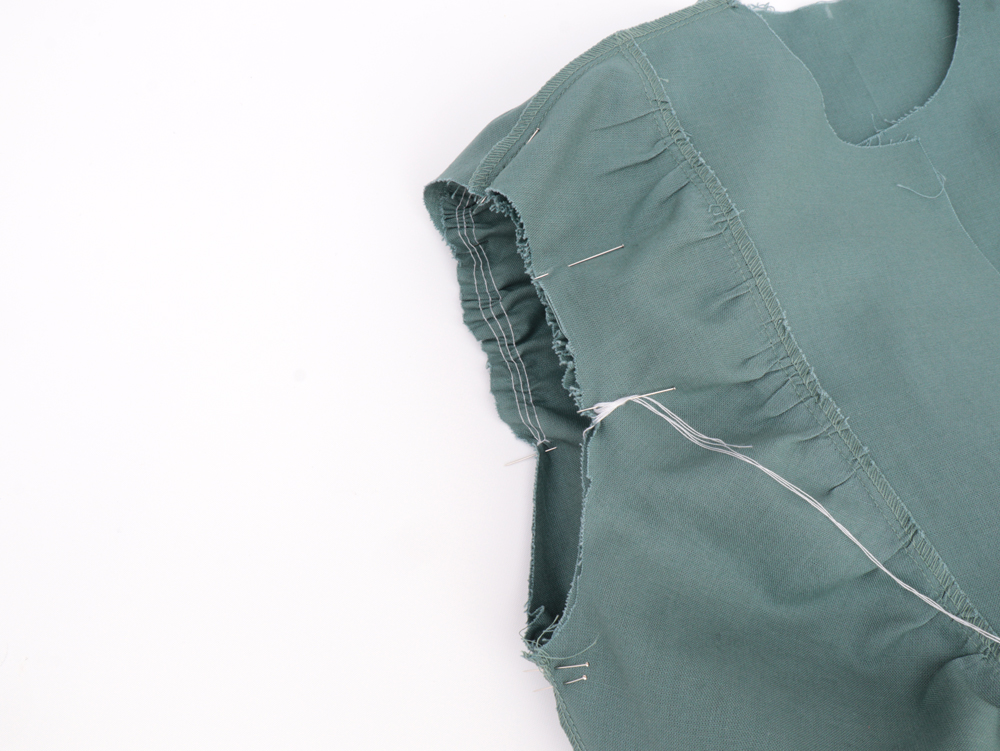
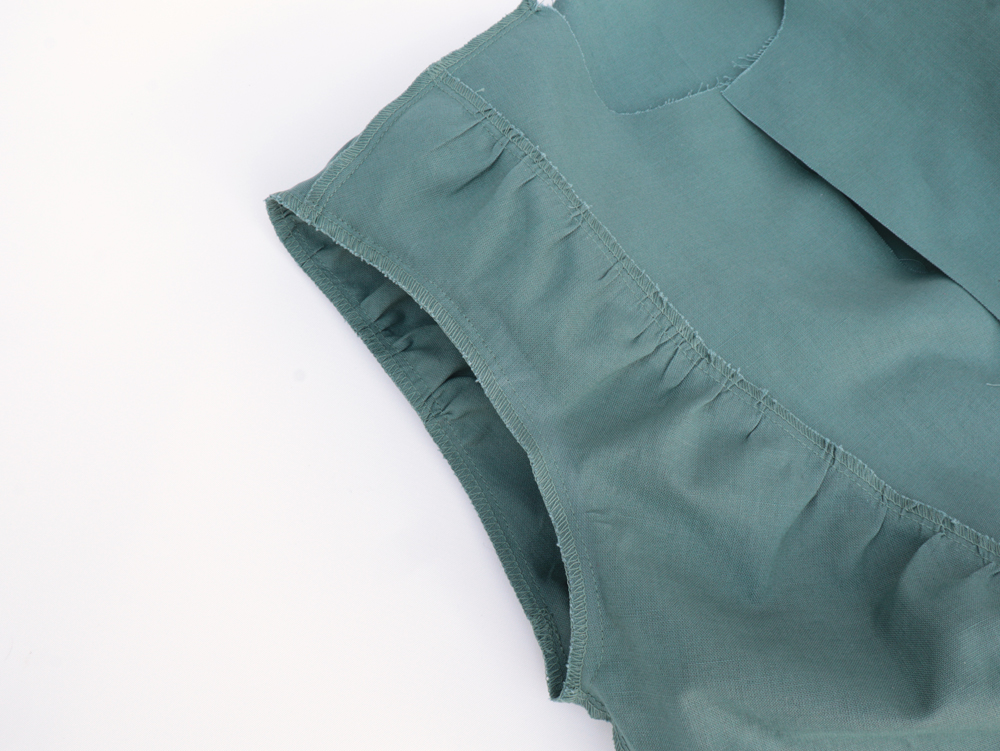
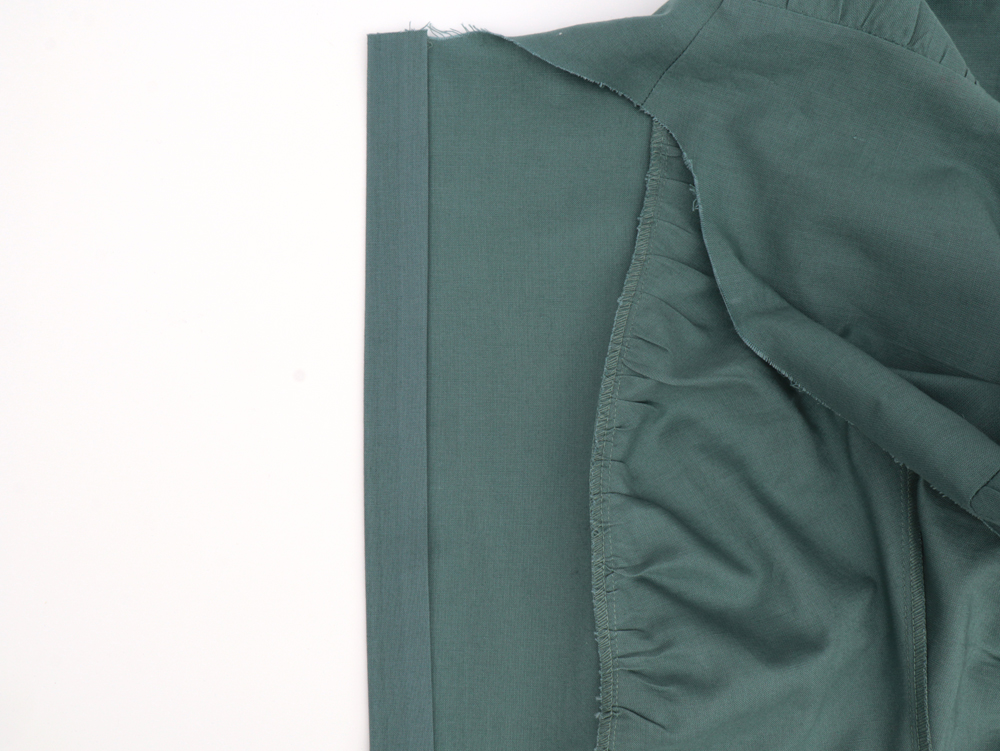
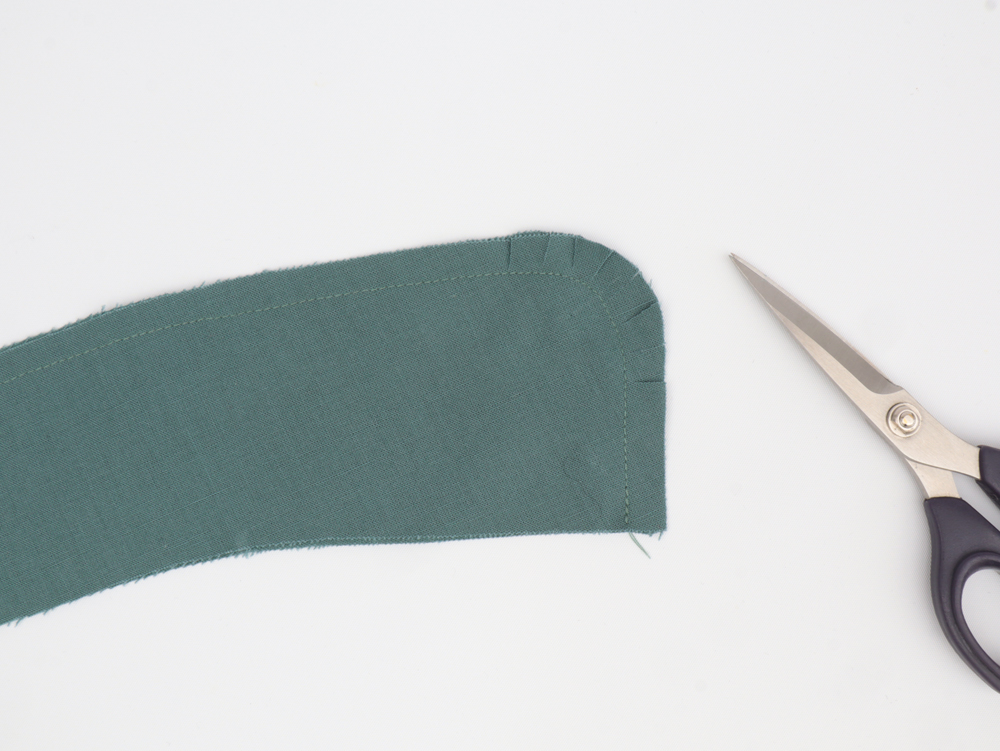
Gather the side backs (D) along the curve edge. Set the machine on the longest stitch and sew three parallel lines. Gently pull the two front threads, gathering up the material as you pull.
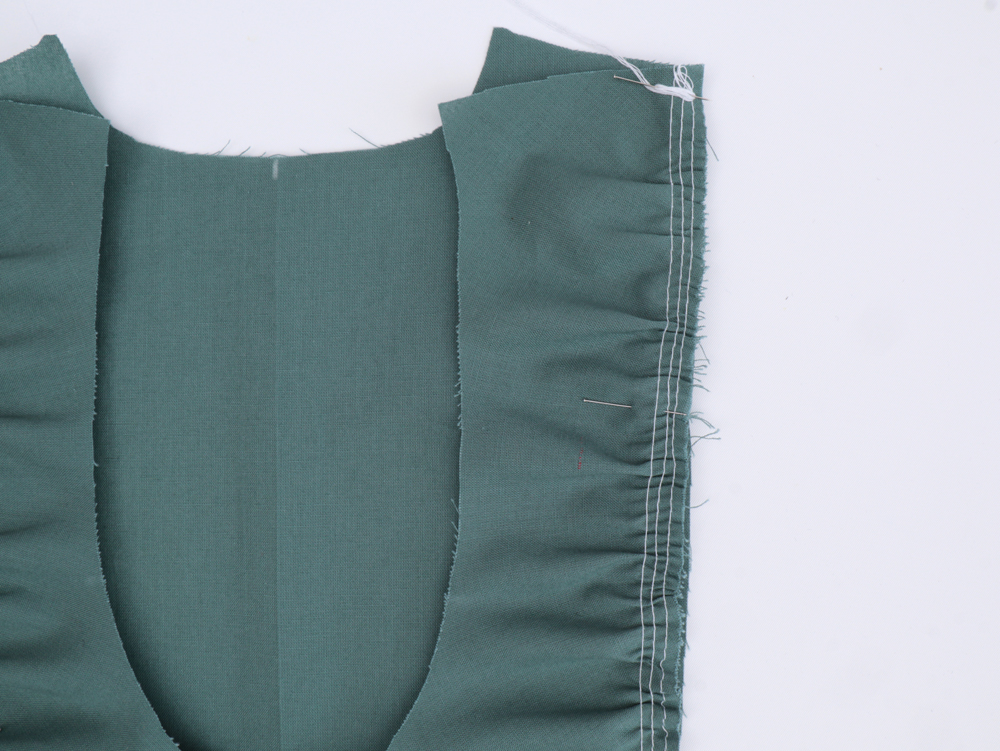
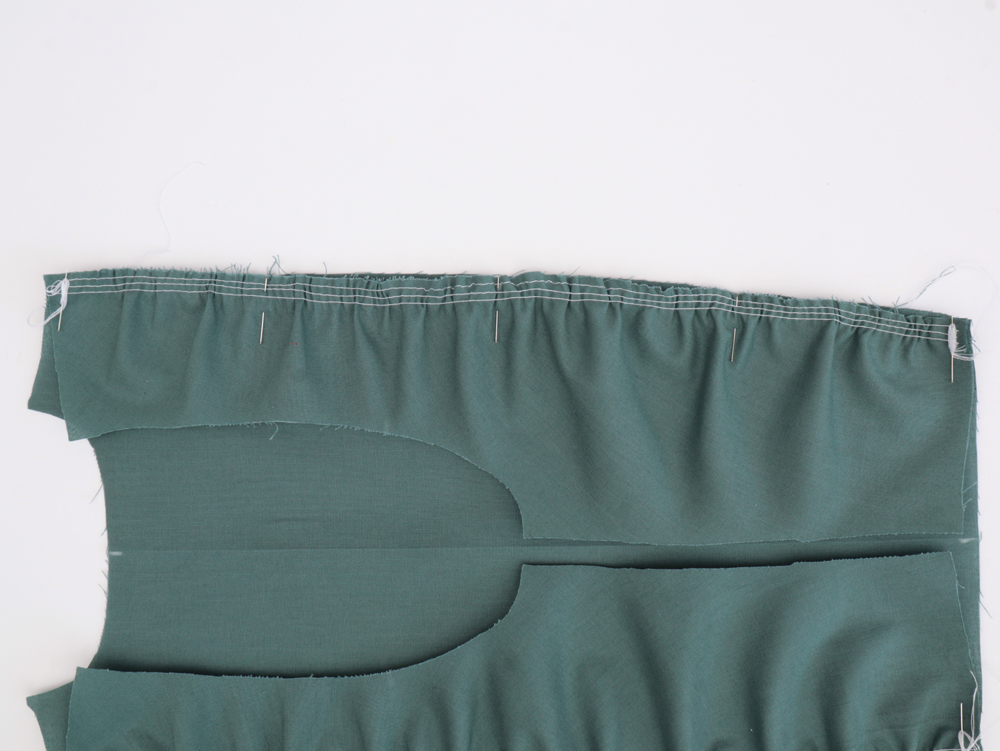
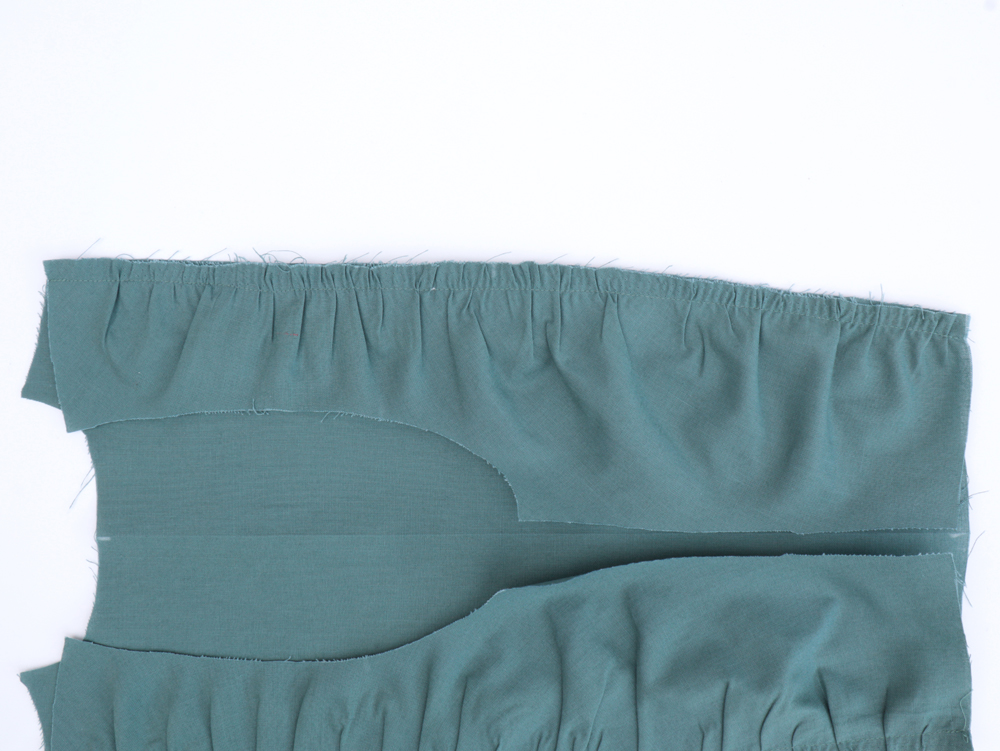
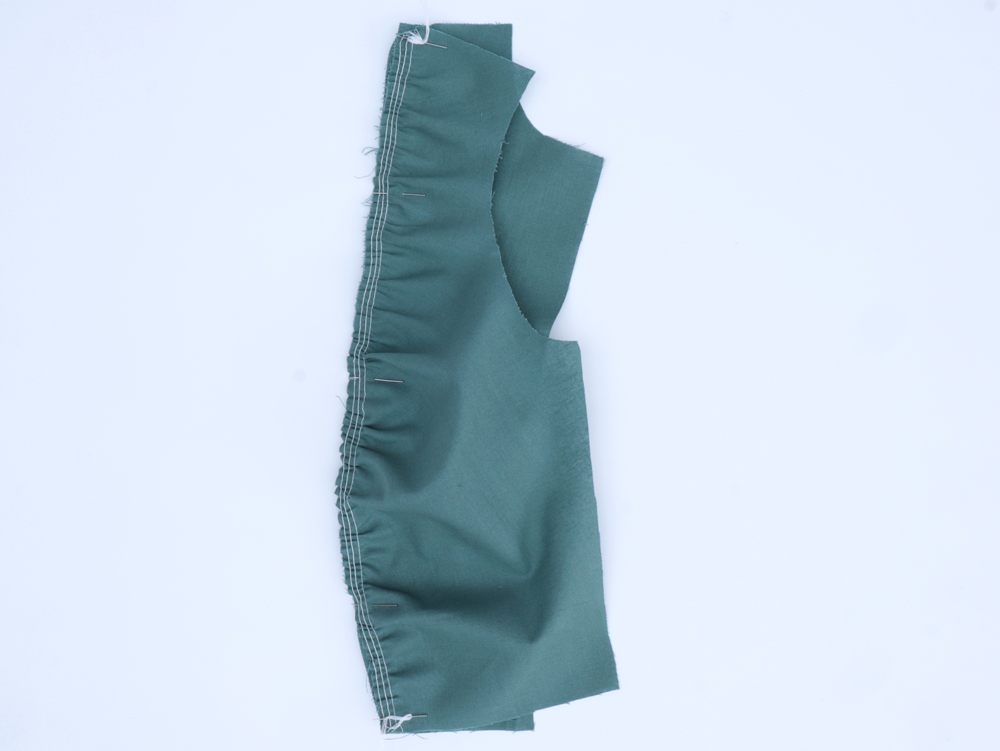
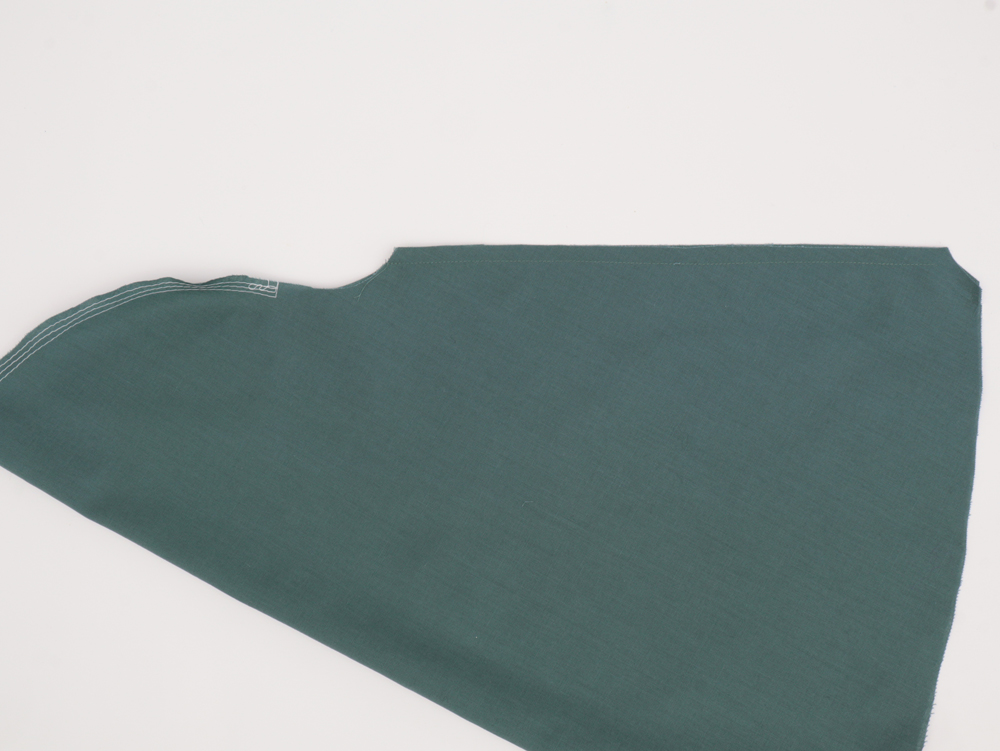
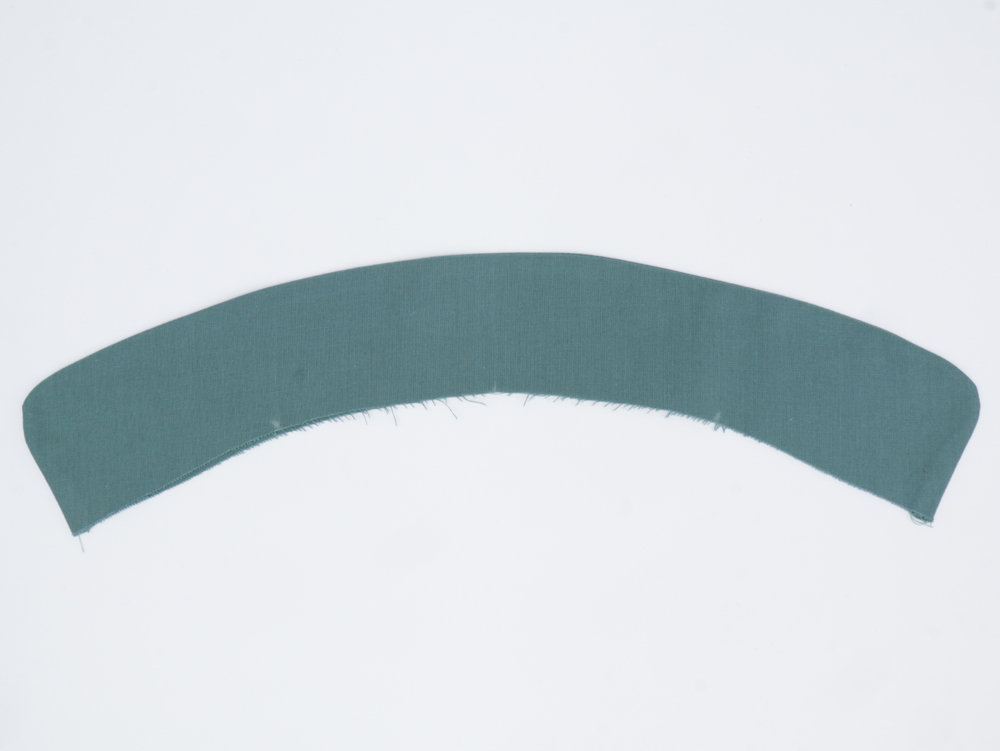
Pin the two back parts (B) and (D) right sides together.
Sew with a 1 cm seam allowance.
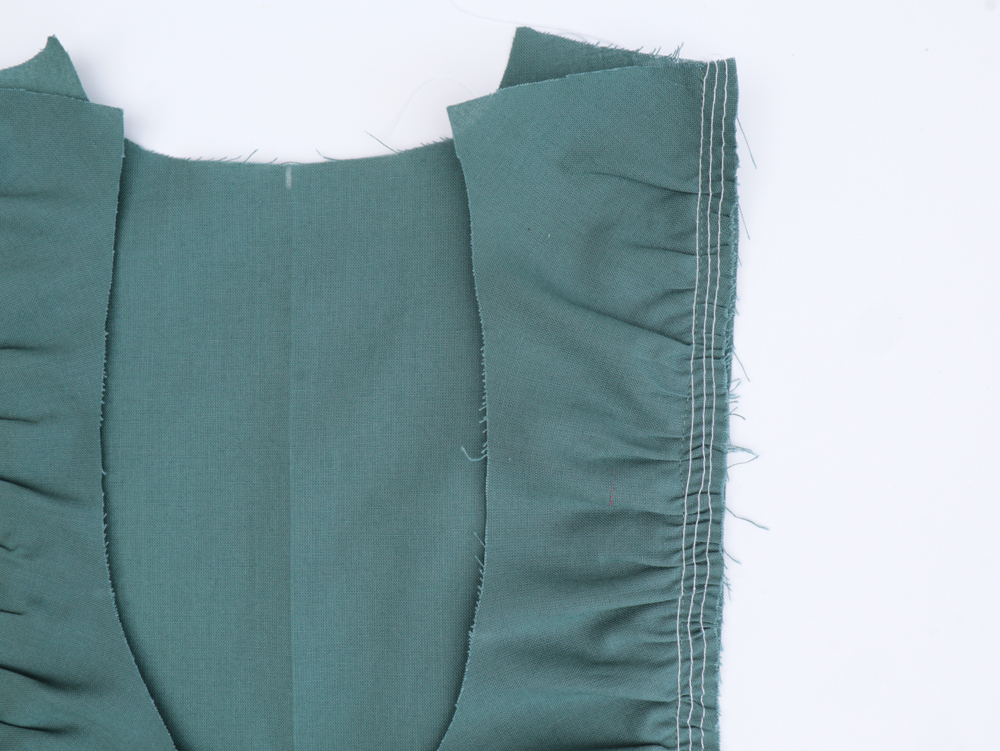
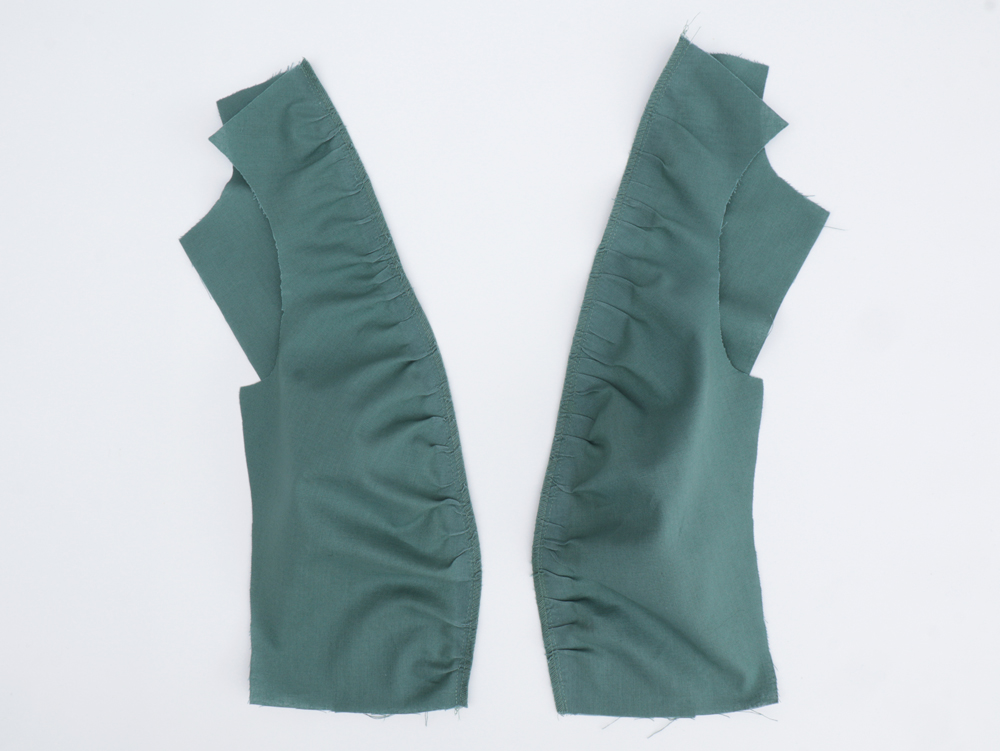
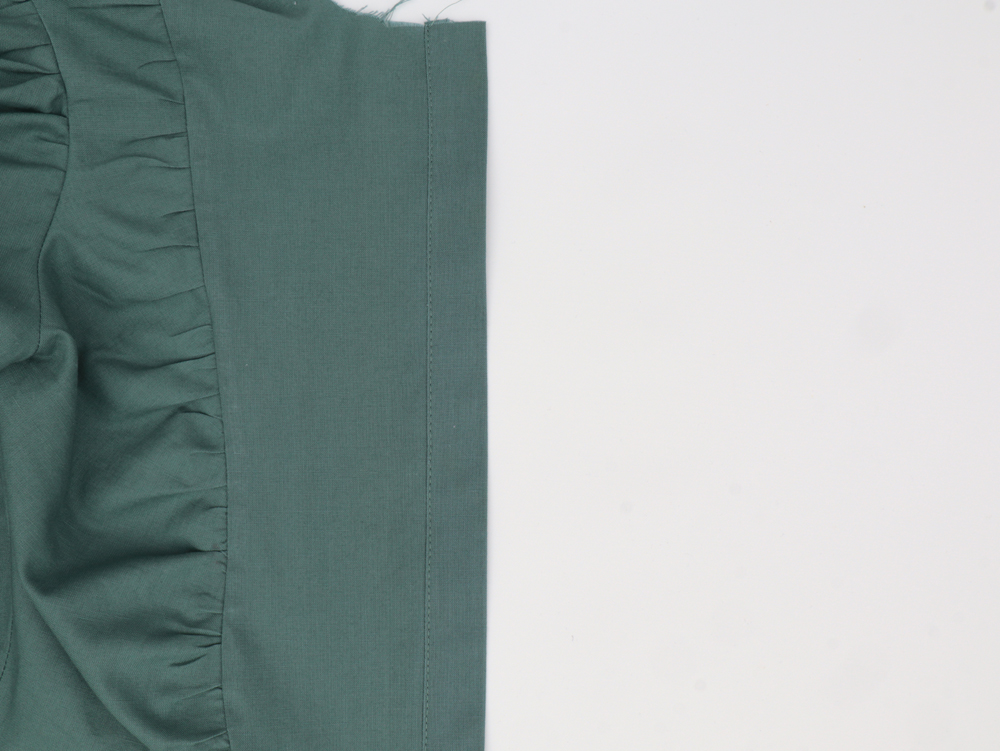
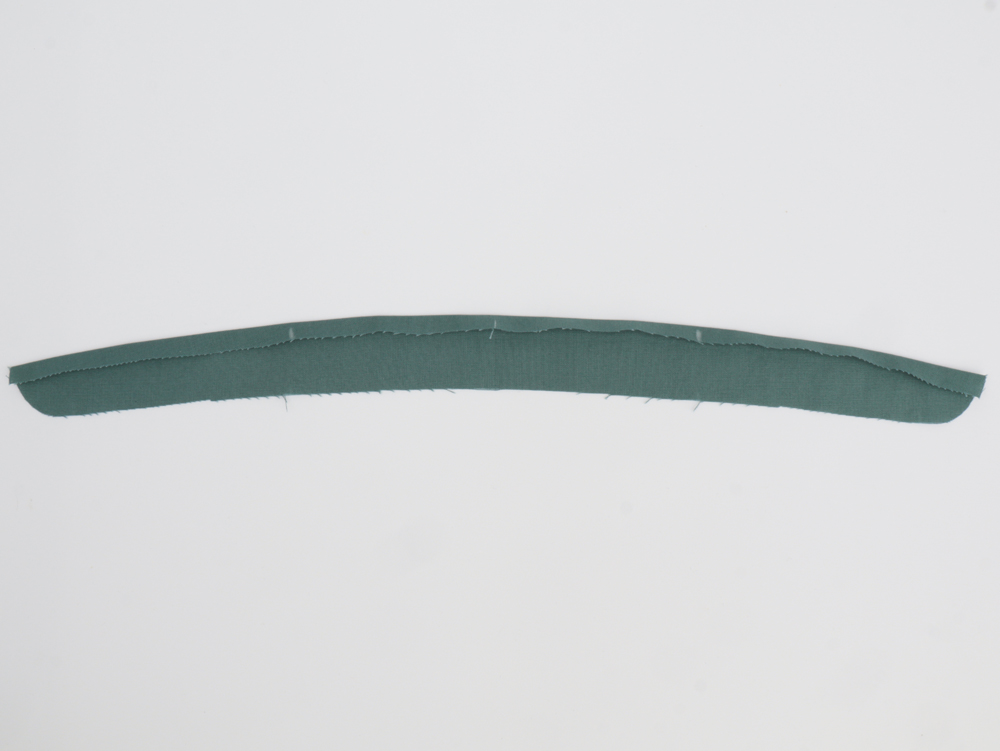
Remove basting stitches. 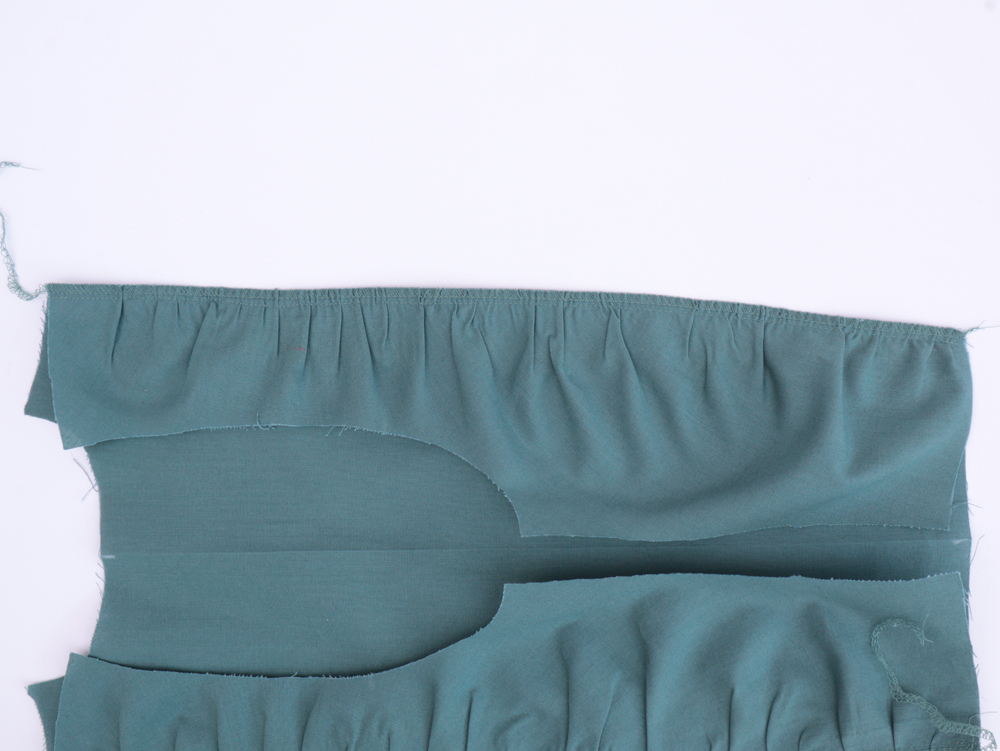
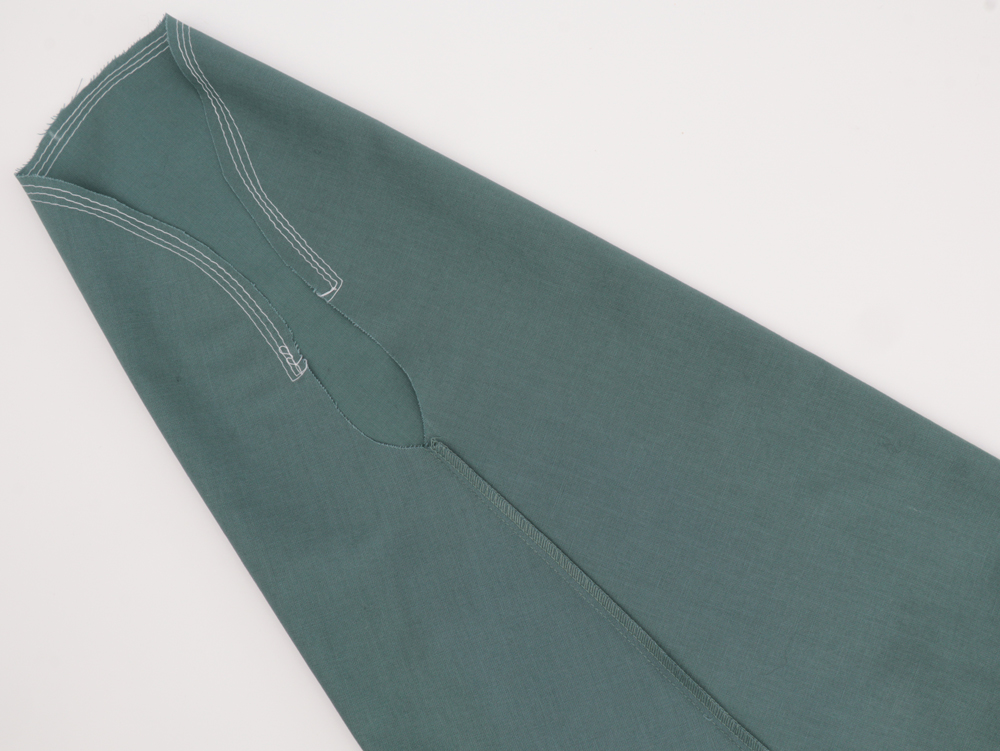
Serge seams together.
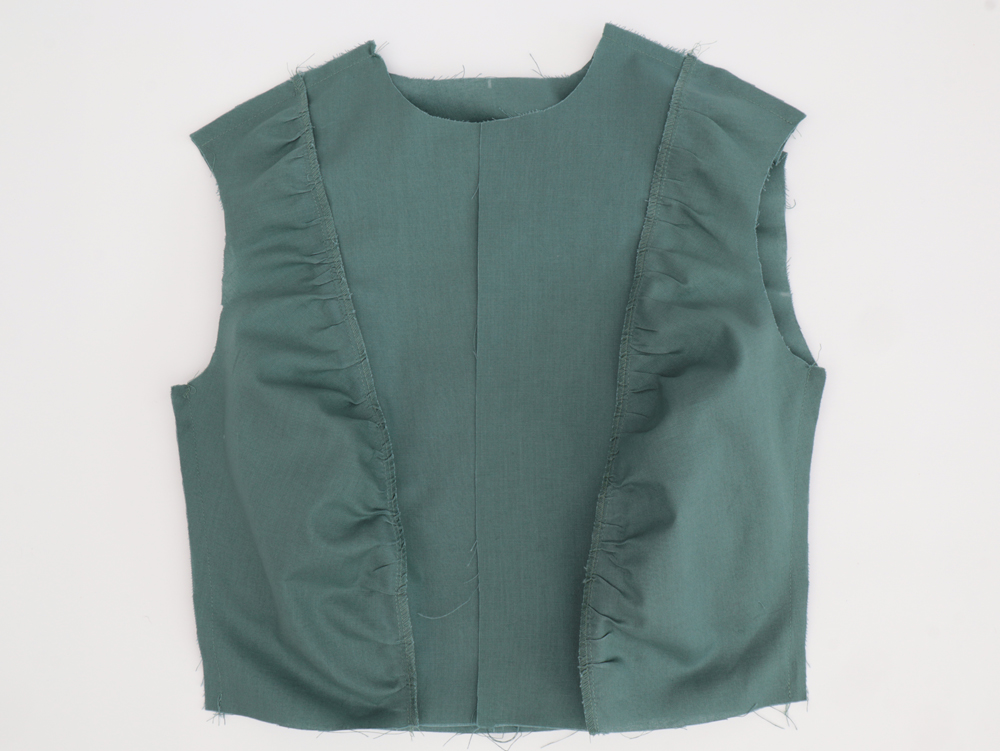
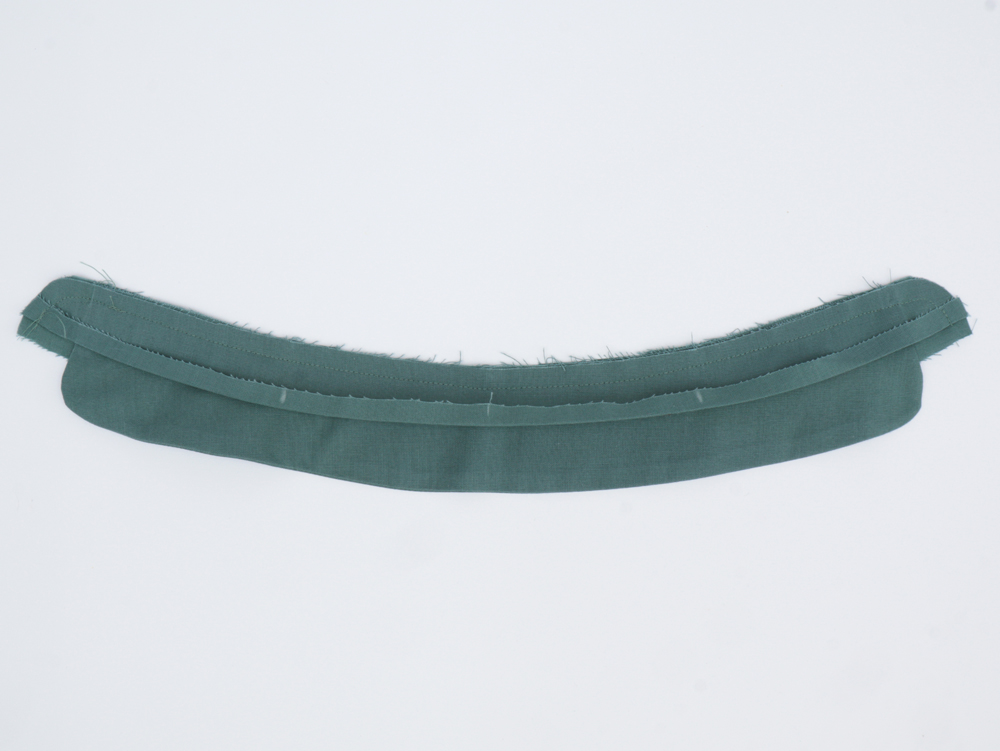
Press seams towards the center.
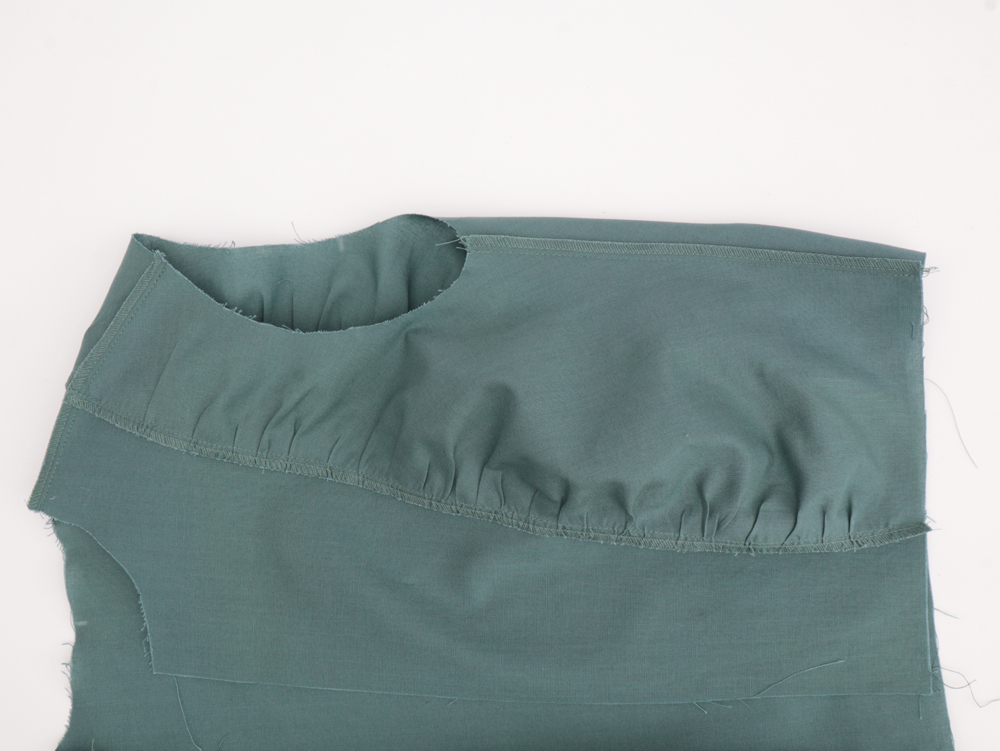
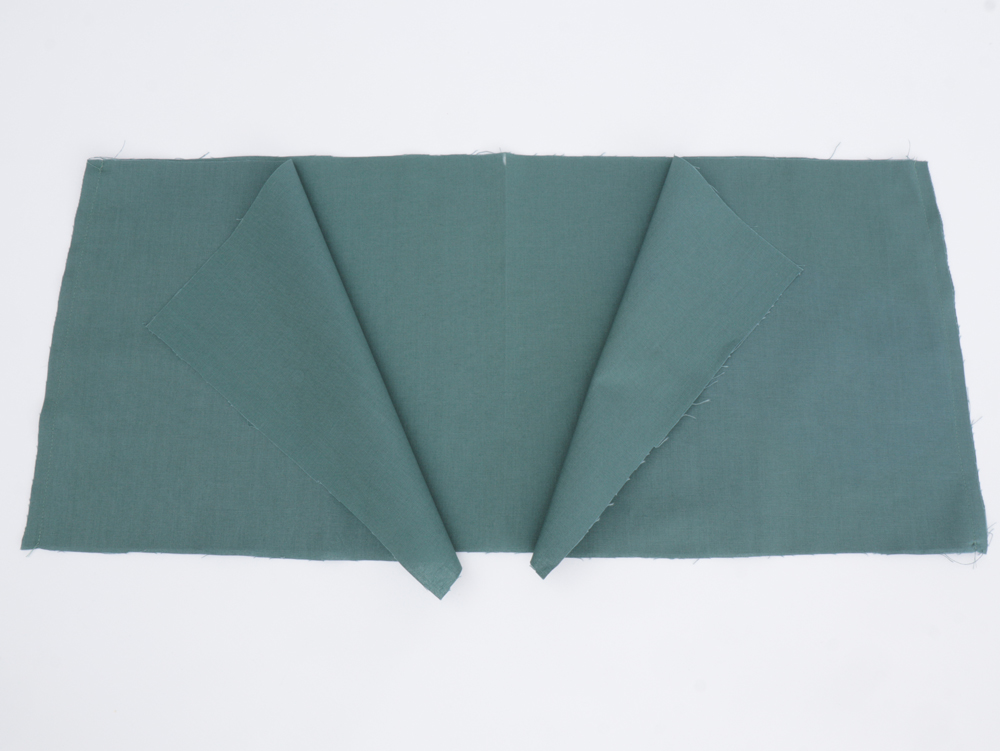
Gather the side front (C) along the curve edge. Set the machine on the longest stitch and sew three parallel lines. Gently pull the two front threads, gathering up the material as you pull.
Pin the two front parts (A) and (C) right sides together.
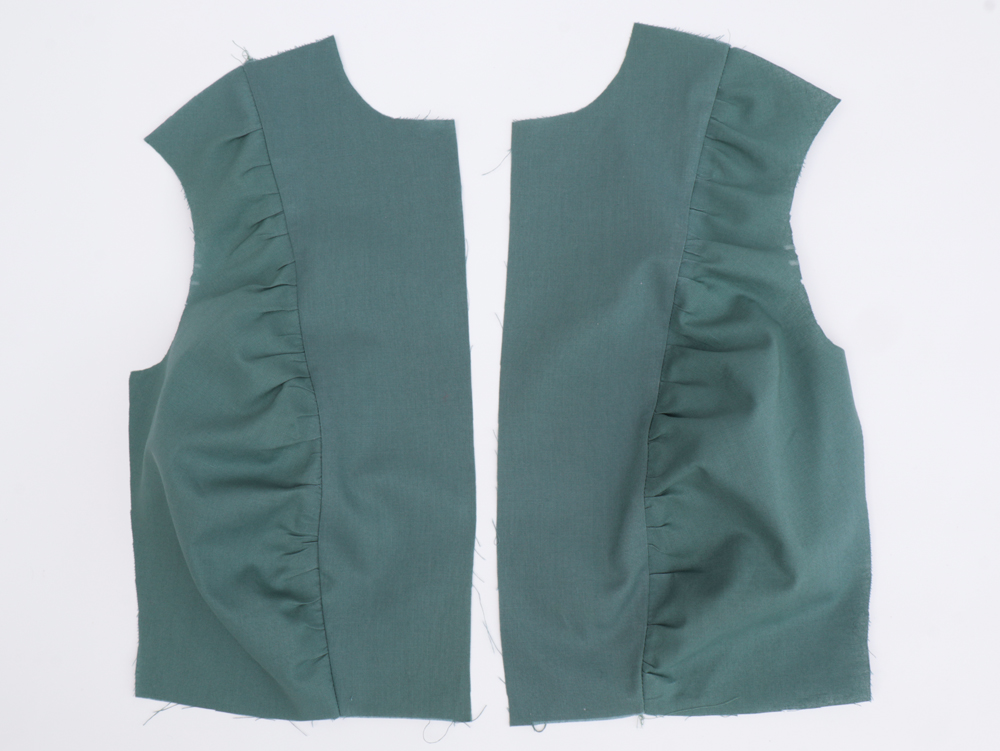
Pin with a 1 cm seam allowance. Remove basting stitches. Serge seams together and press towards the center.
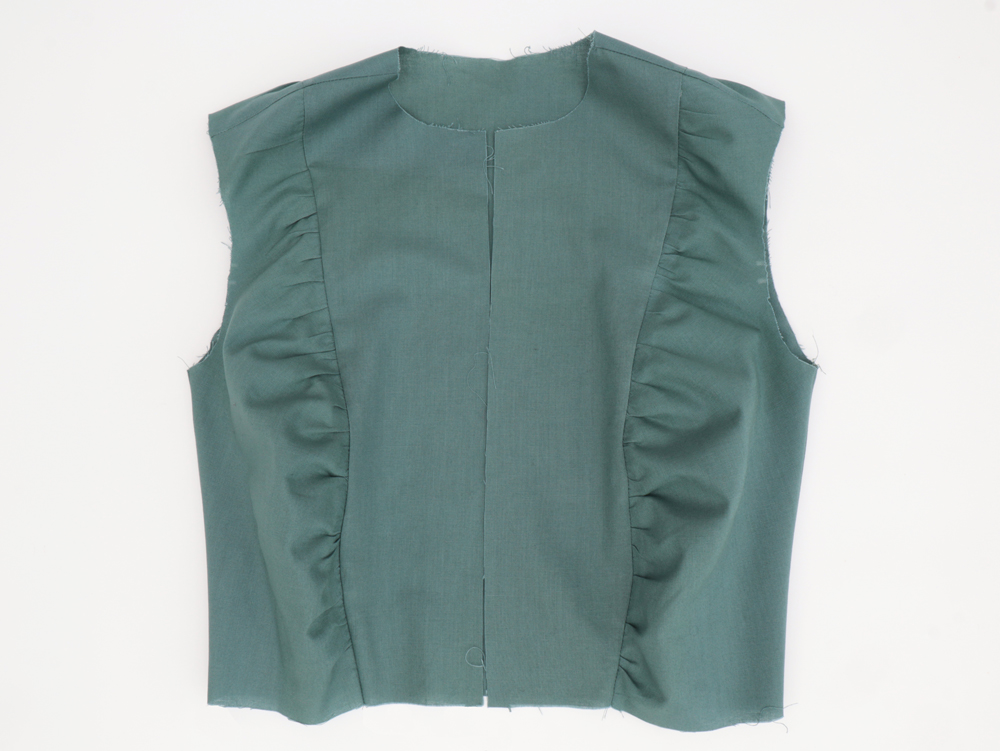
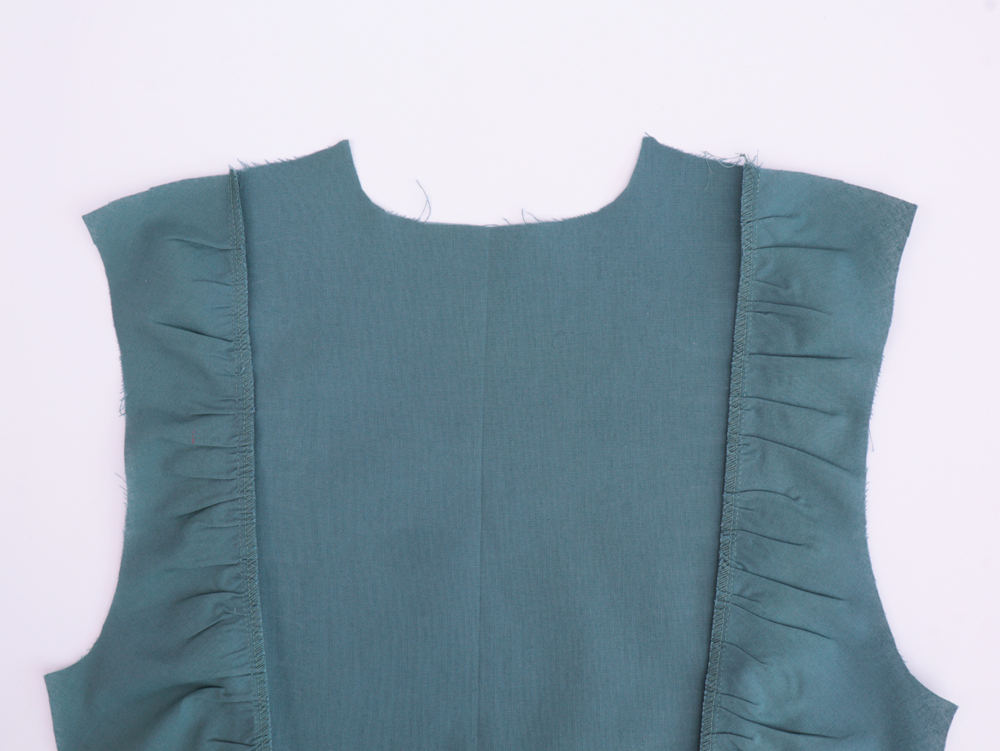
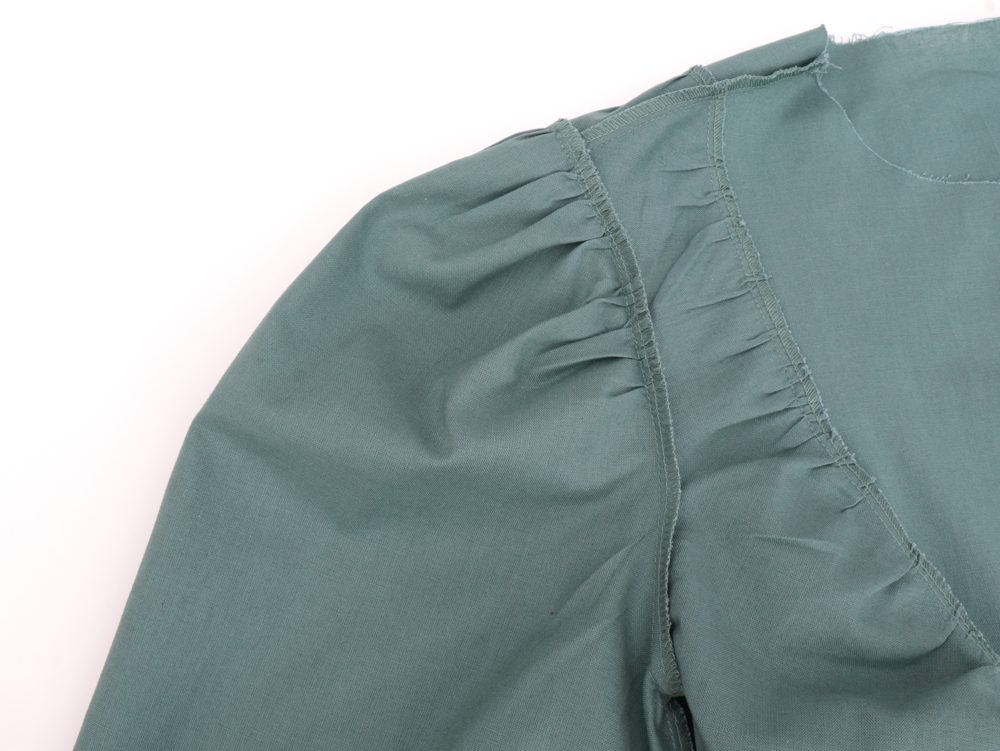
With right sides together, align the side and shoulders seams of the front and back bodices and stitch them together. Serge seams together and press towards the back.
Place three lines of gathering stitches between the two notches of the sleeve cap.
Fold the sleeve (H’) in half, right sides together, matching the side seams. Stitch in place. Serge seams together and press towards the back.
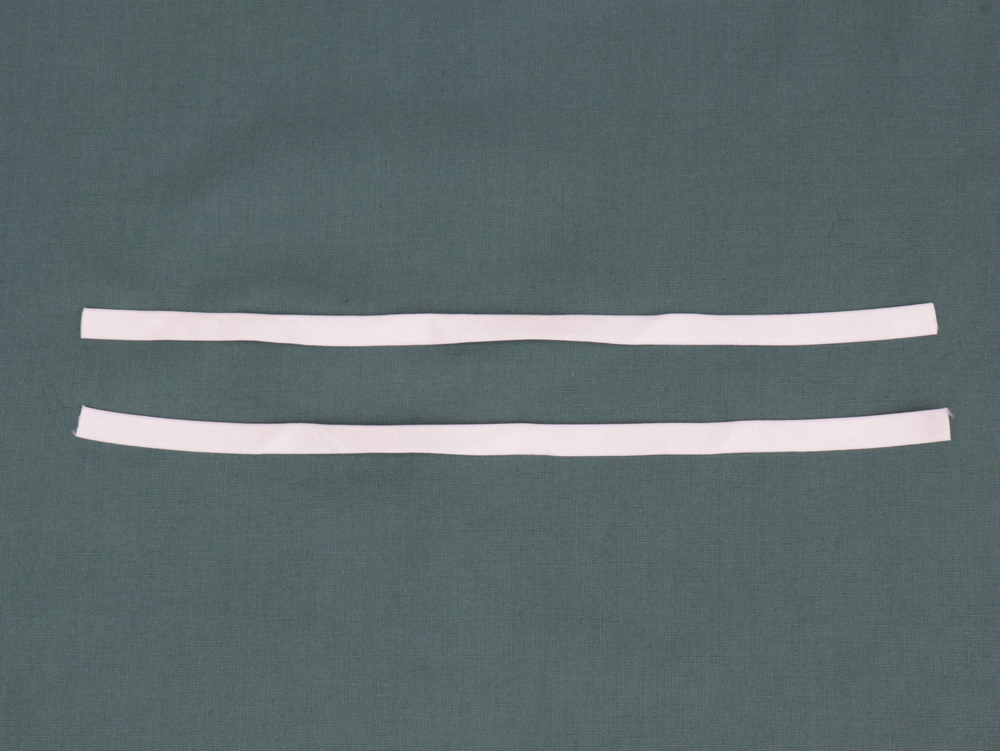
Take your 1 cm elastic and wrap it around the widest part of your bicep without stretching. Add 3 cm to that measurement and cut two at that length.
With wrong sides touching, fold the bottom of the sleeve up by 1 cm and then again by 1,5 cm. Stitch close to the inside fold, leaving an approximate inch opening to insert the elastic.
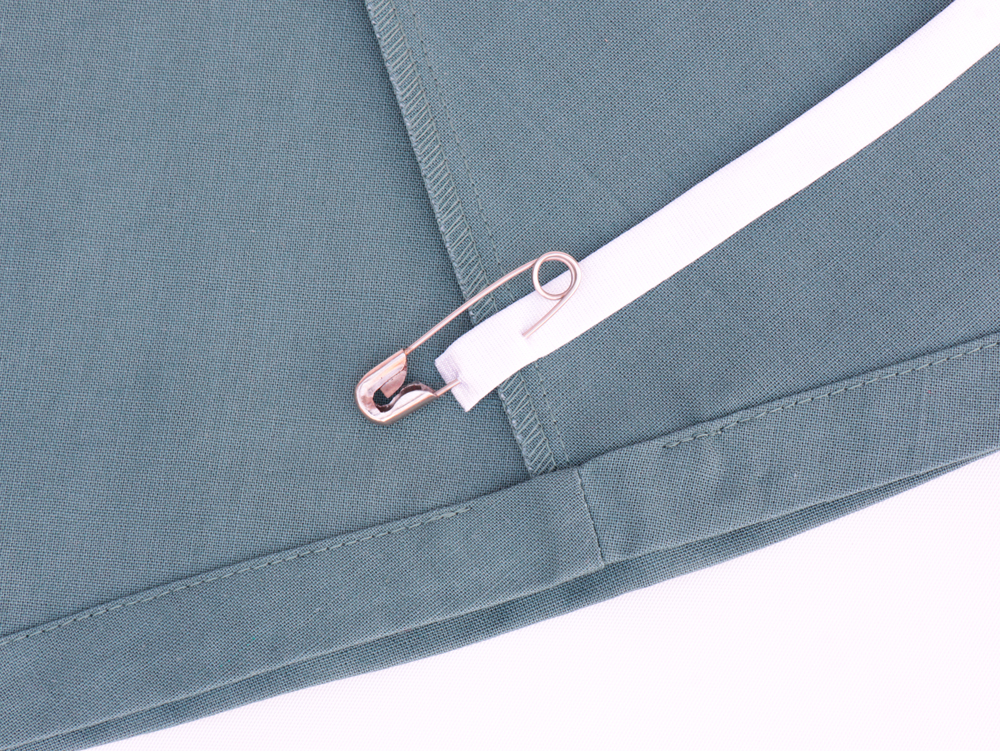
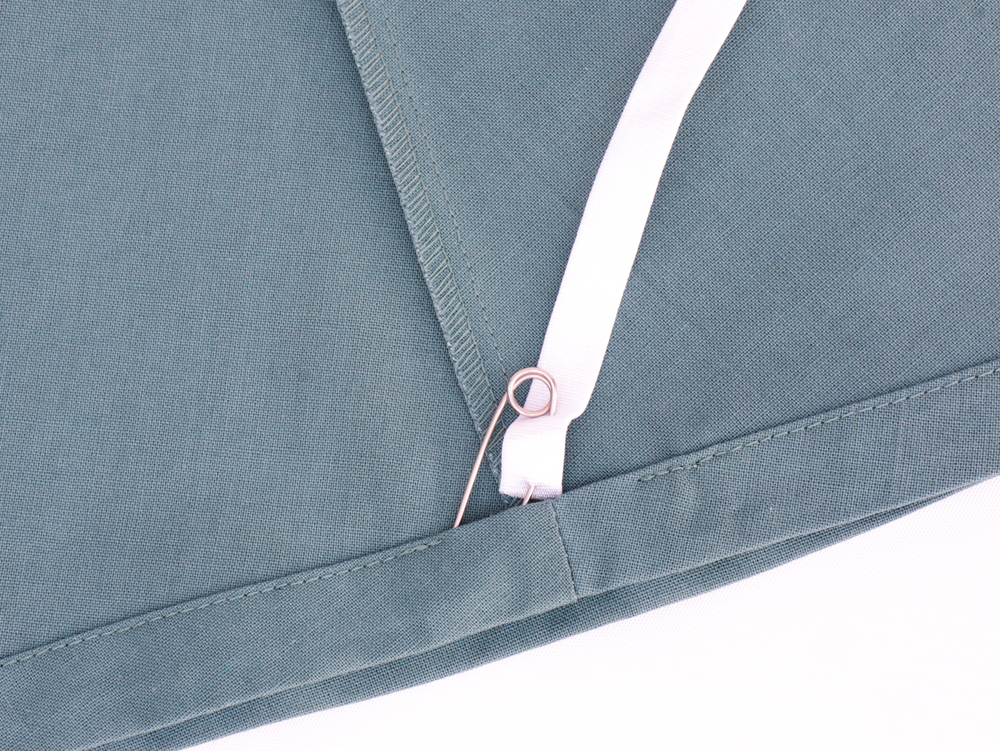
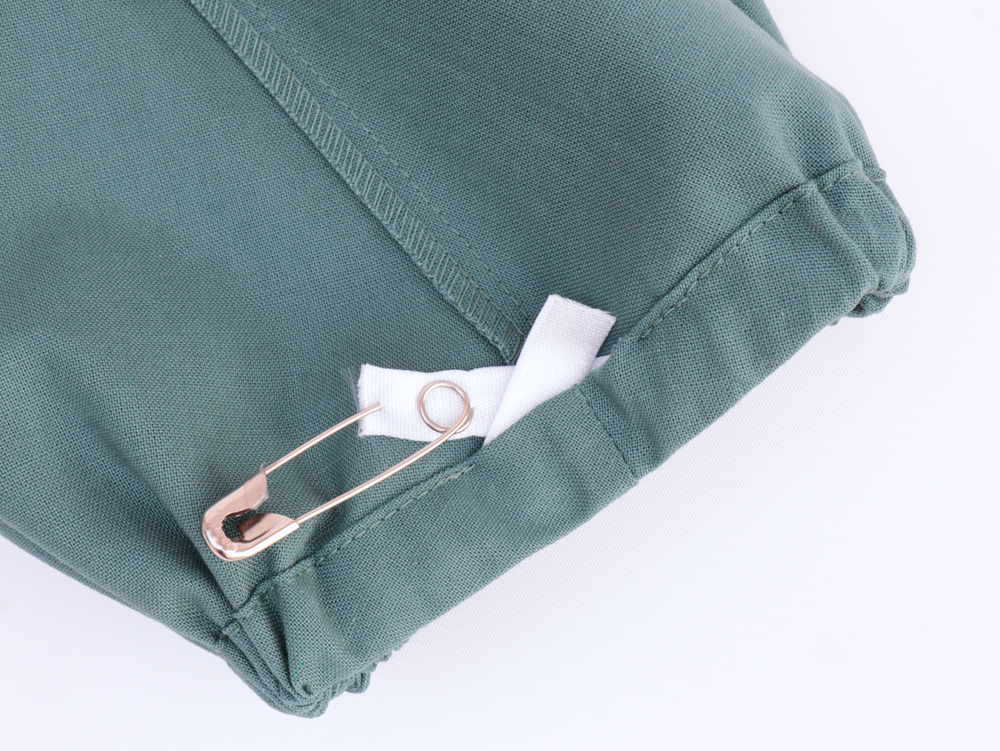
Attach a safety pin to one end of one piece of elastic and string it through the casing you created at the hem of your sleeve. Bring it out the other end, making sure it is not twisted at all.
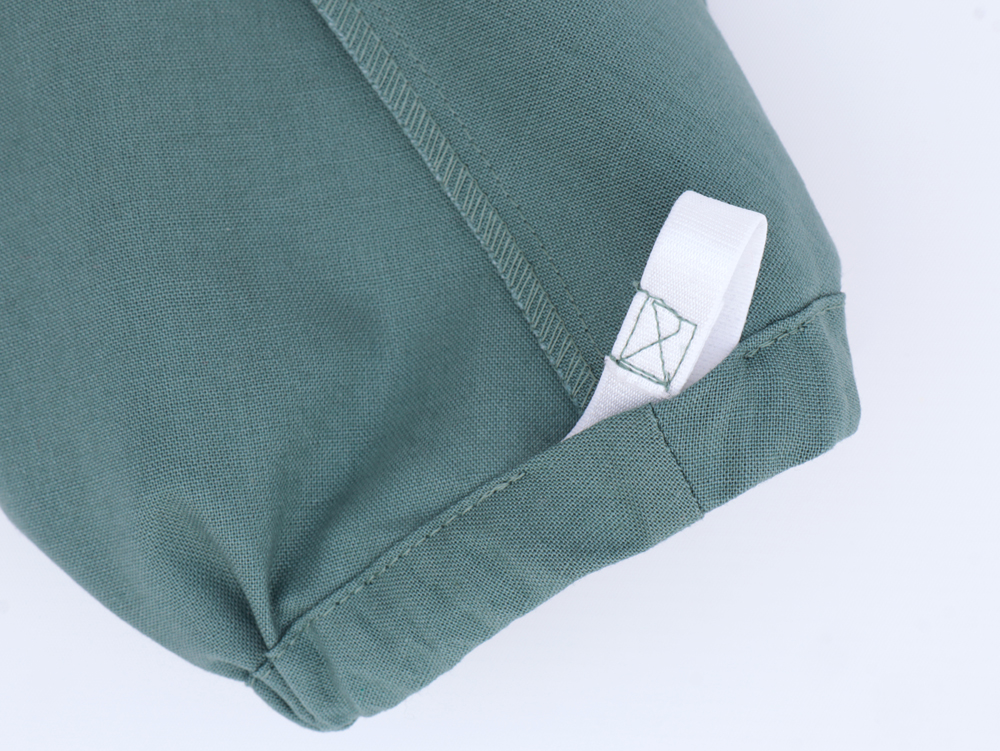
Overlap the two ends of the elastic by 1 cm and stitch it flat.
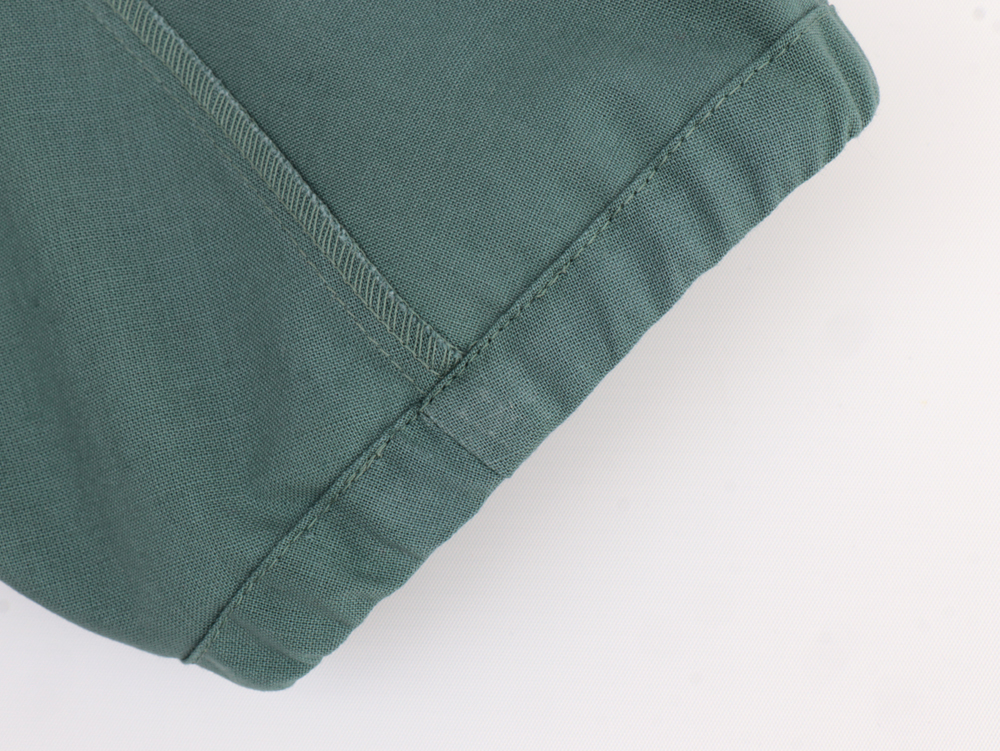
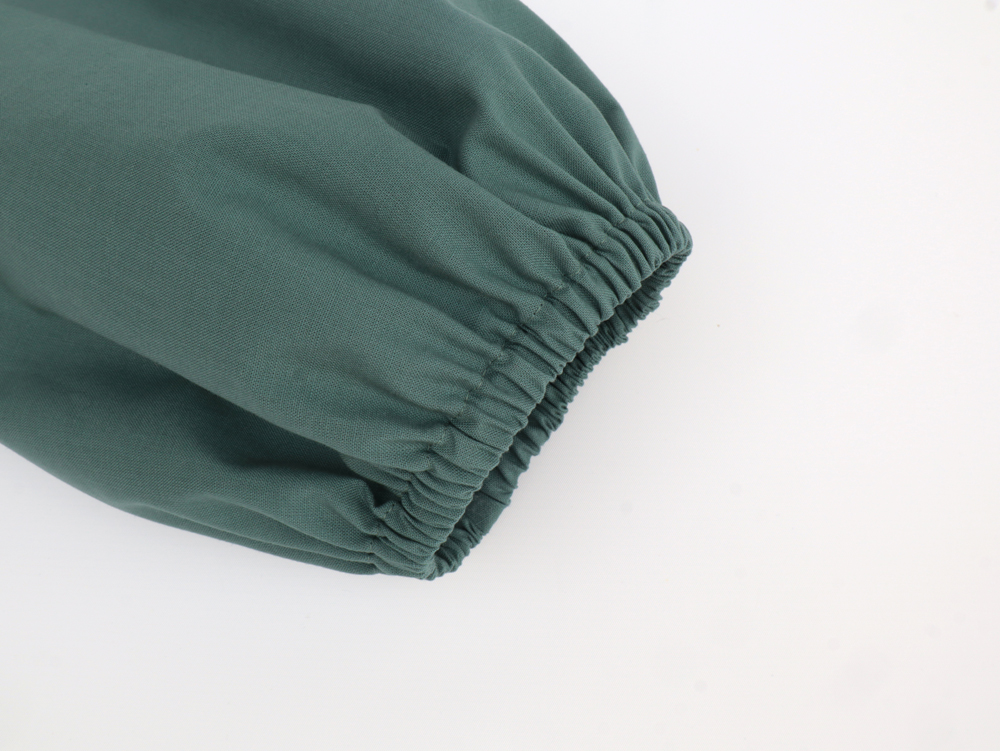
Tuck the elastic back in the casing and sew up the opening.
With the sleeve turned right side out, and the dress inside out, slip the sleeve into the armhole and line up the armhole openings. Match up the underarm seam with the side seam, and the shoulder (middle) notch at the shoulder seam. Align the outer notches, and gently pull on the basting thread tails to gather the fullness of the sleeve cap into the armhole of the garment. Pin.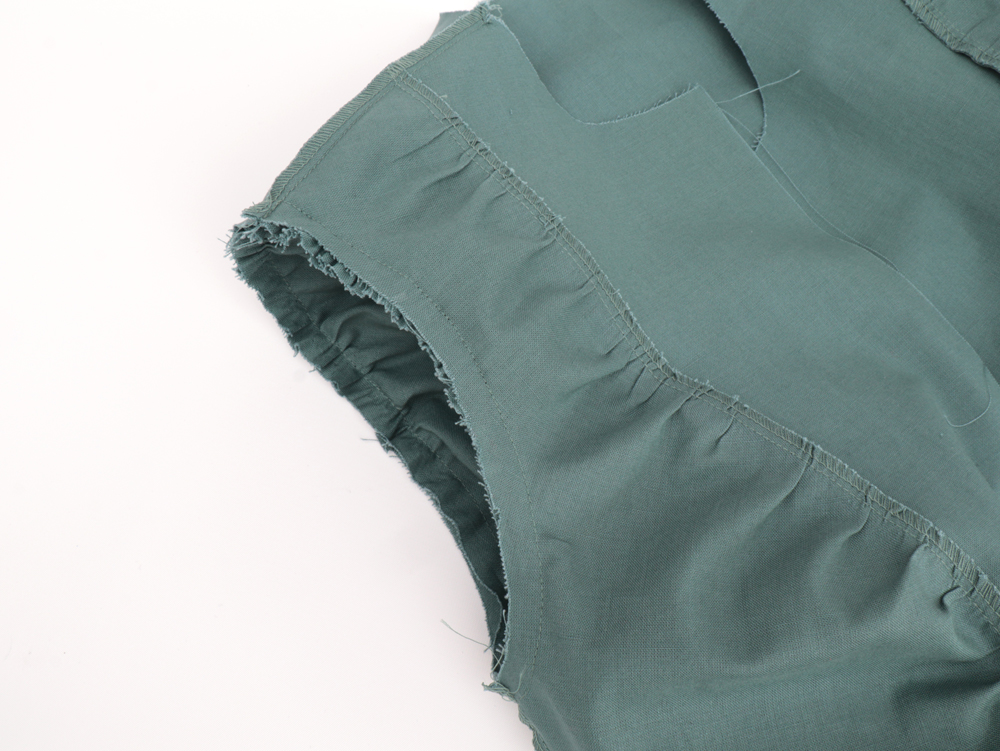
Stitch the armhole.
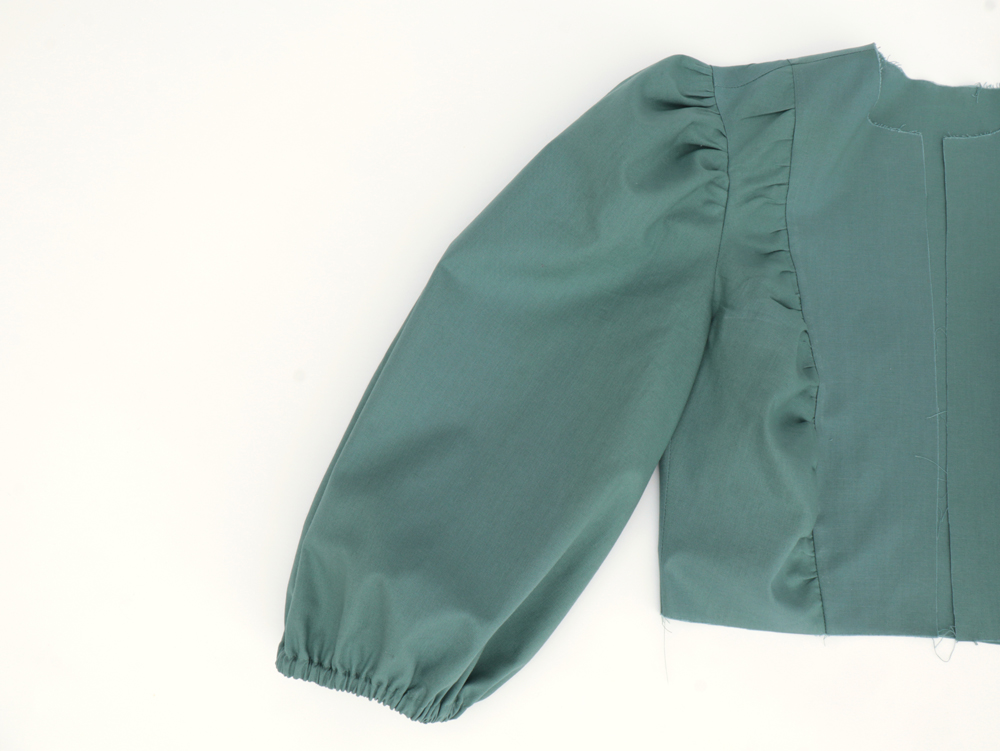
Serge seams together and press towards the bodice.
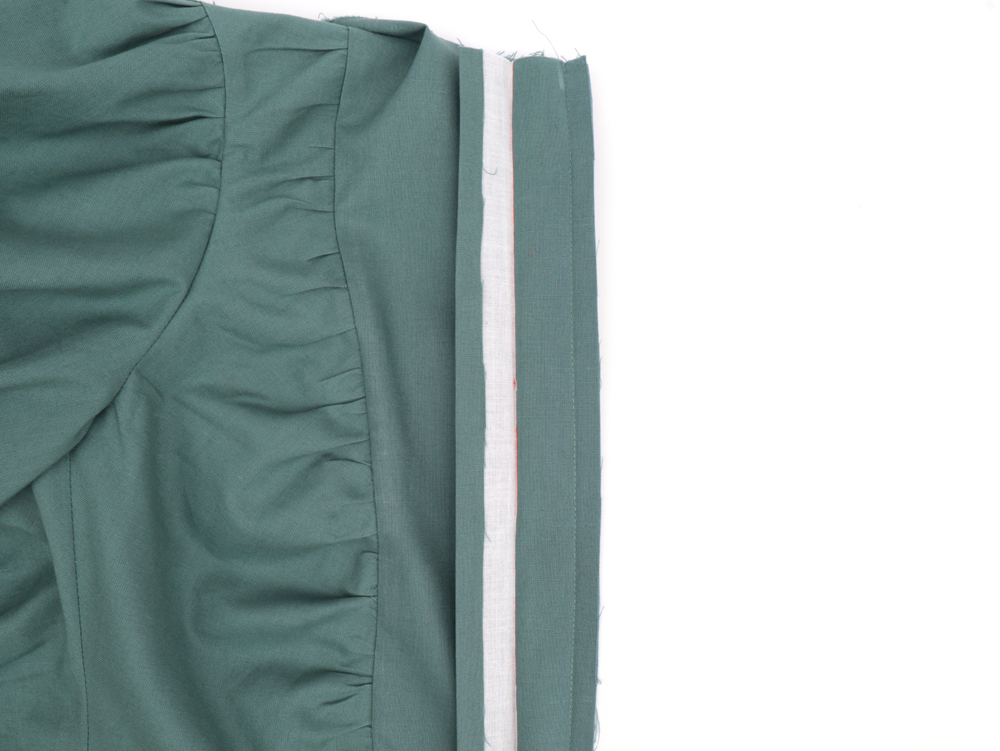
To create the skirt/peplum, sew the front and back together at the side seams.
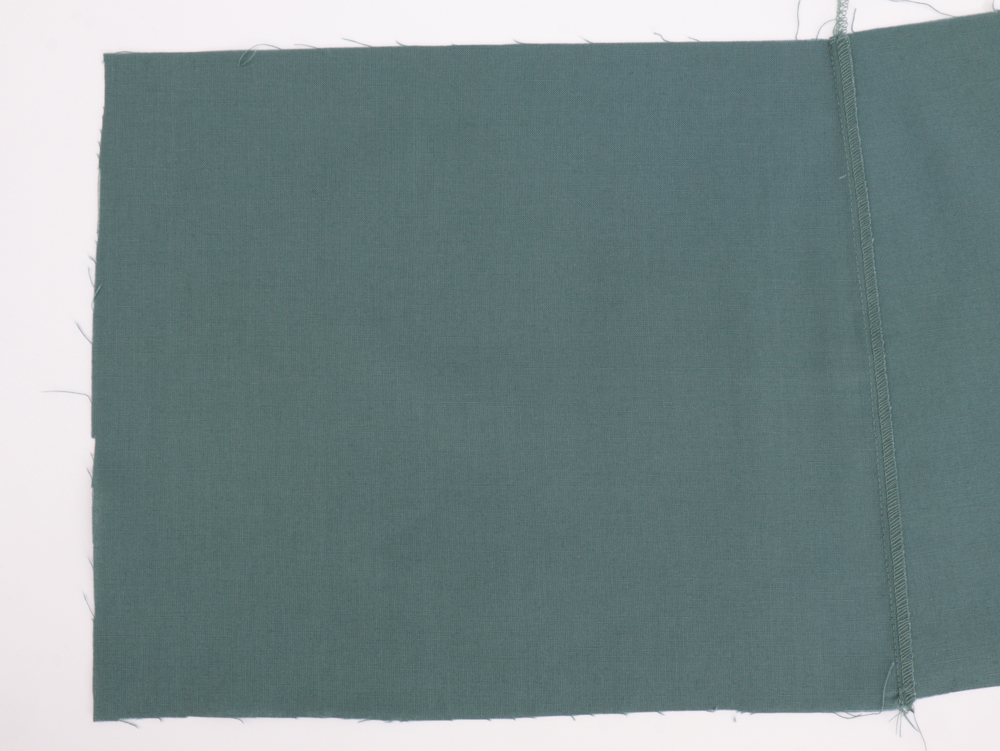
Serge seams together and press towards the front.
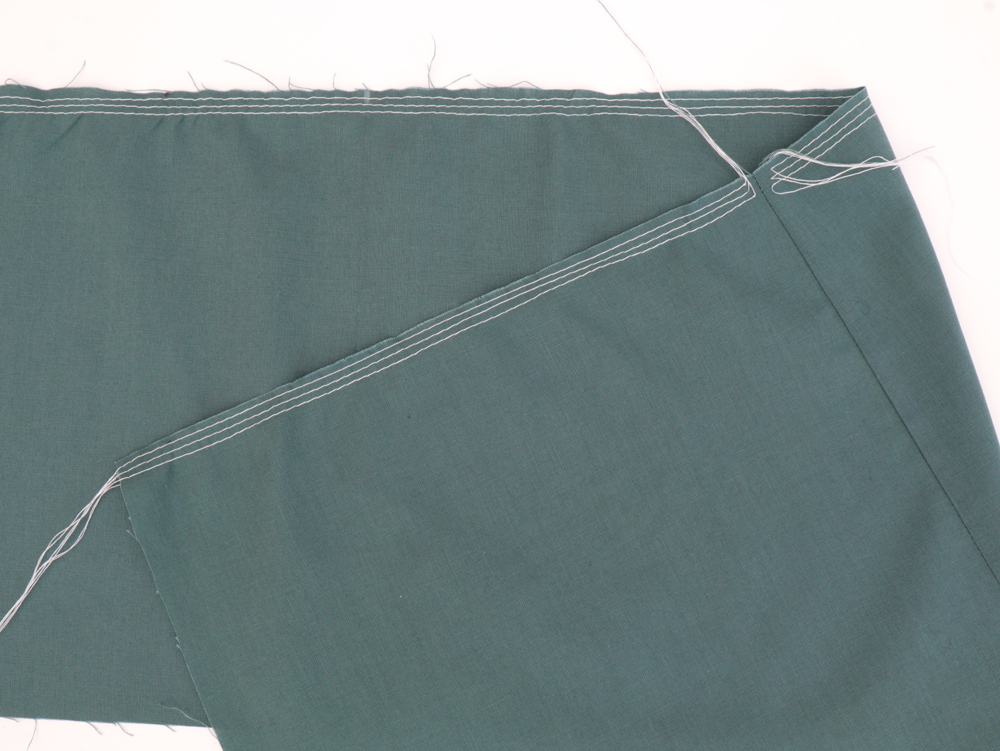
Place three lines of gathering stitches at the top of the skirt, stopping at the side seams and starting again in the center to keep gathering stitch lines separate.
Gently pull the two front threads, gathering up the material as you pull.
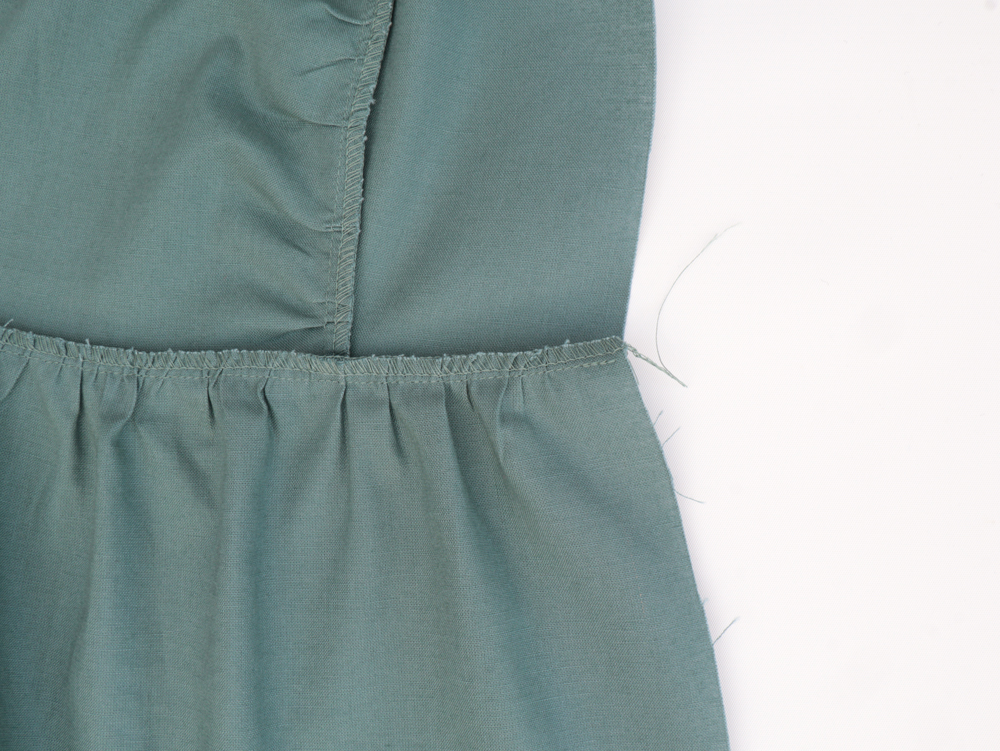
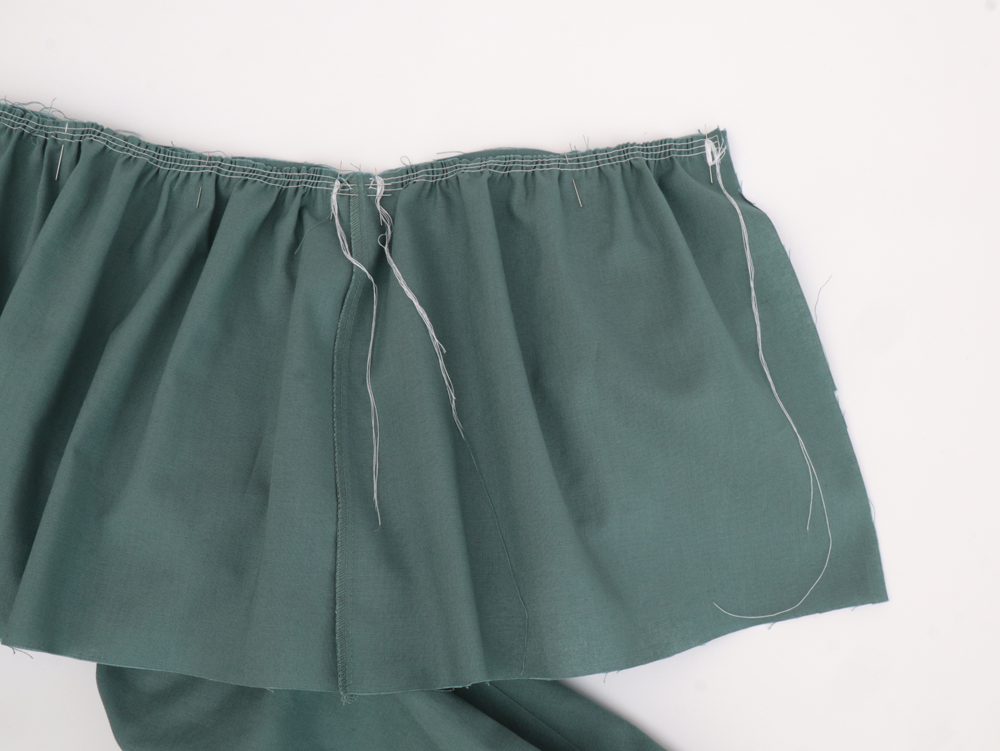
Pin the skirt to the bodice’s waistline, right sides together.
Gather the skirt to the correct size and distribute the gathers evenly.
Stitch in place.
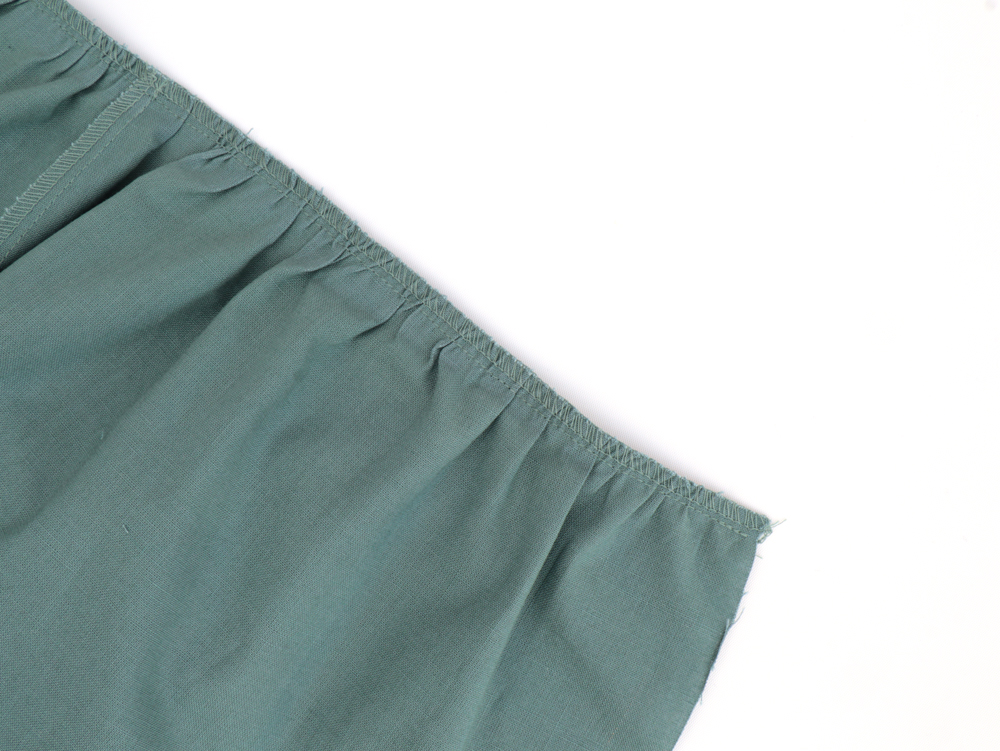
Remove basting stitches.
Serge seams together and press towards the bodice.
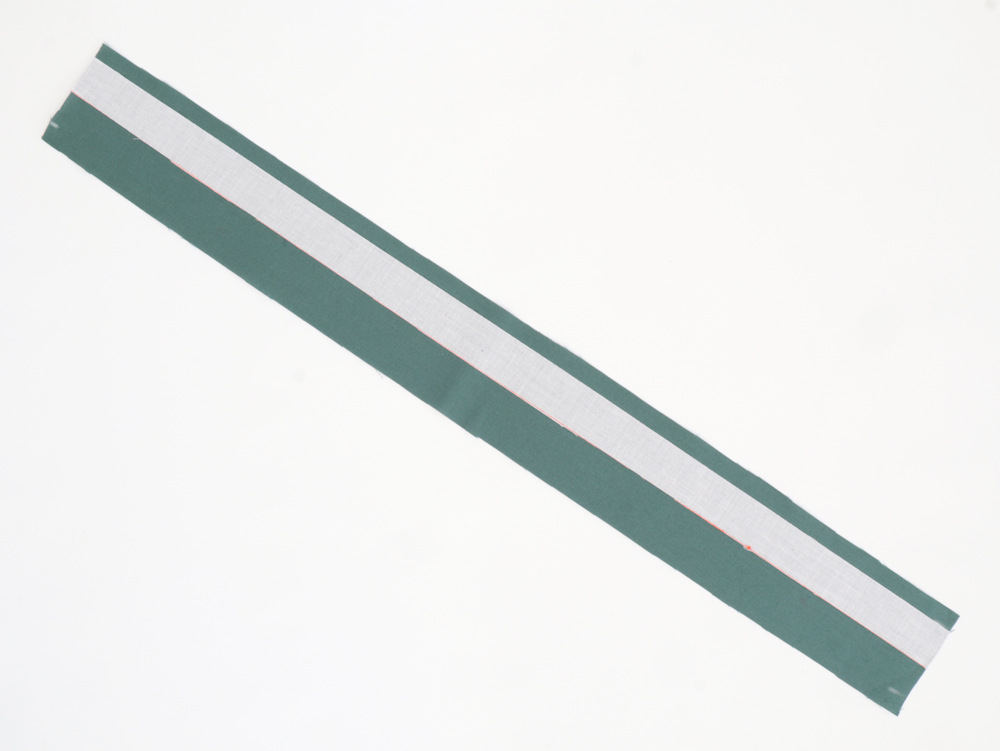
Fuse the button plackets where indicated (the grey rectangle on the pattern piece).
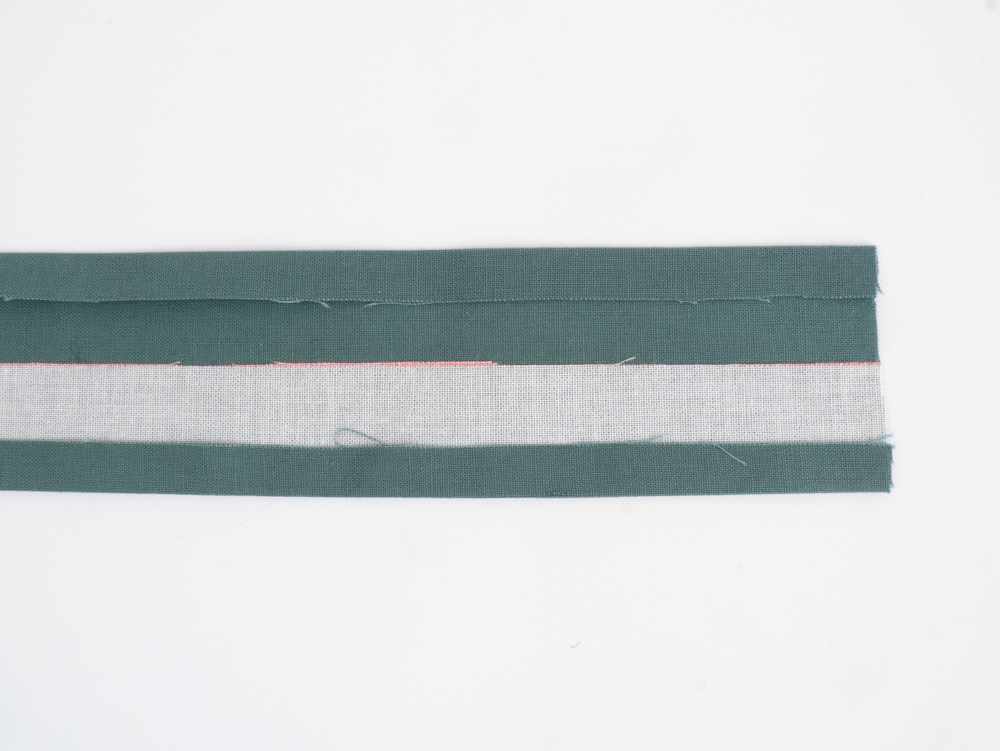
Following the marking, fold both sides in 1 cm, wrong sides together and press.
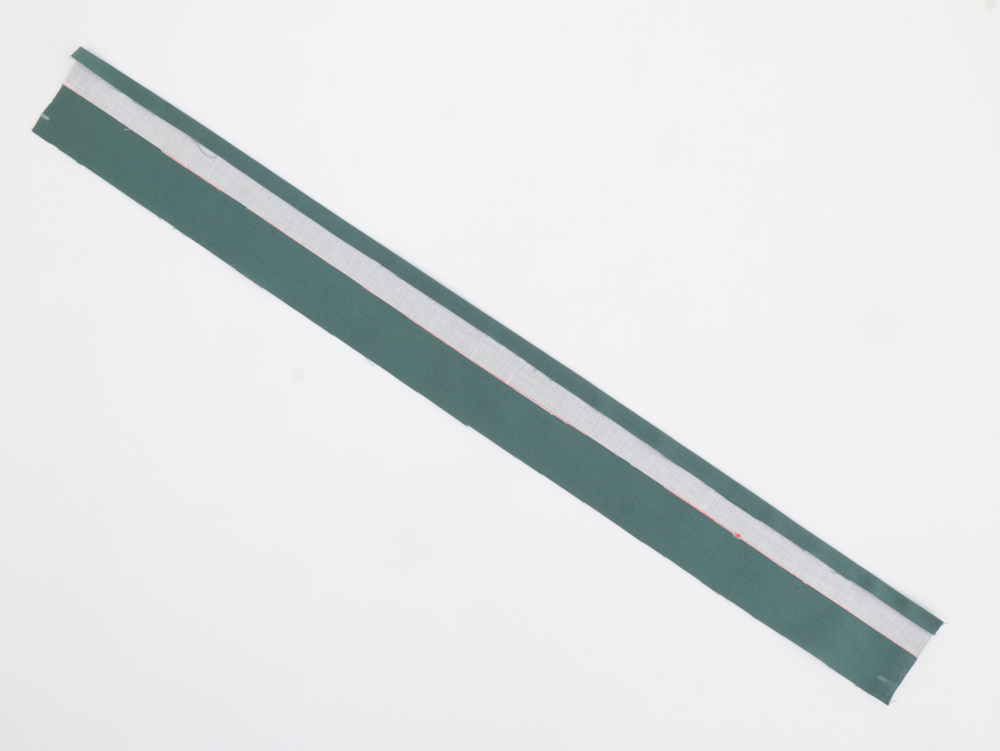
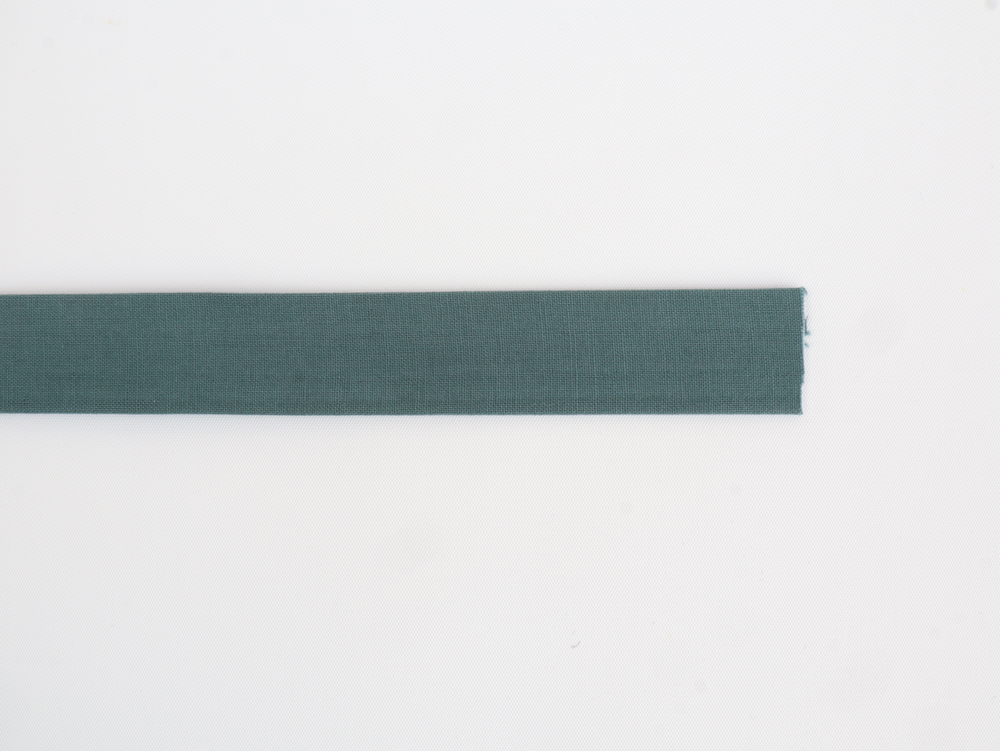
Fold again in half, press.

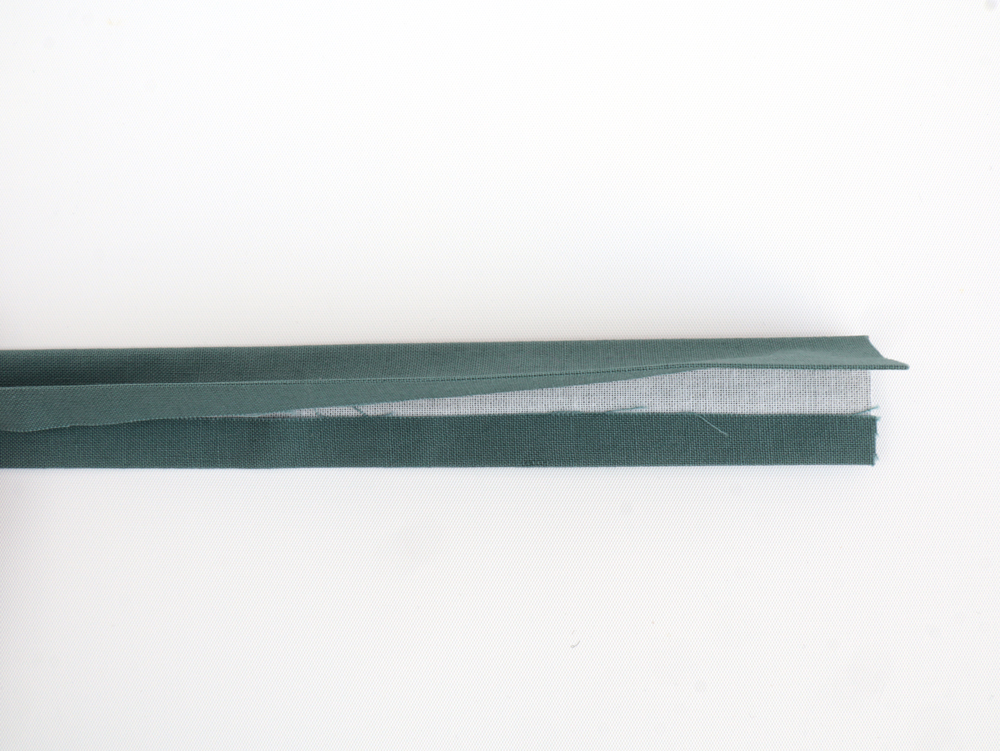
Open button placket. Pin the placket to the shirt right sides together. Stitch with a 1 cm allowance. Grade seam allowance and press button band and seam allowance towards the center of the garment.
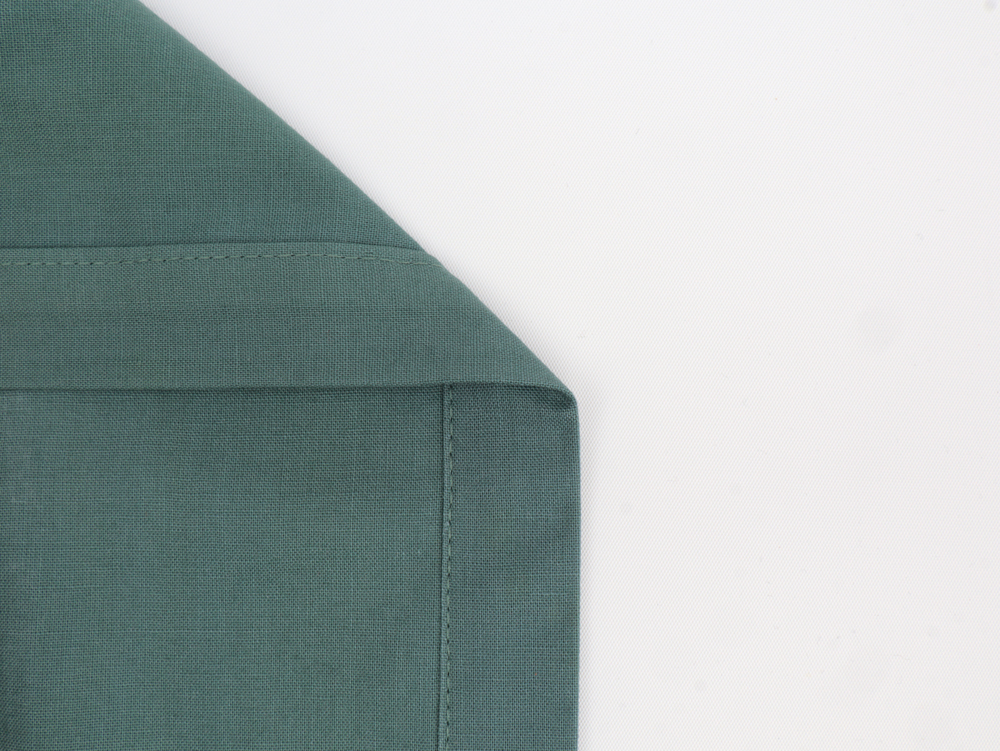
Fold the unfused half of the button placket over to the wrong side of the shirt, press seam allowance under, and stitch as close to the edge of the fold as possible sealing the button placket.
Optional: Fuse one of the collar and collar stand.
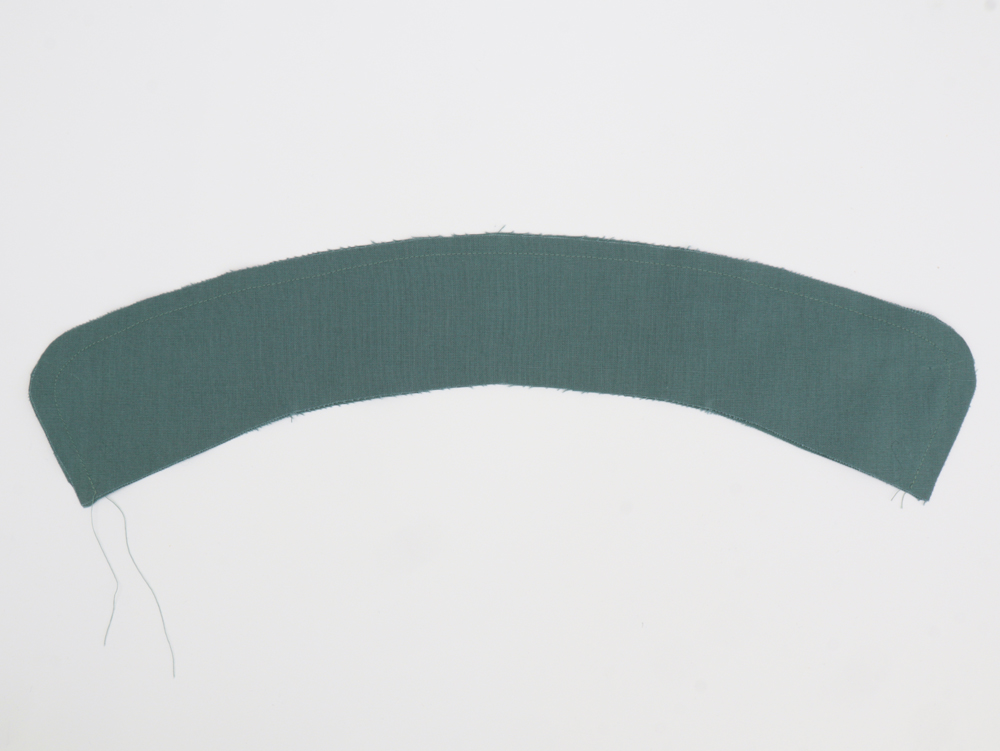
Stitch the collars right sides togther.
Clip corners, grade seam, turn, and press.
To secure the seam allowance, press the lower edge of the outer collar stand upwards 1 cm.
Pin the collar between the two layers of the collar stand. Follow this order if your collar and collar stand are interfaced: fused stand, simple collar, fused collar, simple stand.
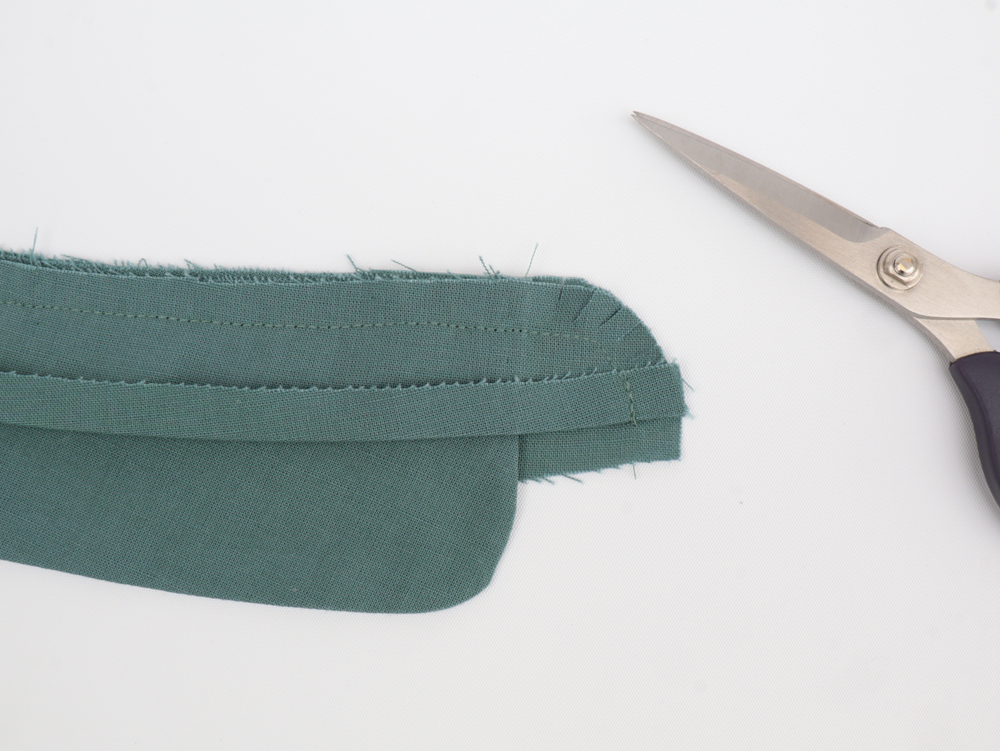
Stitch the four layers together, starting on the sides and catching folded collar seam. Clip curves.

Turn stand down and press neatly.
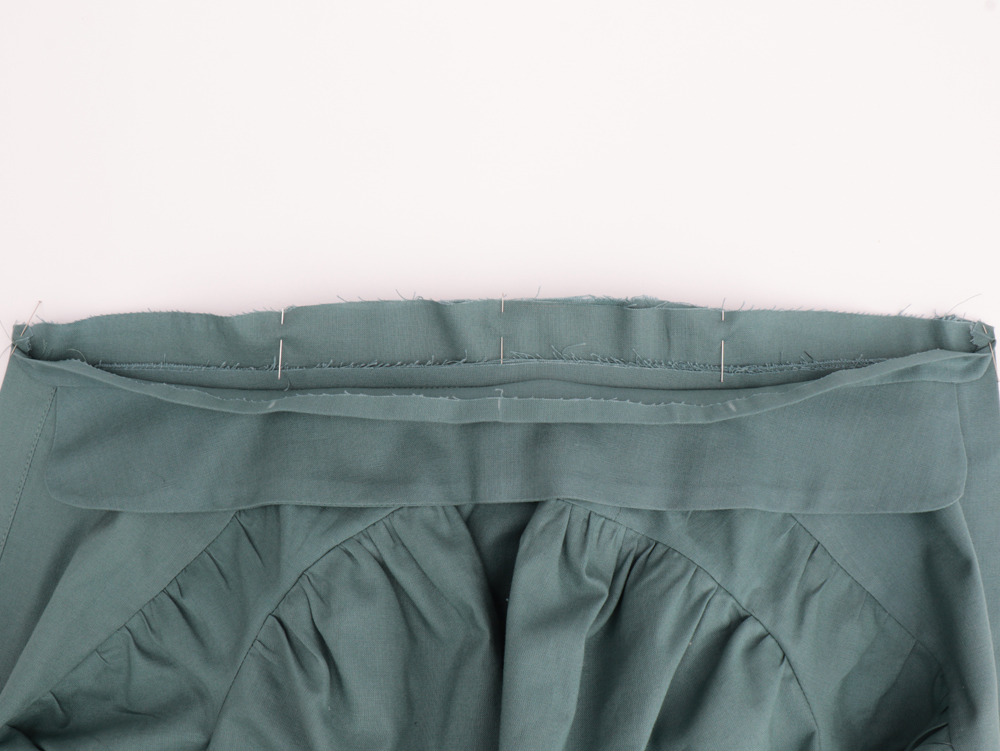
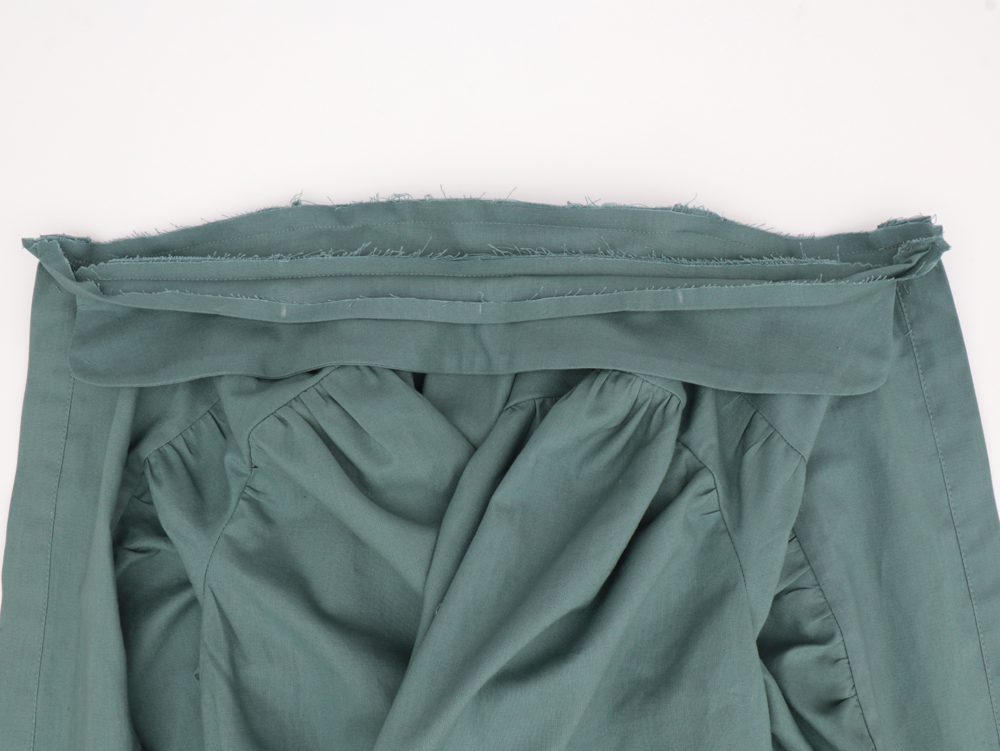
Pin interfaced collar stand to the neckline matching notches. Stitch in place.
Click here to follow the "burrito method".
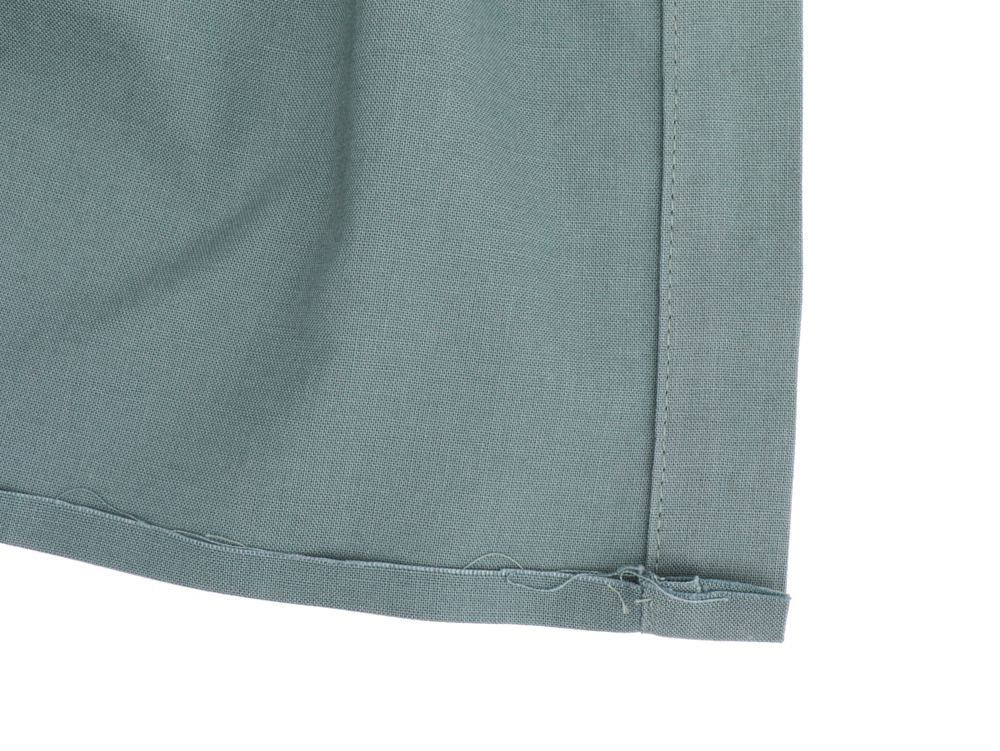
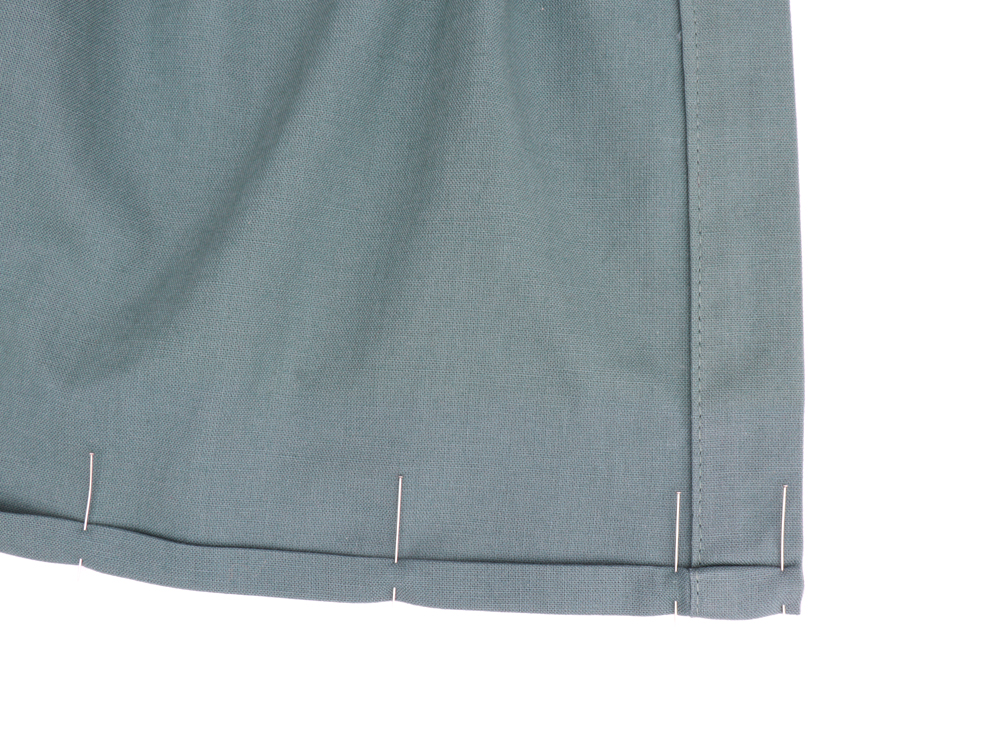
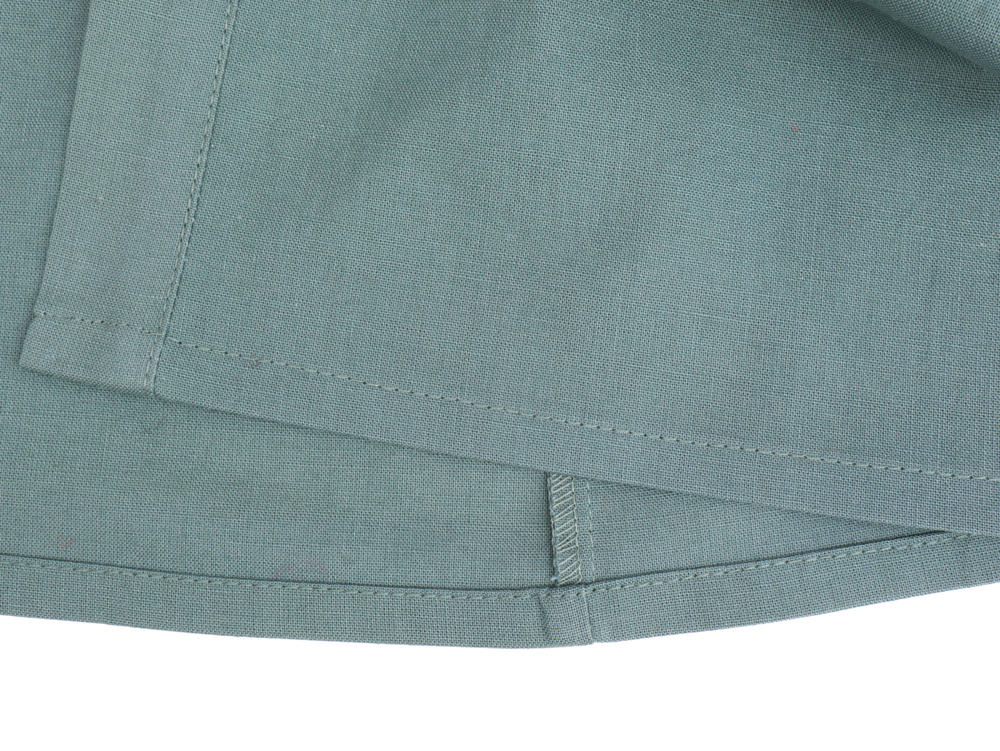
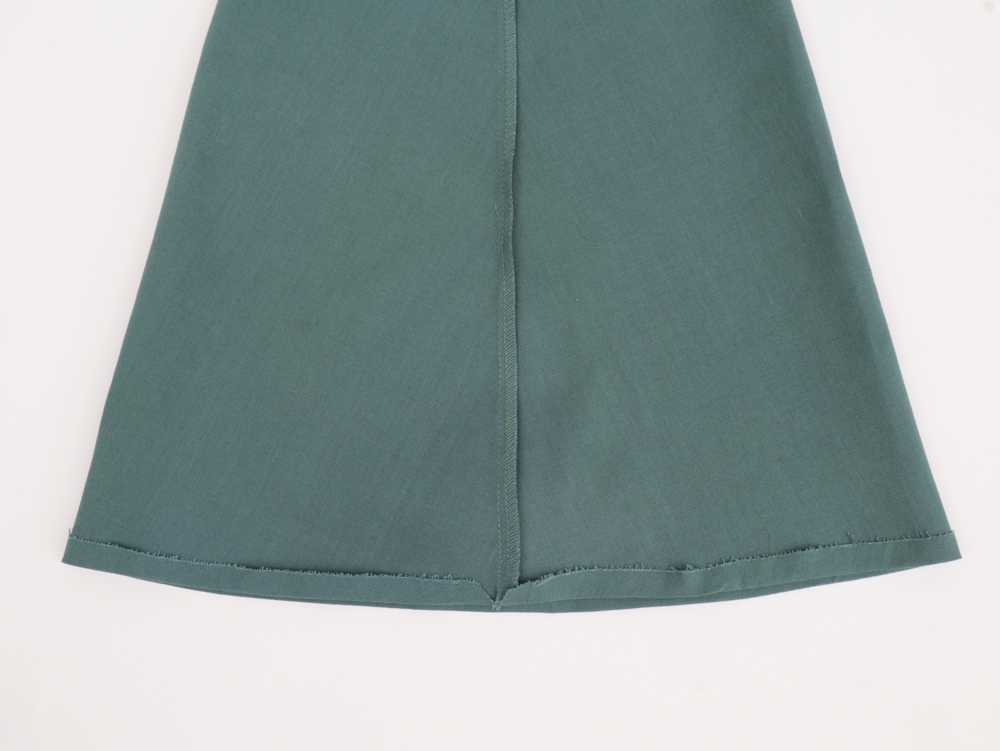
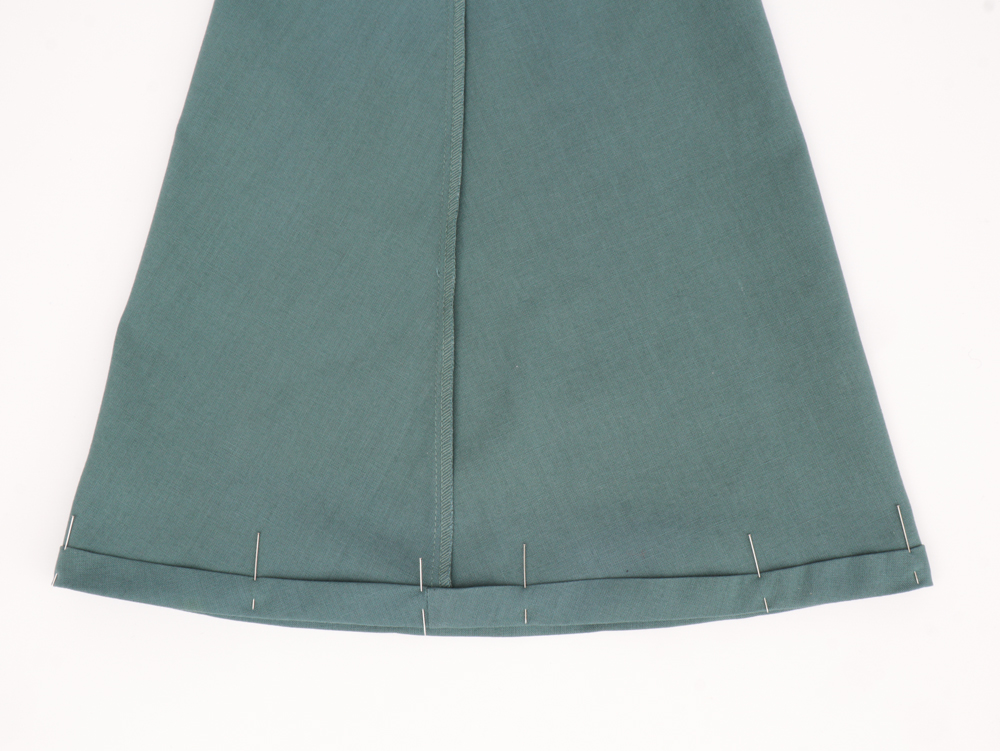
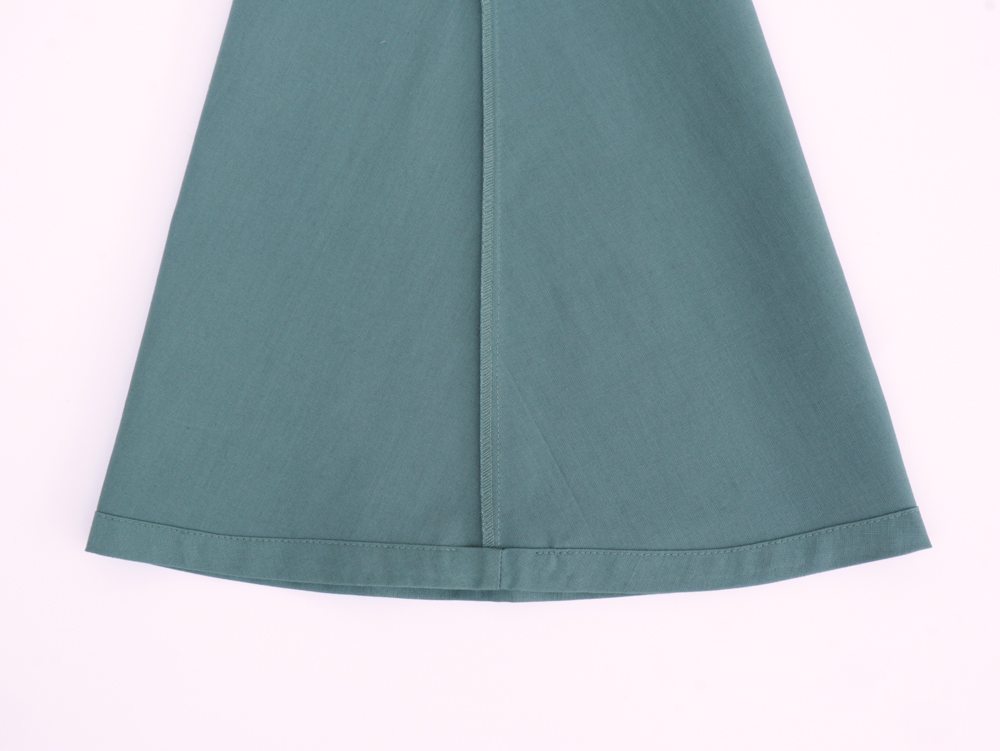
Hem: Press the hem of the shirt/dress up 1 cm twice and stitch in place 2 mm away from the top of the folded edge.
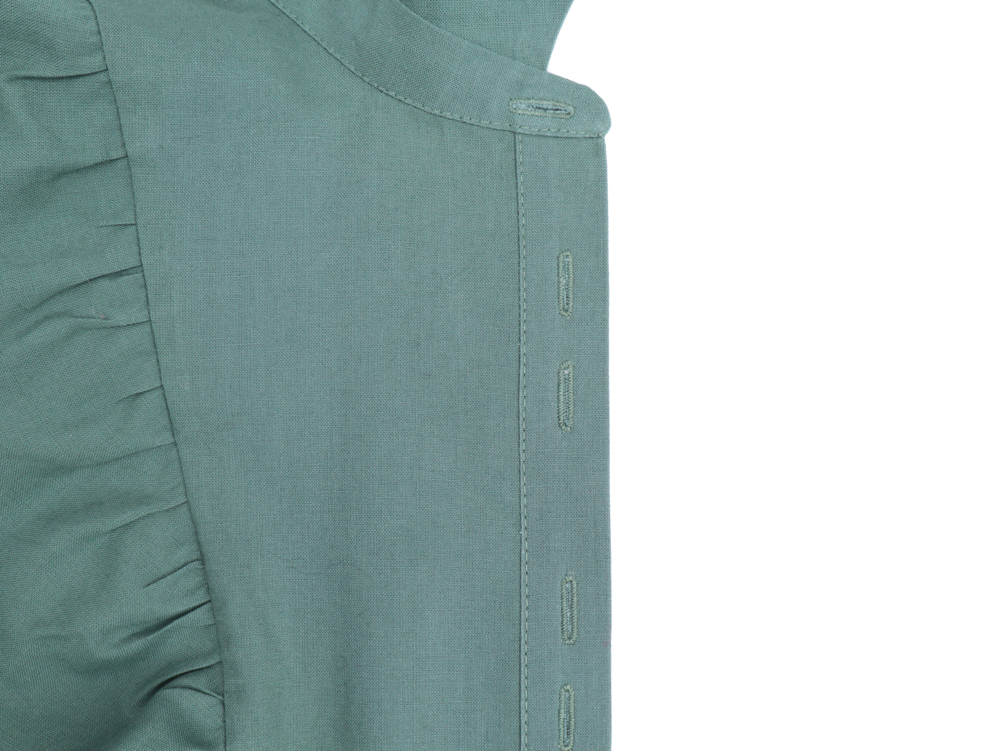
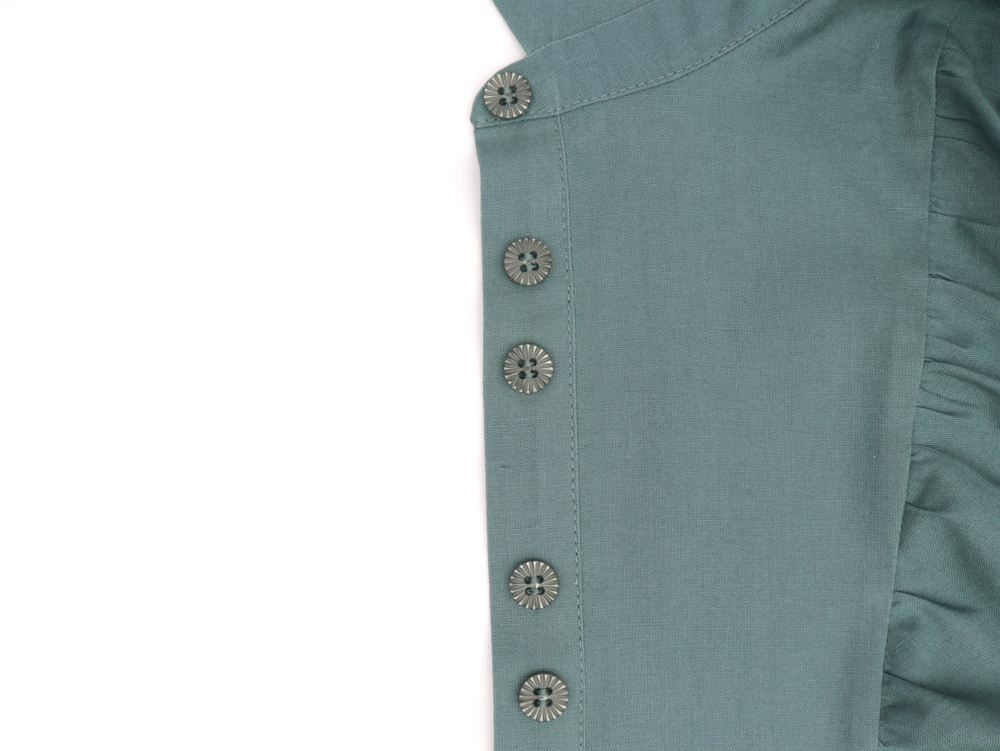
Buttons and buttonholes: Sew the buttonholes according to the button placket markings. Cut open and use the actual buttonholes to mark the placement of the buttons.

![]()
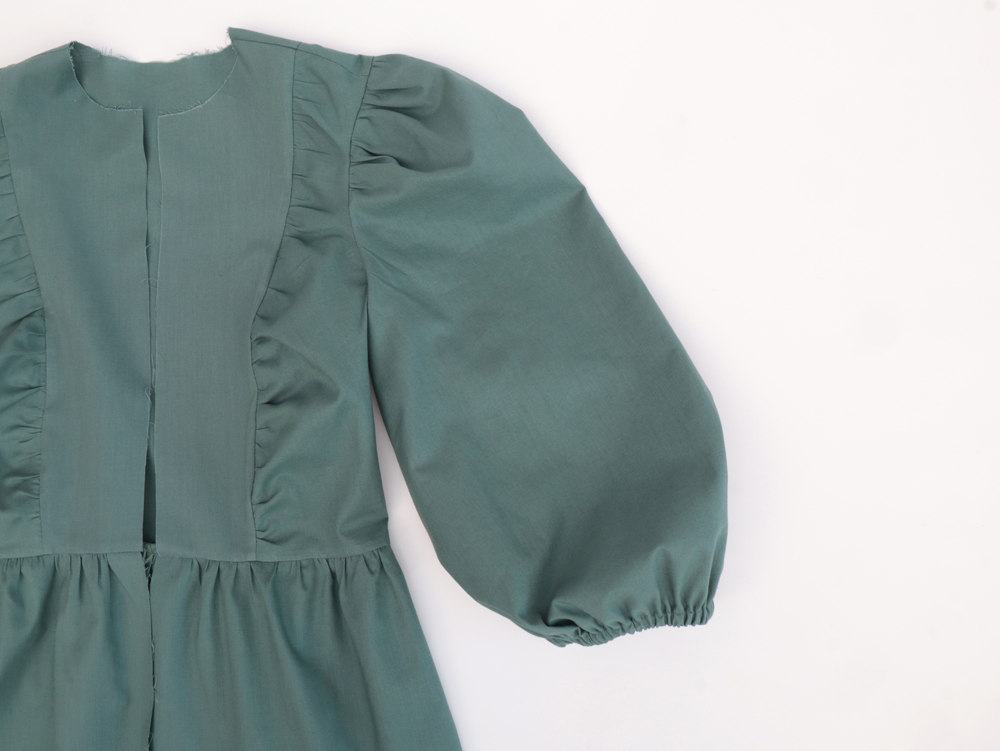
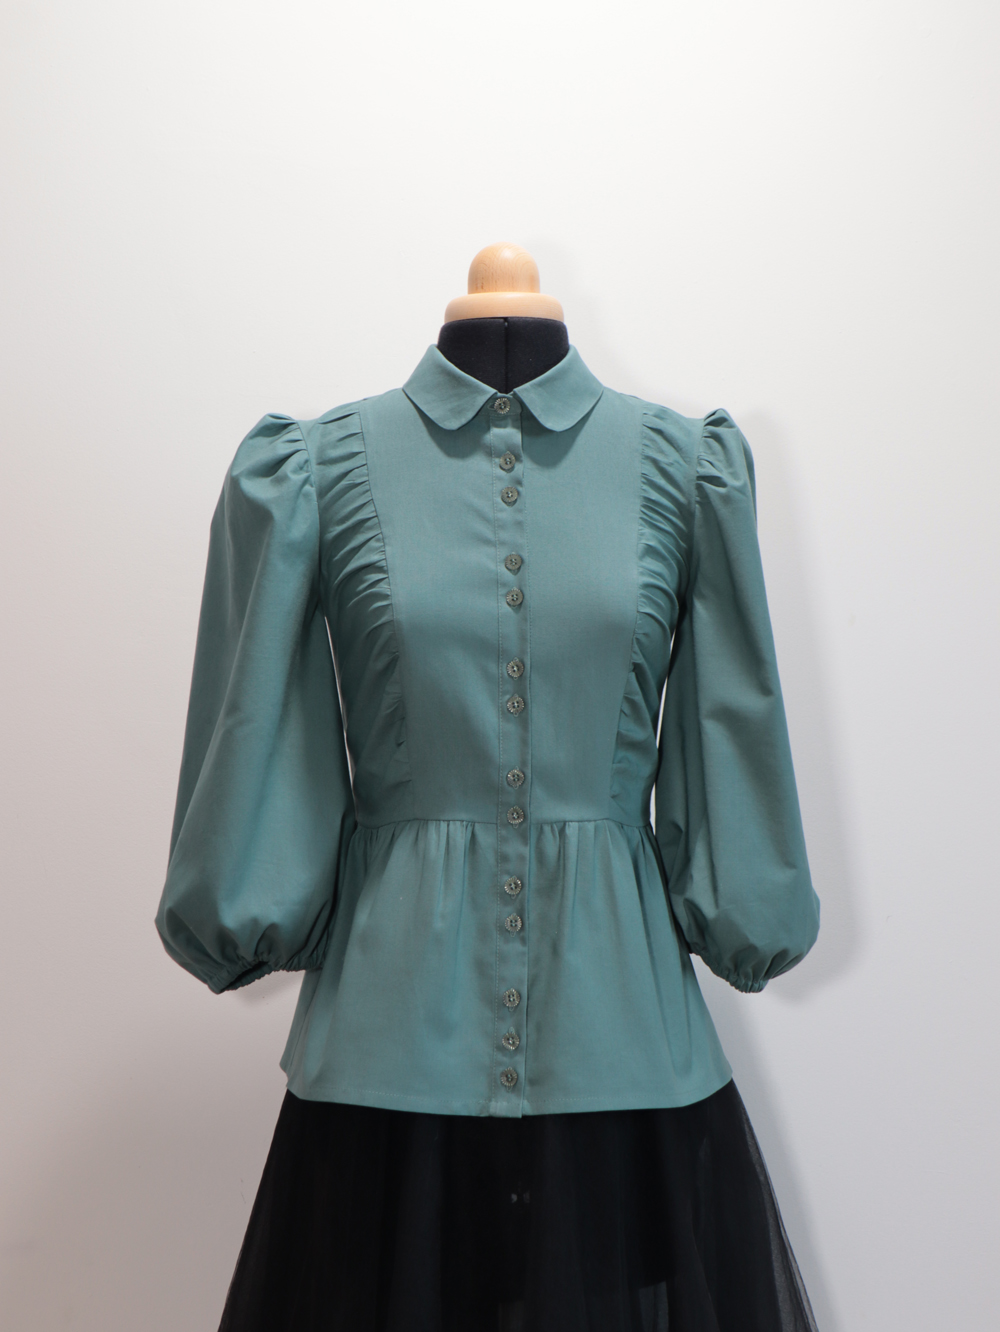
Voilà! Enjoy your new Jolene shirt or shirtdress !
![]()
Votre réalisation est superbe et le tissu choisi capte bien la lumière. Une réussite totale, bravo à vous !