Sew along, the blazer Joe, part 1


Sew along with us as we walk you through making the blazer Joe! You will notice that the sew along can differ from the sewing instructions included in your download. First you’re going to need to gather the supplies you’ll need to sew a perfect Joe!
Supplies:
- Fabric (for the fabric head back to the instructions to know what kind of fabric you need and the yardage)
- 1 bobbin of regular thread matching the fabric color.
- Some interfacing, this is the one I used for all the prorotypes: Entoilage tissé volumineux thermocollant - Tissus jersey & Lainages
- The fabrics used for this sew long are Velours milleraies Extra - Uni - Bronze for the shell and doublure Venezia - uni - 2311 for the lining.
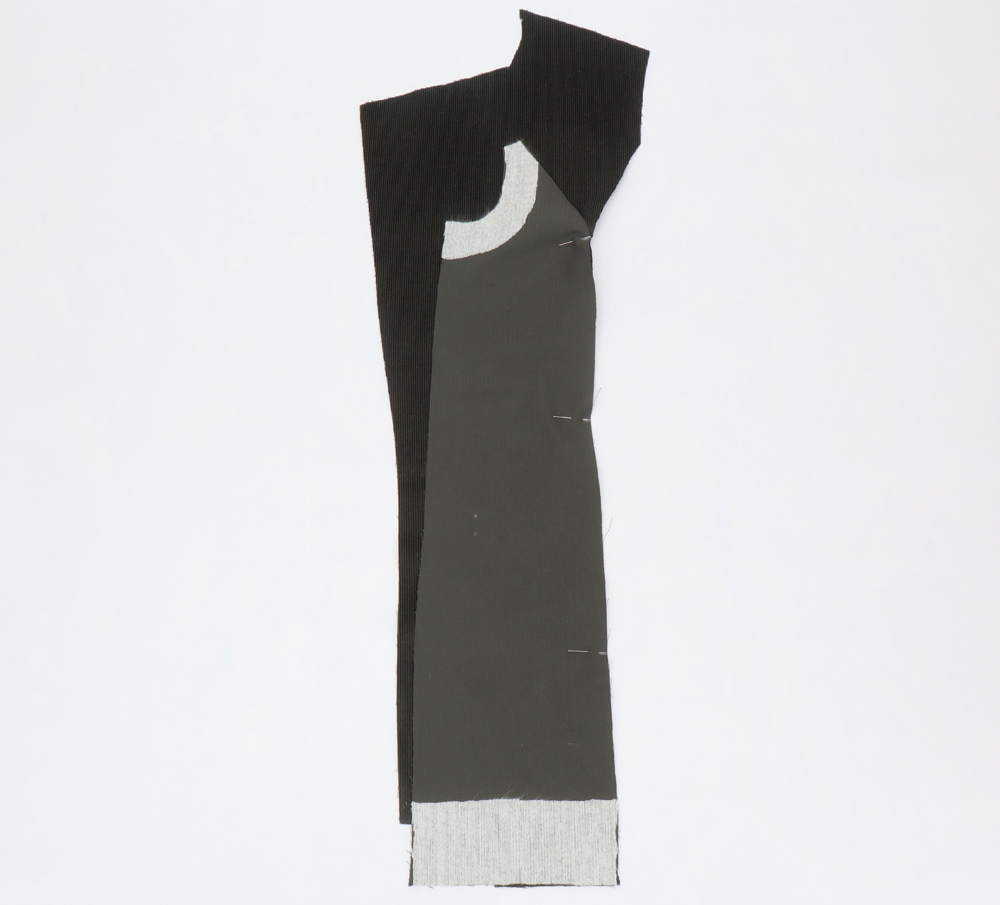
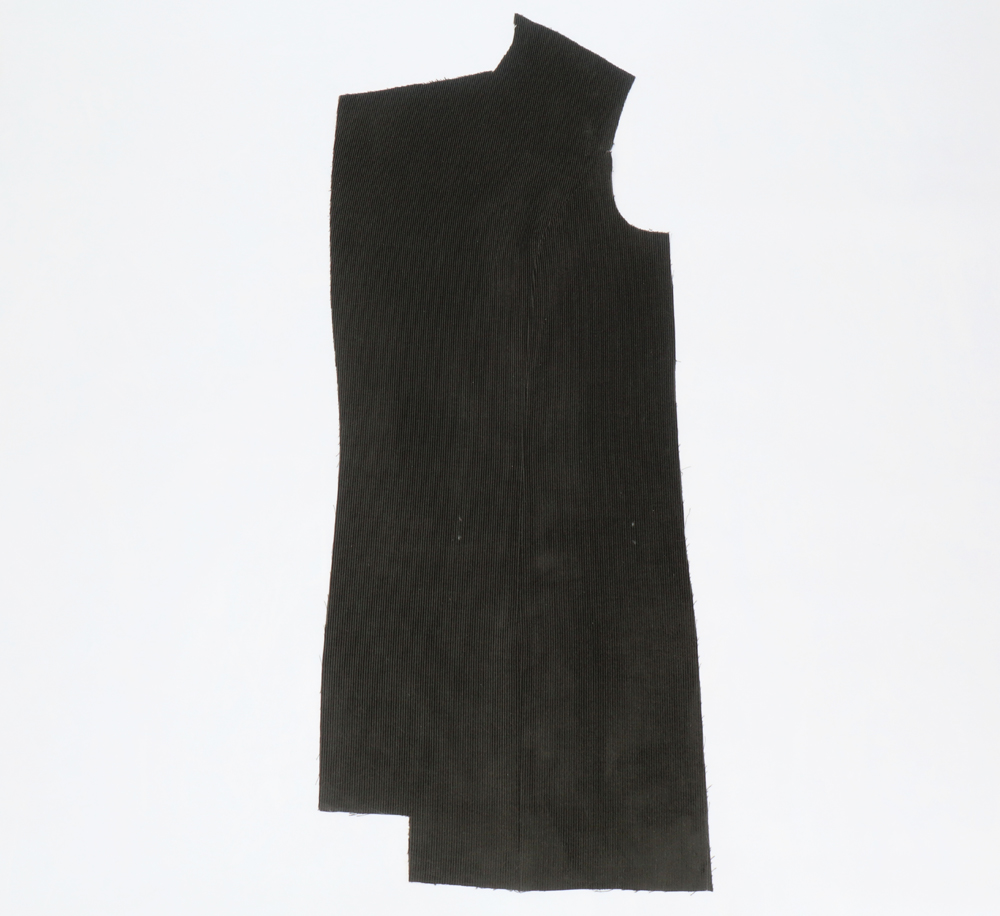
![]()
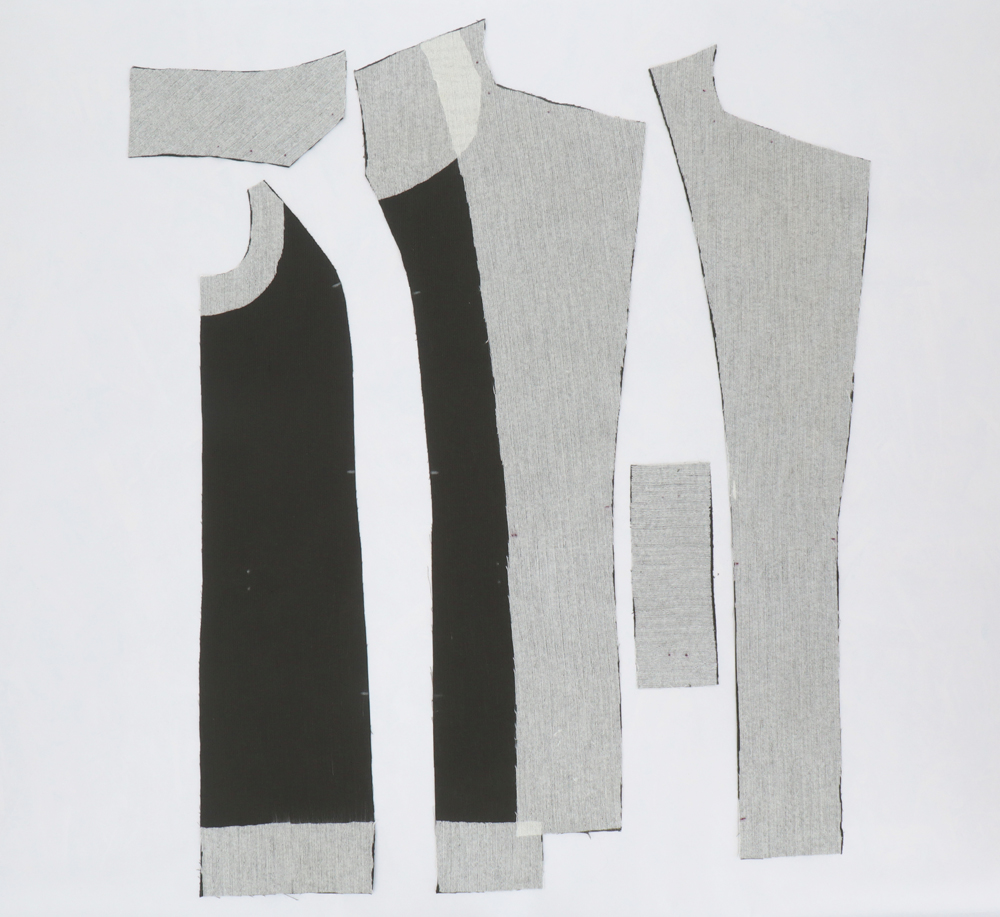
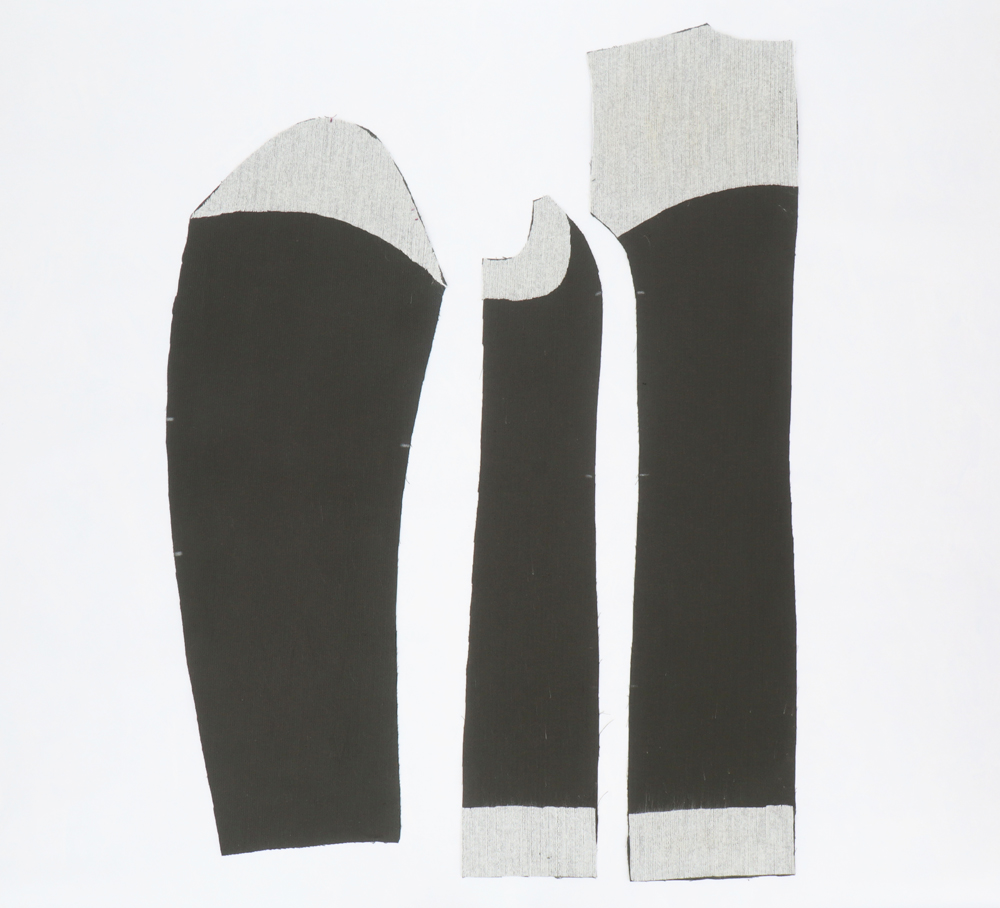
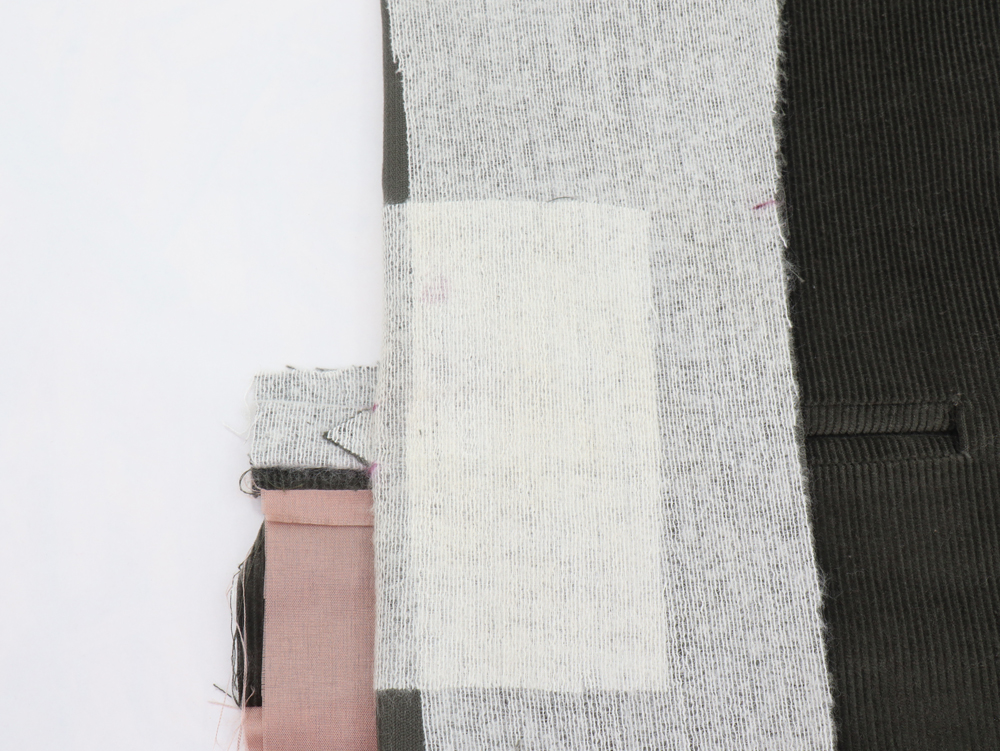
Interface all pieces as indicated. With a chalk mark the middle of all the pieces cut on fold. If your fabric is fraying a lot you can serge the non-interface parts.
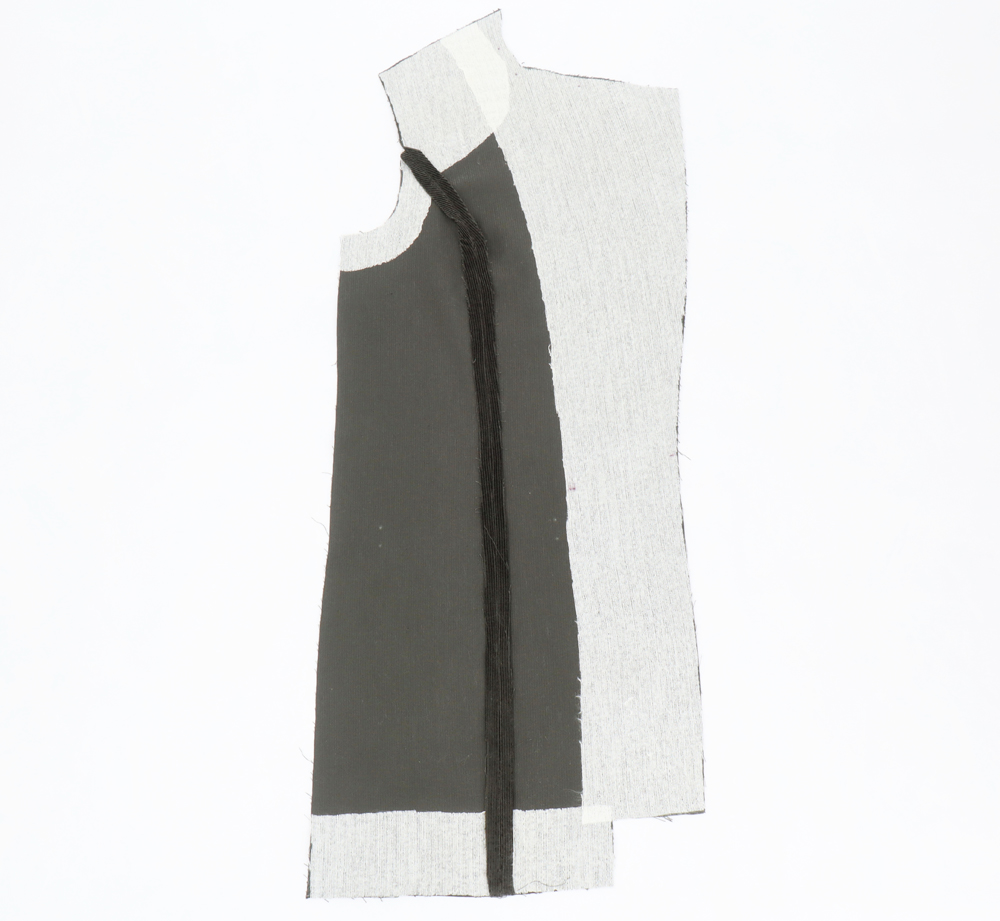 Pin fronts and side fronts with right sides together, matching the dots. Ease the princess seam. Stitch. Trim, clip and press seam allowances open.
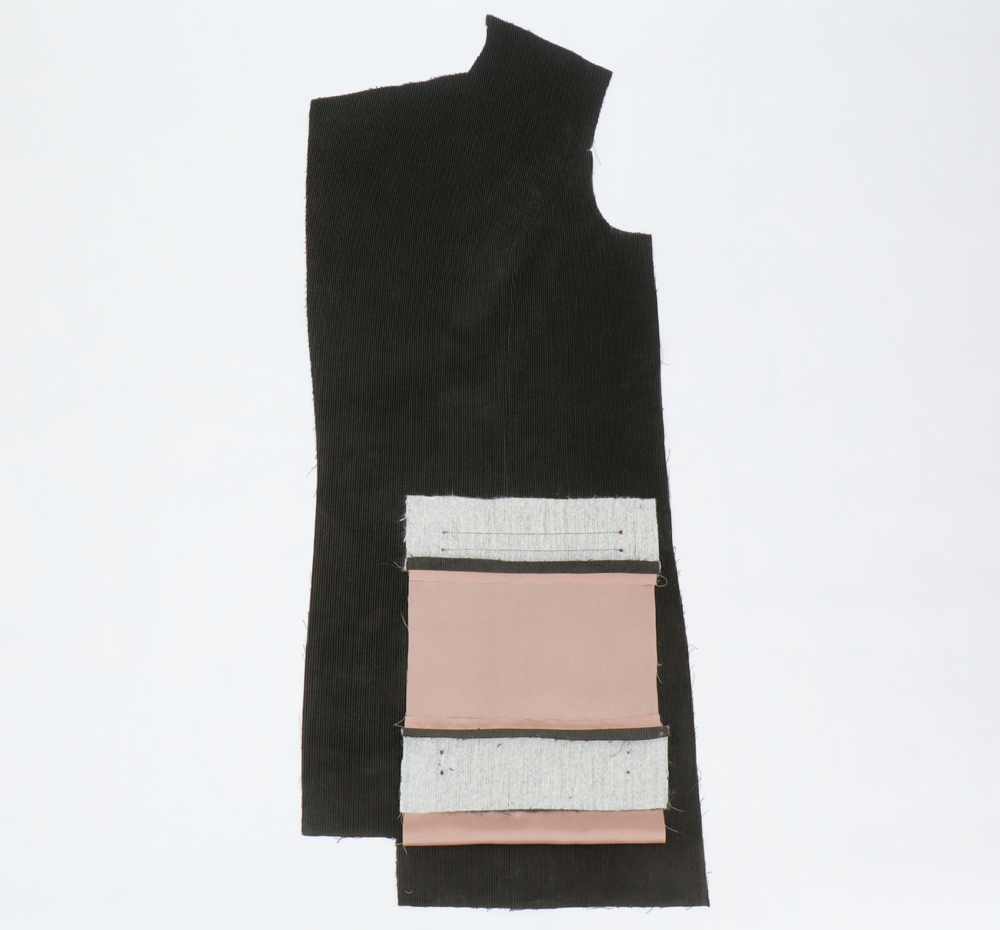
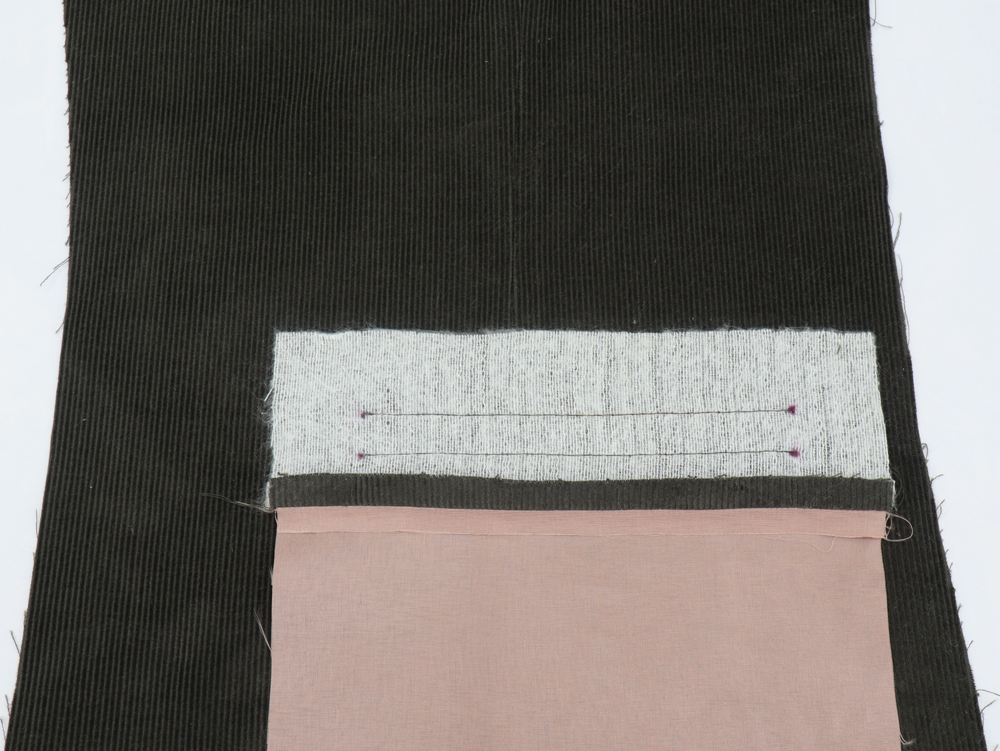
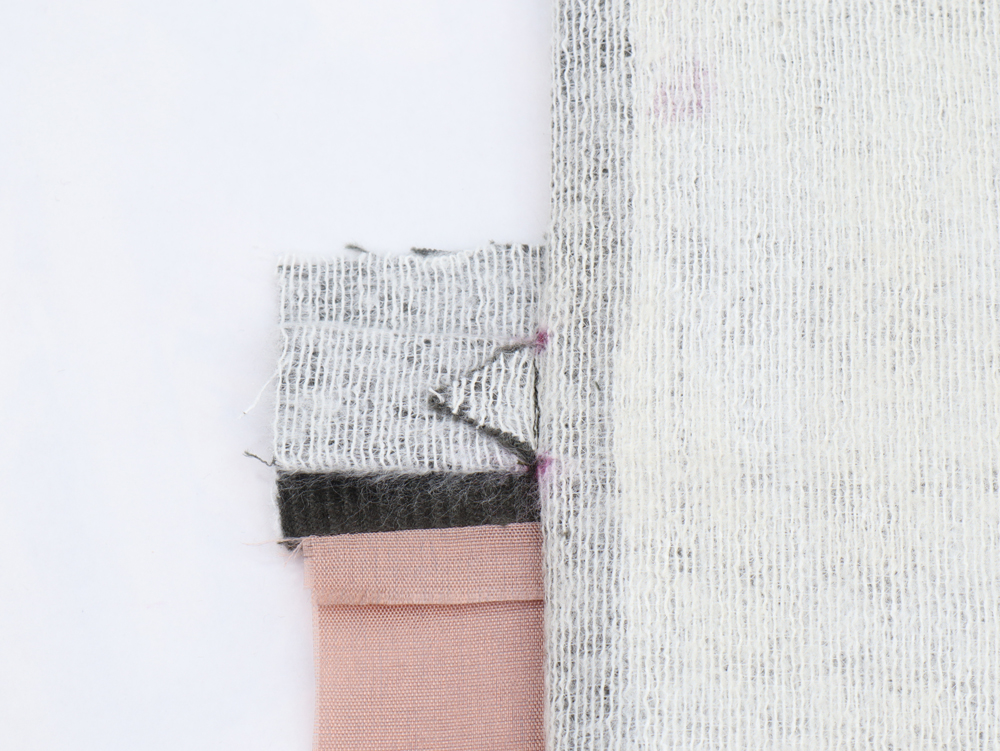
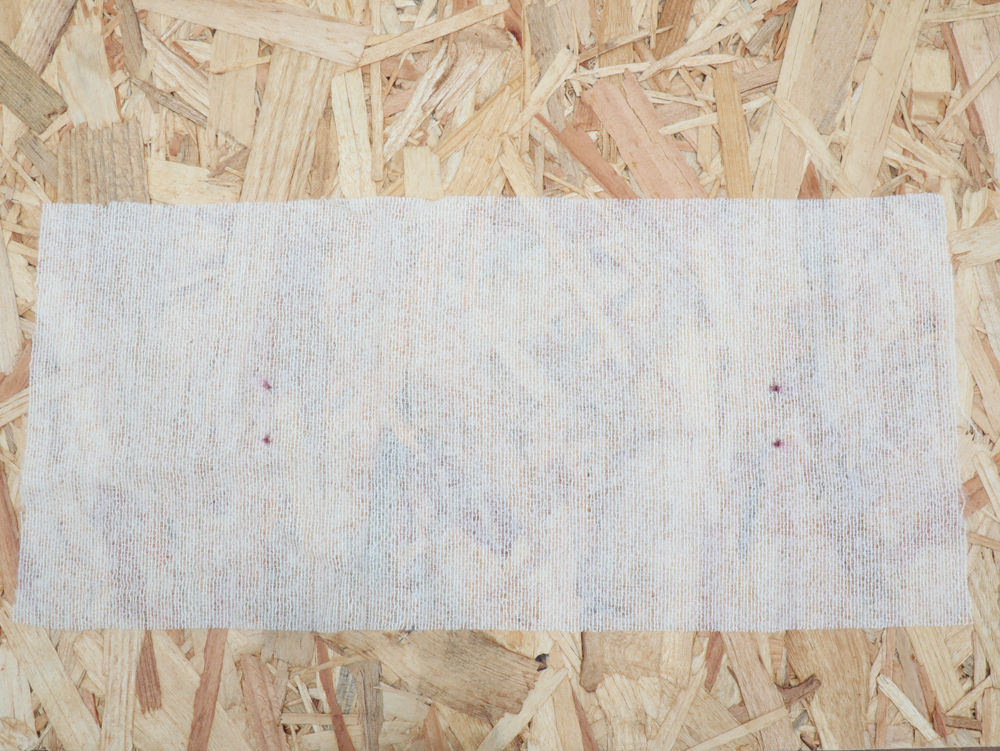 Transfer the four dots on your interfacing.
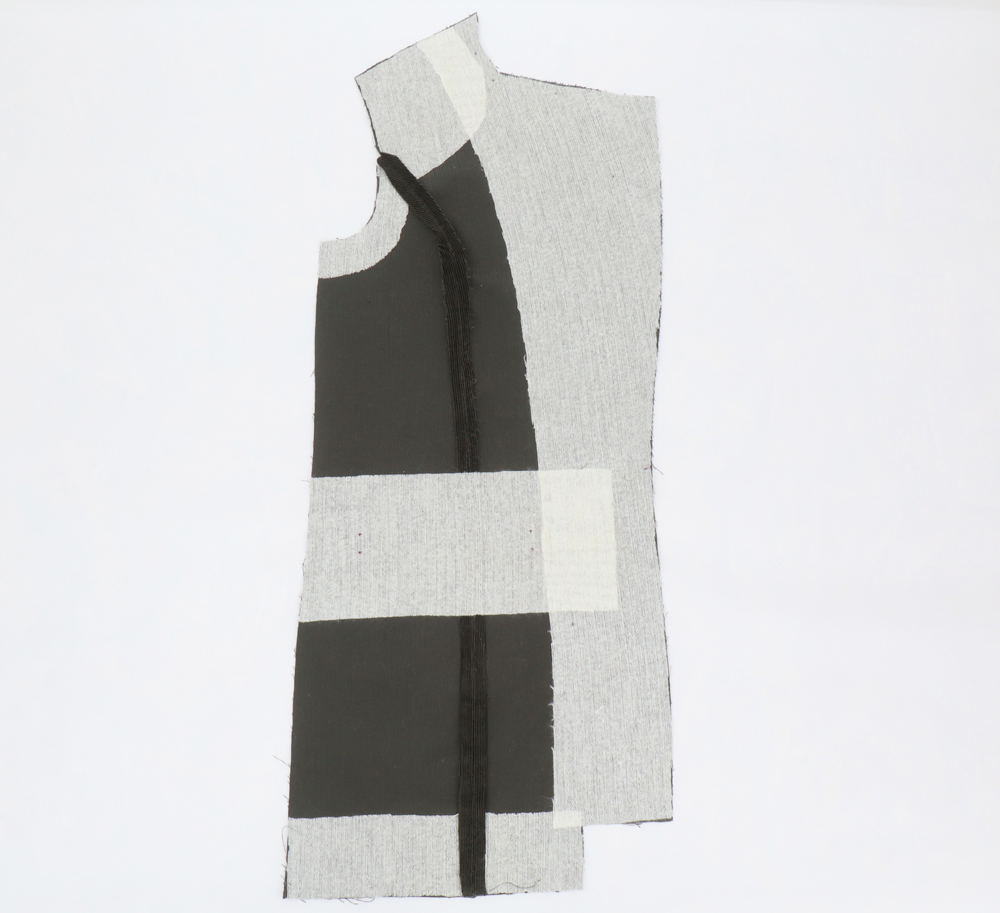
Reinforce the pocket placement with piece n°5 of interfacing ironed on the wrong side over the pocket notches area.
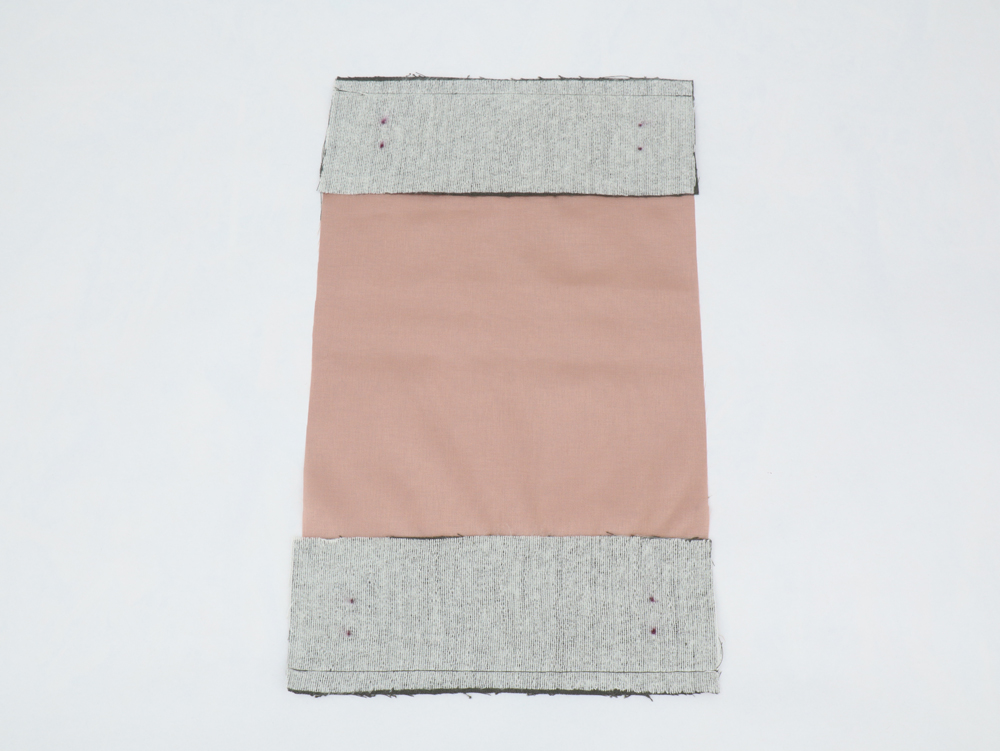
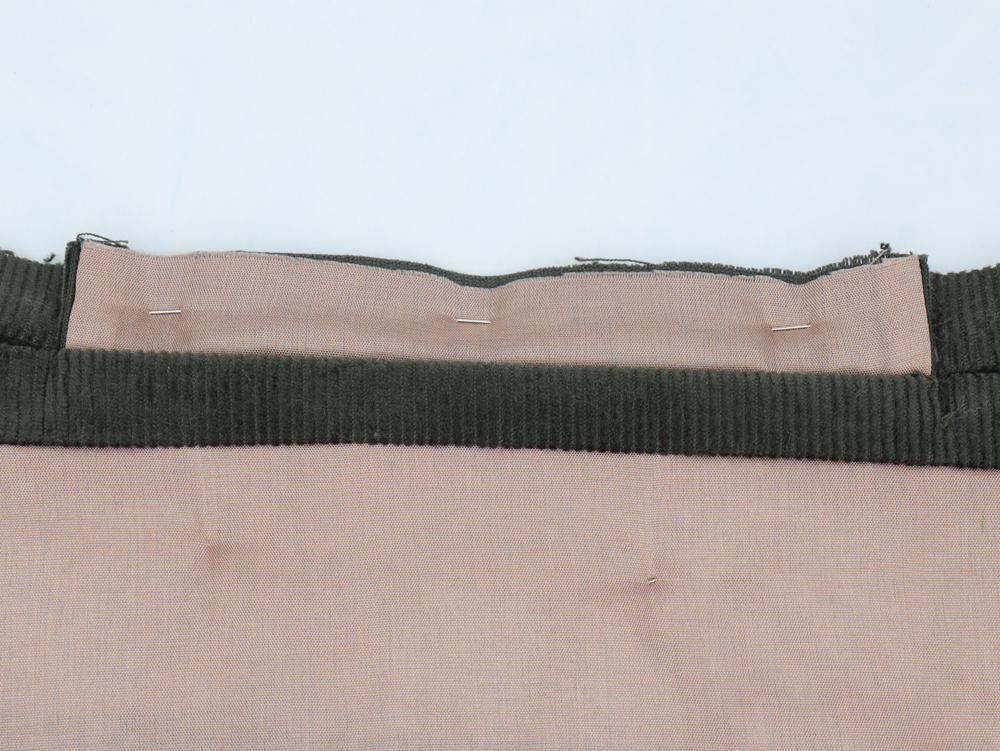
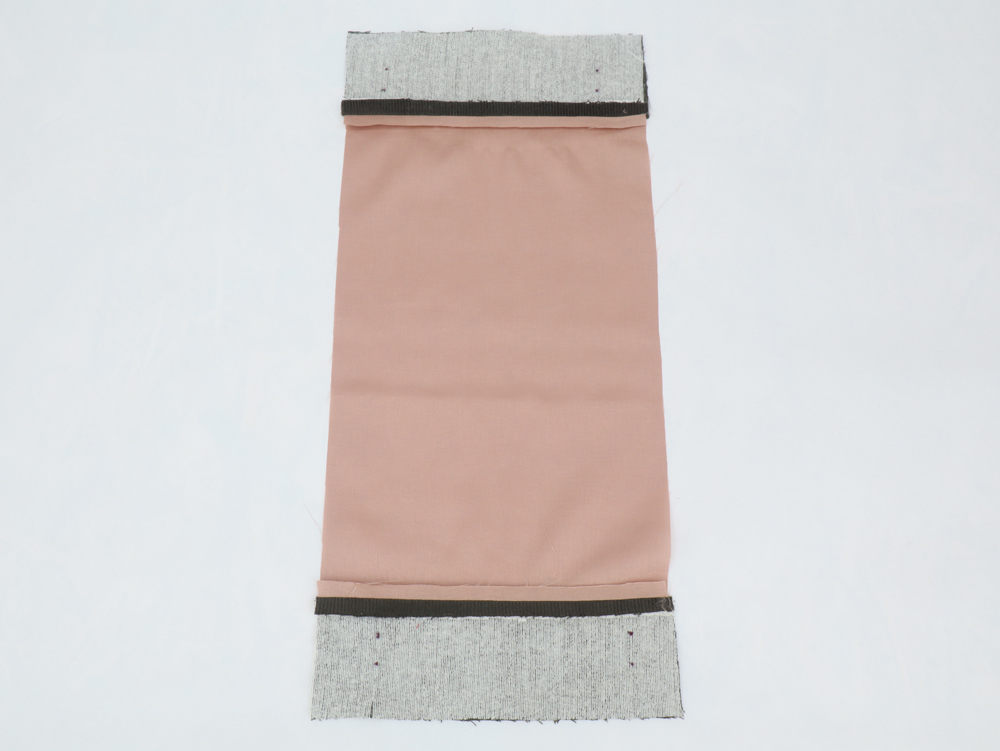 With right sides together, stitch the welt and the pocket facing to the the pocket bag. Press seams open. Transfer the dots to your welt.
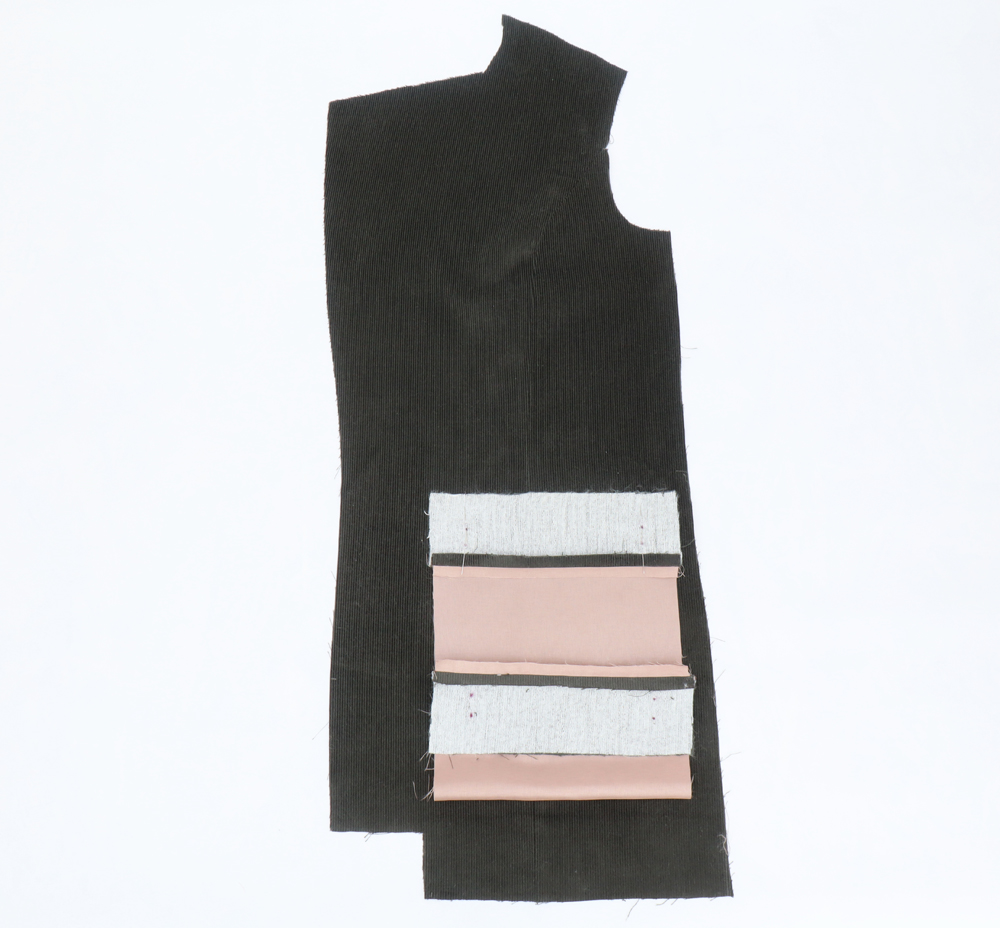


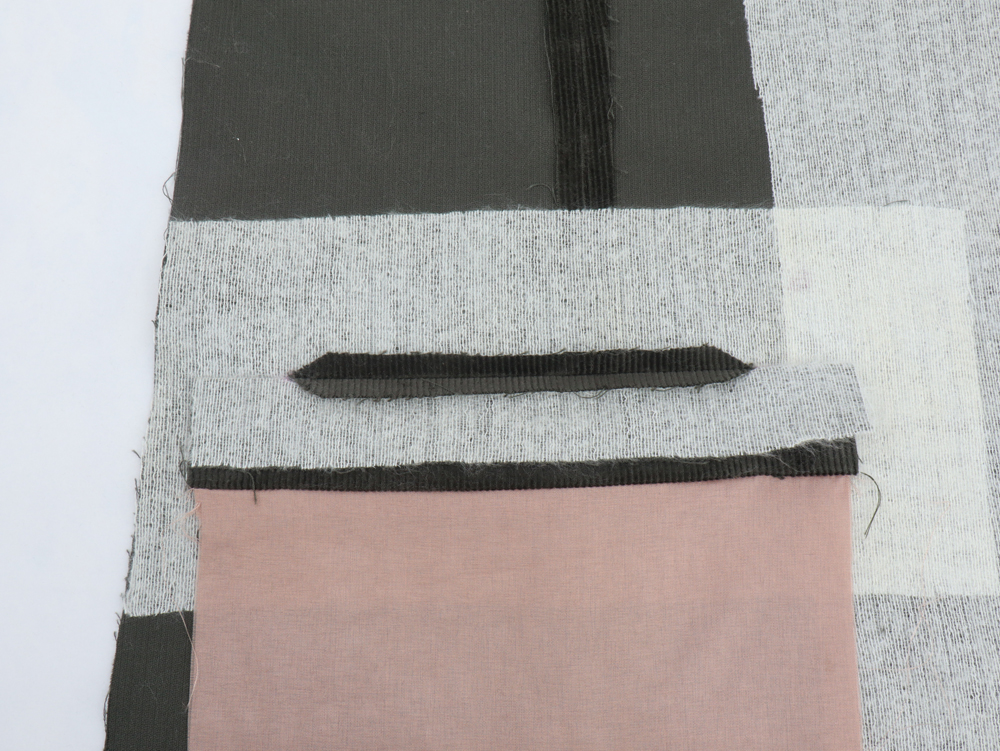
 With right sides together, stitch the welt to the front following the markings. Start and finish your lines exactly at the same level with a back tack.

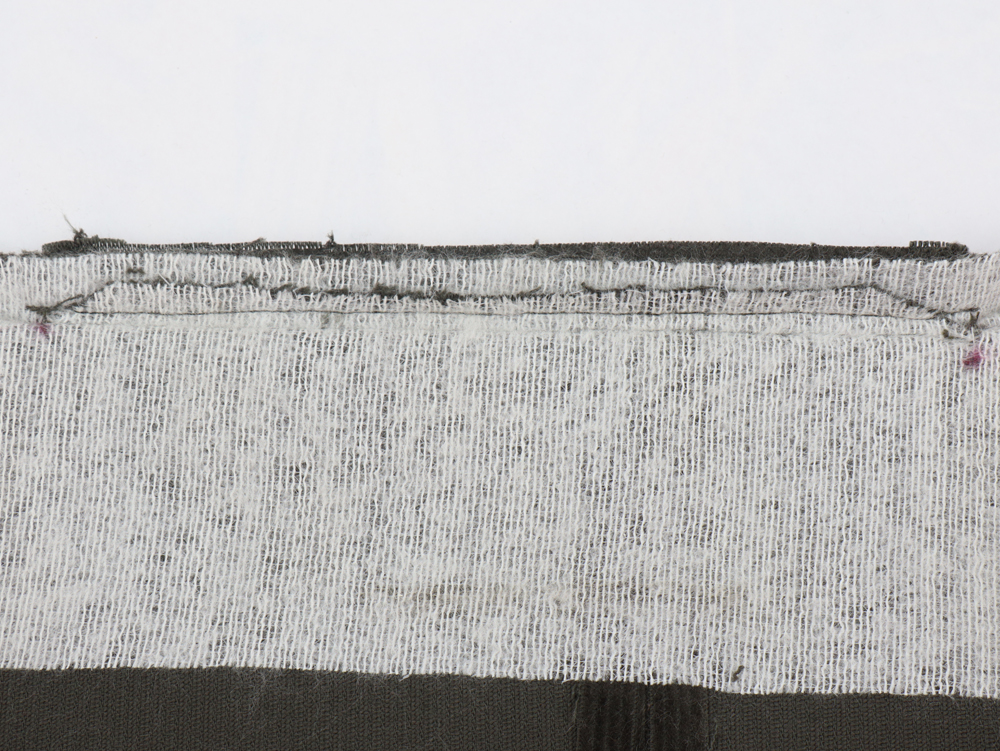
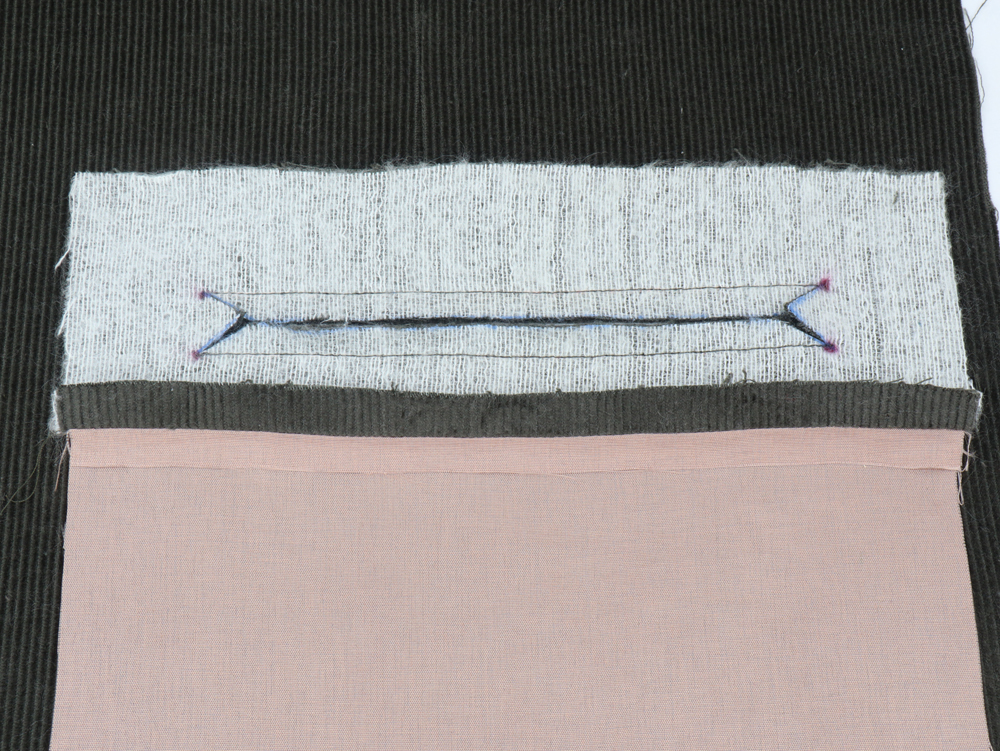 Mark out the cut lines and using sharp little scissors, cut along the center of the welt and stop 1,5cm from either end. Cut on a diagonal towards each corner, clipping as close to the stitching as you dare! The closer you get, the crisper your welt corners will appear later on...but if you snip beyond your stitching your welt will have little holes in each corner!

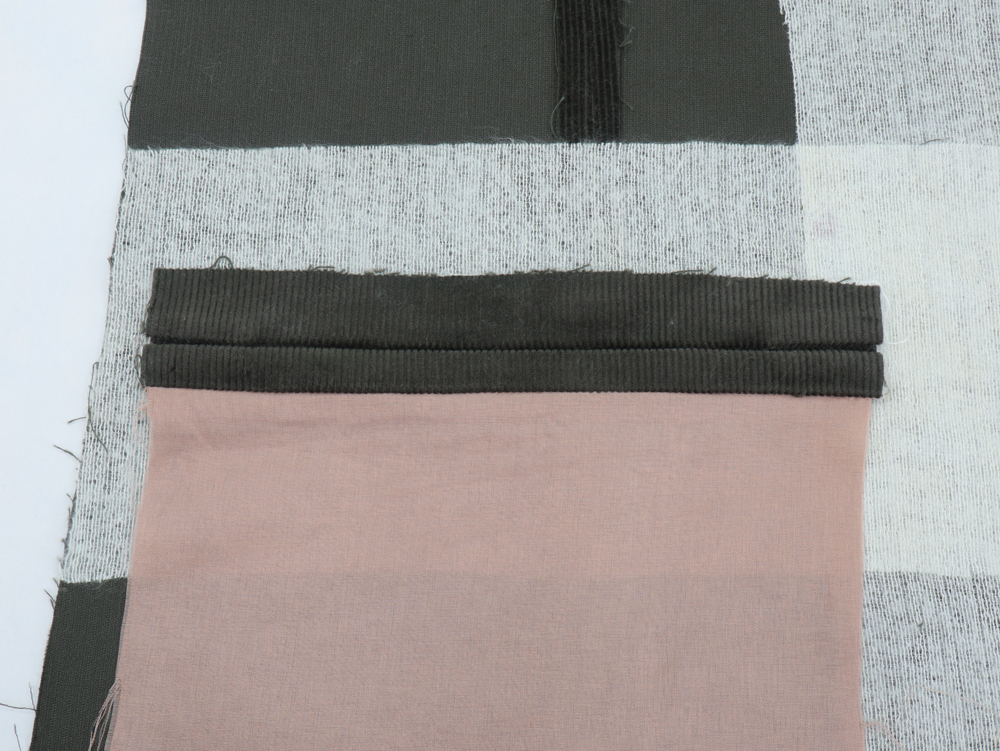
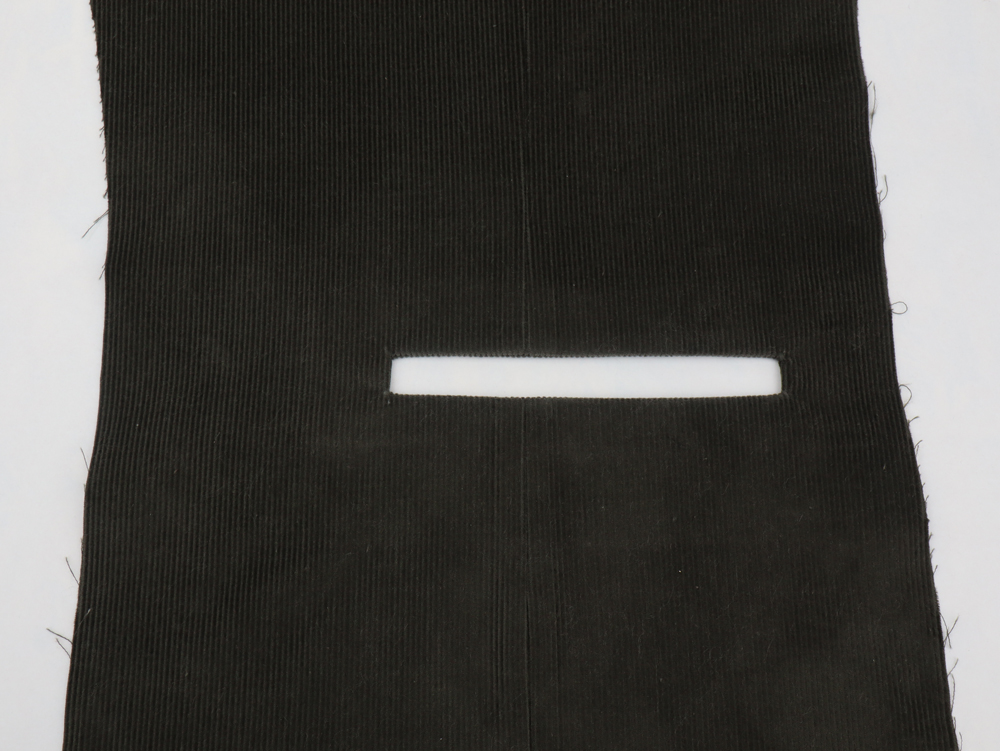 Turn the welt to the wrong side of the garment so that you are left with a rectangular window on the right side and the loose fabric on the wrong side.
 Flip up the bottom of the welt and press the seam allowances that are hidden underneath open. Press the sides and the top of the welt flat. Turn the garment on the right side to press all four corners carefully - you can pinch and pull them a little to make them look perfectly right angled.
 From the wrong side of the garment, create an accordion fold with the bottom half of the welt rectangle so that the folded edge meets the middle of the welt window. Press the folded edge flat. Reapeat with the top half of the welt rectangle so that the two edges meet at the middle of the welt window.
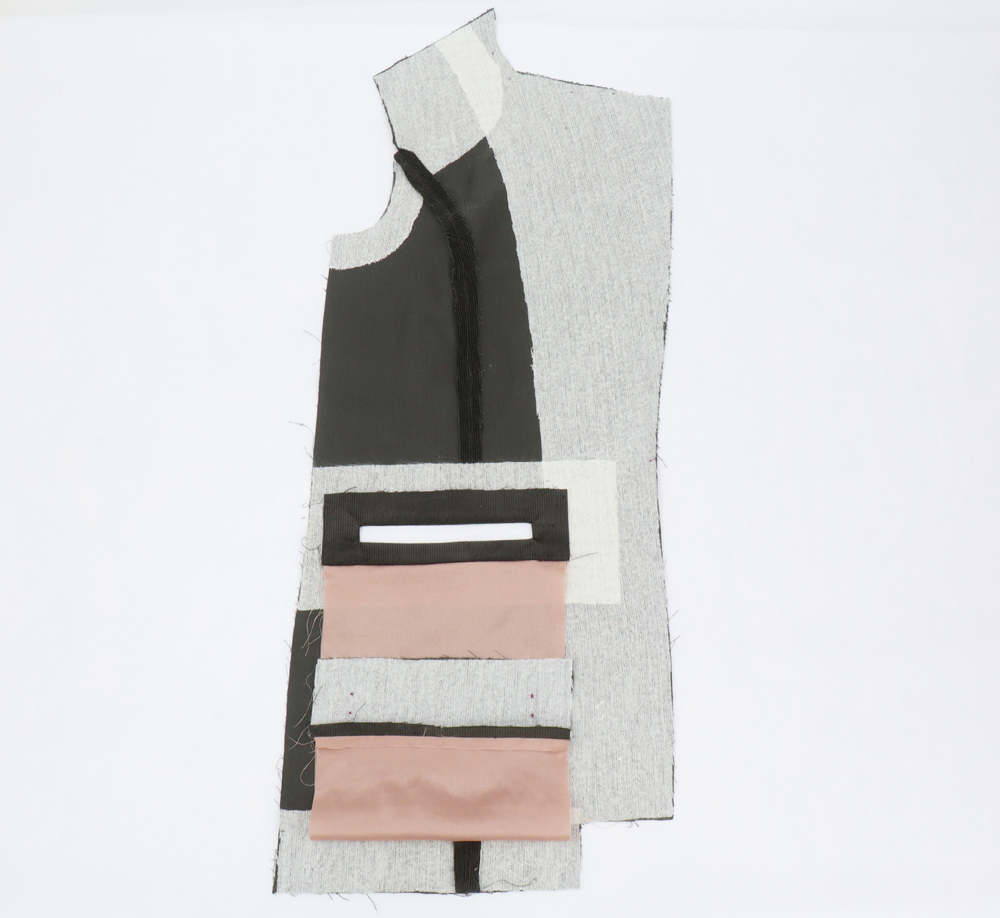
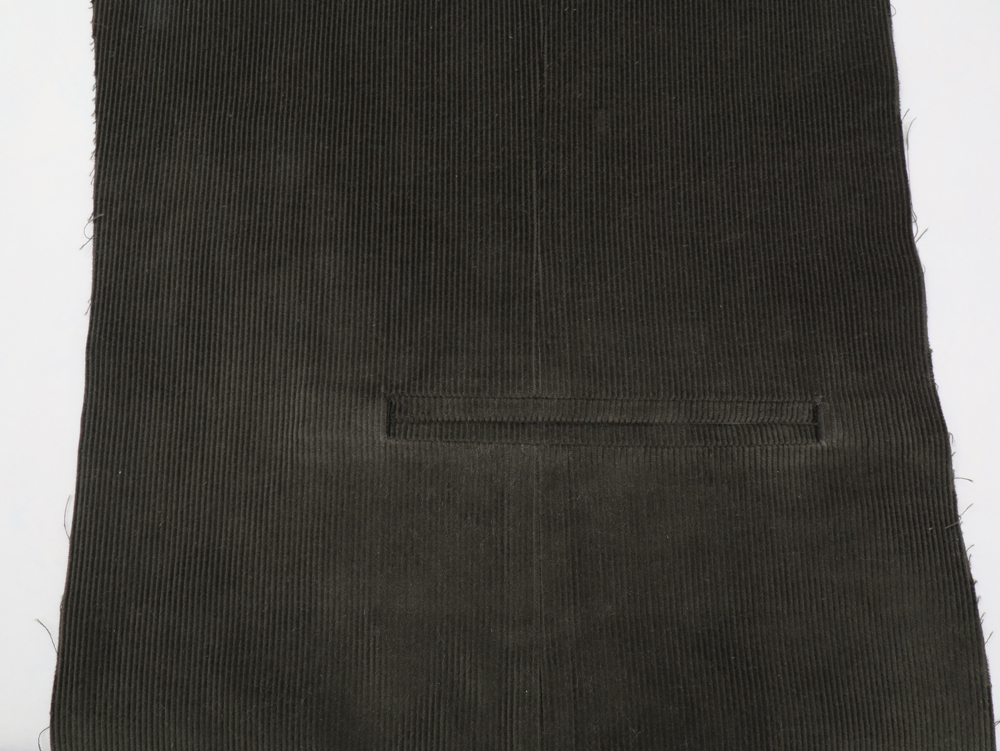
From the right side of the garment, your welt will look almost finished!
 To keep the welt in place, uncover the sides of the welt by folding over the side front B. You will see a little triangle of fabric and your accordion fold. Stitch as close to the base of the triangle as possible through all layers except the jacket itself.

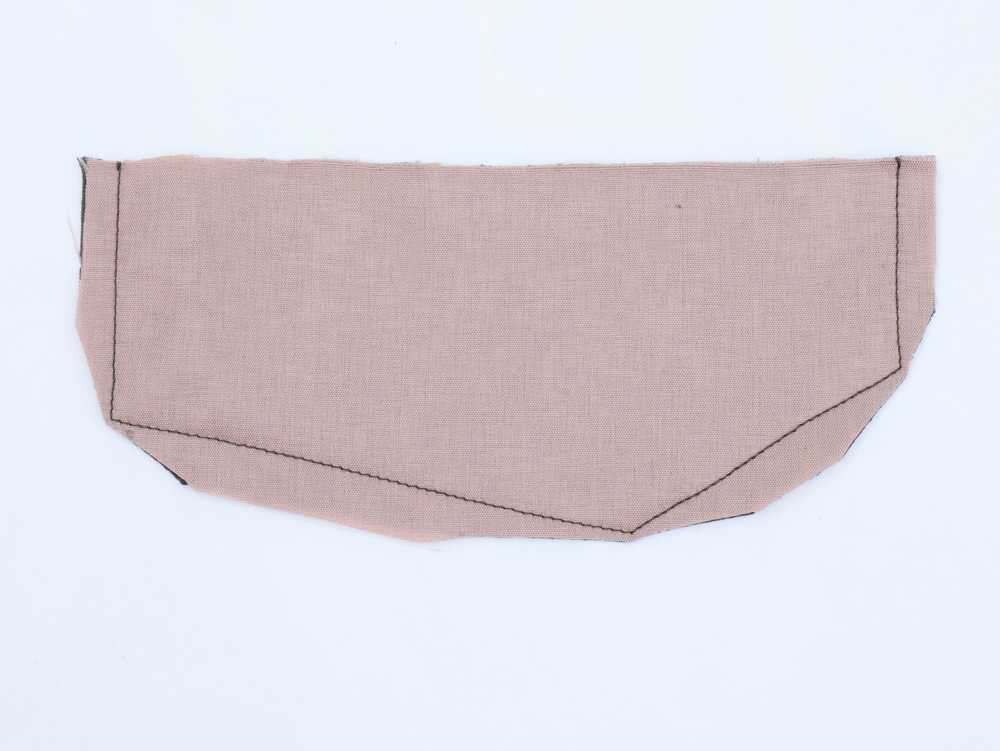
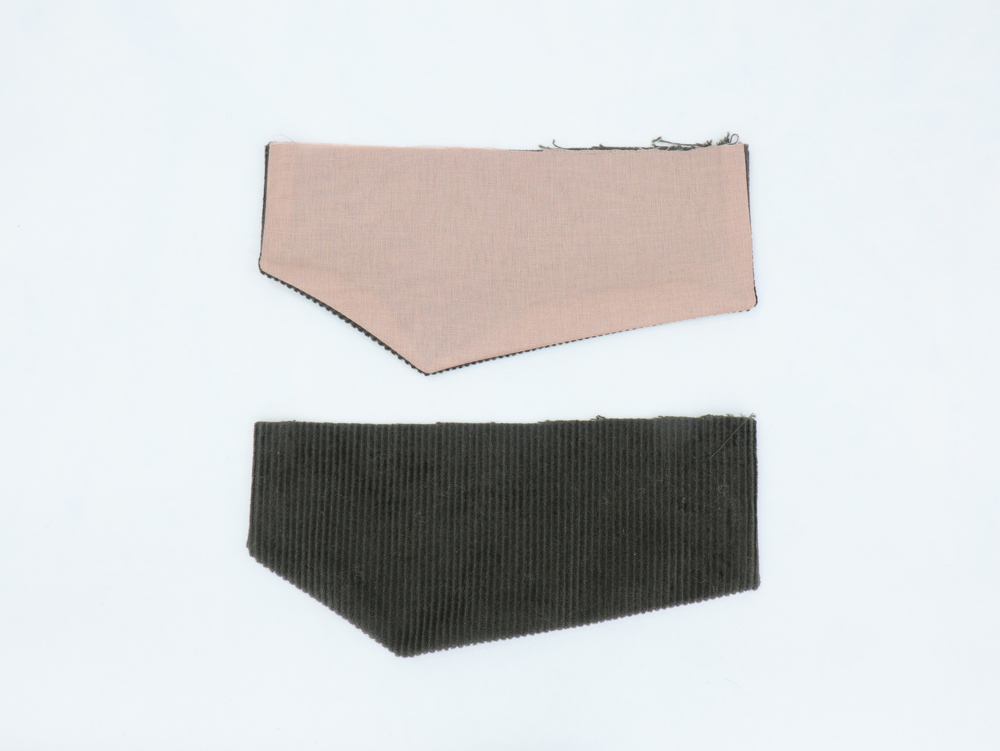 With right sides together, stitch the flap and flap lining, leaving the top edge open. Flap lining is slighty smaller, ease flap to match. Trim seam allowances and turn inside out. Press. Flap fabric should fold over the lining, hiding all seams.
 Pin the flap to the superior welt. The angular side looking at the center front. Stitch the flap and welt seam allowances together. Pass the flap through the welt opening and press.
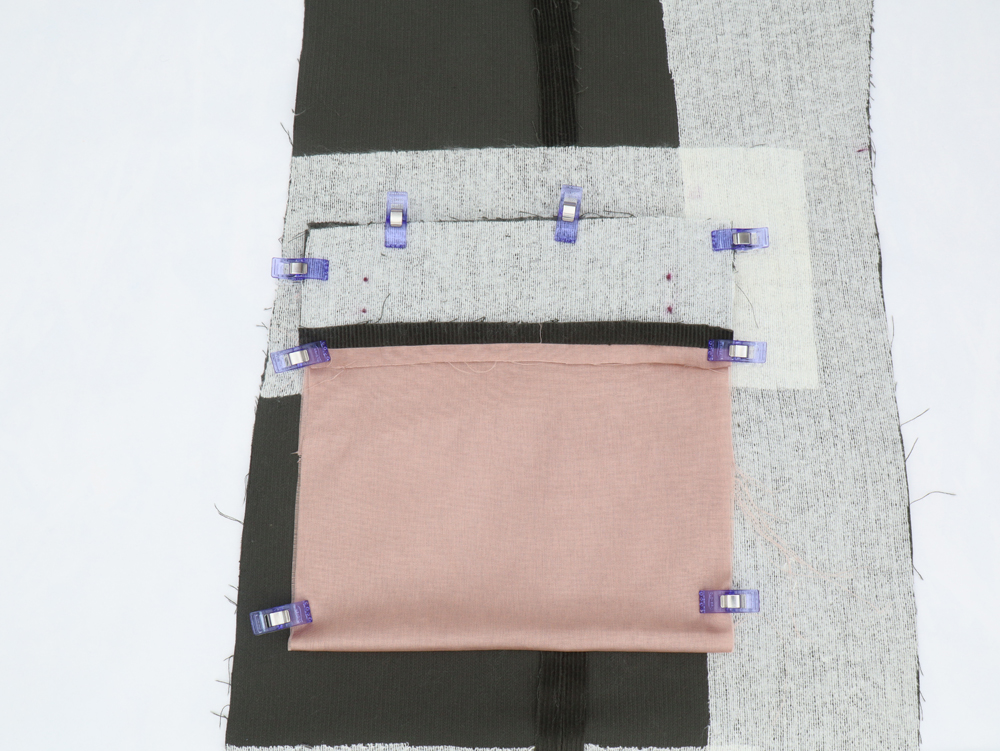
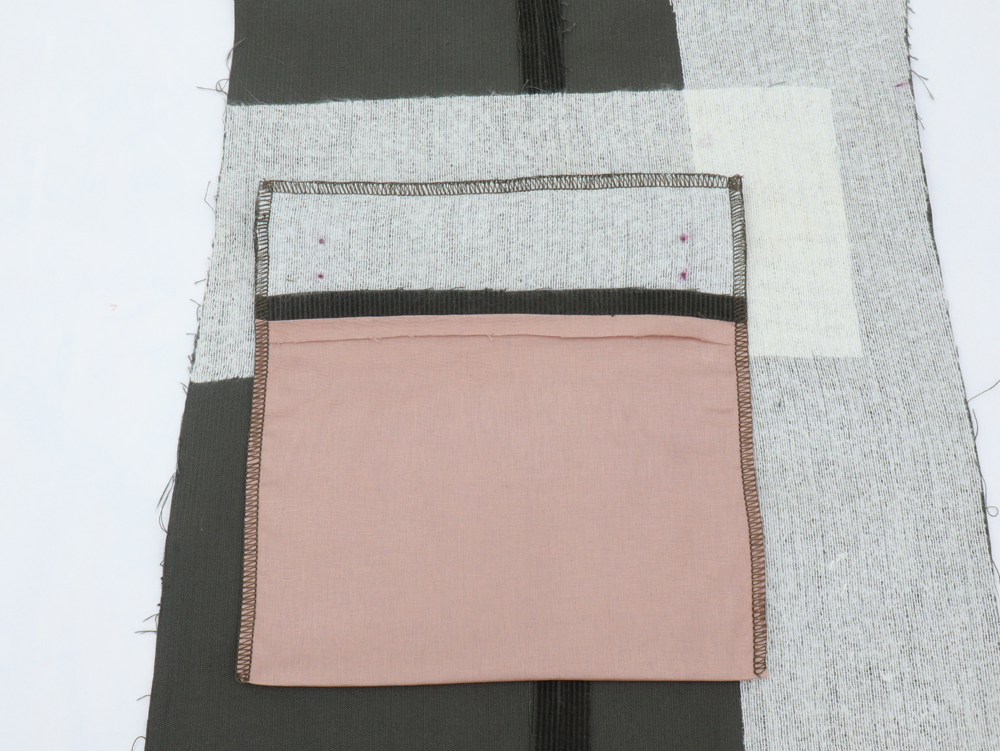
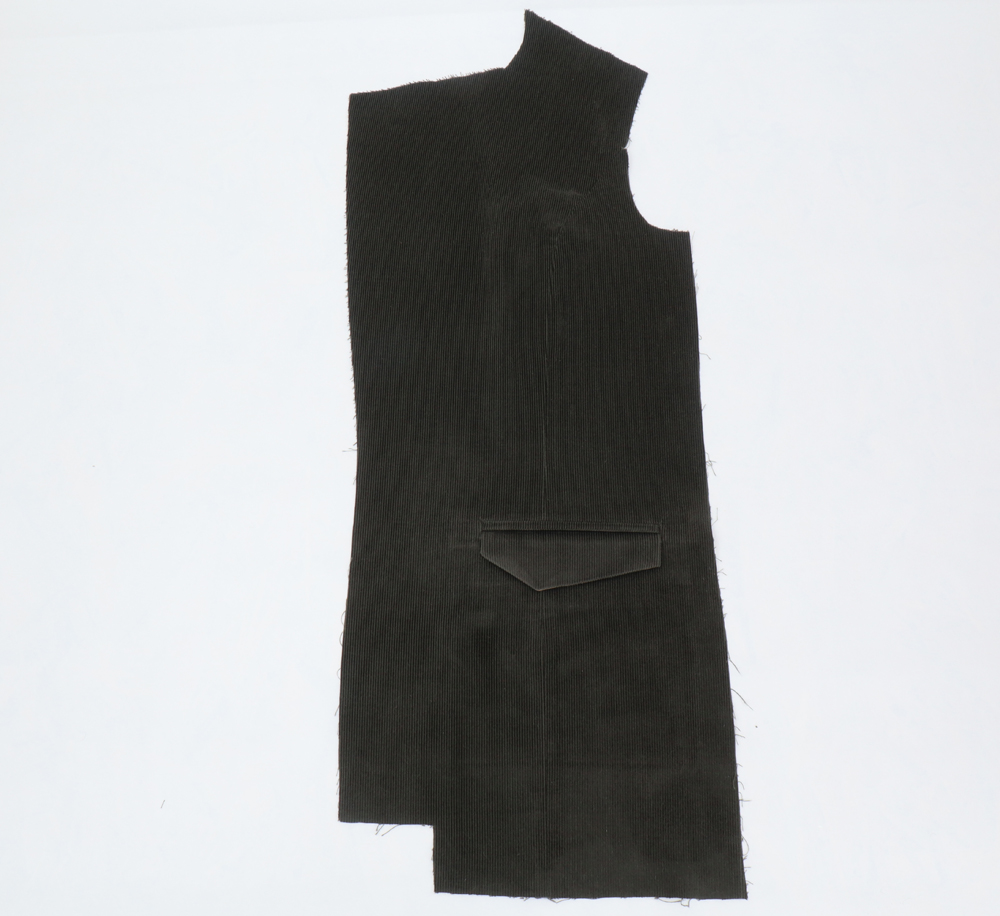
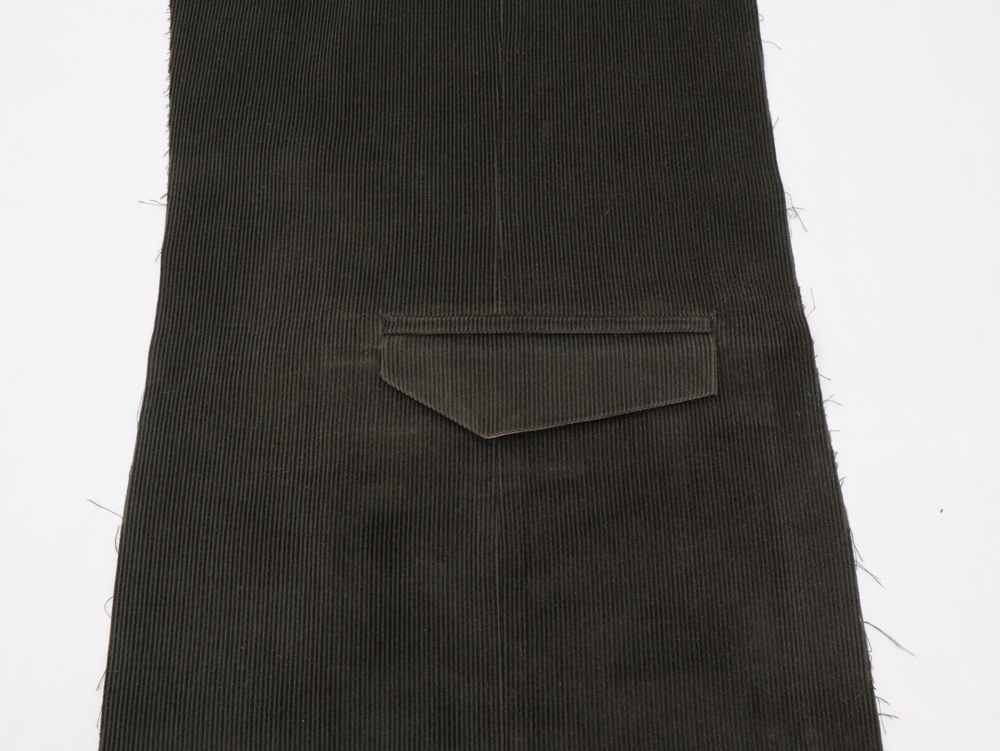
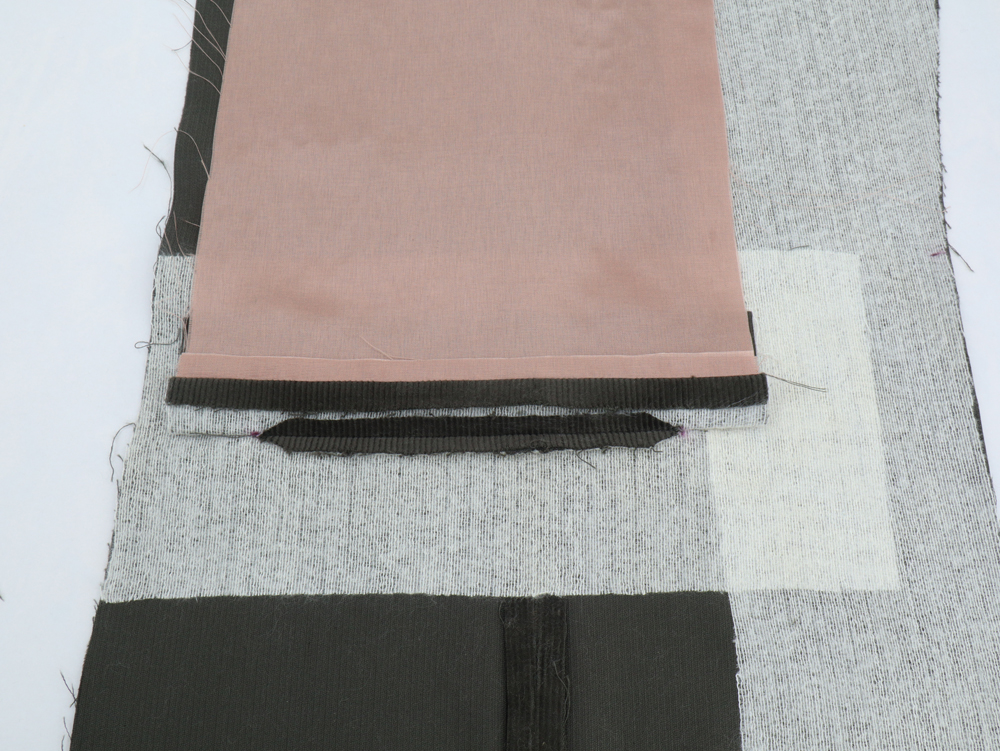
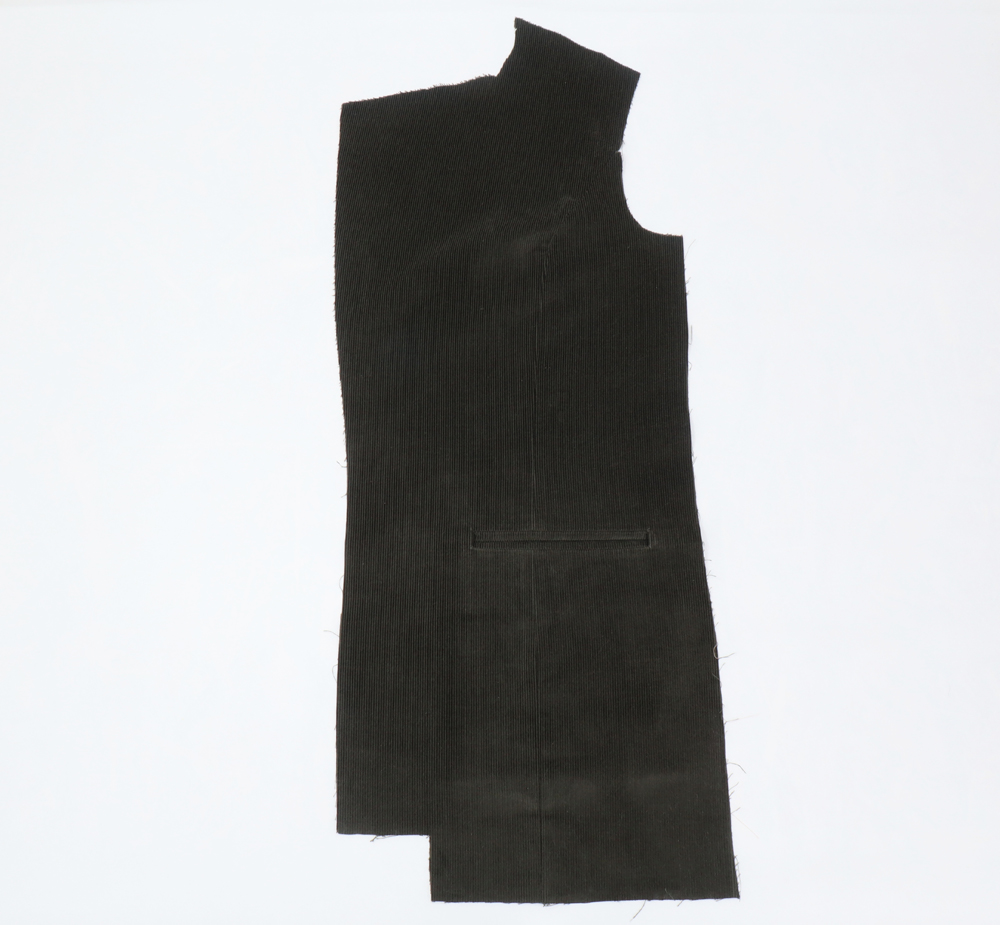
 Finish the pocket bag by folding the bottom up to meet the top of the welt. Stitch in place. Serge the seams together. Press.
![]() Well done! You deserve a good coffee/tea break!
Well done! You deserve a good coffee/tea break!
![]()
Click here to follow the next steps of the sew along.
Comments
No comment at this time!
Leave your comment