Sew along, the Jane shirt

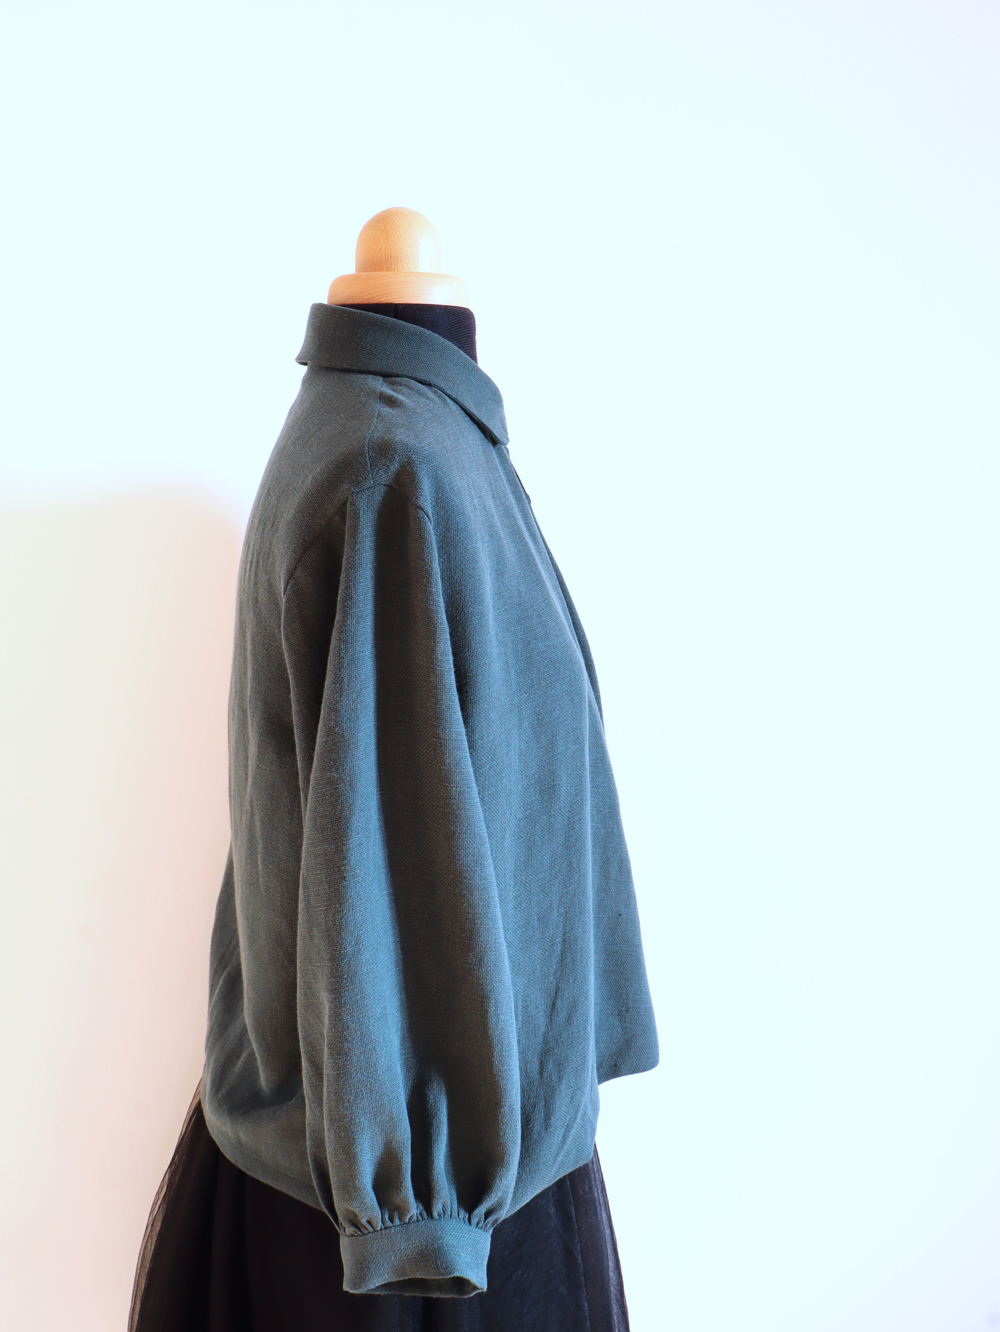
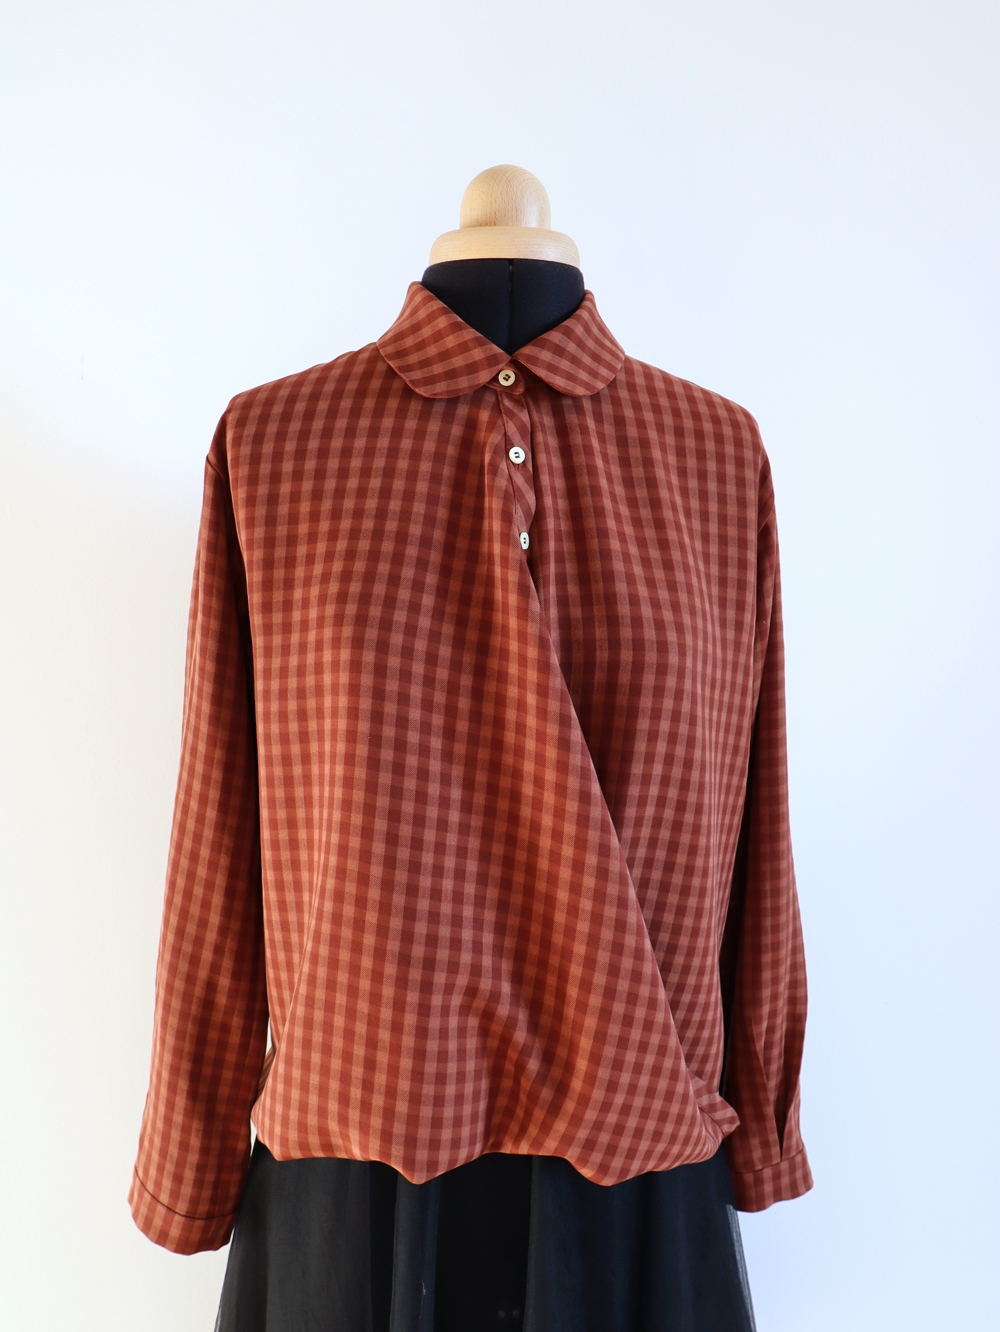
Jane is not your everyday, classically sewn pattern. The front and the back are cut from one continuous piece. First the bodice is crossed in the front to create a wrap top, next the back is sewn at the center seam, followed by the shoulder seams. This creates Jane’s distinctive and beautiful draping effect.
Read through this guide before beginning to sew. Jane requires a reversible fabric, so the terms “right side” and “wrong side” are only used when they help in comprehension of the pattern instructions.
![]()
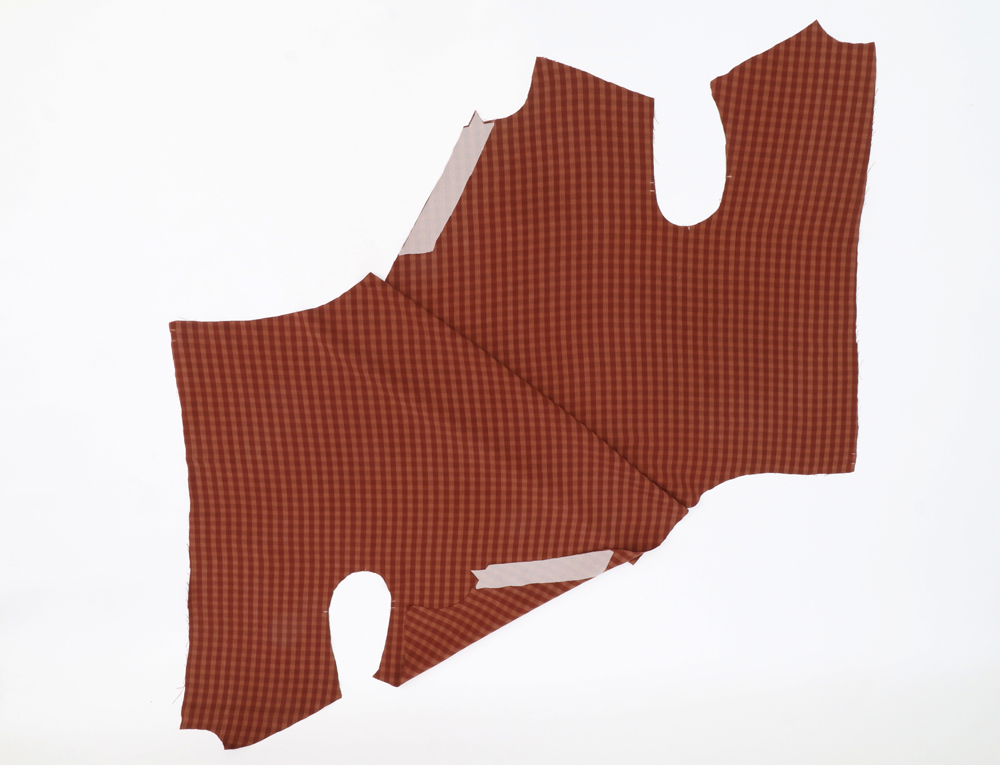
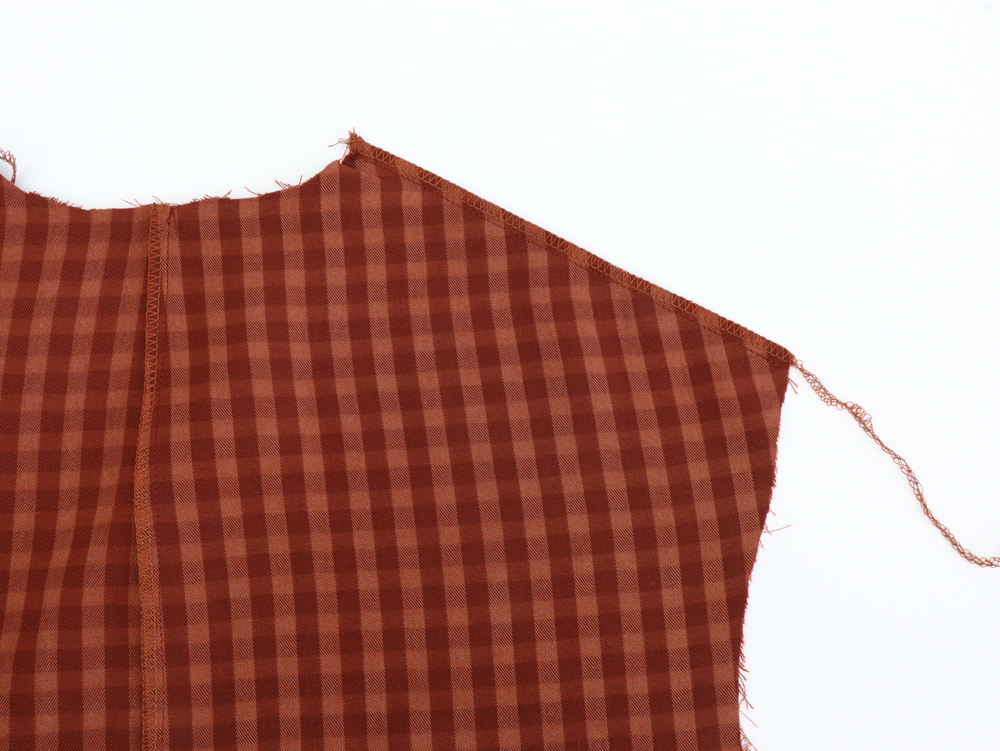
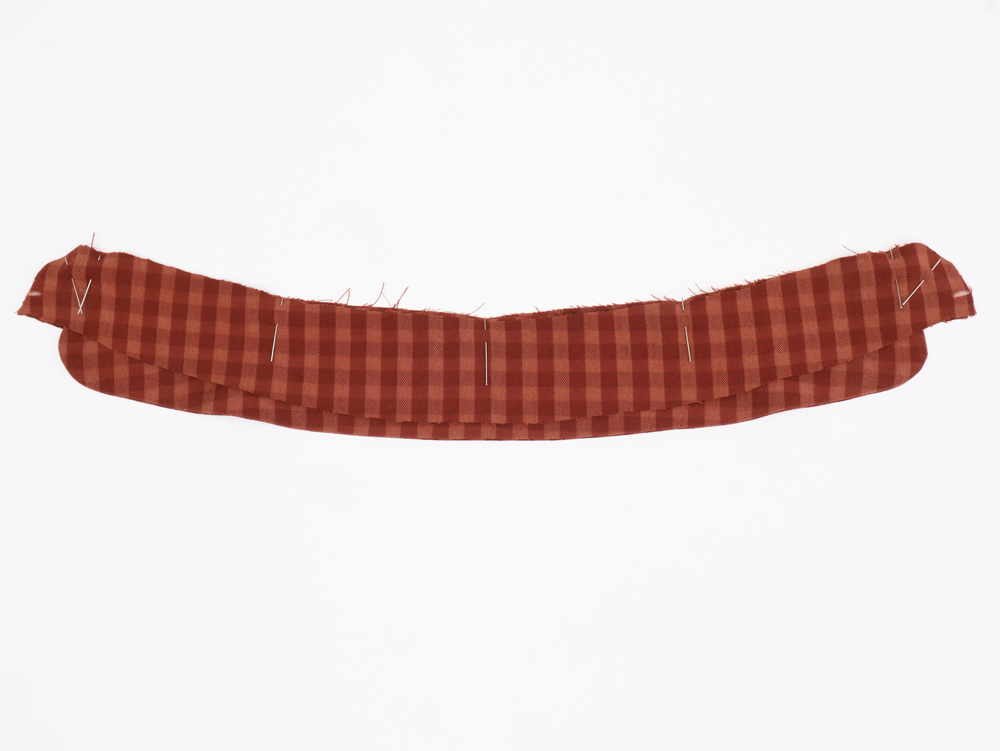
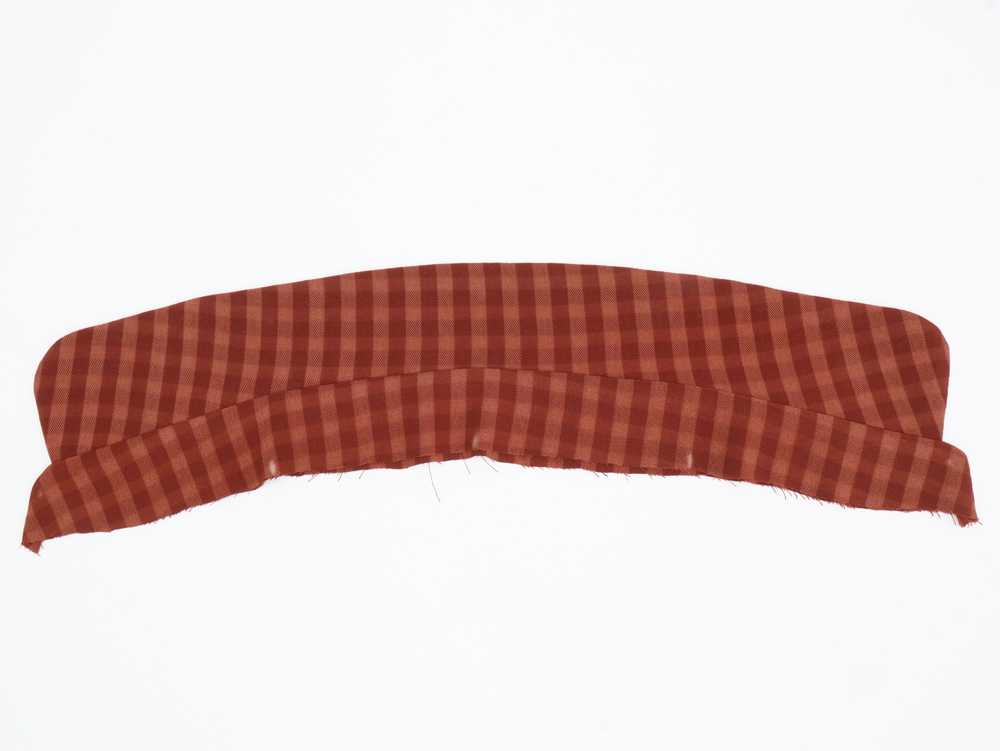
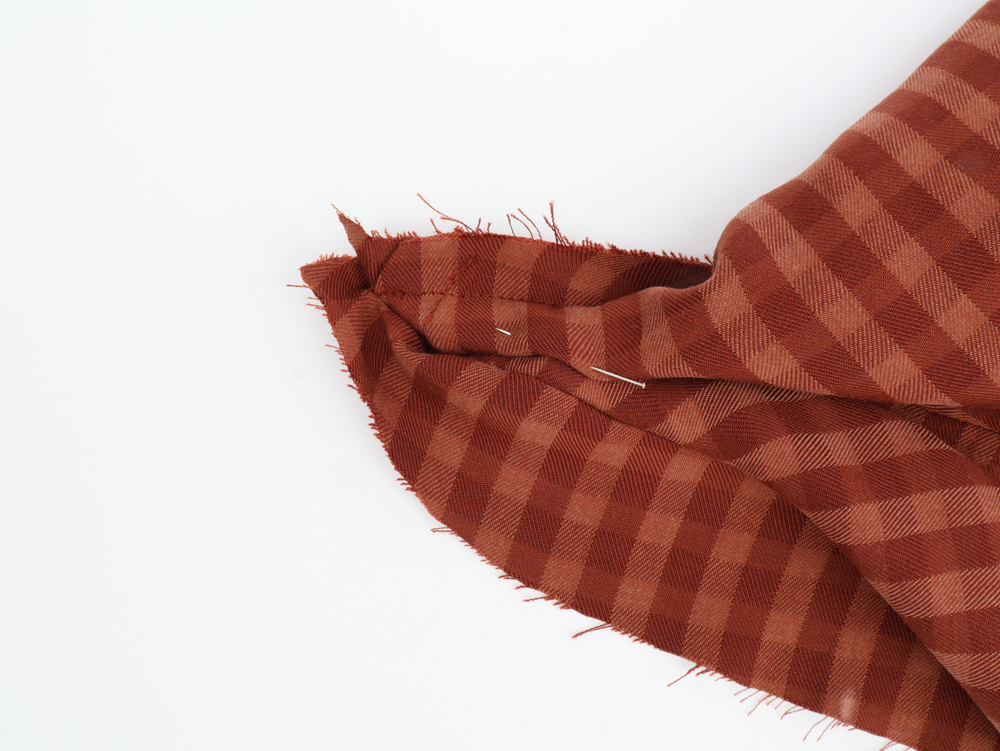
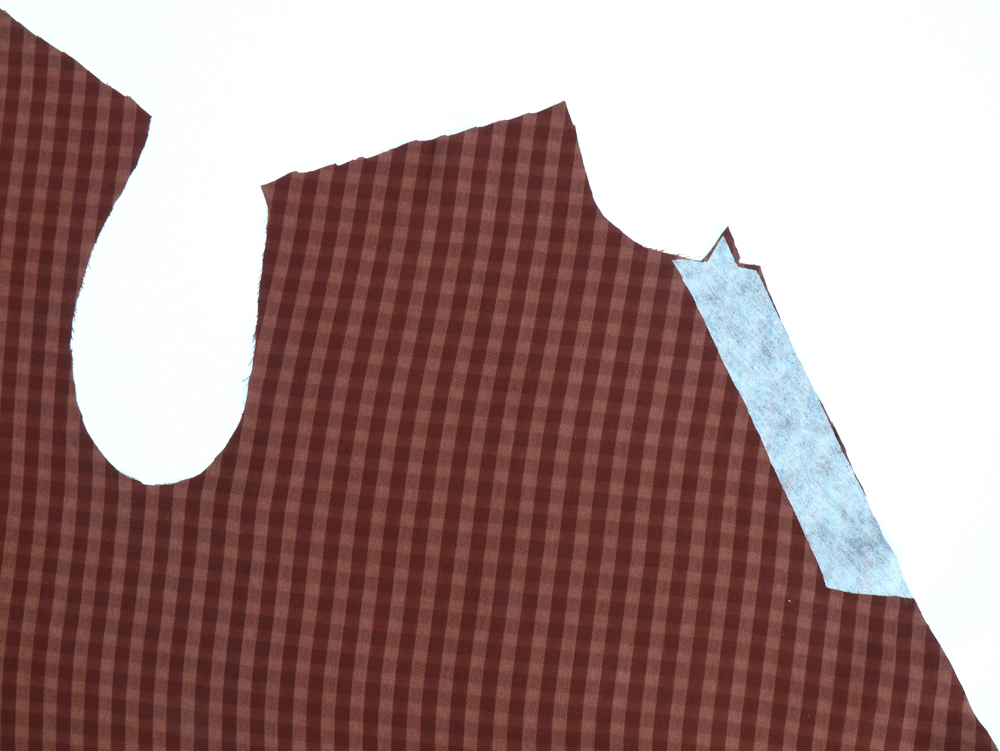 Spread the bust (A) in front of you, follow the photo below. Apply interfacing to the button plackets where indicated on the pattern. Interface the visible face of your fabric for the left placket and the other face of your fabric for the right placket. Follow the photo bellow.

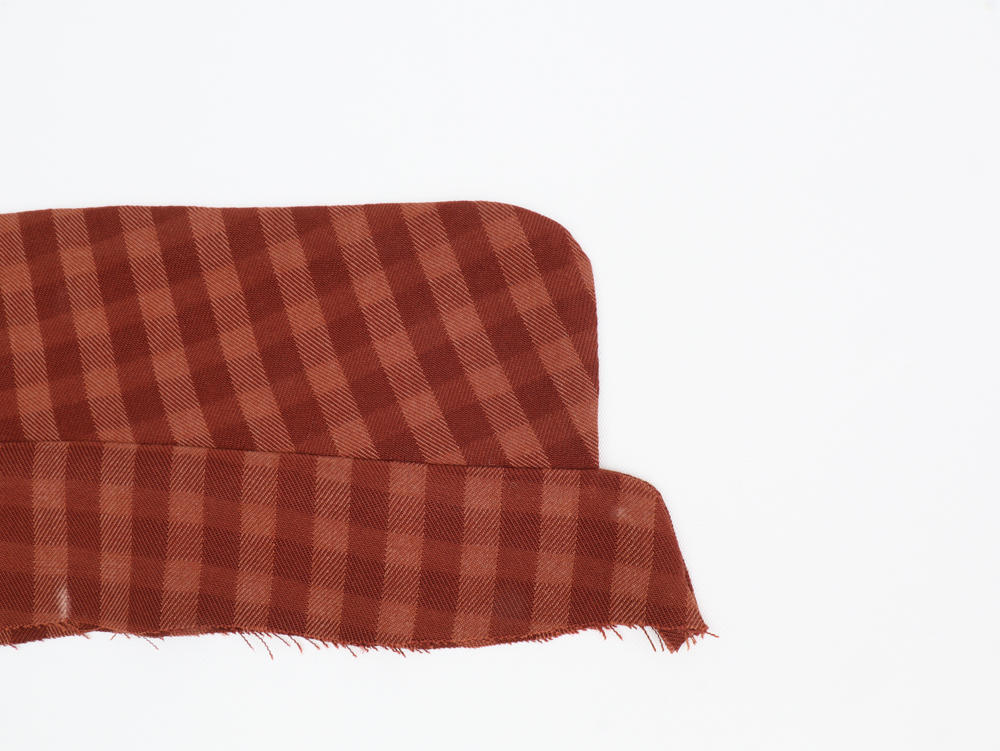
Create the button plackets by folding the front necklines of the fabric. Fold the fabric under 1 cm, press.
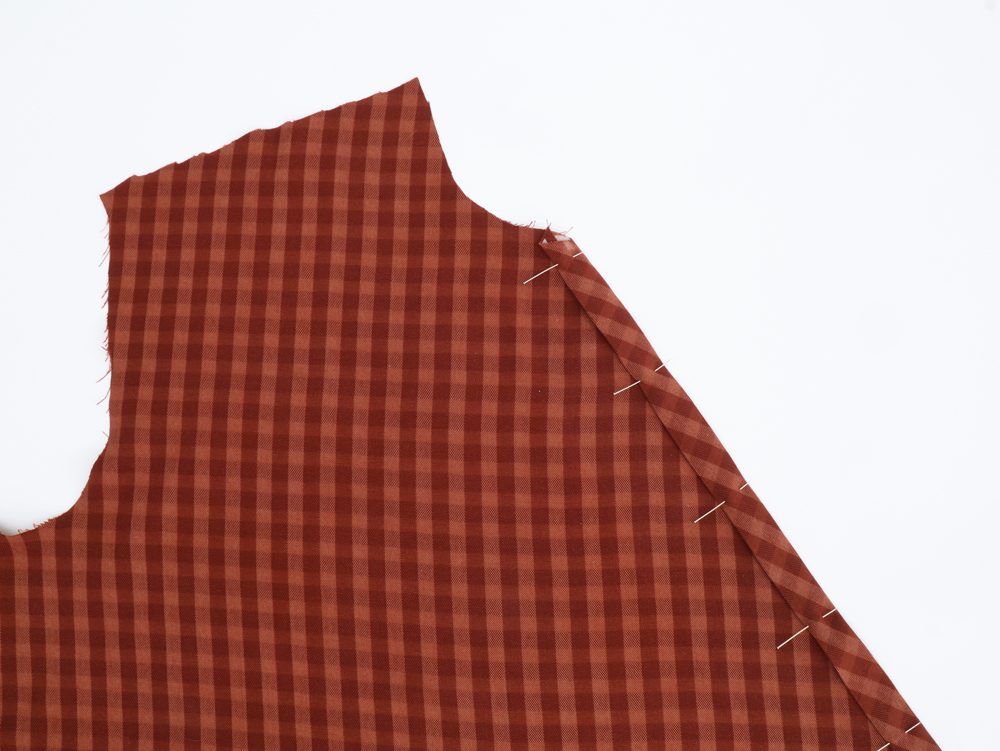
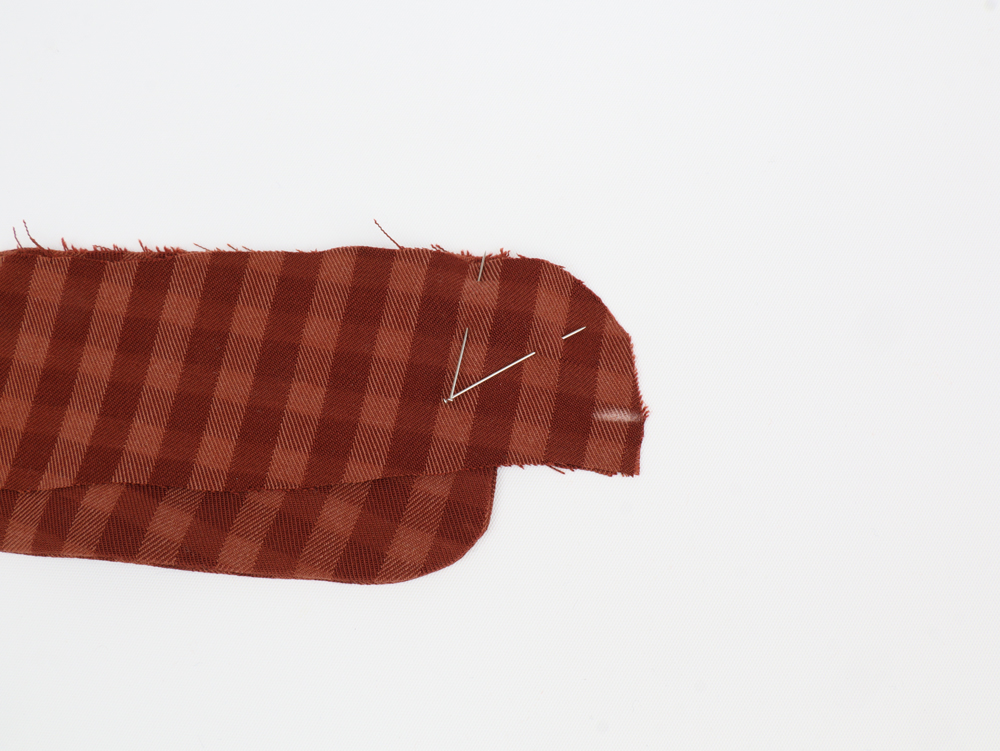
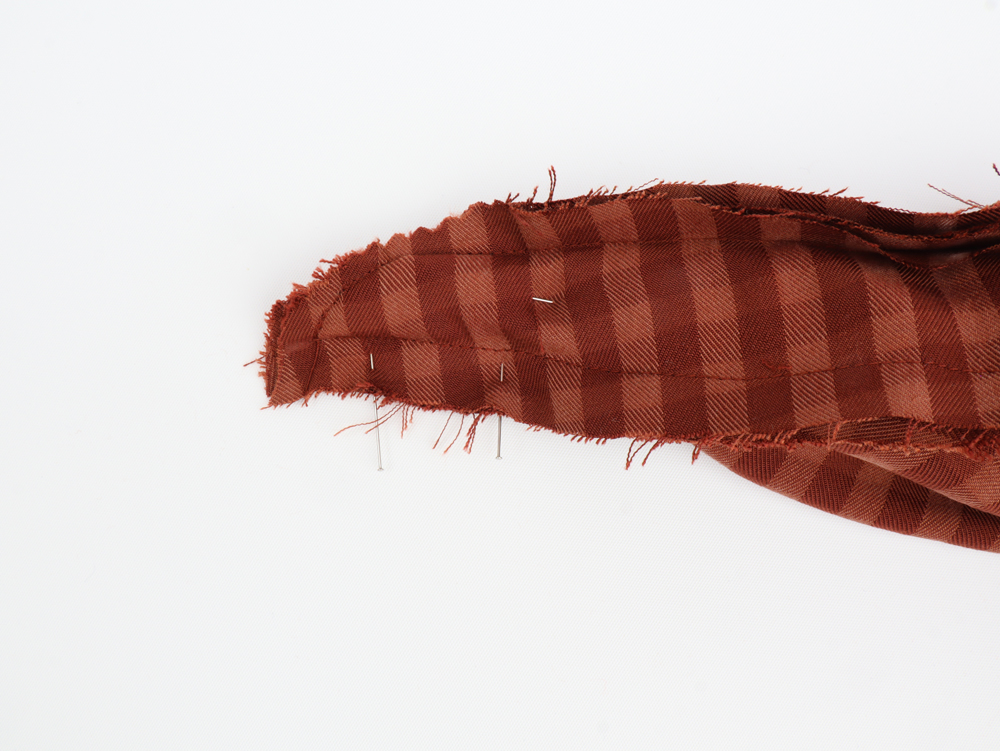
Then fold under an additional 1.5 cm and press.
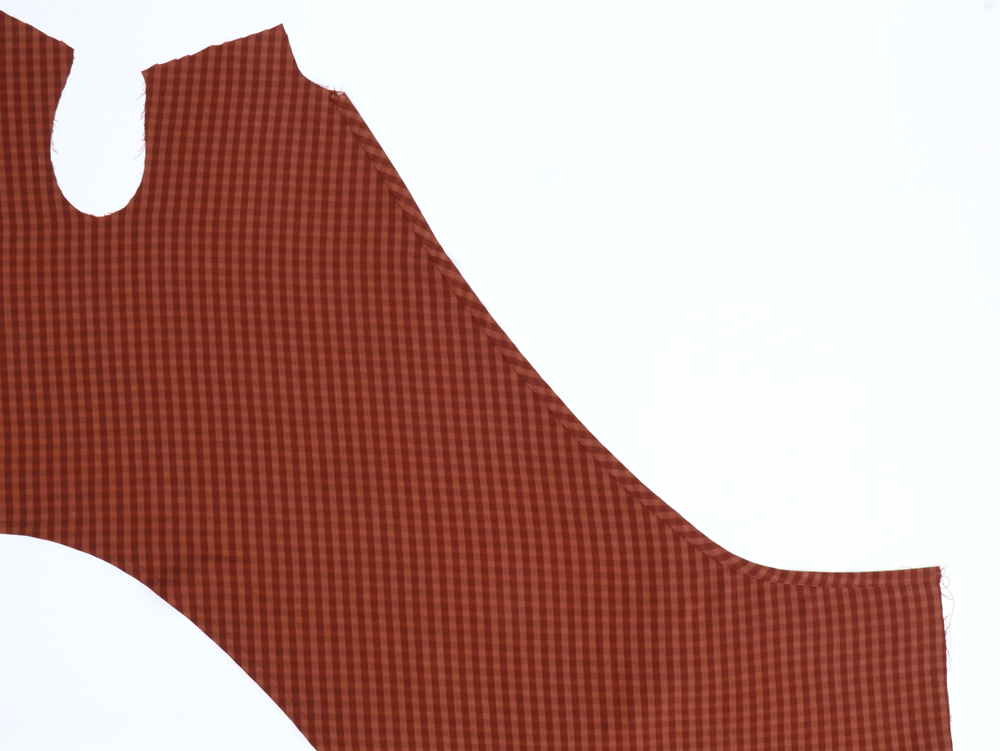
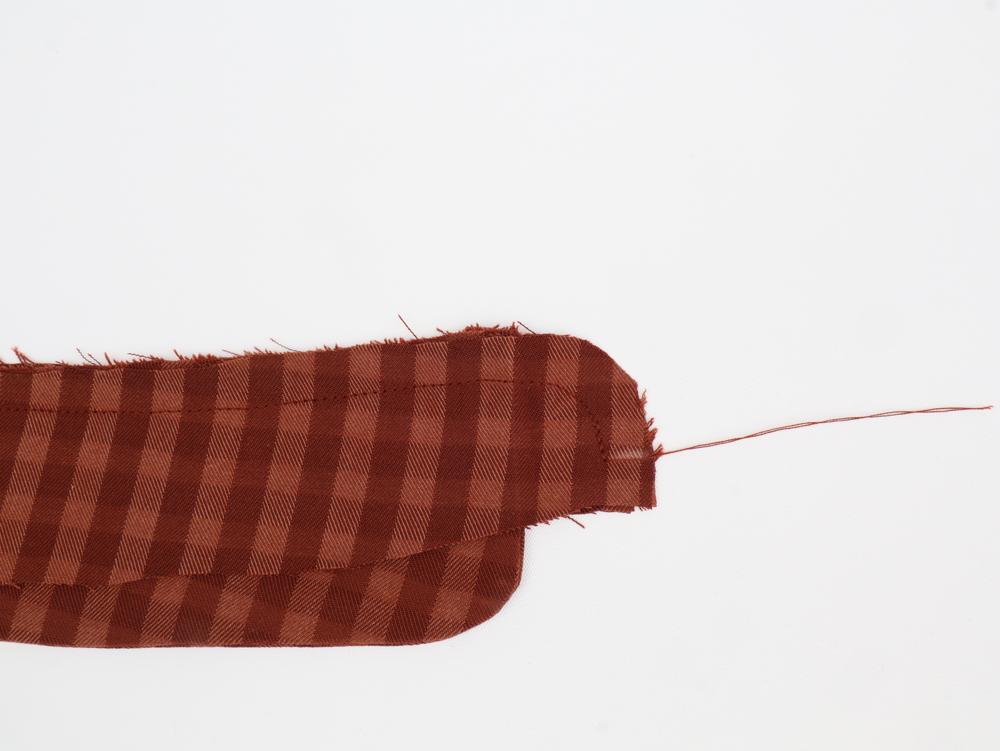
Pin and topstitch the placket 2 mm from the edge.
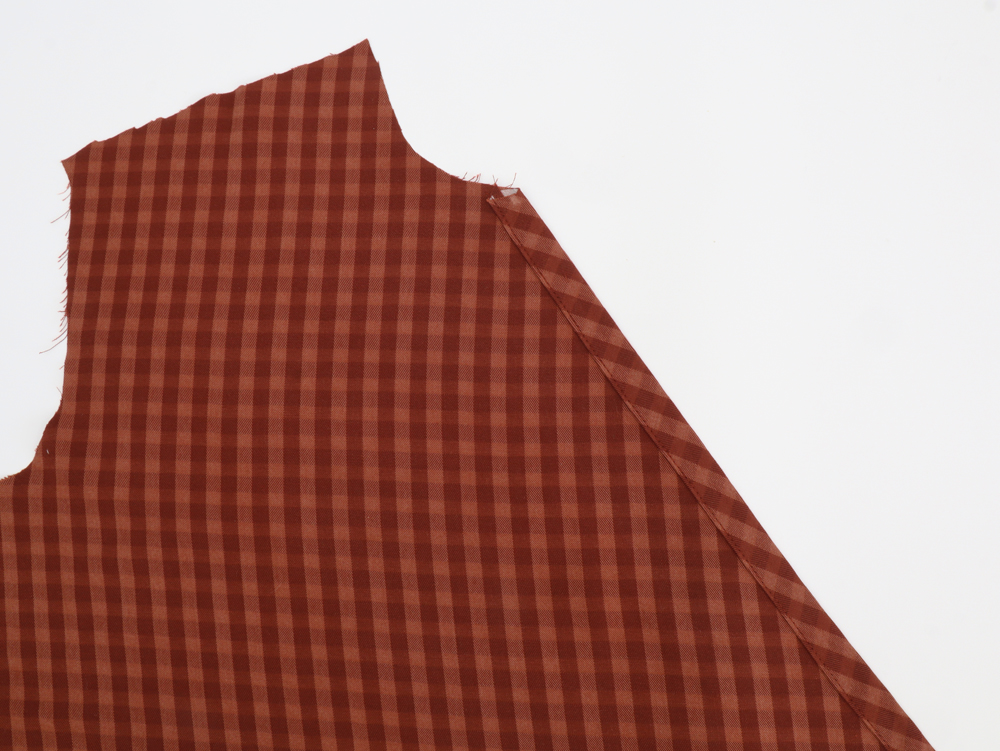
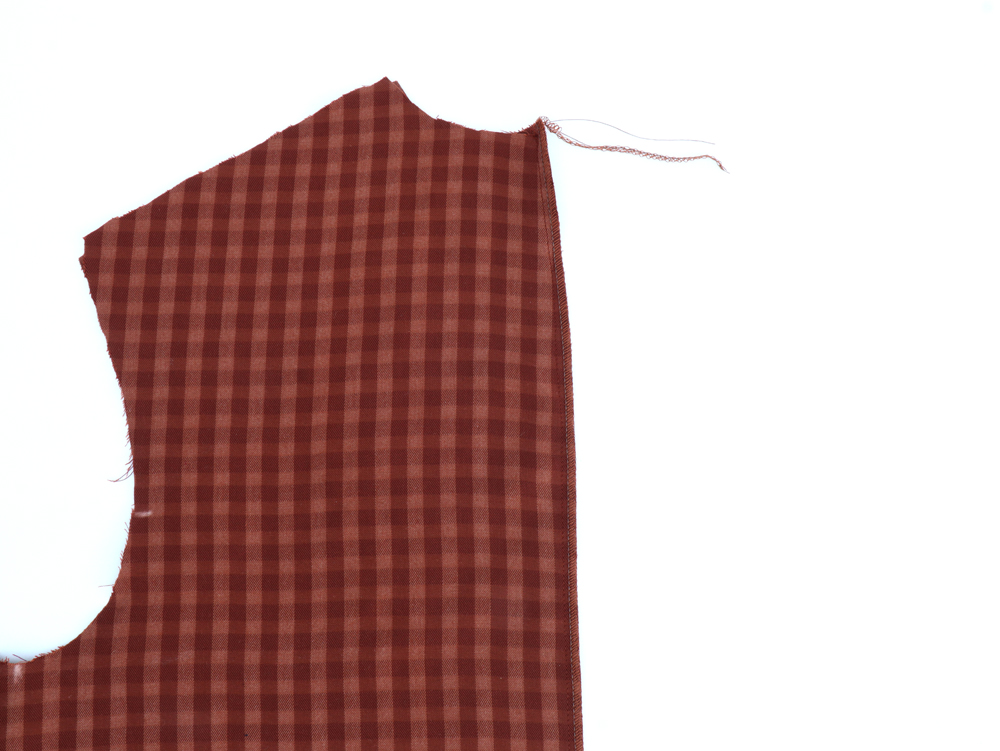
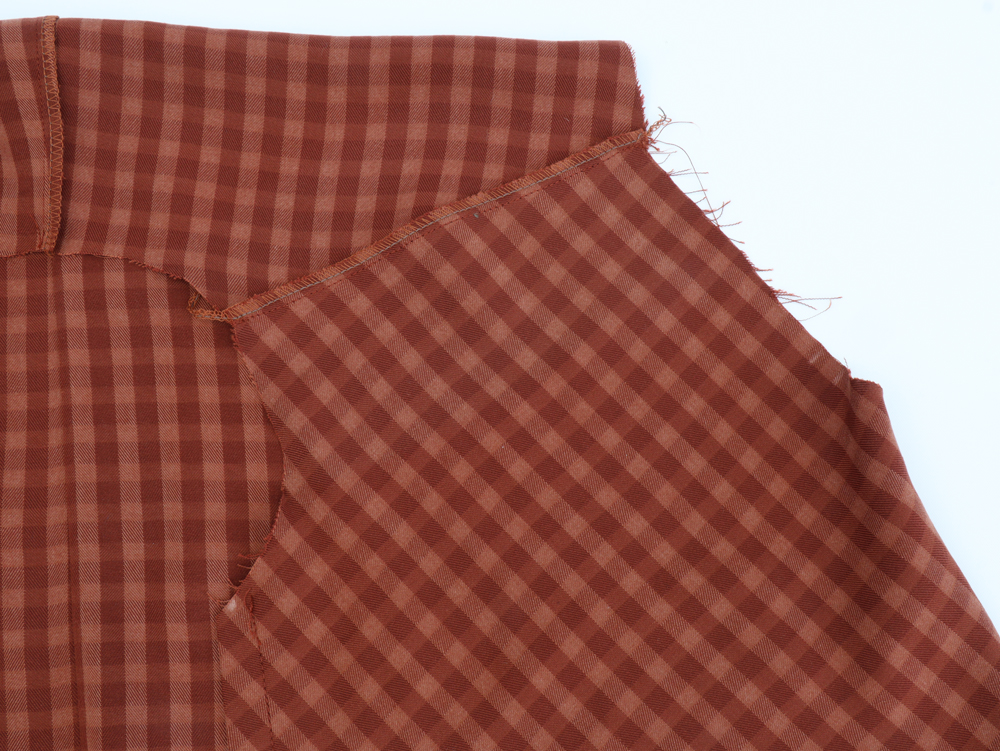
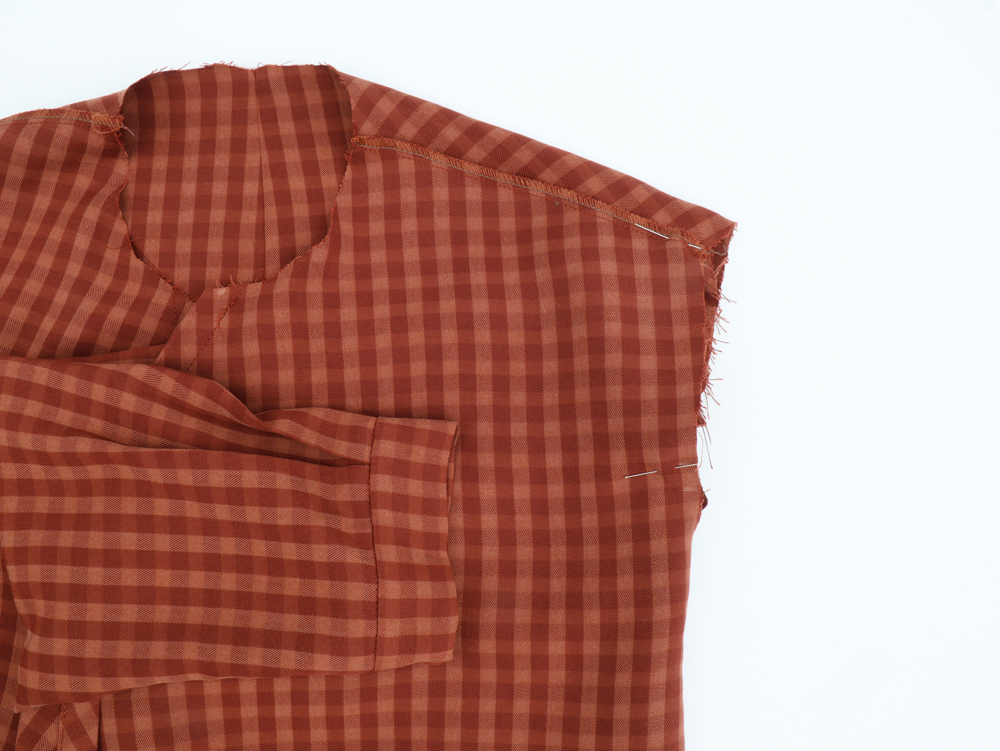
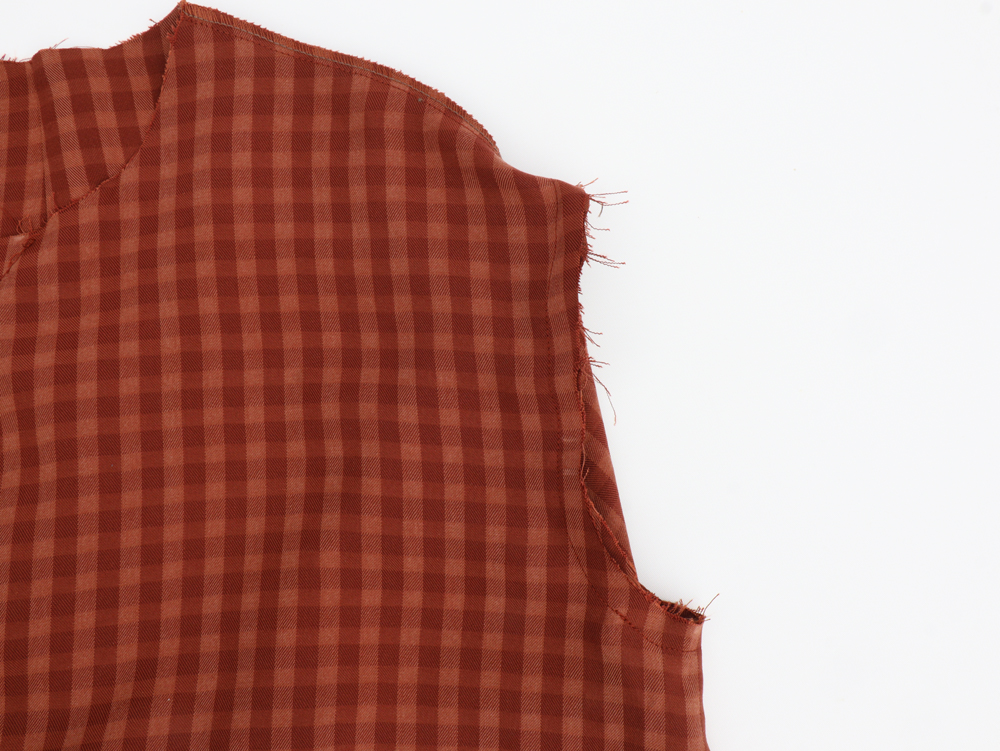
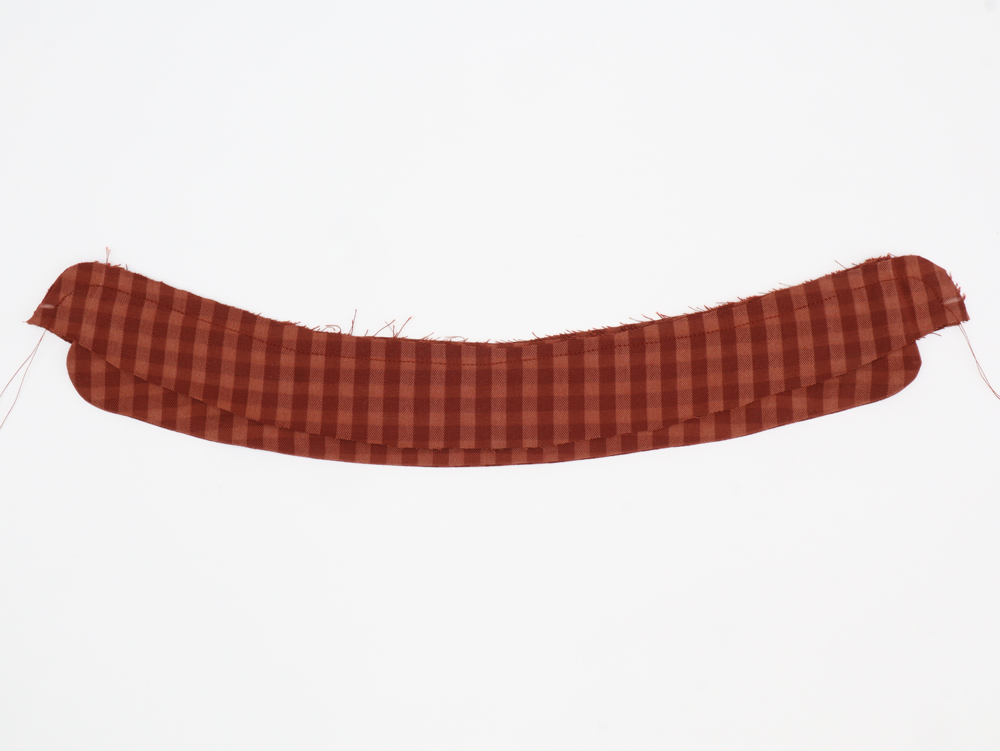
Spread the bust (A) in front of you, then cross the fronts as shown in the diagram to the right. The right side of the fabric should be facing you. The shorter front placket should be under the longer front placket.
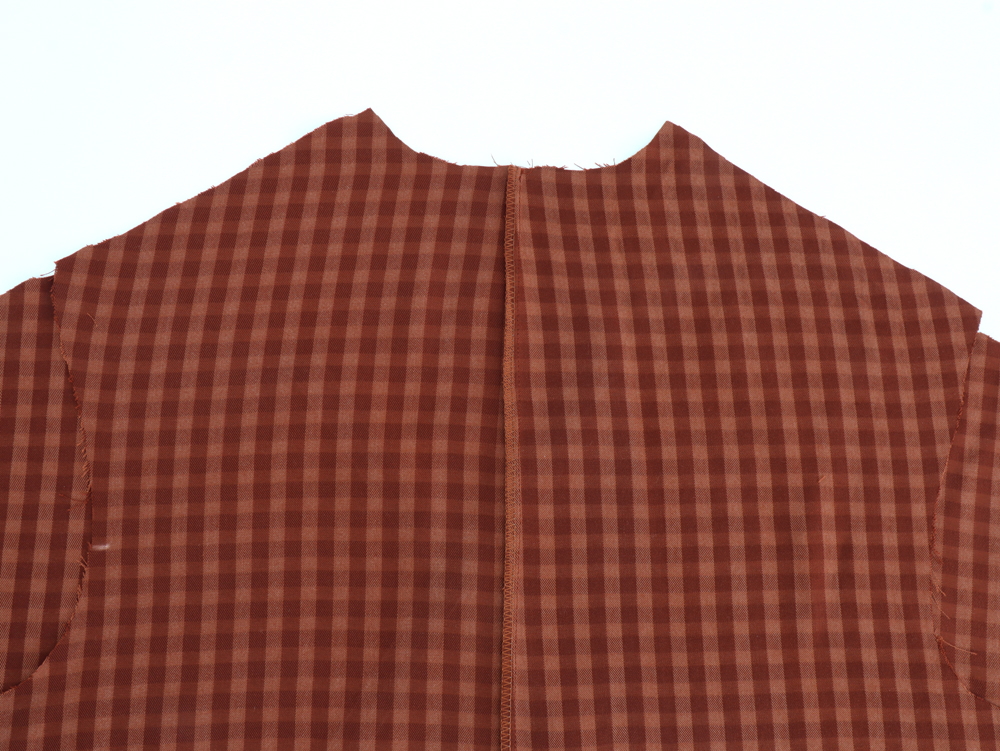
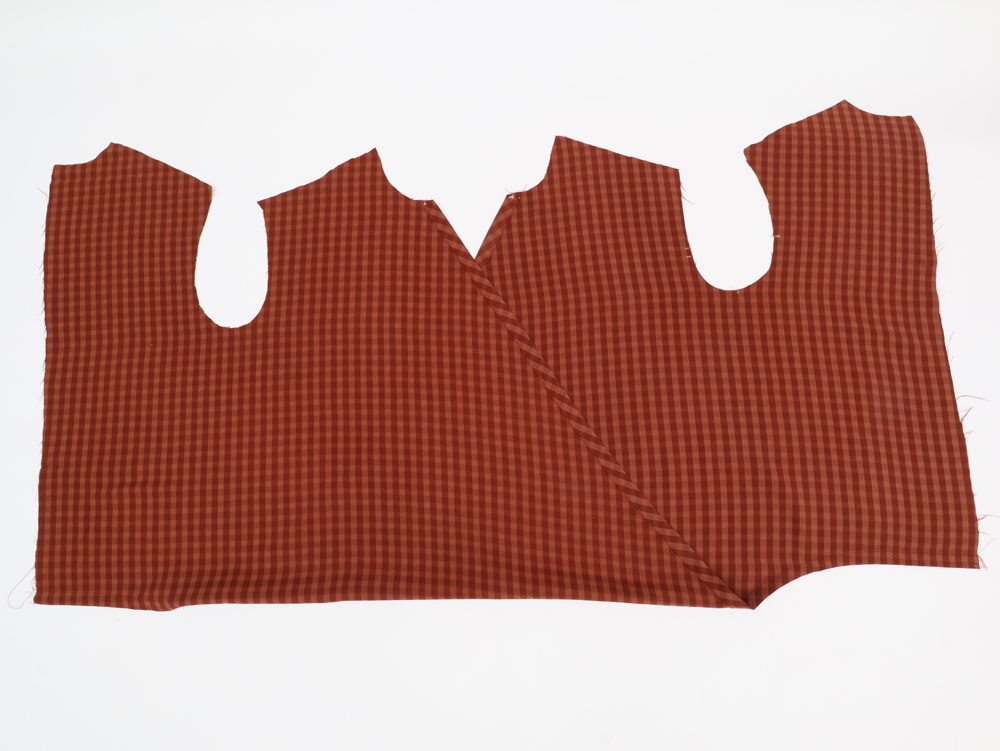
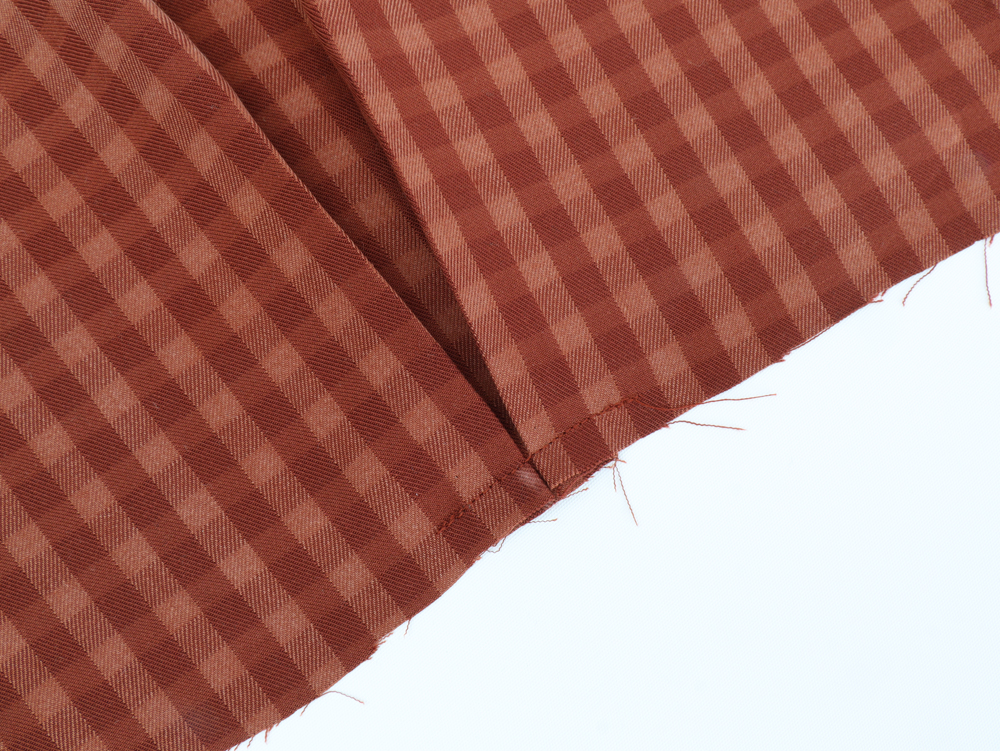
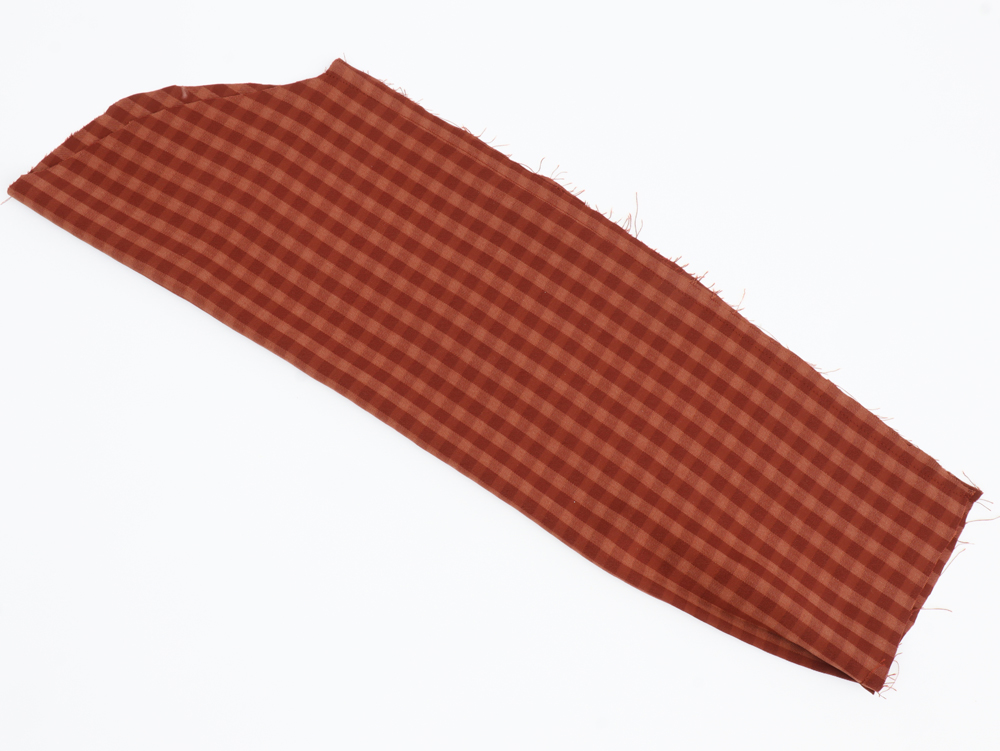
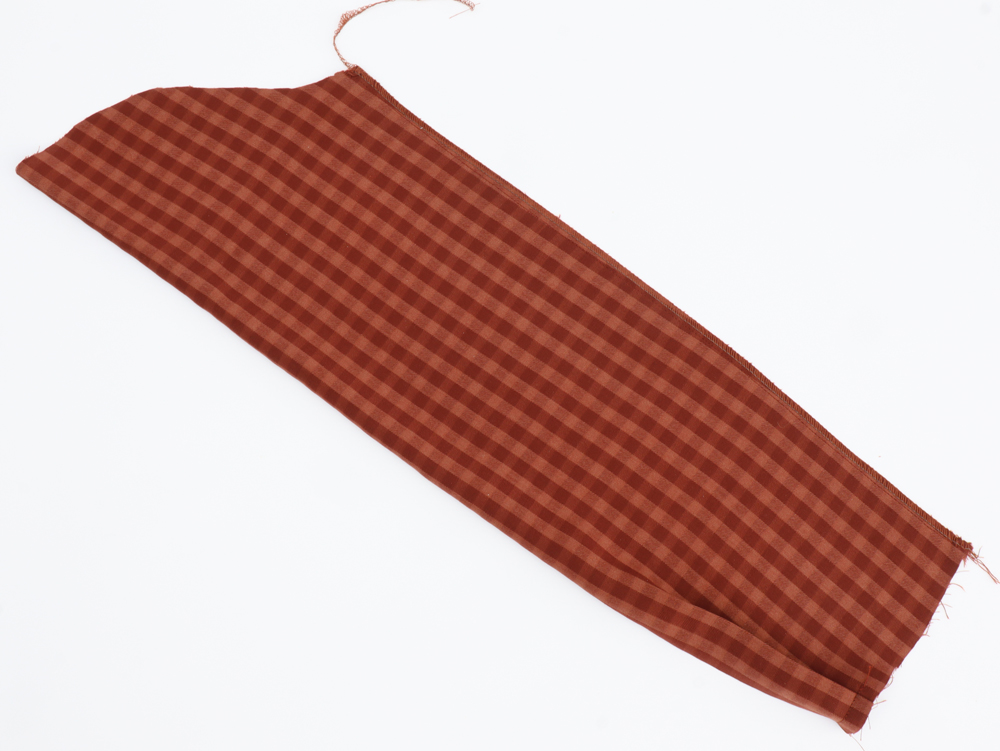
Next, you will sew the center back seam. With right sides of the fabric together, pin the center back 1 to the center back 2. Sew a line of stitches 1 cm from the edge, and serge the seam allowances together. Press the seam allowance to one side.
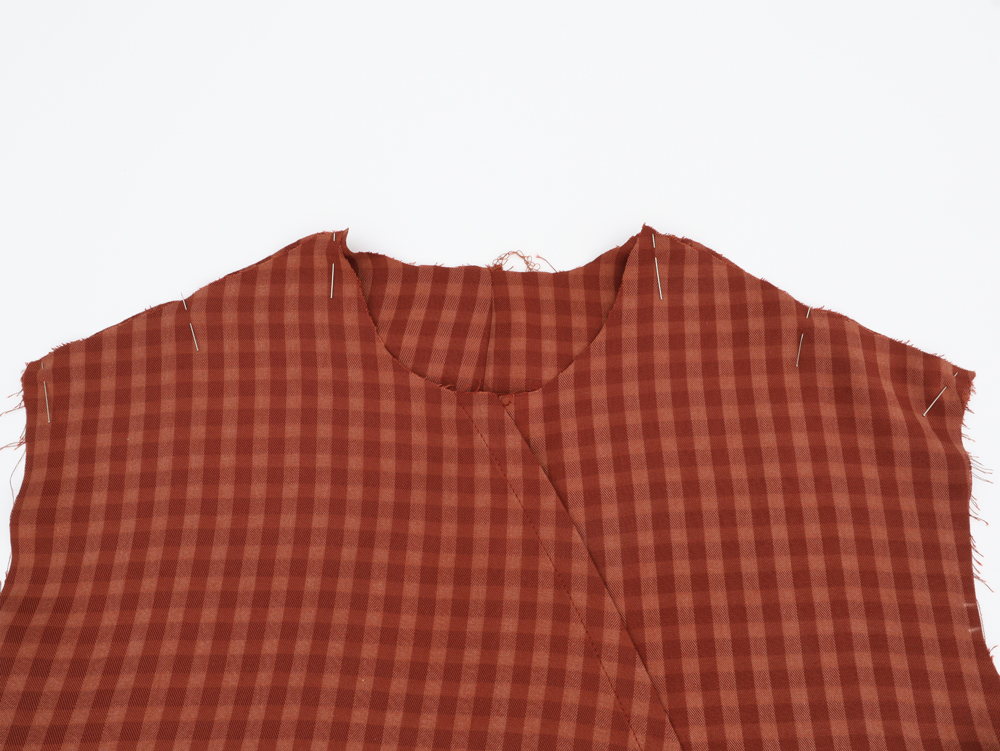
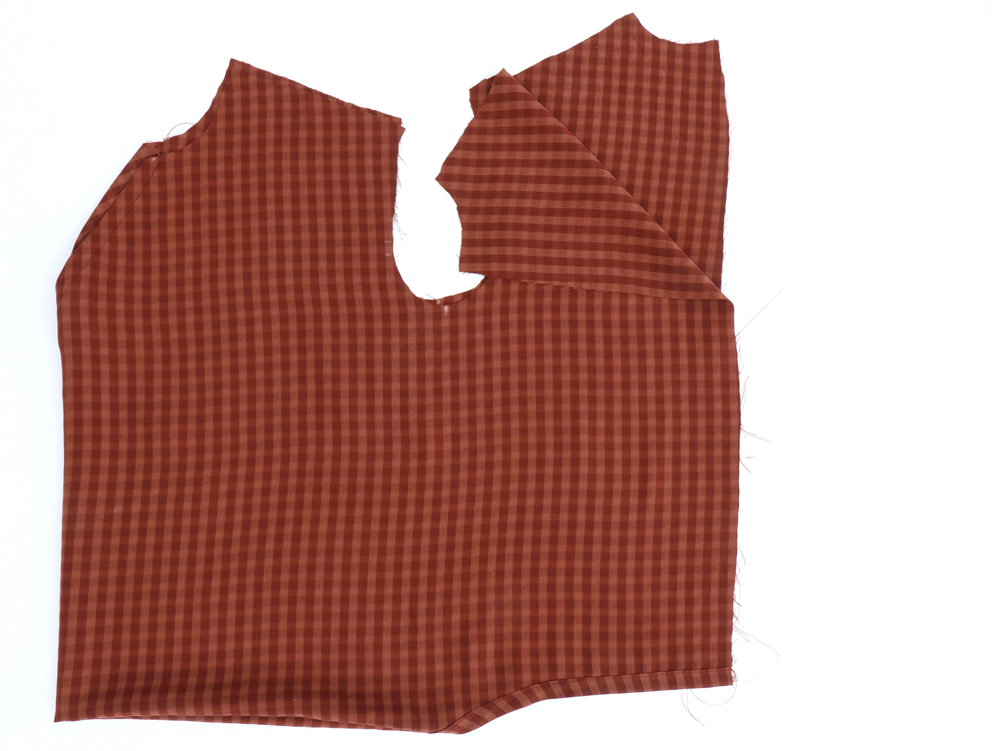
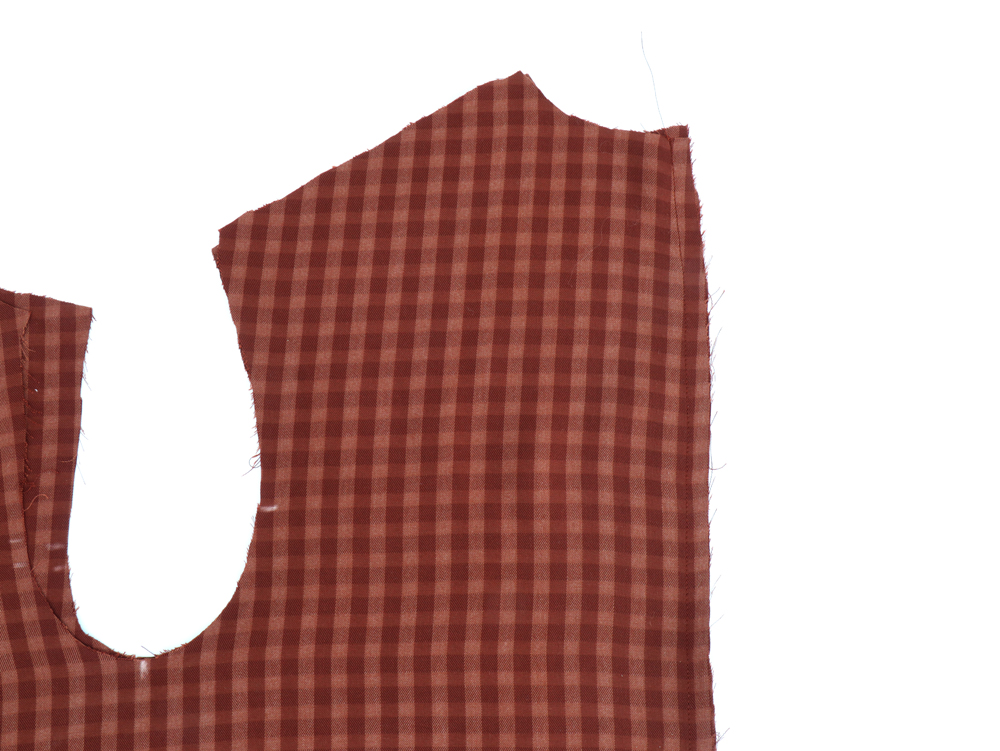
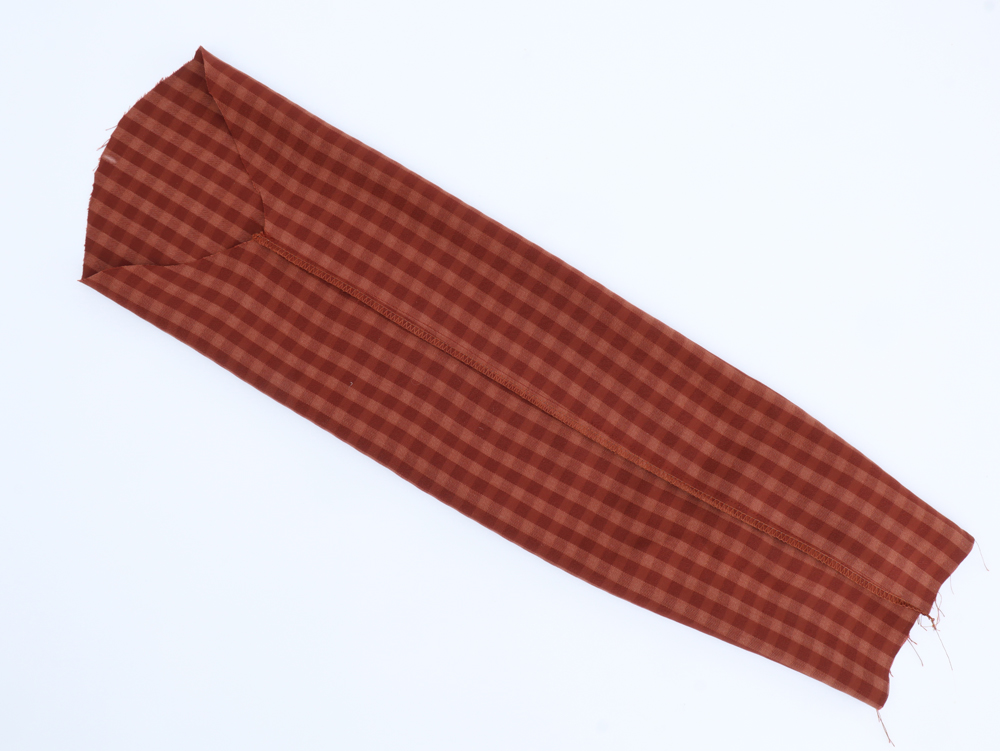
To create the shoulder seams:
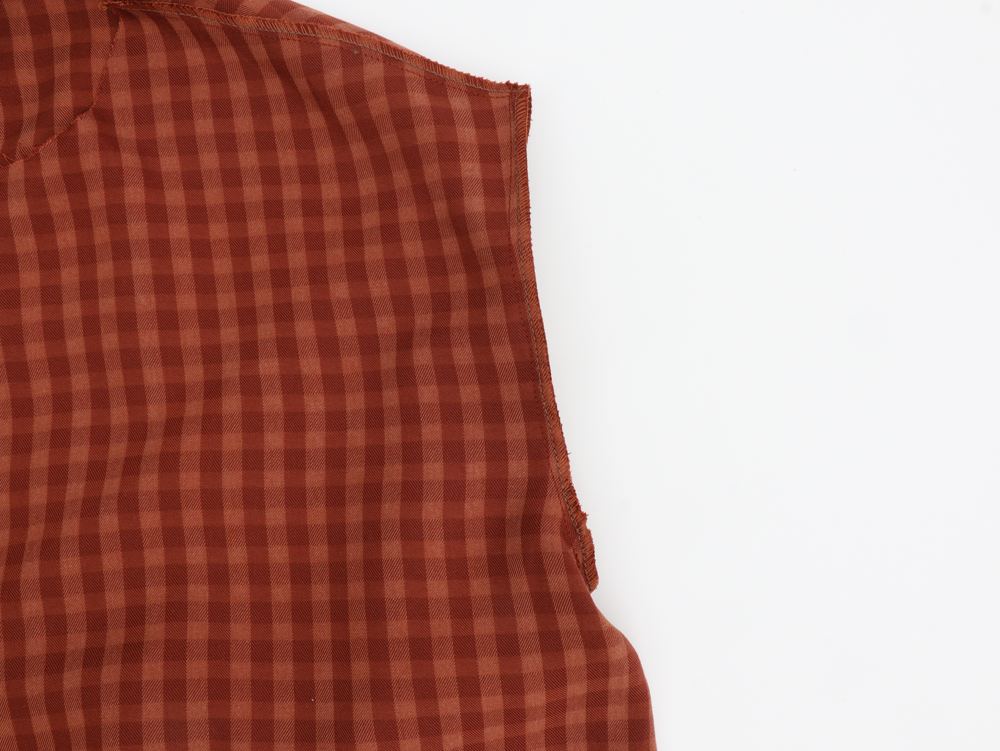
With right sides together, pin the shoulder back to the shoulder front. Sew a line of stitches 1cm from the edge, and serge seams together. Press the seam allowance to the back.
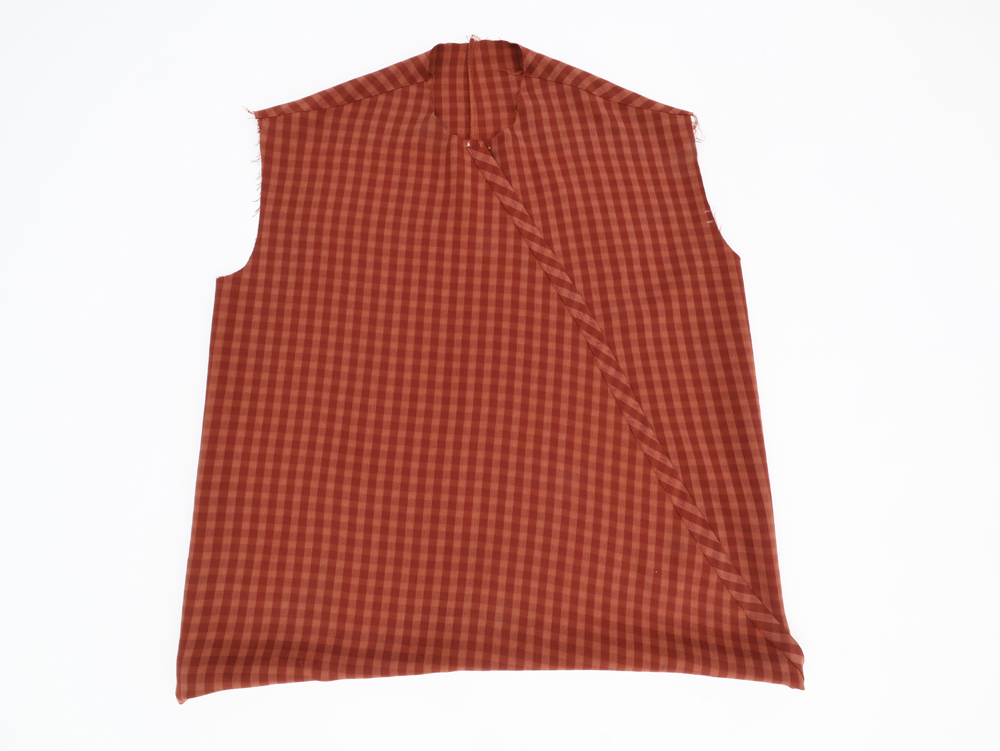
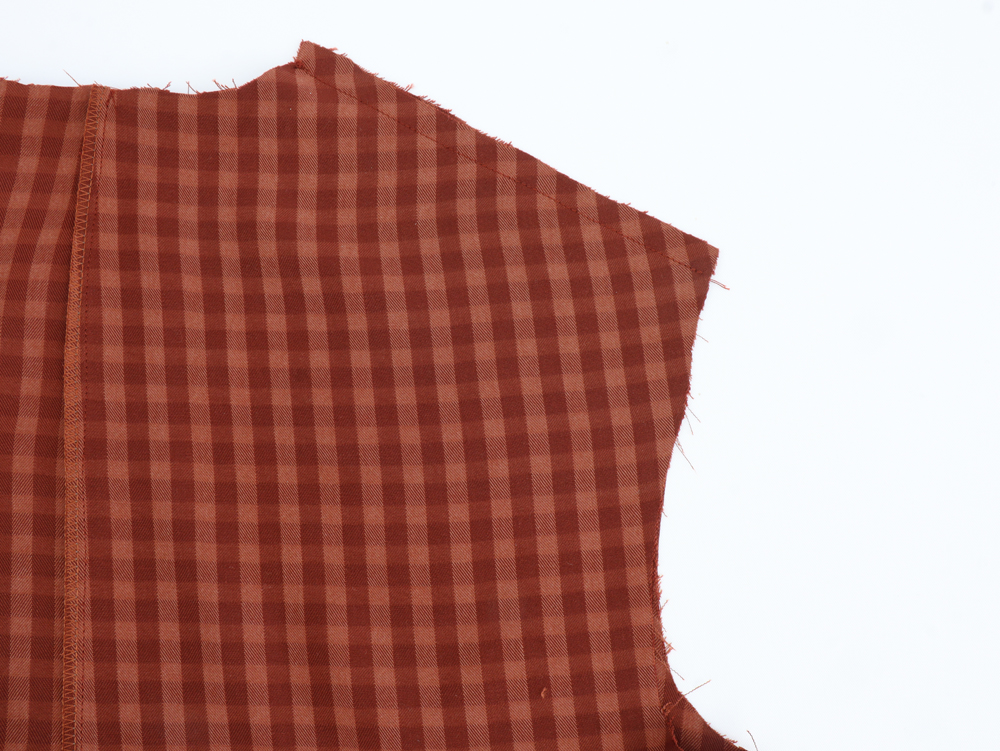
Turn the bodice right side up and admire your work !
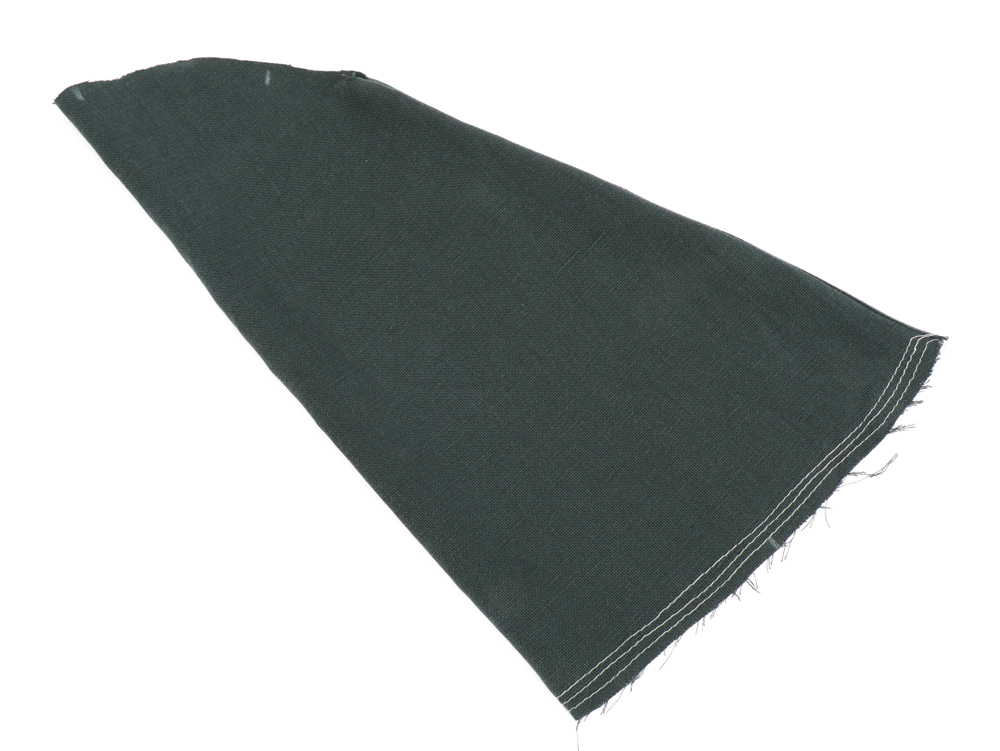
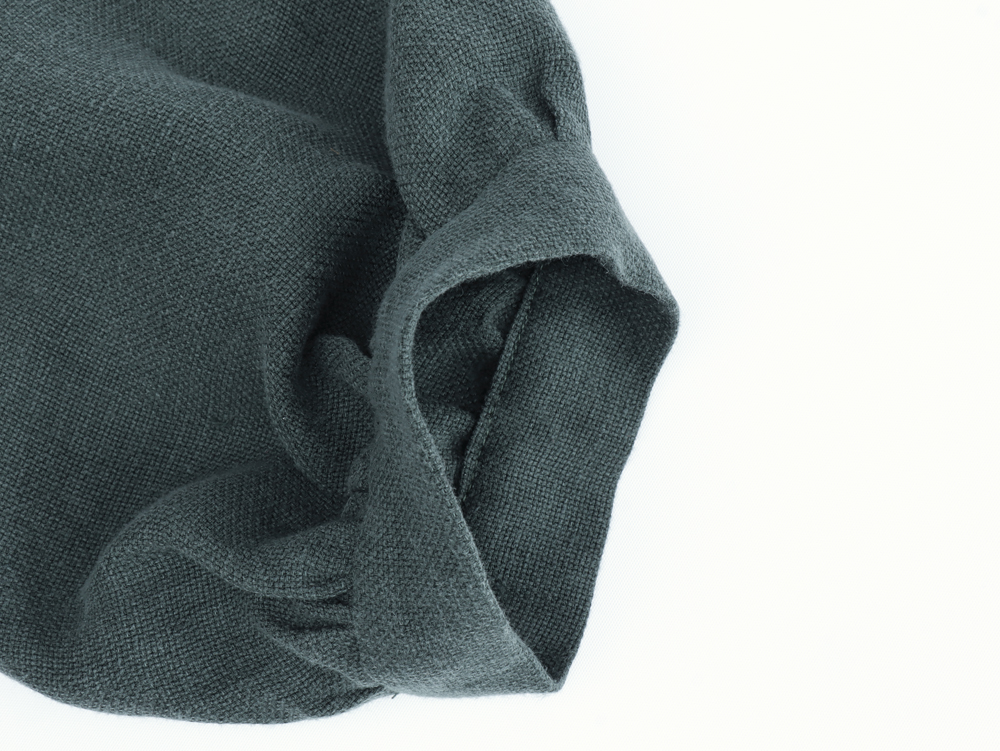
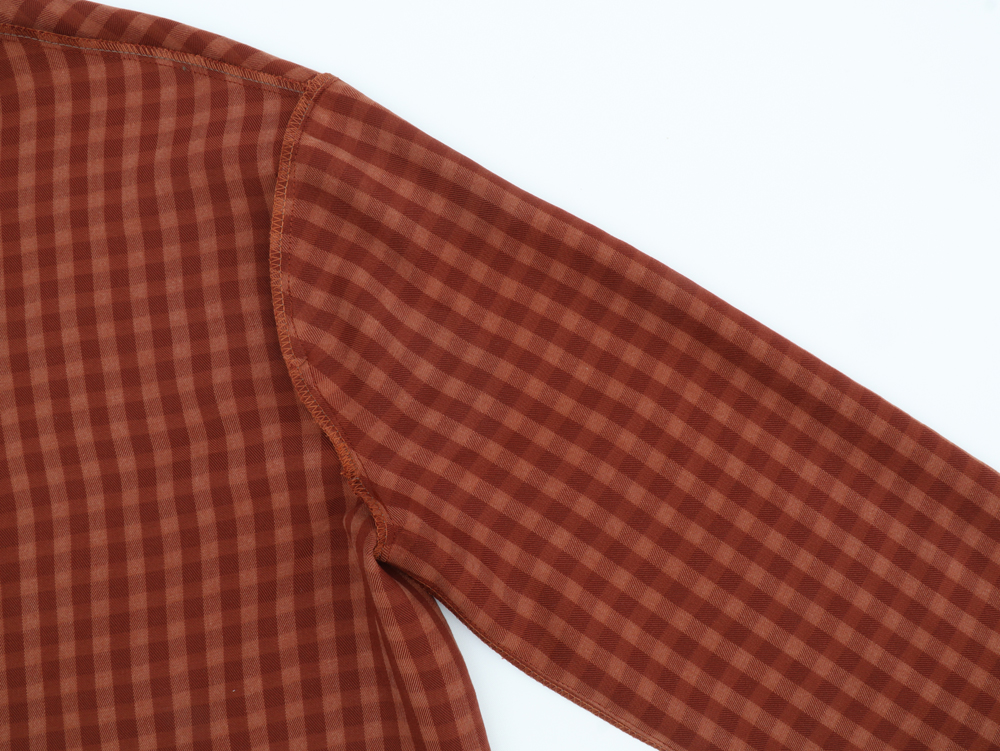
Puffy sleeve: Create the sleeve by pinning it at the sides, right sides together. Stitch, serge the seam allowances together and press to the back. Gather the bottom of the sleeve. Using a long stitch (4+mm) make three lines of stitching. Do not backstitch and leave your thread tails longer than normal.
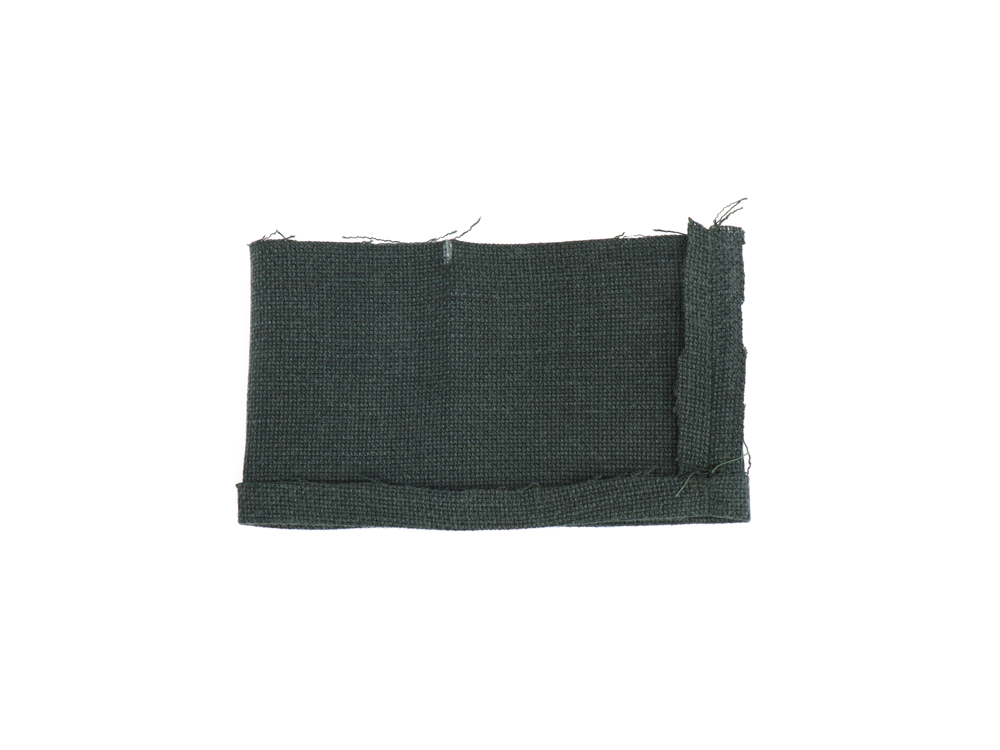
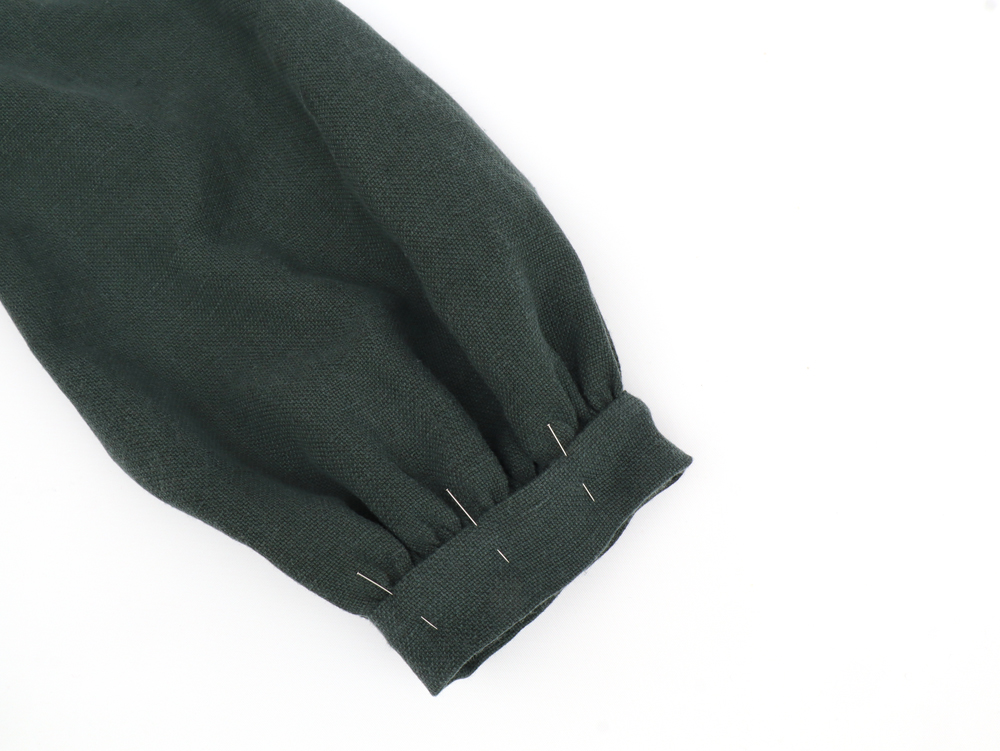
With right sides together, pin the wrist cuffs along the short edges. Stitch and press the seam allowances to one side. Fold to the wrong side one of the long sleeve edges by 1 cm and press.
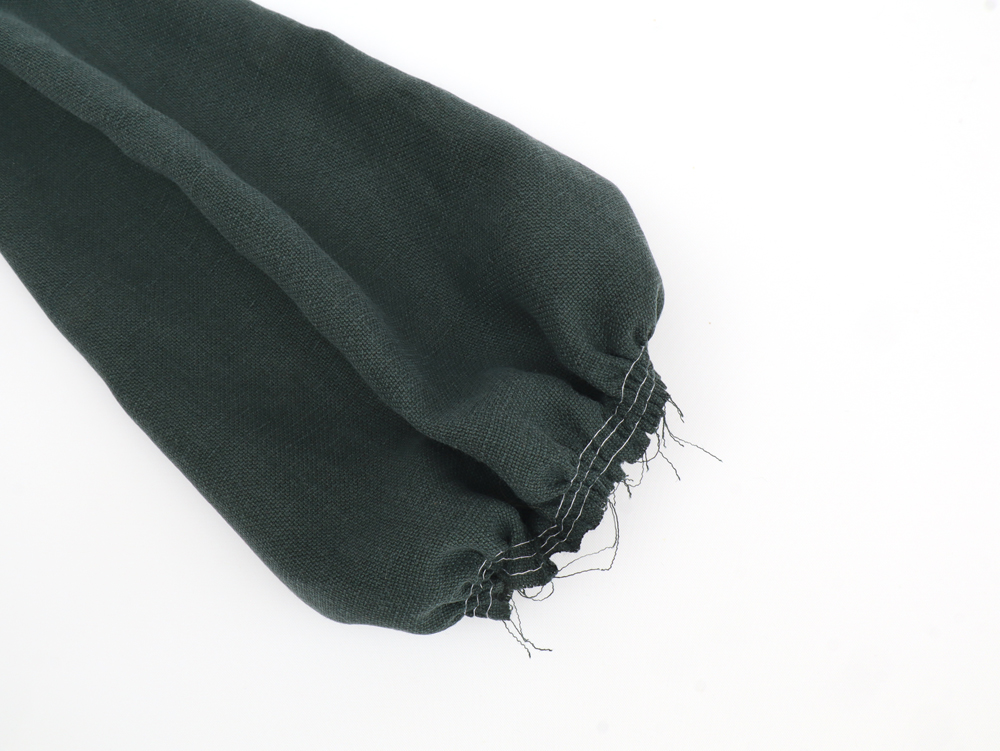
Carefully pull the three bobbin threads to form even gathers. Do this until the bottom of your sleeve is the same length as your cuff. Distribute your gathers evenly.

With right sides together, insert your sleeve into the cuff. Line up the raw edge of your cuff with the raw edge of your sleeve, pin and stitch at 1 cm.
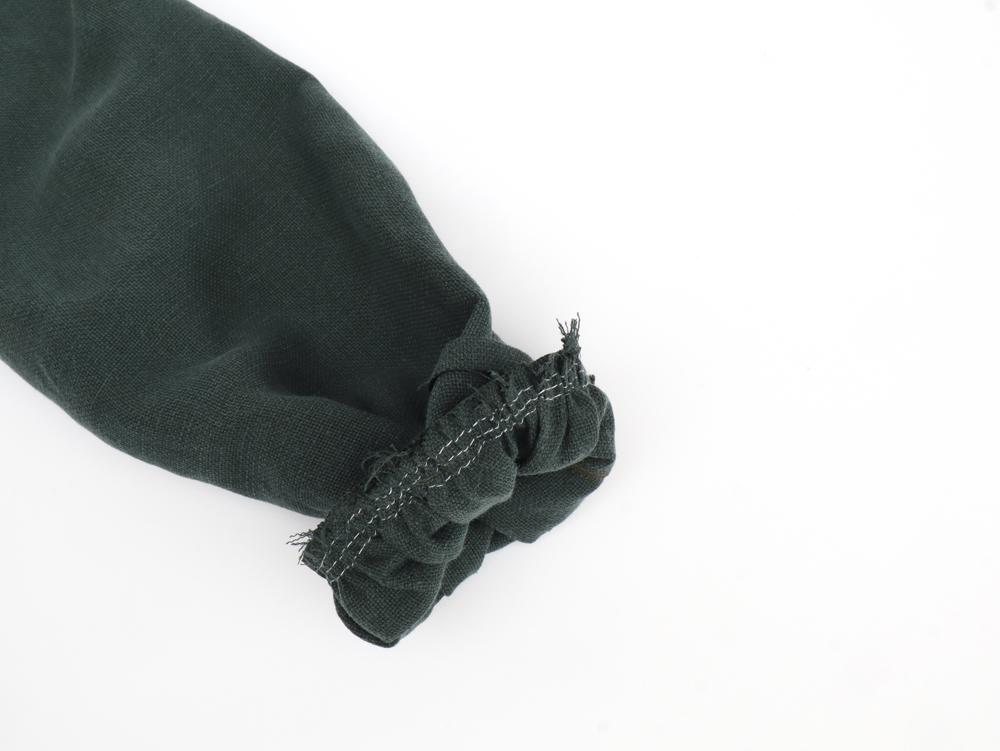

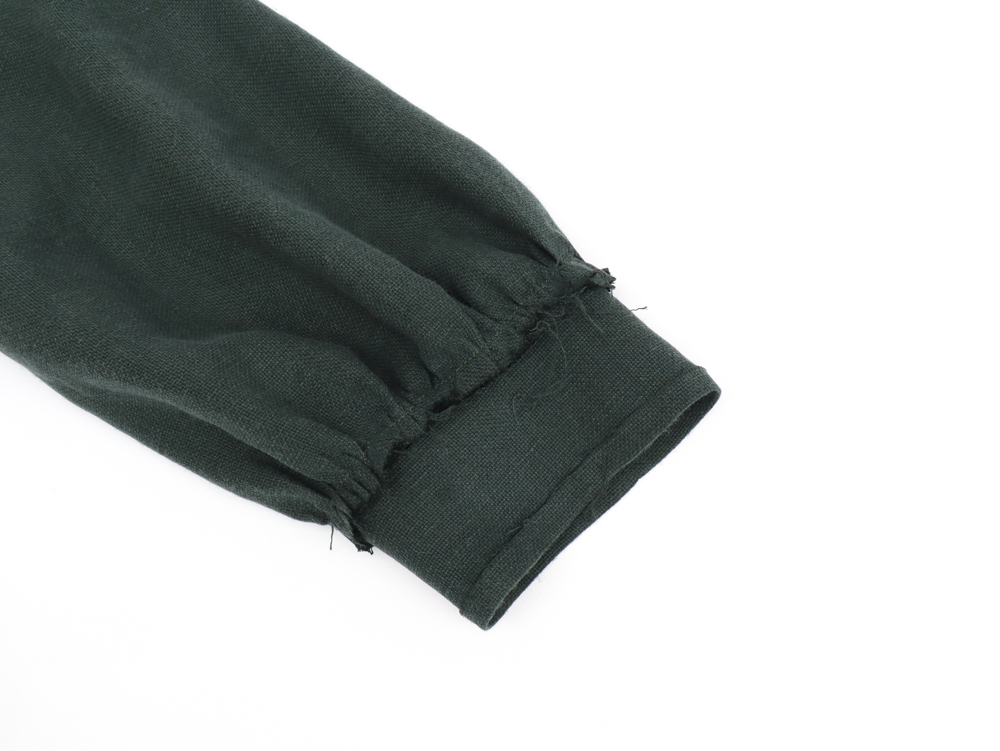
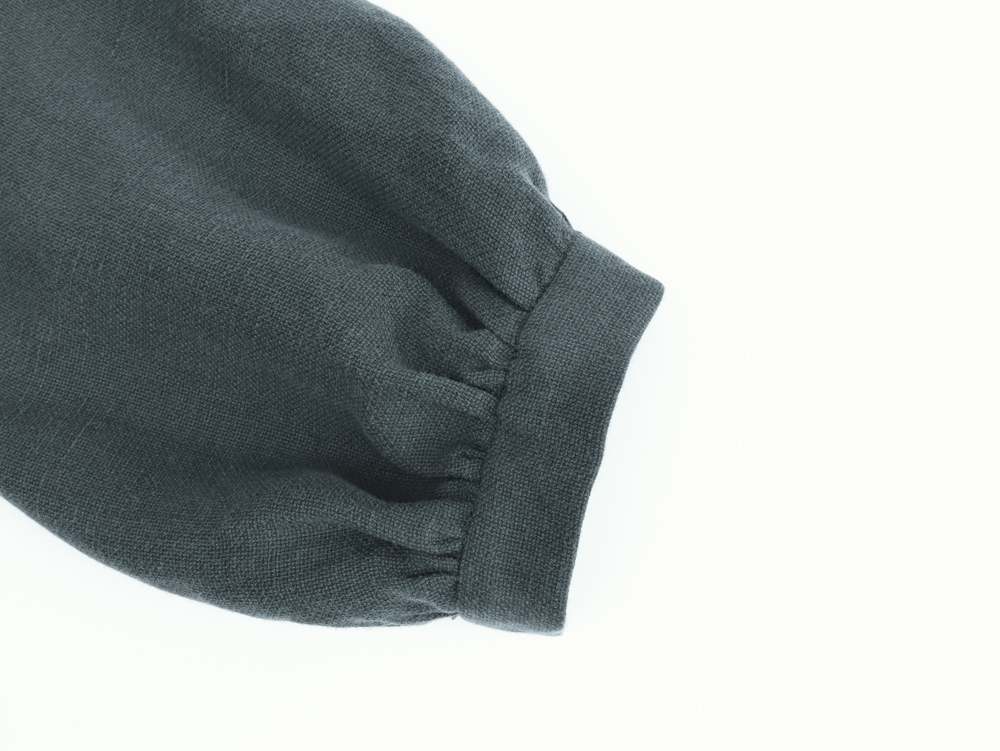
Flip the cuff to the outside and press the seam allowances toward the cuff.
Fold the sleeve cuff back to the wrong side, in doing so hiding the seam allowances. Secure with pins or baste, then with the sleeves right side up, stitch in the ditch and give your cuff a final press.
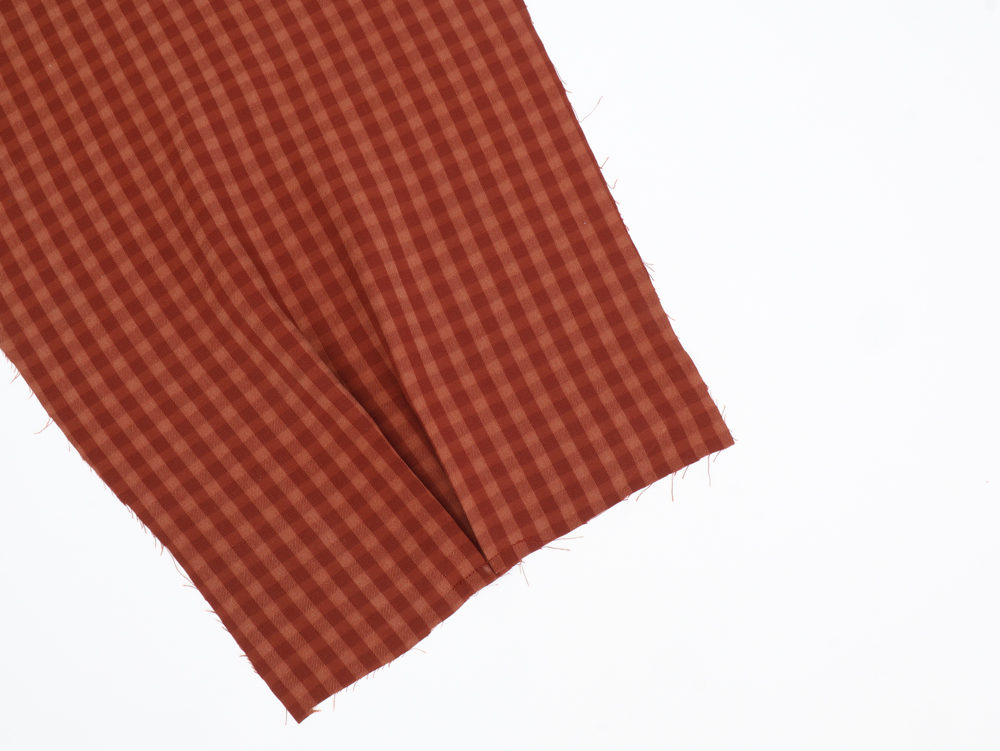
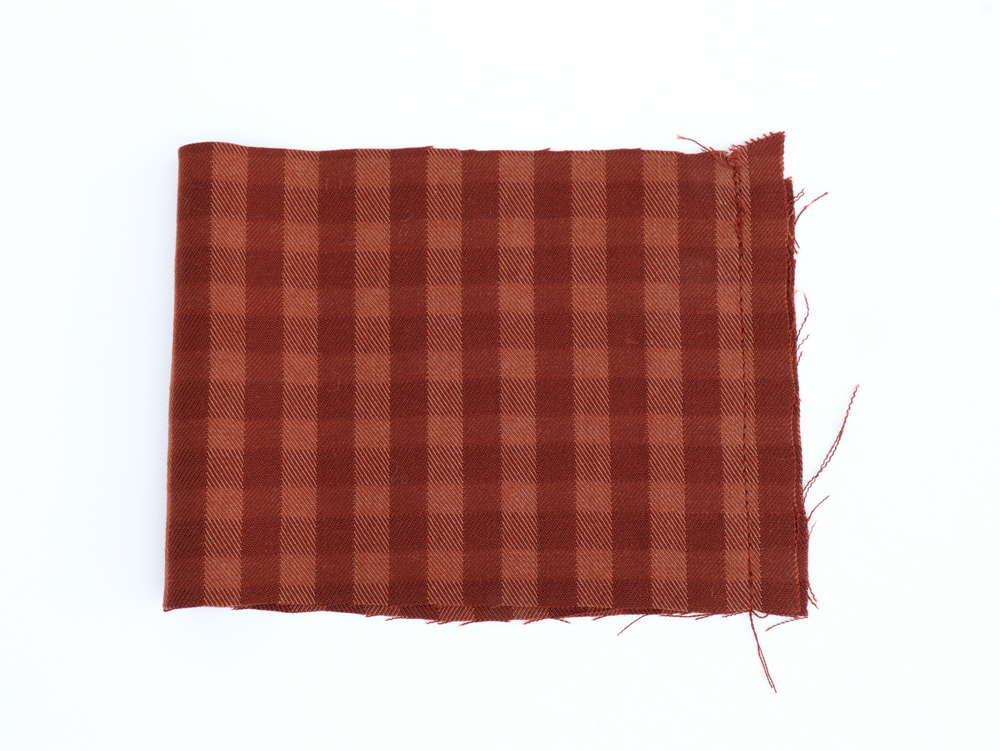
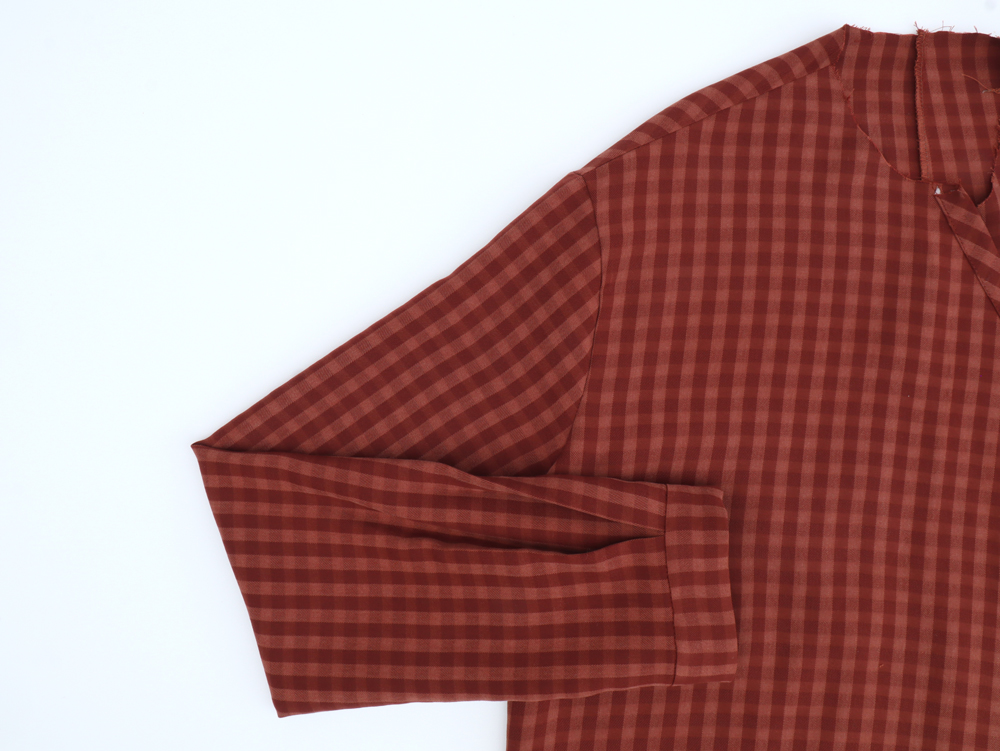
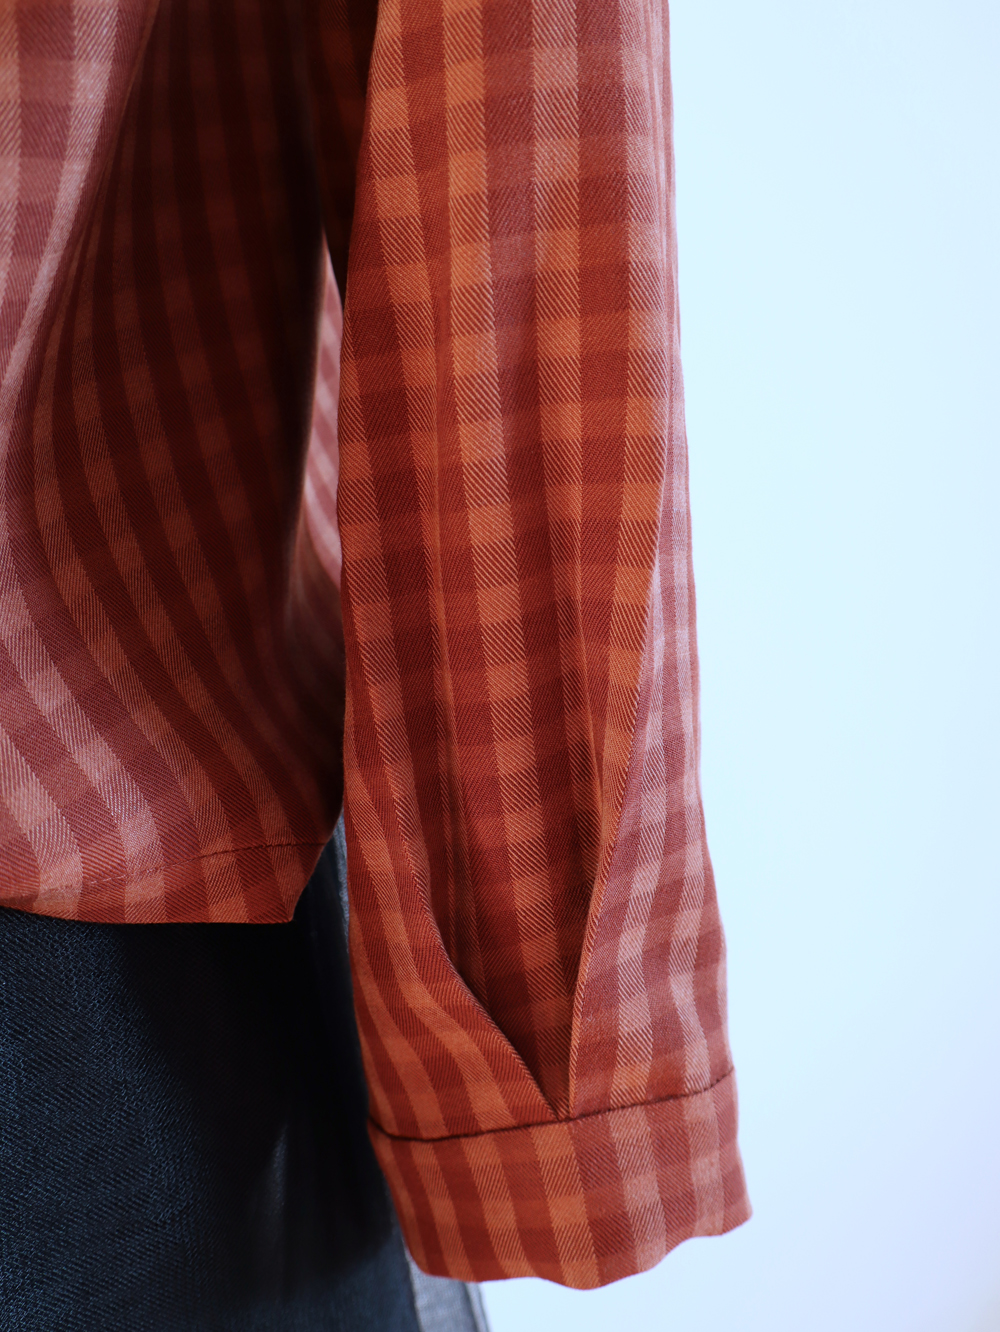
Straight sleeve assembly: Form the box pleat on the bottom of the sleeve (B). Fold the outer dashed lines to meet the center line. Pin and press the pleat in place. Baste the pleat within the 1 cm seam allowance.
Create the sleeve (B), by pinning it at the sides, right sides together. Stitch, serge the seam allowances together and press to the back.

With right sides together, pin the wrist cuffs along the short edges. Stitch and press the seam allowances to one side. Fold under one of the long sleeve edges by 1 cm and press.

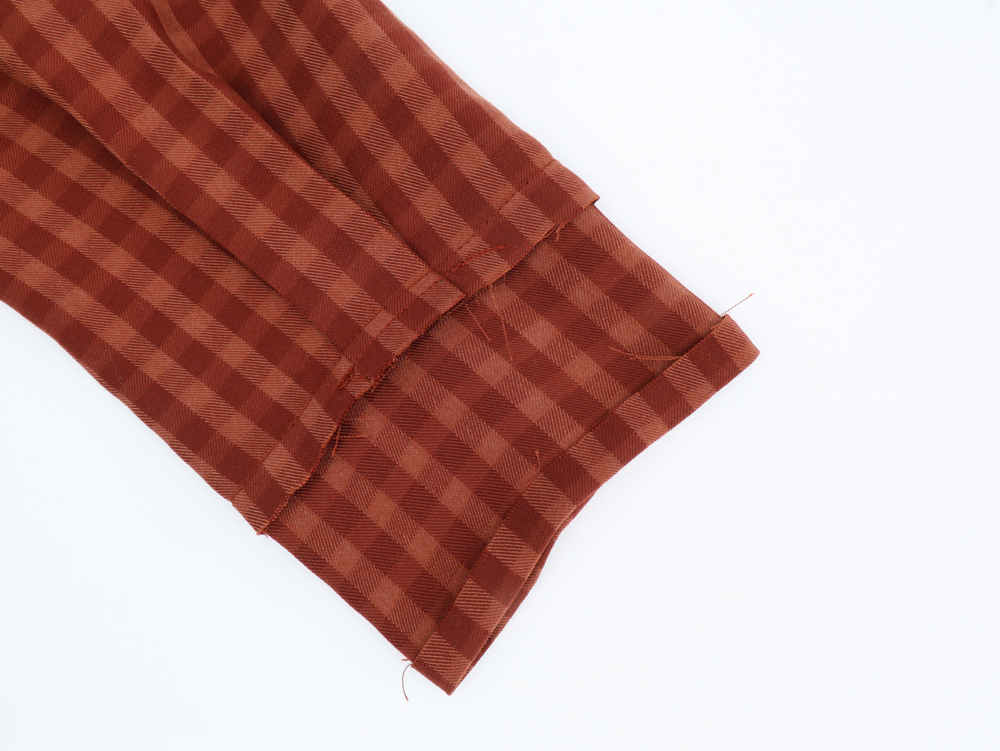
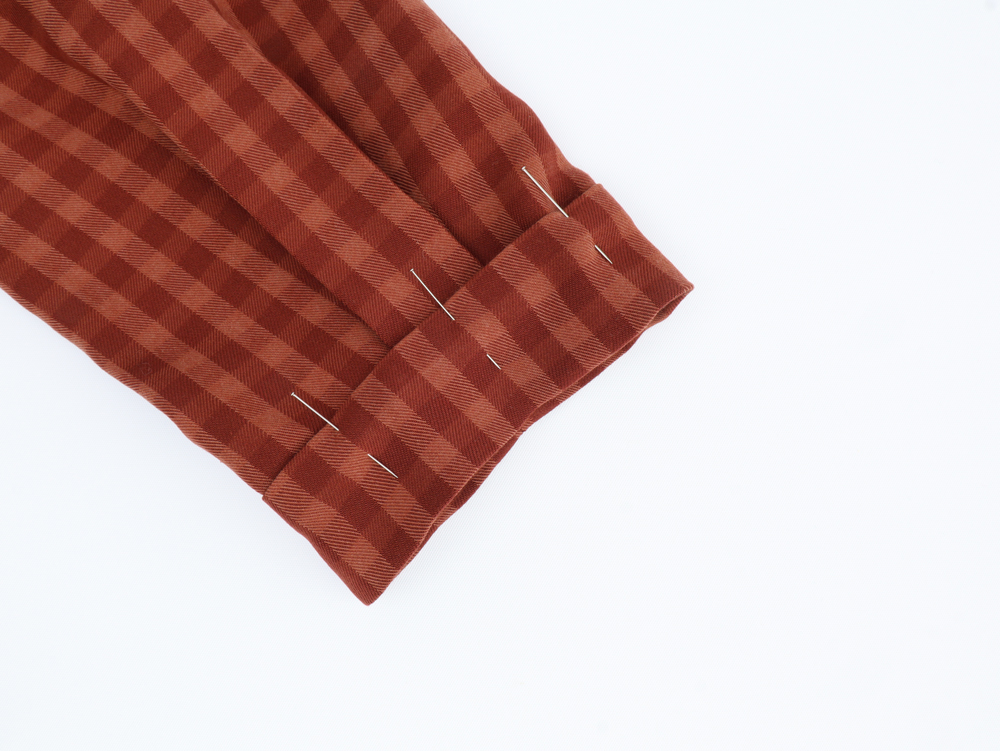
With right sides together, insert your sleeve into the cuff. Line up the raw edge of your cuff with the raw edge of your sleeve, pin and stitch at 1 cm. Flip the cuff to the outside and press the seam allowances toward the cuff. Fold the sleeve cuff back to the wrong side, in doing so hiding the seam allowances. Secure with pins or baste.
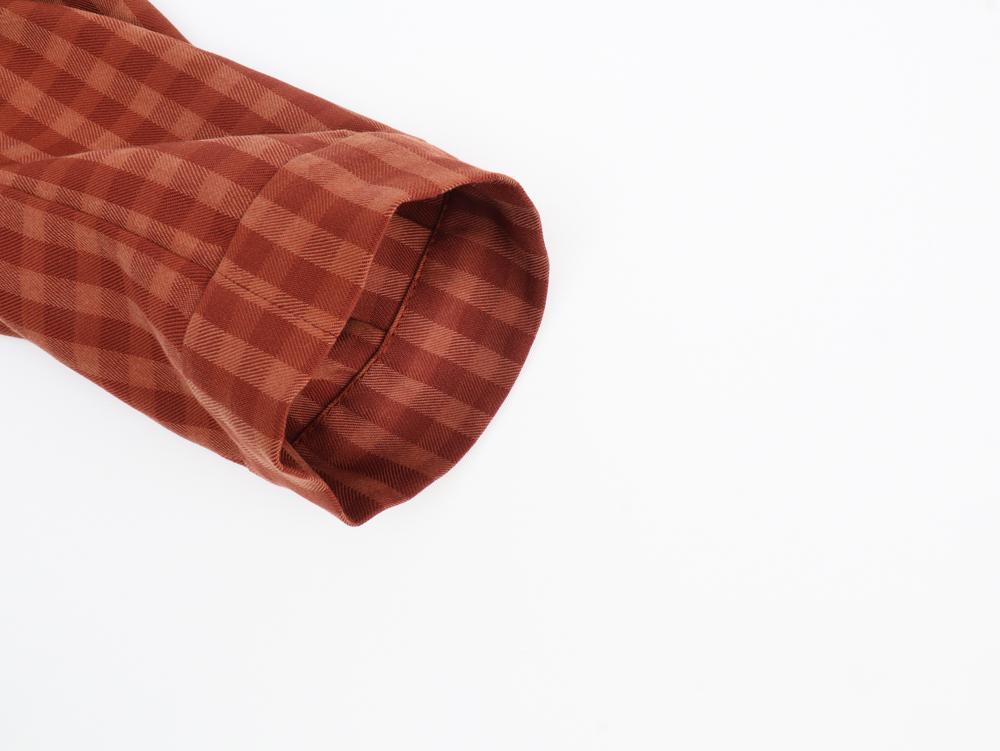
 Then with the sleeves right side up, stitch in the ditch and give your cuff a final press.
With your shirt wrong side facing up and your sleeve right side facing up, insert the sleeve in the armhole. Match up the notches (2 notches in the front / 1 at the back) and pin. Sew a row of stitches 1 cm from the raw edge.
 Serge the seam allowances together and press them towards the bodice.

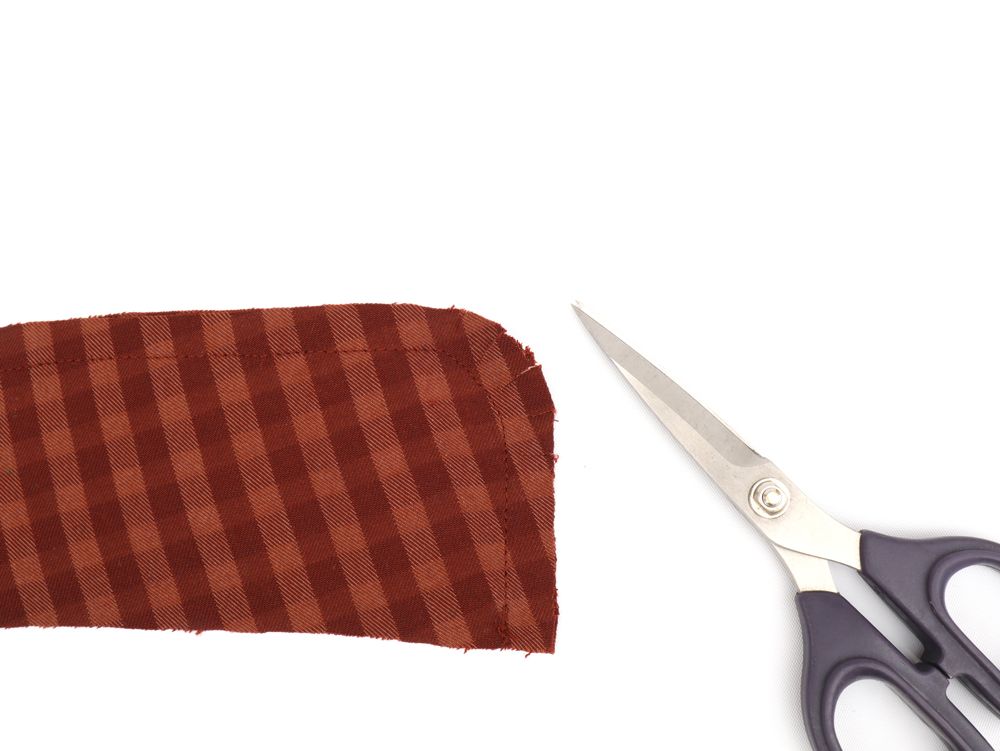
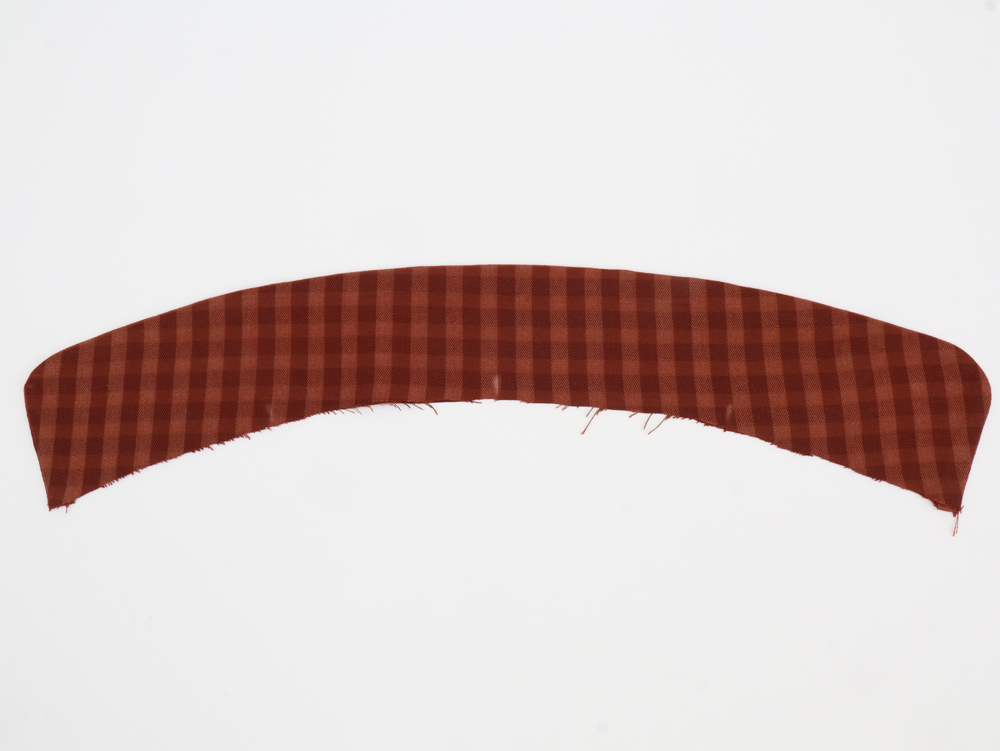
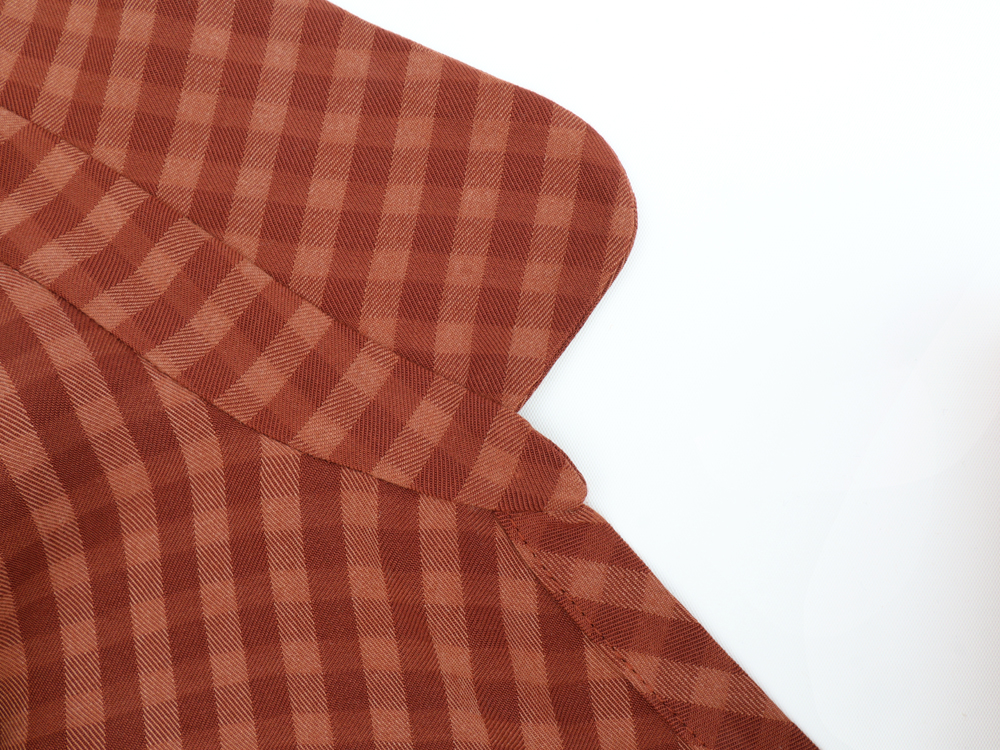
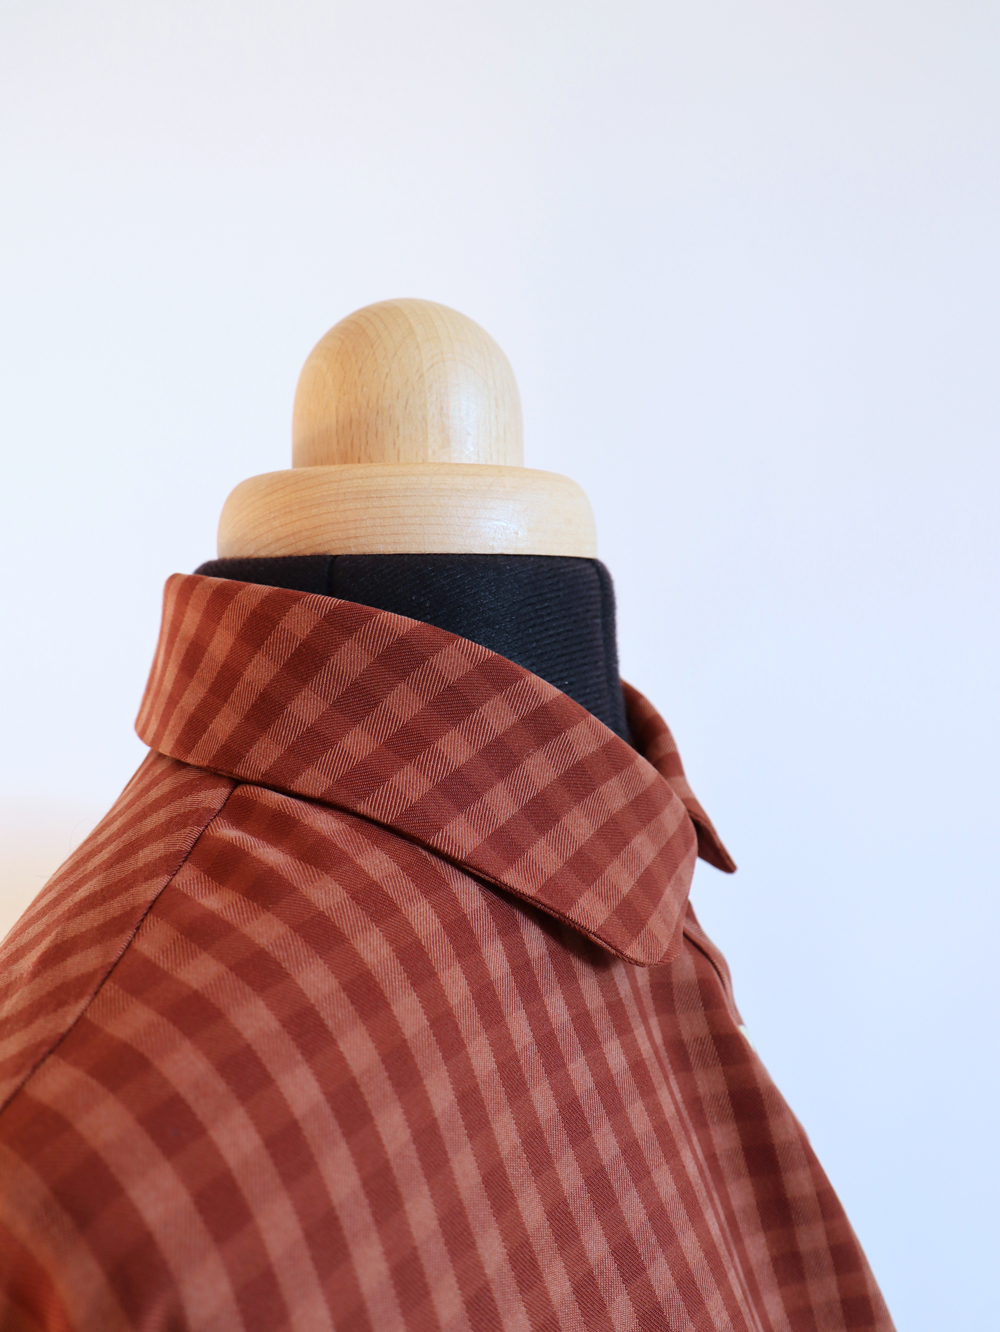
With right sides together, pin and sew the two collar pieces (E), leaving open the bottom edge. Clip the curve and turn right side out. Push out the curve well and press.
With right sides together, sandwich the collar between the two collar stand pieces, lining up the raw edges.
- -If you chose to interface your collar follow this order:
- -interfaced collar stand
- -non-interfaced collar
- -interfaced collar
- -non-interfacedcollar stand
Pin all pieces together and sew in place.

Clip the curve of the collar stand.
Turn the collar right side out. Press well.
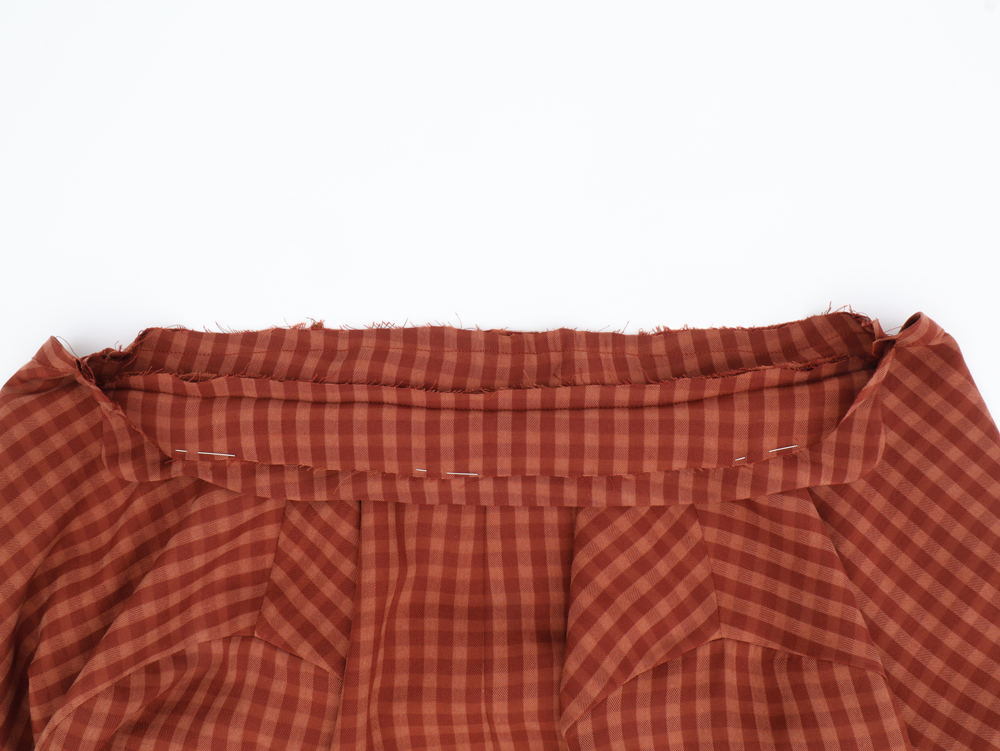
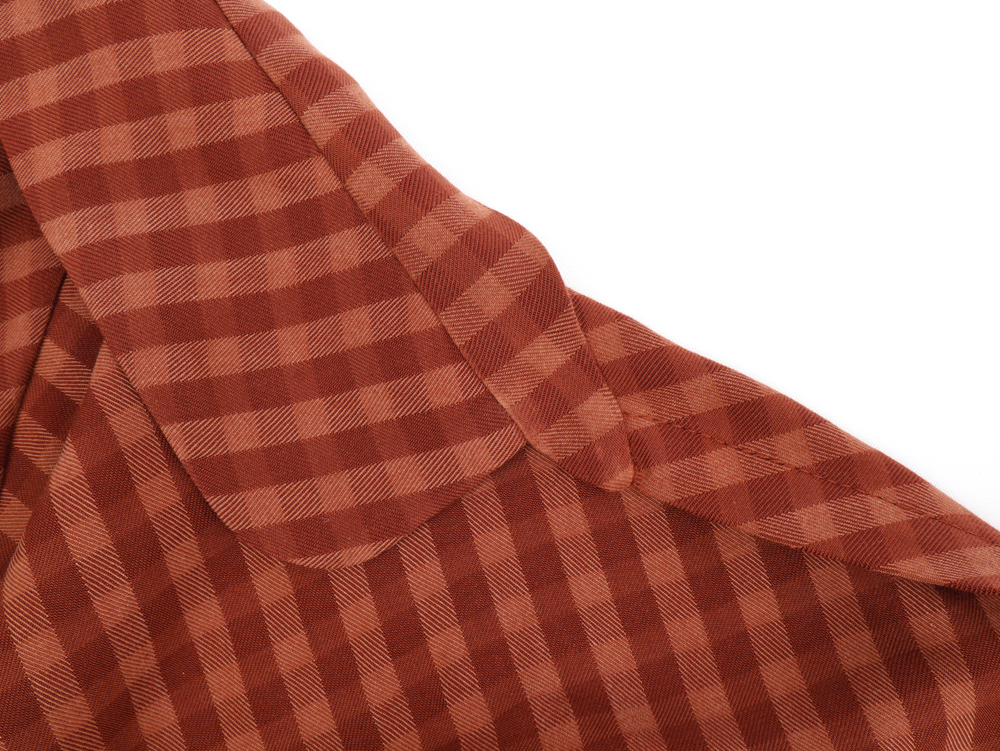
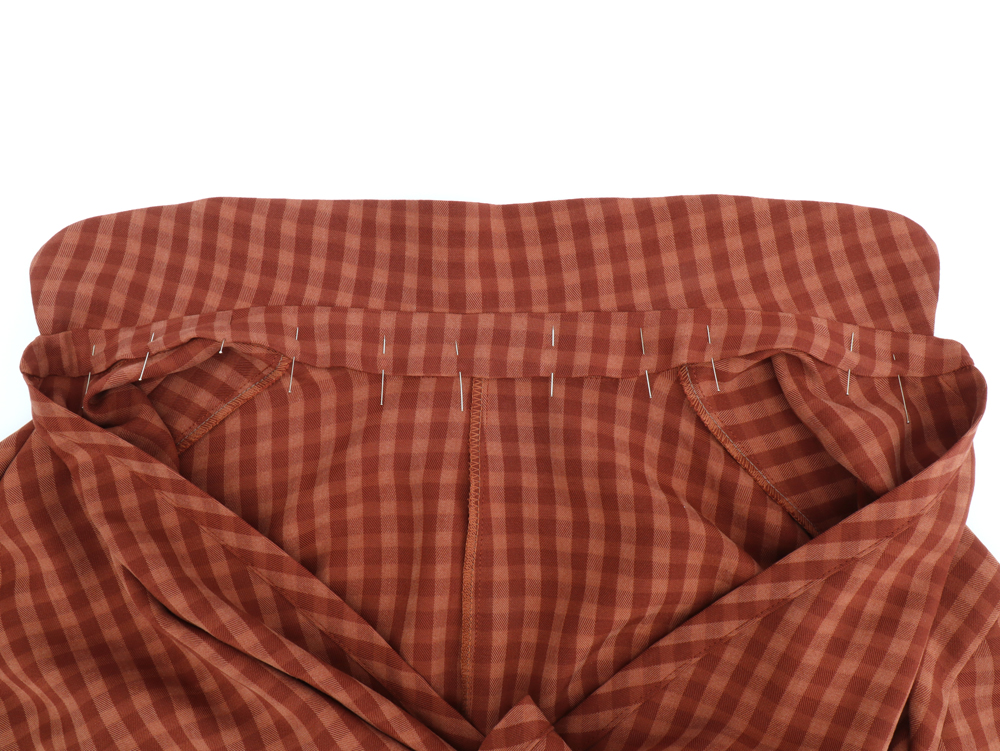
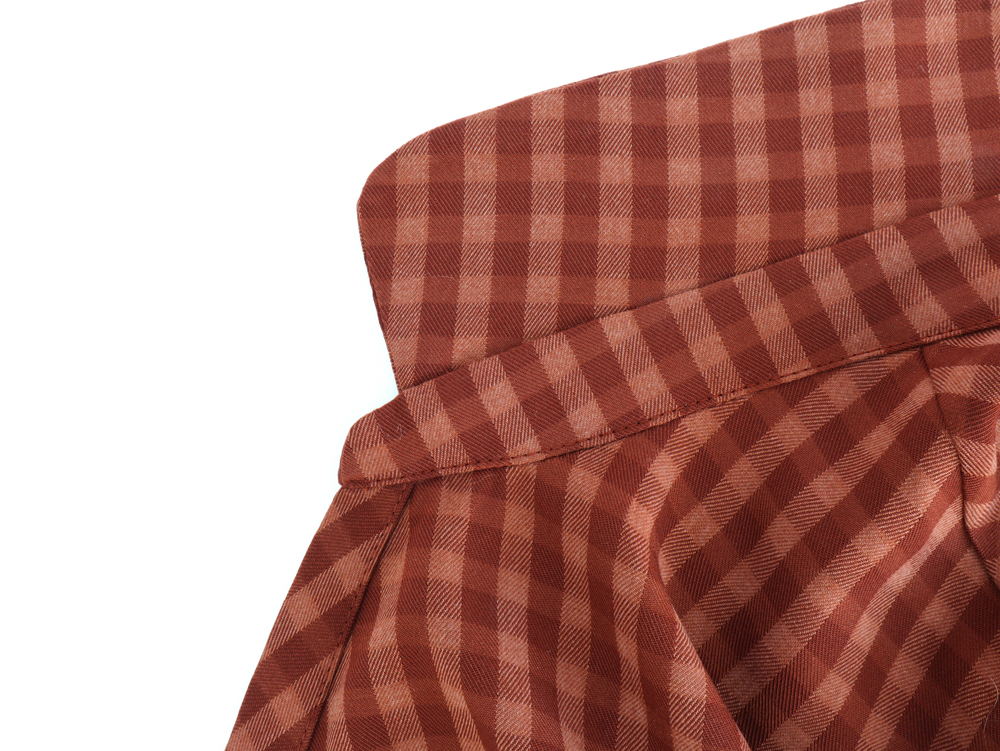
To attach your collar to the shirt, place the right side of the collar stand against the right side of the shirt’s neckline. The interfaced collar stand should be against the right side of the shirt.
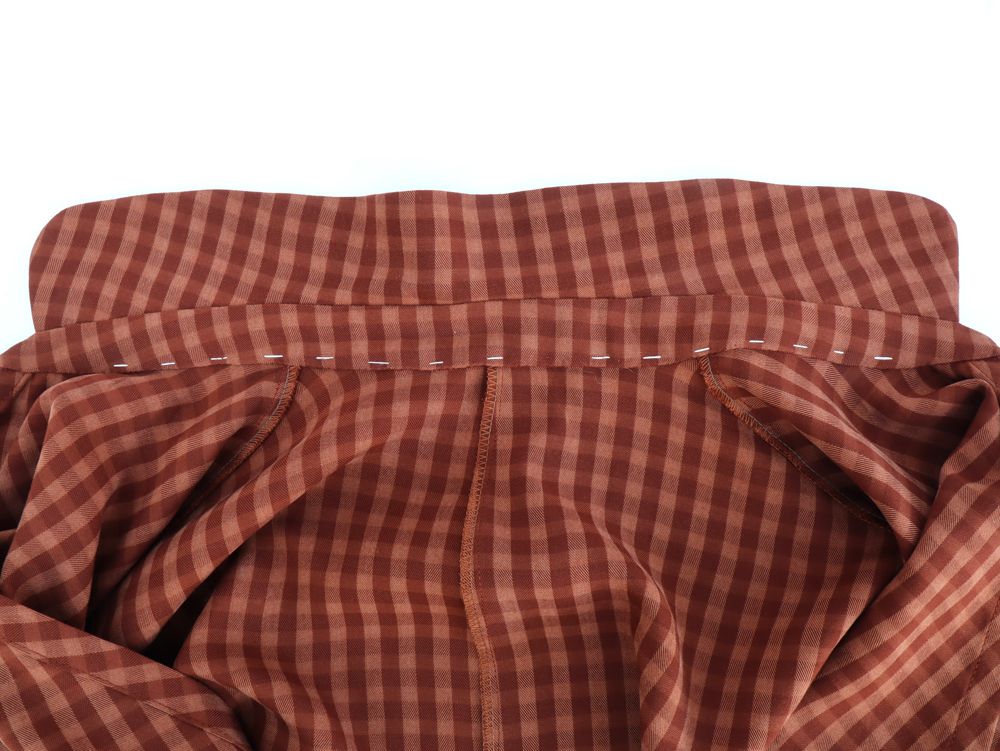
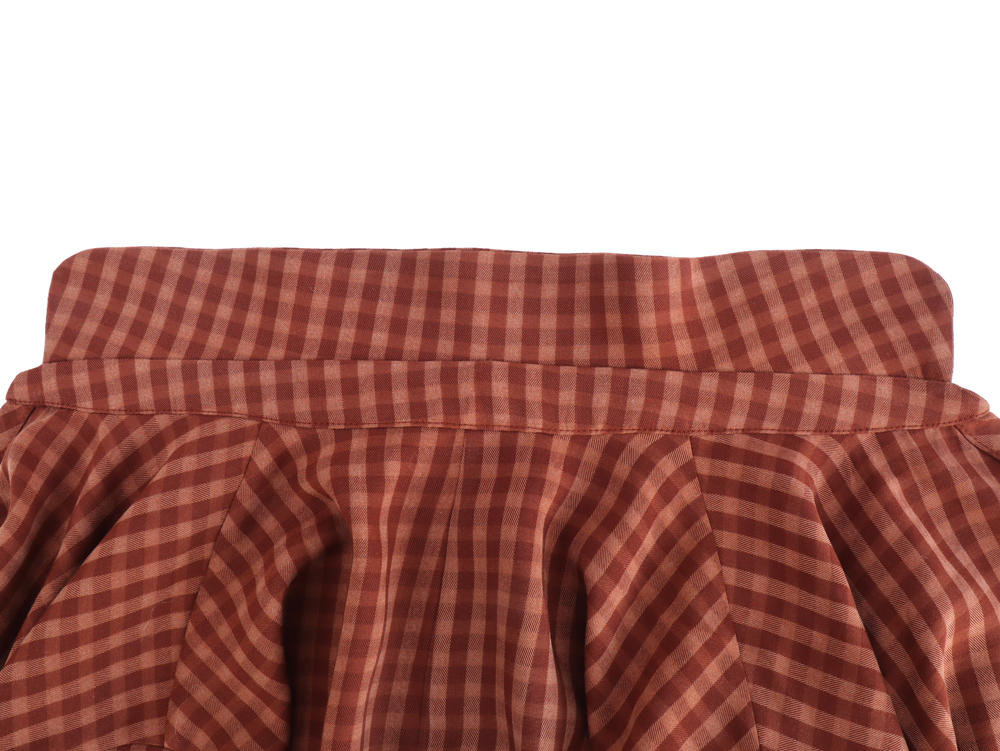
Line up the collar and collar stand by matching the notches. Pin and sew with a 1 cm seam allowance. Press the seam up toward the collar.
![]()
In this step by step photo sew along I will be showing you how to use the “burrito method” of attaching the stand, because I think it produces the most consistently nice-looking collar stands. It is very complicated to represent this method with diagrams, which is why the method described in the sewing pattern's instructions is different.
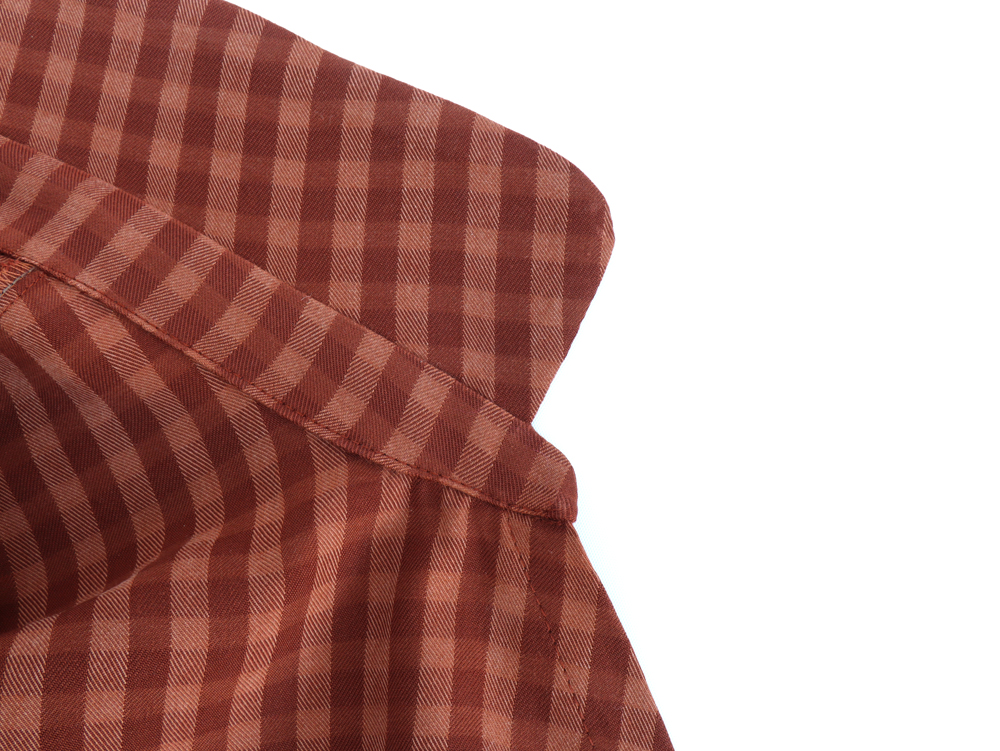
Fold the collar stand over the button placket and collar. Inside collar stand and outside collar stand right sides together.
Now here is the tricky part. You need to fold a bit of the front button placket up inside the two collar stands. And you need to do it in a way that you don’t catch the front edge of the placket when you stitch around the front curve of the stand, and also keep the placket out of the way when you stitch a couple of inches along the neck edge of the stand. The collar needs to be pushed out of the way of the stitching, too.
Take a good look at the following pictures (you can also follow this sew along if you prefer):
![]()
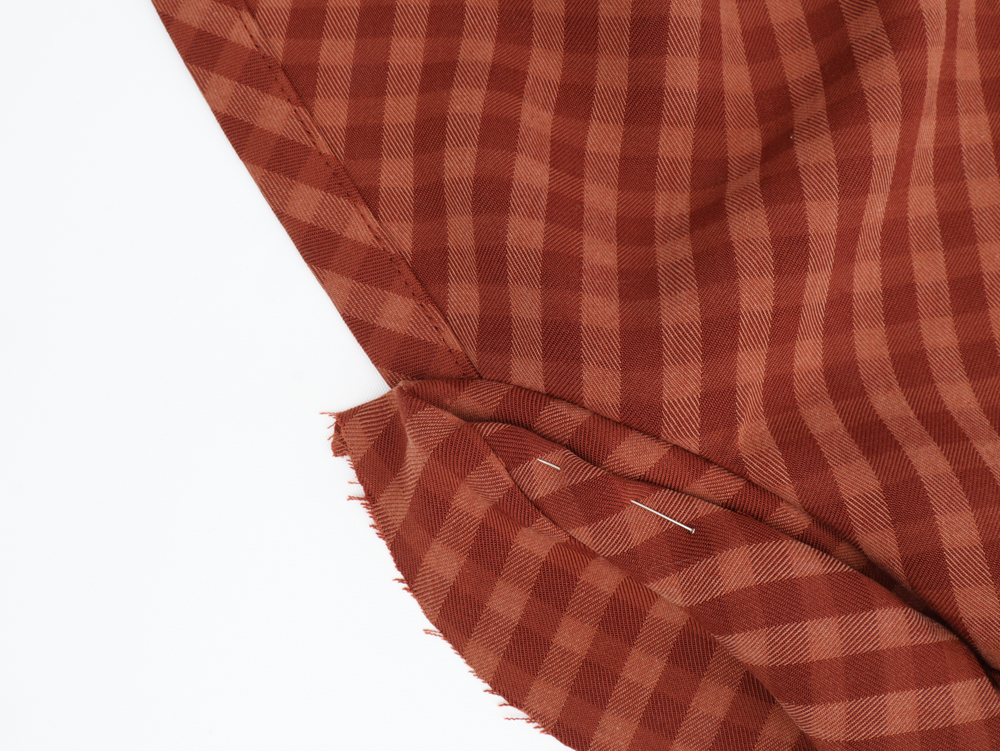
Here the collar is held in place with a pin and we will then move the button placket away.
The button placket is now held.
Here the inside collar stand seam allowance is turned down and the two collar stands are held together, raw edge to raw edge, by pins.

Continue pinning about 4 to 5 cm. Sew the collar stands together. Do your best to not catch the front placket. You can poke your finger in and push the placket back a bit if you like.

Before you trim the seam allowances, pull on the front placket to turn the stand RS out. this is where you check to see if you caught any part of the placket in the stand stitching. If you did, just unpick and redo it.
Wel done!
Baste the rest of the inside collar stand.
Topstitch, remove basting stitches. There you go, it's over!
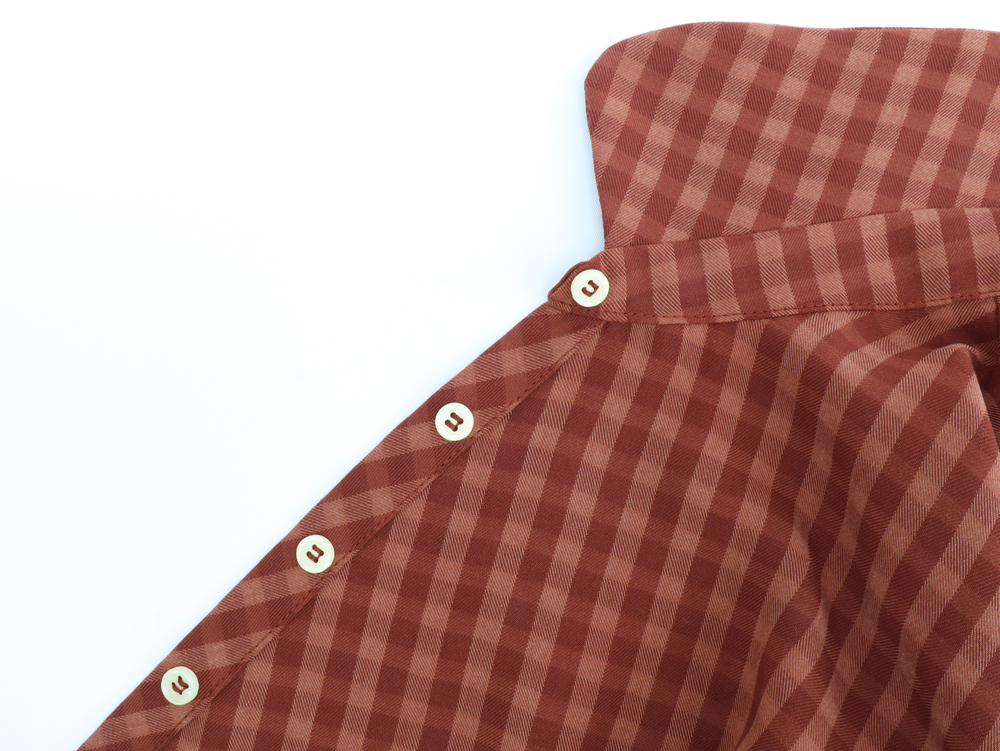
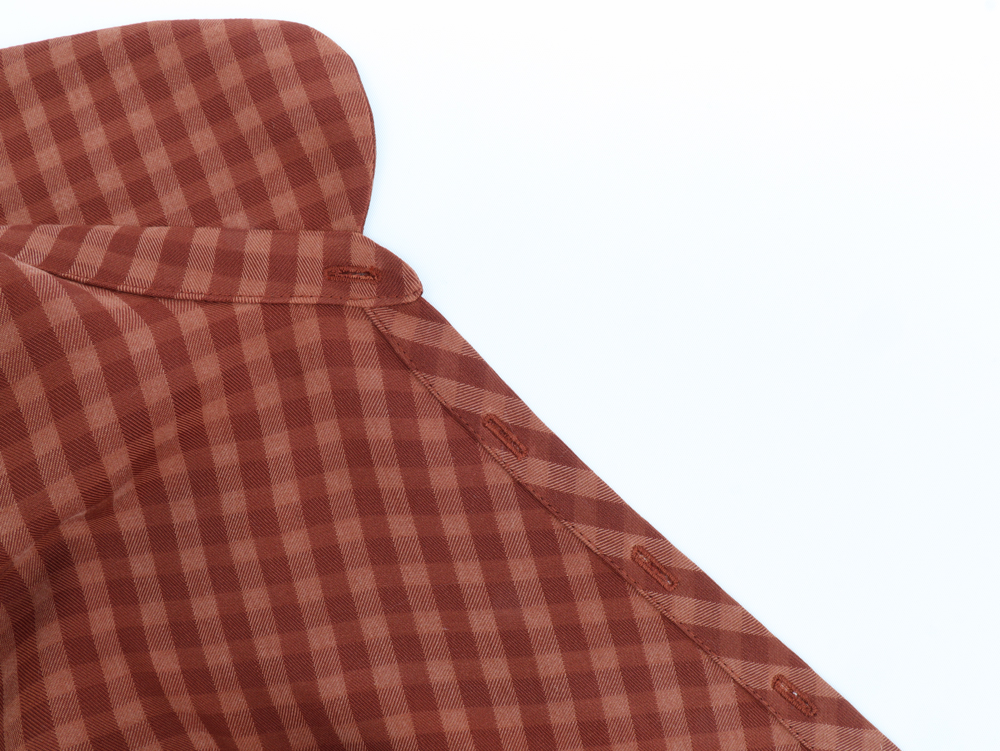
Mark the placement of the four buttonholes and four buttons, with an even spacing of about 5cm. Try on the shirt to make sure that you like the placement of the buttons before sewing.
The buttonholes should be sewn on the ride side of the garment as worn, and the buttons should be sewn to the left side.
![]()
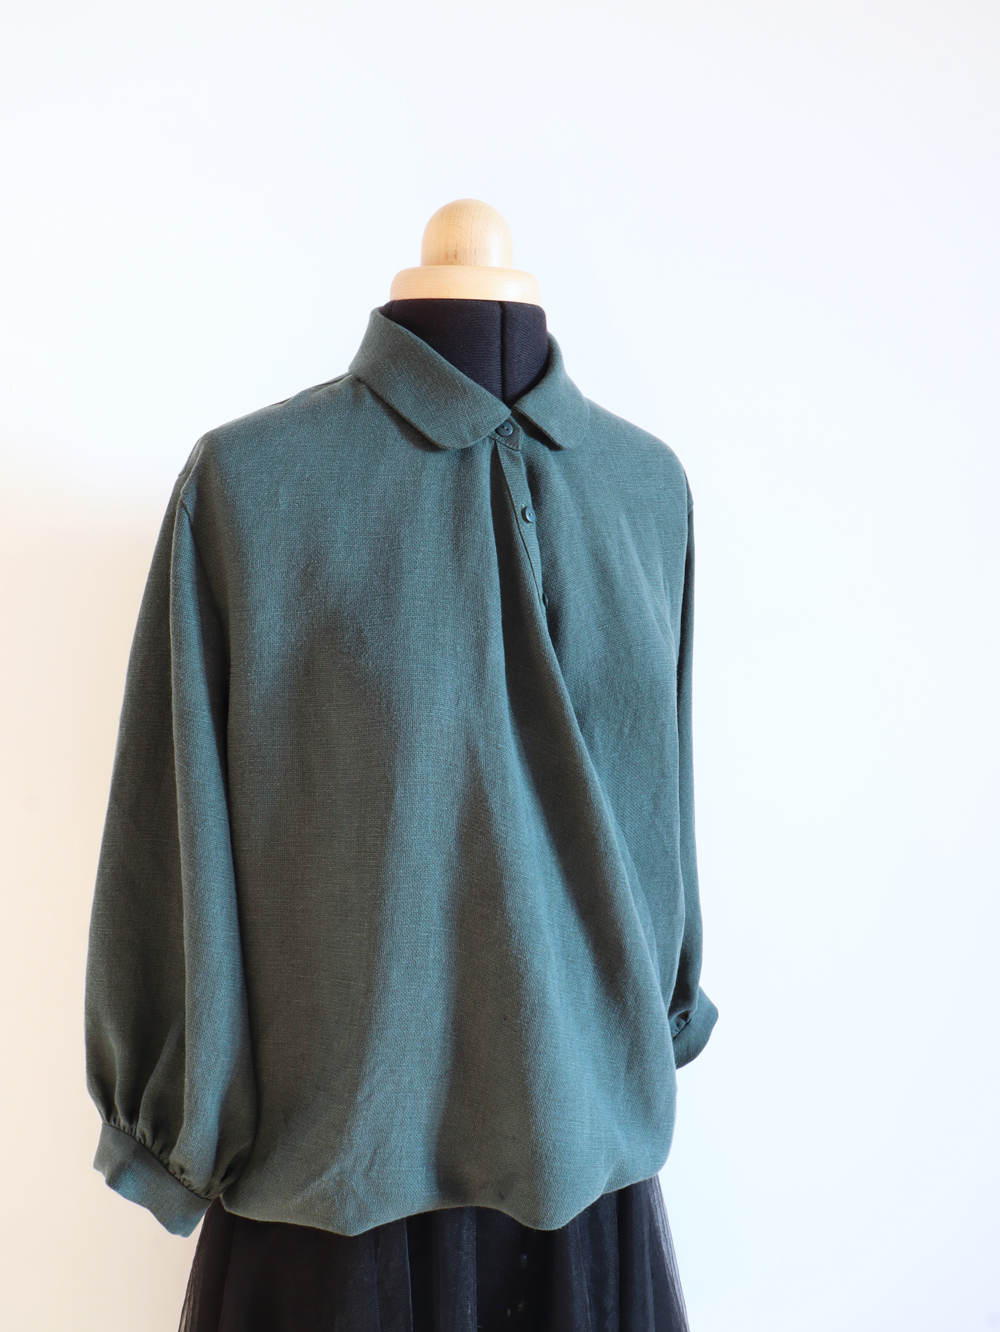
Well done! You can now proudly wear your new Jane shirt.


![]()
Effectivement ce n'est pas normal.
Je viens de faire une vérification des fichiers dans le doute mais je retrouve bien les mêmes longueurs dos que ce soit pour la version A0 ou A4.
Peut-être qu'il y a eu un soucis au moment de l'impression ou bien du scotchage si vous utilisez la version A4. Si vous utilisez la version A0, alors je ne vois malheureusement pas du tout d'ou vient le problème. Pourriez-vous me contacter par email s'il vous plaît car le blog n'est pas tellement fait pour les questions urgentes, je consulte mes emails quotidiennement contrairement aux commentaires du blog.
Je vous remercie,
Très bonne couture, Raphaëlle
Est-il normal que les cotés (partie dos 1 & partie dos 2) de mon buste A ne fassent pas la même longueur ? J’ai environ 2 cm d’écart. Je pensais avoir mal recopié mon patron mais je retrouve cet écart sur mon patron :-/
Je ne sais pas comment faire et suis bloquée à l’étape 6 car je n’arrive pas à faire correspondre correctement les 2 parties du dos…
Oui il faudra retirer sur chacune des lignes et lisser la croisure en traçant un trait entre les deux écart pour trouver une moyenne.
Attention tout de même à ne pas trop raccourcir le modèle si vous souhaitez le rentrer dans un pantalon taille haute ou juste si vous ne voulez pas montrer votre nombril en levant les bras ;-)
Très bonne journée et bonne couture,
Raphaëlle
Comment utiliser les doubles lignes? Dois-je retirer 2,5 cm de chaque double ligne? Puis lisser le décalage de la courbe de croisure?
Merci
Sincerely,
J.