The Pleat pants - guest blogger

My intention has always been to design patterns for a variety of bodies, with different fabrics, but it’s difficult for me as a one-person company to coordinate and pay more than two models, and sew multiple prototypes for each pattern launch. I know how important it is to see different versions of a pattern for my customers so I've decided to welcome paid guest bloggers for each pattern launch !
Today we welcome Romy (@sewlike) for the Pleat pants.
![]()
INTRODUCTION
Hiya! I’m Romy-Krystal and I’m a self-taught home sewist. I’ve been sewing on and off for about 7 years now, but pretty consistently over the last 3 years. For the most part I have learnt everything I know from Youtube or Google, and then via trial and error with sewing patterns, especially indie pattern designers. I love sewing colourful things with bright prints, and given the opportunity I love a good patchwork make. My style is eclectic, I enjoy streetwear while still mixing sneakers with pretty dresses, but I am also a mother of two young kids, so I love for all my makes to be comfortable and versatile. I started sewing my own clothes as the fashion at the time was not what I wanted to wear. I then created an Instagram account and blog to connect with other makers about 3 years ago. At the time I did not know that there was such a large community, but since then I have been able to learn countless new techniques and solve so many problems through the wealth of knowledge the community so kindly offers. For now, sewing is strictly a hobby for myself and one that I enjoy when I’m not busy with my family. Currently, I’d place my sewing skill at about intermediate as I am completely self-taught, but I’m still learning with each new pattern I use and that’s what makes this hobby so fun!
![]()
DESCRIBE THE GARMENT
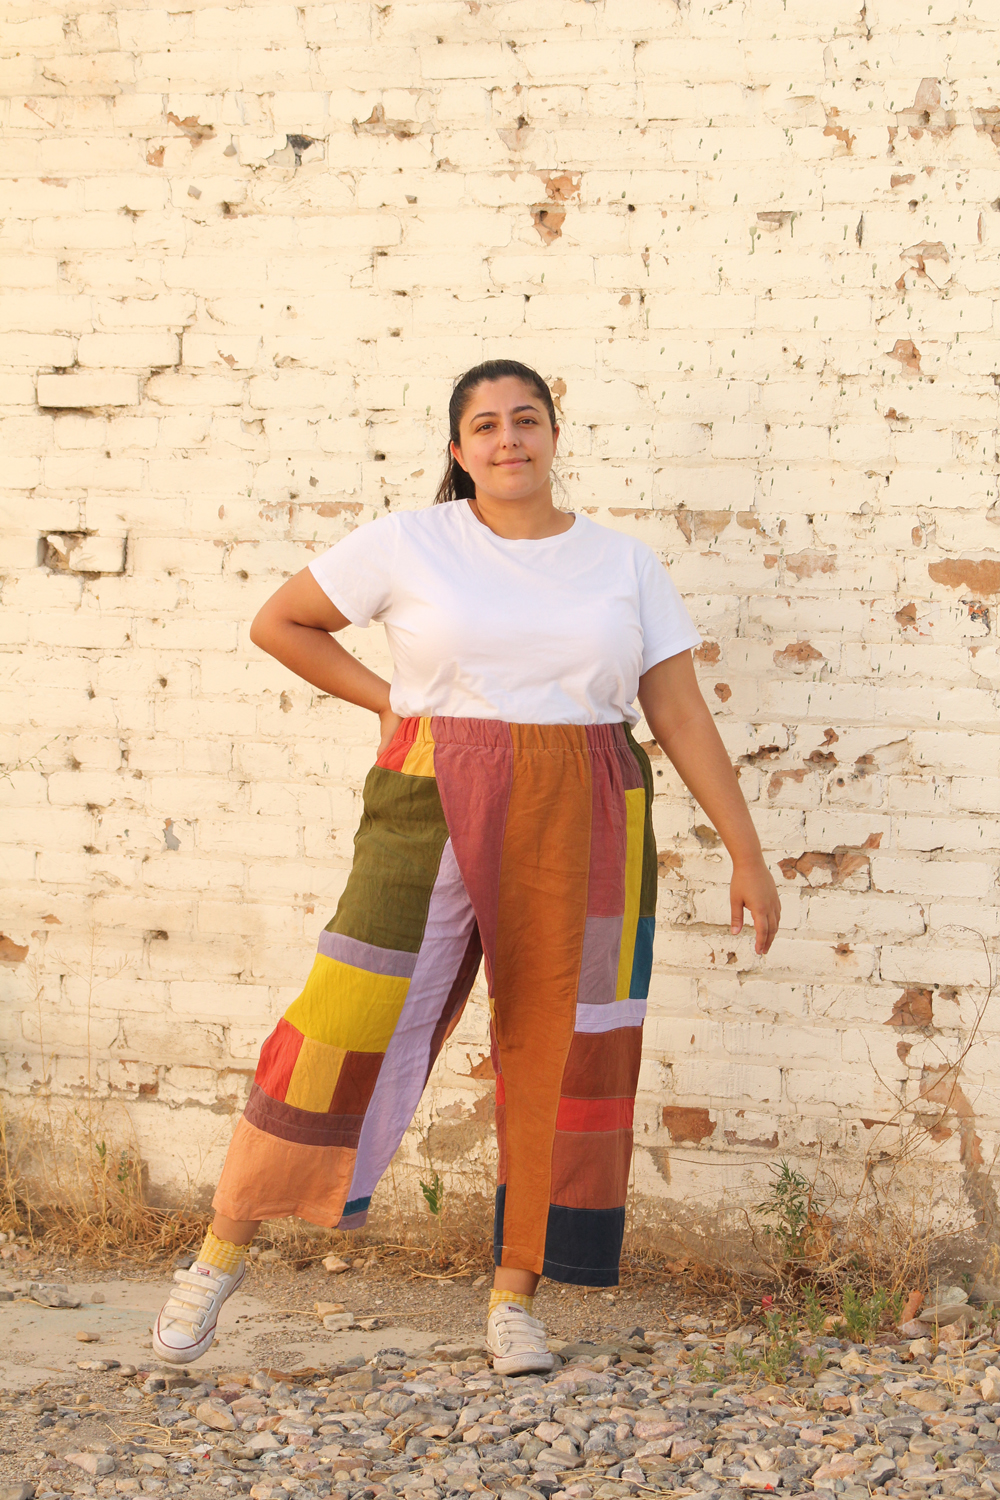
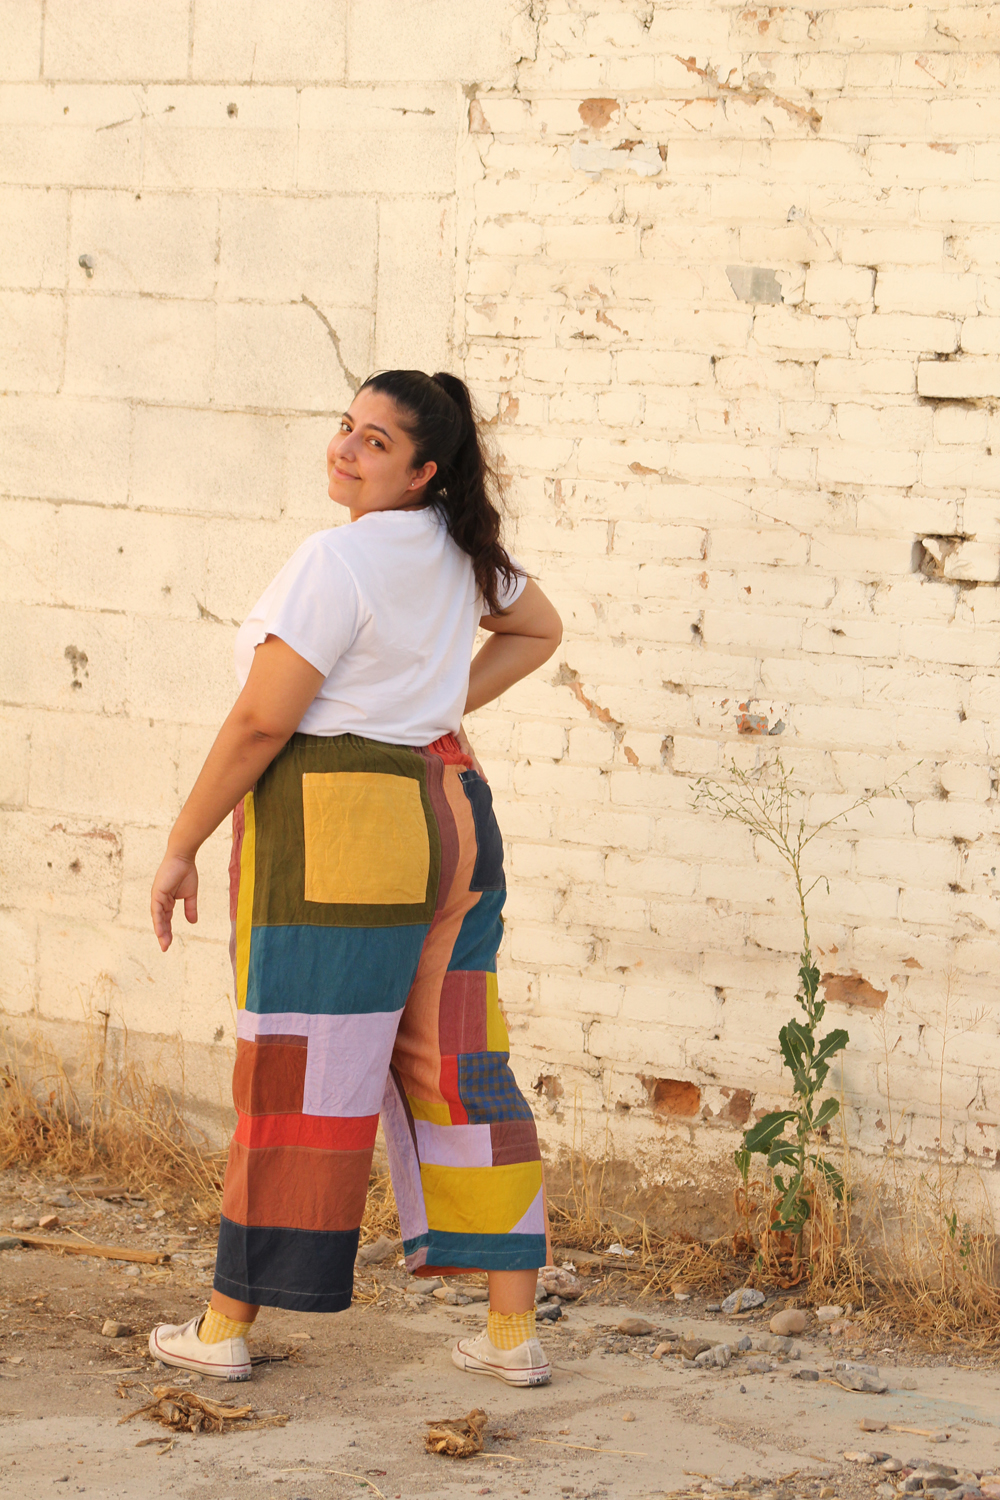
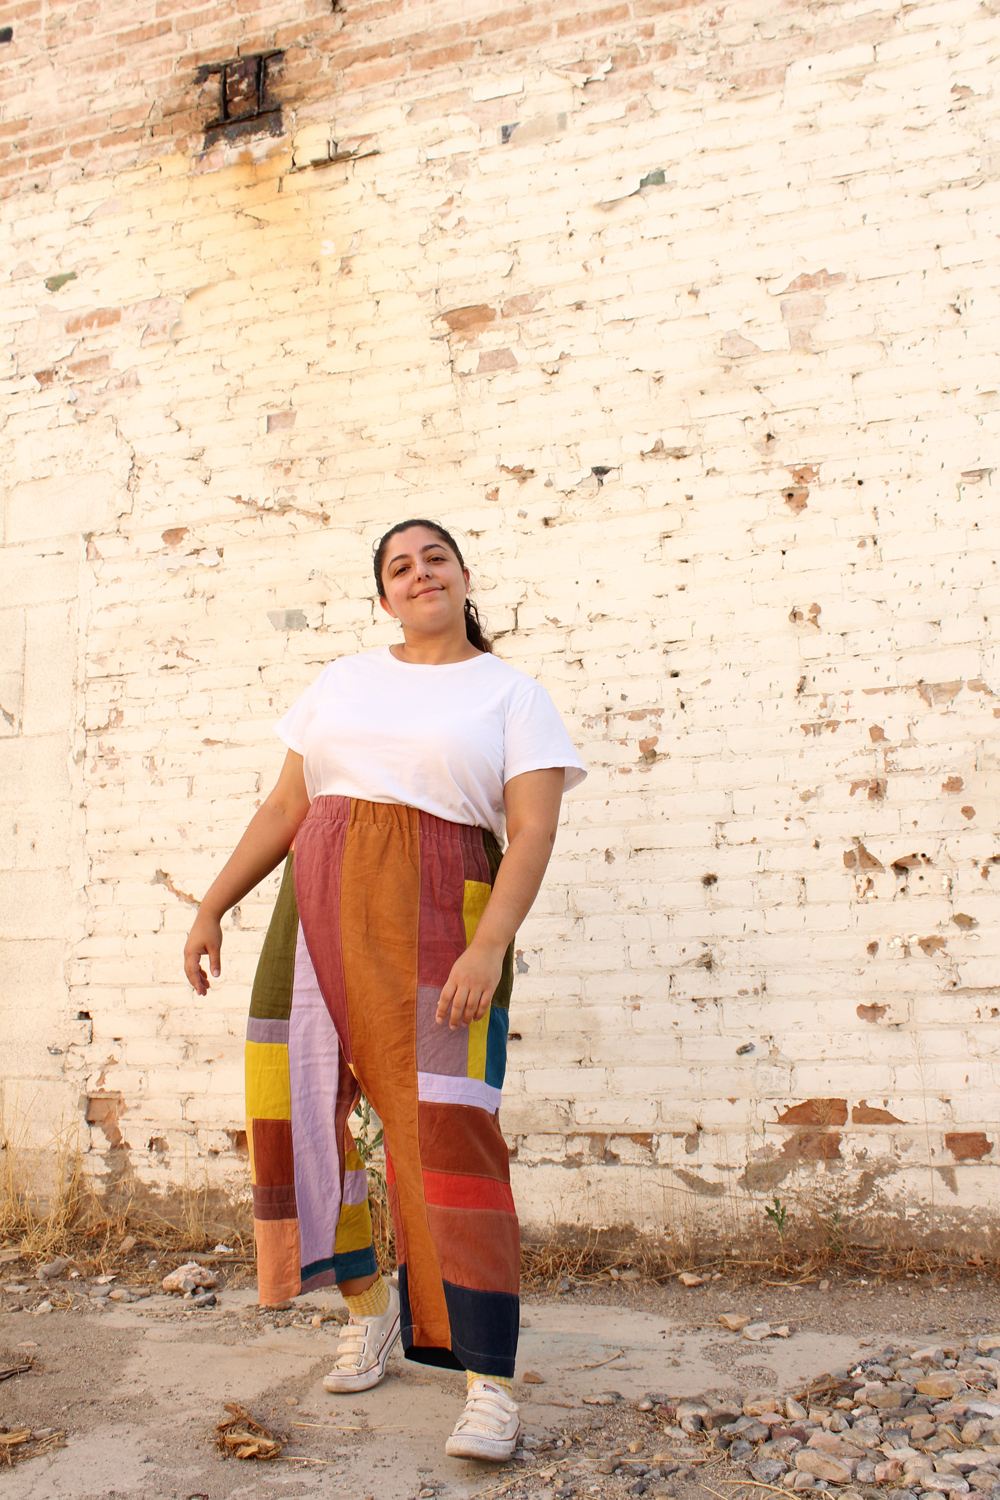
The garment I had the pleasure of sewing is The Pleat Pant. It’s an elastic waist pant with a faux wrap detail at the front inspired by Thai fisherman pants.
![]()
![]()
PRINTING
I had my pattern printed from a copyshop in the A0 file. I only printed the first 4 pages of the pattern as I chose to do view 1 without a pocket at the front. I am team trace, especially because I like to trace my A0 patterns so that I can modify them easily, but still have the original on hand just in case.
![]()
![]()
SIZING AND MODIFICATIONS
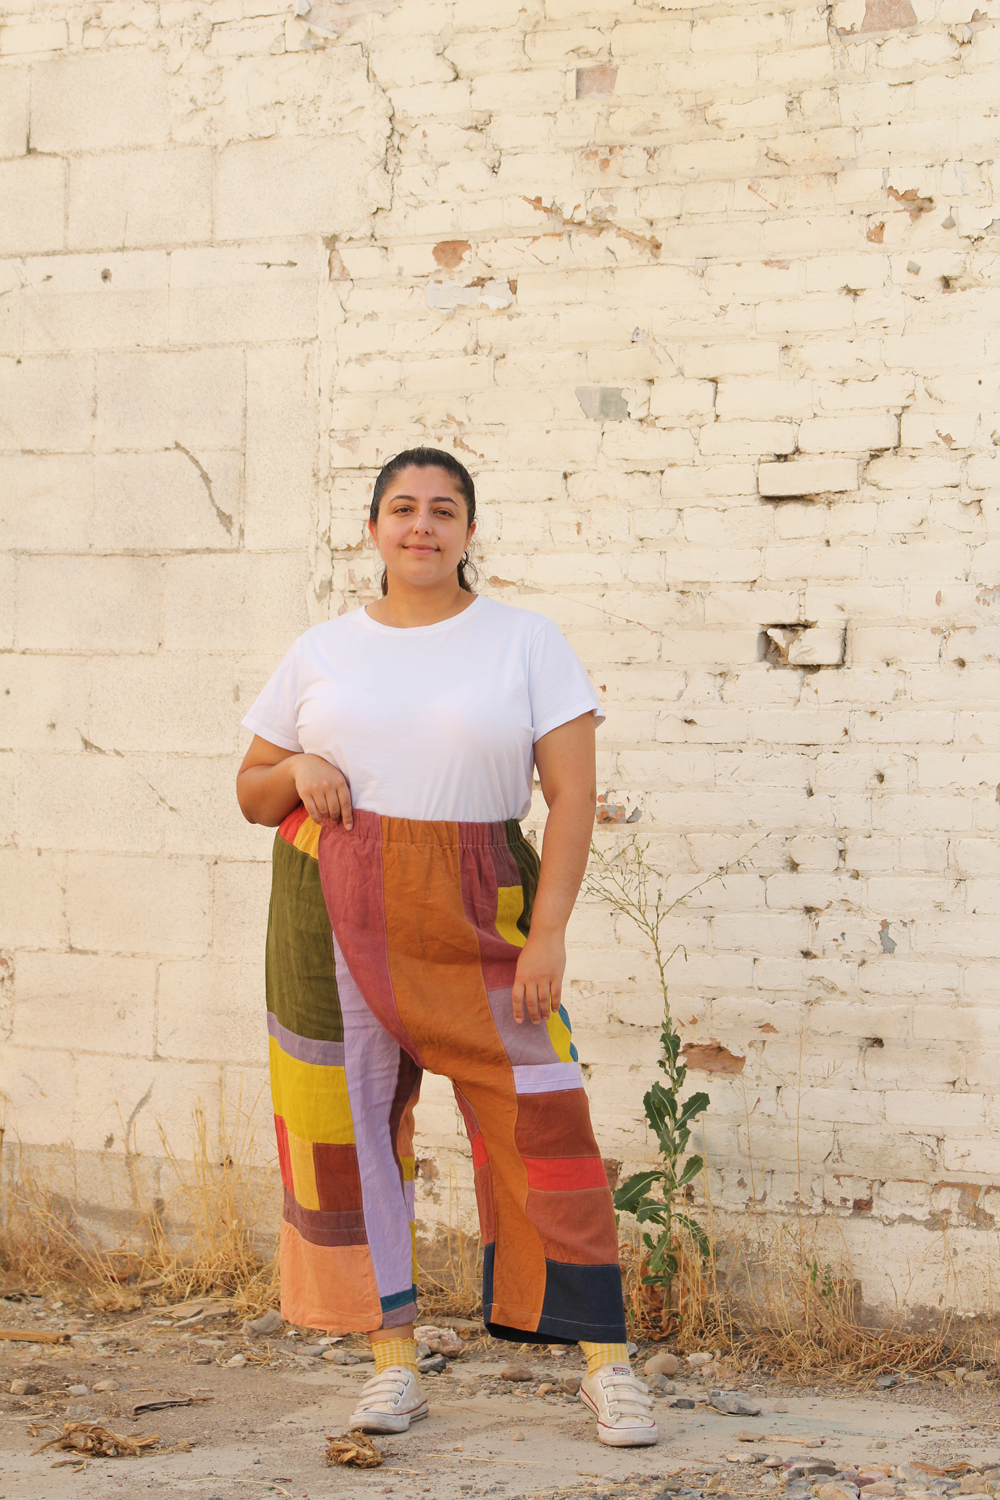
I used my hip measurement to choose my size, which placed me in size 49; however, I still wanted to retain the amount of gathers in the elastic waistband so I graded to a size 52 in the waist based on my waist measurement. I’m also 5’4” and the pattern is drafted for 5’6” so I removed 2” at the top shorten/lengthen line.
![]()

![]()
FABRIC
I found the fabric recommendation interesting as with a garment like this I’d usually assume it would just be mid weight fabrics, but in this case it is recommended to have lightweight to medium weight fabrics (but avoid fabrics with considerable drape). I opted for medium weight linen from Blackbird fabrics, Stylemarker fabrics and Salt Lake Sewciety. All linens are of magnificent quality. I chose these because they were the same weight, and all fell within the fabric recommendations for this pattern.
![]()
SEWING PROCESS
The sewing instructions are very straight forward, but if you have any trouble understanding any part of it there is a matching tutorial available on the Readytosew site along with Youtube videos (for me, this was mostly for the section where you create the wrap detail; the video makes it super easy). I’m an extremely visual sewist so there were two areas of the instructions that confused me and after emailing Raphaëlle it turns out there were two errors in the instructions. The first was the cutting layout where it shows to cut the pattern pieces facing right side up on the wrong side of the fabric. This works just fine, but the legs are then reversed resulting in the faux wrap being on the opposite side as intended. I ended up cutting my pattern pieces right side up on the fabric facing right side up.
The second element was in Step 21 where it states to put “wrong sides together” when joining the leg pieces at the front and back. This should be “right sides together”. A simple fix but one that could trip up an inexperienced sewist. Raphaëlle has confirmed that these are being rectified*, but in case you are looking at a copy before the fix, hopefully my experience can provide some clarity.
* Rectified and uploaded the: 18 of July 2022
![]()
![]()
CONCLUSION
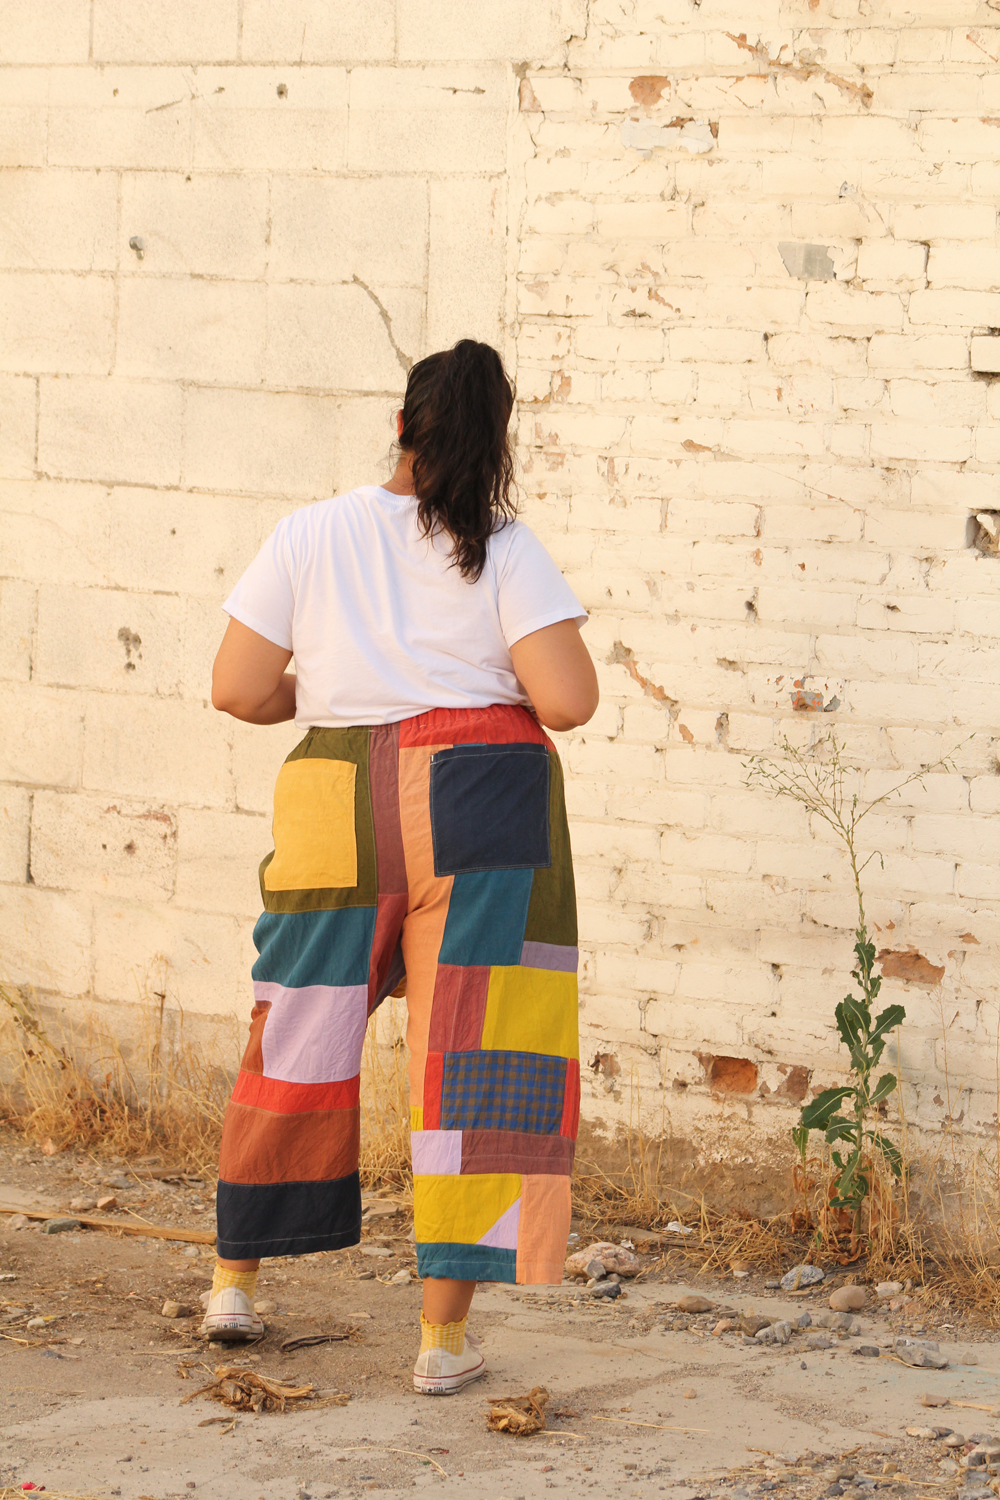
Overall, I really enjoyed making the pleat pants. The construction is a little different to what you would assume for elastic waist pants, but the tutorials and videos are there for the sections that cause any confusion. View 1, that I chose to do, only has 4 pattern pieces: the pocket, the waistband channel and the left and right legs. This is quite easy to put together but does require quite a wide fabric. I think I would have struggled to find fabric I loved in the width required had I not patchworked my own fabric with linen pieces. I love the feel of these in linen and highly recommend using mid-weight linen for your version. It’s light and breathable while still retaining the intended shape of the pattern. Raphaëlle was also a pleasure to work with and very helpful with any sizing questions I had, and with any confusion I encountered with the pattern itself. I thoroughly enjoy Readytosew sewing patterns and The Pleat Pattern definitely helped remind me why.
![]()
Comments
No comment at this time!
Leave your comment