How to draft a dolman sleeve
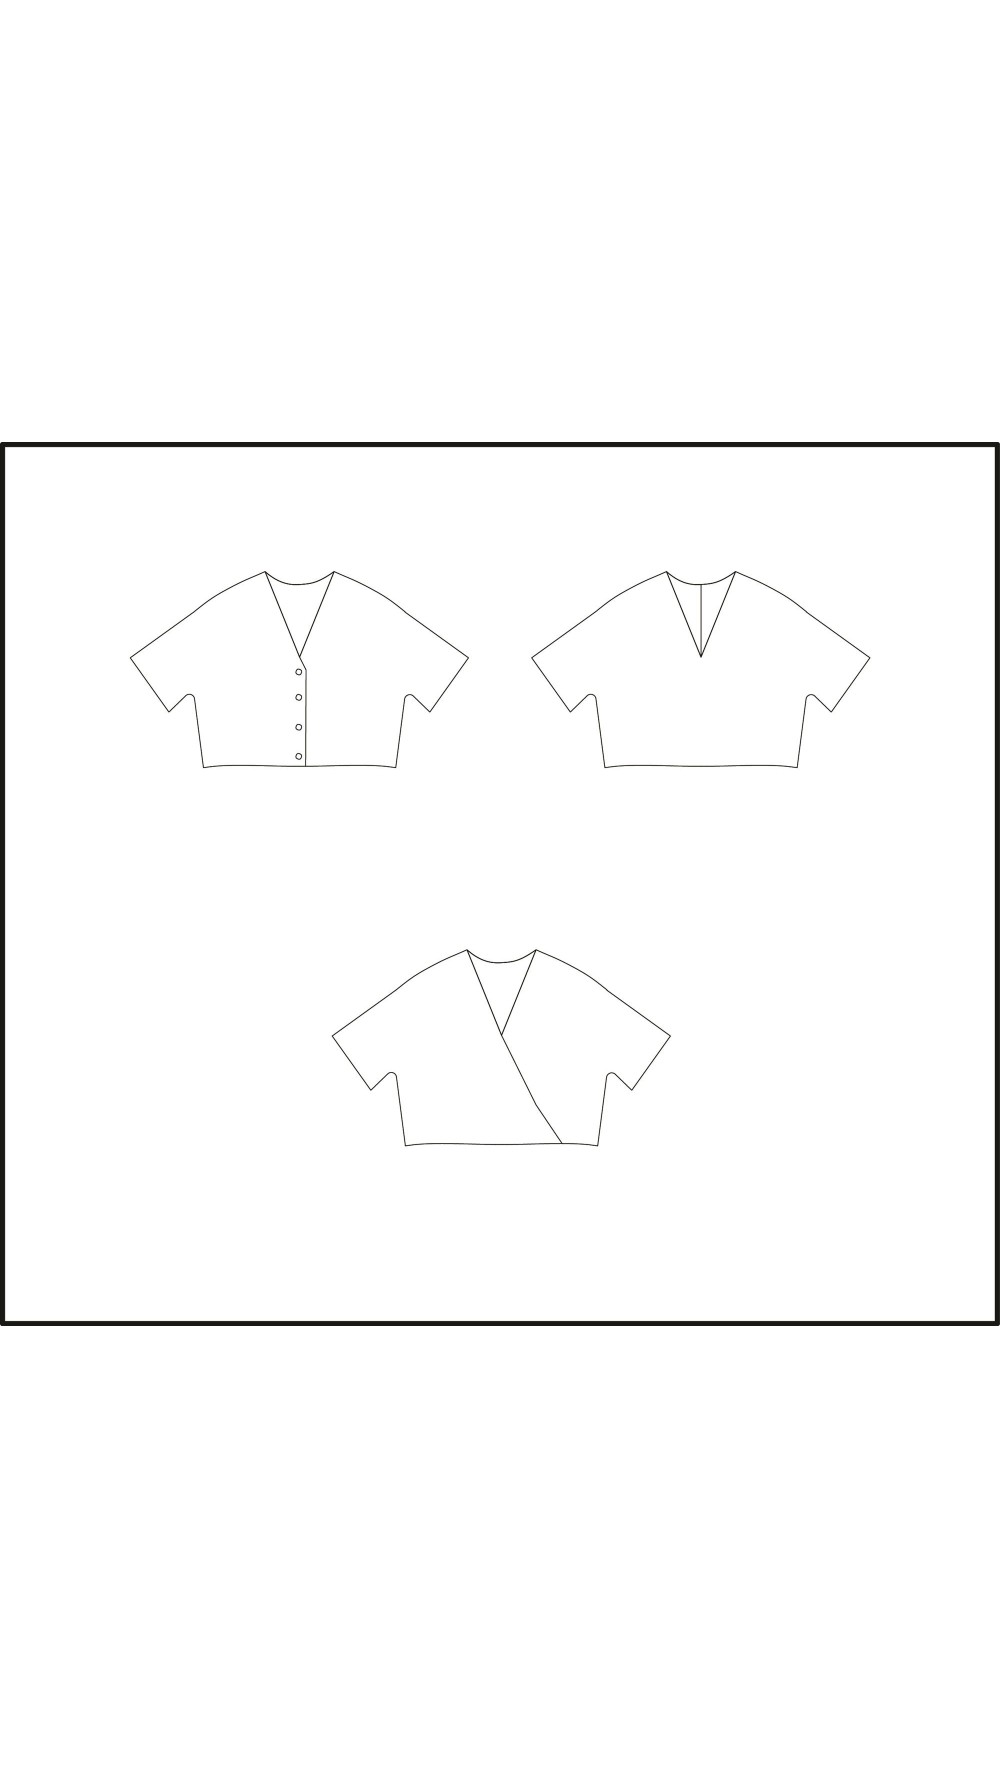
Today’s post is all about drafting a short dolman sleeve on the Jazz pattern. A dolman sleeve is a sleeve made from the same piece of fabric than the bodice. It is surprisingly simple to draft a dolman sleeve — you will be wearing your new garment before you know it !
ADVICE: if you need to make some adjustments to the pattern (FBA/SBA, lengthen/shortening ...) you should do that first.
For this tutorial, you'll need the dartless and sleeveless front and back bodices of the Jazz e-book.
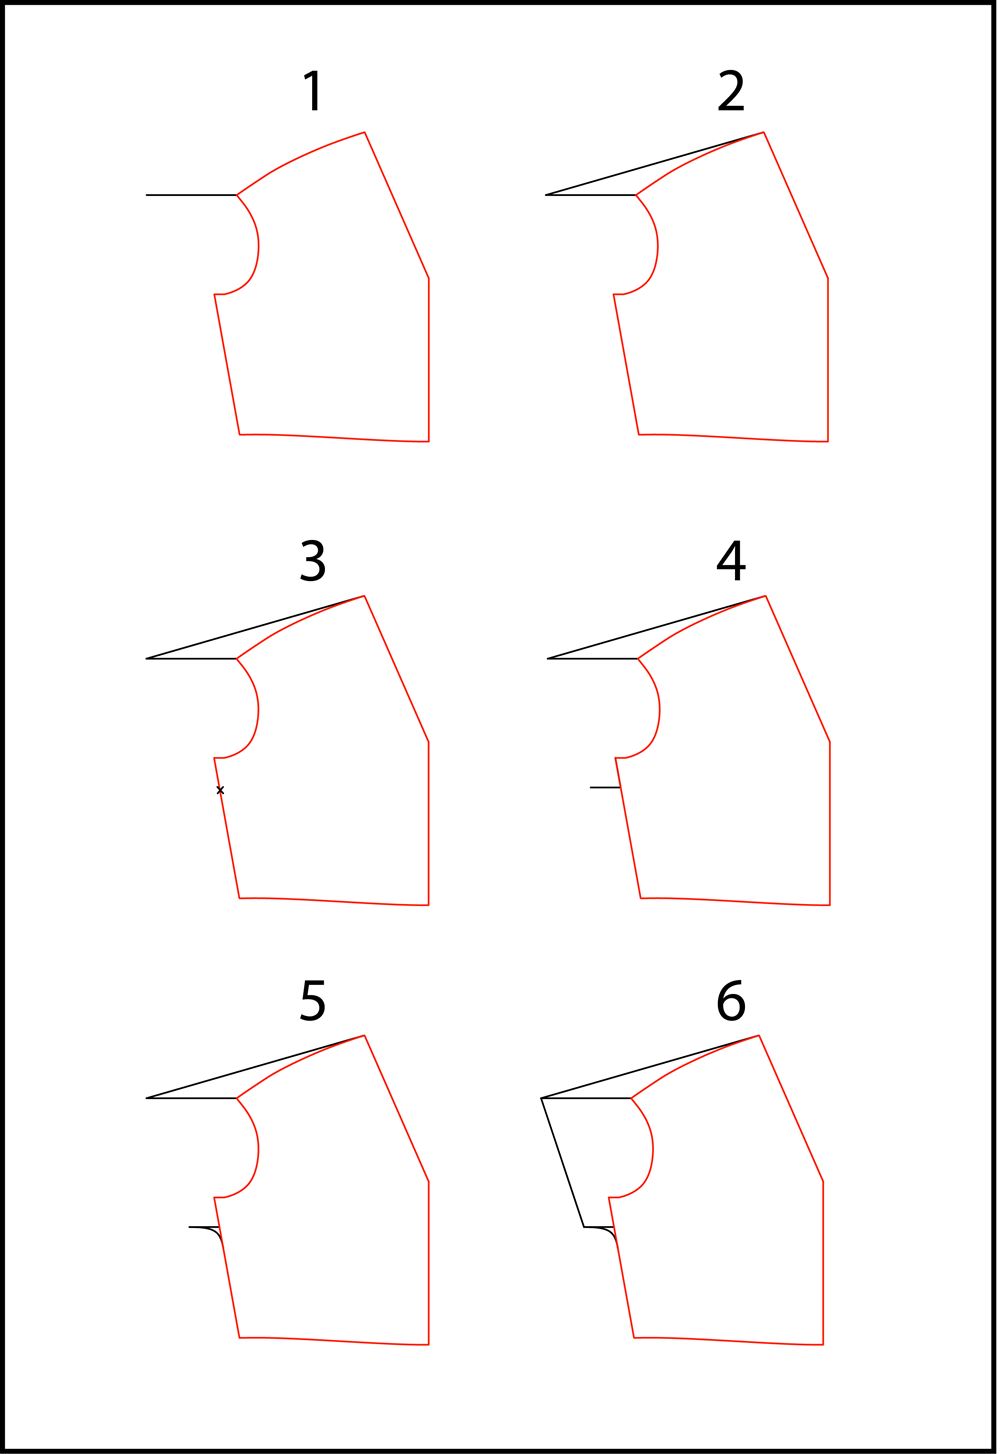 The front bust
Place a piece of paper behind the pattern.
Step 1
- Draw a 13 cm line from the shoulder end.
Step 2
- Join the end of the line to the neckline.
Step 3
- Place a mark 4 cm under the armhole on the side seam.
Step 4
- From that mark, draw a 5 cm line.
Step 5
- Join the end of the line to the side seam with a curve.
Step 6
- Draw the sleeve hem.
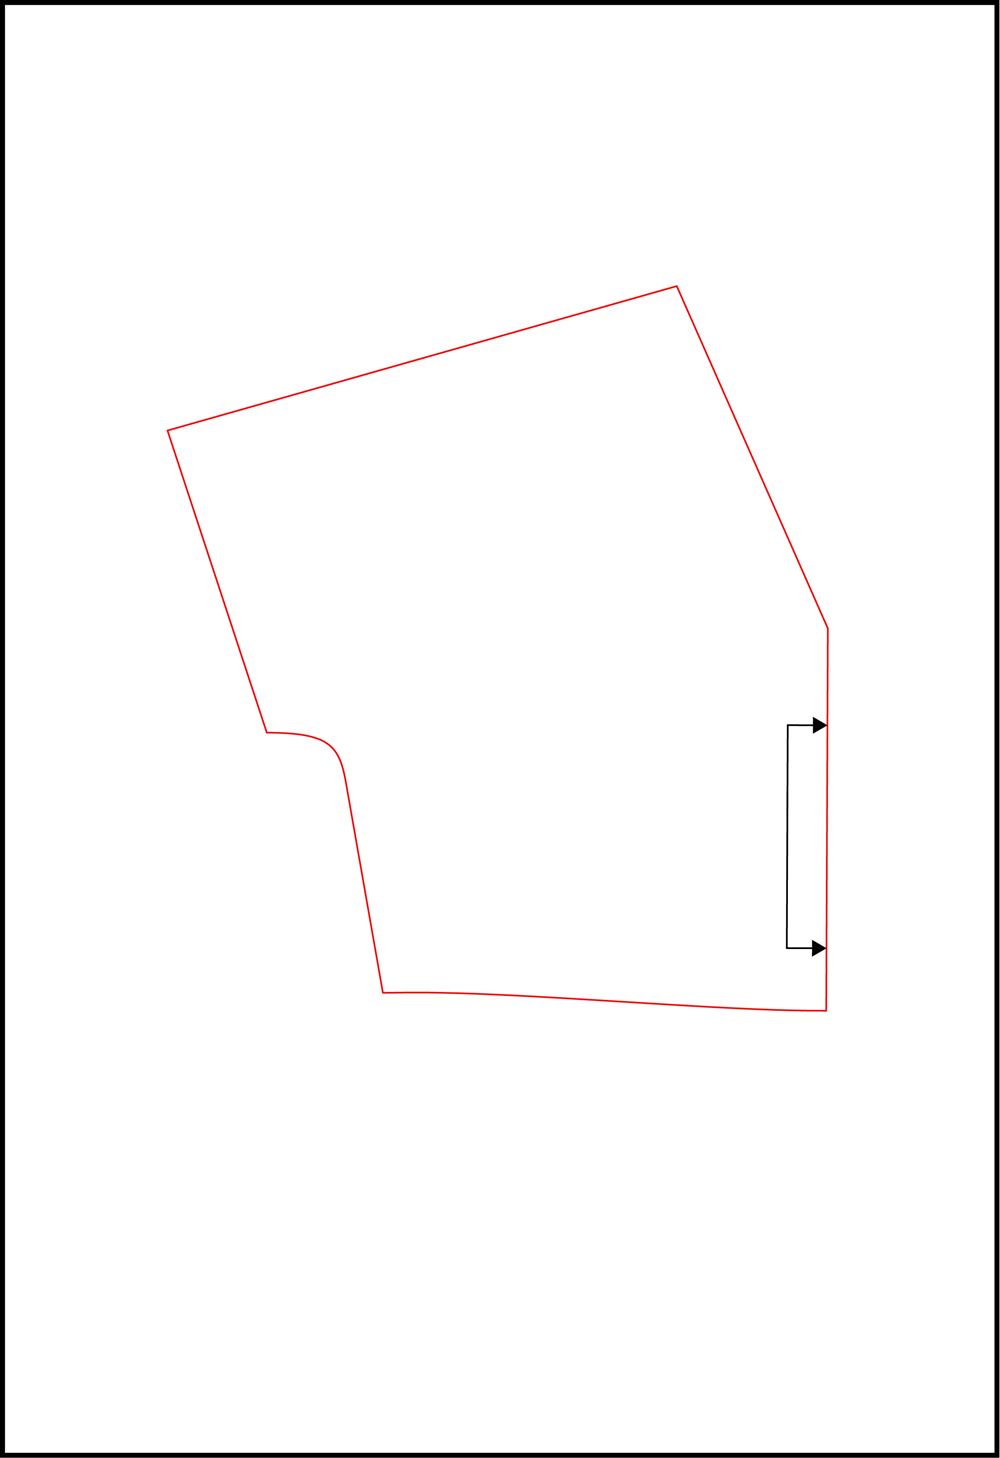 Cut or trace off your new pattern piece. Label your new pattern pieces and draw the grainline. All seam allowances and hems are included. The sleeve hem is 3cm (a little less under the arm).
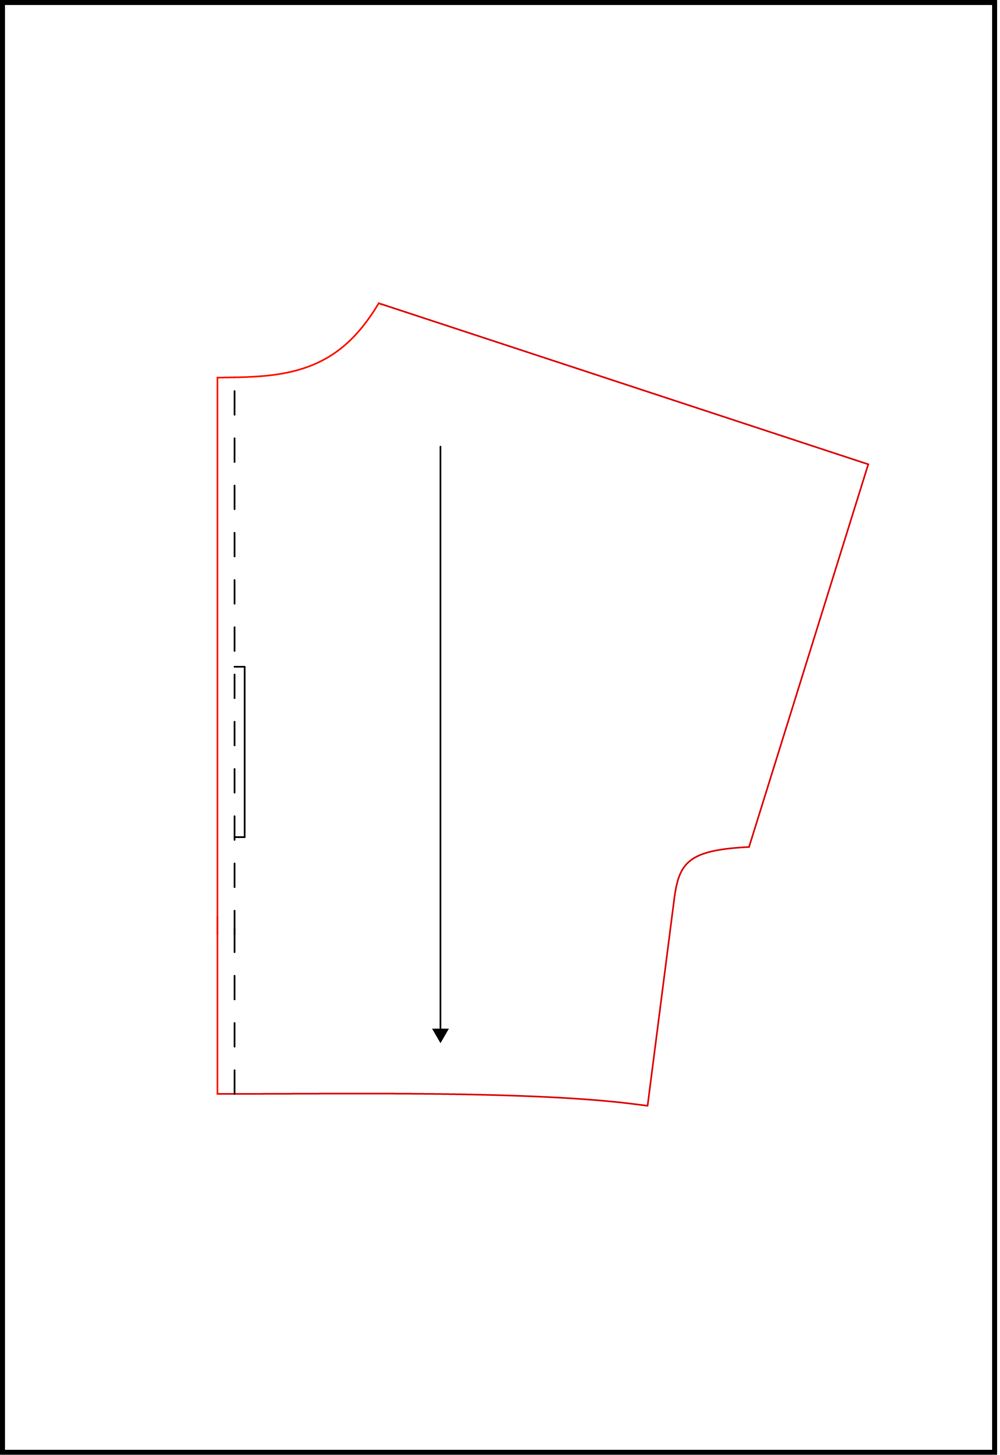 Repeat from step 1 to step 6 for the back bodice. Cut or trace off your new pattern piece. Label your new pattern pieces and draw the grainline. All seam allowances and hems are included. The sleeve hem is 3cm (a little less under the arm).
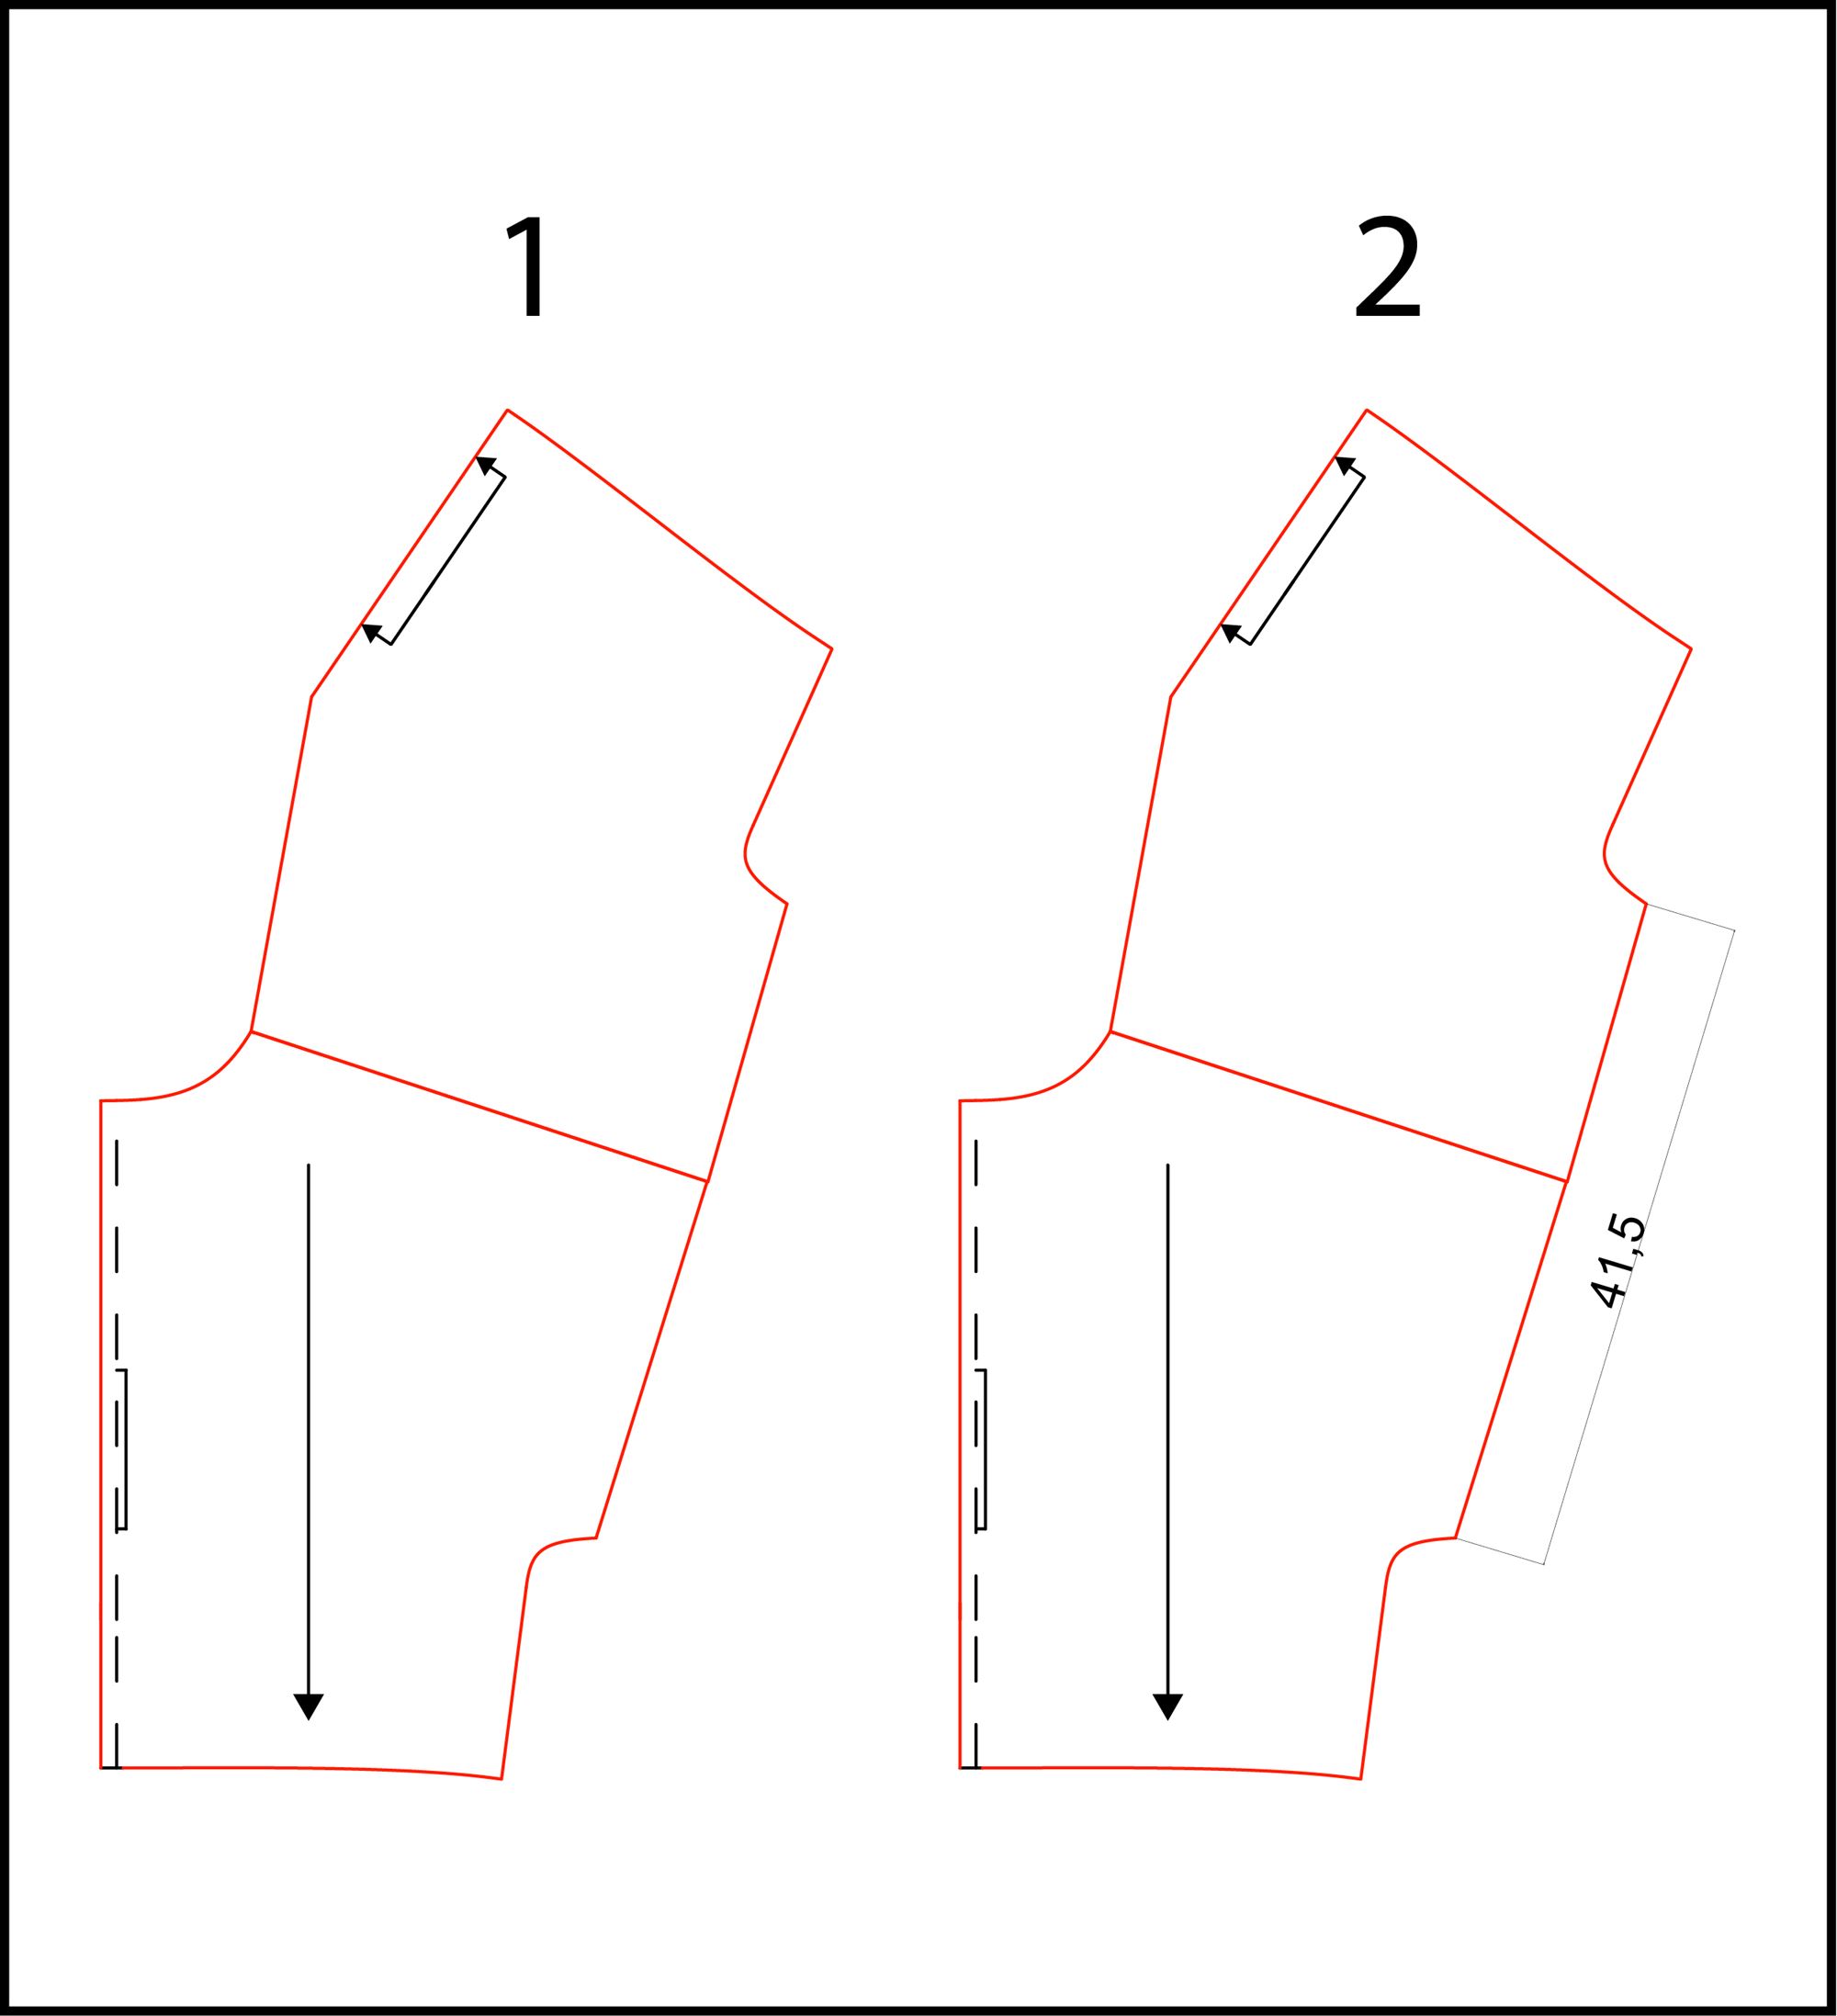 Check and adjustments
Step 1
- Align the front and back shoulder seams and check if the length are the same. Smooth out the hem line if necessary.
Step 2
- Measure the length of the sleeve opening (minus the 4 cm of seam allowances) Measure your biceps circumference. If you less than 8 cm of ease allowance, you may want to enlarge the arm opening. To do that, drop the arm opening the desired amount on both sides equally. For example, if you need to add 2cm of ease, drop the opening 1cm on both sides.
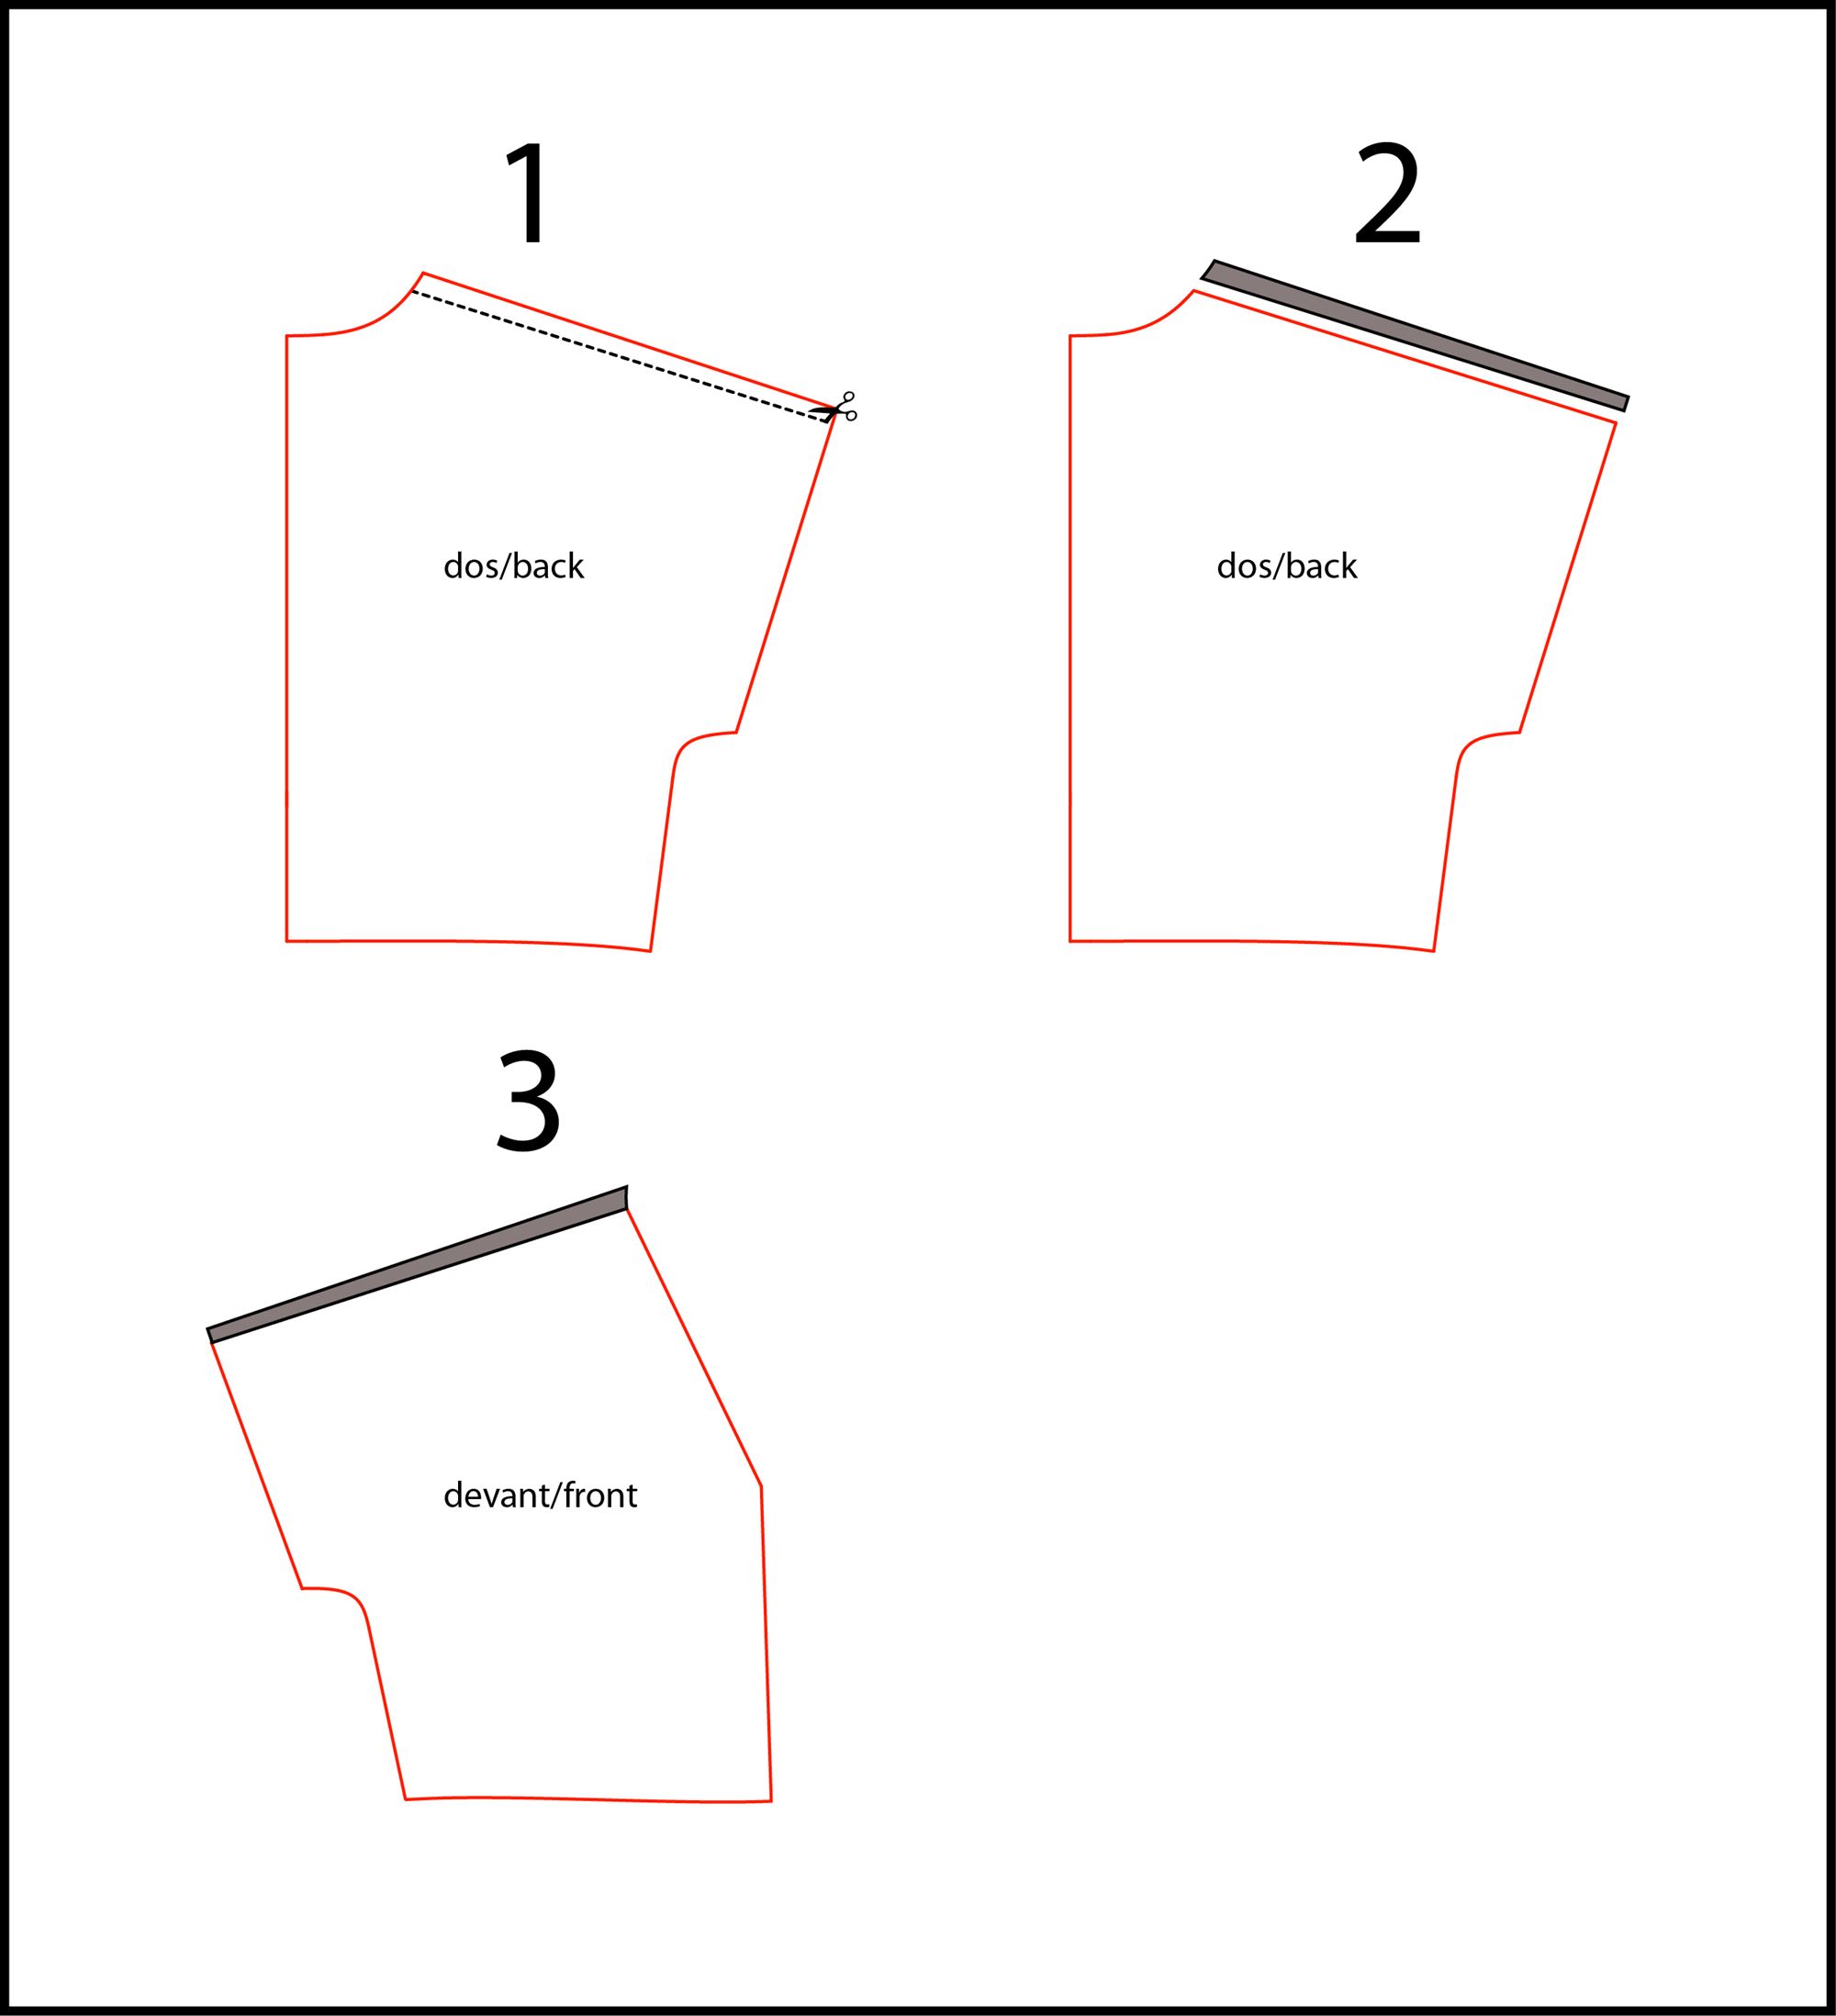
If you stop here, the shoulder seam wont be in the center of your shoulder, you're garment may also feel like it's pulling toward the front. We need to make a quick shoulder adjustment. To moove the shoulder seam we need to remove from the back and add to the front.
Step 1
- Place a mark 1,5 cm from the shoulder top and 1 cm from the shoulder end. Join the two marks with a line and cut across the line you've just drawn.
Step 2 and 3
- With edges touching, tape the piece of paper from back shoulder to front shoulder.
Adjust the front and back facings and you're ready to go !

Le patron utilisé pour ce tutoriel ne comporte pas de pinces poitrines, c'est la version sans pinces du buste.
Très bonne couture,
Raphaëlle
Merci par avance