How to gather using clear elastic

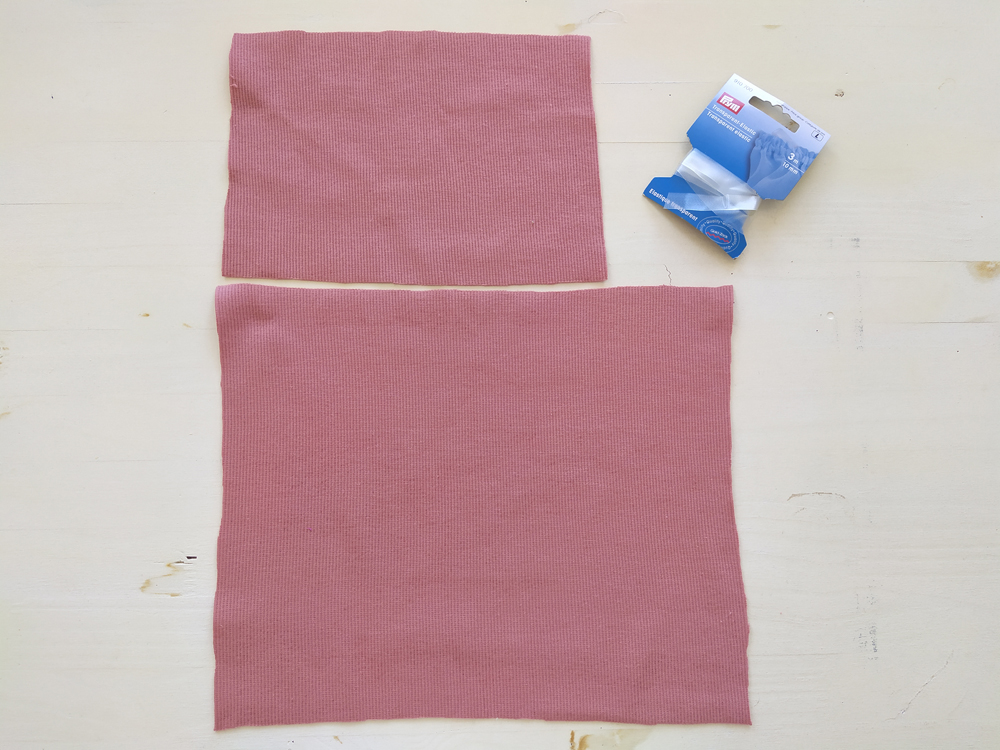
Today we will learn how to use clear elastic to gather some fabric. You can use this technique to make a dress using the Primo or Jeanne Tshirt pattern following this tutorial.
Clear elastic is elastic that is clear. The primary purpose of clear elastic is to stabilize seams and neckbands in garments that will be stretched a lot or “heavy” once completed.


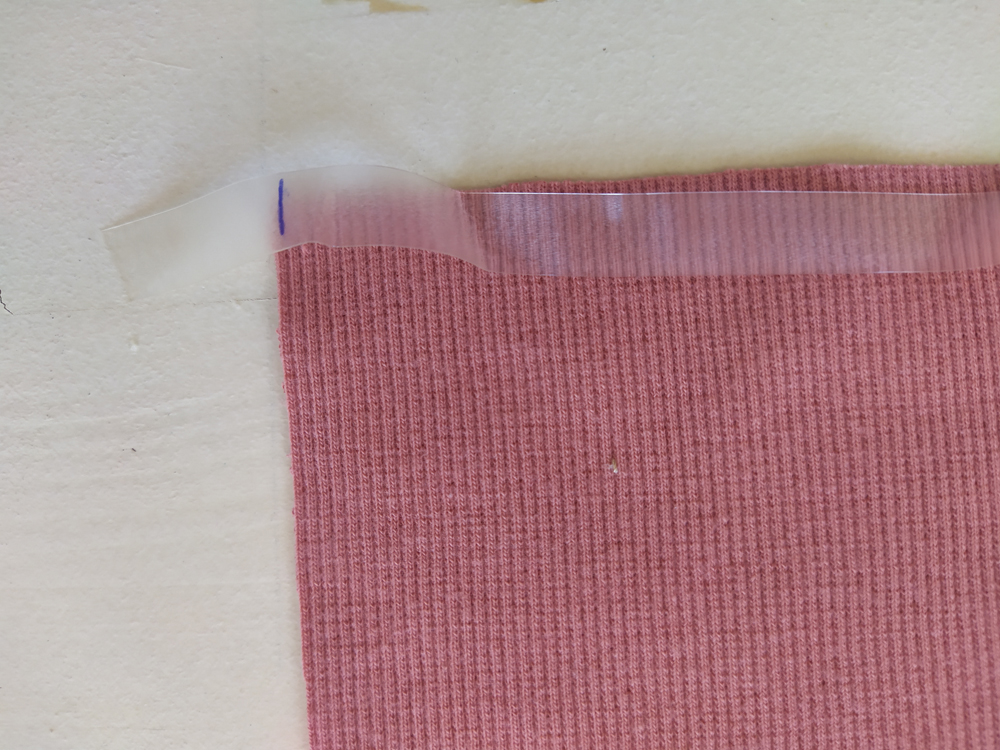
 1: First, identify how long the elatic needs to be. If you’re gathering a skirt for a dress, it will need to be the same width as the bottom of the bodice you’ll be attaching the skirt to + 6 cm. Leaving enough elastic to create 3 cm tails on each sides will help you have something to hold on to and stretch as you sew. Mark the start and stop points on your clear elastic.
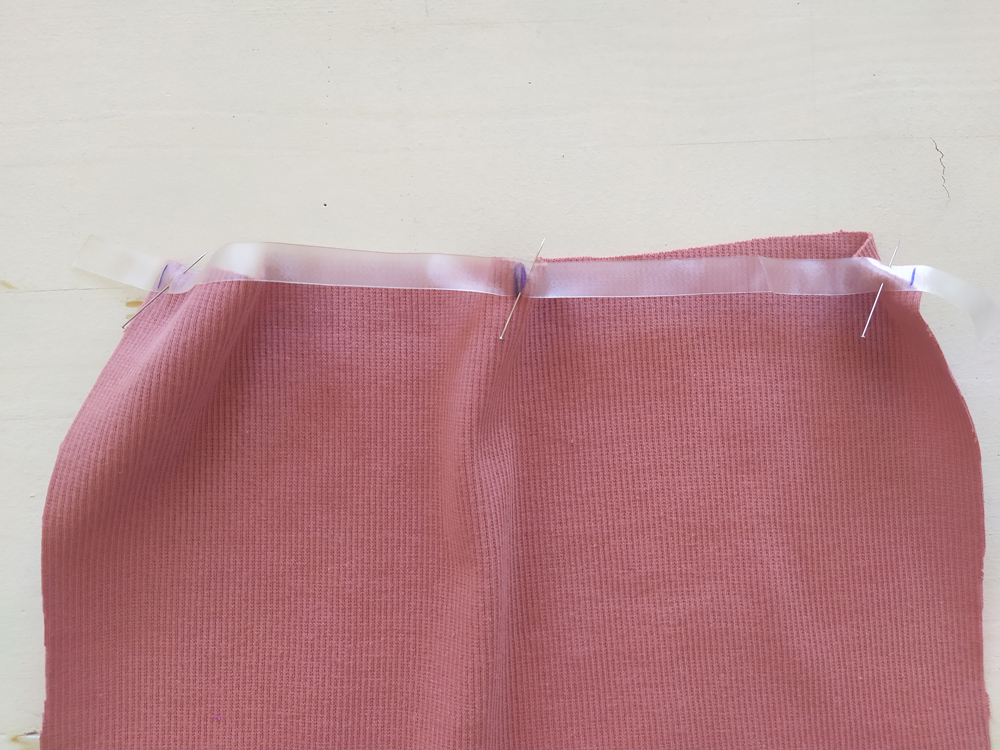 2: Pin the starting point along the raw edge of the bottom pattern piece and the center of the elastic to the center of the pattern piece. Right sides together.
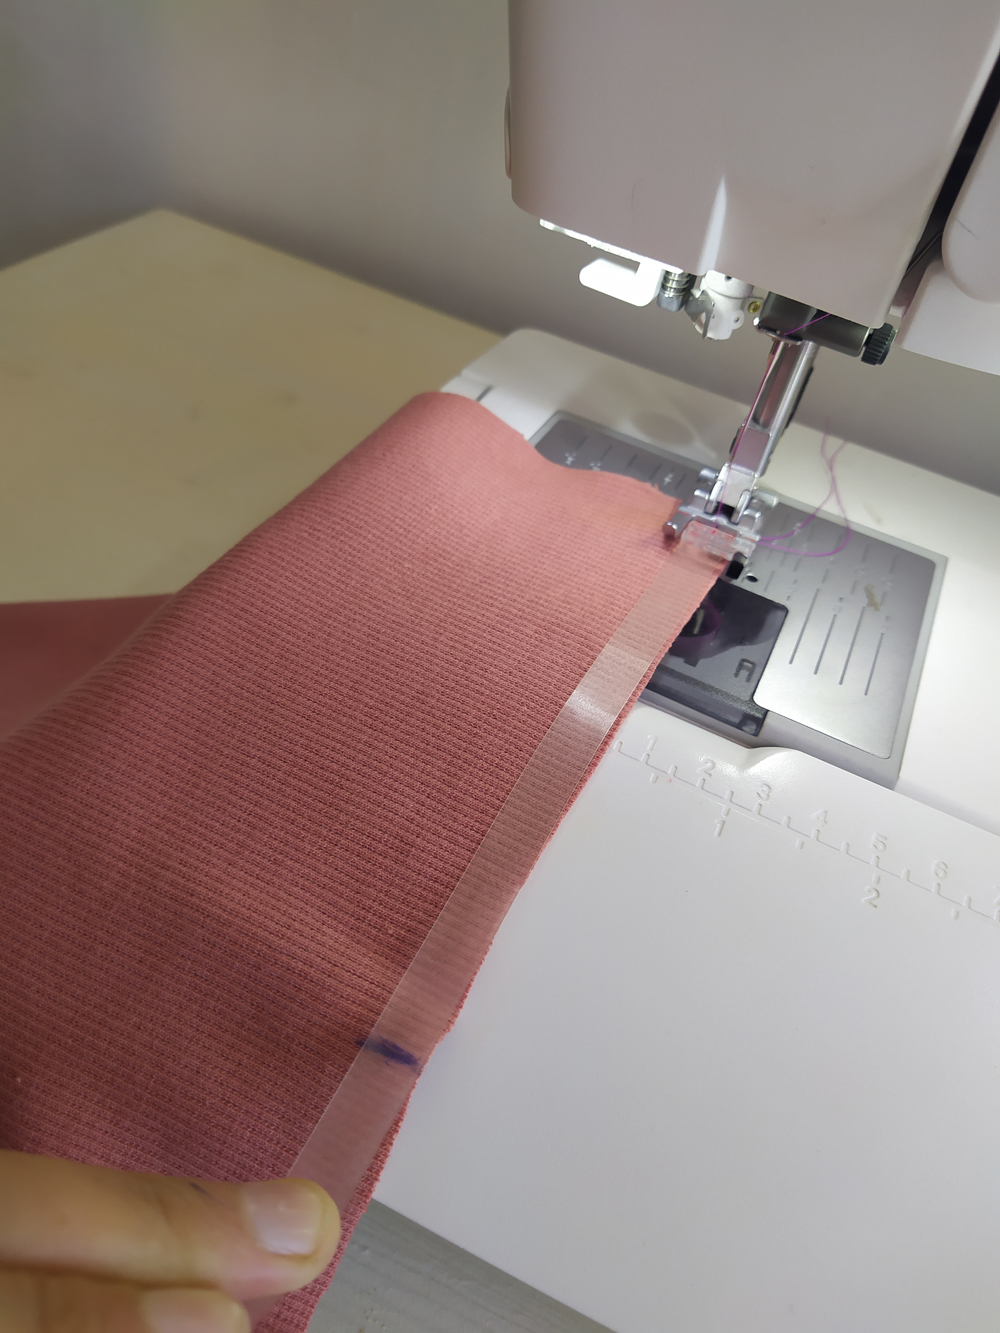
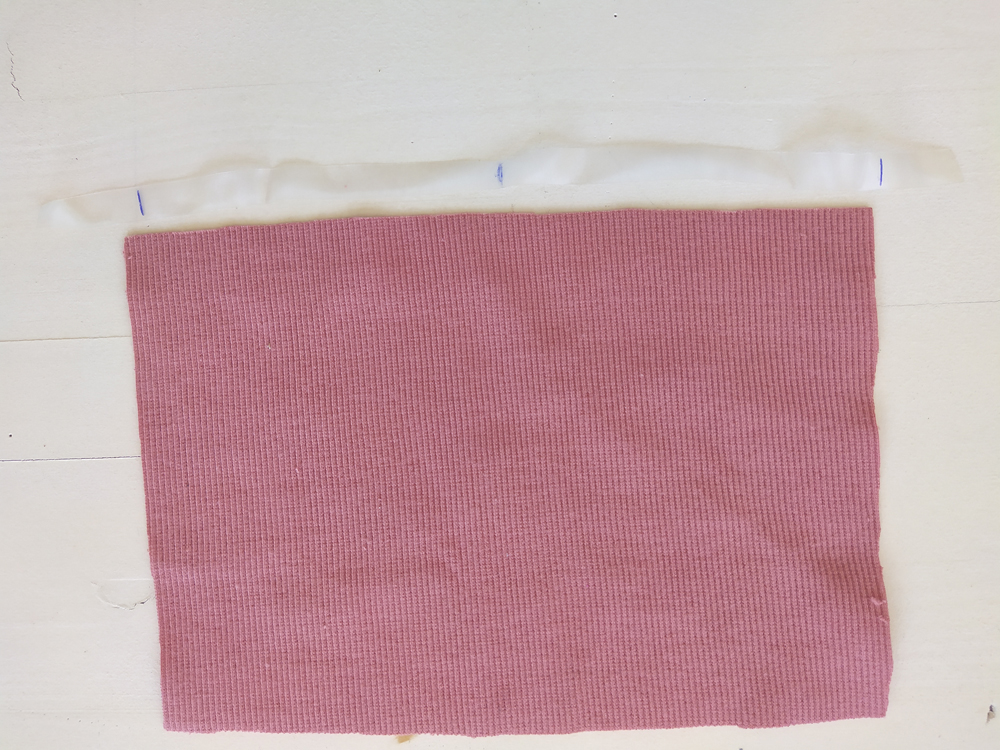
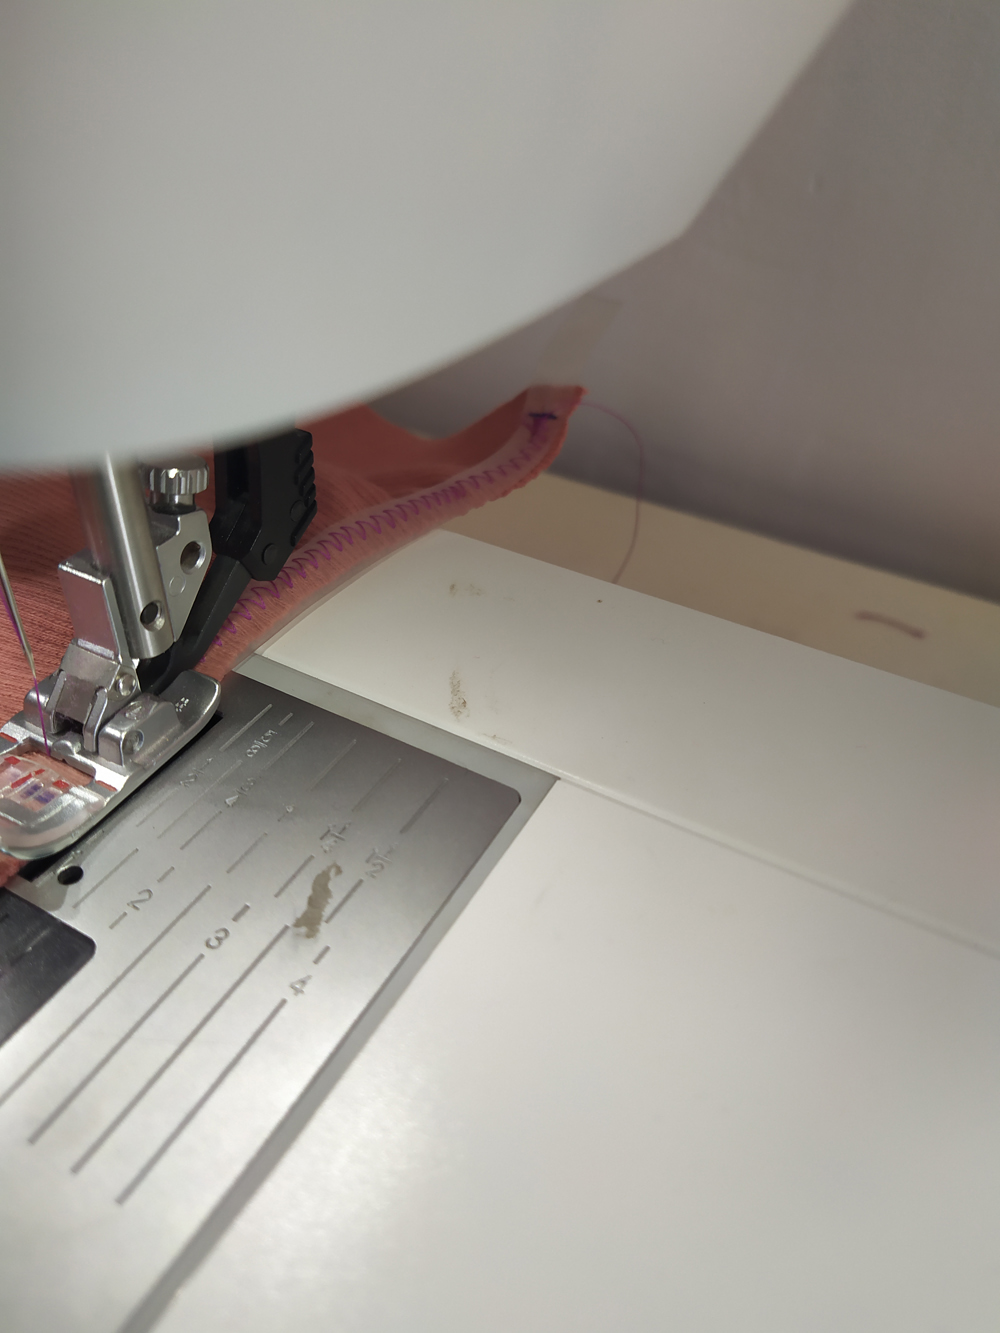 3: Place your fabric and clear elastic in your machine – elastic under the foot. Try to position the ‘start’ tail near or under the needle so the elastic will be grabbed quickly. Once the fabric and elastic has been grabbed and is being sewn together, stop sewing with the needle(s) lowered. Stretch the elastic to align the center point with the center of your fabric and sew and then align the stopping point and sew !
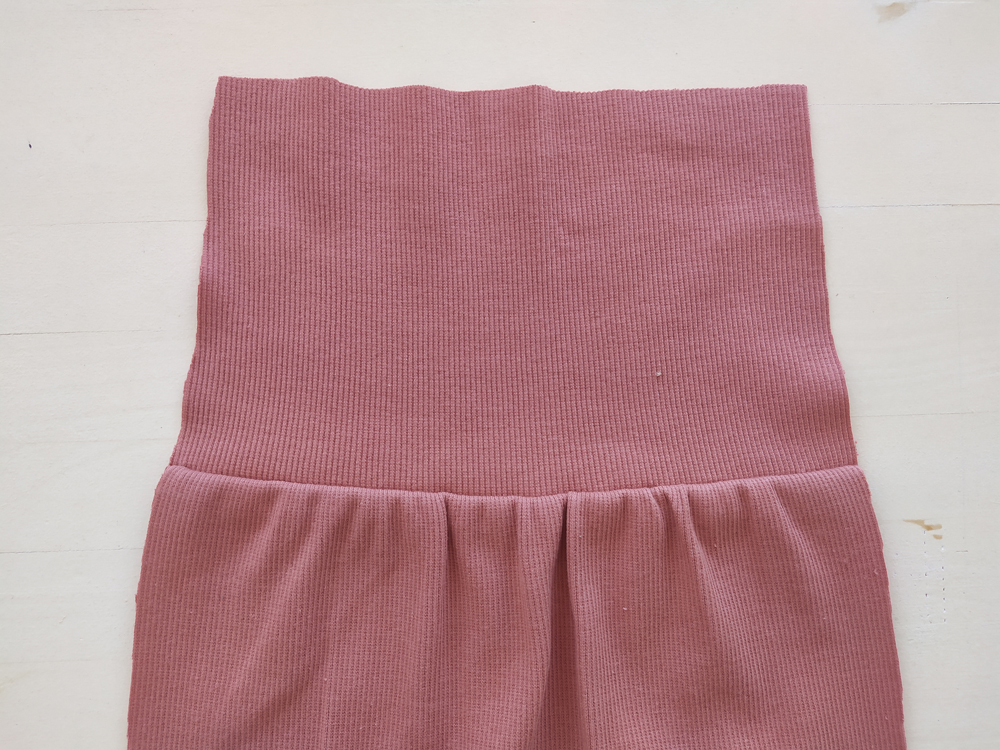
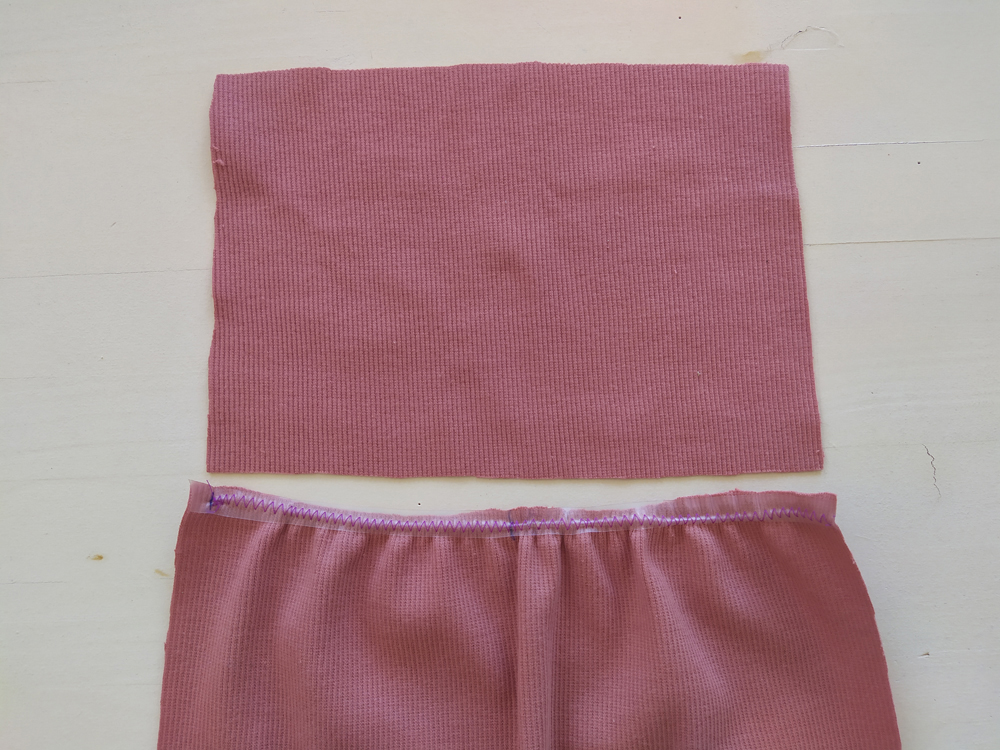 4: Now the top and bottom parts are the same width.
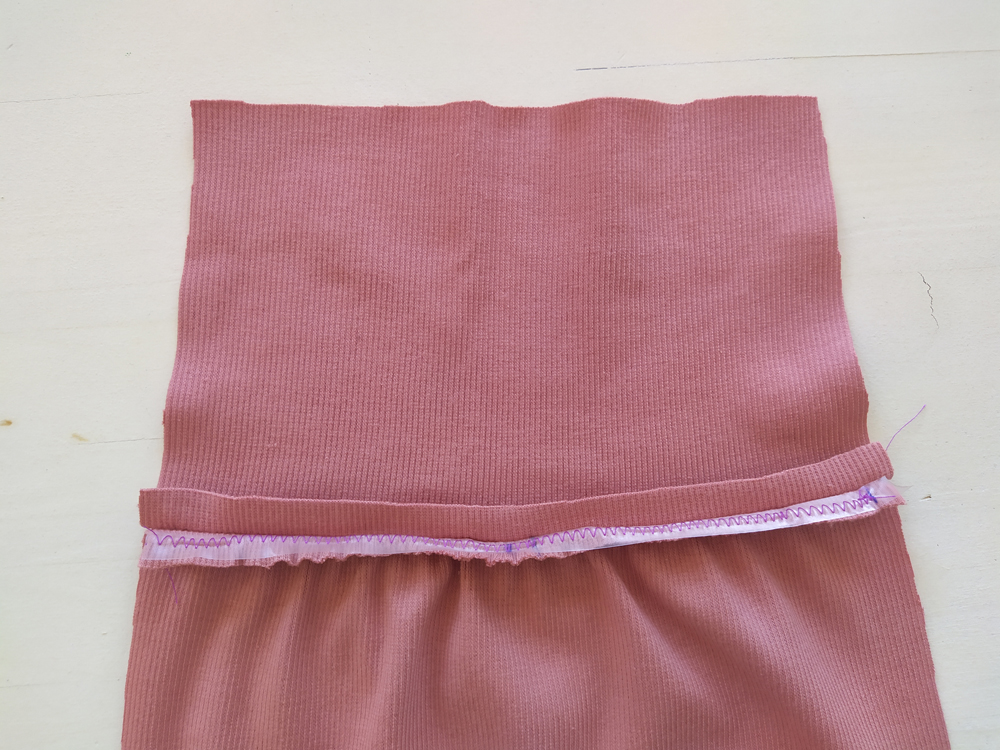
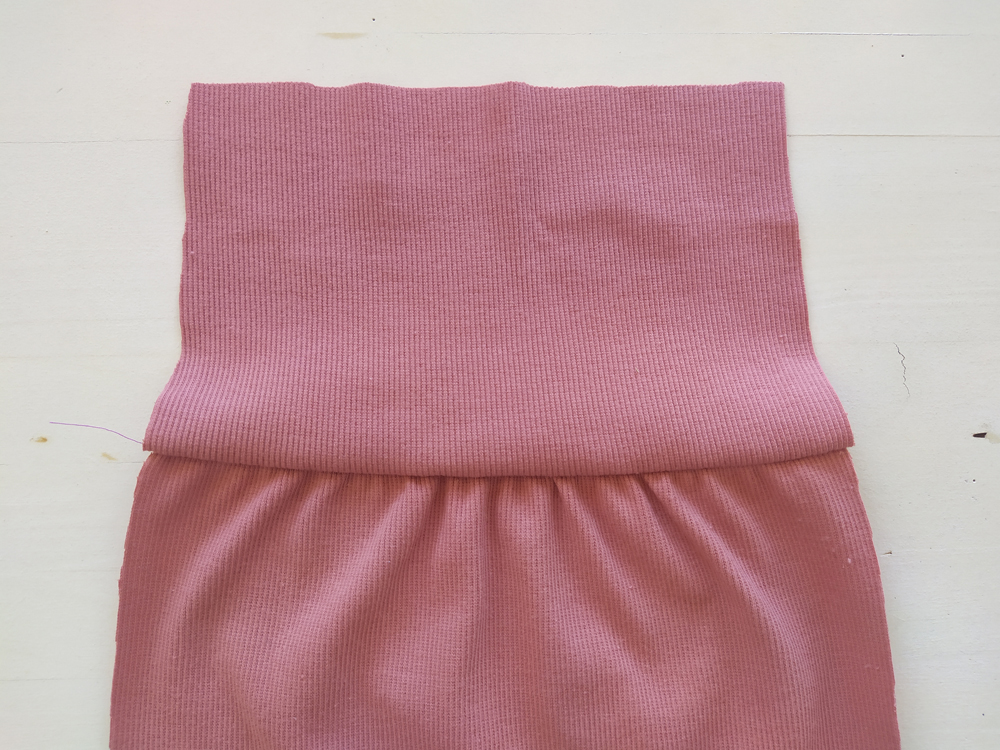 5: Now complete the construction of your dress: pin and sew your skirt panels to the bodice using an elastic stitch or a serger.
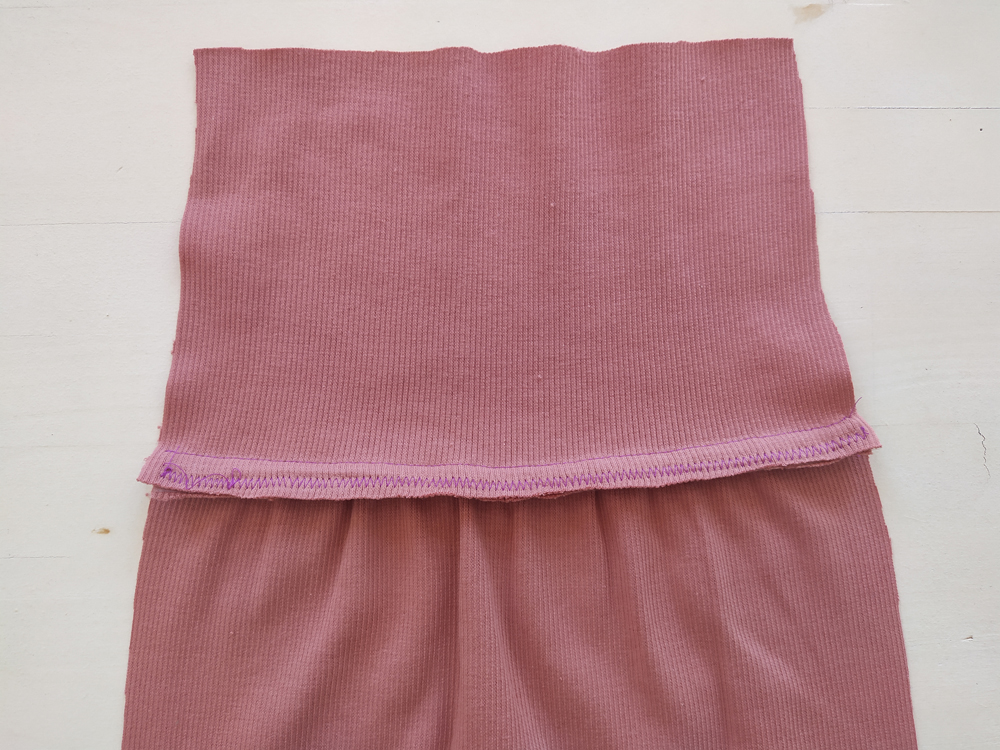
 6: If you are using a regular sewing machine, serge your seams together so the elastic will be enclosed and will never touch you skin and press the seams towards the bottom of the dress. Then sew the side seams of your dress according to the instructions.
Voilà, c'est terminé!
Comments
No comment at this time!
Leave your comment