Pattern hack: The jean-Paul boilersuit with a zip front, part 2

Sew along with us as we walk you through the Jean-Paul zip front boilersuit (first, you need to alter the pattern using the pattern hacking tutorial by Michèle)
Sewing the Jean-Paul boilersuit with a zip front is much easier than the original pattern. It's a pretty simple make with less details than the original boilersuit. No more front and back pleats, no more waistband, no more fly and of course no button placket (adios buttons and buttonholes!). This version of the jumpsuit is also very nursing friendly ;-)
![]()
The bust darts
Sew the bust darts as shown in the original sewing patterns instructions (step 3 and 4).
The chest pockets
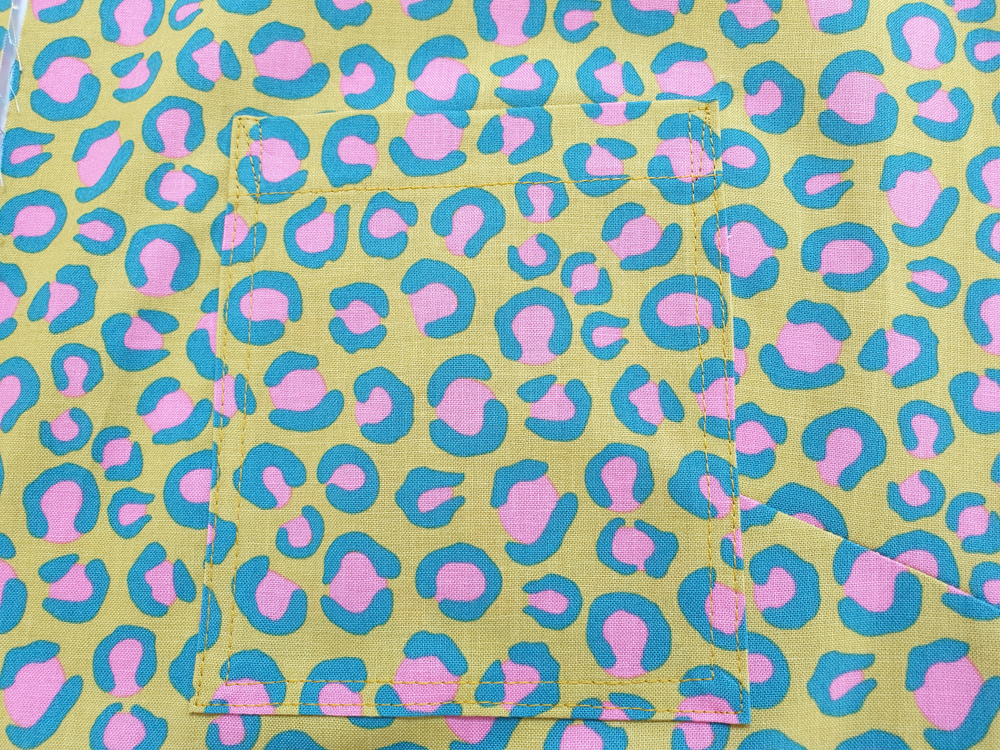
Sew the chest pockets as shown in the original sewing pattern's instructions (steps 14, 15 and 16).
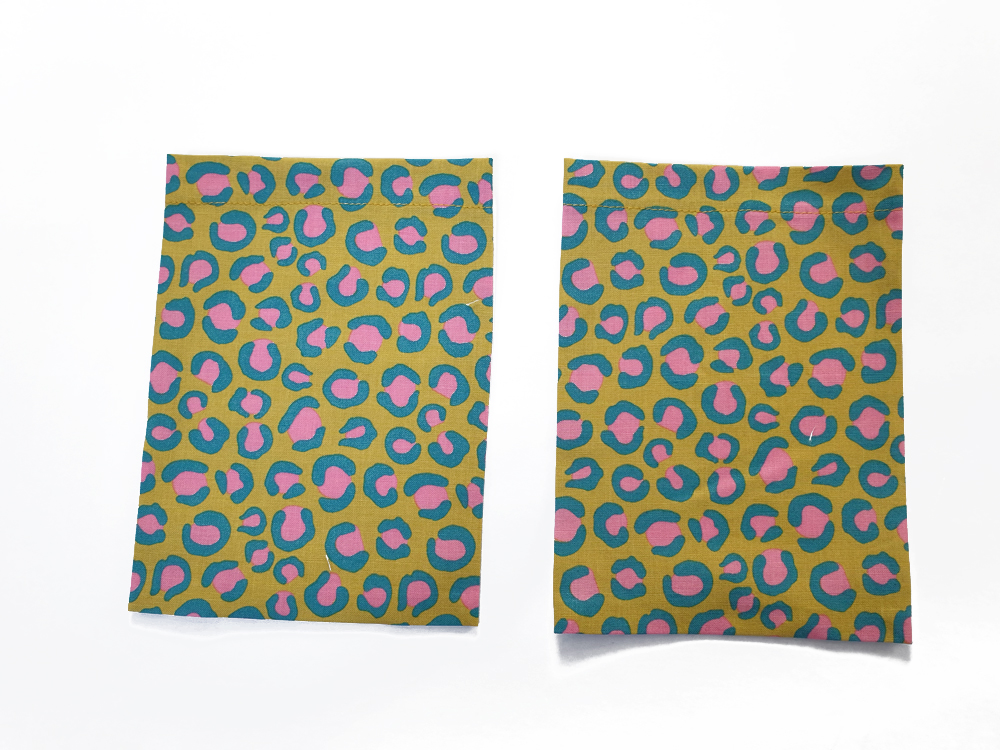
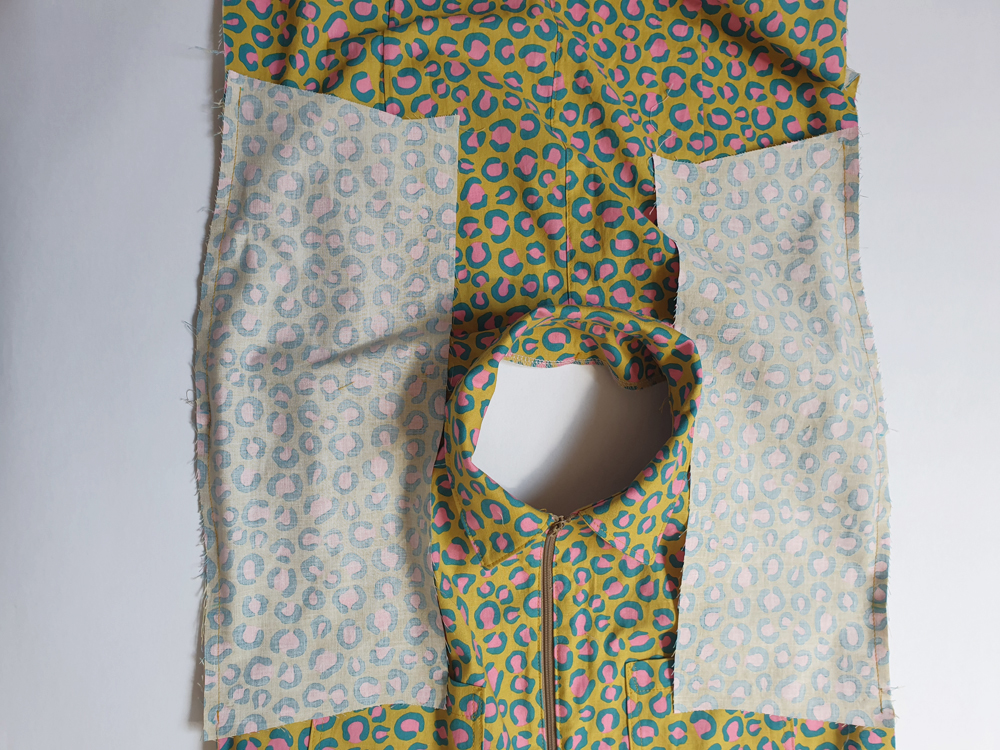
The front pockets
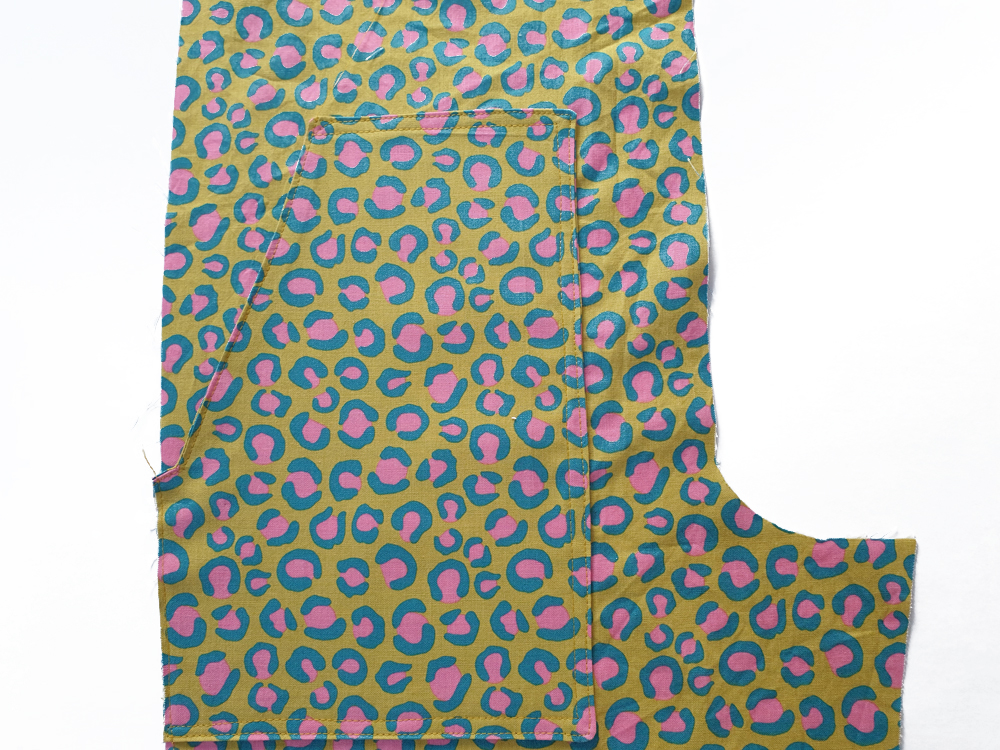
Sew the pockets and pocket linings as shown on the original sewing pattern's instructions (steps 36, 37 and 38).
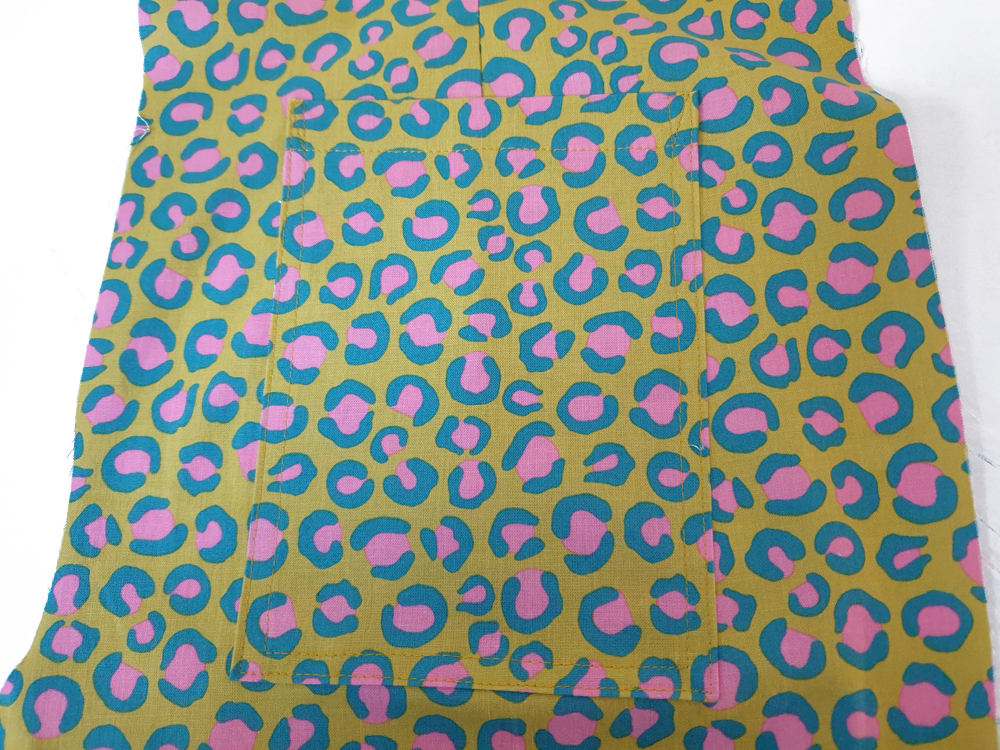
Before sewing the pockets on the jumpsuit, check their placement in terms of height by pinning a pocket on the front and facing a mirror with the front half against your body. When you are satisfied with the placement, stitch the pockets according to the instructions on the original sewing pattern.
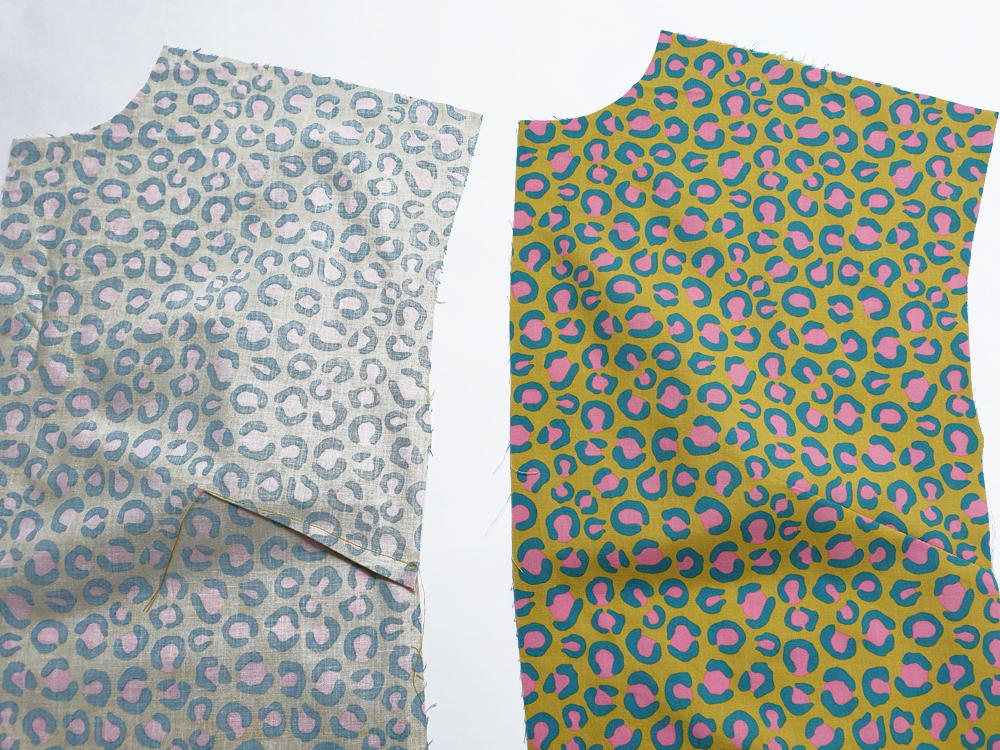
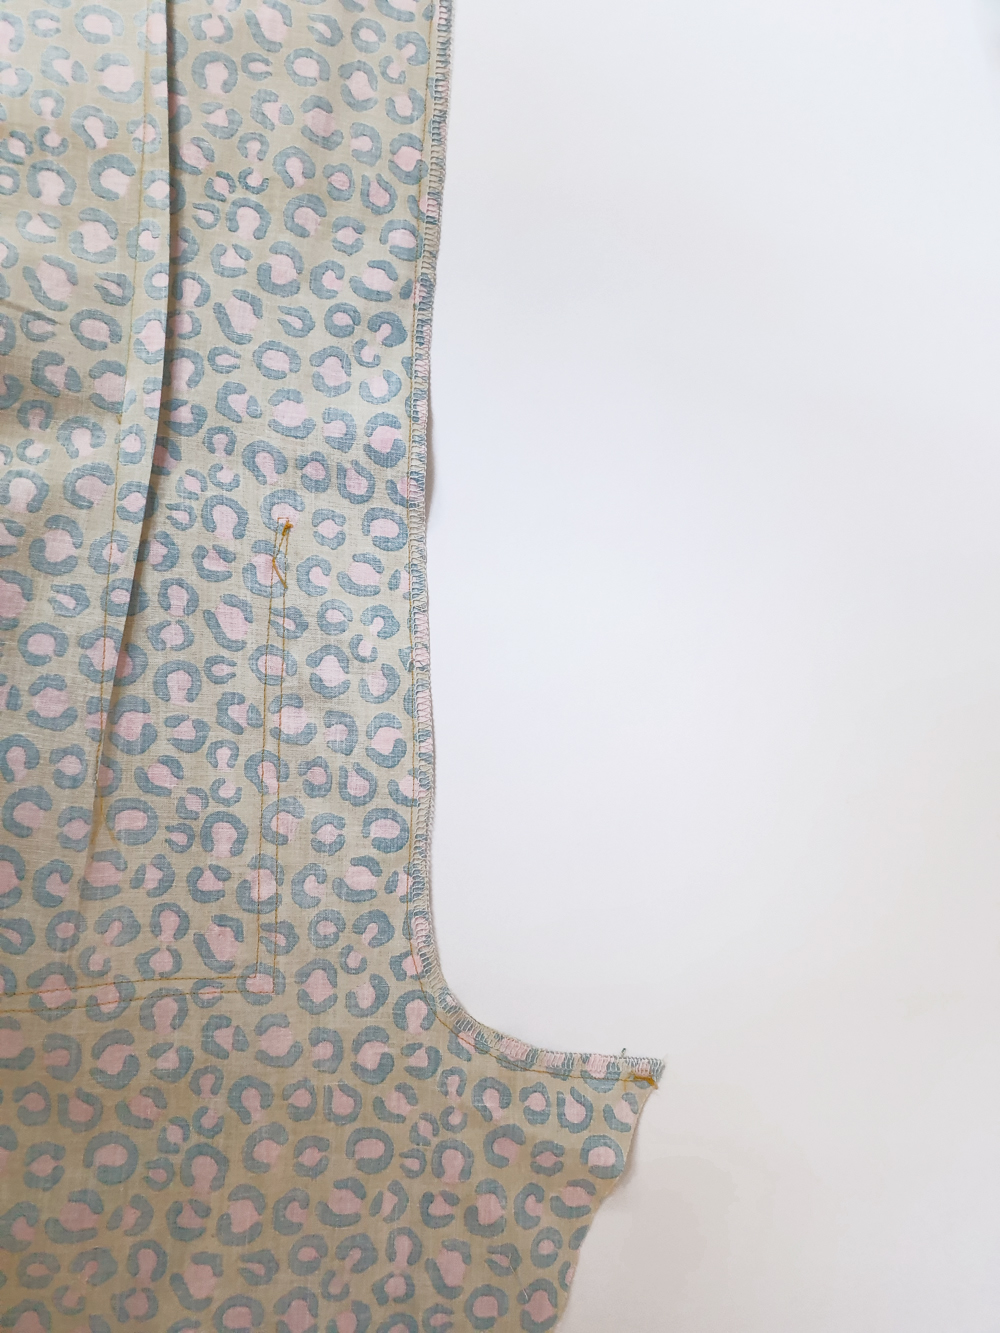
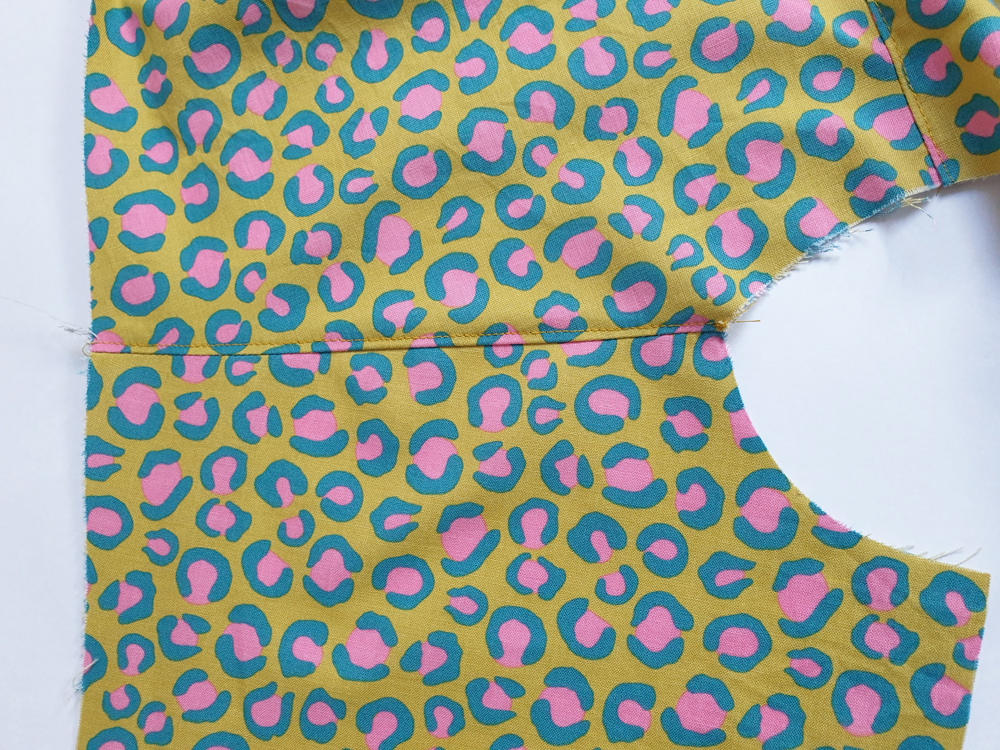
The back darts

To form the back darts, fold the back half in half, right sides together and stitch following the markings. Iron the dart towards the center back.
The back pockets
Assemble and sew the back pockets following the original sewing pattern's instructions (steps 50 and 51).
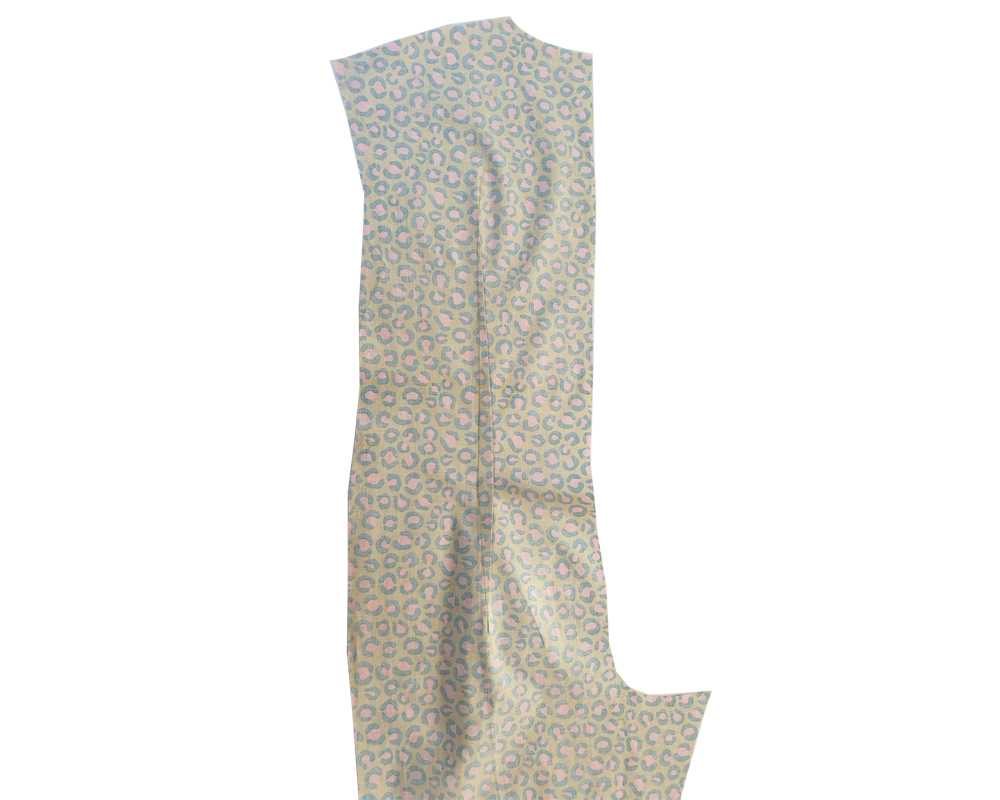
The back
Sew the center back bodices together and serge seams together. Press the seam allowance towards the left.
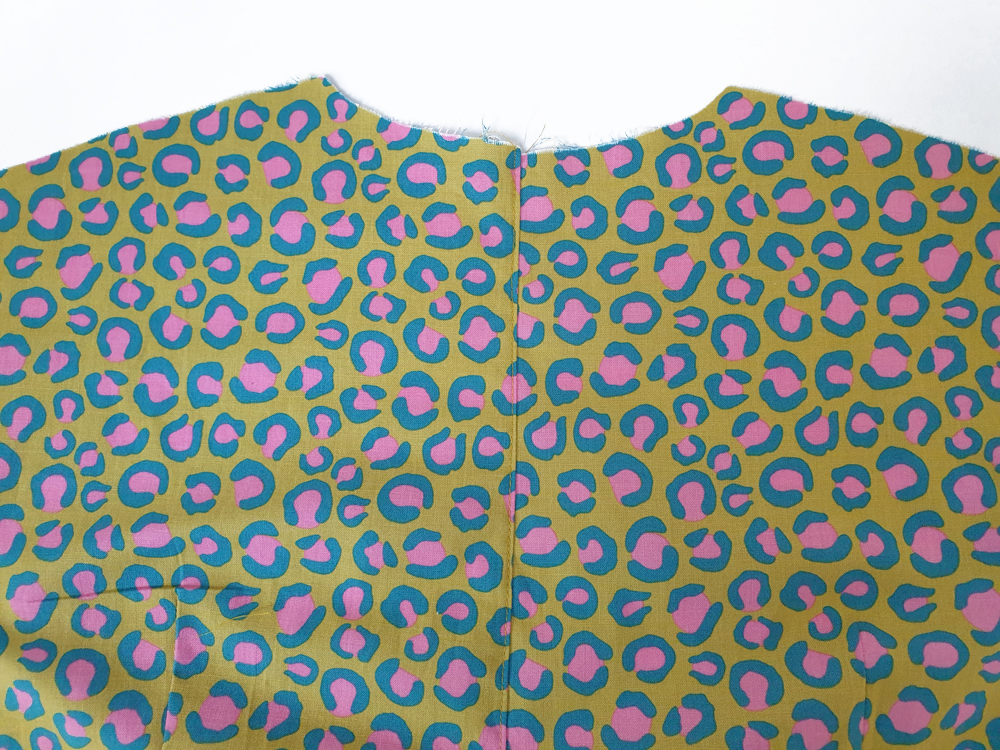
Topstitch.
The shoulders
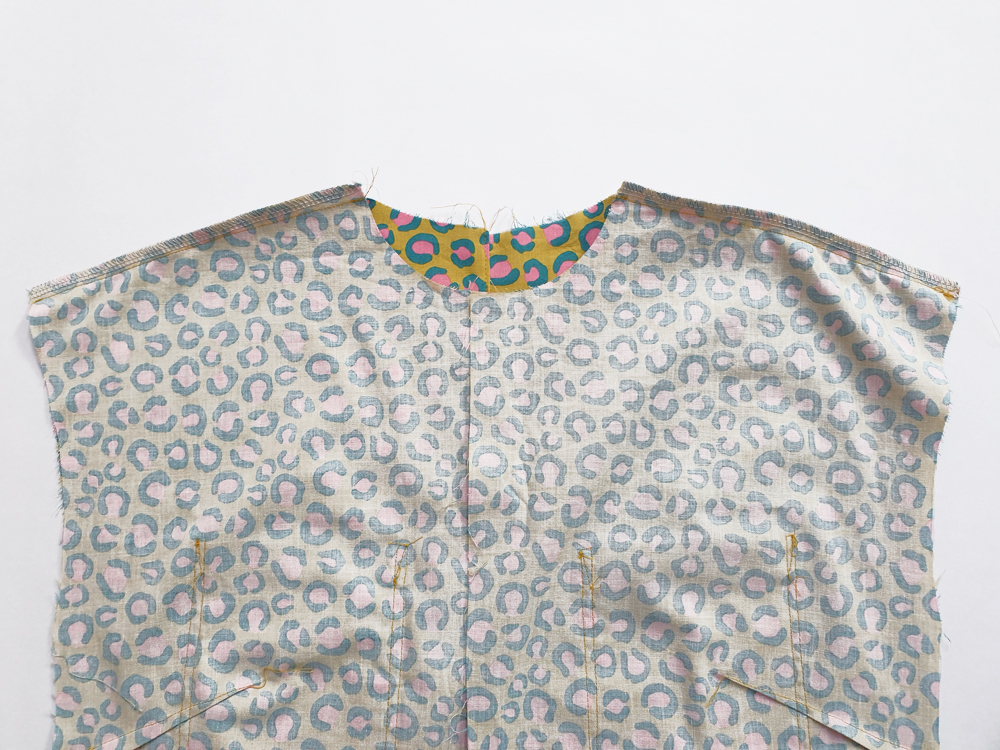
Sew the front and back shoulders right sides together. Serge seams together and press the seam allowance towards the back.
Topstitch.
The front zipper
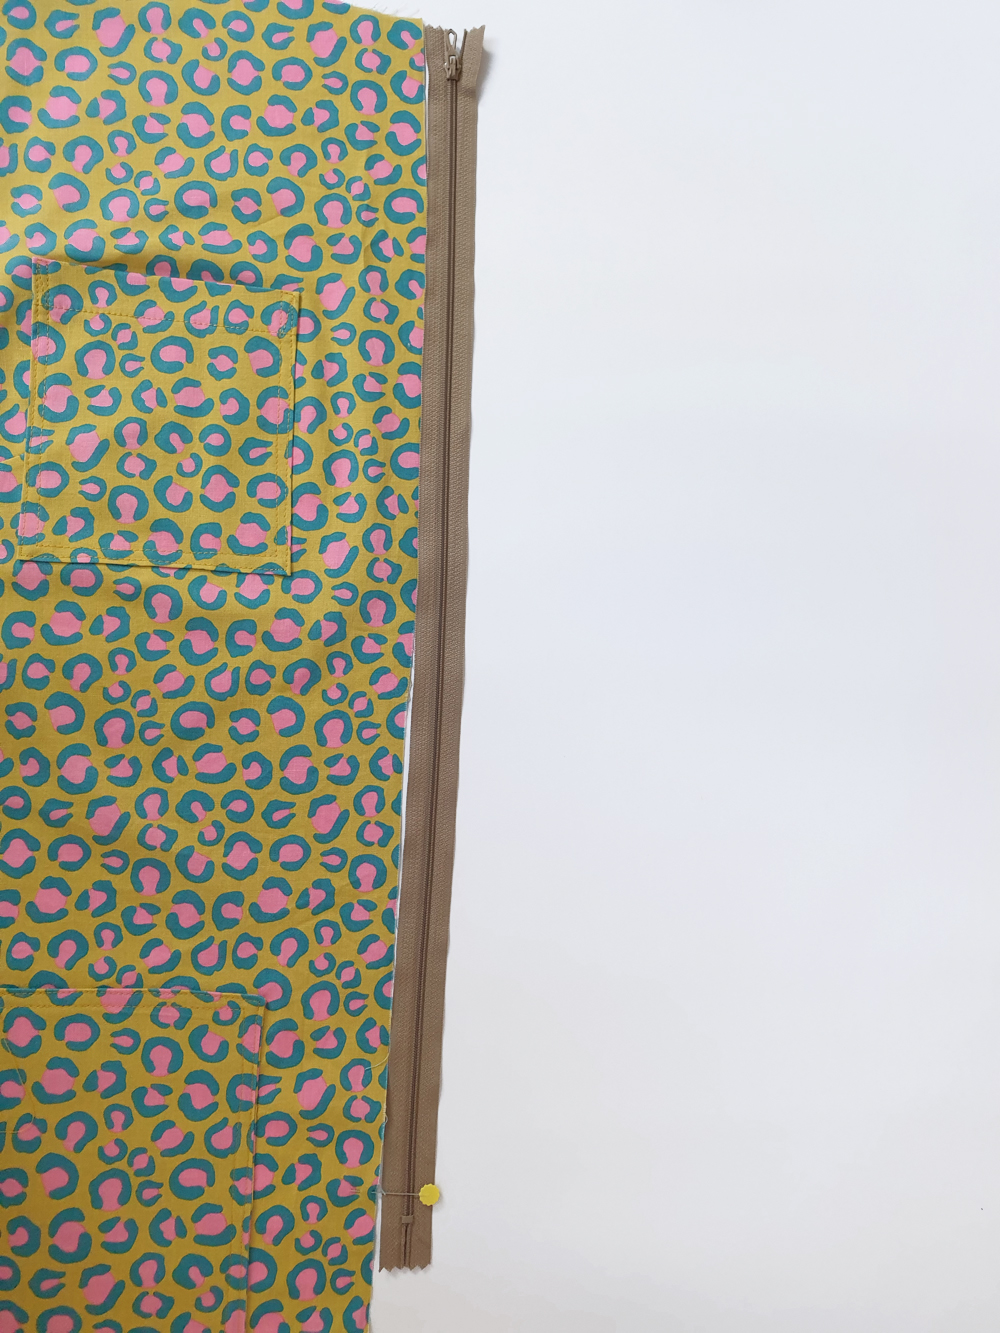
Cut the zip to the correct length. To be able to put on your jumpsuit easily, the zip must reach the height of your pelvis/full hips level.
Sew the center fronts right sides together. Start stitching from the crotch end and stop at the zipper stop mark.
Serge seams together starting 1 cm below the top of your stitching line.
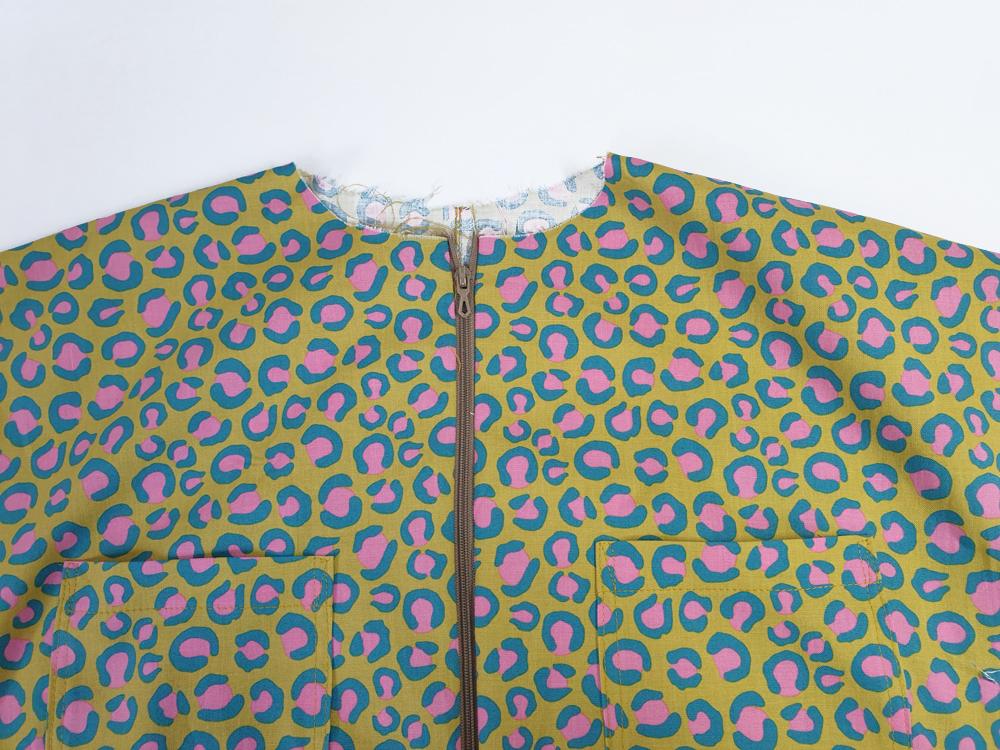

Sew the zipper in place. Stop stiching just after the start of the crotch seam.
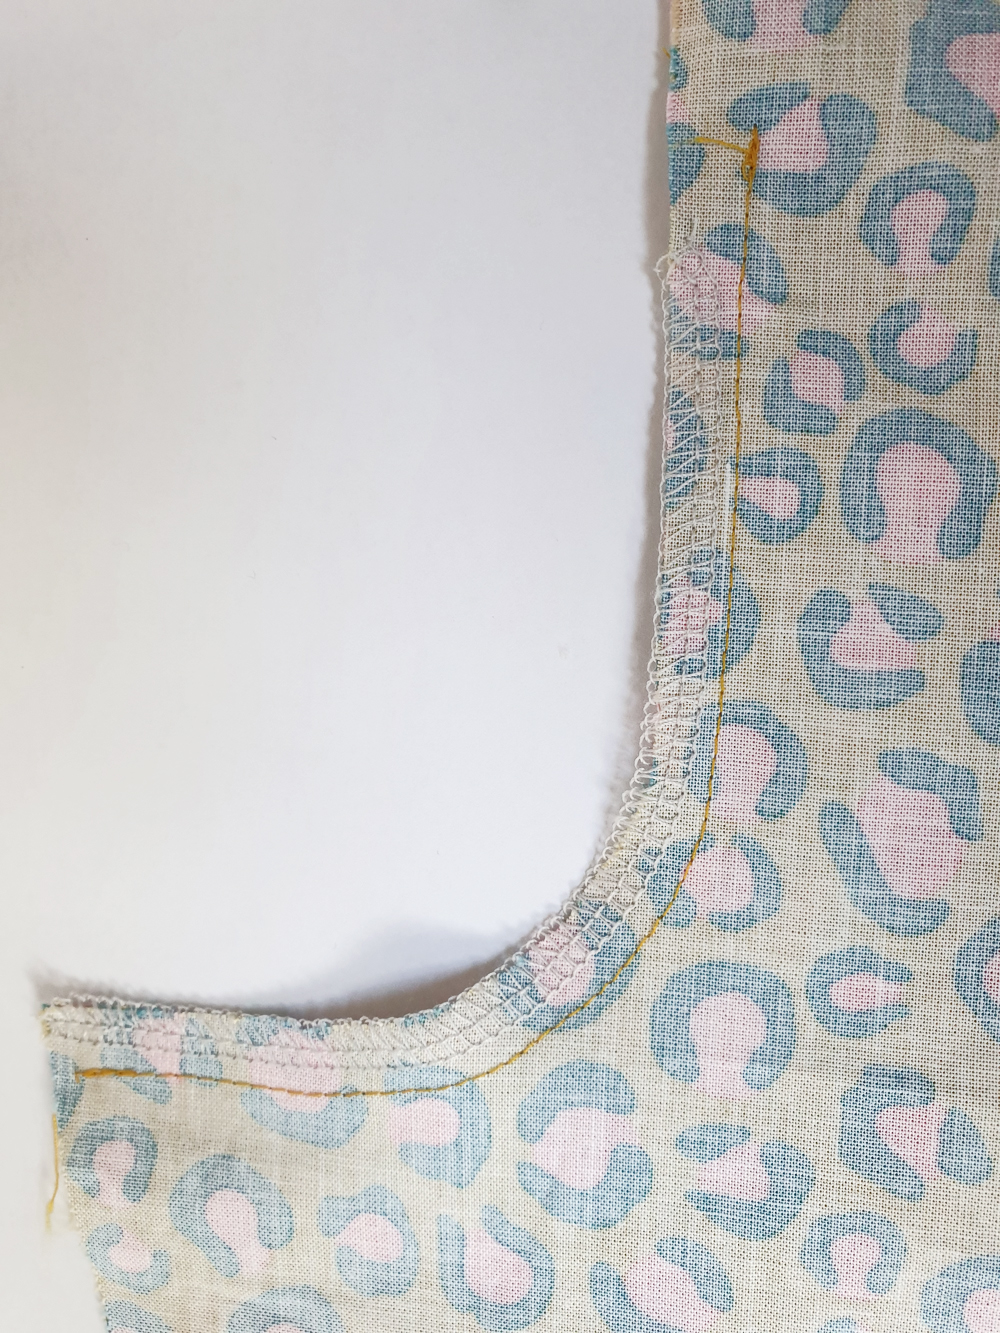
The facings
If you are using a very light weight fabric, interface the front and back facings using a light weight fusible interfacing. Sew the facings by the shoulders. Press seams open and serge the outside edge.
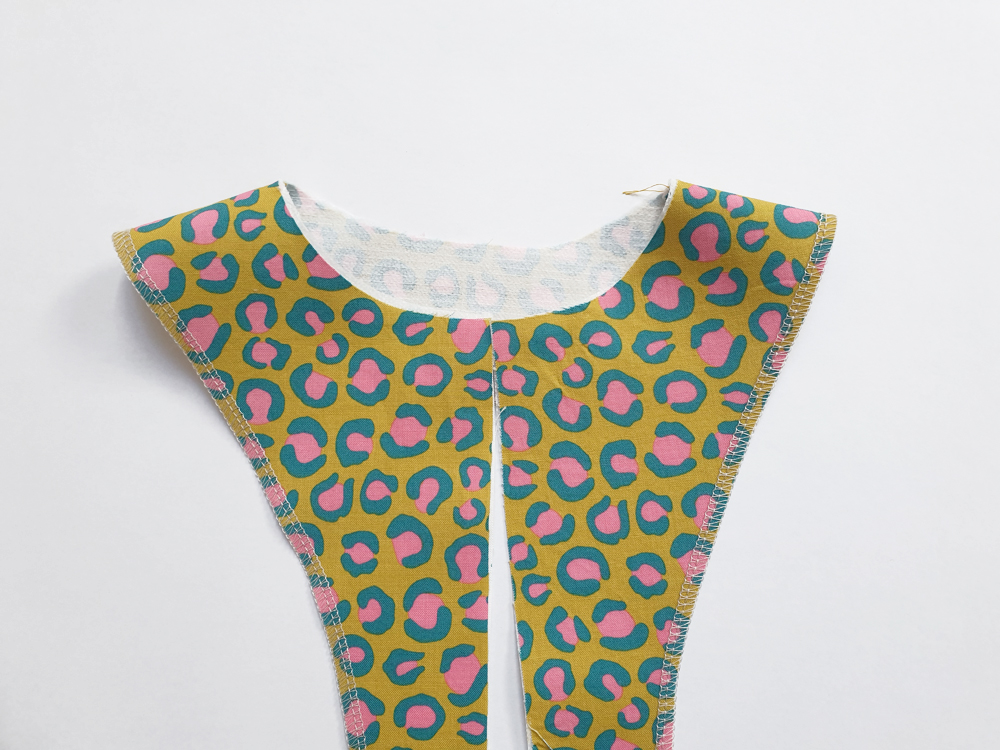
The collar
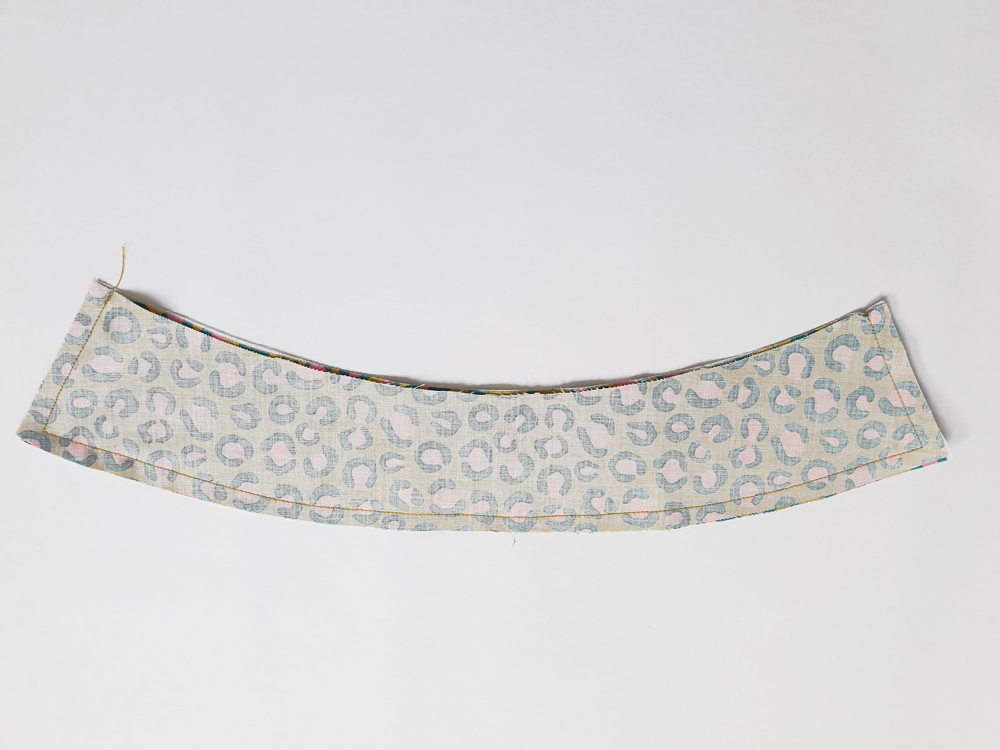
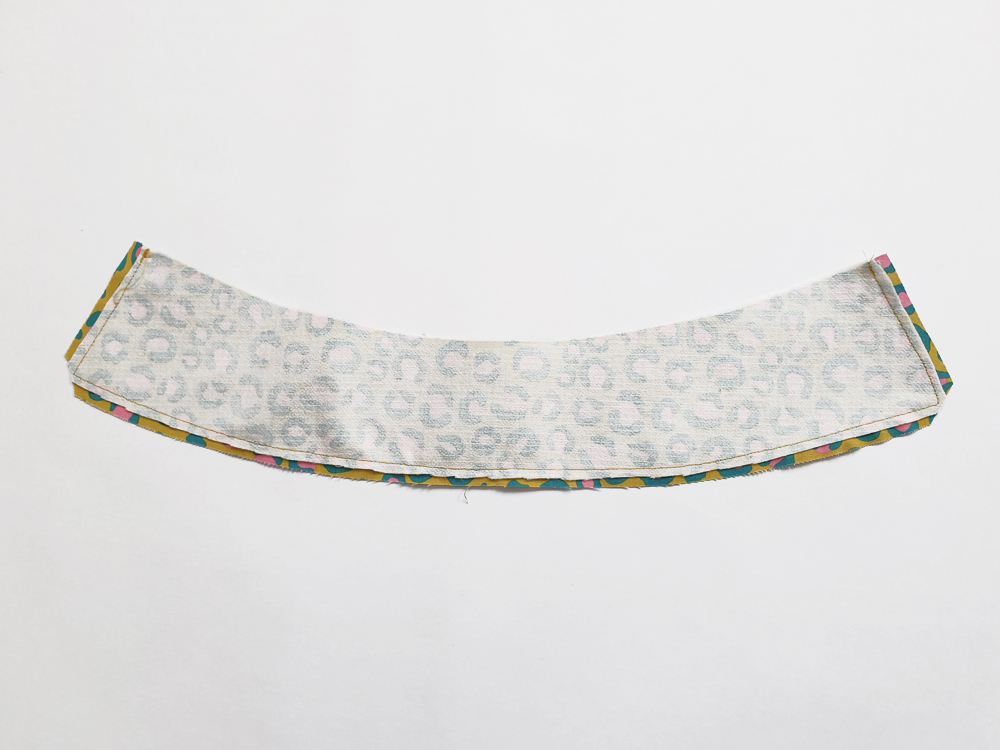

If you are using a very light weight fabric, interface the front and back facings using a light weight fusible interfacing. Sew the collars right sides together following the original pattern's instructions.
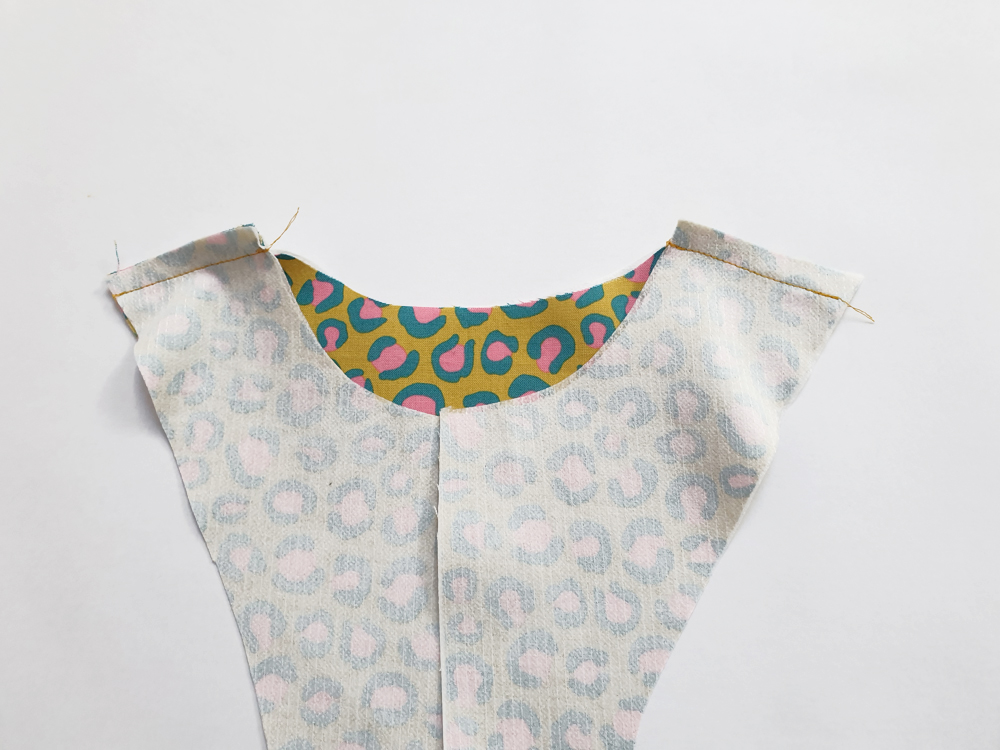
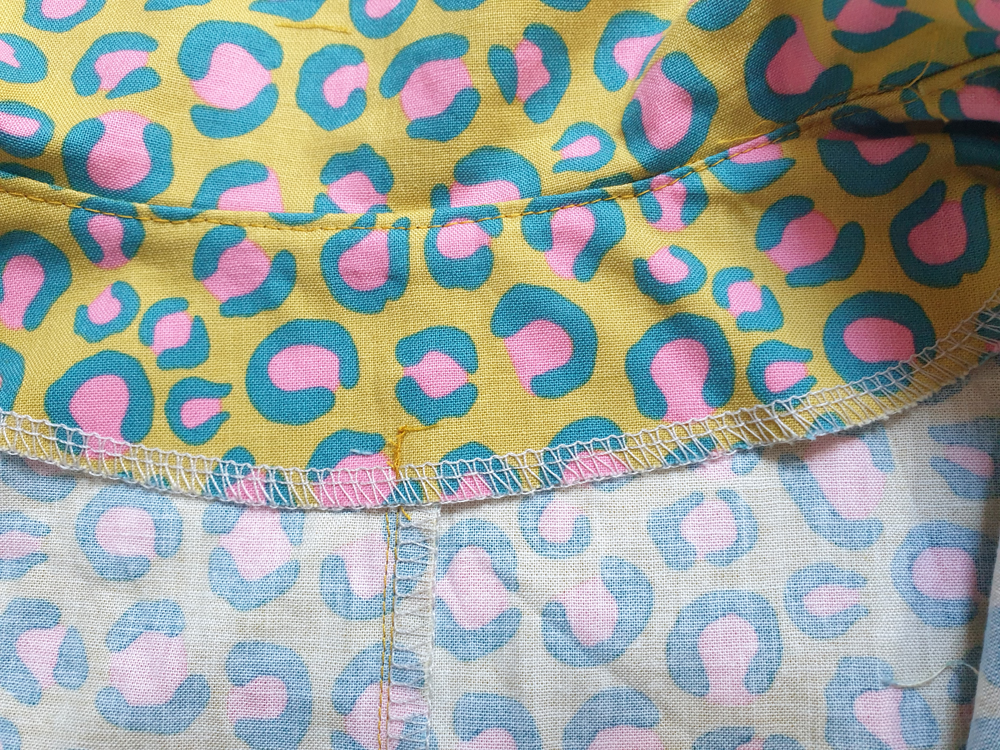
Sewing the facing to the bodice
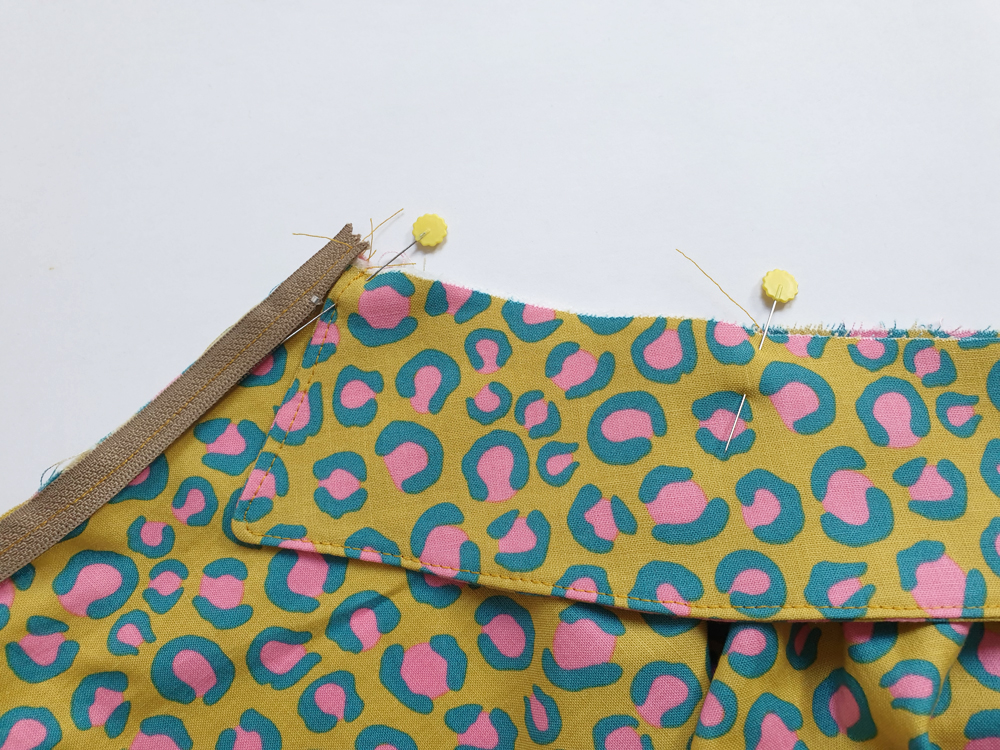
Pin the collar to the neckline, matching the center backs. The garment is right side up in front of you but the zip is on the wrong side.
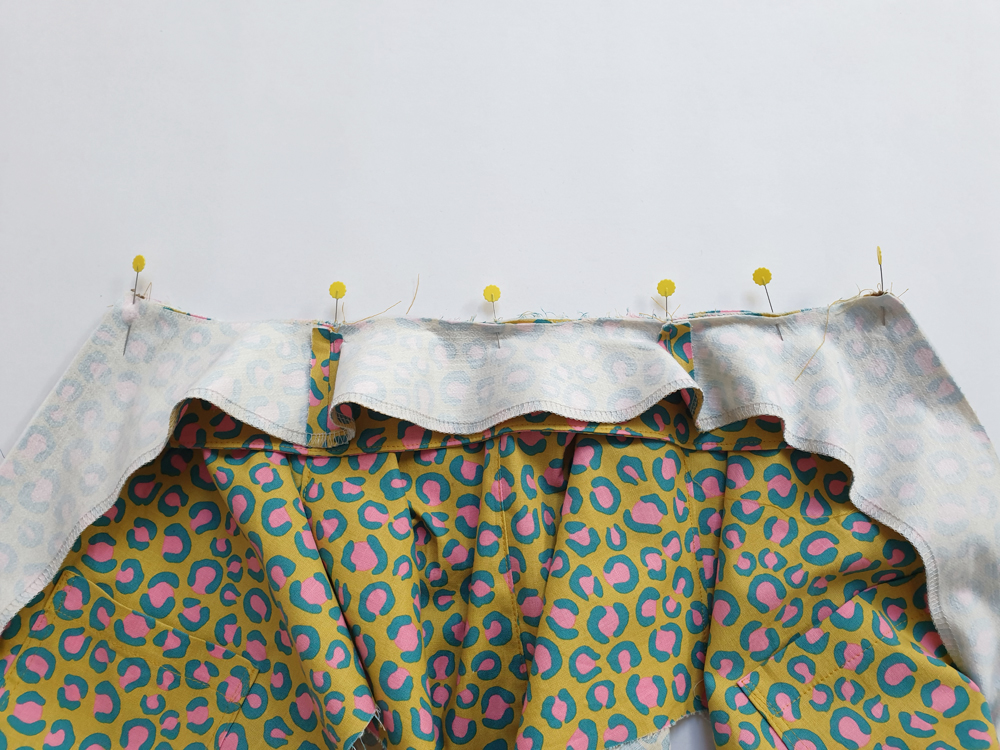
Pin the facing to the bodice: the collar and the zip are sandwiched between the jumpsuit and the facing.
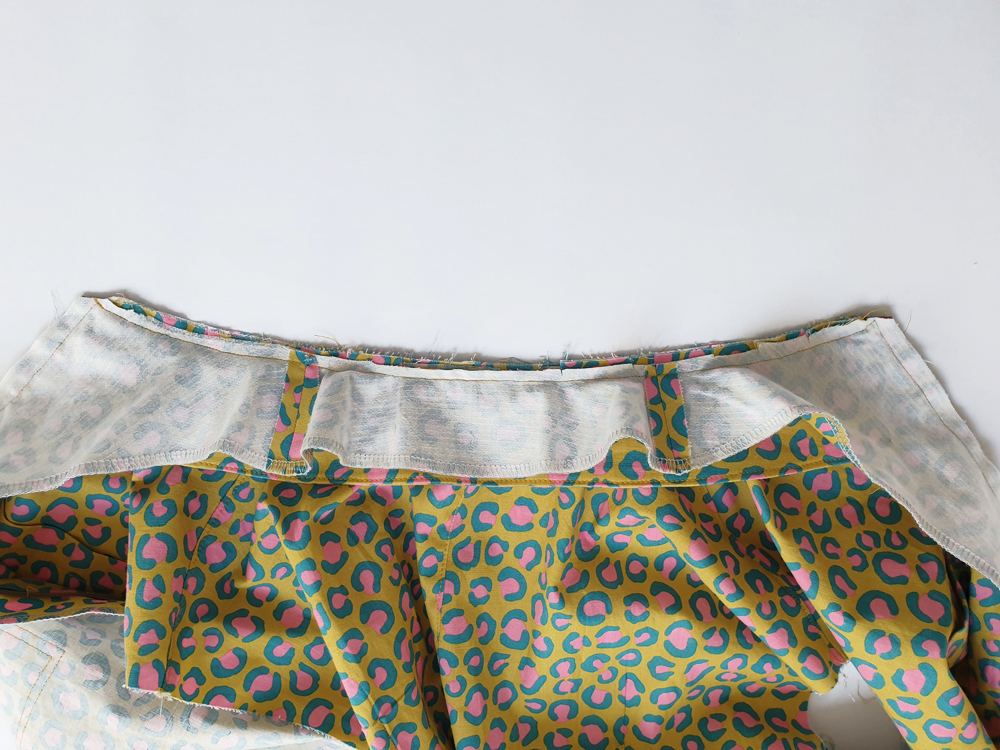
Stitch the facing along the zip and collar. Notch angles and curves. Trim the facing seam allowance to 5 mm to avoid excess thickness.
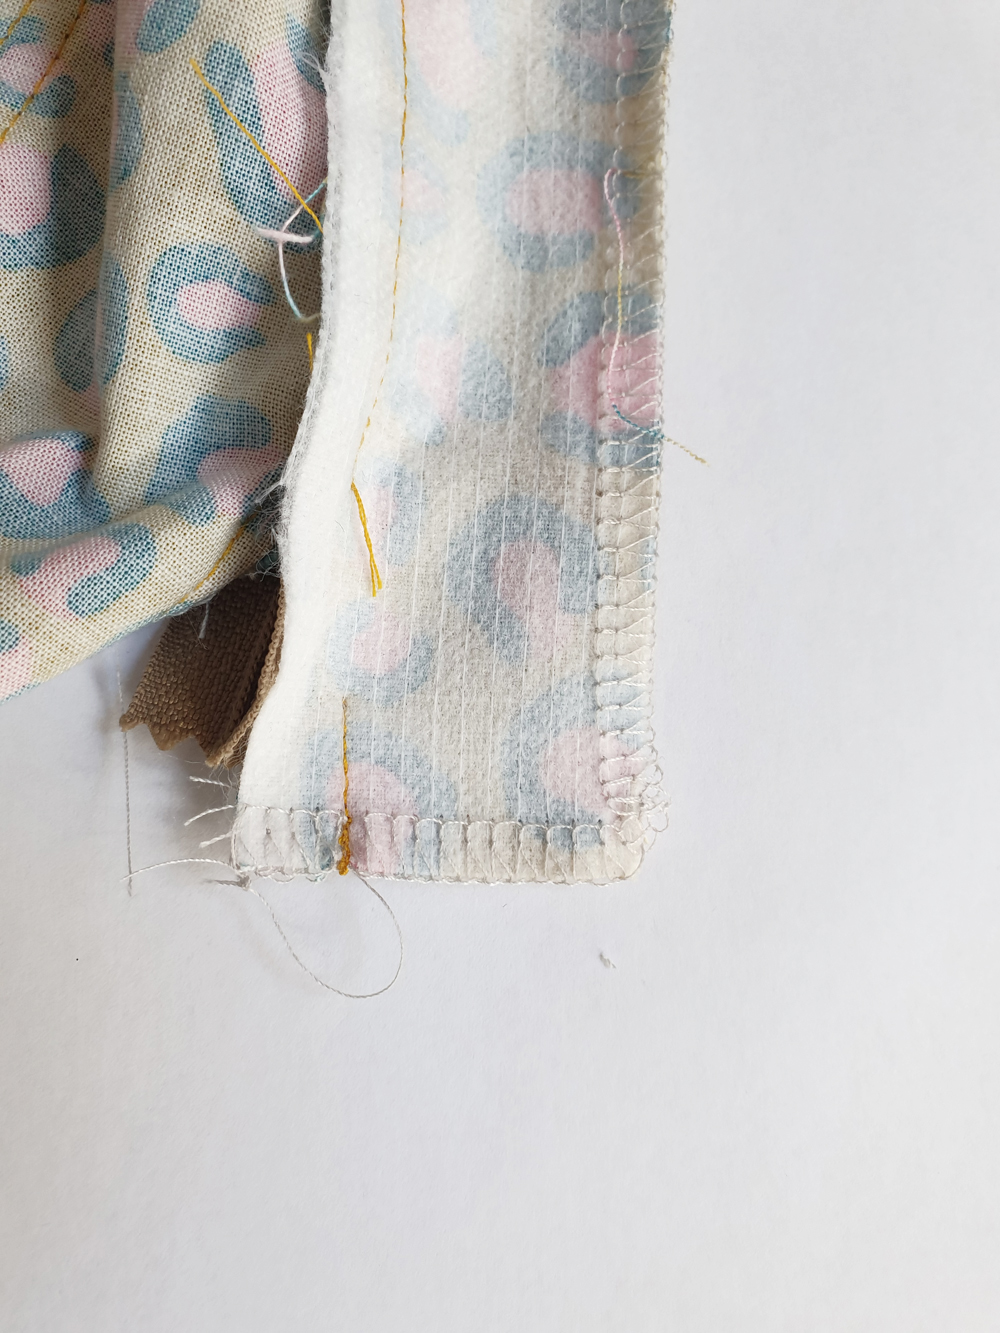
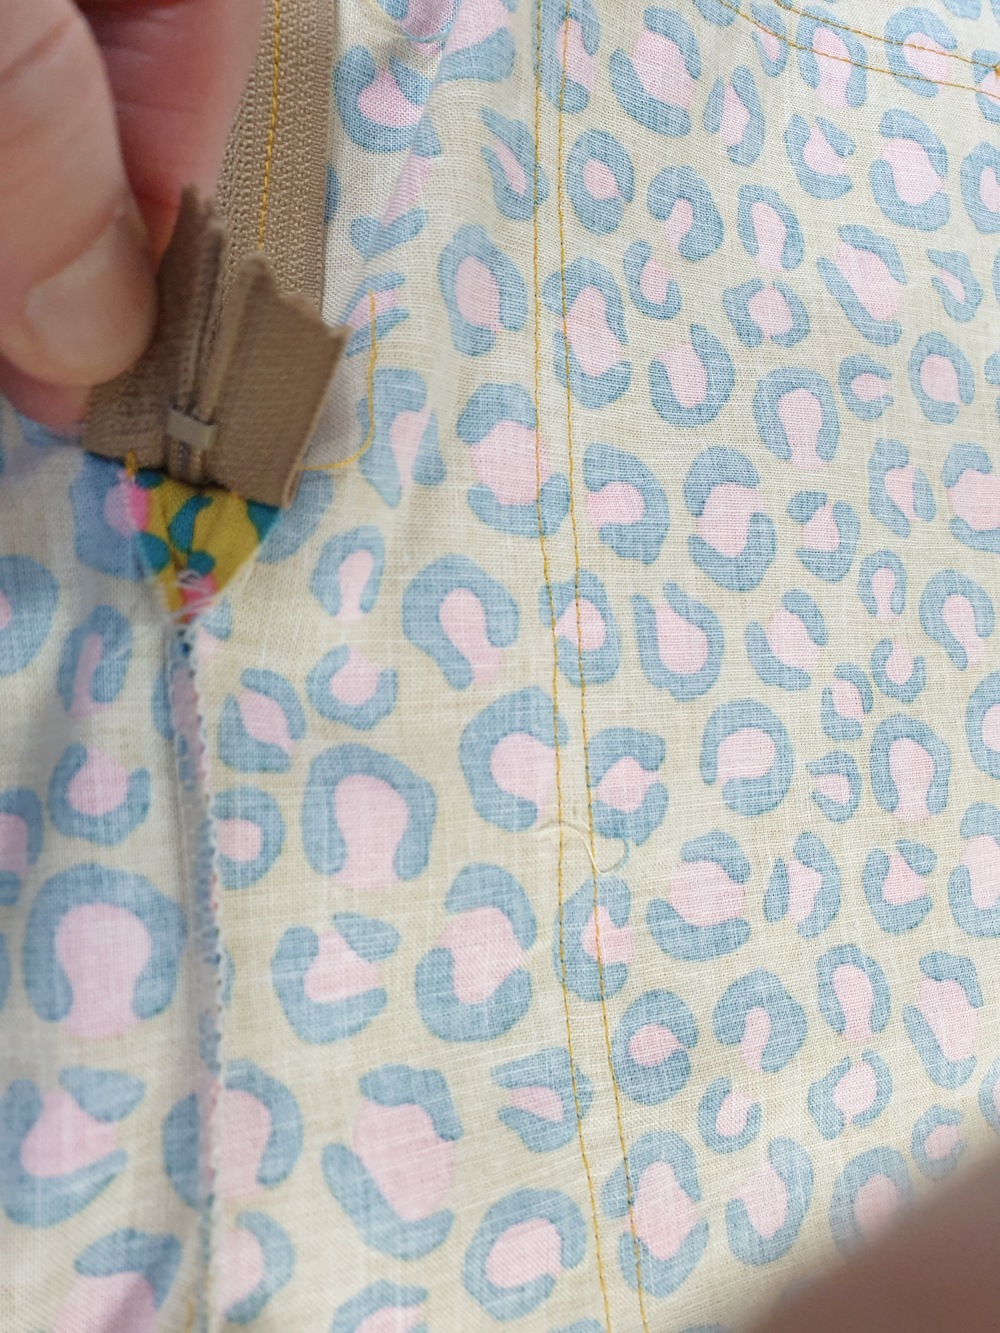
Below the zipper end, stitch the facing ends together.
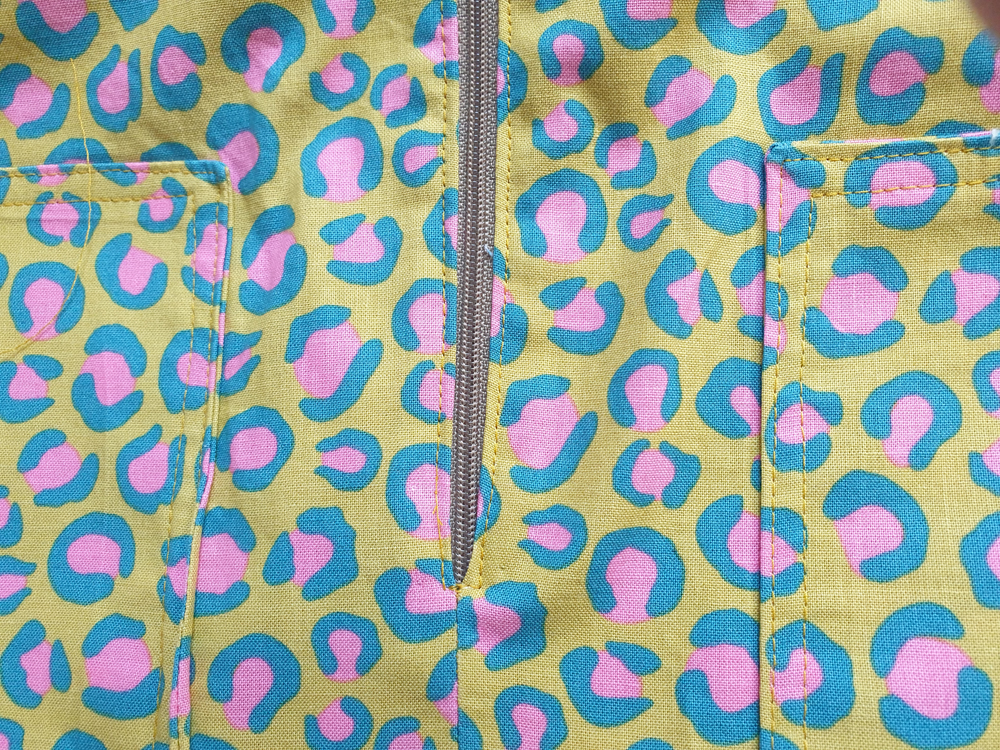
Turn the facing towards the wrong side of the garment and press carefully. Working from the right side of the garment, topstitch all around the zip and neckline to keep the facing in place and strengthen the seams.

Press the seam allowances of the front crotch towards the left leg. Topstitch the crotch being careful not to stitch on the zipper stopper.
Secure the facings by making a few stitches at the center back topstitching and on the shoulder stitching.
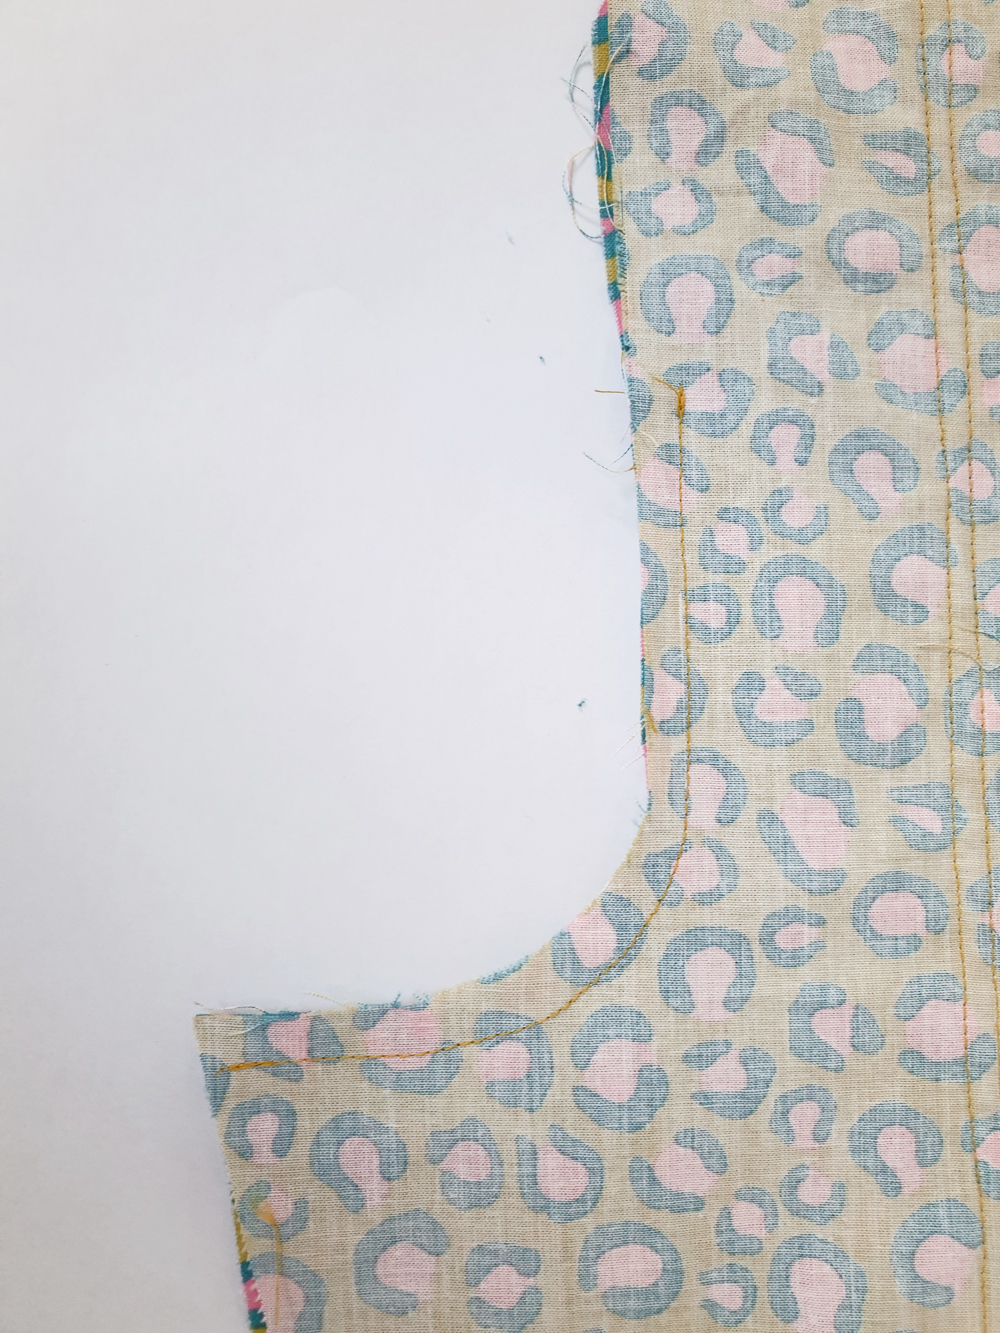
The sleeves

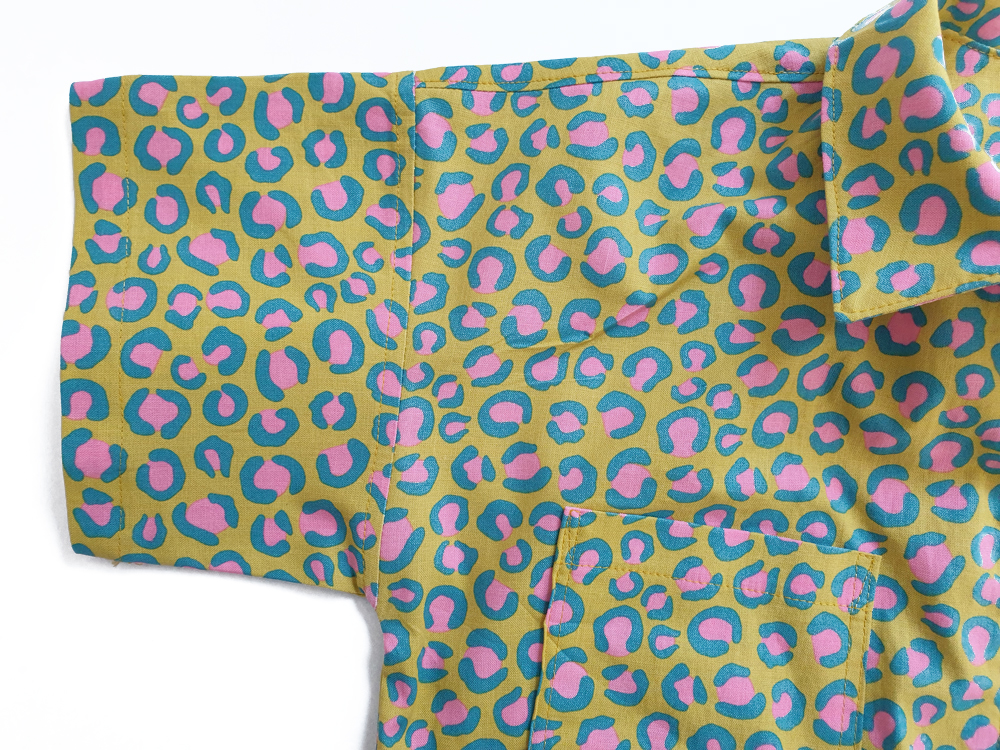
Sew the sleeves to the armholes following the original sewing pattern's instructions.
- Long sleeves : Steps 27 to 35
- Short sleeves : Steps 28 to 33
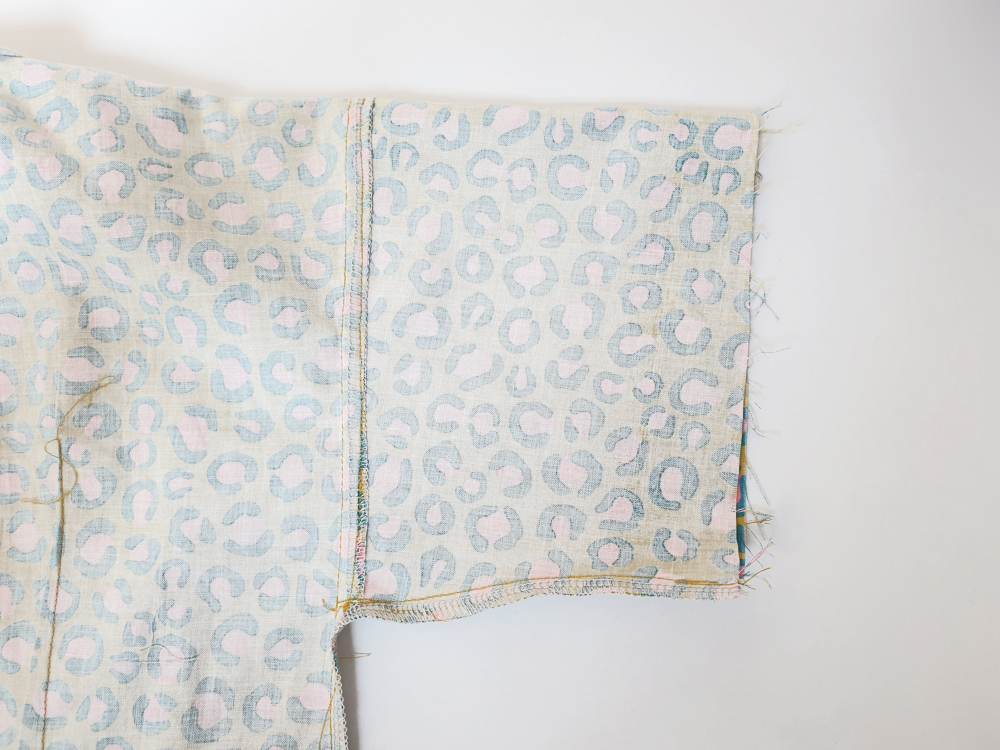
The inseam and hems

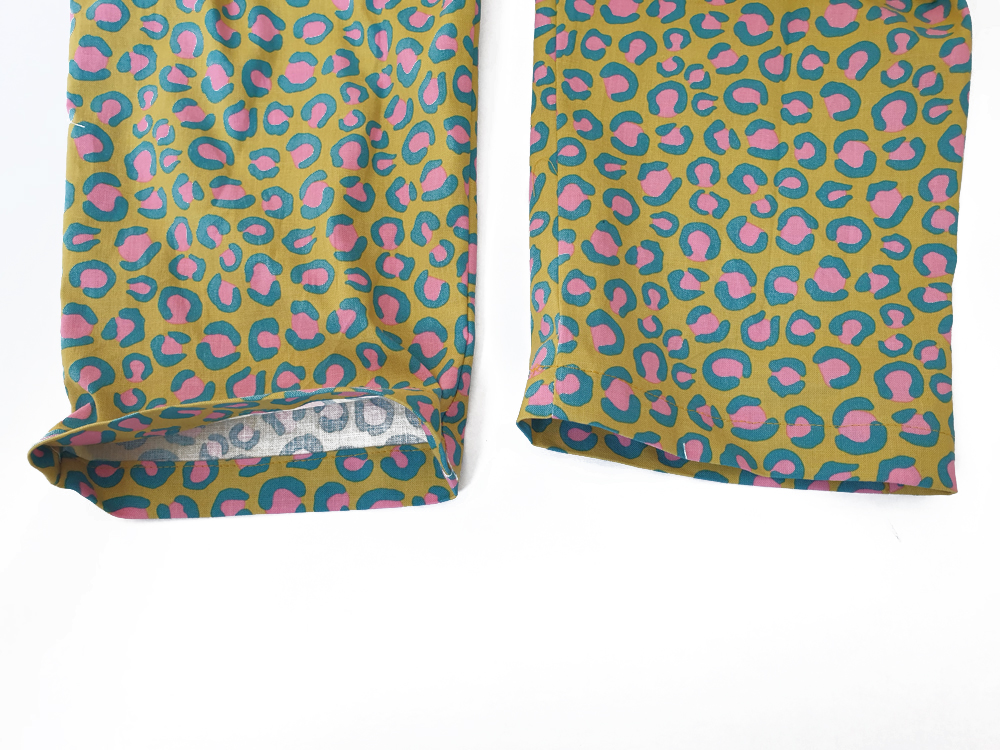
Stitch the front and back inseam and then serge seams together, press towards the back. Hem or roll up the pants.
The belt
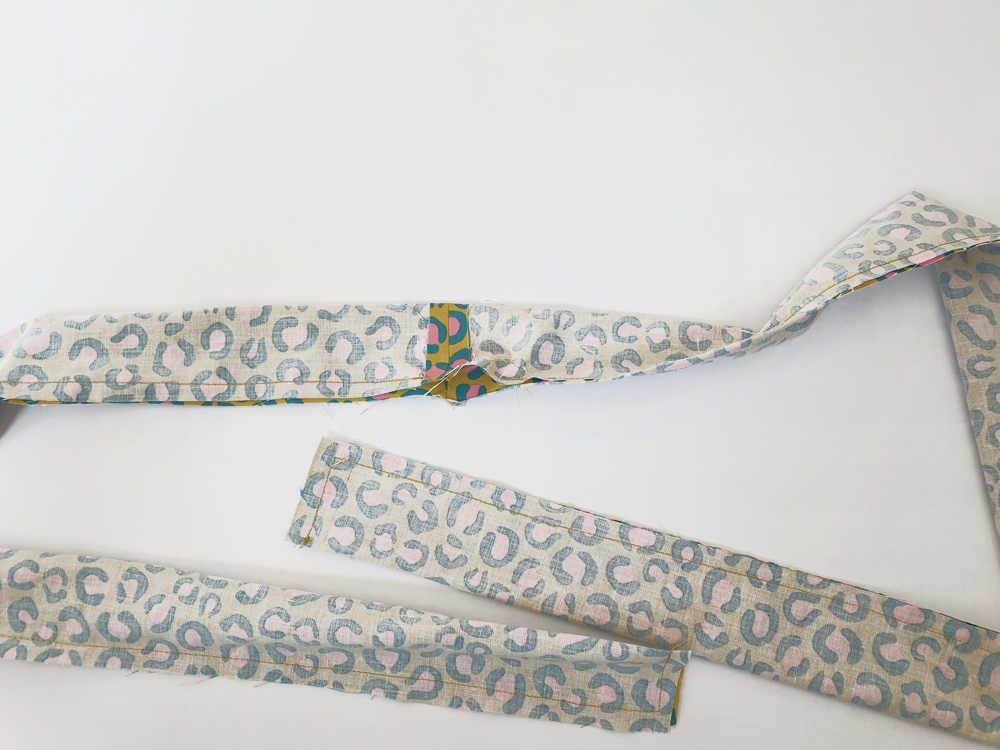
Fold the belt strip in half lengthwise, right sides together, then press. Stitch all the way, leaving a 4 cm opening to be able to turn the belt on the right side. Notch the angles, turn to the right side, press and close the opening with a few stitches by hand or machine stitch.
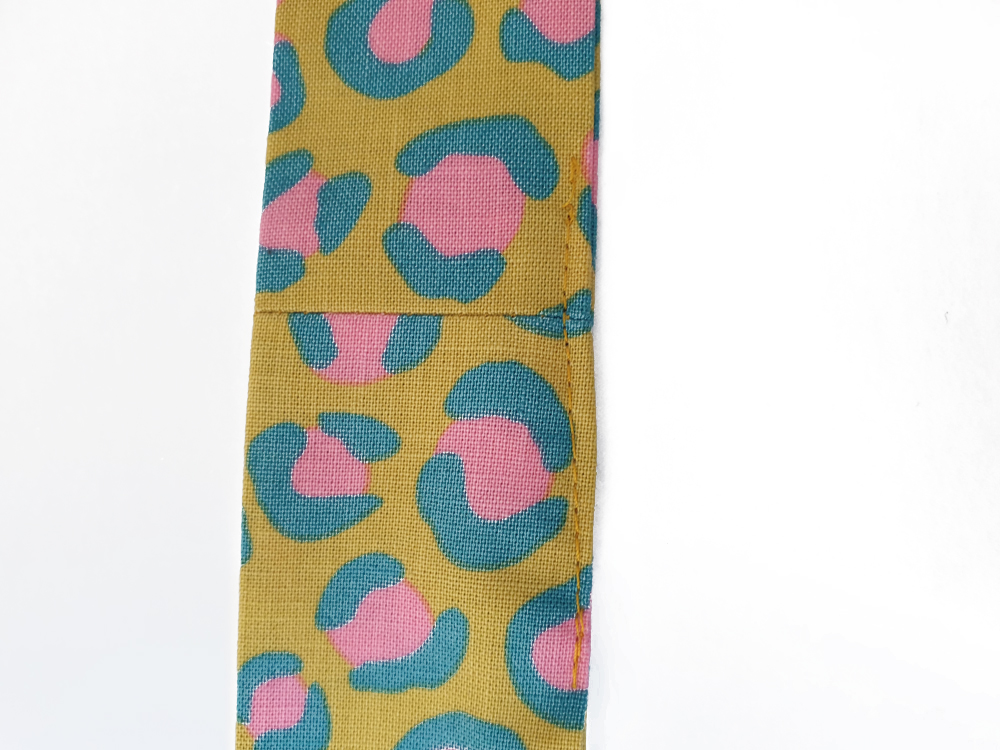
The loops
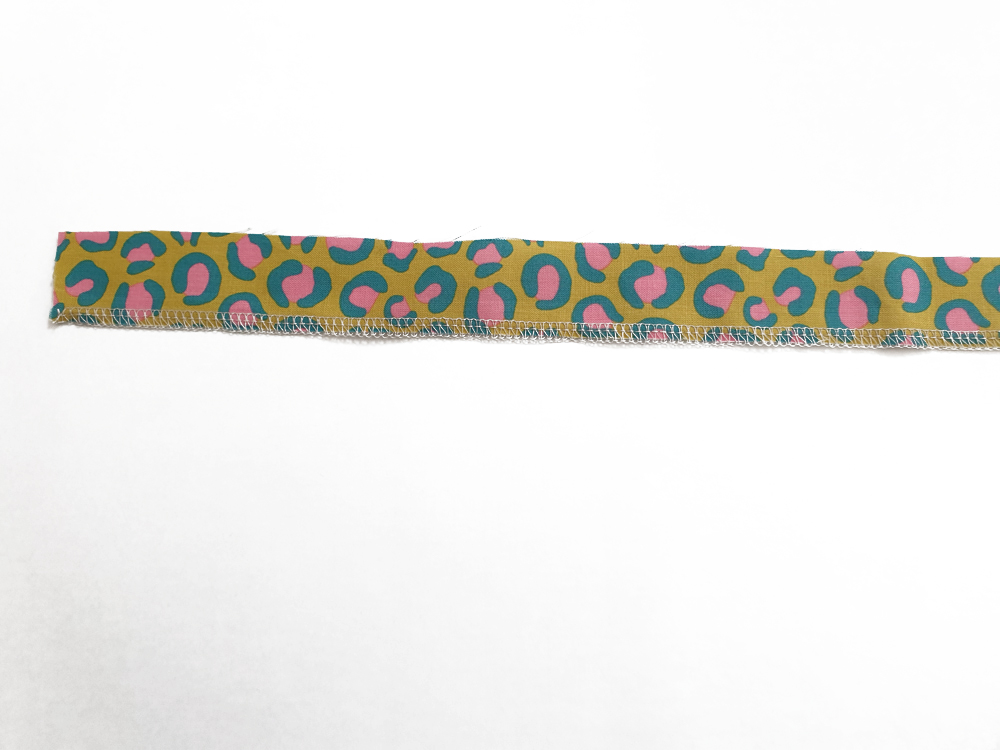
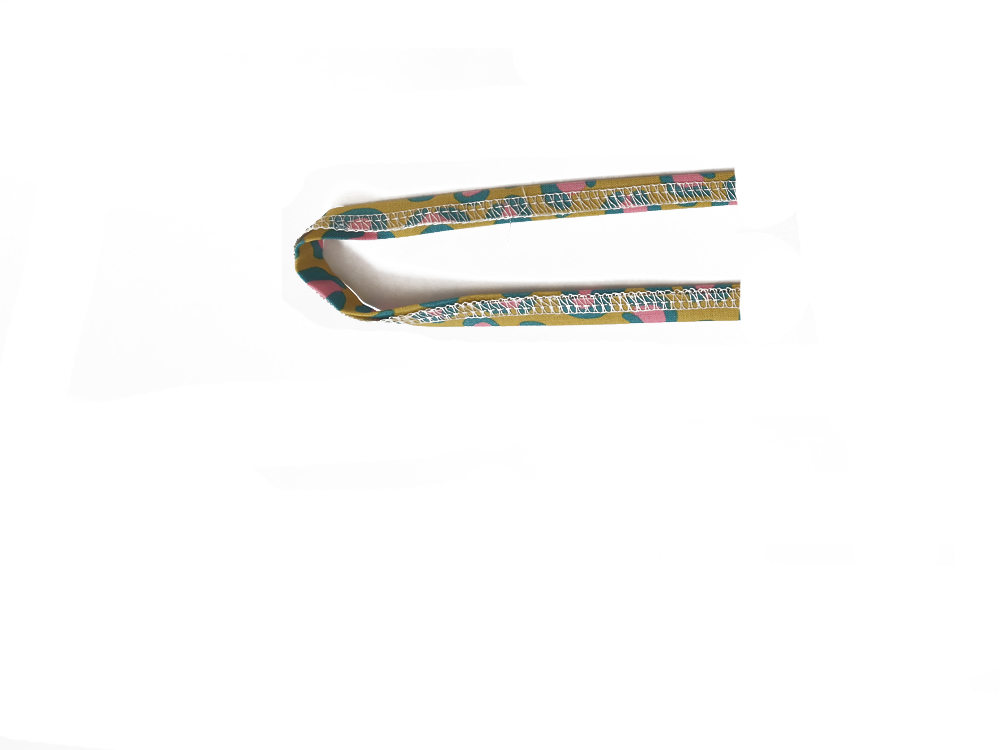

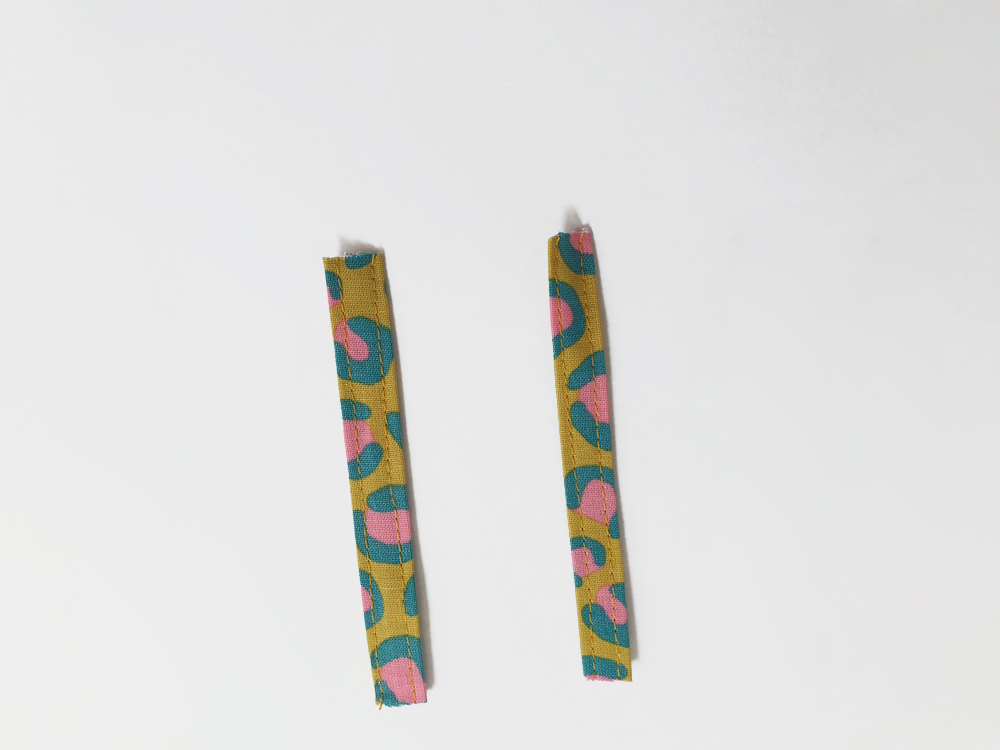
Serge one of the long side. Fold in 3. Topstitch each side 2 mm from the edge. Cut two loops of 8 cm.
![]()
Put on the jumpsuit, belt it, position the belt checking the ease and fit of the garment. Mark the location of the two loops which will then be inserted into the sides seams. Remove the jumpsuit, open the side seams by a few centimeters to insert the loops. Insert the end of the loops about 1 cm towards the inside of the garment then sew to keep the loops in place. Serge the sides seams over the loops ends only.
![]()
Well done, your Jean-Paul zip-up front boilersuit is finished!
![]()
Comments
No comment at this time!
Leave your comment