Pattern hack: Julien for men

A JULIEN CHORE JACKET FOR MEN
![]()
Since the release of the Julien chore coat pattern, I have received many messages to find out if the jacket was suitable for a male body. The jacket as it is without a few modifications will not be suitable for a man's build but it remains a very accessible project if you feel like it!
Today, we welcome Emilie from the mGg++ blog. I proposed to Emilie to sew a Julien jacket for her partner and to take pictures of all the steps in order to create a tutorial so that you could do the same thing on your side.
INTRODUCING THE PROJECT
![]()
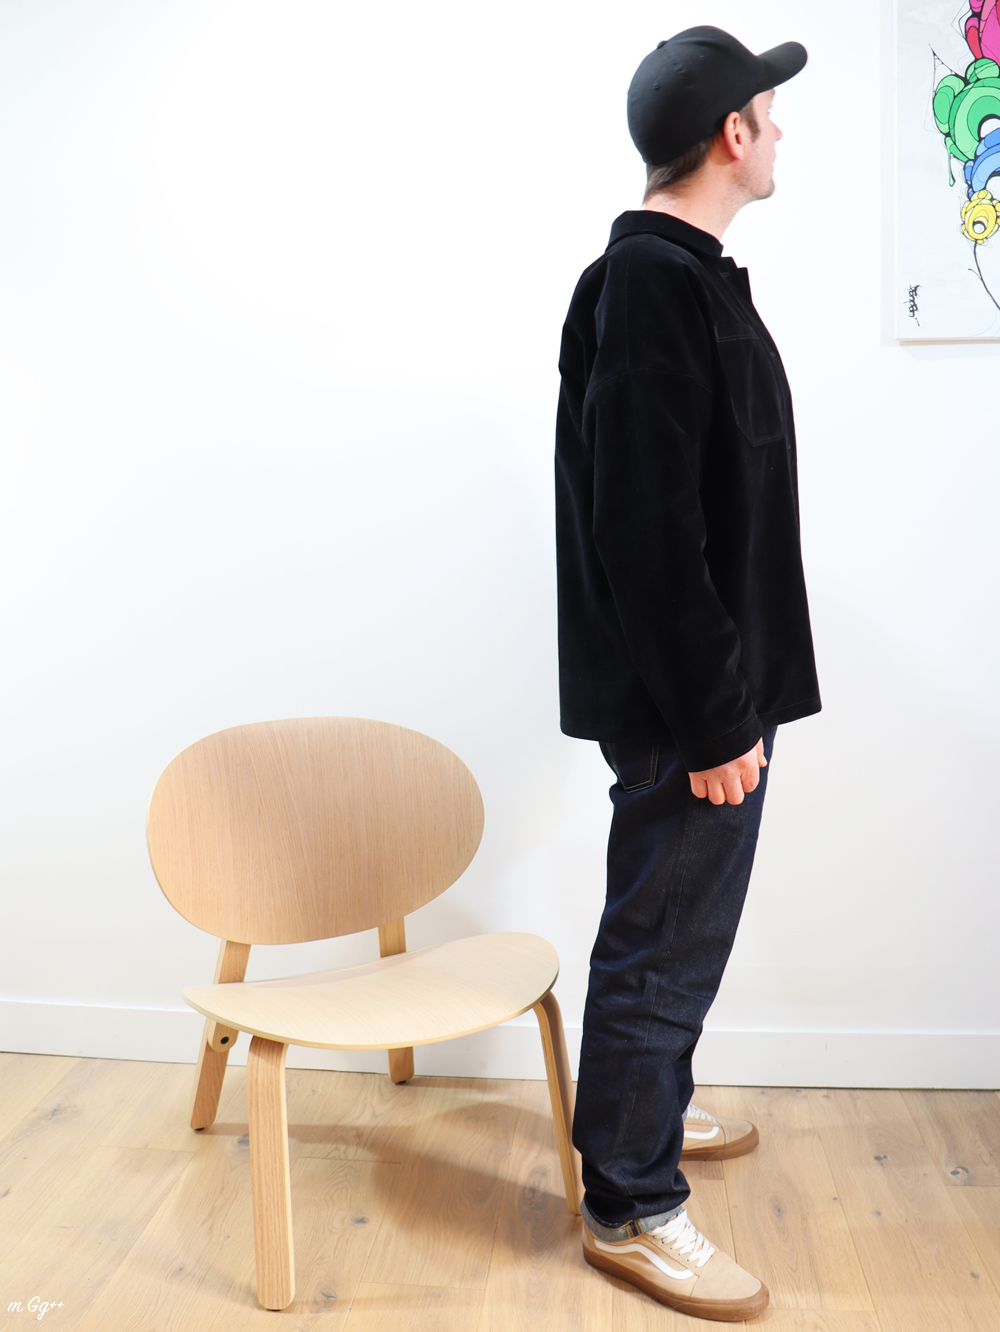
‘Julien’ is a boxy-fit chore jacket. It came out three years ago, and now, Readytosew offers a lined version. According to taste and how it’s worn (spring jacket, winter jacket, overshirt, shirt…), there are many possible versions.
What’s more, ‘Julien’ has a large size range (32-52). The lack of bust darts and loose fit also make a male version entirely possible… So, my partner and I thought about how ‘Julien’ could become one of his wardrobe staples.
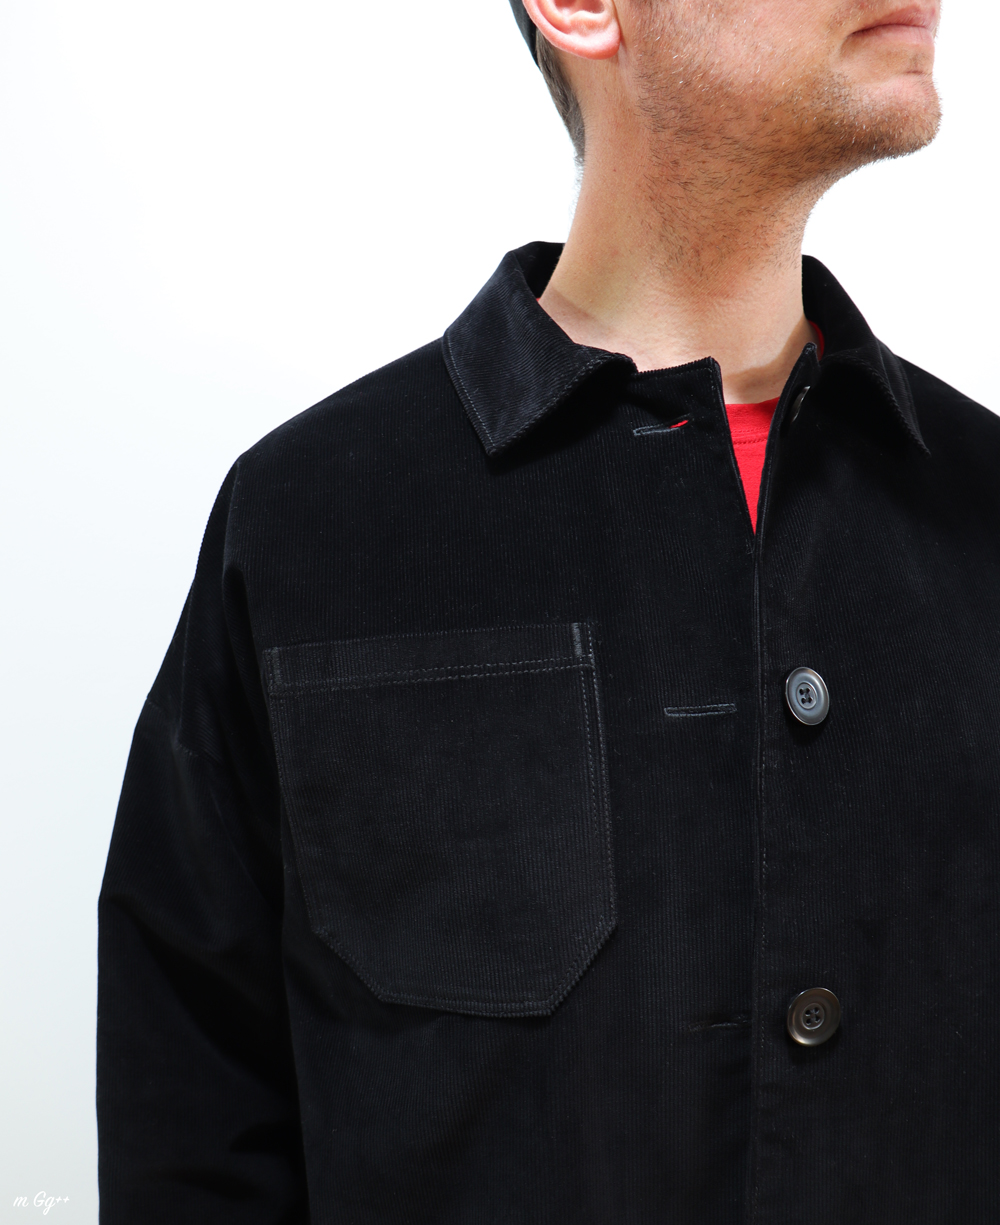
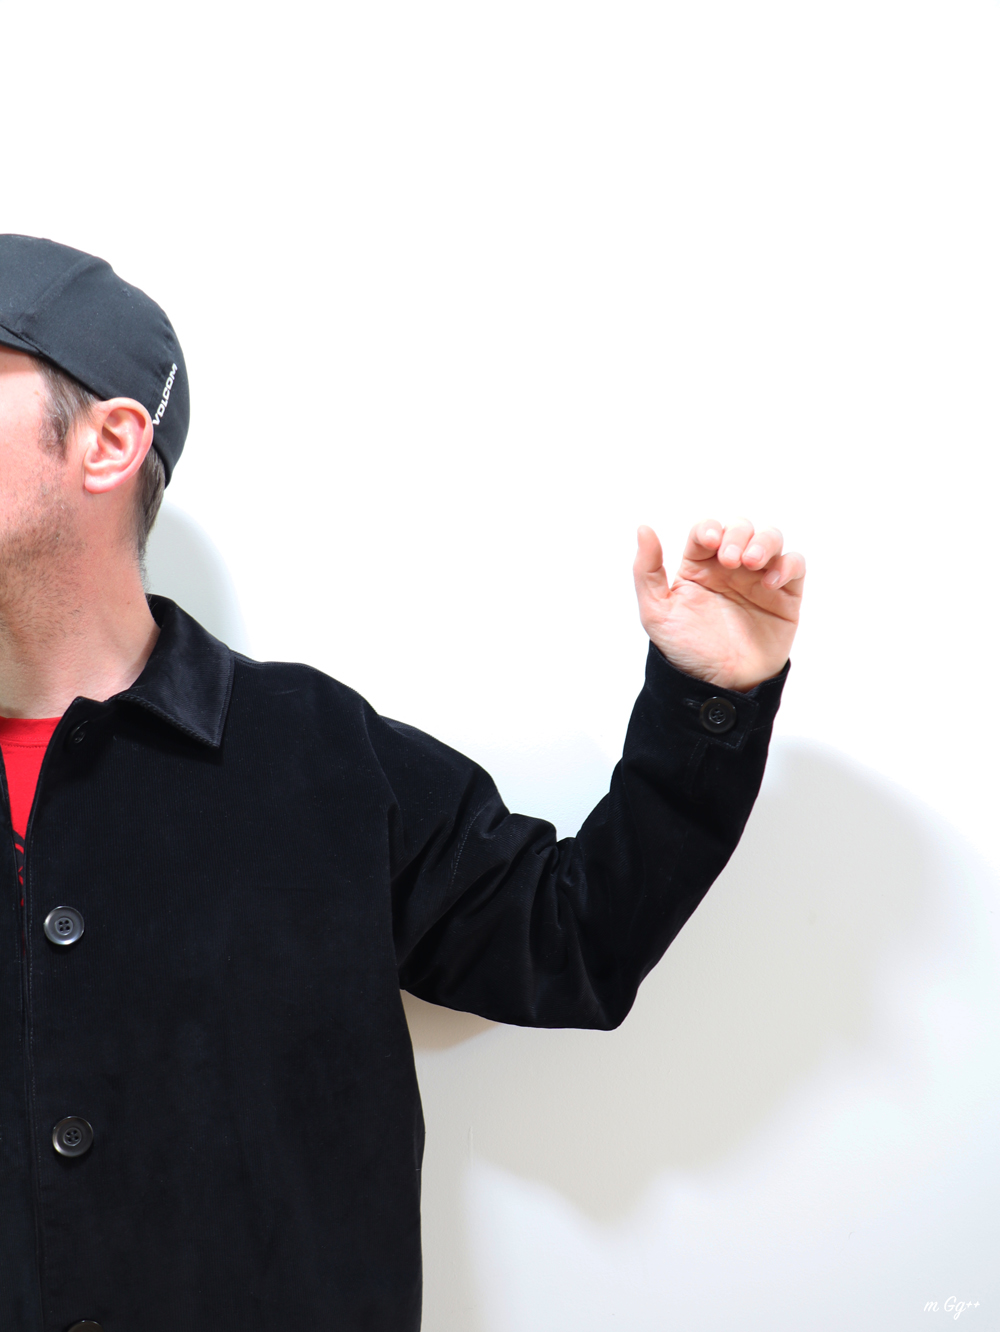
First, my partner immediately liked this pattern. Its timeless and very fashionable fit easily slots into the male wardrobe. With the help of a very clear technical drawing, he expressed his desire for a ‘Julien’ without front pockets, as simple as possible. Then, to make the garment long-lasting, topstitching on the collar, cuffs and shoulders seemed appropriate.
Here’s the technical diagram based on those choices:
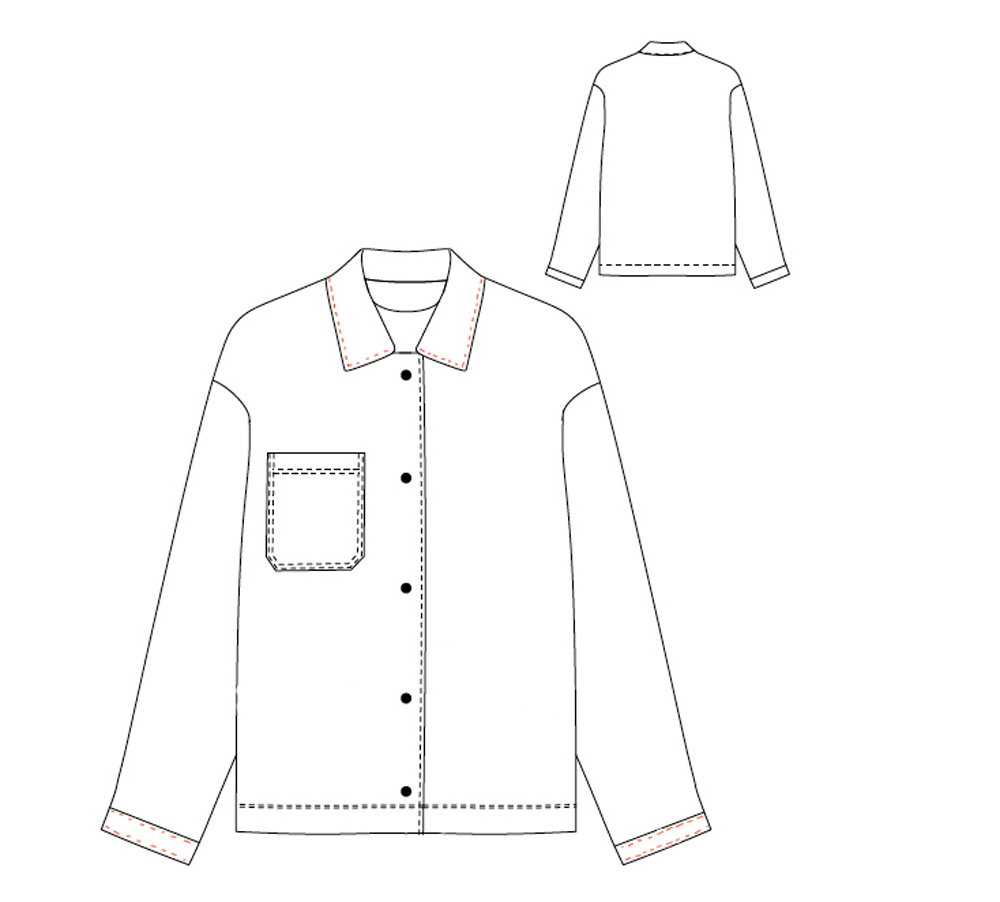
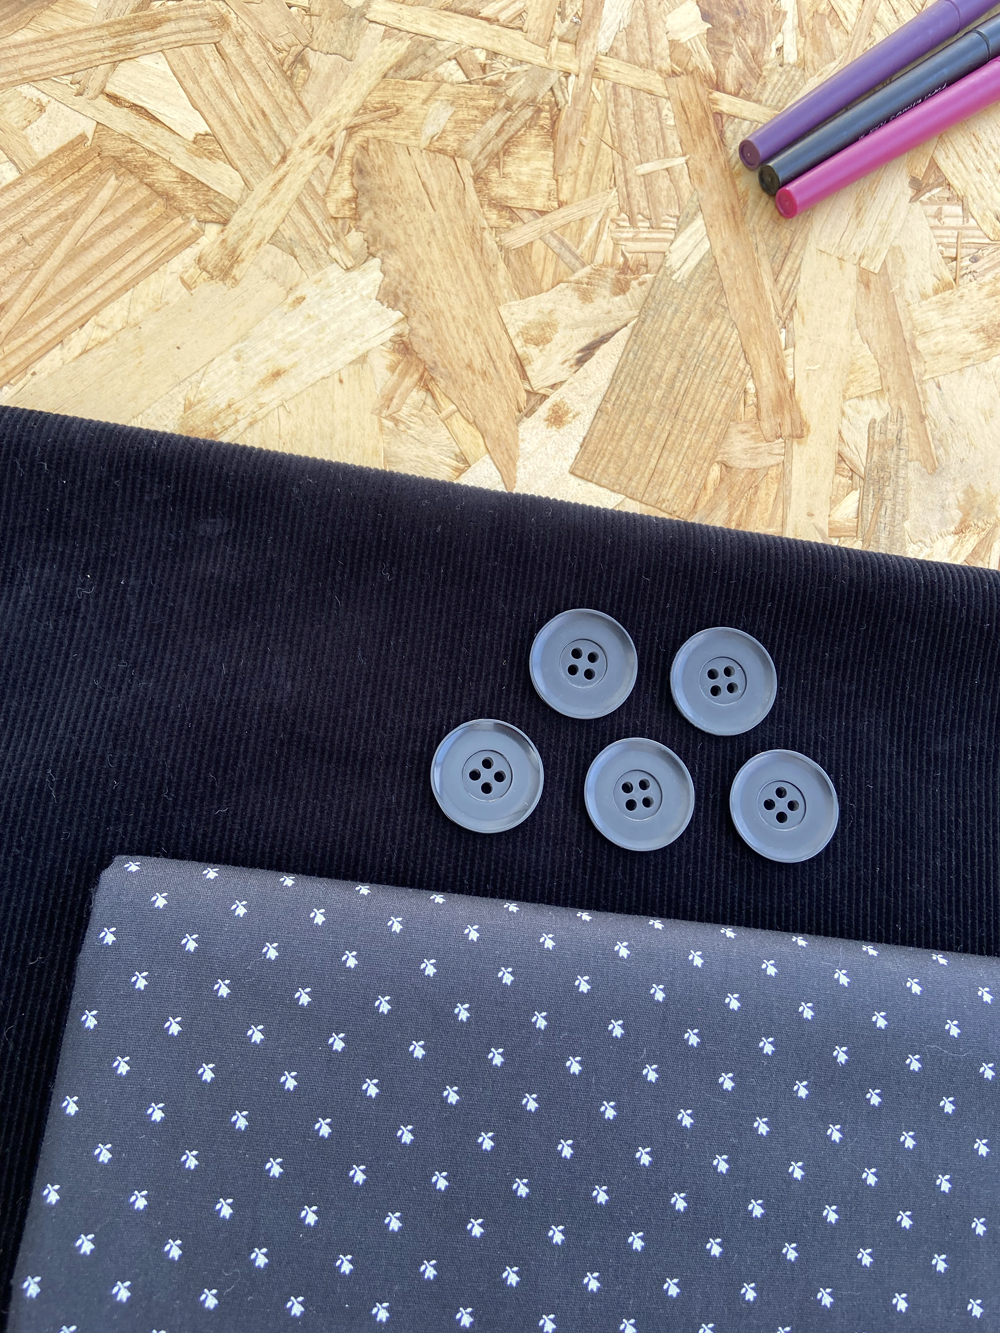
In terms of material, he opted for:
- -black pinstripe velvet for the outer (Tissus Jaurès),
- -patterned cotton poplin for the lining (Toto),
- -large black vintage buttons to close it.
CHOOSING THE SIZE + MAKING THE TOILE
![]()
The choice of size was based on my partner’s measurements. He’s 1.75m tall.
- Bust: 106cm
- Waist: 92cm
- Hips: 109cm
To be as accurate as possible, I also took the following measurements:
- Arm length: 64cm
- Back height (from the base of the neck to the desired length): 82cm
- Neck size (at the base): 43cm
- Wrist circumference: 19cm
Once these measurements were taken, I looked at the sizing chart in the instructions for ‘Julien’. Here’s a sample:
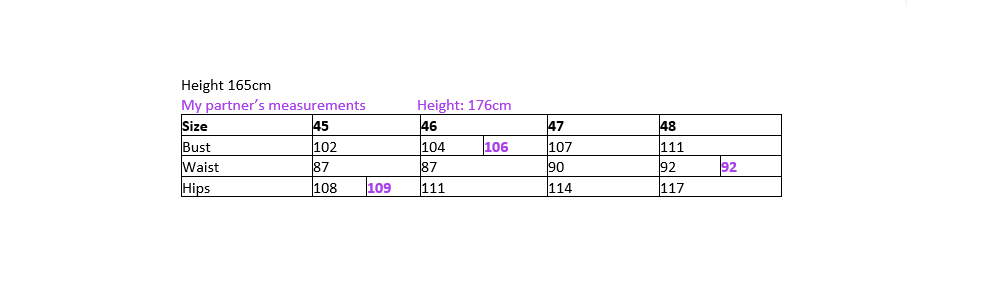
His measurements fall between sizes 45 and 48.
Knowing that ‘Julien’ could be worn with a jumper, even a hoodie, and my partner doesn’t like tight-fitting clothes, I opted for size 48 - the largest size. It’s easier to make adjustments to a larger toile than one that’s too tight, which would have to be redone.
Once the height was determined, I traced the pattern in size 48, without making any changes.
Then, I cut the two front panels, the back, collar, sleeves and one cuff, to make a toile. This turned out to be essential, as the ‘Julien’ pattern was originally designed for the female body.
The toile was made in genuine toile fabric, but it can also be made using a blank, light-coloured cotton sheet. The aim was to test the comfort and drape of the garment, the bust and sleeve lengths, collar…
It can be ‘quickly’ made up without any finishing touches. Furthermore, the stitch used is a long straight stitch, which makes it easier to undo any stitches, if needed. I also used a pencil to mark the middle back and chest pocket on the toile.
Here’s the result:
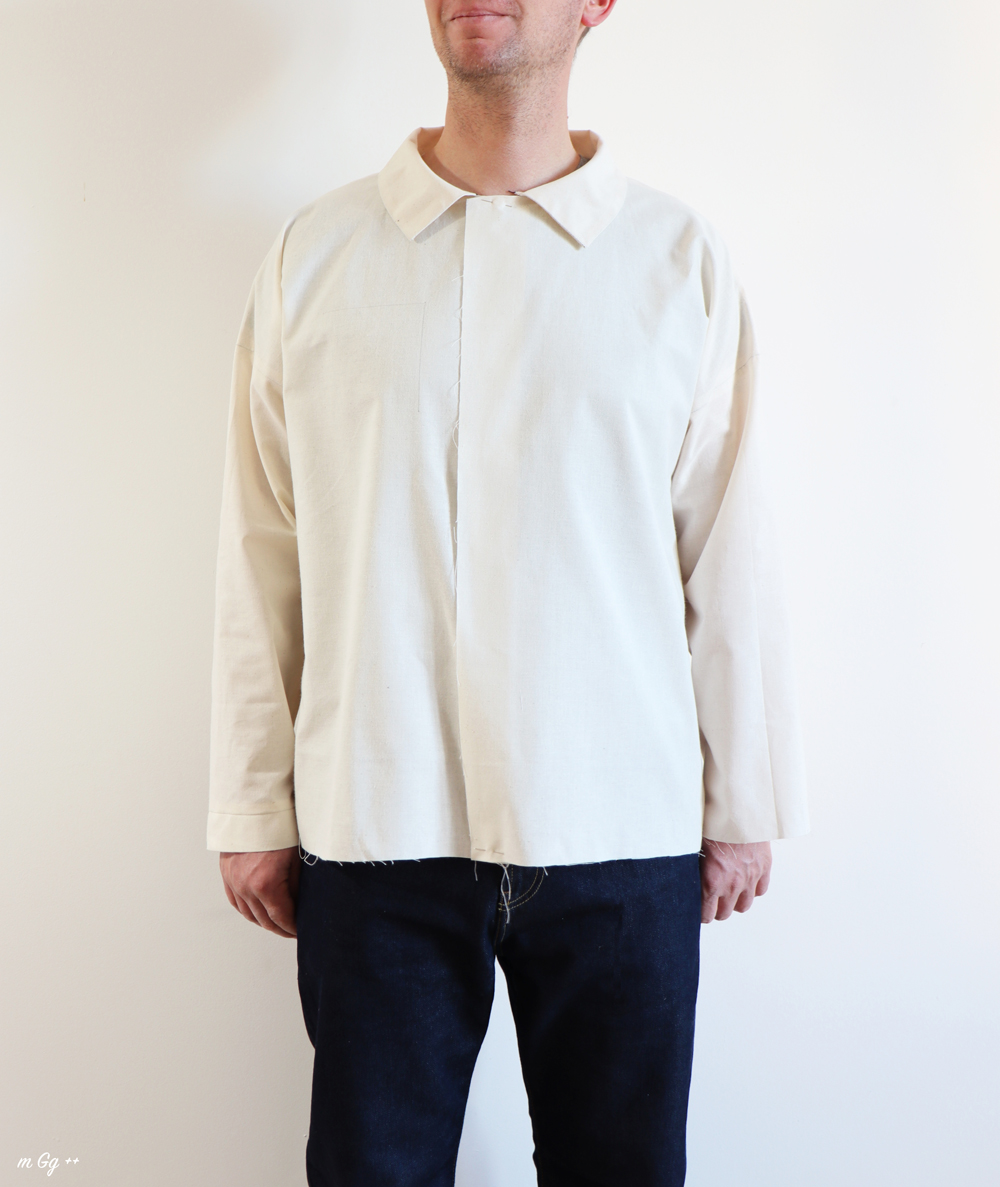
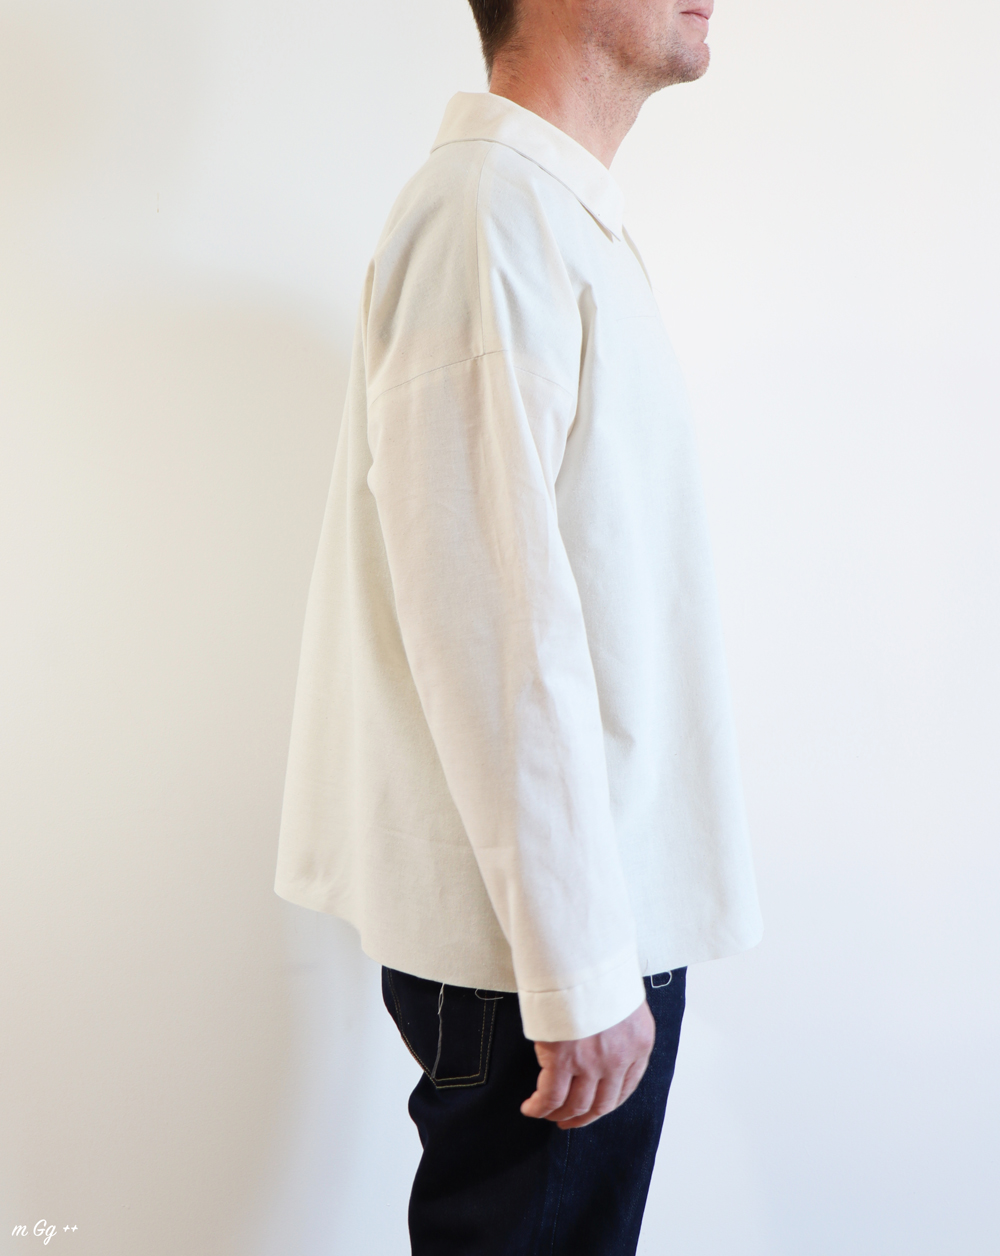
After trying it on and discussing it, ‘Julien’ proved to be very comfortable in the chosen size. The fit is right, as well as the length of the sleeves with cuff. However, we noted a few adjustments to be made in the following areas:
- Collar
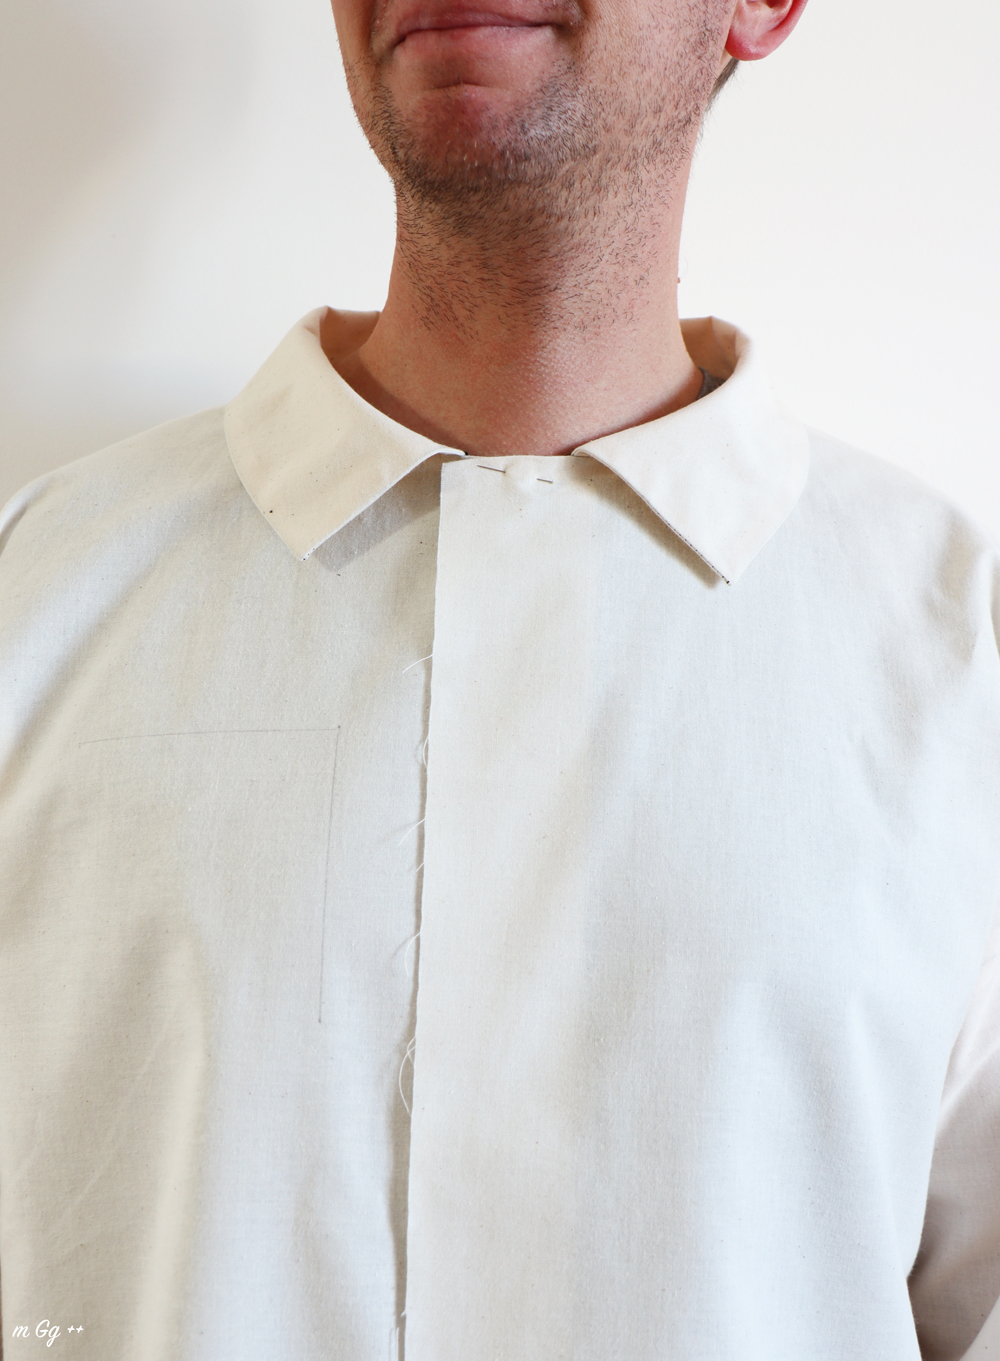
We can see on the toile that the collar is too wide. As a result, the collar isn’t high enough on the neck. Using a tape measure, I measured the space between the original collar and desired one, on the shoulder line, middle back, and front. I noted these measurements for future adjustments.
- Flared bust
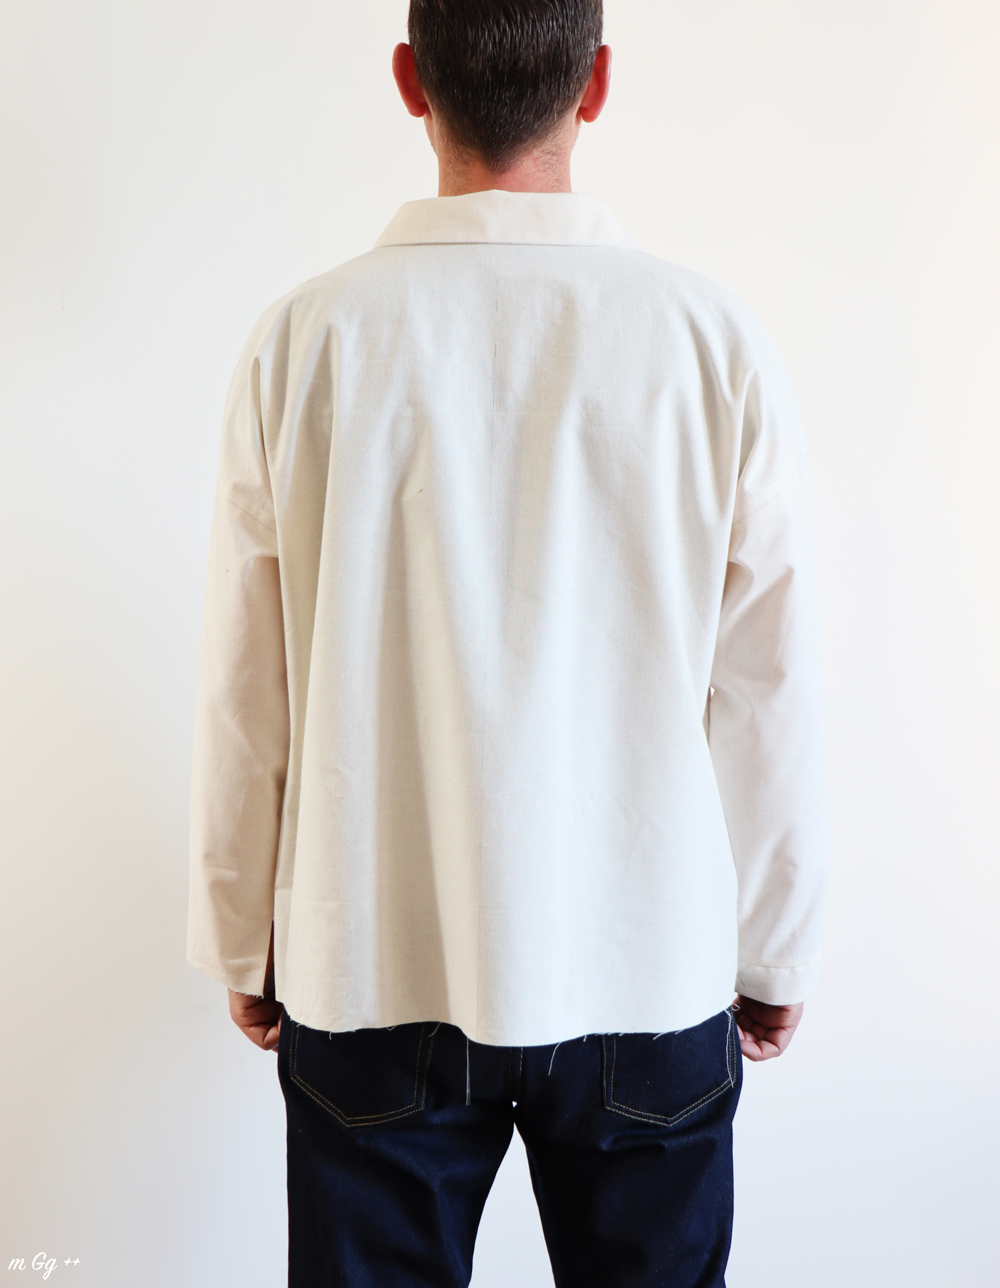
The ‘Julien’ pattern flares slightly on the sides of the bust to accomodate a female figure with larger hips. On the toile, a vertical fold appears on the back, showing excess material. What’s more, in the side on photo, the back moves away from the body. For aesthetic reasons, a straight cut seemed more suitable for a man.
- Bust length
My partner wanted to lengthen the bust by a few centimetres. This isn’t surprising, as ‘Julien’ is made for a height of 1.65m and he measures 1.76m. As for the sleeve length with cuff, it fitted perfectly in our case.
Once the fitting was completed and future modifications were noted, the next step was to adjust the paper pattern...
![]()
APPLYING THE MODIFICATIONS THE PAPER PATTERN
![]()
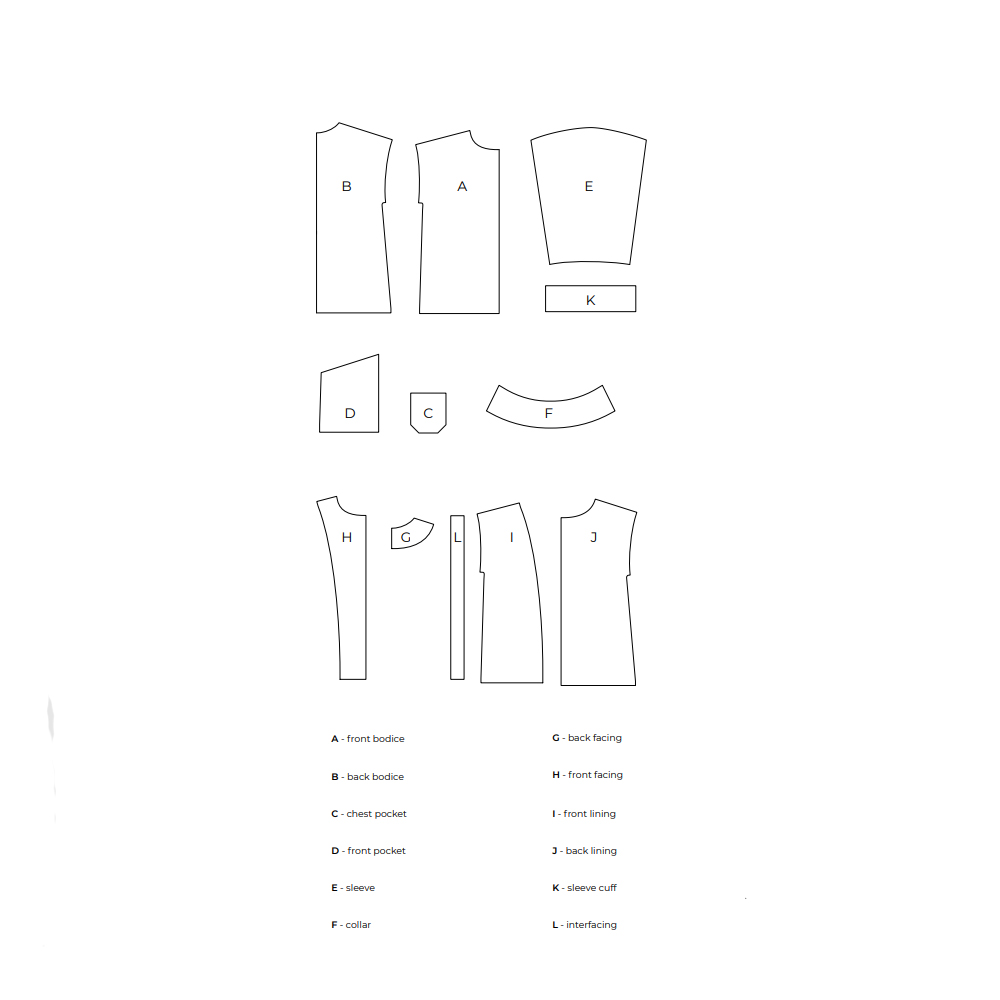
To help understand the following instructions, here’s the diagram with the names of the different pieces:
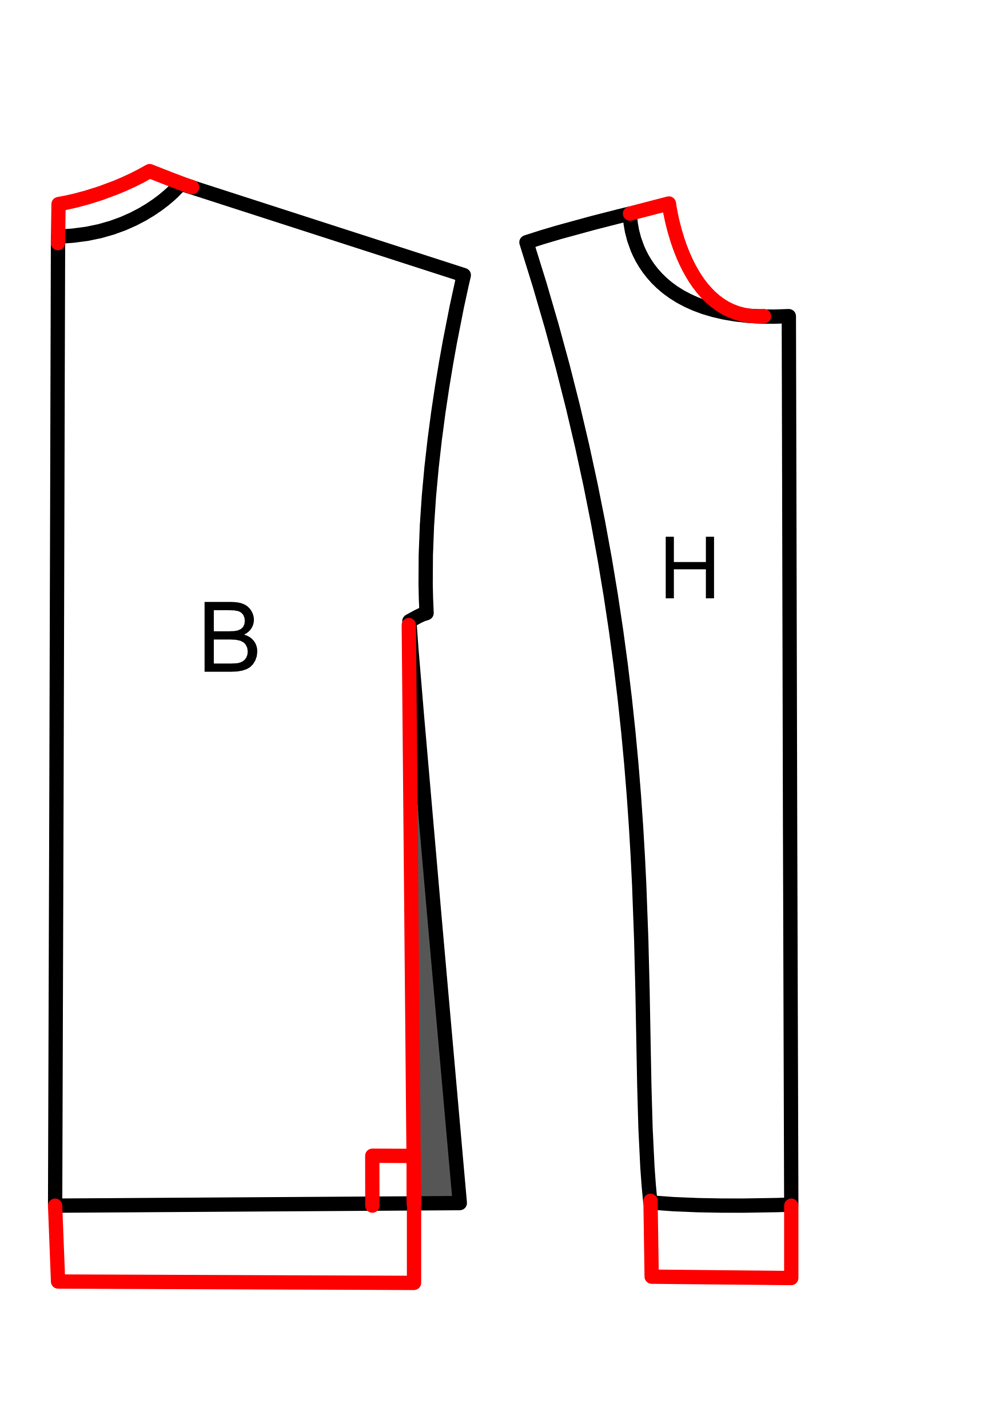
THE COLLAR
![]()
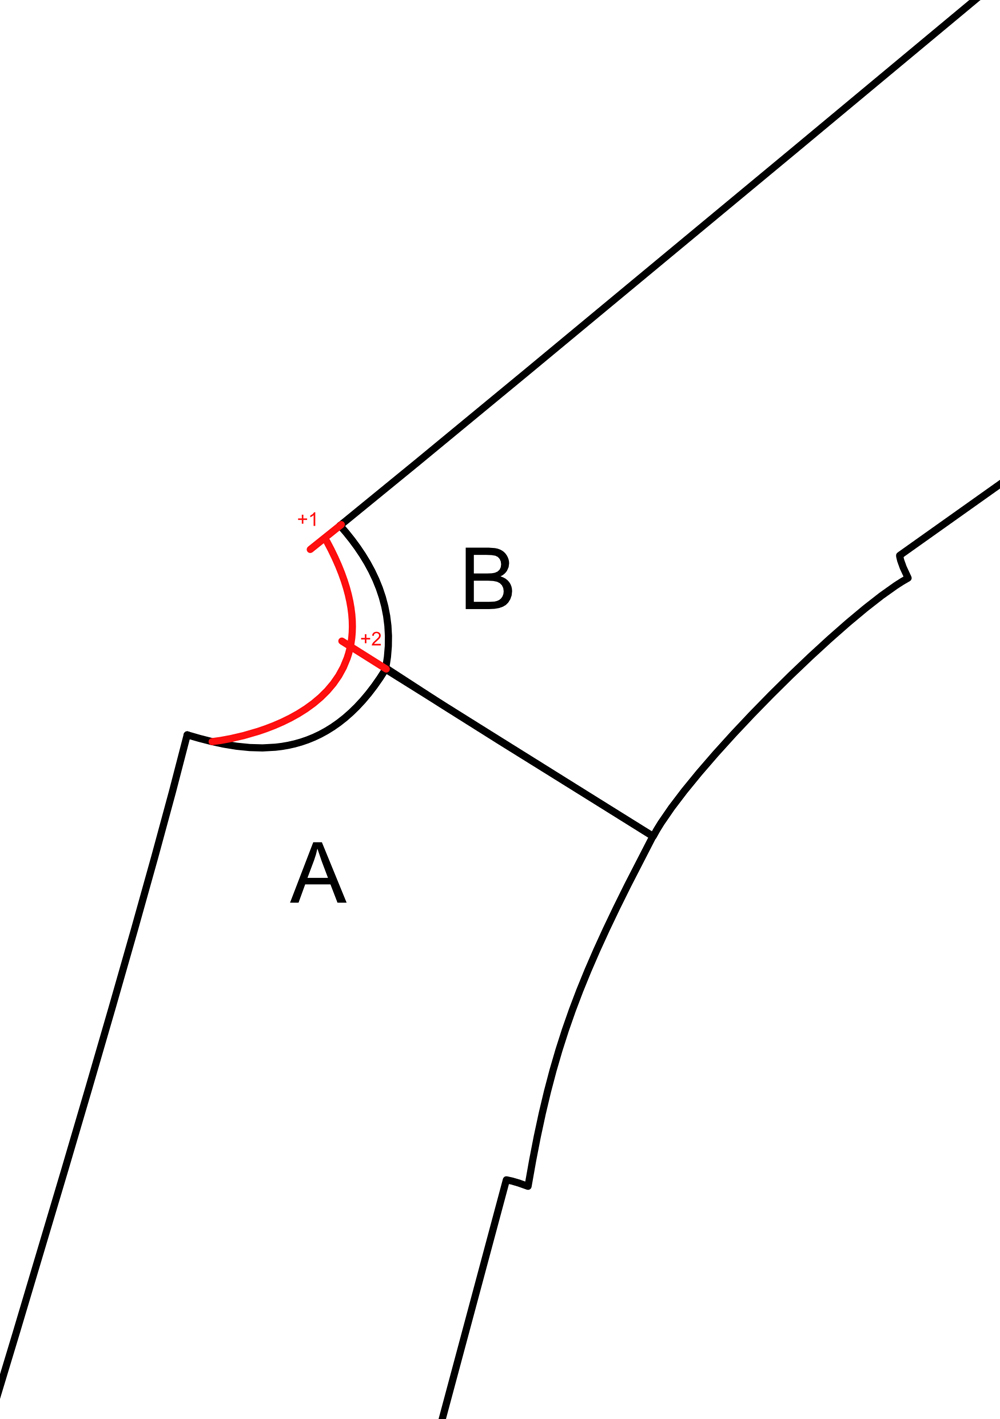
Modifying the collar involves changing some pieces, in this case, the front and back bust
(A and B), collar (F), and front and back facings (G and H).
Our aim was to raise the collar, so it would be closer to the neck base.
To begin, I put together the shoulder lines for the front bust (A) and back bust (B) using adhesive tape. Then, I extended the shoulder line 2cm towards the neck. The middle back was also extended 1cm up towards the neck.
The neckline was redrawn using these steps and following the initial curve as best possible.
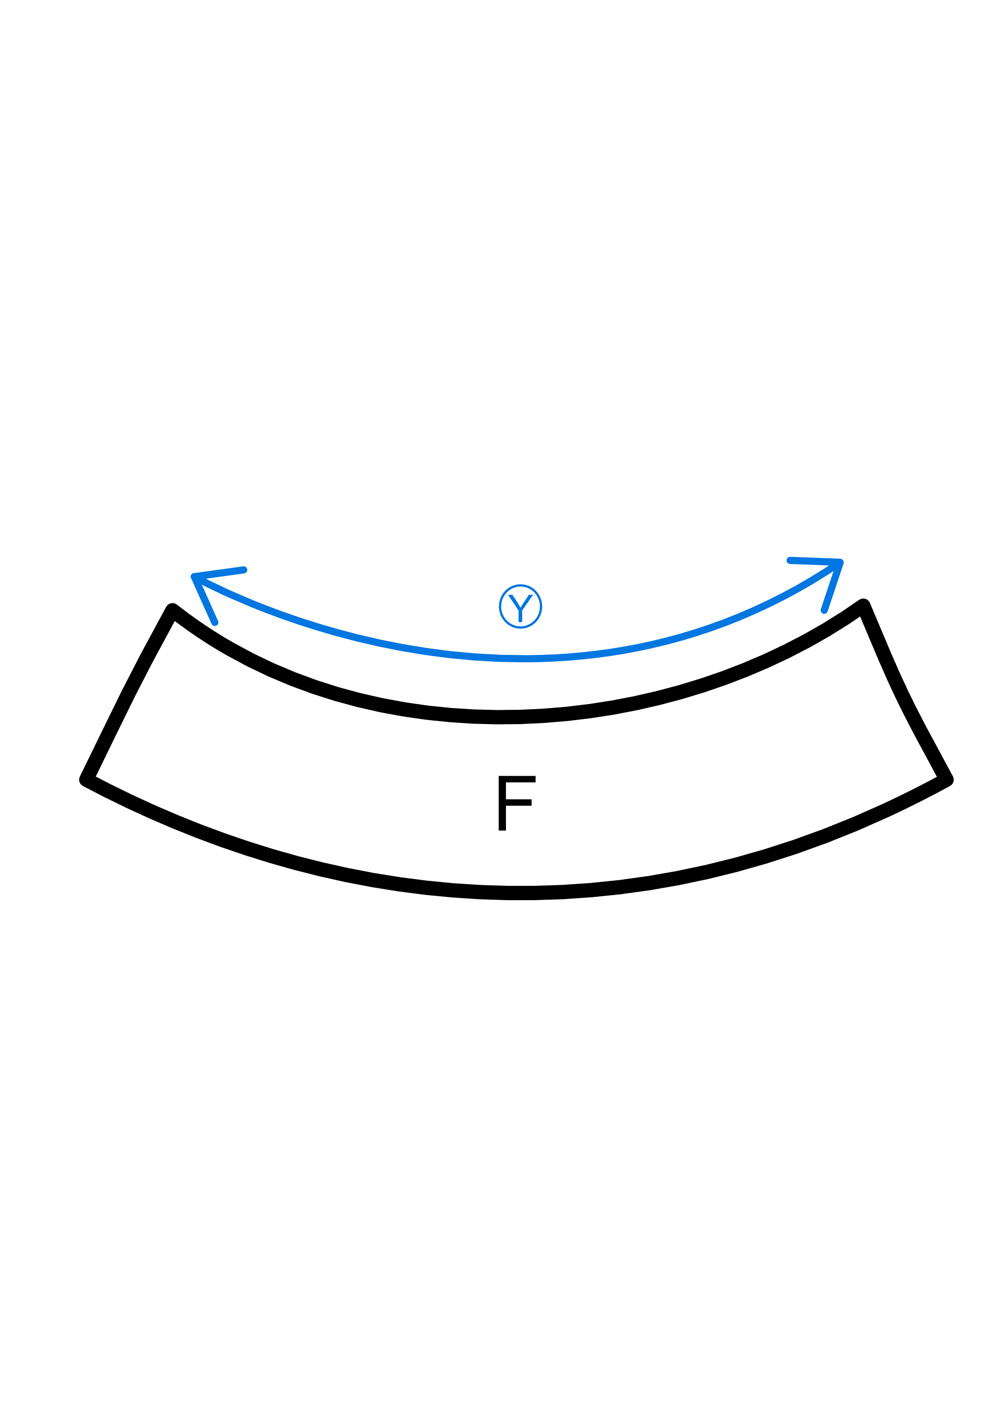
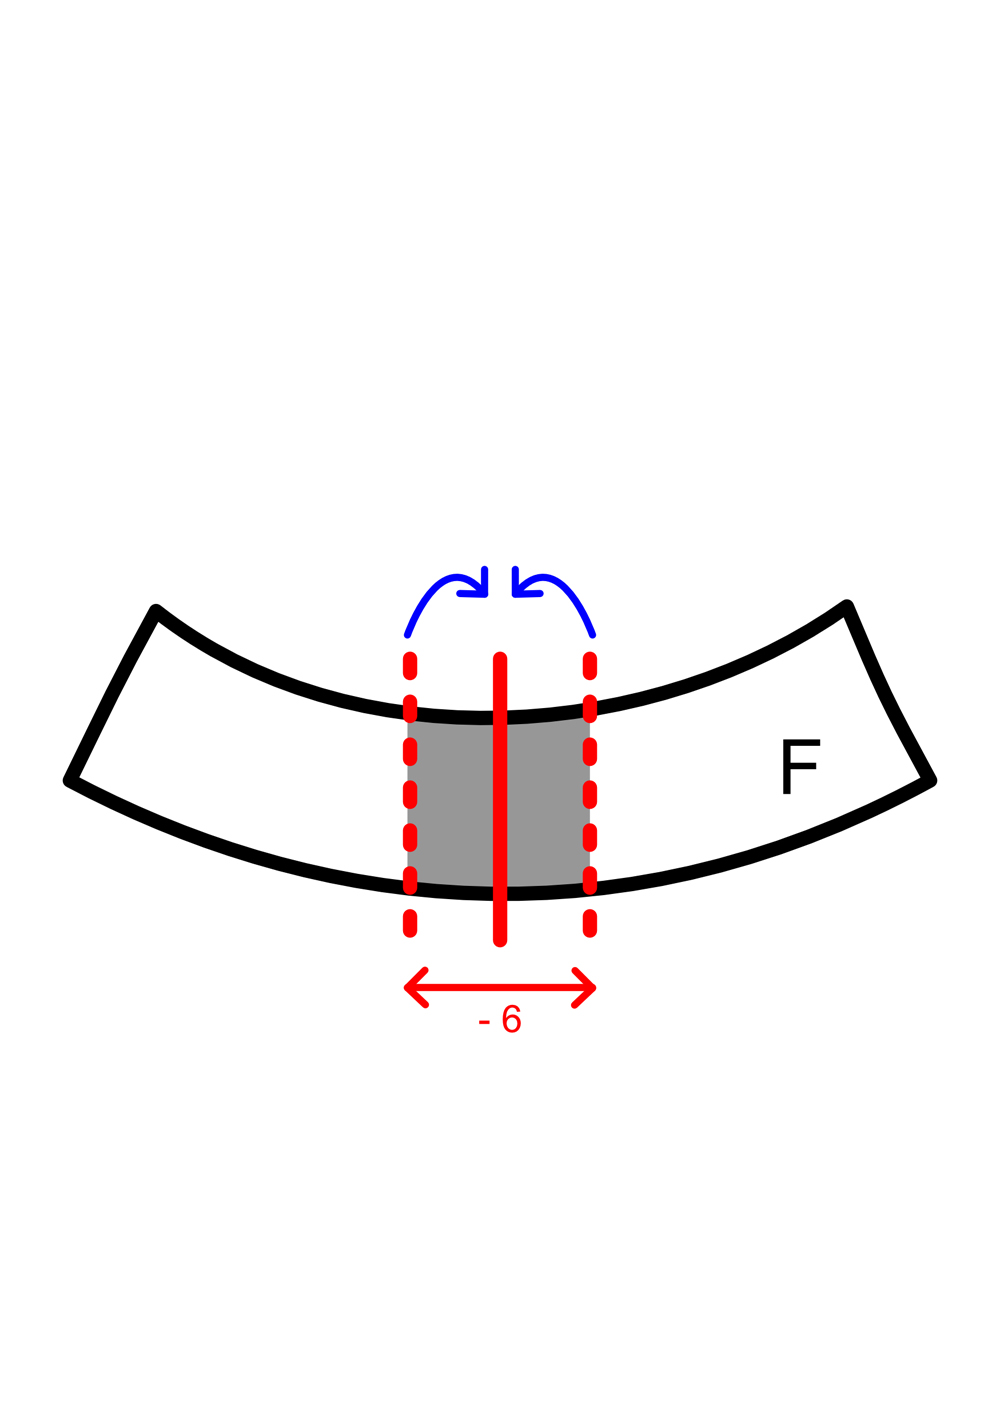
Once the new collar was drawn, its length was measured from the collar’s position at the front through to the middle back. This measurement was multiplied by two and compared to the total length of the original collar. In our case, there was an excess 6cm.

The center back of the collar was marked and then the 6cm were distributed on either side of this line, so 3cm on each side. The excess material was then cut out. The two collar pieces were finally tapped together.
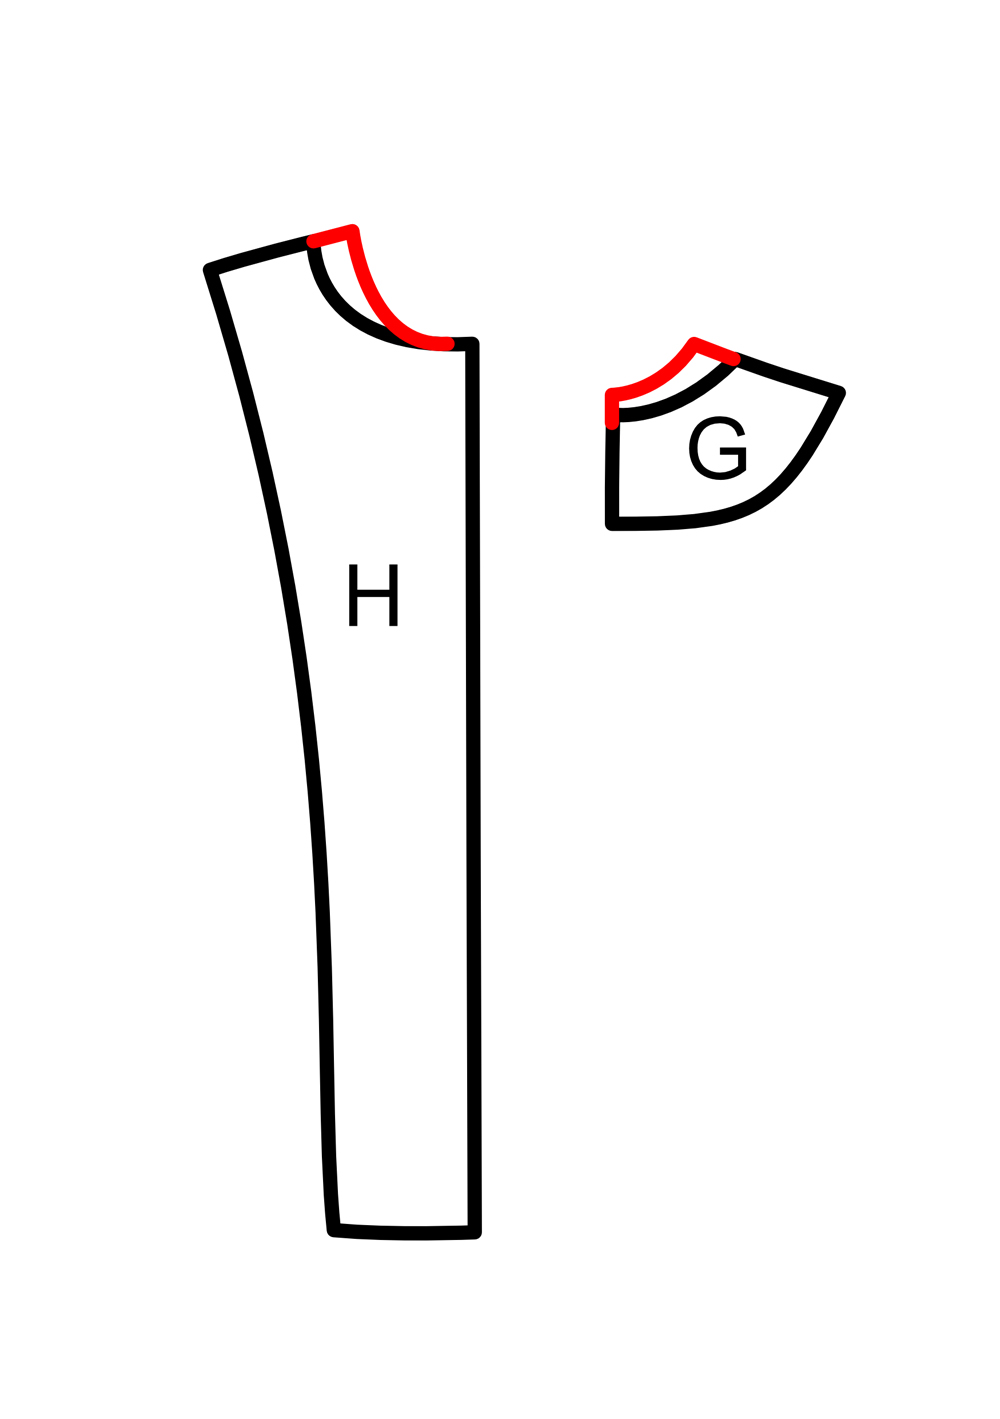
The last step was to report the collar modifications on the front facing (H) and back facing (G).
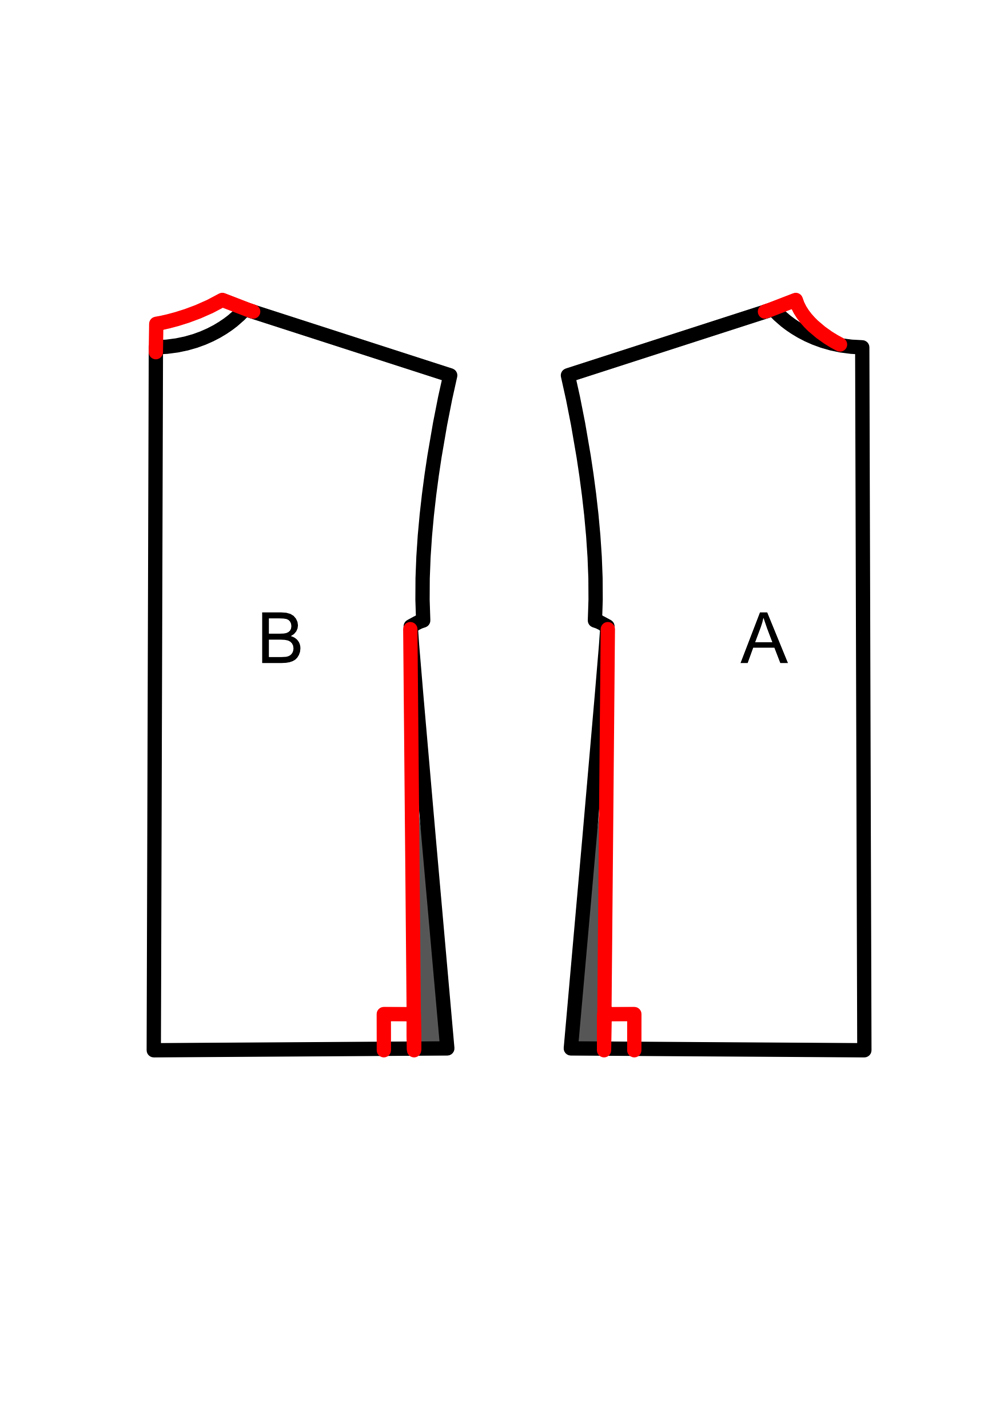
FLARED BUST
The pieces involved in this modification are the front and back busts (A and B), as well as their lining (I and J).
To reduce flaring in each piece, a ruler (50cm) and set square are required. A line is traced from the sleeve bottom right to the base, forming a right angle with the bottom line of the bust. This line forms the new side line.
You then have to check that this new side line is the same length for the front and back.
This method is then repeated for the lining.
BUST LENGTH
The pieces involved in this modification are the are the front and back busts (A and B), as well as their lining (I and J), the front facing (H), and fusible interfacing (L).
This final modification is now simplified because the flaring has been removed.
As the side line is perpendicular to the jacket’s bottom line, the latter just needs to be repositioned as desired.
In our case, we extended it by 2cm. As a result, I traced a parallel line 2cm below the jacket’s bottom line. This is repeated for all the pieces mentioned above.
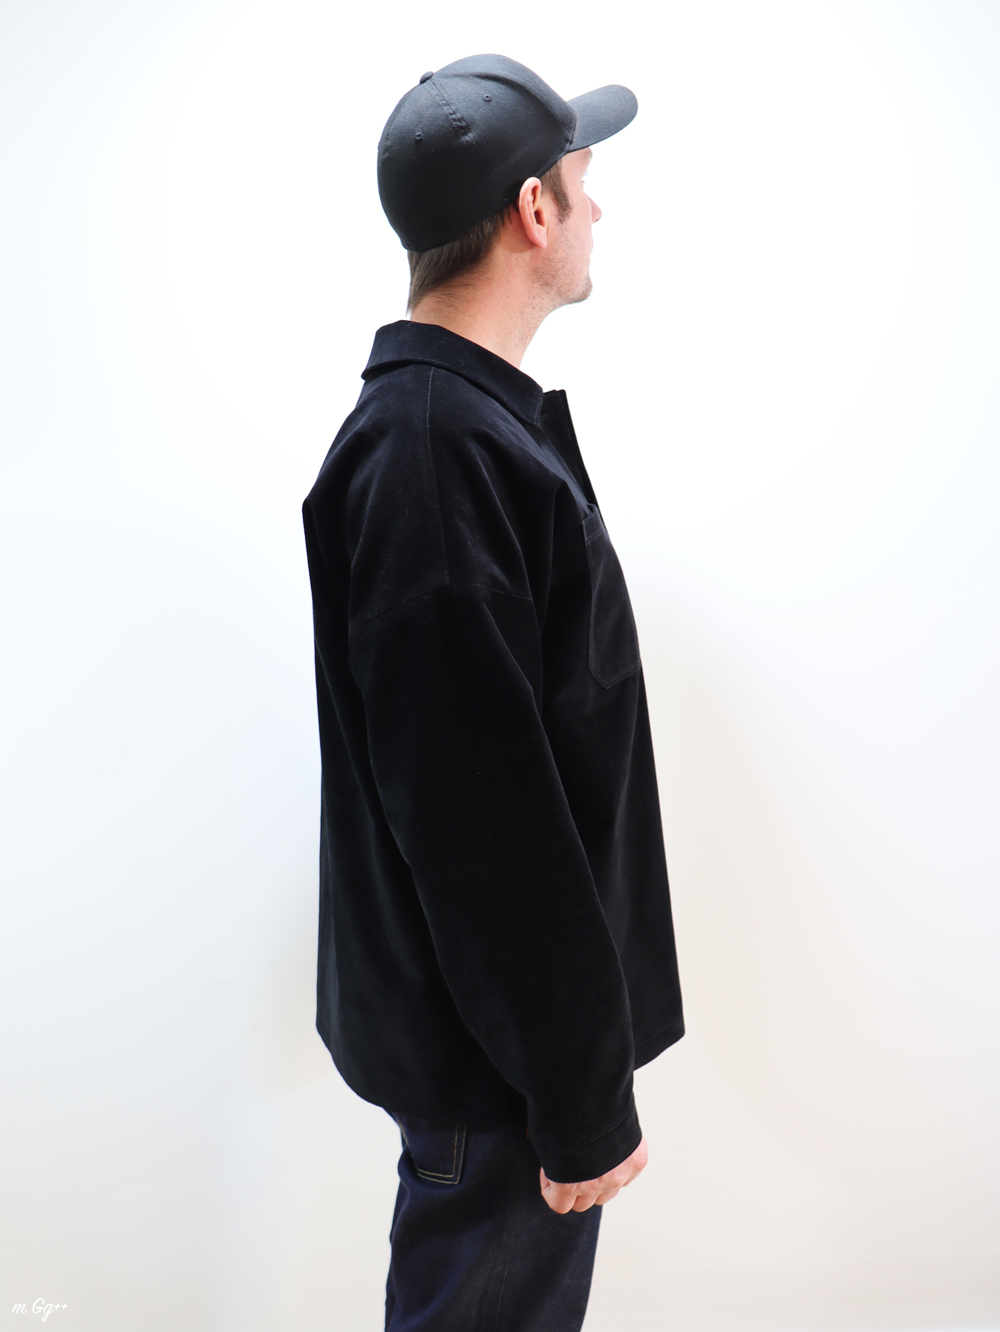
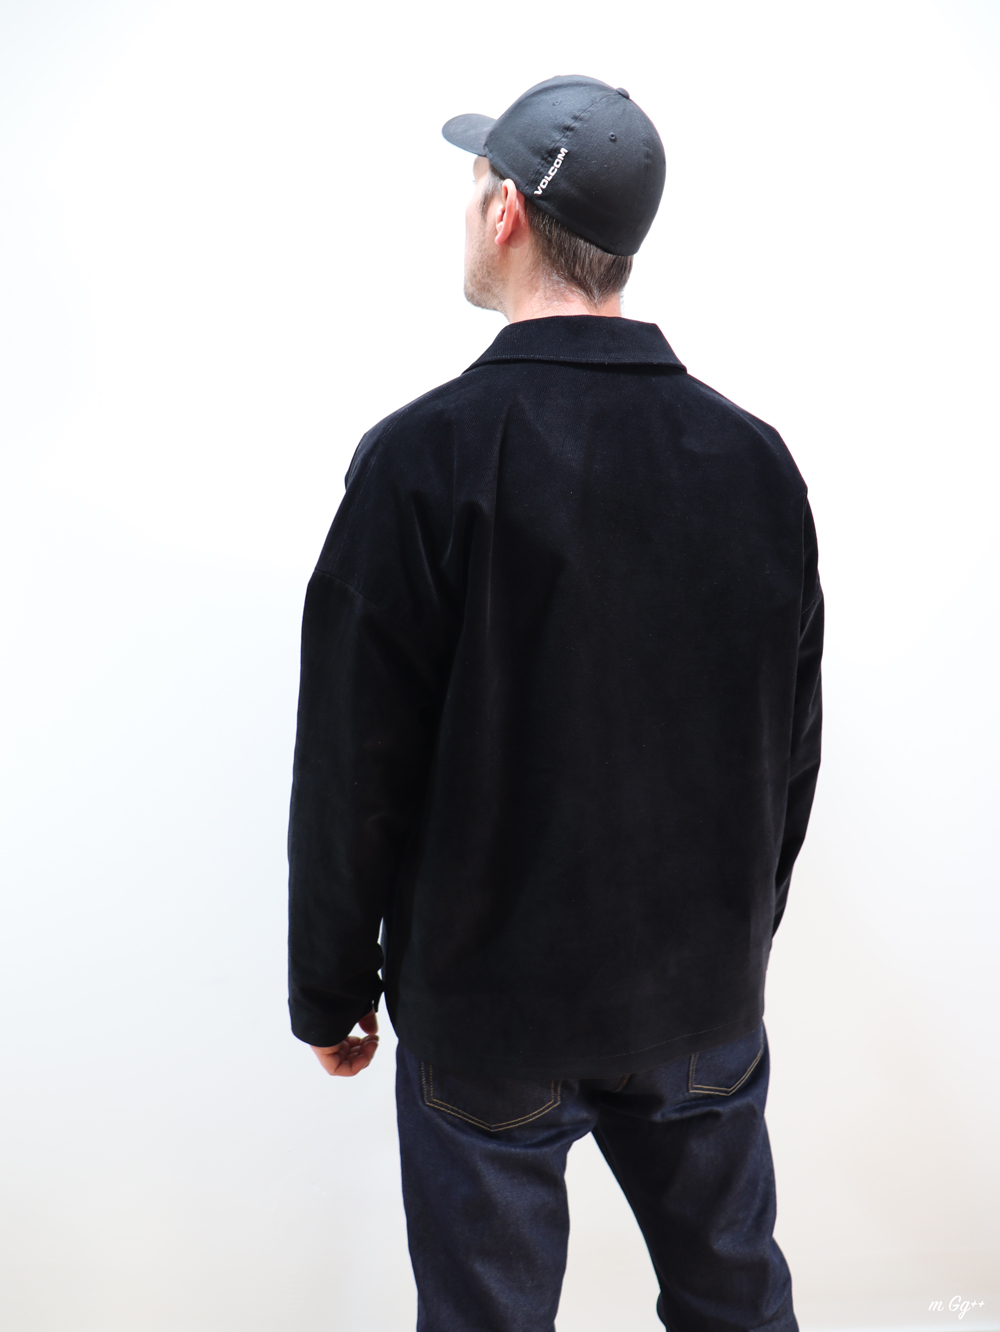
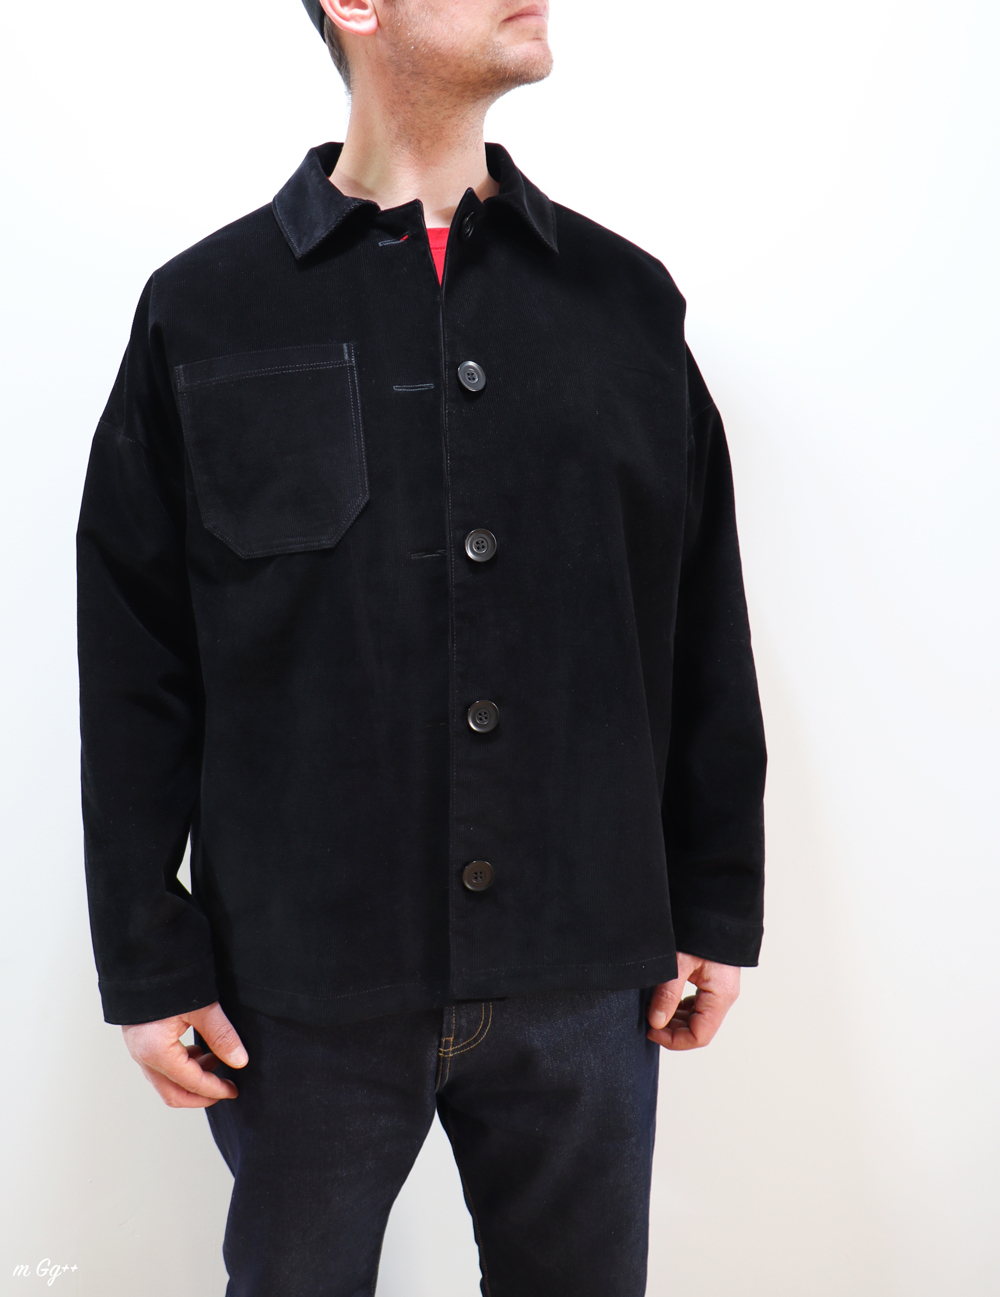
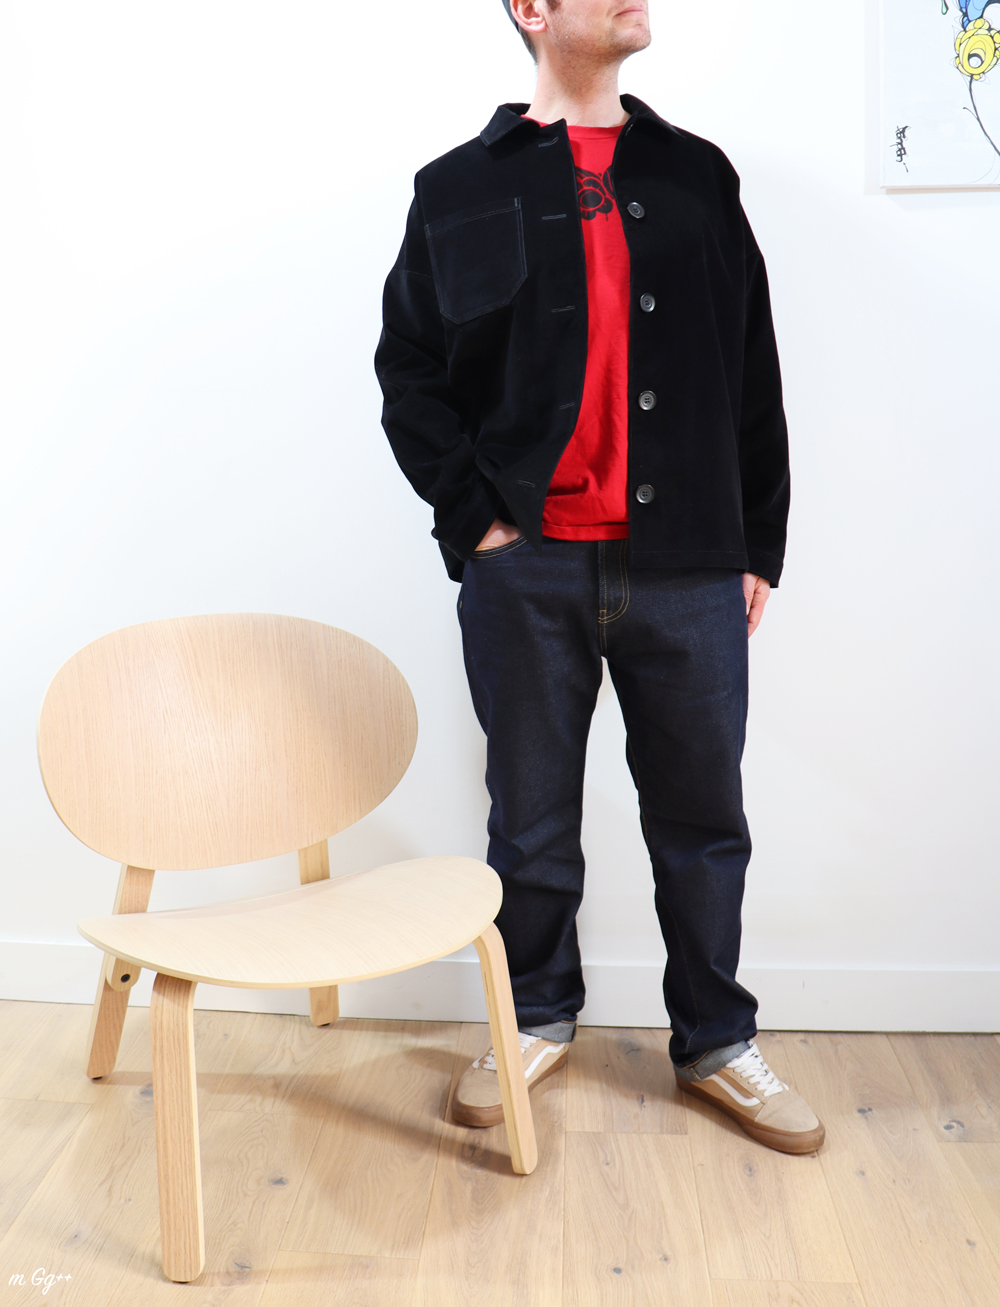
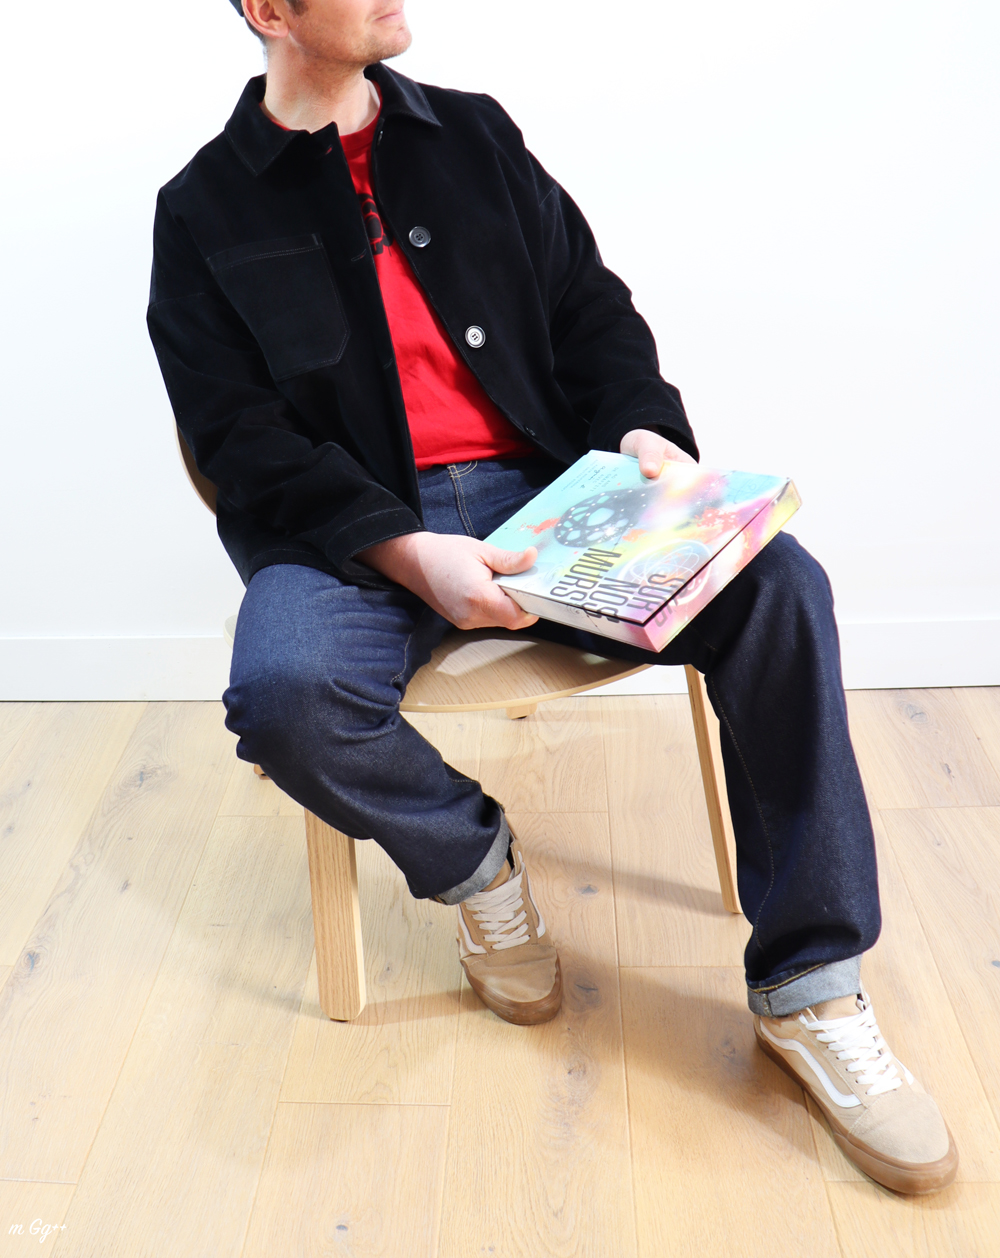
THE FINAL PROJECT
![]()
Once all the modifications were made to the paper pattern, the different fabrics were cut and sewn.
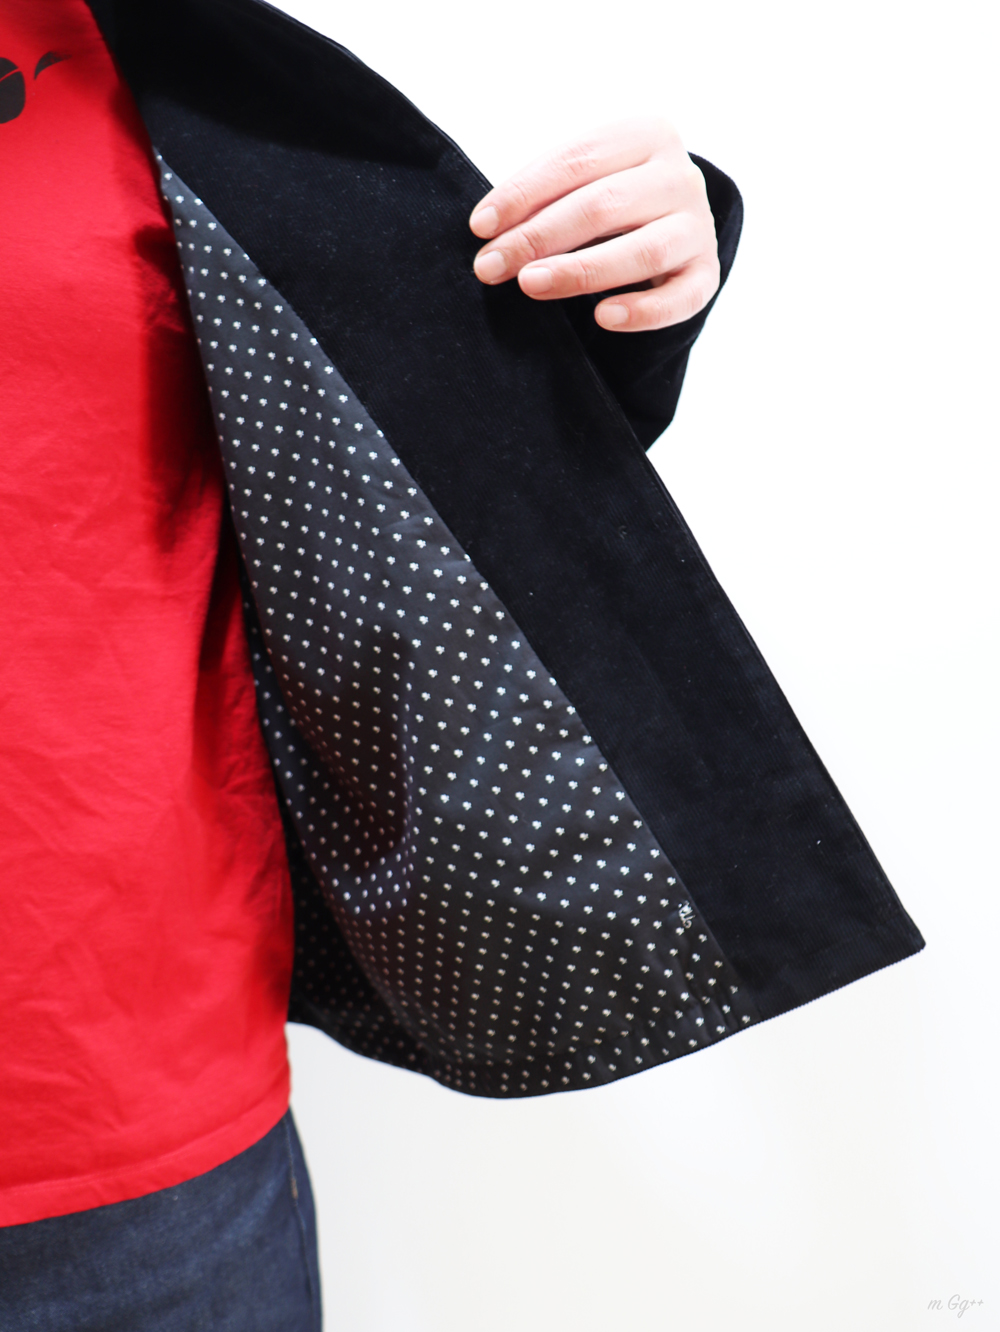
‘Julien’ comes with detailed instructions and many clear illustrations. This jacket does not pose any particular difficulty. All the pieces fit together perfectly. Assembling the lining is clever and simple.
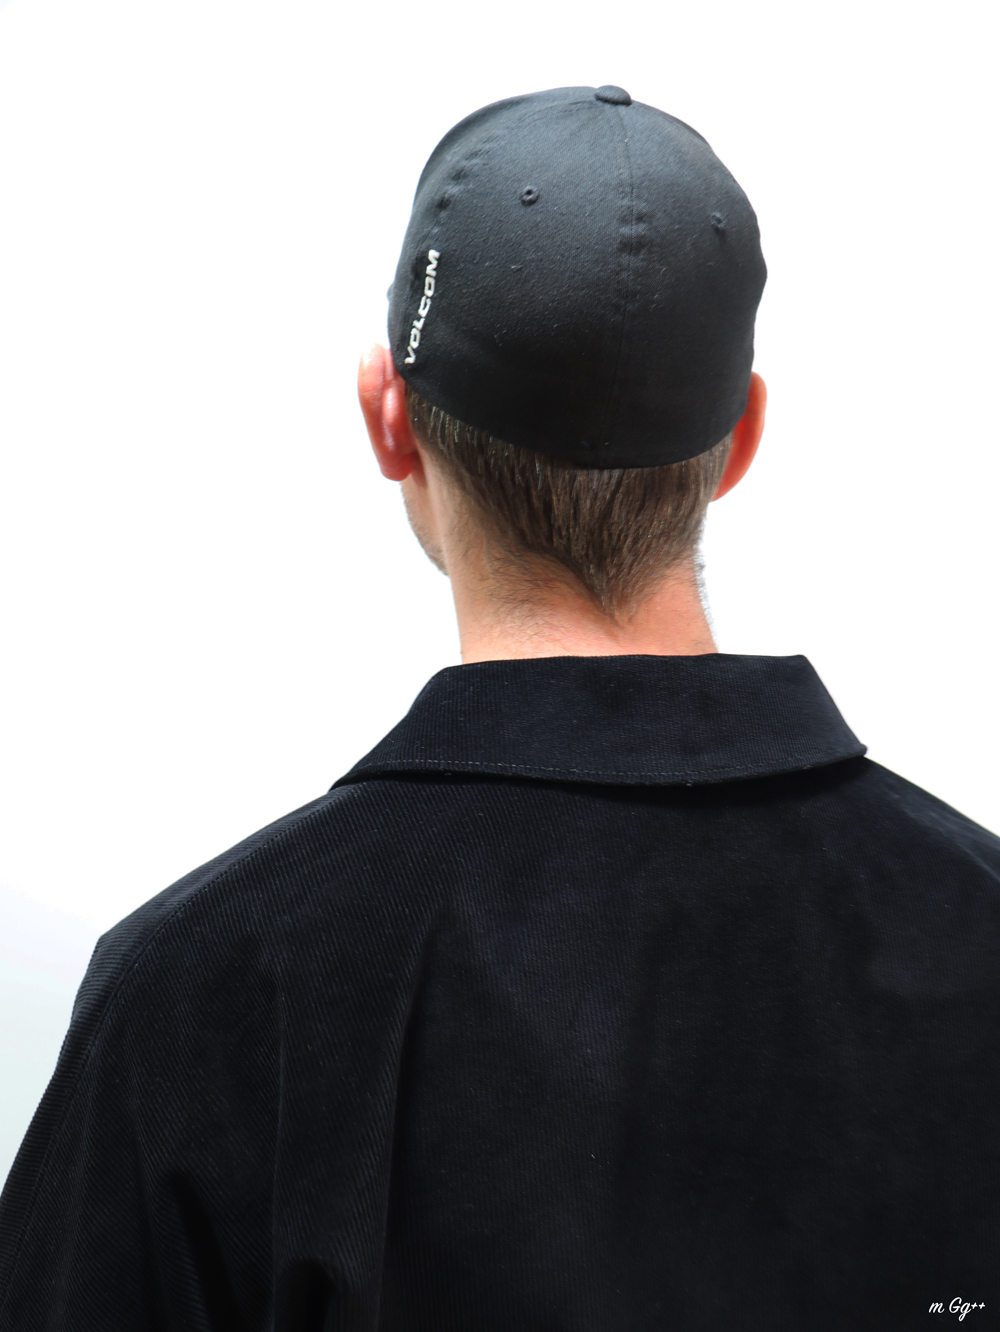
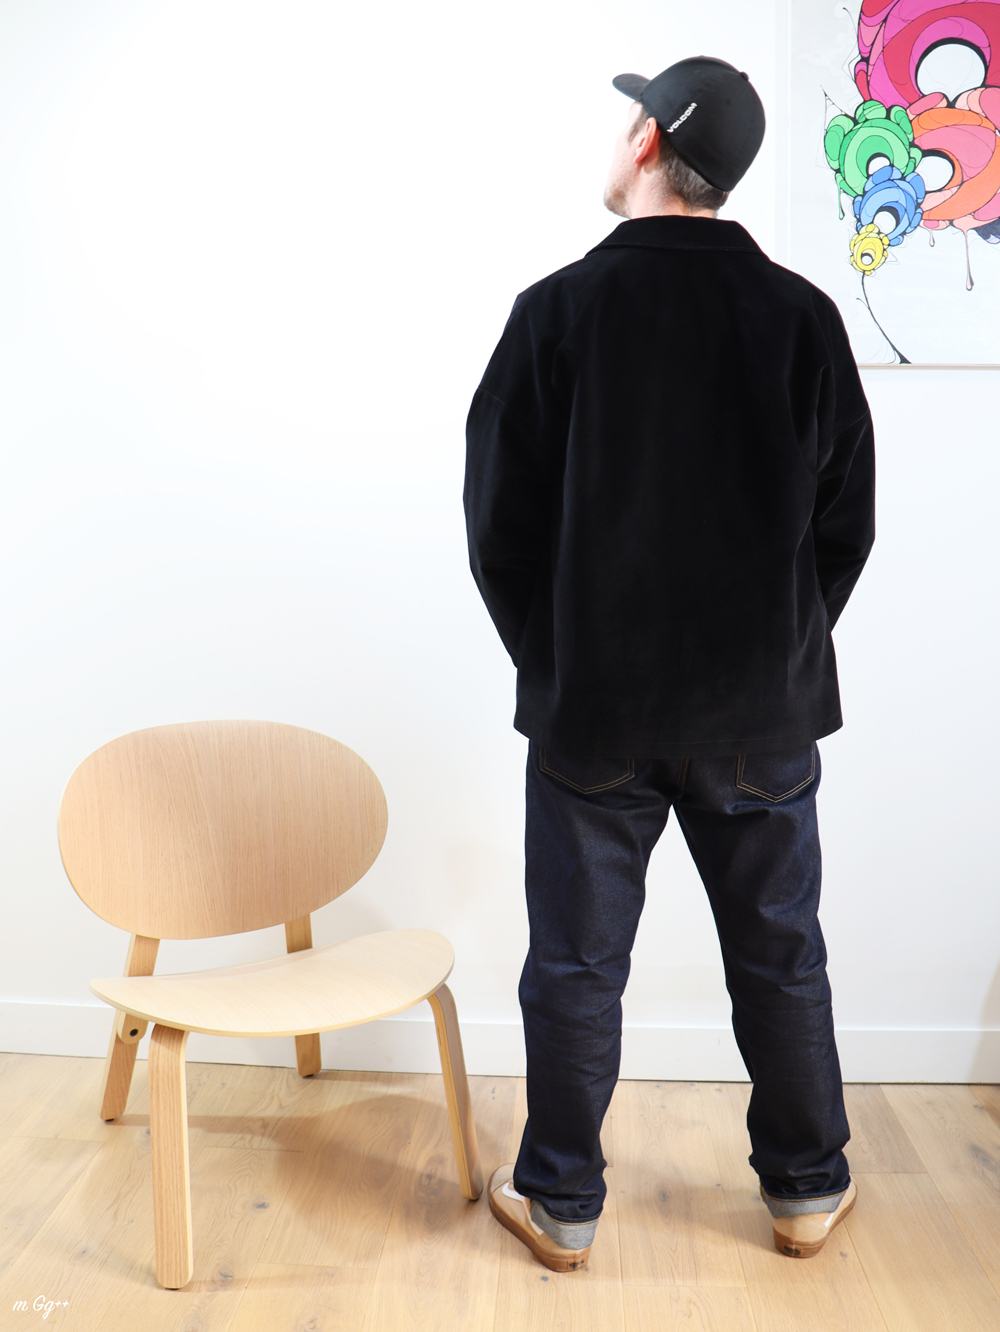
The final result is of high quality, both inside and out. You get a long-lasting and timeless garment.
My partner loves it and already wants another version…
Many thanks, Raphaëlle, for your trust, and for offering timeless, high-quality patterns. Thanks also for these blog articles, which give us an opportunity to present our versions.
![]()
Comments
Leave your comment