Pattern hack: lining the Julien jacket, part 2

EDIT: the previous version of the Julien jacket, online until February 23, 2022 was not lined. If you want to keep the old version but line it, follow this tutorial.
Today we'll be showing a tutorial for how to line the Julien jacket, the first part of the pattern hacking is here. Thank you so much Michèle for working on this great tutorial, let's dive right in!
Workwear jackets are generally not lined. They are built to be sturdy but also very quick to make. However, there's nothing stopping you from sewing a nice lining to get a softer, slightly warmer jacket. Lining the jacket will also make it easier to sew the collar and hem for heavy fabrics such as corduroy, denim, moleskine or other heavy cotton canvas. Also, lining the jacket makes it even more versatile for fabrics like wool, which can irritate the skin
IMPORTANT: Remember to pick a thin lining or choose a bigger size if your lining is thick.
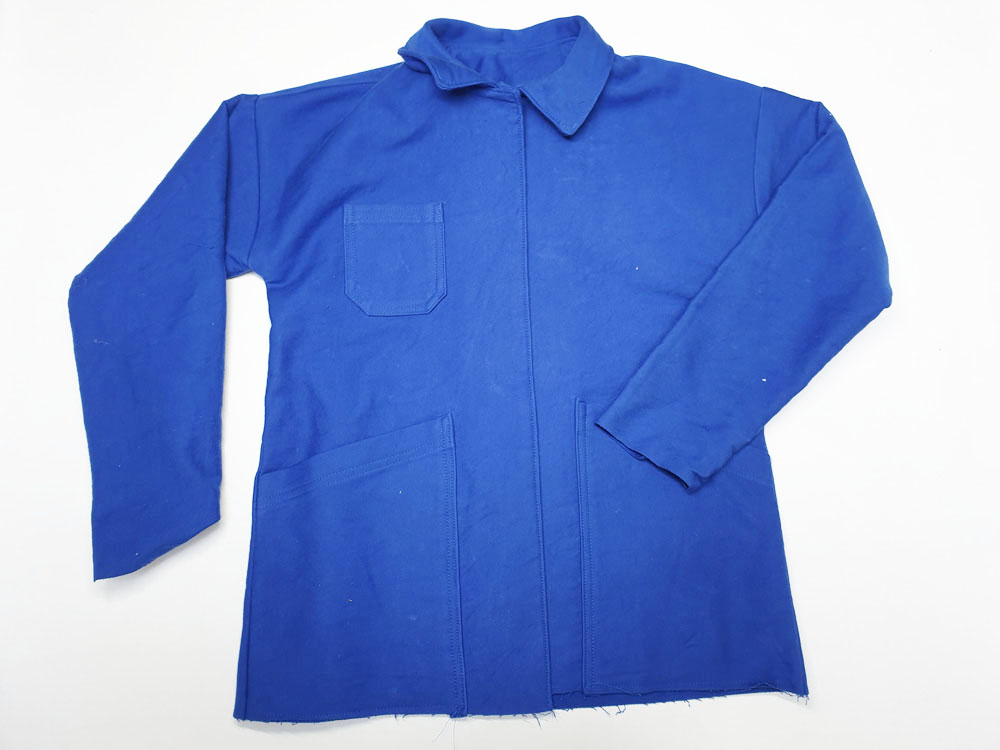
The fabrics used for this tutorial are a royal blue moleskin (the fabric usually used for this kind of jackets, it is a thick but soft and durable fabric used for workwear) and a checked linen for the lining. Michèle used a microtex needle (a particularly pointy needle) to sew this moleskin.
This sewing pattern is designed for 165 cm height, I am 160 cm with a slightly long bust and I decided to shorten it by 2.5 cm without touching the proportion of the pockets. The jacket is therefore a little shorter than the original model and I like it a lot. I wear it all the time!
![]()
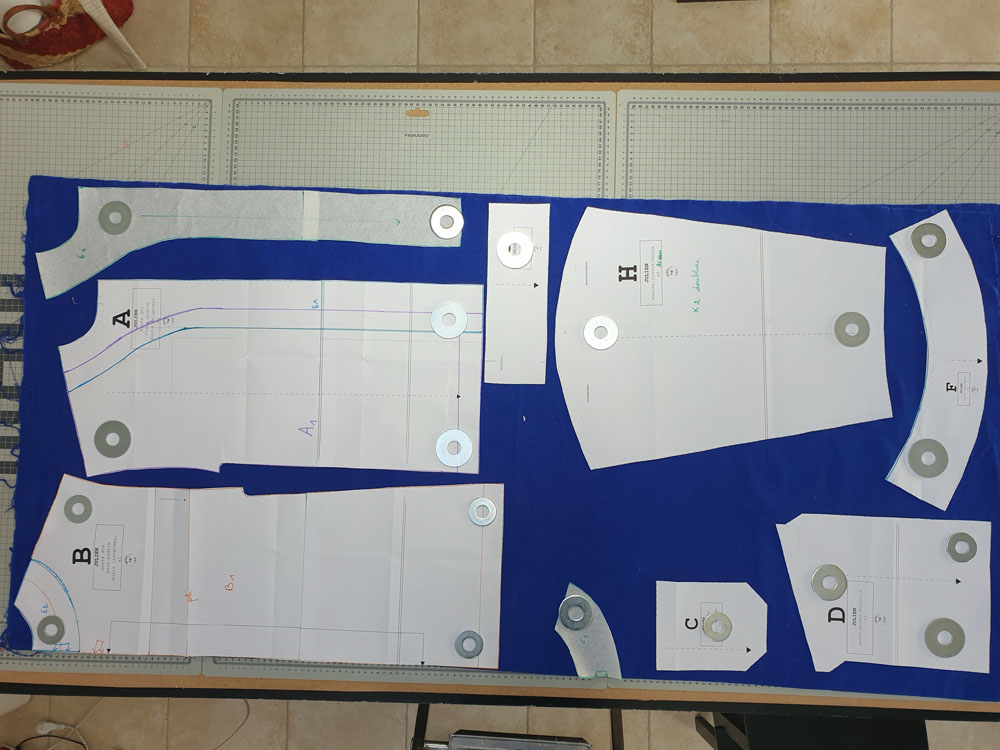
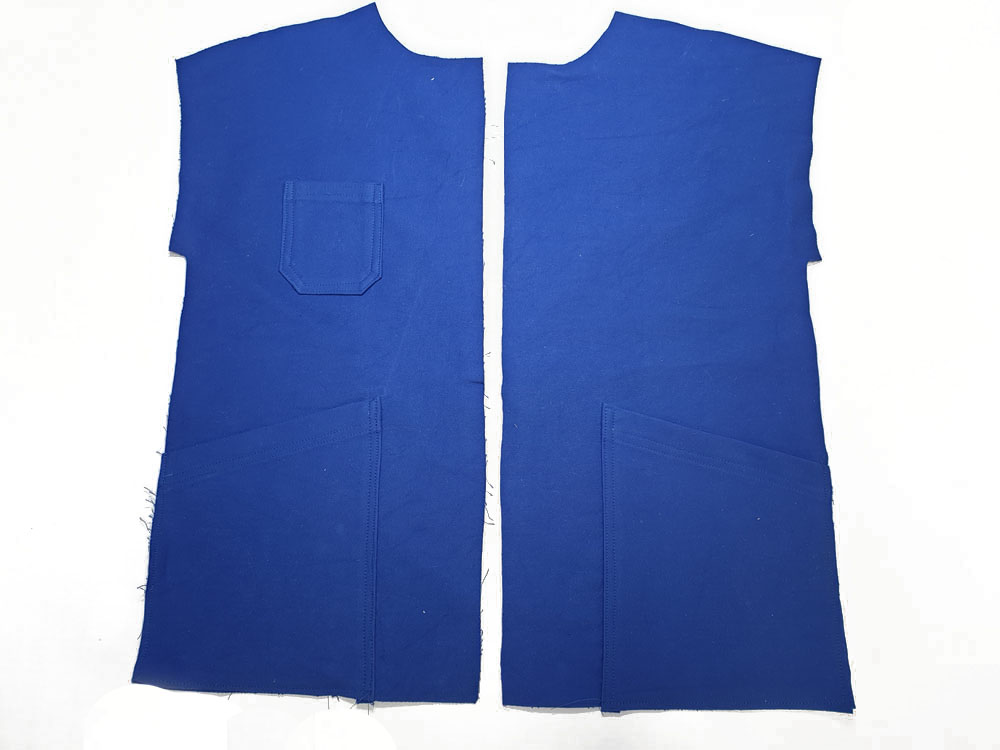
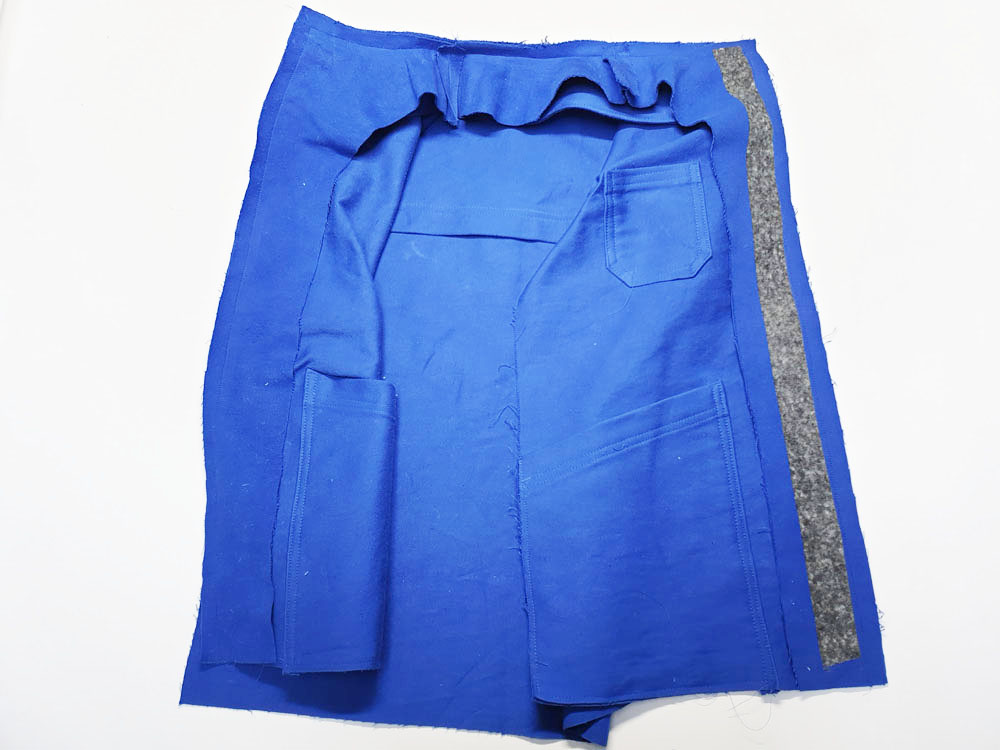
The cutting layout is very similar to the original pattern...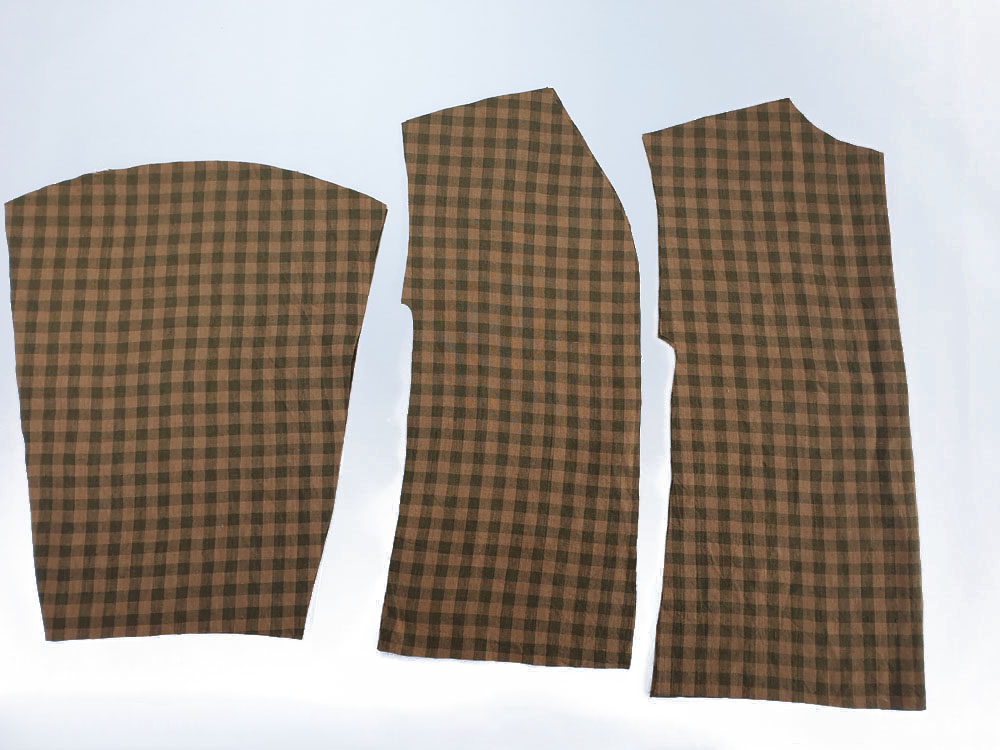
but don't forget to cut the lining parts!
![]()
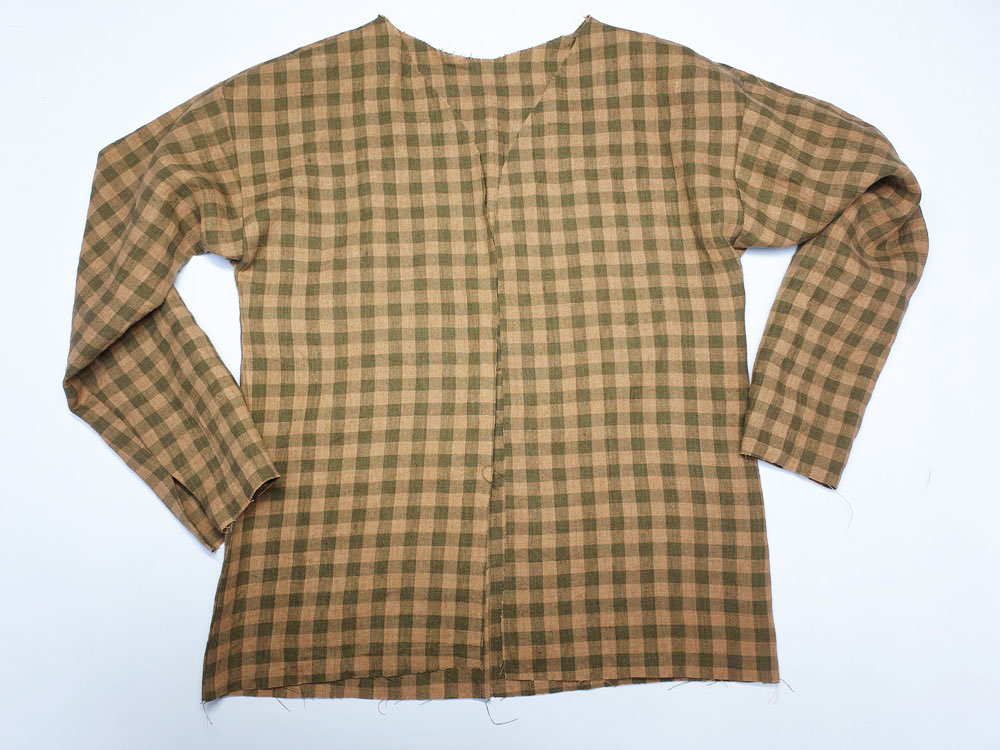
The first steps are common with those of the original jacket. The seam allowance is 15 mm everywhere, there is no need to french seam or overcast the seams because the jacket will be lined.
Below is a quick recap of the first steps. I invite you to consult the sewing pattern instructions for more details.


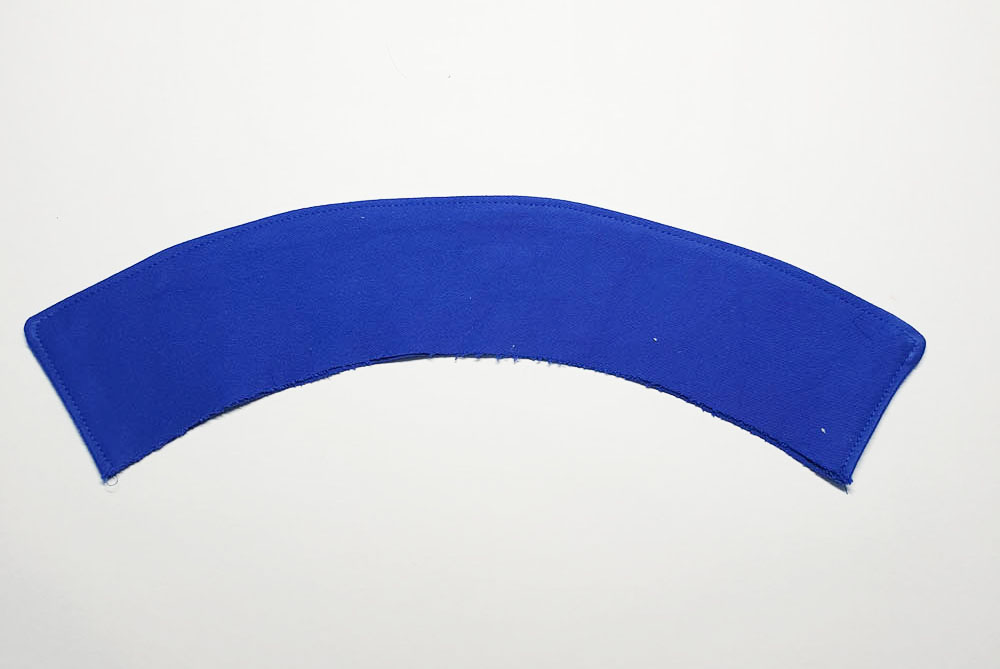
Sew your collar pieces right sides together using a 15 mm seam allowance. Clip the corners and curve and grade the seam allowances before turning it right side out. Turn right side out and press.

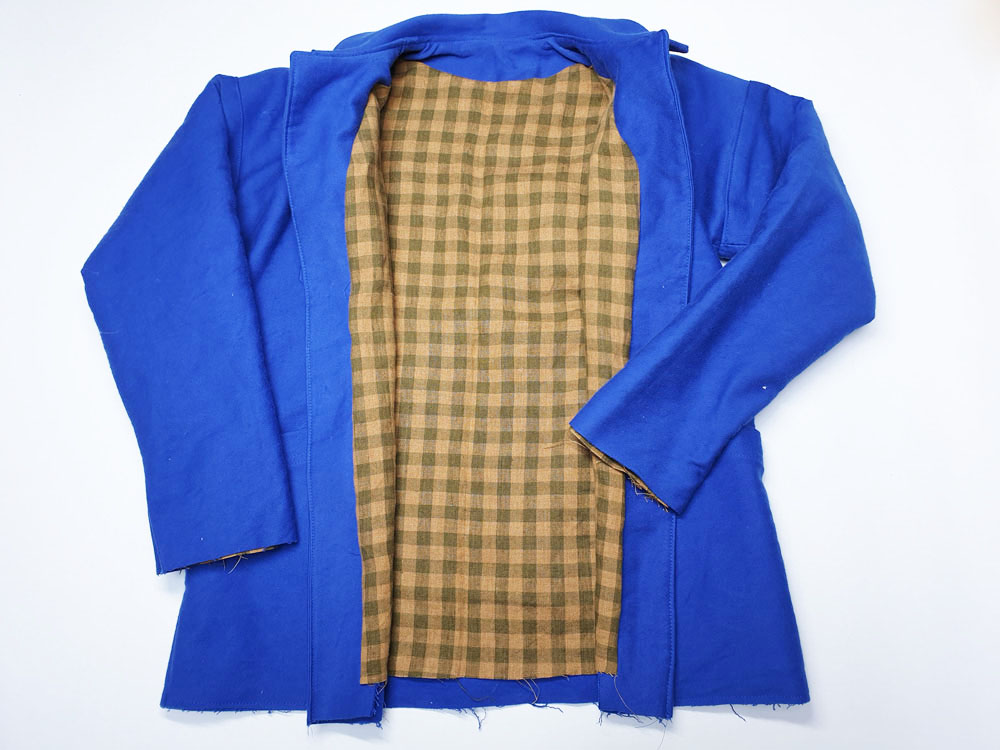
The facing :
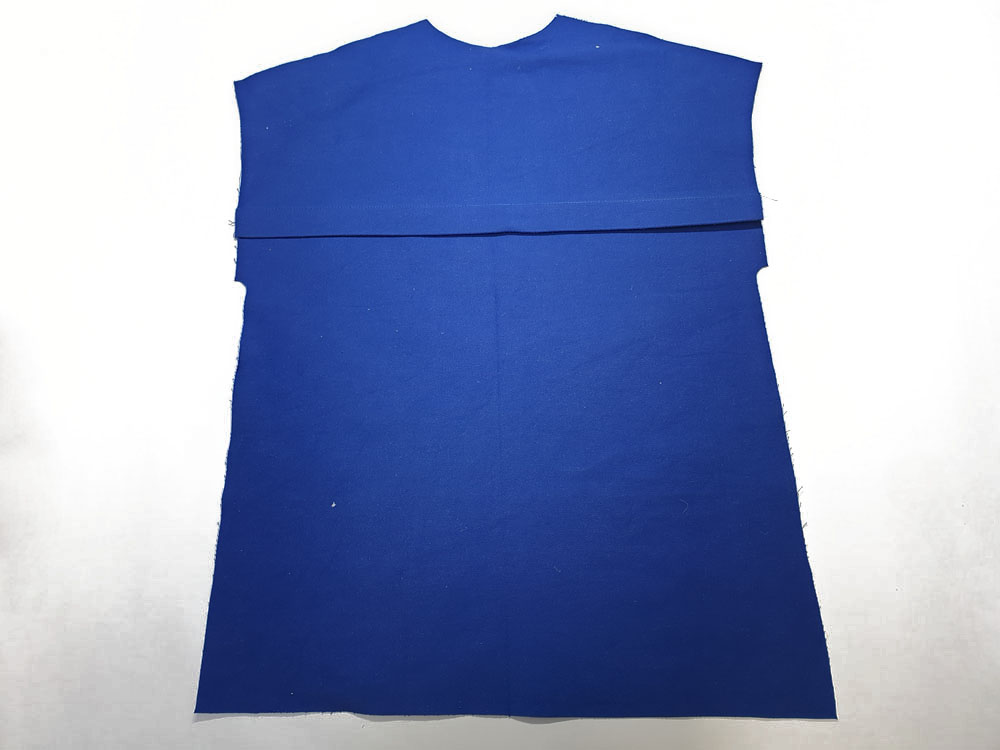
Sew the fronts and back facings right sides together.
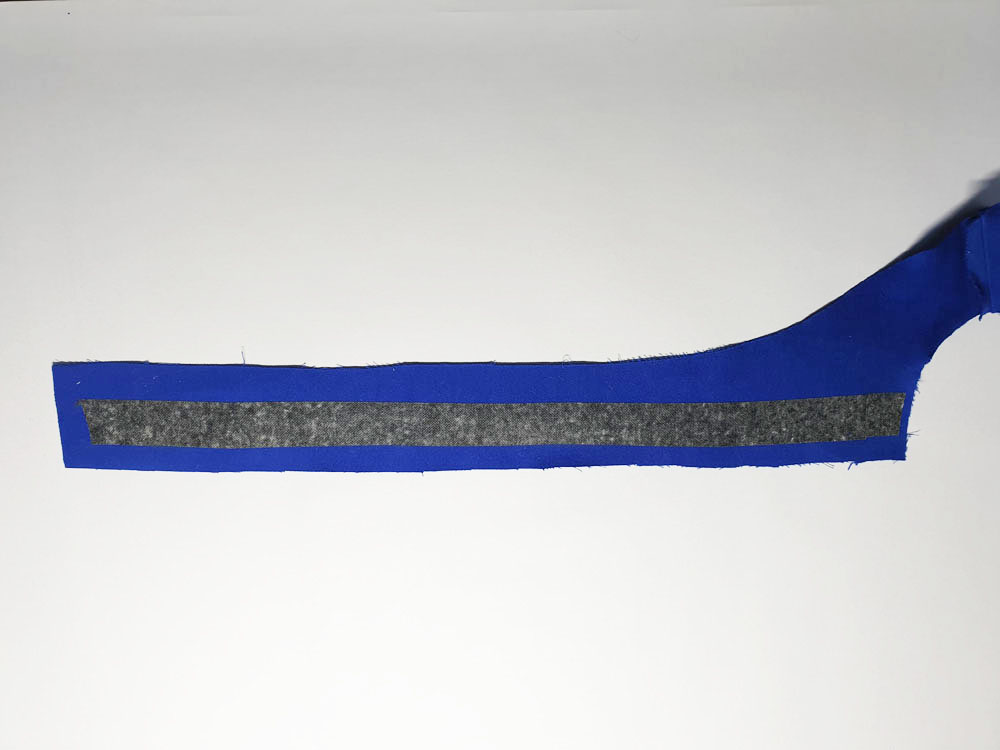
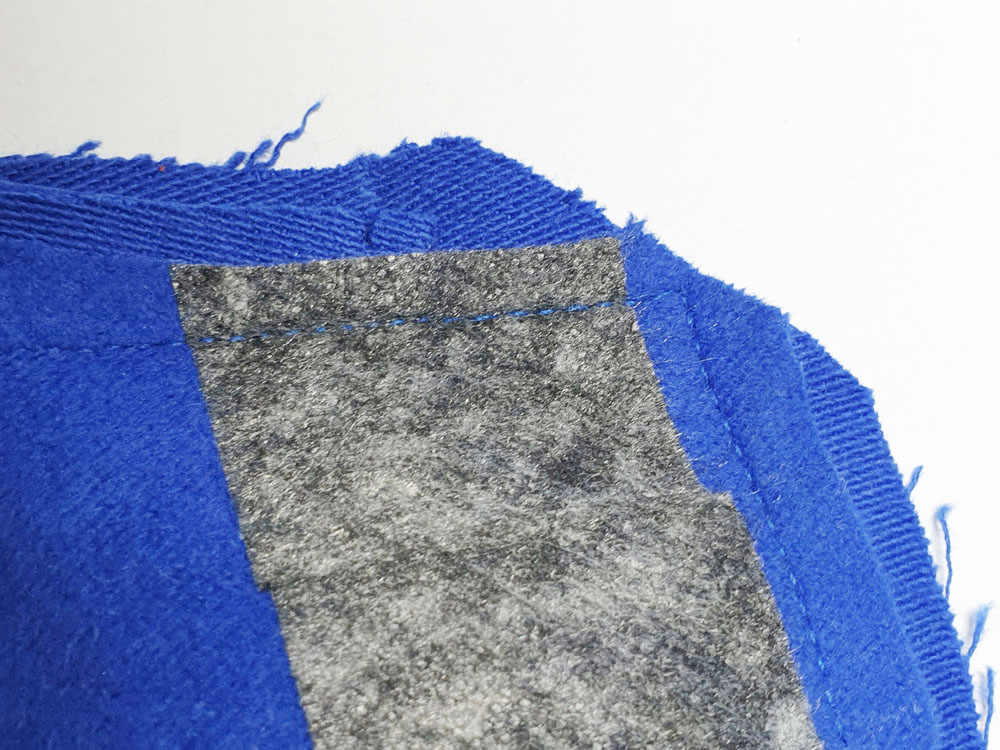
Interface the right front facing.
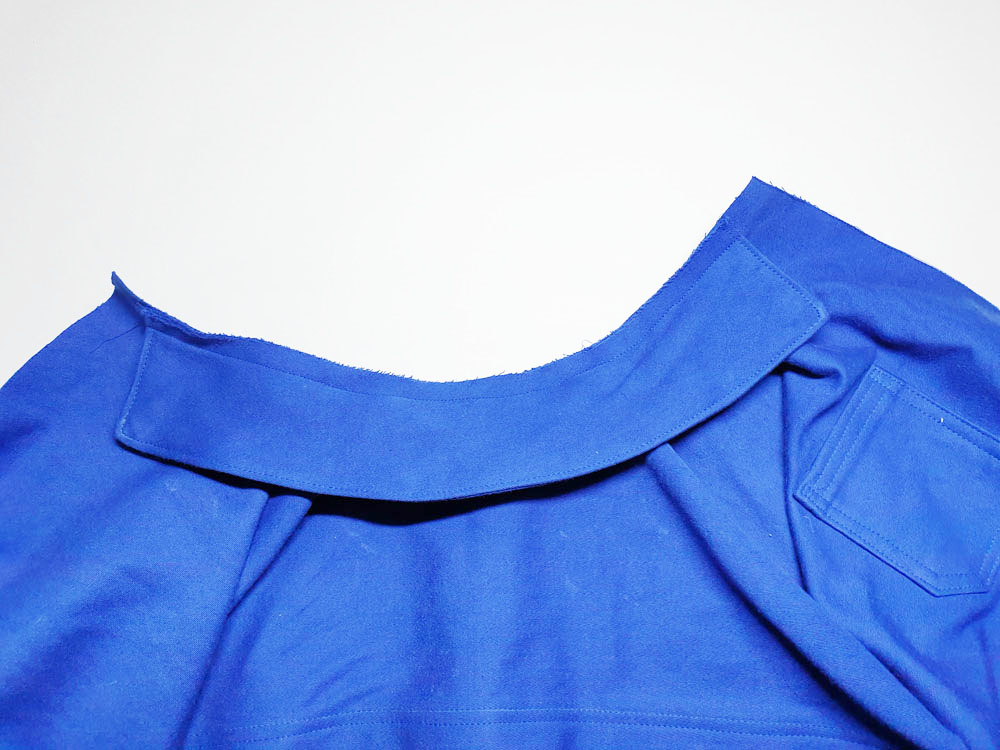
Sew the collar to the bodice. Match the center back bodice to the center back collar.
The facing:
Pin the facing to the bodice right sides together, the collar is sandwiched between the jacket and the facing. Stitch at 15 mm. Clip the corners and grade the seam allowances before turning it right side out. 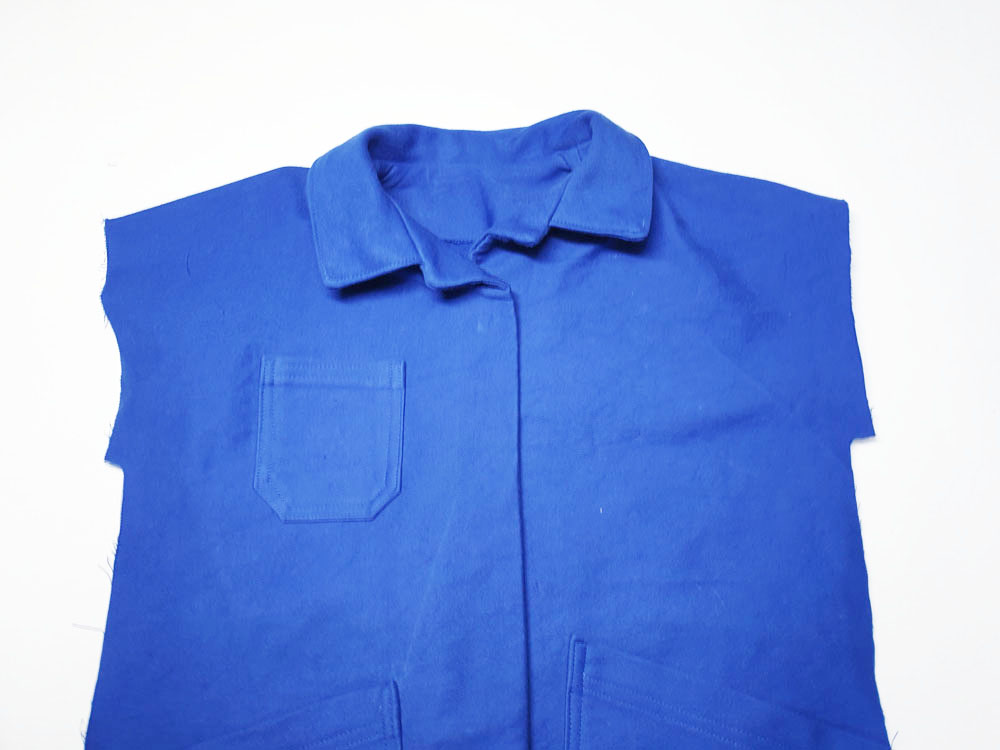
Turn right side out and press.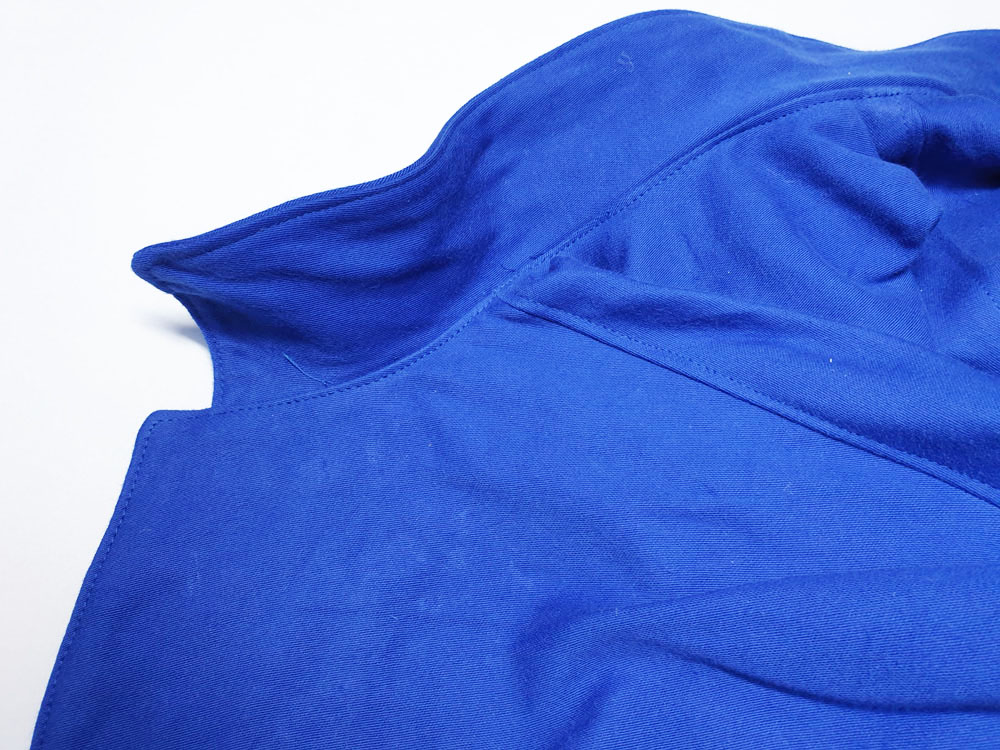
Topstich.
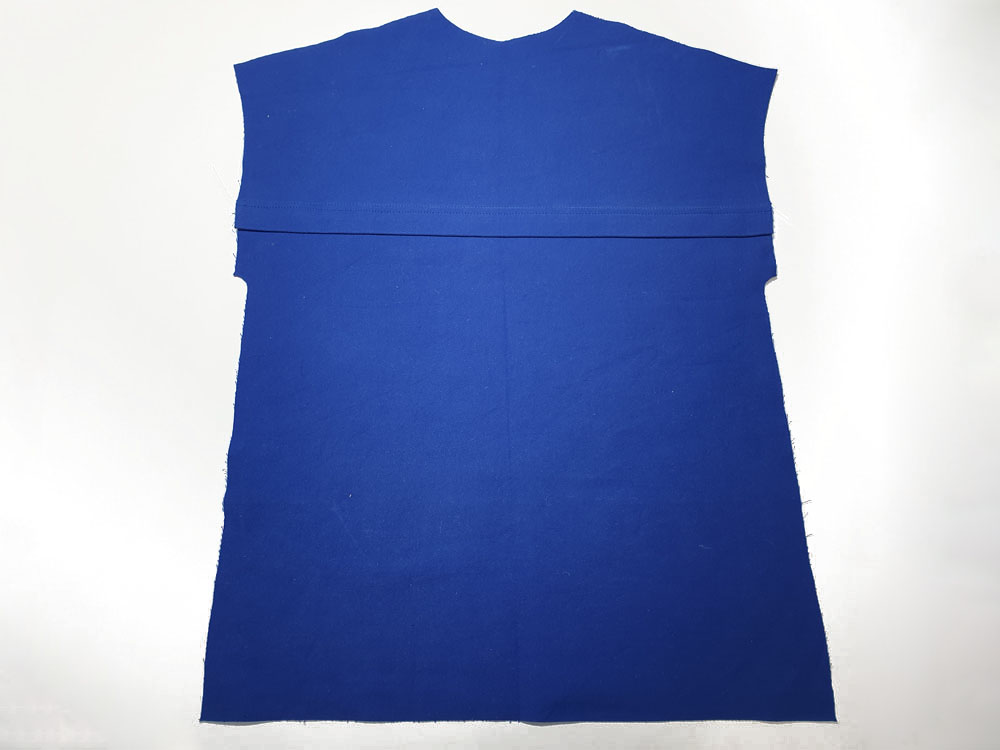
With right sides together, stitch the sides seams together using an 15 mm seam allowance. Clip the under arms and press.
The sleeves:
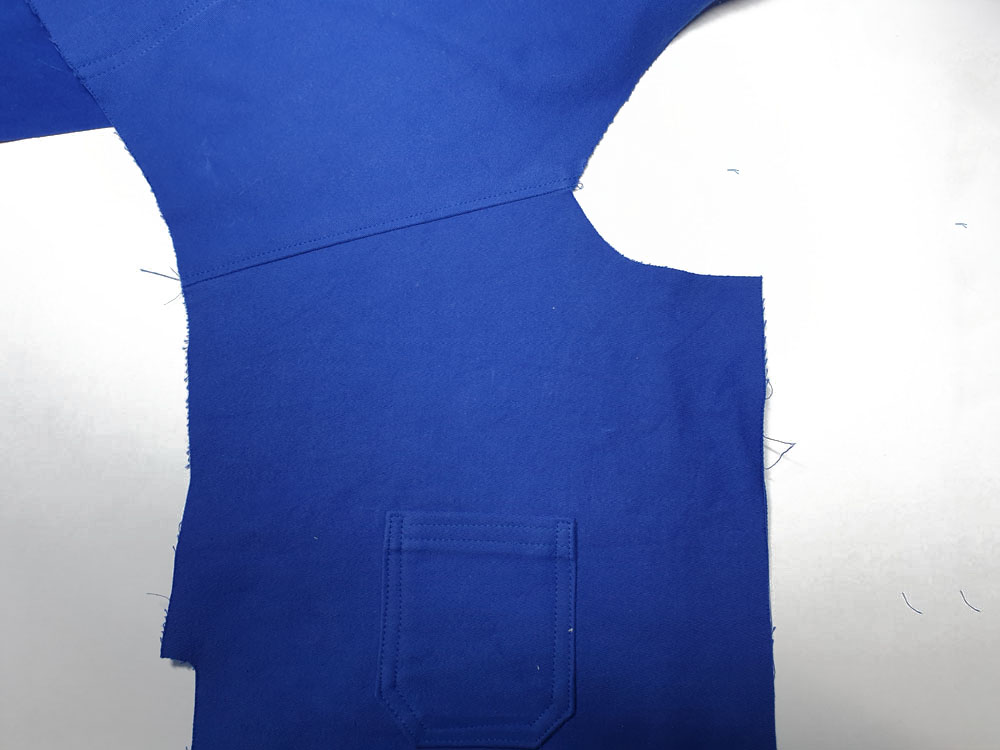
With right sides together, stitch the sleeves using a 15 mm seam allowance. Start your stitch line 7 cm away from the bottom (following the markings).
Sew the sleeve cap to the armhole right sides together using a 15 mm seam allowance and following the markings (1 marking for the back and 2 markings for the front). Match the sleeve back marking to the bodice back pleat.
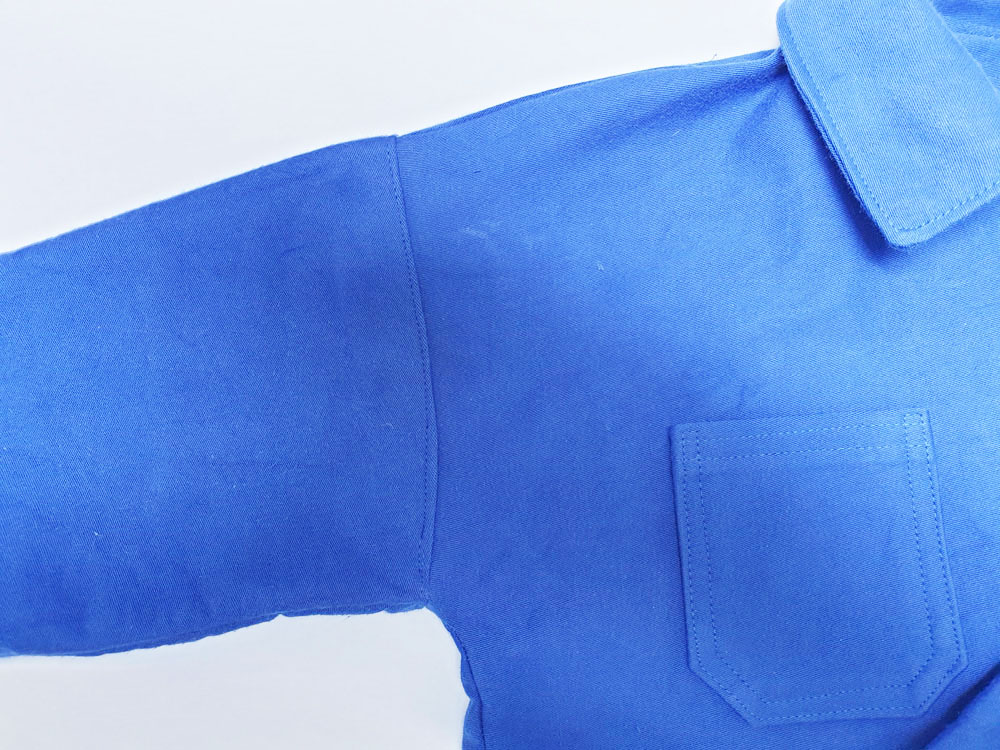
Press seam toward the sleeve and topstitch.
![]()
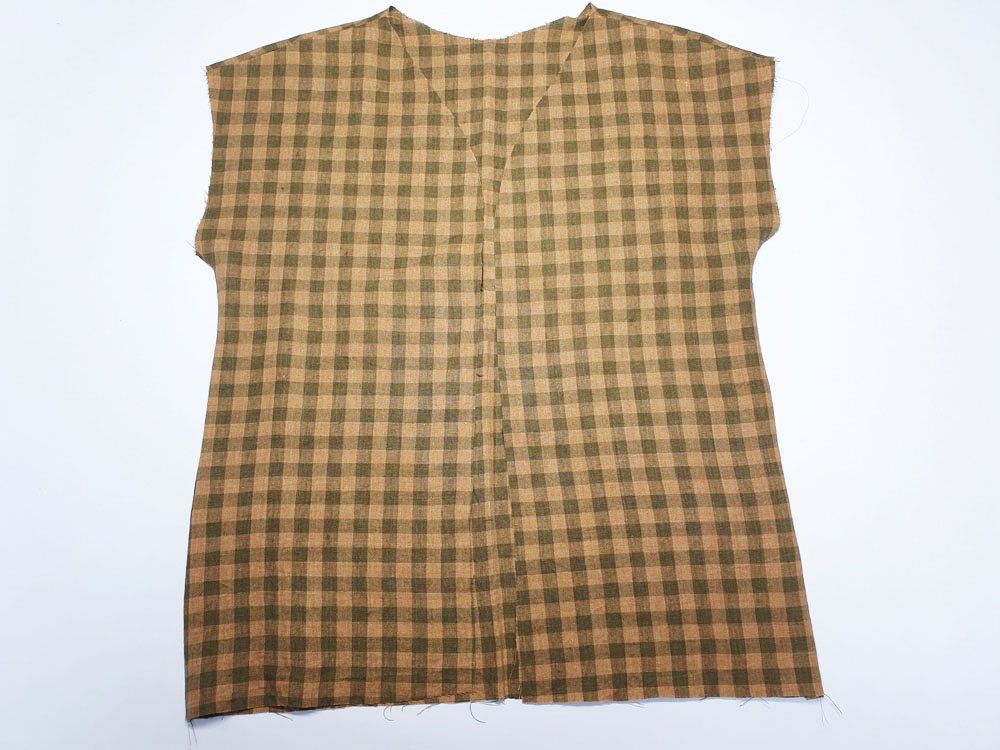
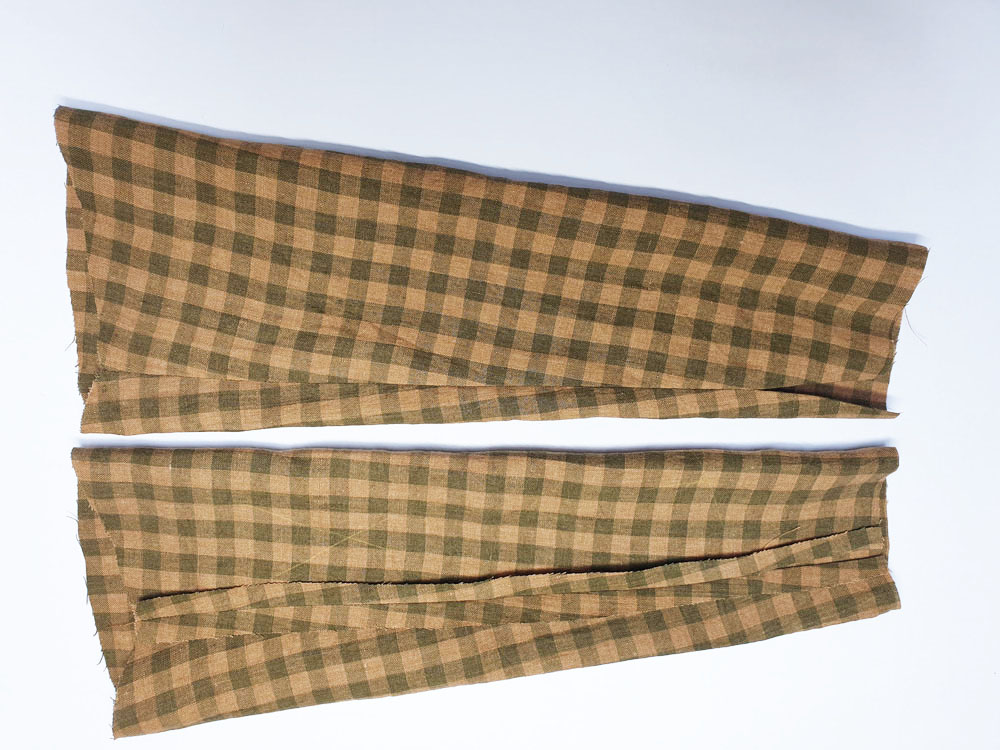
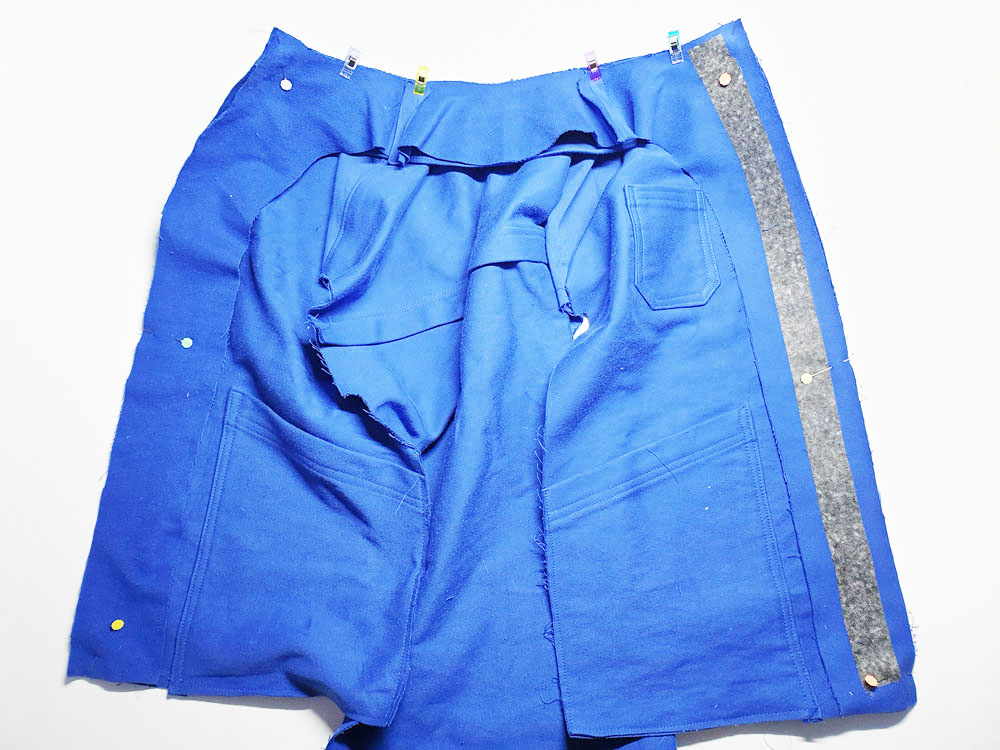
The lining:
Sew the fronts and back bodices right sides together at the shoulder, then at the side seams. Sew the sleeves, stopping at the slit mark (as with the jacket).
Assemble the sleeves to the bodice, right sides together. Press seam toward the sleeve.
Sew the lining to the facing, right sides together. Press. The lining must be 3 cm shorter than the jacket.
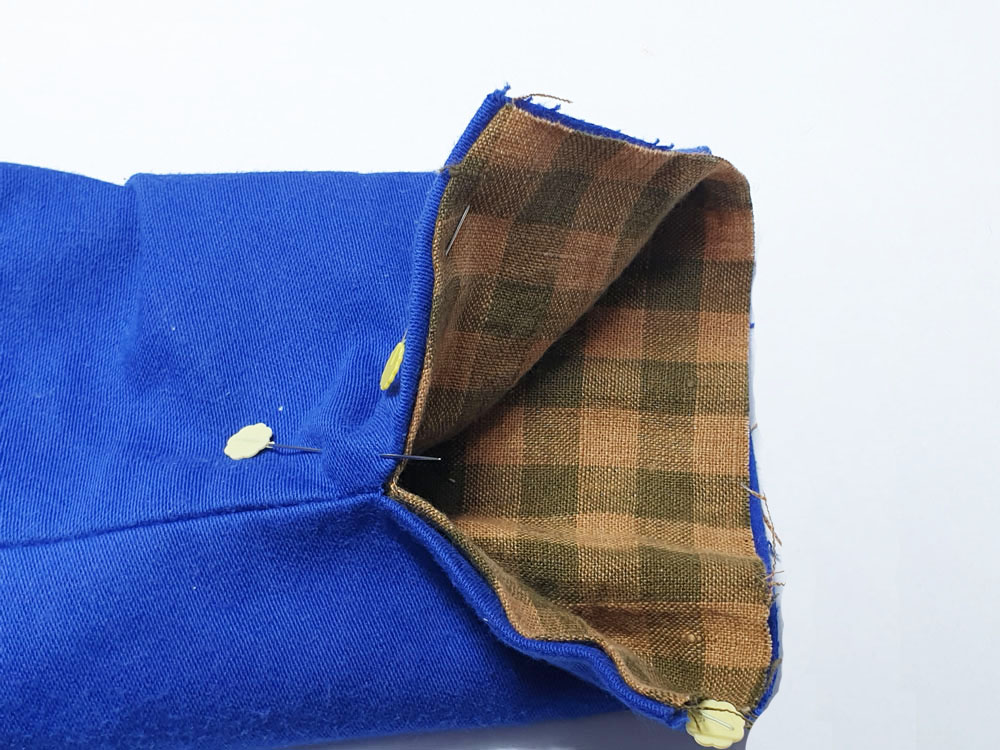
The sleeve' slit :
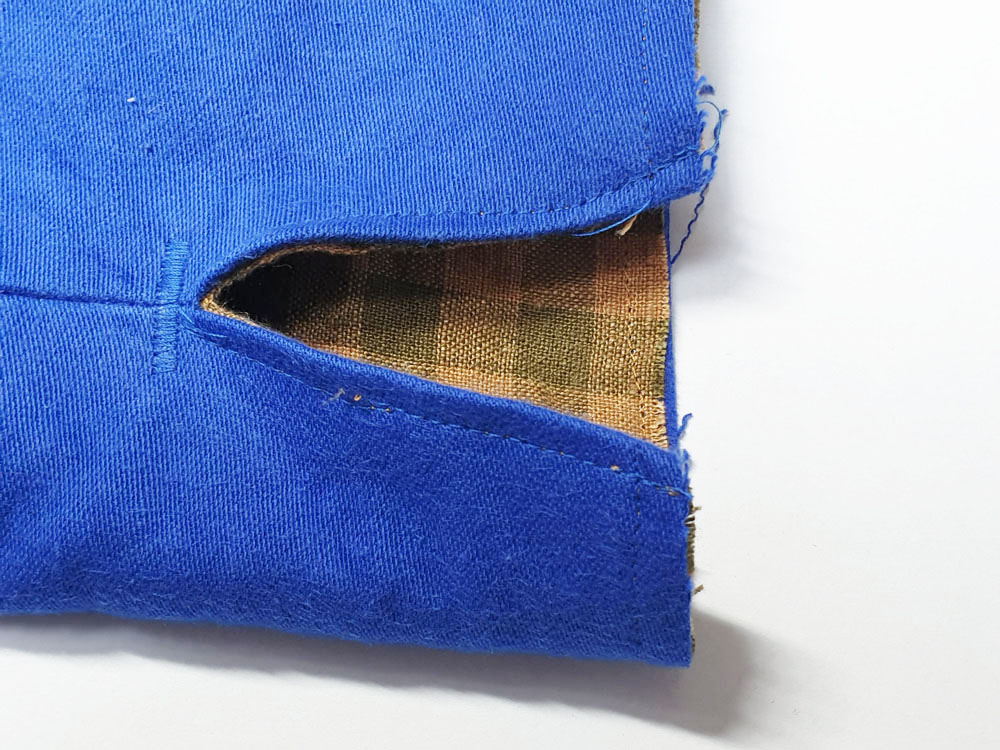
Pin the seam allowances of the outer jacket and sleeve together around the slit.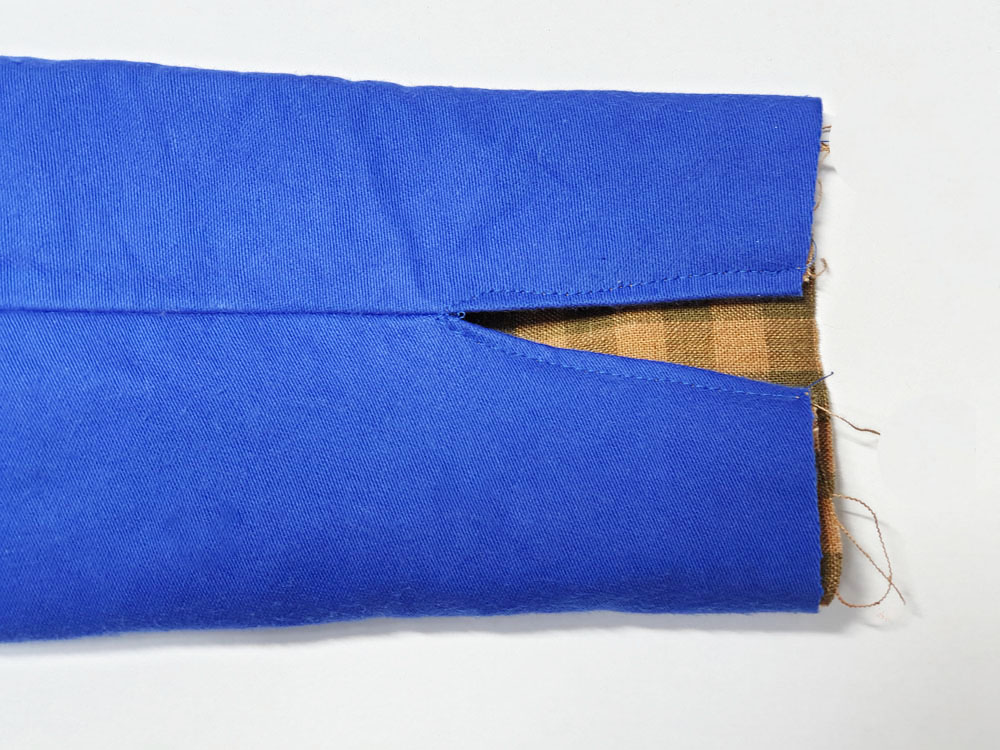
Right side facing you, topstitch the slit in place. Change the bobbin thread to match the color of the lining.
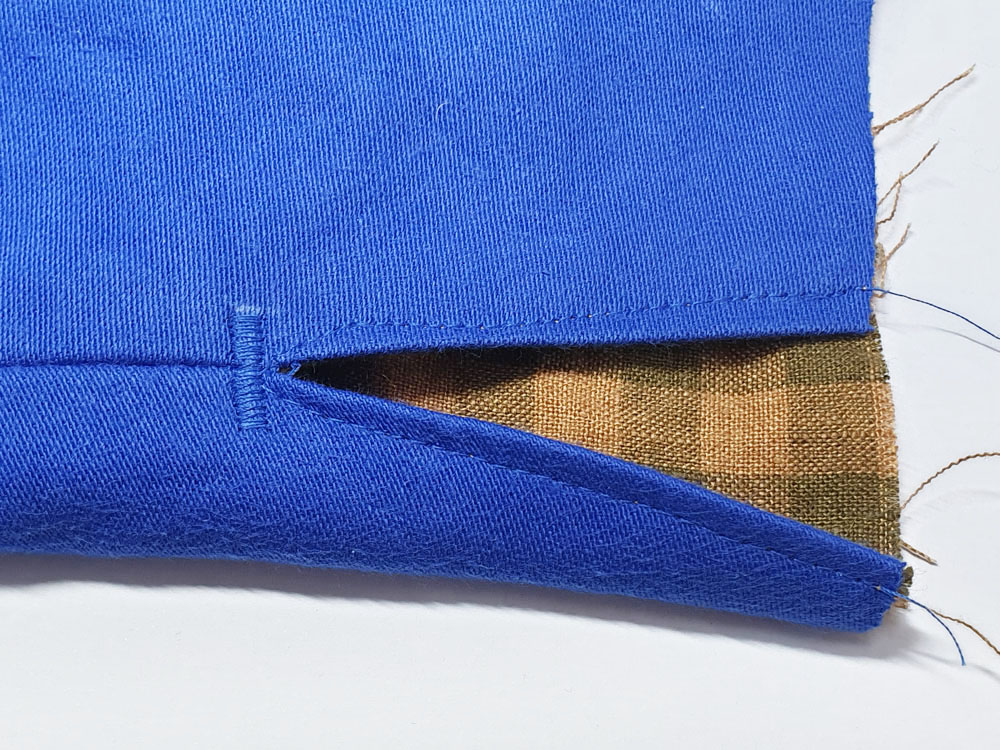
Reinforce the slit’s top with a satin stitch.
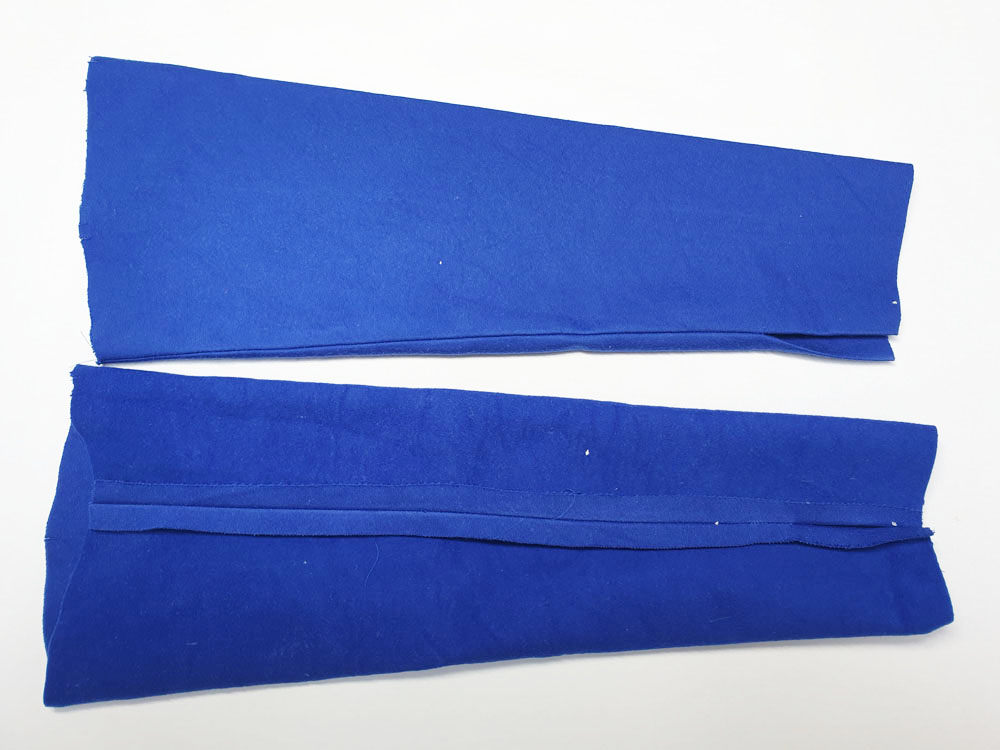
Before sewing the cuff, sew the lining and outer fabric at the bottom of the sleeve.
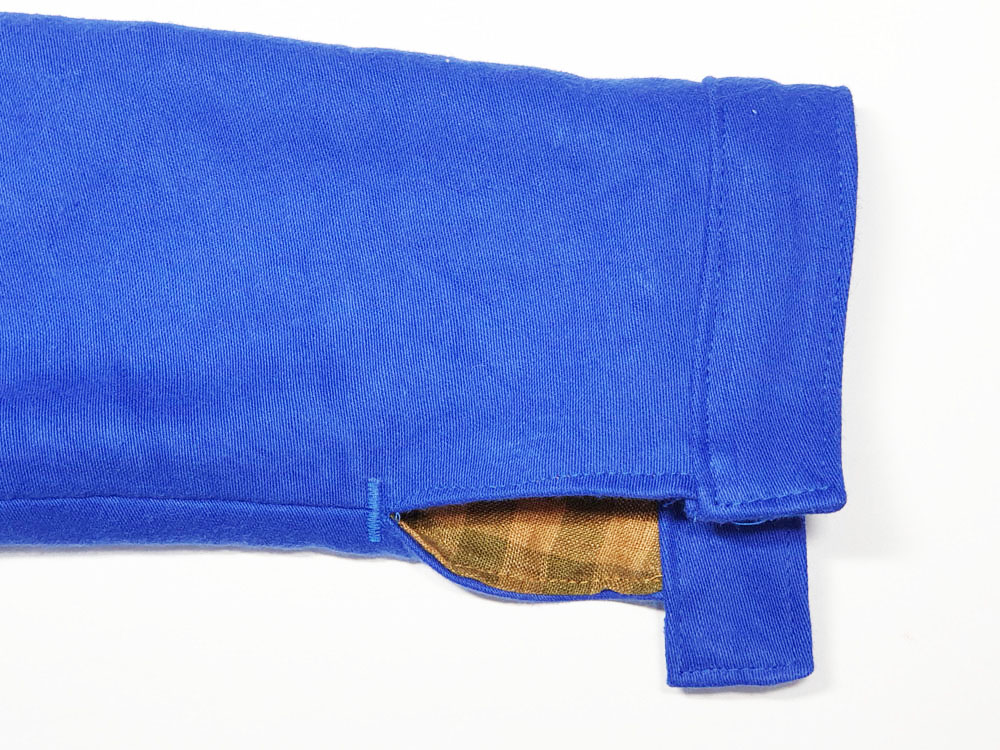
Sew the cuff following the sewing pattern instructions.
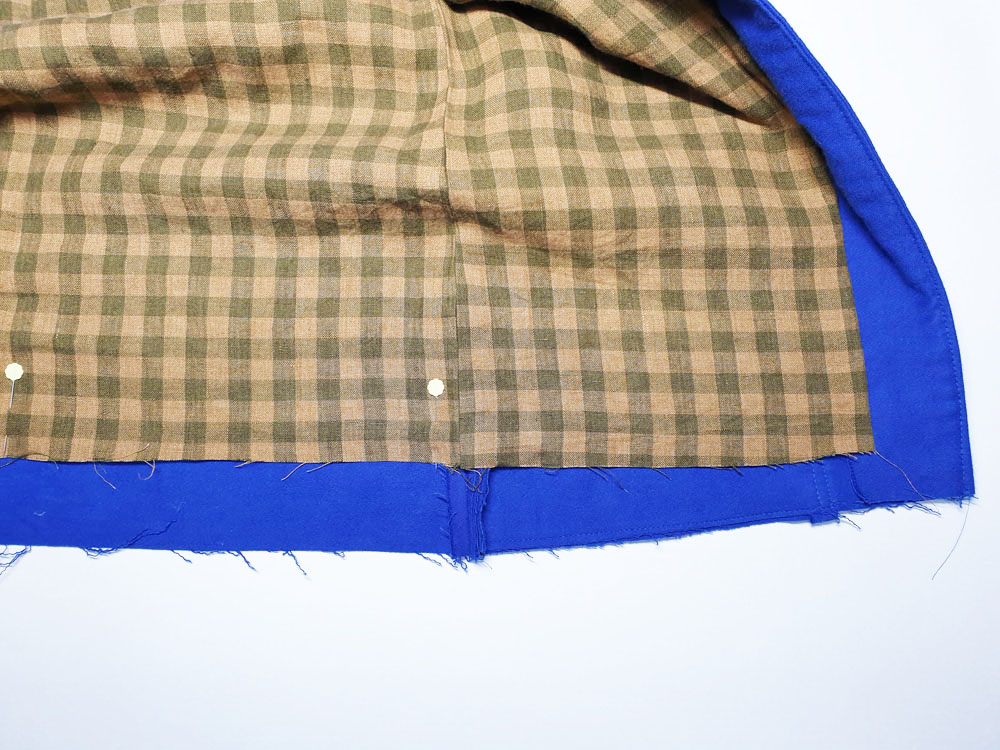
The bottom of the lining:
Pin the lining to the outer fabric. Pin it slightly upwards around the center back of the jacket so there will be a little ease in the back, the fabric will loosen slightly on the back hem.
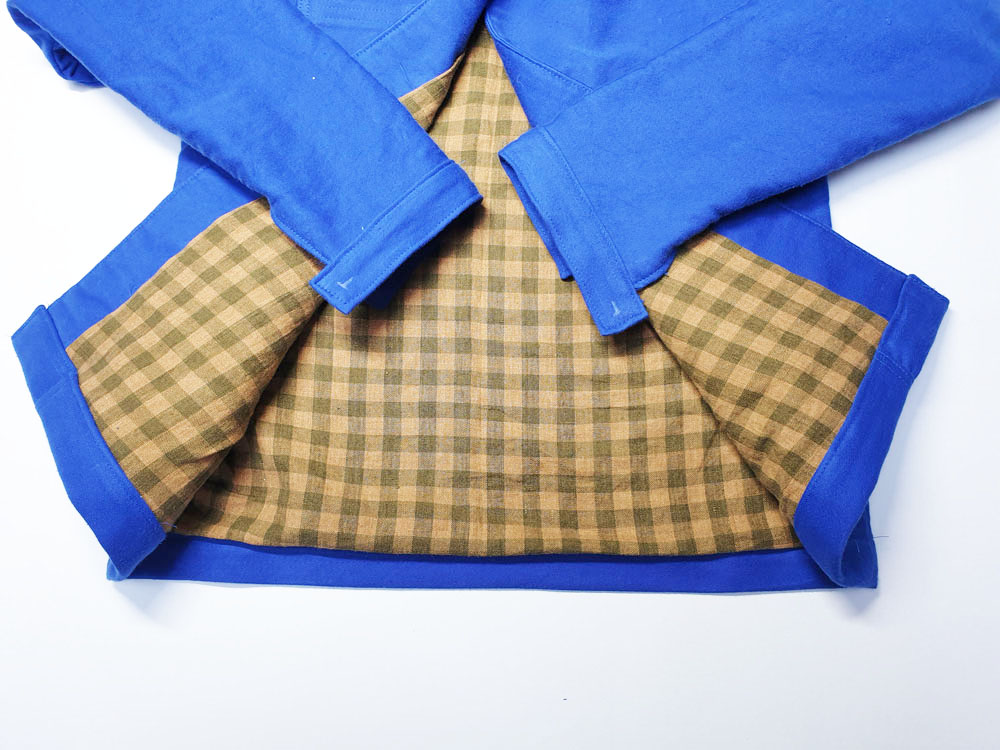

Hem the jacket by pressing the fabric 10 mm and then 30 mm towards the wrong side. Stitch in place. Press again.
![]()
Well done! You can now sew the buttons and buttonholes to complete your Julien jacket !
![]()
Comments
No comment at this time!
Leave your comment